
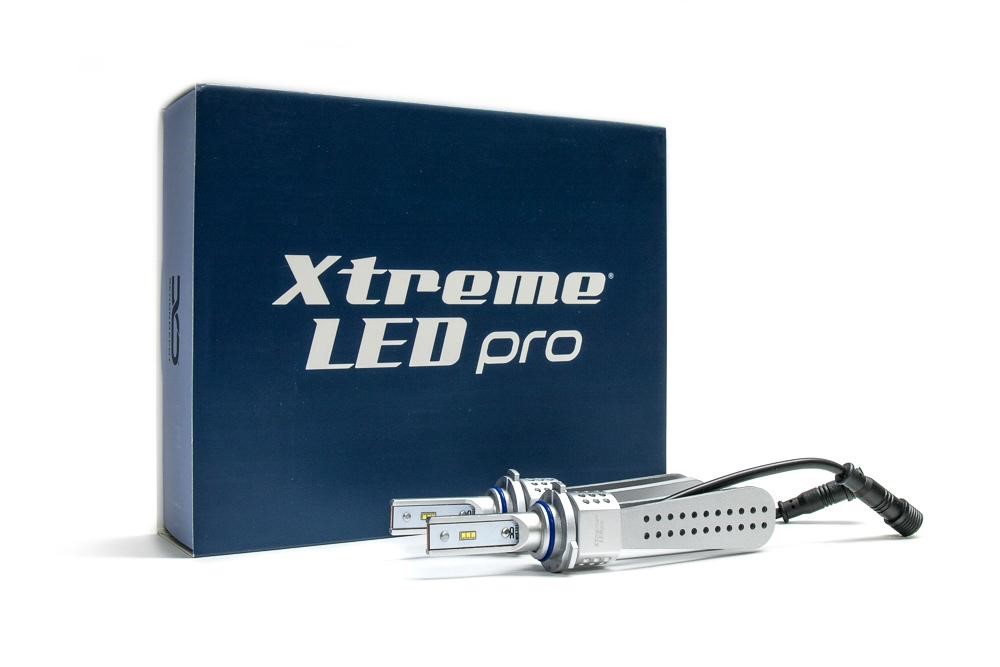
As you may already know, I have been upgrading all my lights with aftermarket options from XenonDepot. With how happy I was with my previous upgrades on the Xtreme LED Pro Low Beams along with the XTR Reverse Lights, switching out my high beams was a no brainer.
Most people don’t upgrade their high beams because they don’t use them enough in situations when they are needed or they already have an aftermarket set up to provide more light. However, there are a lot of scenarios where flicking on your OEM high beam switch is a little easier than a light bar or pods.
It is easier to use your high beams to illuminate dark roads since it’s ergonomically easier to reach on the steering column vs a switch system mounted somewhere on the vehicle. You can keep both hands on the wheel and focus on the road versus trying to feel out where your switches are which could make for distracted driving.
So for people that are interested in upgrading your OEM high beams, this is the light for you.
Table Of Contents
Why Upgrade?
Increased Energy Efficiency
- LED lights draw much less power than halogens or HIDs. Their light output is greater but overall, they draw fewer amps.
Light On Demand
- LEDs do not need a warm-up period, flip on the switch and you’ve got full power at your fingertips with no delay.
Less Glare
- LEDs are more concentrated light sources, so there’s much less potential to distract/bother other drivers on the road.
Decreased Heat Output
- LEDs operate considerably cooler than their counterparts.
Increased Longevity
- Quality LEDs are known to last much longer than the alternatives. Certain companies claim up to a 50,000-hour life span.
Why Xenon Depot?
If you read my other reviews, you already know how much I like XenonDepot lights.
There’s no denying the quality of these lights, you can see that as soon as you open and take them out of the packaging. Compared to cheaper alternatives, these lights are way brighter and feel super solid in hand.
They may run you about twice the price of cheaper alternatives, but you certainly get what you pay for.
It is a little more than what people expect to pay for high beam lights but the results are definitely there. Considering the quality and how long they will last, the price is not the worst.
Find It Online
- Xenon Depot H11 Xtreme LED PRO Bulbs: Check Price
Time to install the lights!
Step 1. Room To Work
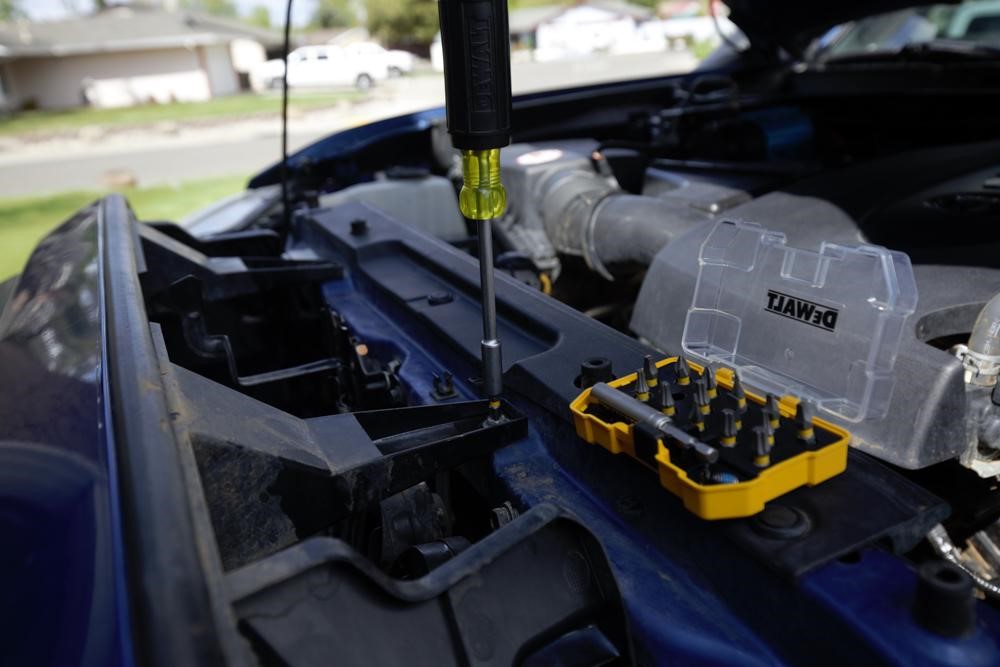
While you don’t need to remove the grill from the Tacoma, it does help to remove it since it gives you more room to work. The Tacoma grill is only attached with two screws and two clips, it is very simple to take off.

Grab your Phillips screwdriver head to remove both of the screws. Next, if you own an automotive clip remover use that to remove the clips on both sides. If you don’t have one of these, a screwdriver will work here too.
Step 2. Remove Old Bulb
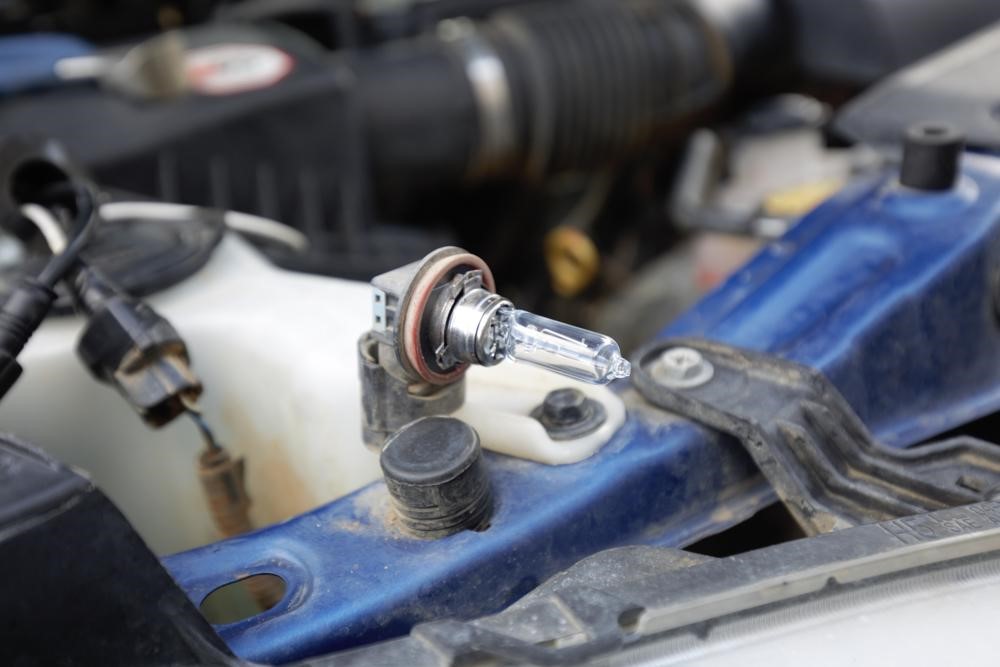
You can start on either side but pictured above is the passenger side high beam removed from the housing. Just reach towards the back, the high beam is the 3rd light from the outside, and twist to remove.
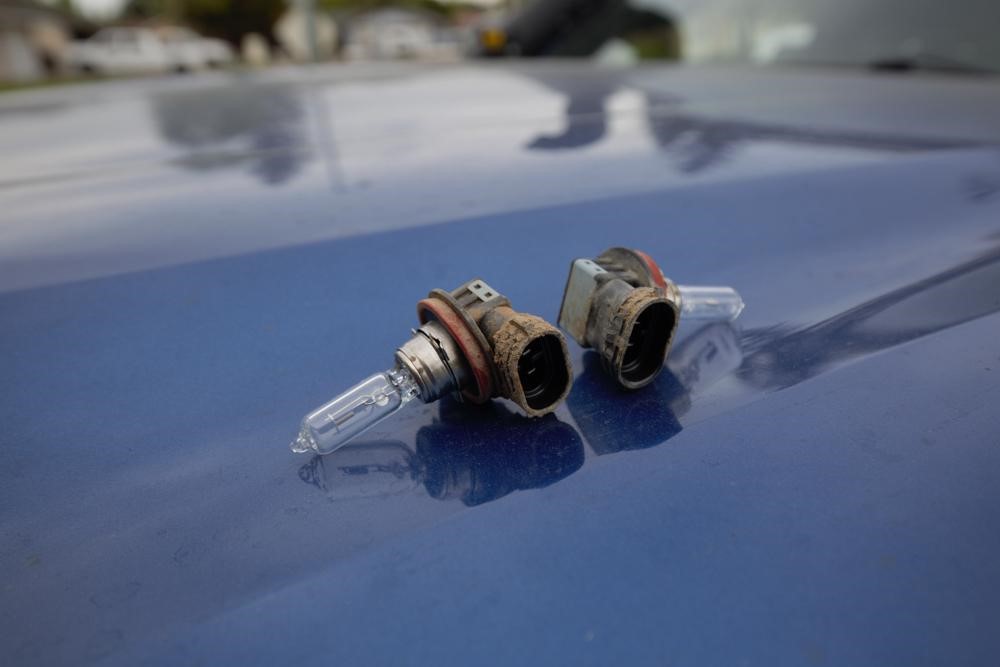
You can remove both lights from their housings, they look like the ones pictured above. As you can see they are low-grade OEM halogen high beams. They do not put out much light and its tough to see at night.
Step 3. Connect New Harness
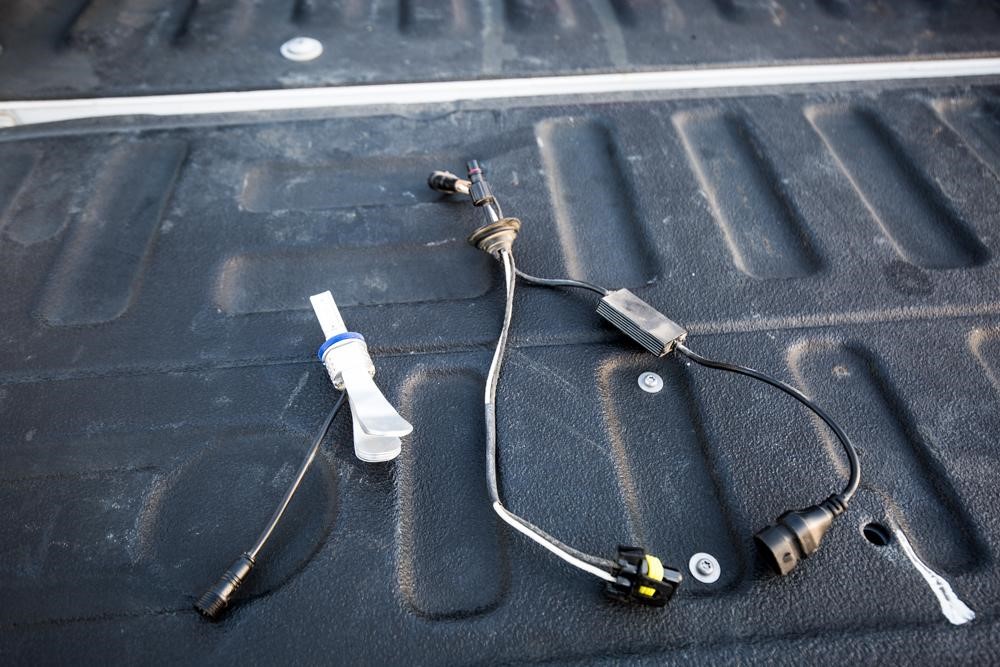
The LED Pro High Beams come with a harness to connect to the OEM H11 plug.
Follow the steps below to connect the XenonDepot provided Harness.
Connect 2-Prong Female + Male Ends
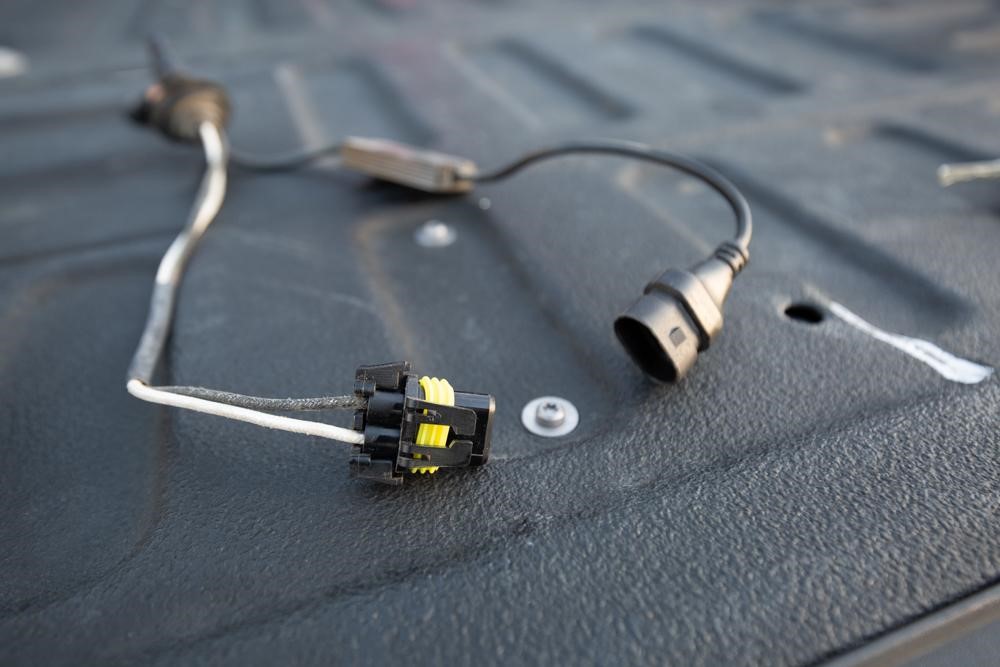
Connect the two-prong male and female connectors.
Note: Polarities may be reversed so please double-check both sides that the positive and negatives are lined up correctly, otherwise, your lights may not work.
Partially Connected Harness

Click it all the way in so you get the clips to lock and you can feel the weather insert secure (in yellow) tightly to the other prong.
Connect Smaller 4-Prong Connection
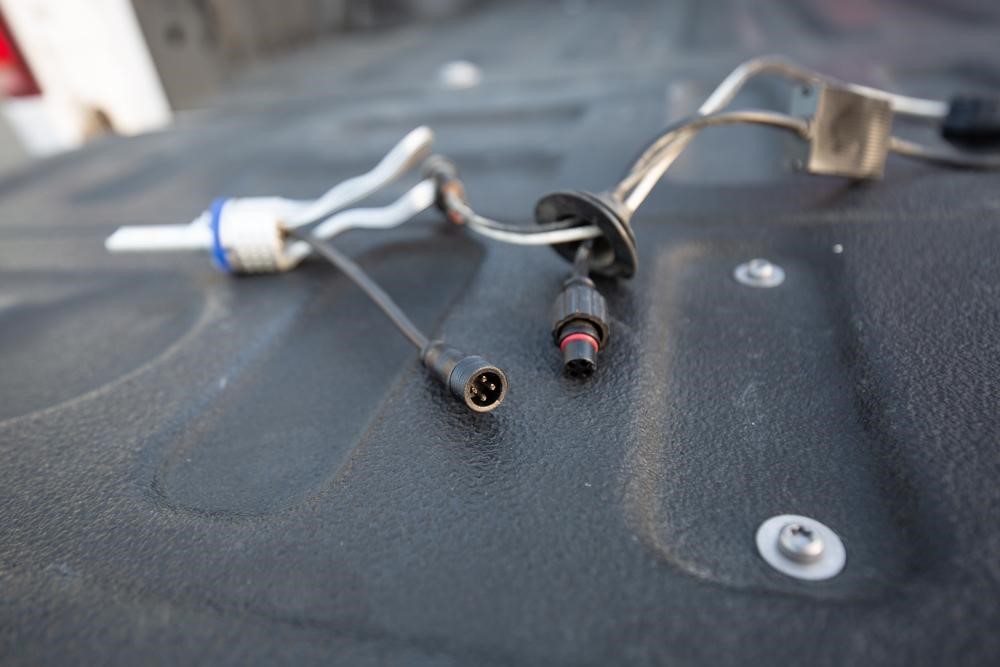
Now connect the smaller 4 prong connection together and screw on the weather seal cap.
Tighten Weather Seal Cap
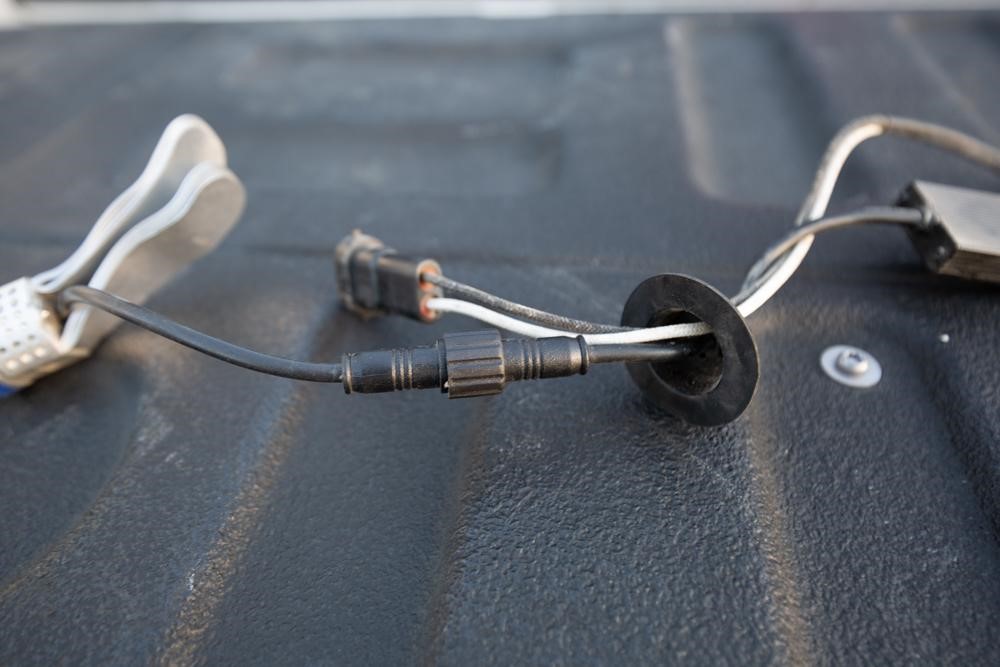
Once the 4 prong connectors are in, screw the cap in till it is hand tight.
You will end up with the Harness and XenonDepot Low Beam like this. Now all that is left to do is to reconnect the OEM H11 plug to the provided XenonDepot one.
Step 5. Insert New Bulb
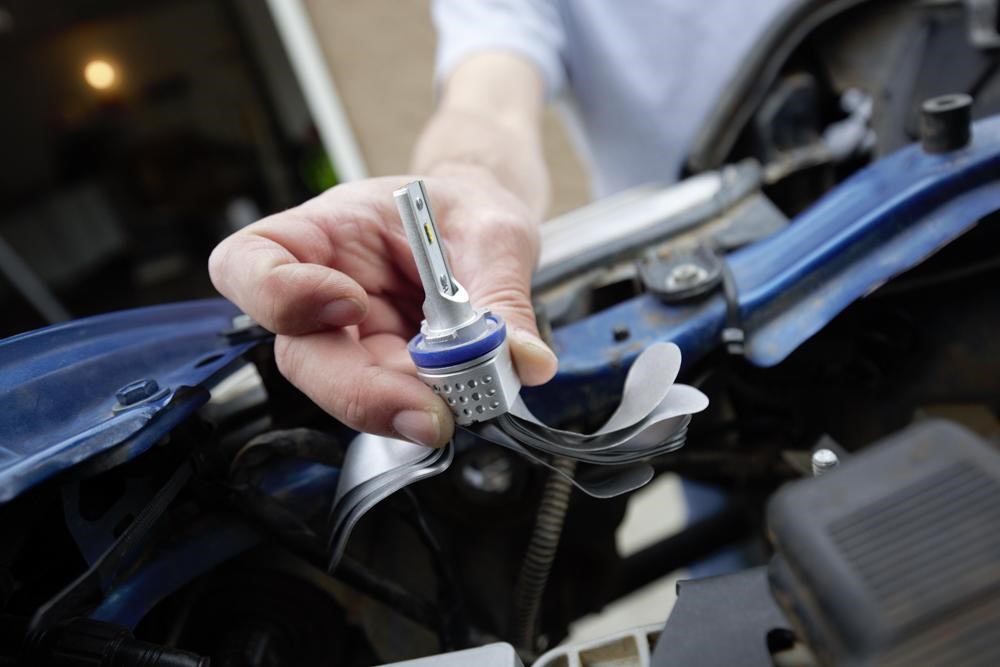
Insert your new light back into the housing. Don’t forget to fan out the heatsink, as pictured above.
Step 6. Test Lights
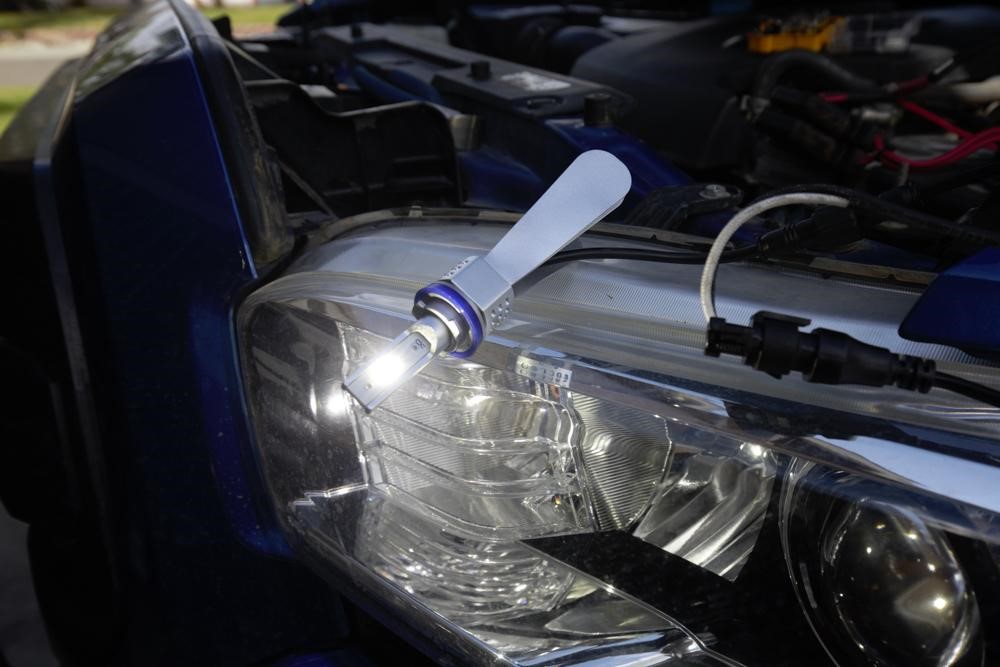
Test the lights by turning on your high beams. If they do not turn on initially, please check your polarity that it isn’t reversed at any of the connection points.
Place it back into the high beam port for the headlight and twist carefully to lock in place.
You are done!
Initial Impressions
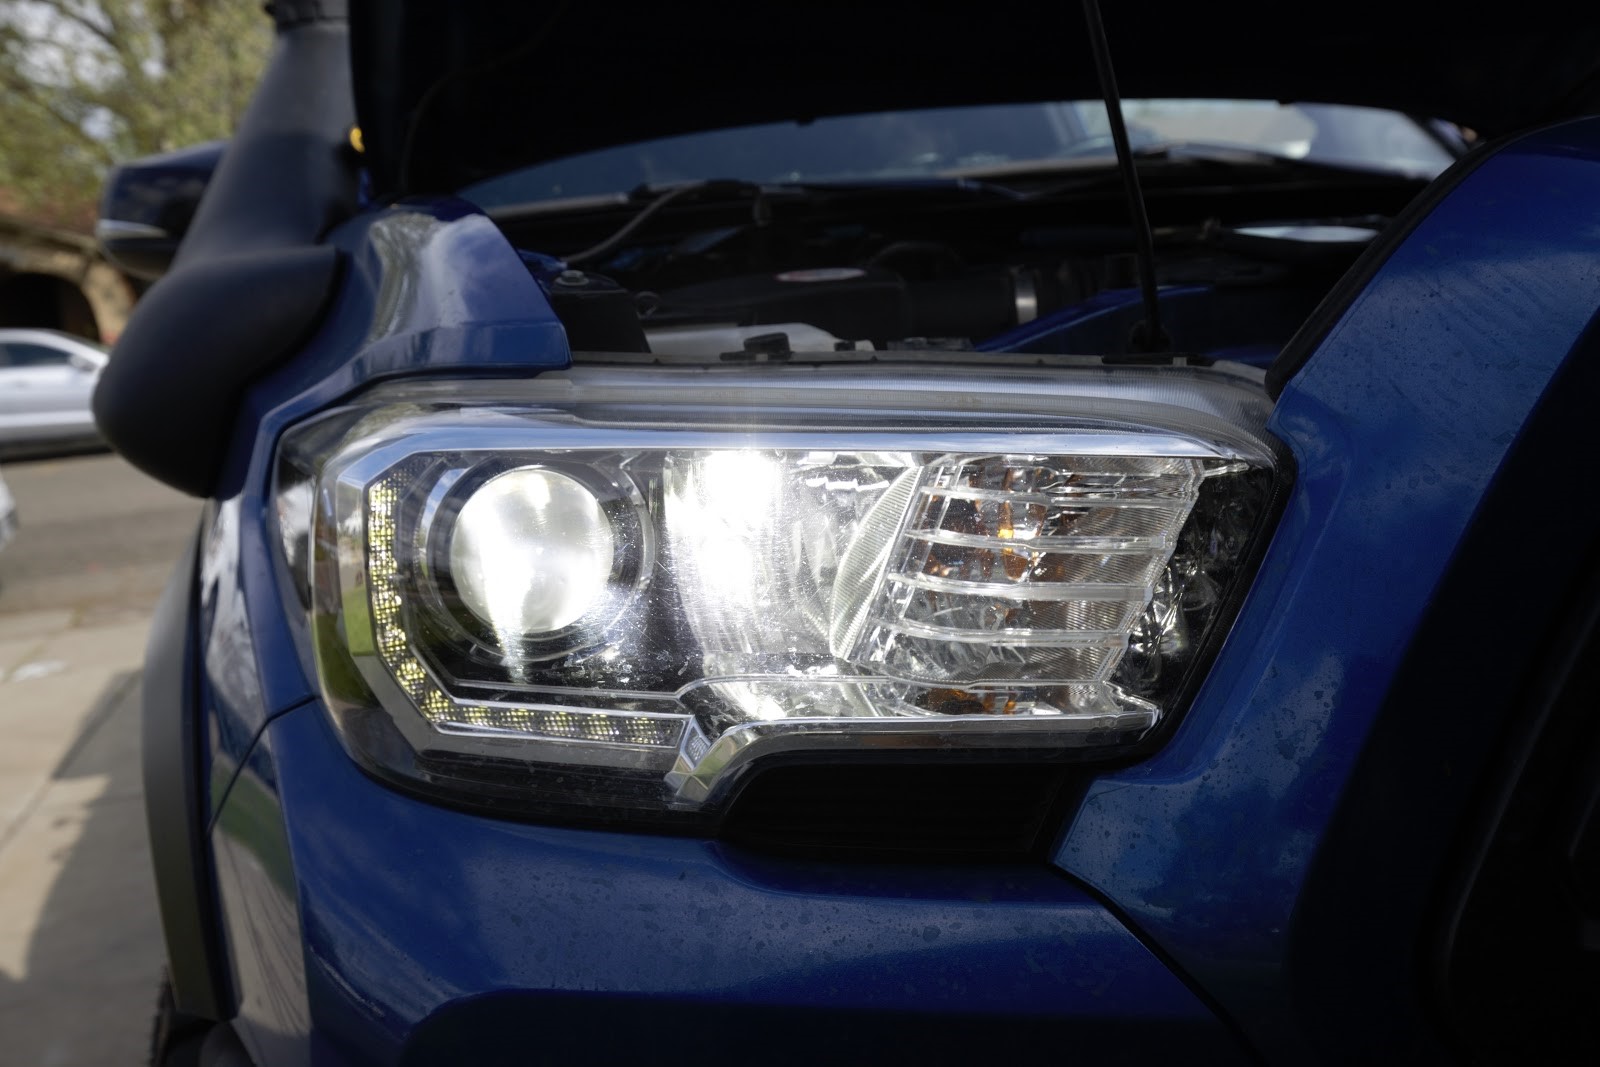
From the first moment I tested these out, I could tell there was a huge difference. The LED is super bright and emits a nice, crisp light. The reach of the lights was excellent too.
The light output of these XenonDepot lights is amazing! They put out a nice and bright white LED light and increase your visibility a ton. The high beams are absolutely stunning.
Final Thoughts
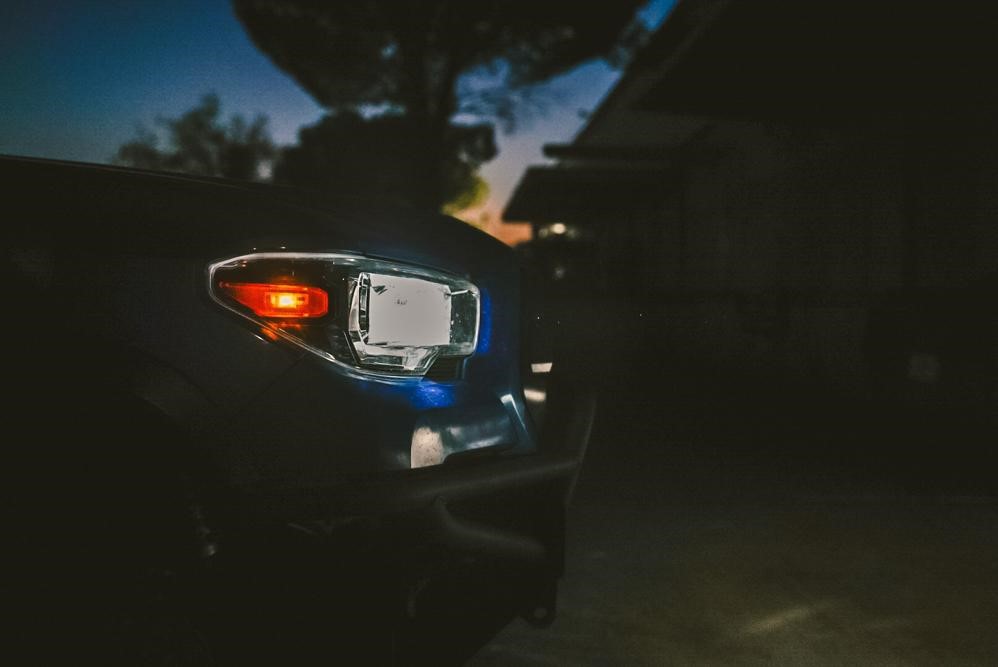
By this point, I’m sure you can tell that I’m really happy with the upgrade. I highly recommend you check these lights out if you’re in the market for an upgrade. There really is no comparison between the OEM bulbs/cheaper options and the XenonDepot lights. They’re that much better!
These lights are awesome both on and off the road. These high beams are so bright and visible that if you need to use them in certain situations they definitely make your vision ahead much cleaner.


It’s been close to a year, are you still satisfied with the XD replacement LED bulbs? I want to go LED on my 2021 TRD OR (dealer couldn’t get them optioned), but that light thread over on TW gives me a headache. Can these be used in halogen housings and not give up performance??