
Rad Rubber Design makes a wide variety of engine splash guards and other rubber parts for the Toyota and Lexus Community. Rad Rubber Design started out as FJ Fender flaps, and as you can guess they made fender flaps for the FJ Cruiser. Since then, they have made a wide variety of engine splash guards for all Toyota models; Tacoma, Tundra, 4Runner, and many Lexus models as well. They are designed to replace the factory engine splash guards on your Toyota and Lexus.
The factory splash guards are known for being incredibly low quality, flimsy, and over time they seriously just disintegrate. If you find yourself working on your suspension often, replacing and upgrading upper control arms often, wheeling often, or see pieces of your engine splash guards falling off then you definitely want to add and install a set of these neoprene splash guards. They clean off easily, and they can be added and removed easier than the factory ones.
The Neoprene rubber is a family of polymers with qualities of superior strength and high resistance to UV, heat, oil, gas, and most chemicals. It has a natural black unfinished appearance which makes it ideal for many automotive applications.
Find It Online
- 2005-2023 Tacoma Splash Guards: Check Price
Table Of Contents
Installation Overview
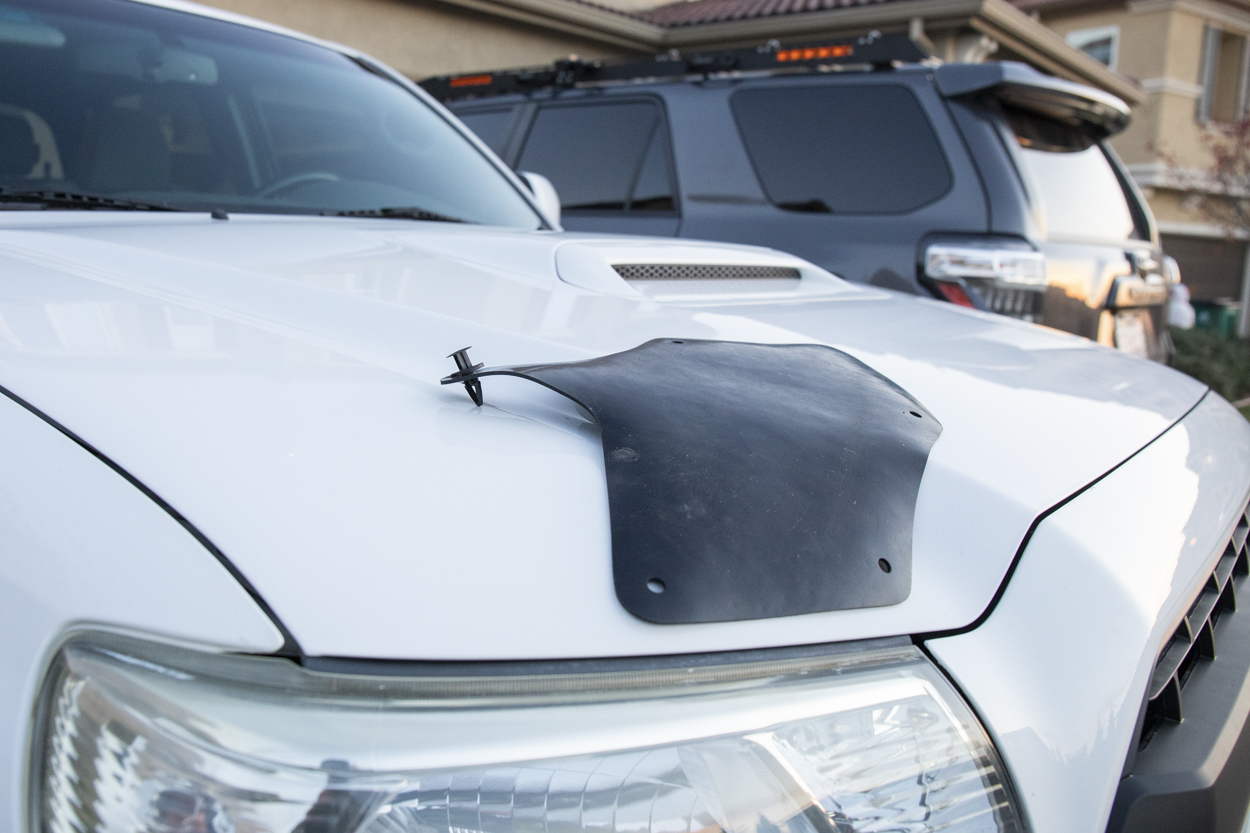
Remove existing splash guards and don’t worry about saving the fasteners as you will be replacing them with new ones that are enclosed. Although you don’t need to save your factory fasteners, I always save any clips that are still usable. You never know when you’re going to break another clip at another point along your build journey.
A common panel fastener/clip removal tool is the best way to remove the fasteners. If you want to go above and beyond here, you can get a specific clip fastener removal tool from GearWrench tools it is pretty impressive. I’ve used this thing quite a few times and you literally just pop clips off with ease.
Using the diagrams below, line up the appropriate piece with the right location and attach using the enclosed fasteners. There are (20) fasteners needed to attach the splash guards with (18) of them being 5/16″ and (2) being 1/4″. The diagram below indicates where the 1/4″ fasteners are used with one on each side where the fronts attach to the side shock frame support.
The 1/4″ fasteners can just be pushed in but when you put in the 5/16″ fasteners be sure and push the body of the fastener through the holes both in the rubber and the frame/body before you push the head in locking it in place. It’s important to note that there is supposed to be slack or a ripple effect in the rubber guards, this allows for movement as the splash guards attach to the frame on the bottom but to the body at the top. This flexibility adds to the strength and durability. Use the hole appropriately labeled on the diagrams that fit the best for your specific Toyota Tacoma model. Whether you have a 2nd Gen or 3rd Gen Tacoma, these will fit.
Clip Diagram
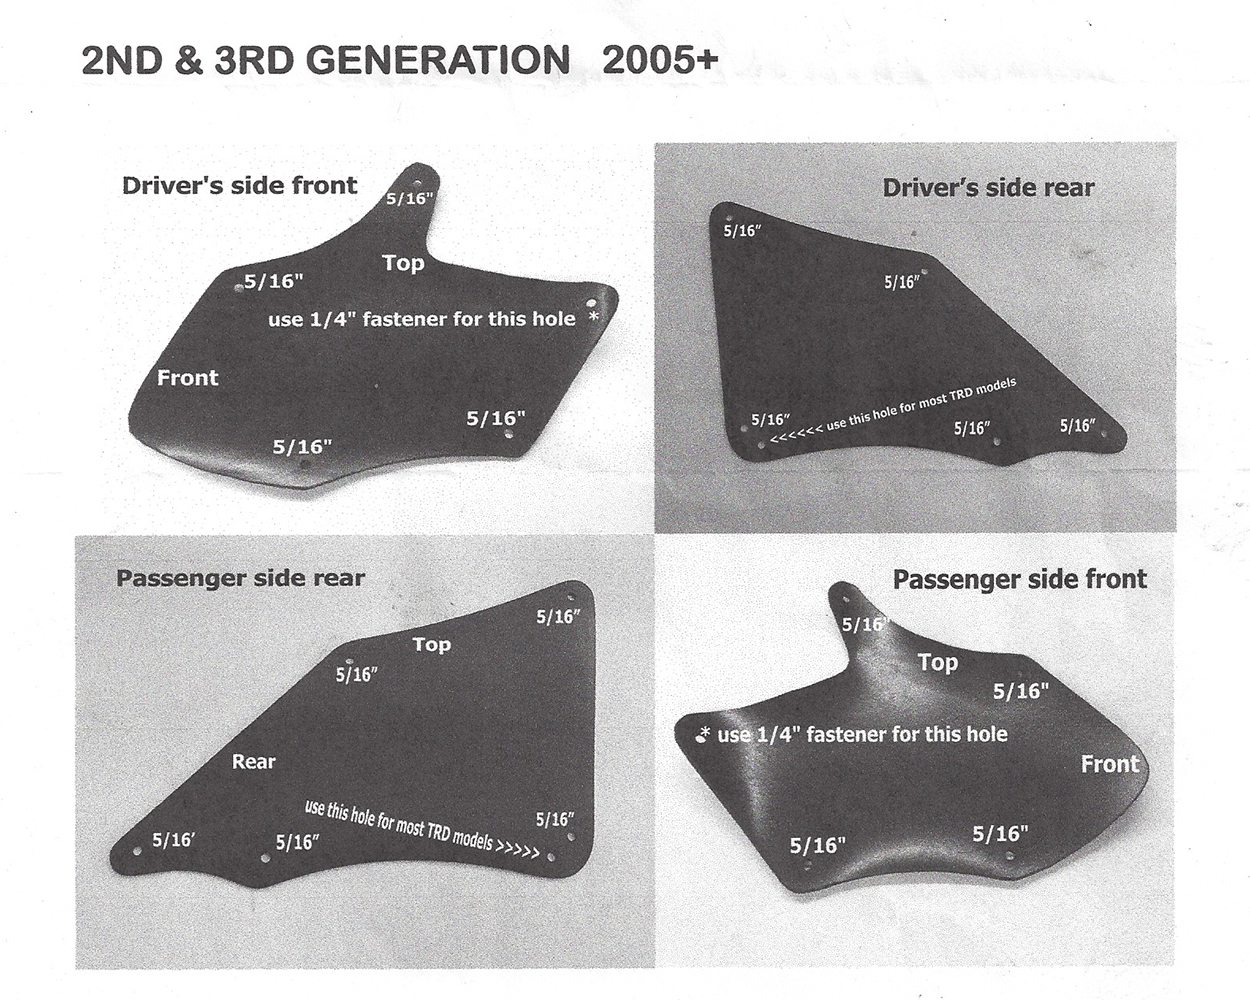
Here is the diagram that Rad Rubber Design provides with your kit. You can see most of the holes provided are a 5/16″ hole and one on both sides is going to be a 1/4″ fastener.
Mount Fasteners
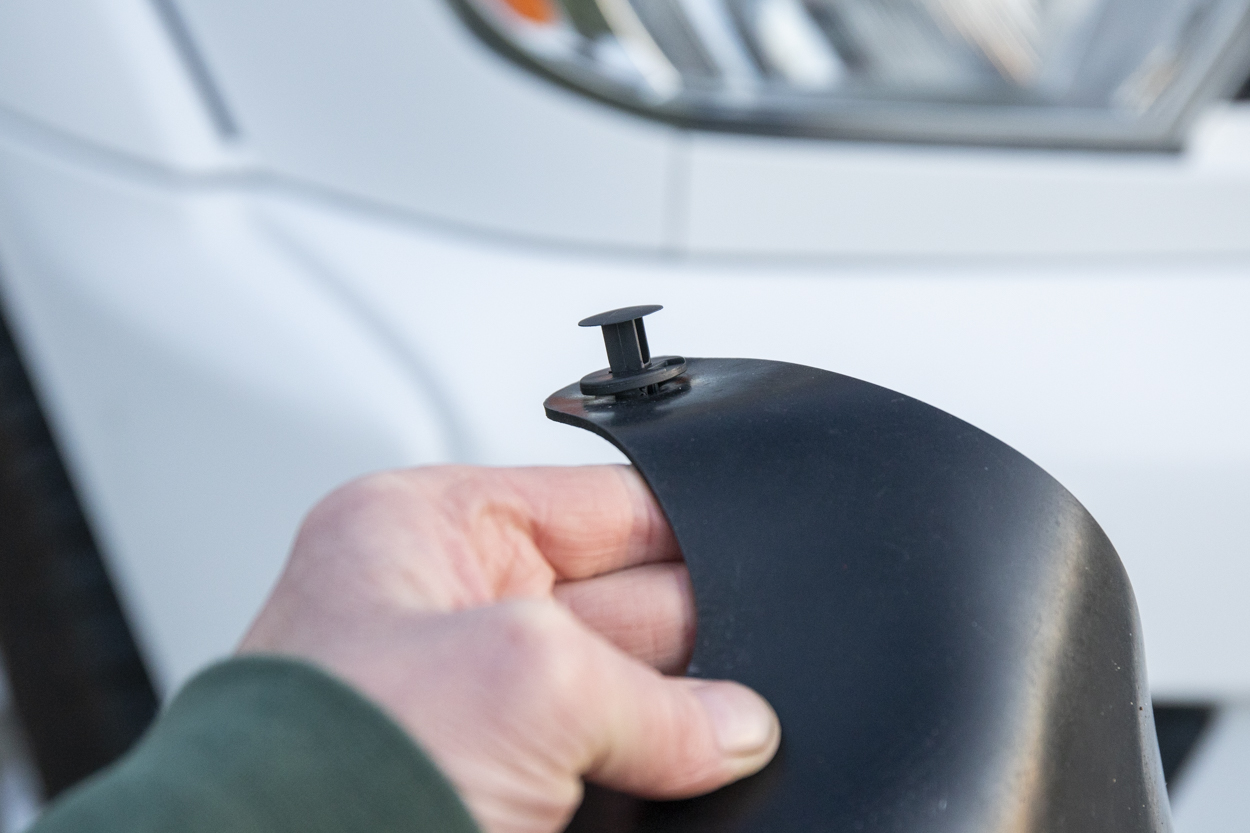
I start by first pressing in each 5/16 fastener into the rubber splash guards all the way around.
Install Guards
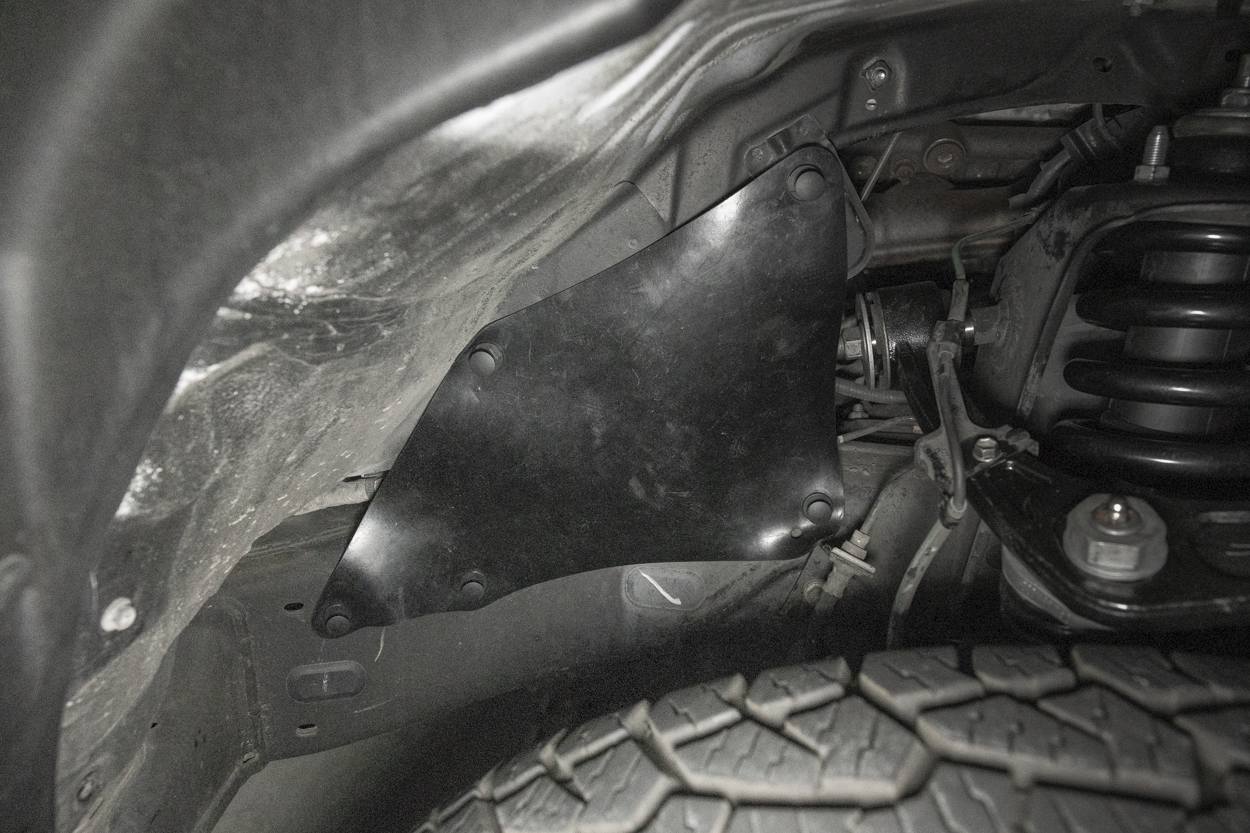
Then press in just the tip of each fastener into the provided brackets and along your frame rail.
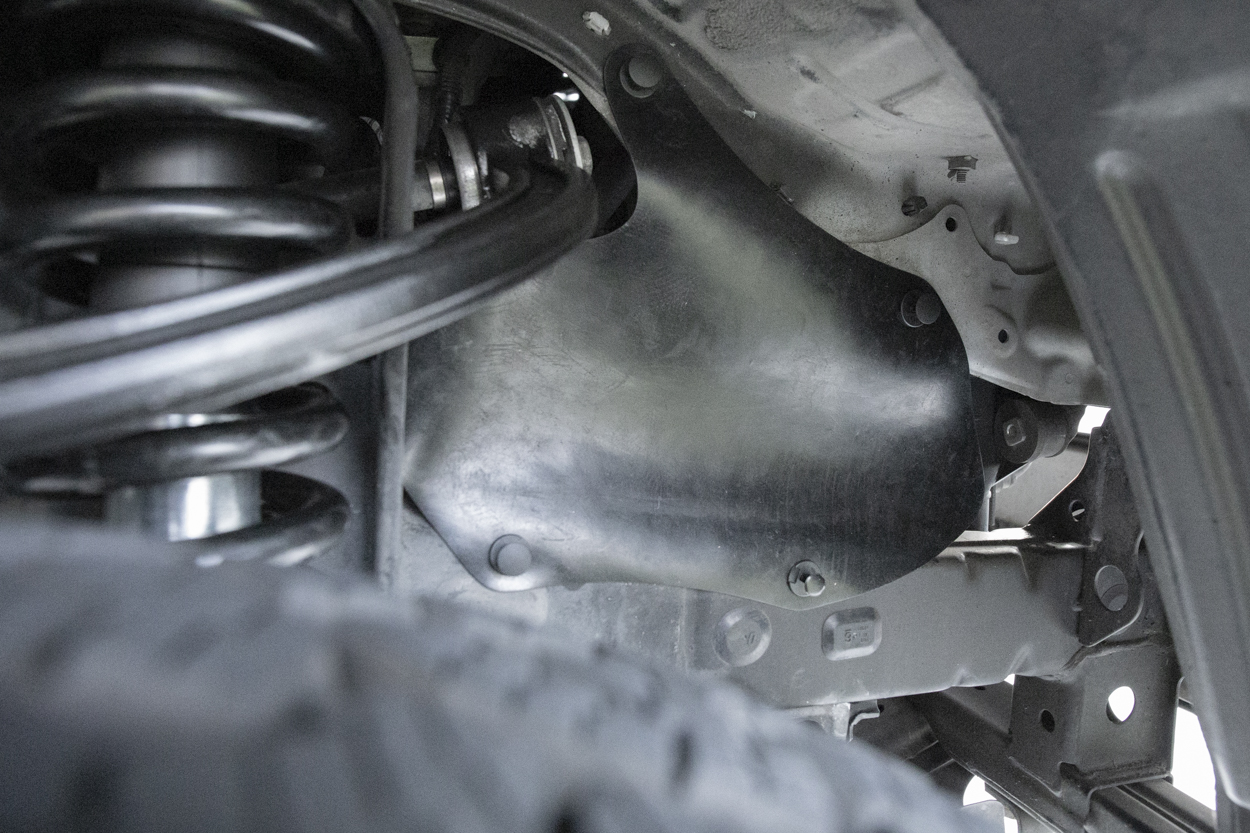
Here is a look at the passenger side front engine splash guard.
Secure Fasteners
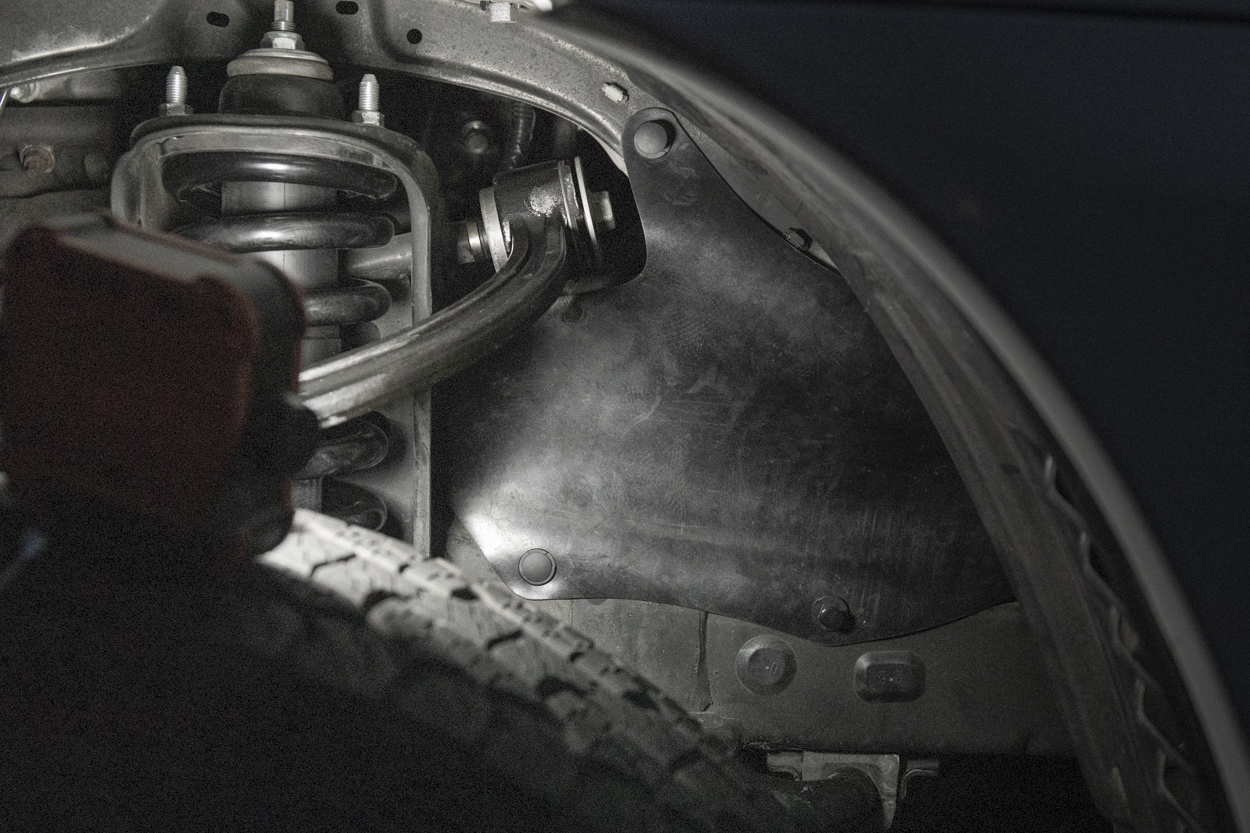
Once all of your fasteners are in place, you can proceed to press in the remaining portion of the clip.
Final Thoughts
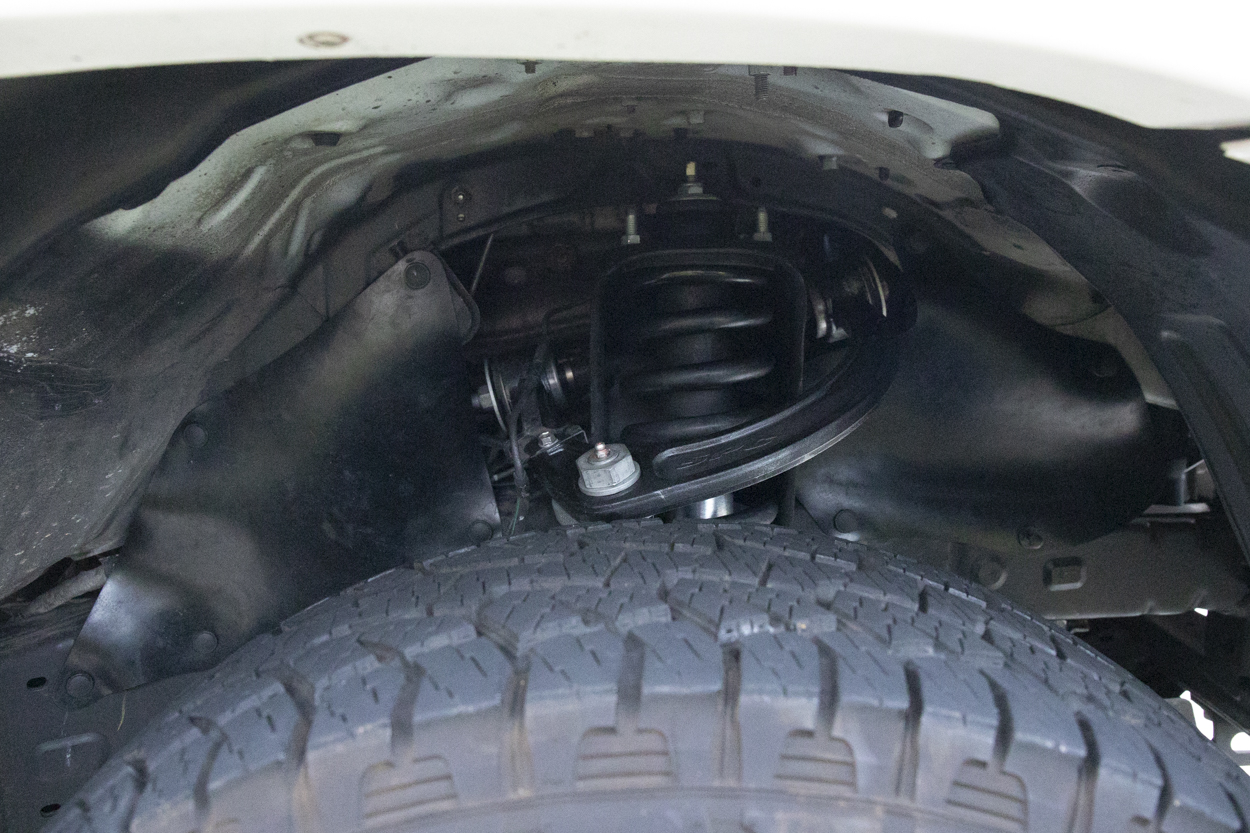
The rubber splash guards by Rad Rubber Design are a great way to keep your wheel well clean and make working on your suspension a little easier.
I usually buy a set for every build. The factory ones seem to break, split, and tear very easily, and any time I work on a suspension I break the clips. Rad Rubber Designs upgrades are just going to last you a lot longer than the factory ones!


