
So… why should you consider Clazzio seat covers?
When it comes to quality for an affordable price, Clazzio is the way to go. Straight out the box, the feel of the seat covers are top-notch. Soft to the touch, stitching is tight with no loose threads and it looks like OEM.
With having up to 6 different materials to choose from, you’re able to fully customize the type and even the stitching of your seat cover. Did I mention you are able to add a custom embroidery as well? The level of customization is the next level. You have the option to choose not only the material but body-color, insert color and the color of the stitching.
So whether you want Nappa leather, suede or budget-friendly PVC… they have what you need. In this install, I’ll be covering the front seat covers and center console armrest only. Clazzio makes kits for both front and back, but I only chose to upgrade my front seats for now.
Although these covers are for the 2nd Gen Tacoma, don’t worry. Clazzio has an option for the 3rd Gen as well, as well as several other Toyota models.
Let’s get started!
Find It Online
- Clazzio Seat Covers Website: Check Prices
- 2005-2008: Check Price
- 2009-2011: Check Price
- 2012-2015: Check Price
- 2016-Present (front + rear): Check Price
- 2016-Present (front): Check Price
Table Of Contents
Installation
Tools & Materials
- Mechanic’s Tool Set
- 14mm Socket
- 3/8 Socket Wrench
- Phillips Head Screwdriver
Step 1. Remove Seat

I found it a lot easier to remove the seat in order to install the seat covers.
However, this step is optional, but keep in mind that it will make it more time-consuming to install. Ultimately, it should be less of a headache since there is not much room to work under the seats. I started by removing the passenger seat but these steps will work for the driver’s seat as well.

The seat is bolted down by four 14mm bolts. The bolts behind the seat will be covered by a plastic cover, which can be easily removed by hand.
Simply pry up the cover and it should pop right off. Once the covers have been removed, unbolt all four bolts.
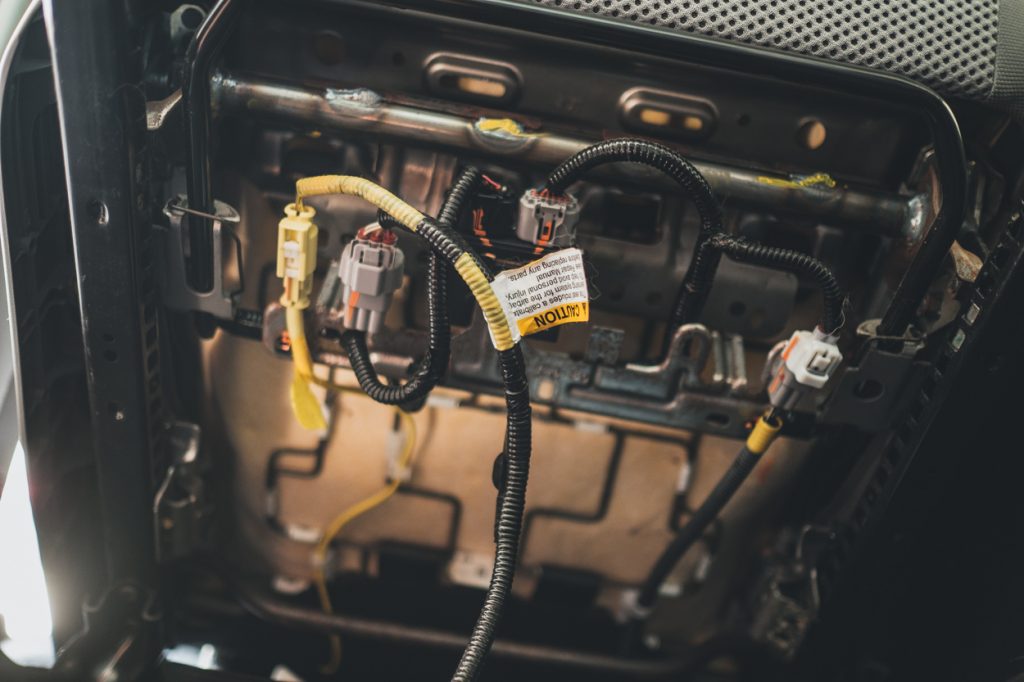
Once you have removed all bolts, you will want to tilt the seat back so you have access to underneath. You will then need to unplug the connections on the harness going to the floorboard.
Now you can remove the seat from the cab. I found it best to take off the headrest and just pull the seat out the door, keeping the seat in the upright position.
Note: The leather covers will be a bit easier to install in warmer climates. This is because the material will stretch more when it’s hot. Take that into consideration when planning when and where you’ll do the install.
Step 2. Unboxing

When you open up your box, you’ll find your covers packed well with packing paper. You’ll also receive a checklist, instruction manual, and a bag with some hooks and a helper tool.
Within the box should be:
- Seat cushion covers (x2)
- Backrest covers (x2)
- Headrest covers (x2)
- Armrest cover
Each number next to the cushion name corresponds to the number on the tag of the covers. Double-check to make sure you have all seven pieces. Both seat cushions and backrest covers are side specific.
Step 3. Install Seat Cover

Let’s start with the seat cushion.
You will first need to unclip the rear flap behind the backrest.

Located underneath the seat you will find 2 white clips that hold the flap in place; remove these and hook them to the seat pocket to keep it out of the way.

Then remove the plastic cover on the opposite side of the seat belt buckle. There will be a Phillips head screw on the backside that will need to be removed.
The plastic panel is also held on by a clip that is roughly in the middle of the panel. Carefully pull the panel to not break the clip.
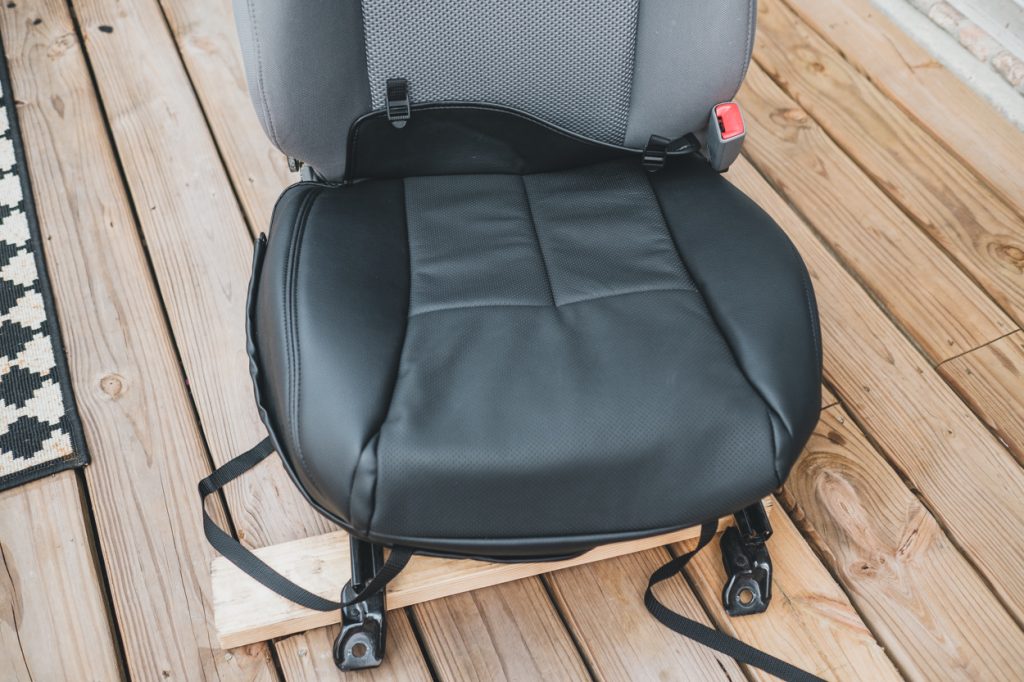
Out of the box, the seat cushions will have 2 straps that are attached. Unstrap these and place the cover on top of the cushion.
To clarify, you’ll be installing these new covers over the factory ones, you will not need to strip the seats down to the bare cushions. Align the cover the best you can and push the flap with the buckles in between the cushion and backrest.

At this point, you will buckle the straps together under the seat making sure not to bind any wires.

The seat cushion cover will also have a string that will need to be tightened and tied behind the seat.
Both ends will be looped so you will need to untie only one end, stringing the untied end through the loop as seen above.

Pull the string until the cover is snug.
Once snug, proceed to tie the string into a knot and tie the excess string into a knot as well.
Step 4. Install Backrest Cover

Before you install the backrest cover, you will want to take everything out of the rear pocket since the cover has one on it.
Roll up the cover halfway up, that way it will be easier to install.
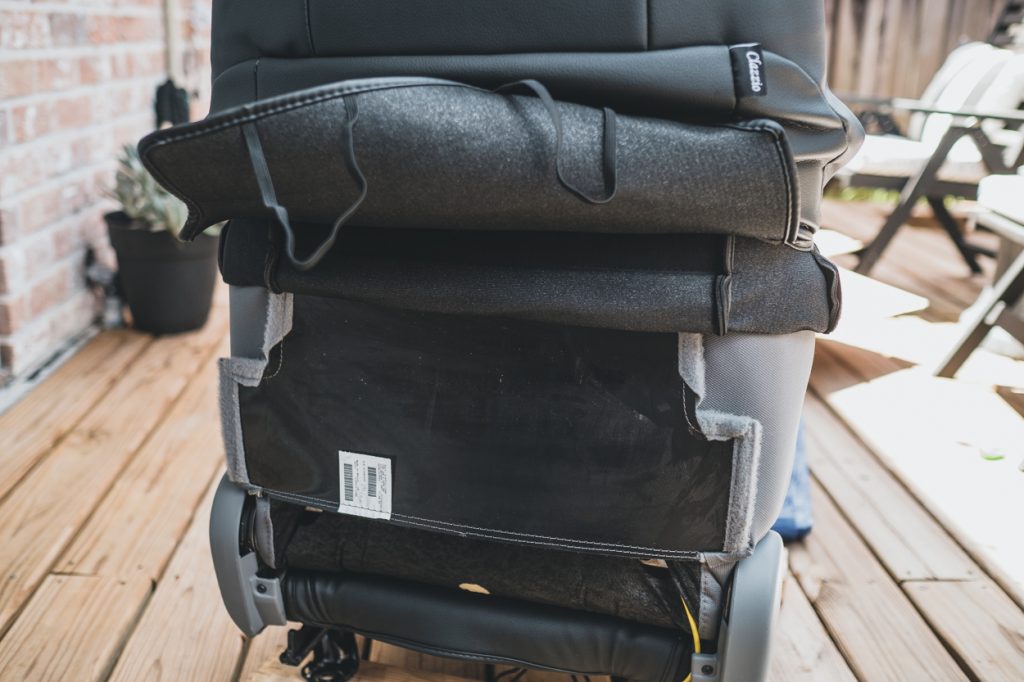
Work the cover down the backrest until the upper half is tight. Make sure the flap is folded up as well. Then unfold the lower half until the cover is fully on.
It’s best to massage the material down making sure you get out all the extra slack. This will make it easier to secure the velcro.

Once you have the cover on, you will then slip the velcro pieces through the seat cushion and backrest.
It will be easier to attach these with the seat upside down.

Fold down the rear flap and attach the s-hooks to the bottom seat frame.

This is where the helper tool will come into place.
Work the fabric around the hole using the helper tool to push the fabric under the plastic mounts for the headrest.
Step 5. Install Headrest Cover
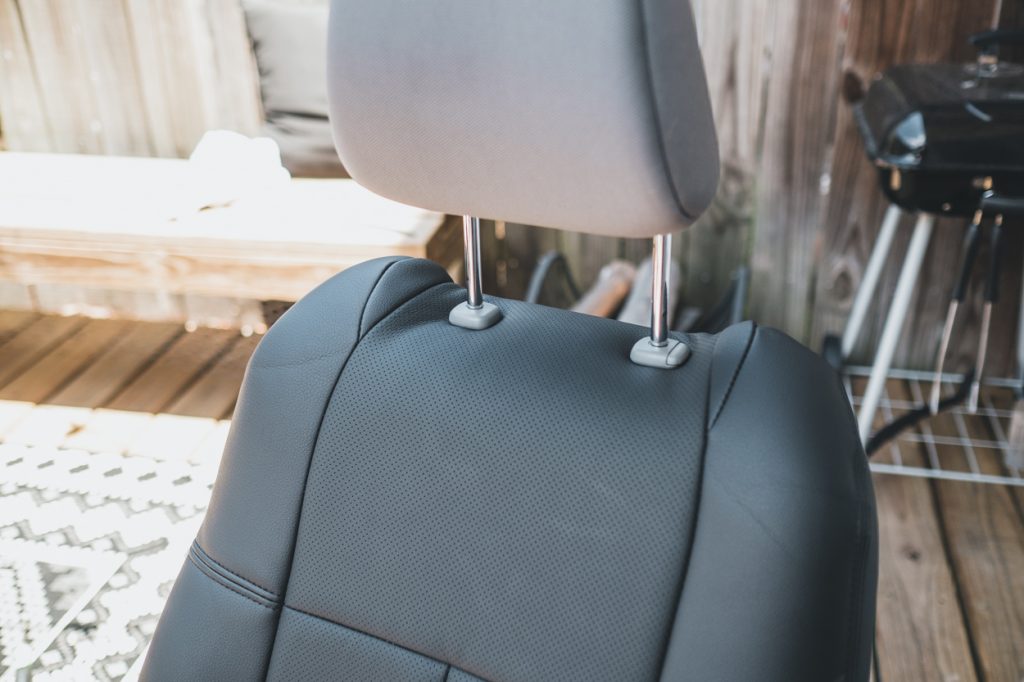
In this step, you can insert the headrest into the backrest so you can start to install the cover.

The orientation of the cover is to have the hook portion behind the headrest.
Installing the cover can be a bit tricky, but if you squeeze the sides of the headrest while you pull the cover down, it’ll be a bit easier.

Once you have the cover on, remove the headrest and turn it upside down.
The way you attach the hook is to slide the non-hooked side and place it inside the hook itself. It should look like as seen above.
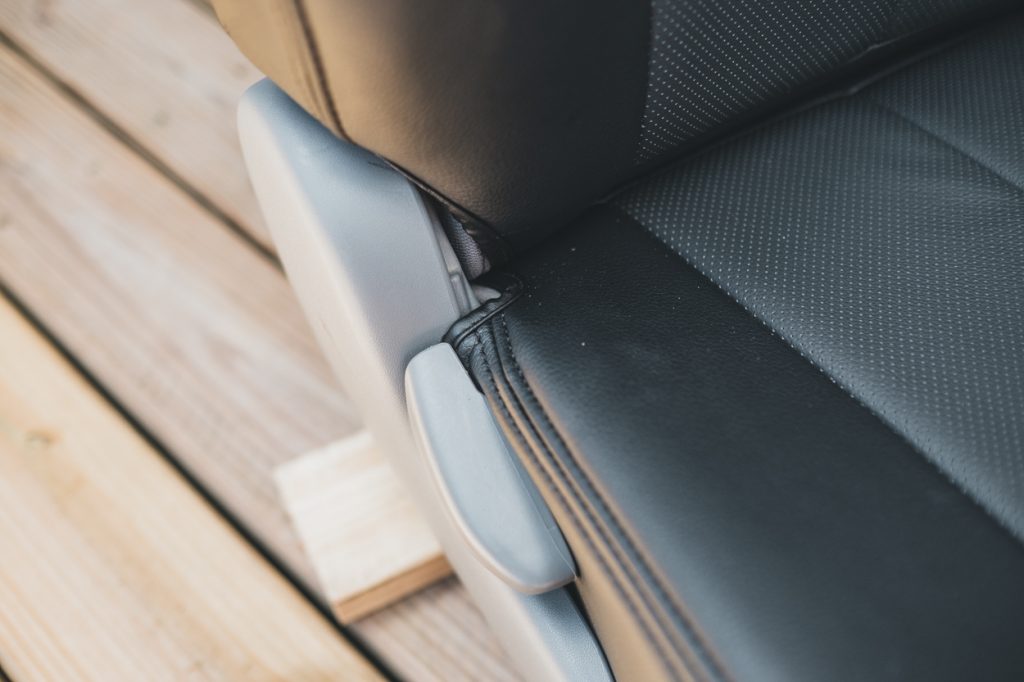
That’s it!
At this point, if you don’t like the fitment of the cover, now’s the time to make any last-minute adjustments before installing the seat back into your Tacoma. Once completed, refer back to Step 1 to reinstall the seats.
Final Thoughts
After getting some seat time with the covers installed, I don’t know why I didn’t do this sooner.
The look and fitment of the Clazzio leather seat covers are great! It makes the interior feel more updated and gets rid of those cloth gray-colored factory seats. The covers also add a little extra cushion, so they feel more comfortable as well.
Now I no longer need to worry about spilling food or getting the seats dirty when I’m out on those muddy trails!

