
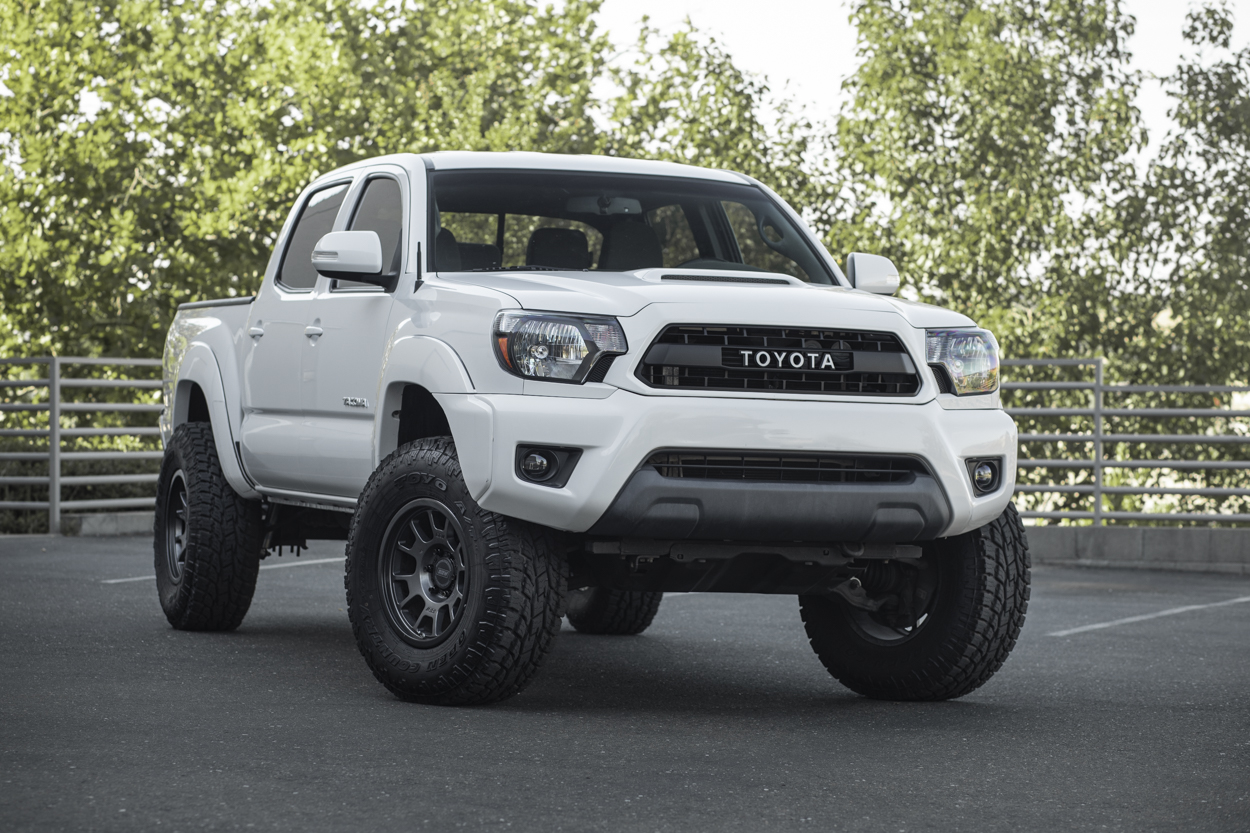
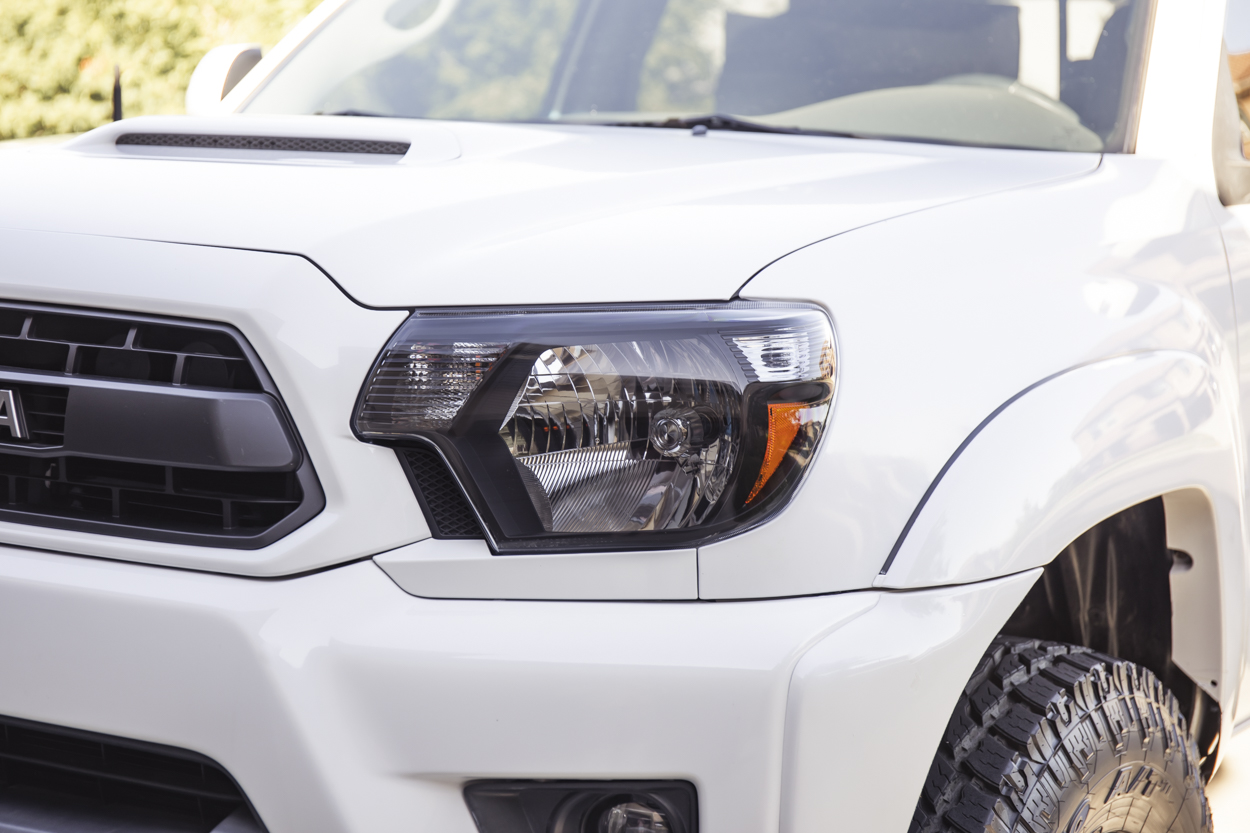
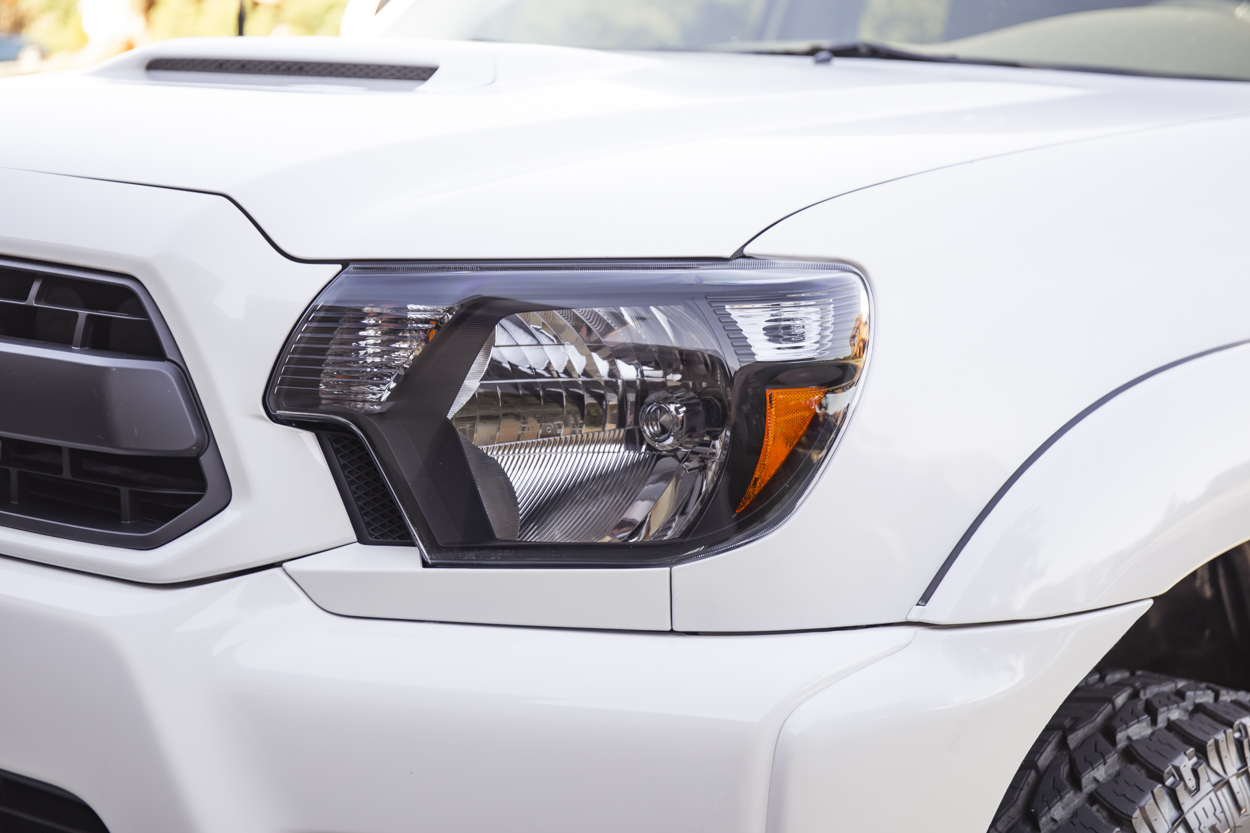
The factory headlight housings are pretty basic. The lighting is basic, the actual plastics surrounding the reflector bowl are basic and finally, the turn signals and daytime running lights are also pretty basic.
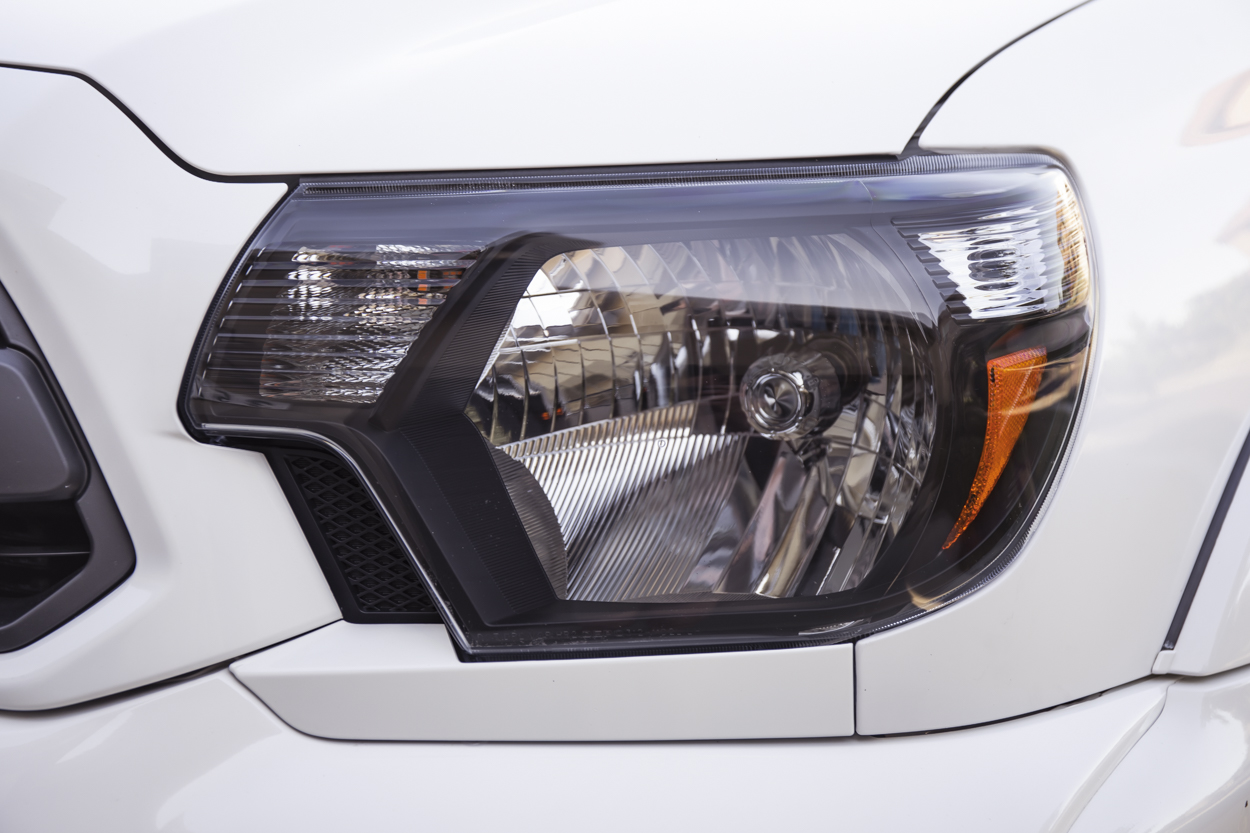
We decided to upgrade to set of blacked-out DEPO housings from USR.
Find it online:
- USR Blacked Out Headlights (2012-2015): ** Discontinued **
- Alternative Product (AlphaRex Pro Series): Check Price
Table Of Contents
Bulbs

The bulbs that come with the kit are a 5000k color, however, they do have a tint of blue around the filament. That tint of blue does not translate into a “blue” light output, though. The reflector bowl does show a tint of blue when the lights are off but again, the output is not affected and does remain true to it’s 5000K color (really strange). Regardless of the color output, it’s still a halogen bulb, and we are going to eventually swap in an LED H4 bulb.
Tools & Materials
- Ratcheting Wrench
- 10mm Socket
- 8mm Socket
- Drill Driver
- Metric Sockets
- Plastic Pry Tools
- Flathead Screwdrivers
- Pliers
Step 1. Remove 10mm Bolts
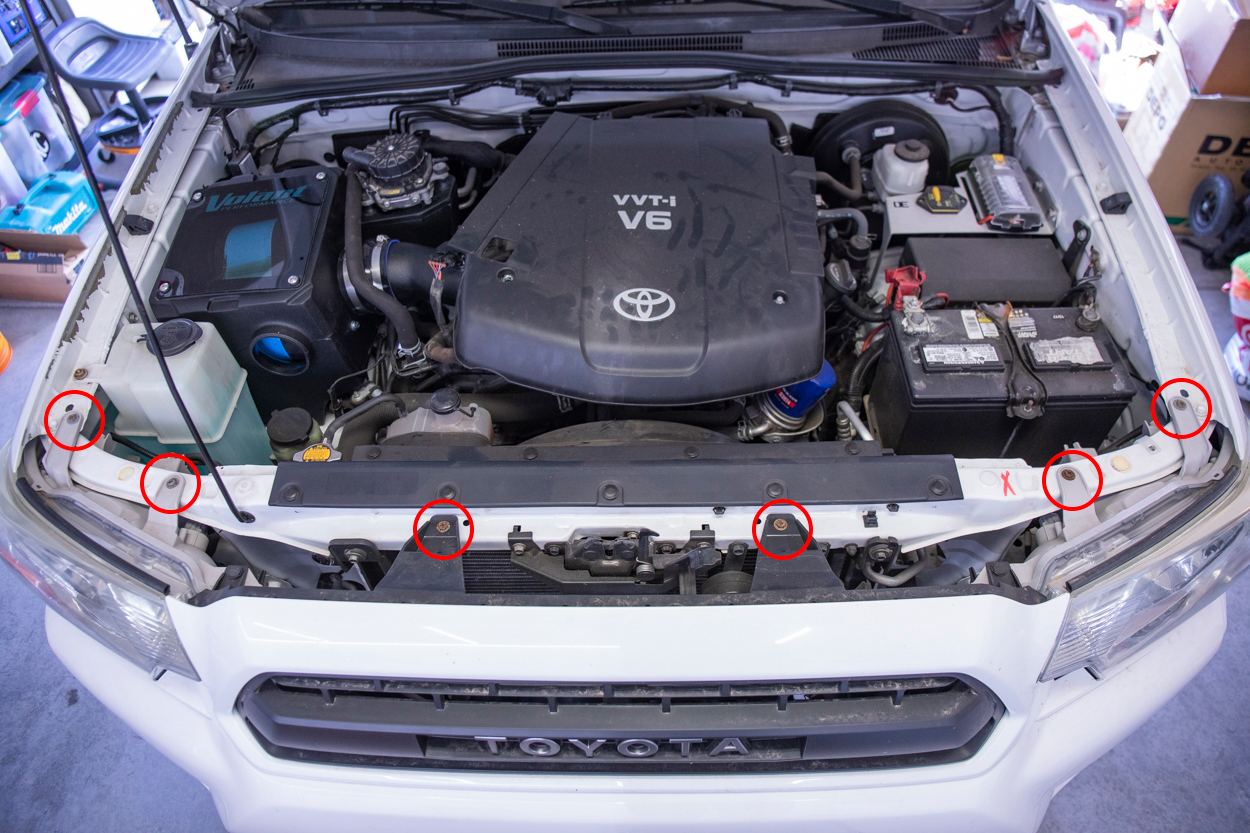
Remove the two center 10mm bolts and the four outside 10mm bolts.
Step 2. Plastic Push Clips
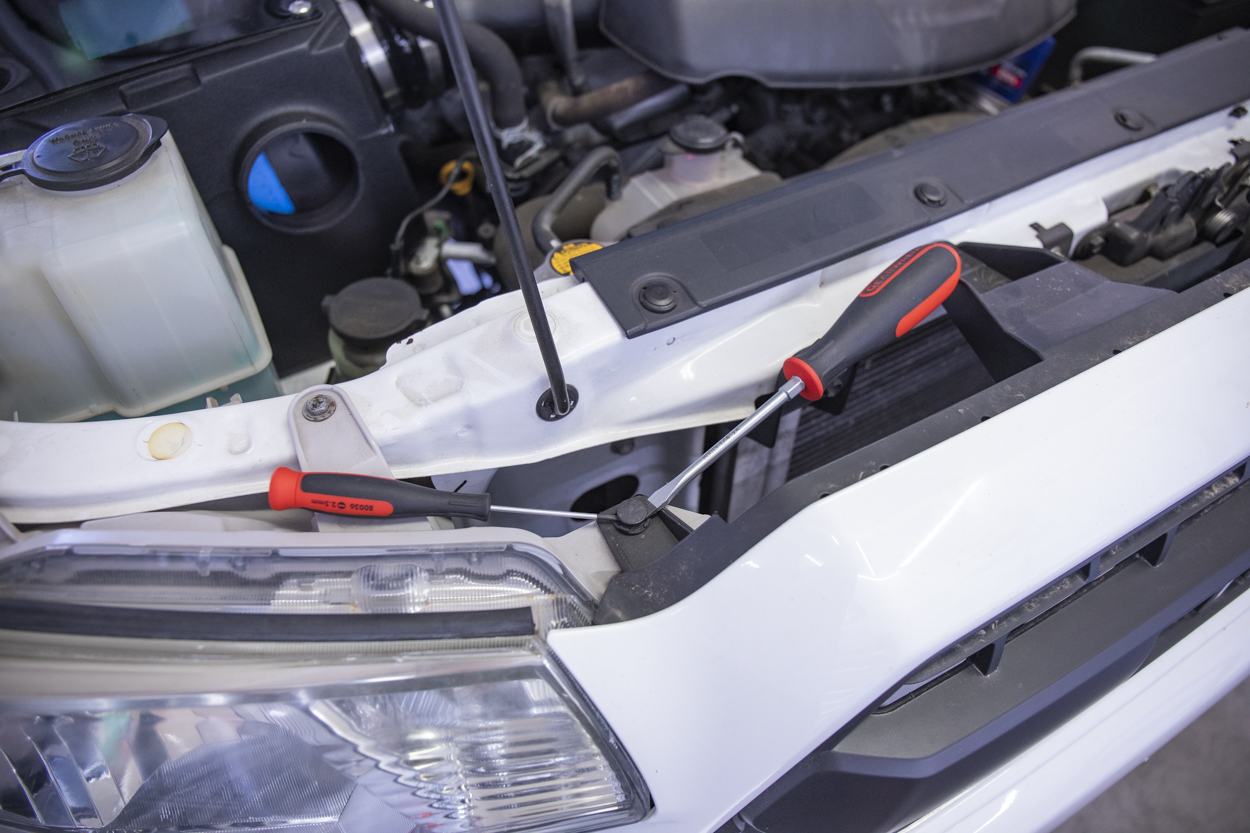
Using two screwdrivers pop the plastic tabs holding the front grille on.
Step 3. Unclip Grille
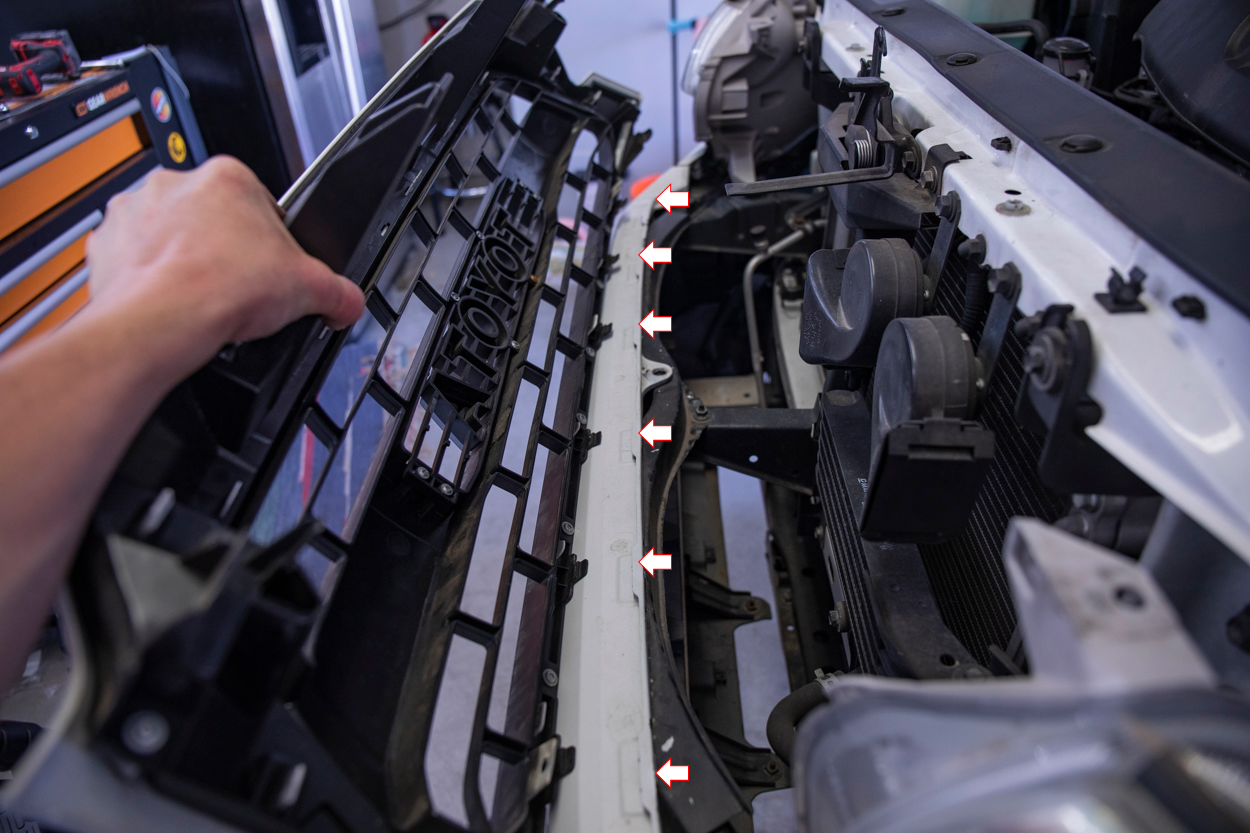
There are seven tabs pushed and clipped into place holding the grille on securely. This may be an uneasy feeling when pulling the grille off as the plastic components will pull tightly against each other, giving you the impression that something’s going to break. Take your time and pop each tab off and out gently.
Step 4. Unclip Lower Garnish
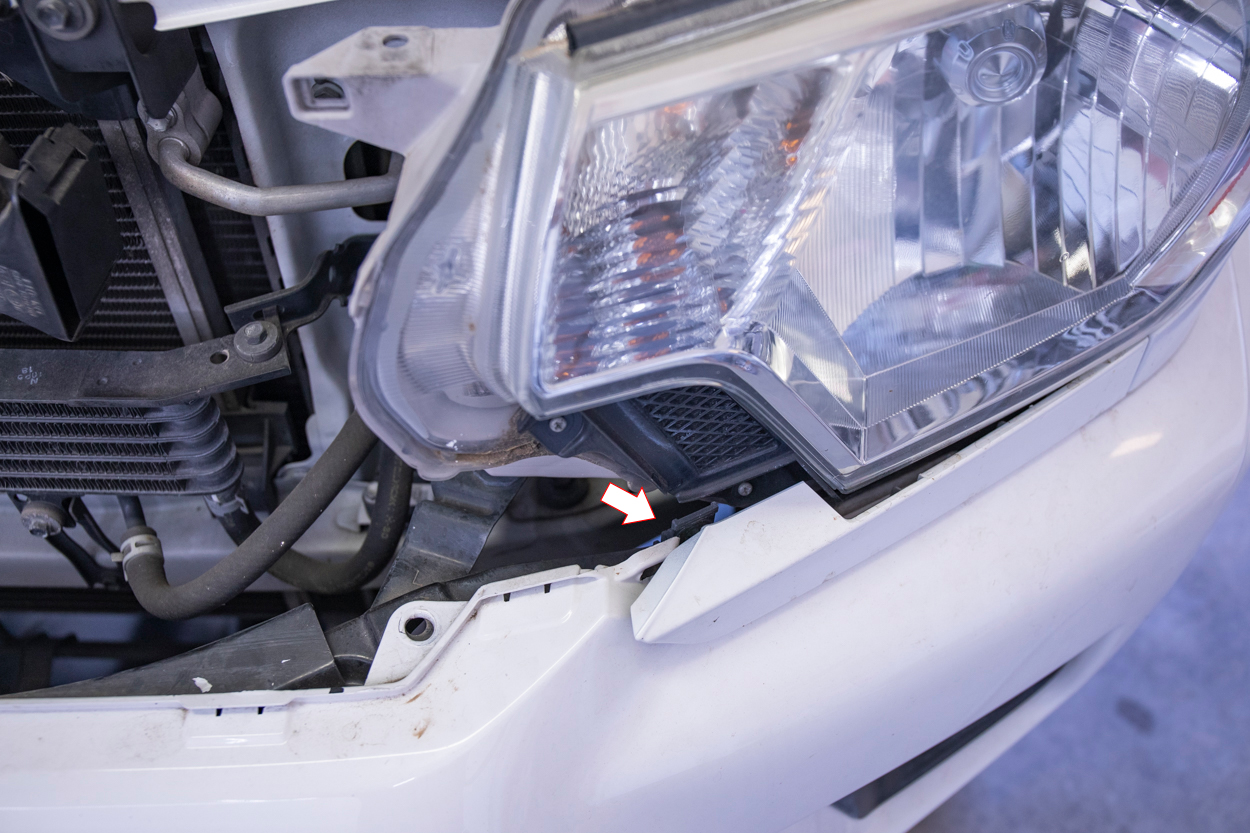
Unclip the bottom garnish by unclipping the tab from the inside.
Step 5. Lower Garnish Inside Clip
Using a flat-head screwdriver or plastic pry tool, press against the tab at the arrow indicator above in order to finally release the lower garnish. This is an image with the lower head garnish off but gives you a clear picture of what the tab looks like on the inside.
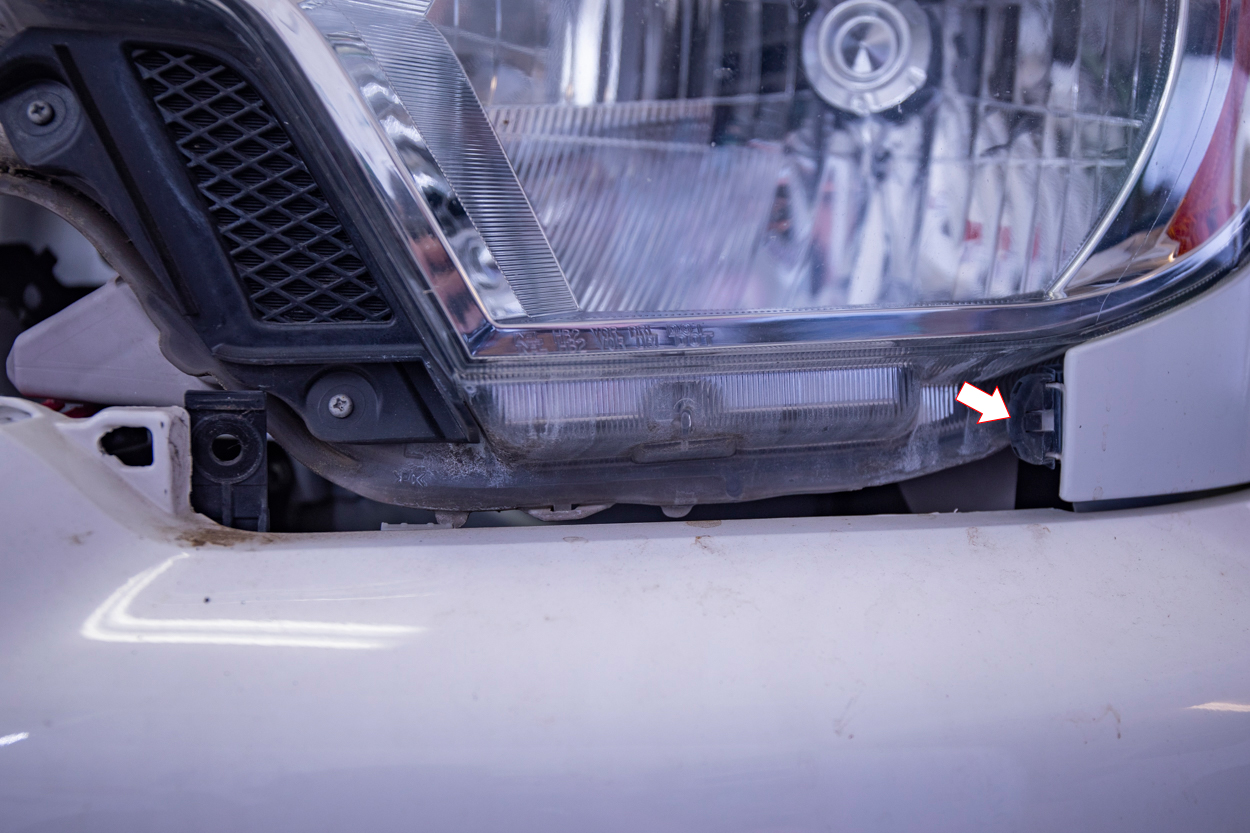
Step 6. Unclip Wire Harnesses
Disconnect all your wiring harnesses from the back end of the housing.
Step 7. Lower Housing Mount
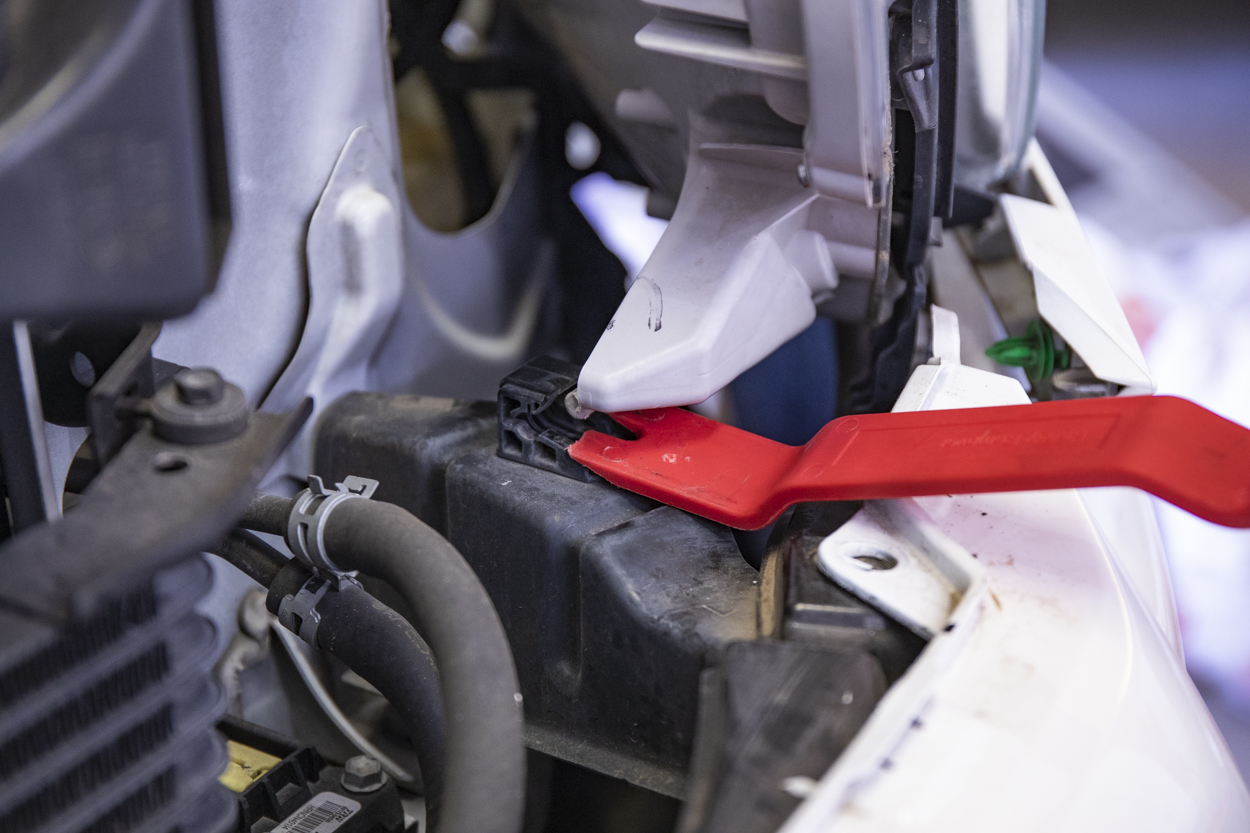
Using a dual-prong plastic pry tool unclip the lower inner mount point. This may take a bit of effort in pushing the release tab down while pulling a headlight out.
Step 8. Bumper Side Clip & 10mm Bolts
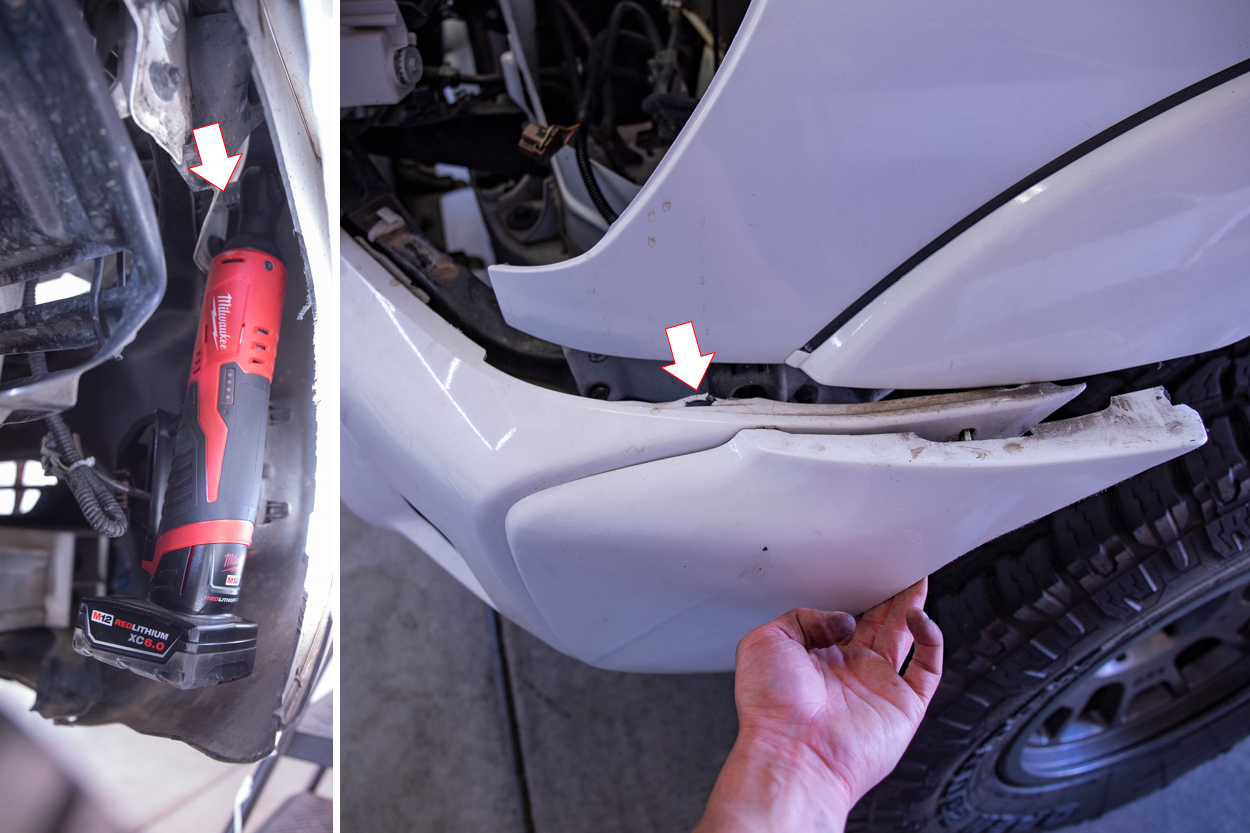
On the inside of the bumper, you want to remove two 10mm bolts holding the bumper and the bumper flare on. Pictured on the left you will see one of the 10mm bolts holding the main bumper on. The other bolt is directly underneath the fender. You only need to slightly pull out the bumper in order to fully remove the headlight from its position inside the engine bay.
Step 9. Remove Housing

Now you can remove a headlight.
Step 10. USR Housings
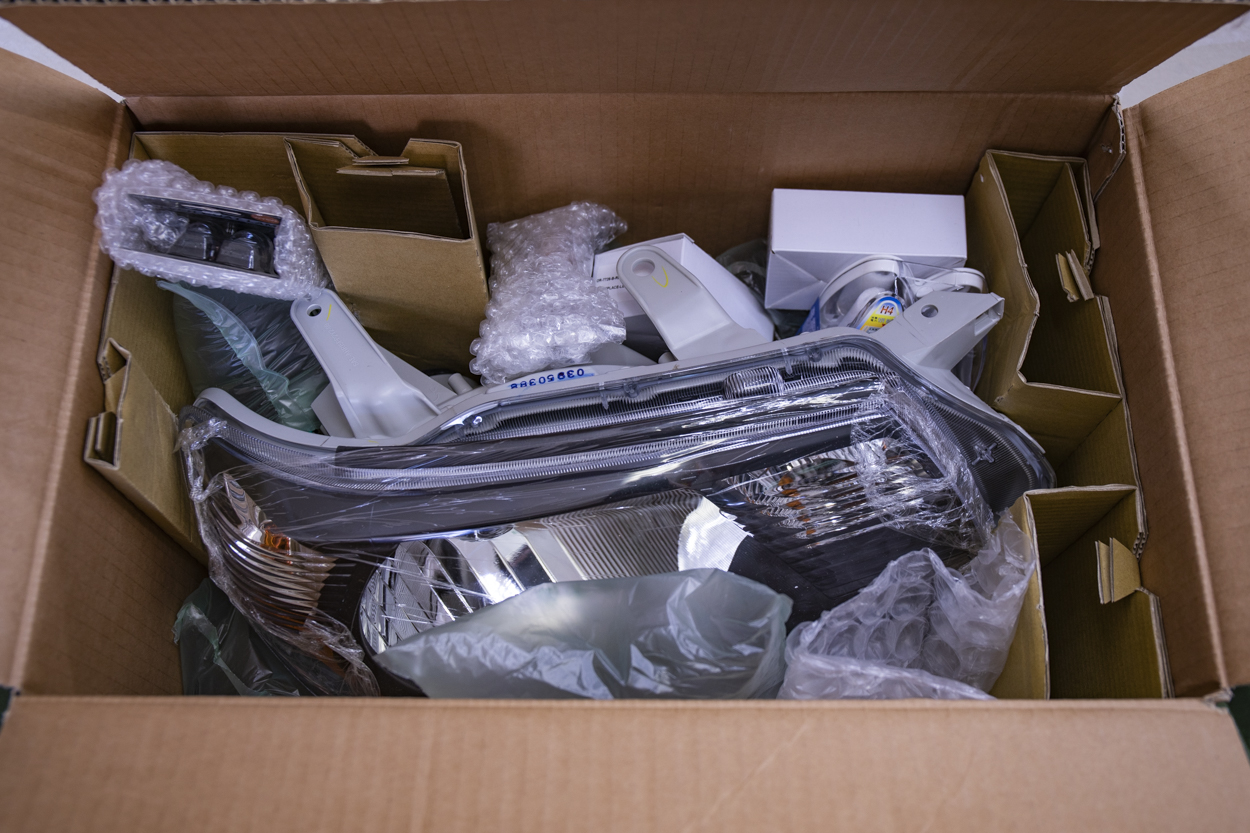
This is how your DEPO housings will ship from USR. As you can tell, everything is packed incredibly clean and tight. This is also after we have pulled out some of the shipping material.
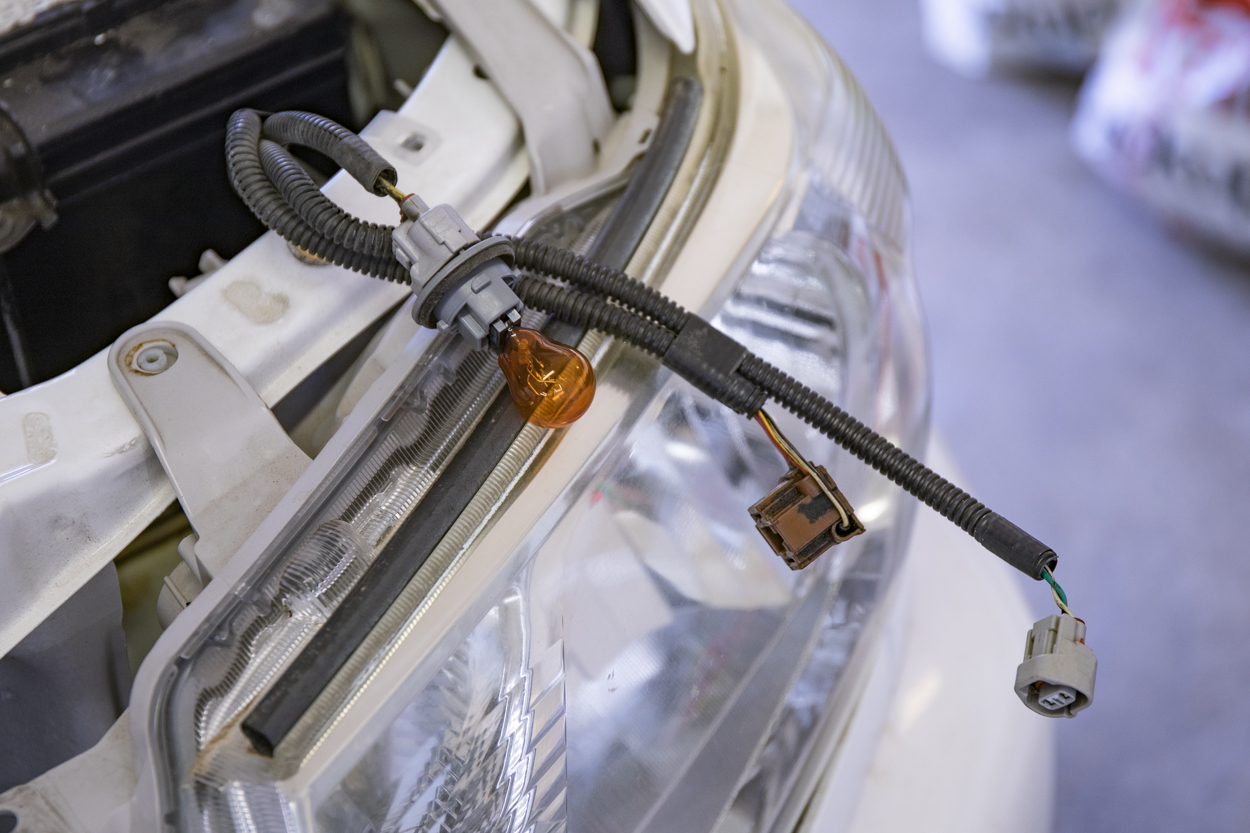
Step 11. USR H4 Bulbs
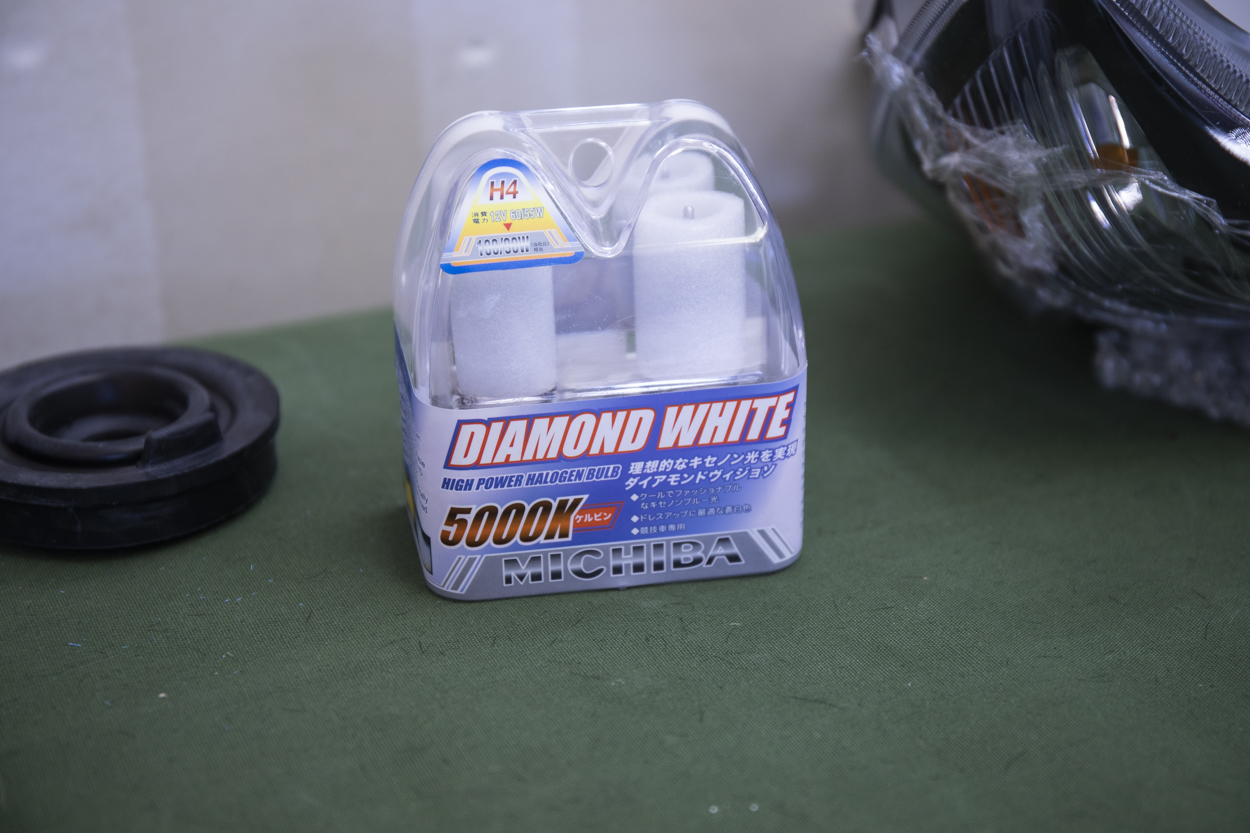
We are a little bit disappointed when we found out that USR ships their headlights with halogen bulbs, but nonetheless, these halogen bulbs are much brighter than the factory halogen bulbs. We will eventually be swapping in our own LED H4 bulbs.
Step 12. Installing H4 Bulbs

Installing the H4 bulbs is pretty simple. Just remove the clip pin on the back side holding it into place, swap the new bulb and then reset the clip pin.
Step 13. Testing Bulbs
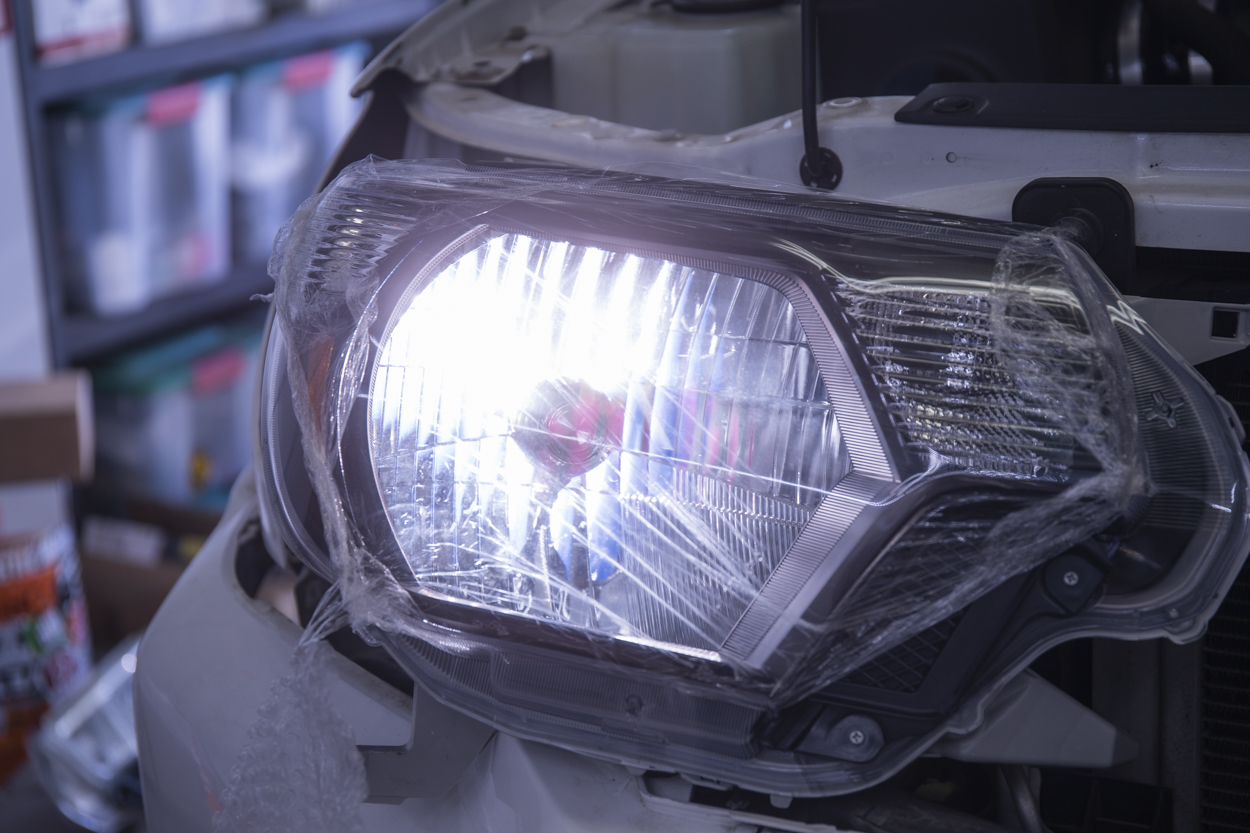
It’s always a good idea to test before you reinstall all your parts.
Step 14. Install 3157 LED Bulbs
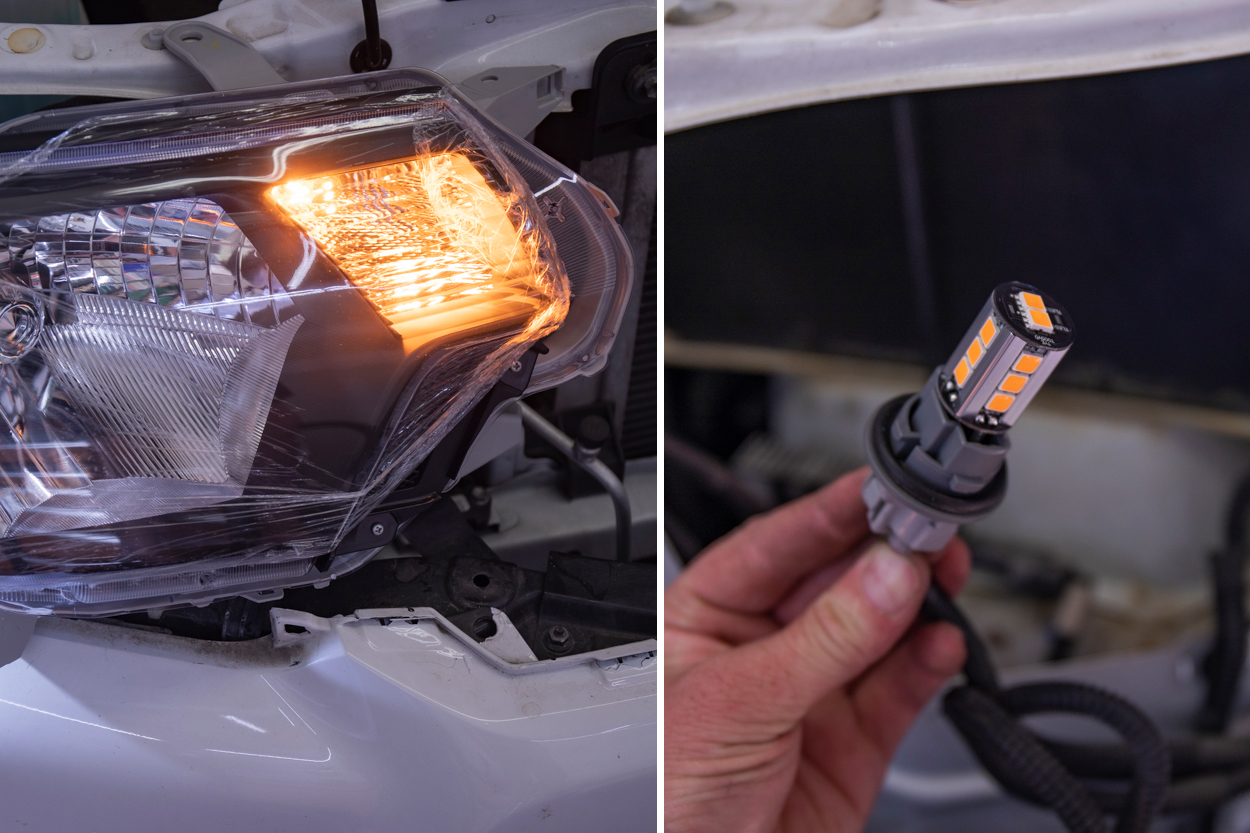
Plug in your new LED turn signals.
Step 15. Place Dust Seal

Once you have everything tested and you have confirmed that all your lights are working oh, go ahead and place your dust seal on the backside of your H4 bulb housing.
Step 16. Reinstall All Parts
You can reinstall all your parts according to exactly how you took them off.
Final Thoughts
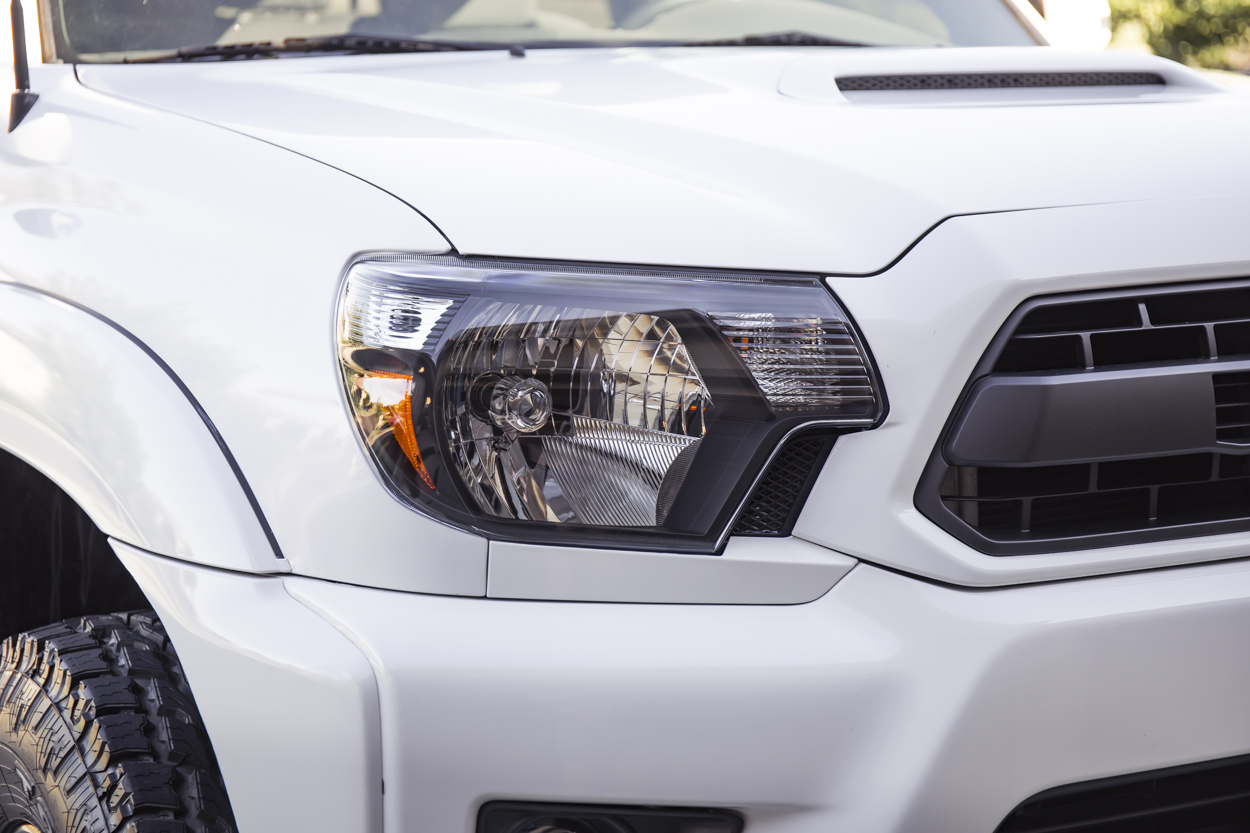
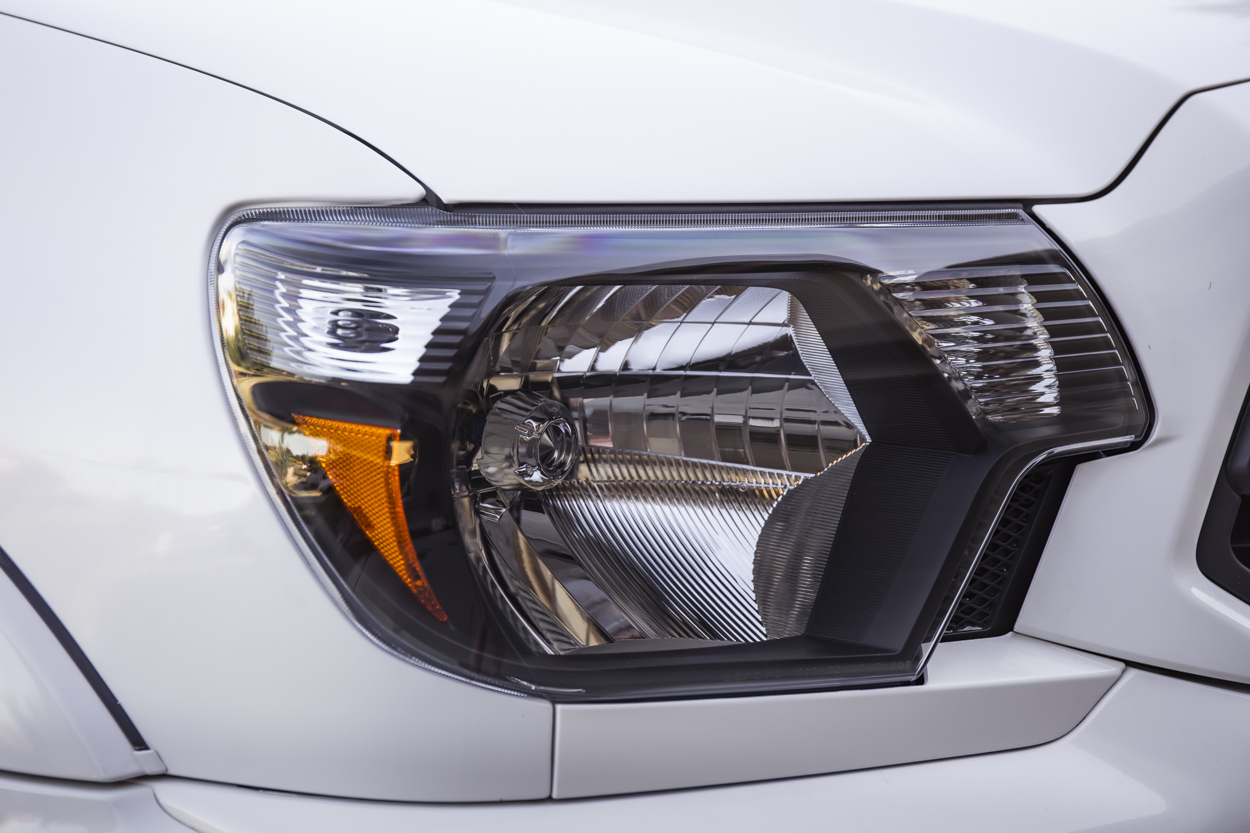
These look way better than the factory ones. The blacked-out look adds a better aesthetic over the stock housing.
Being that we have a 2013, we were starting to get a little bit of oxidation around our housings which over time gets worse and worse preventing correct and efficient light output.
Upgrading to a new set eliminates oxidation and provides a crisp clean blacked-out look.
The only downside of these housings is that they come shipped with halogen bulbs, however, you can simply swap those out with your bulb of choice on Amazon.
Detail Photos
Hello there, I’m just curious if you know any other place to get those depo headlights. It looks like USR has been out of them for a while
Hows the cutoff with the leds? I have always read that our headlight housings aren’t made for leds.
Did you experience the hyperblink with the LED turn signals or do they have built in resistors? Also do they work if you have Daytime Running Lights?
No hyper flashing on these at all. They do have built-in resistors. The DRLs work as well yeah.
Ok thanks.