
If you’re looking for a slick-looking set of ditch lights with maximum brightness over a wider area than typical kits, ZROADZ four, 3-inch LED pods kit with ditch brackets is your best bet.
Ditch lights are one of the easiest and most practical mods for adding accessory lighting. Although they come in a small package, they add big visibility on the trails.
Find It Online
- ZROADZ Dual Ditch Light Kit (2005-2023): Check Price
Table Of Contents
Specifications
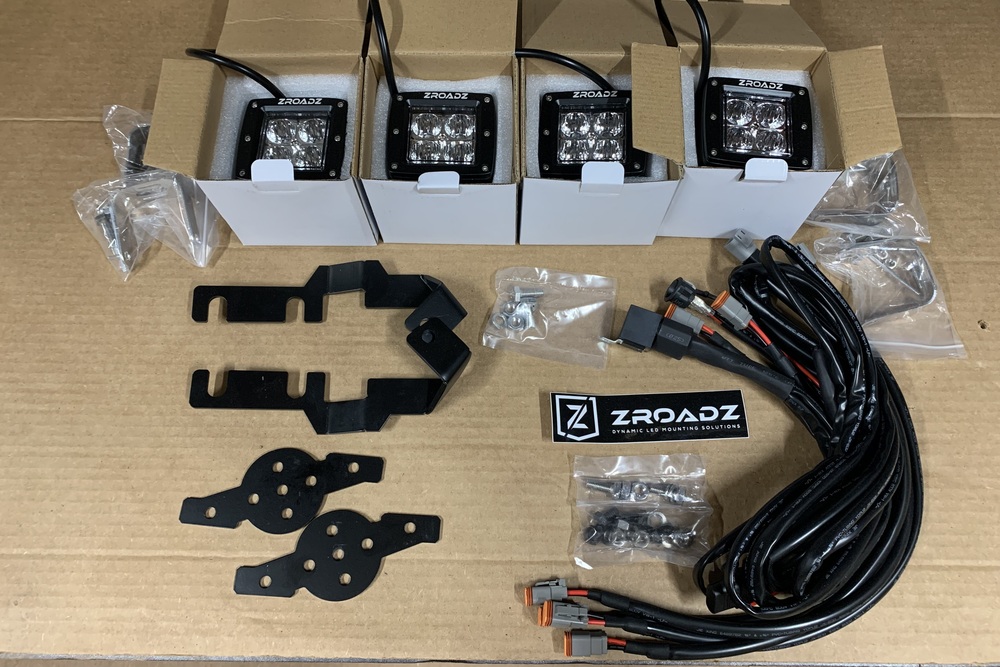
- 1712 lumens of output
- Flood beam
- IP68 and IP69K protection rating
- 50,000-hour life span
- Mild steel with powder coated gloss finish
- Wiring harness with relay
- Lifetime product warranty
- Made in the USA
Tools and Materials
- Socket Set
- 10mm and 12mm wrenches
- Allen Wrenches (included)
- Zip ties
Installation
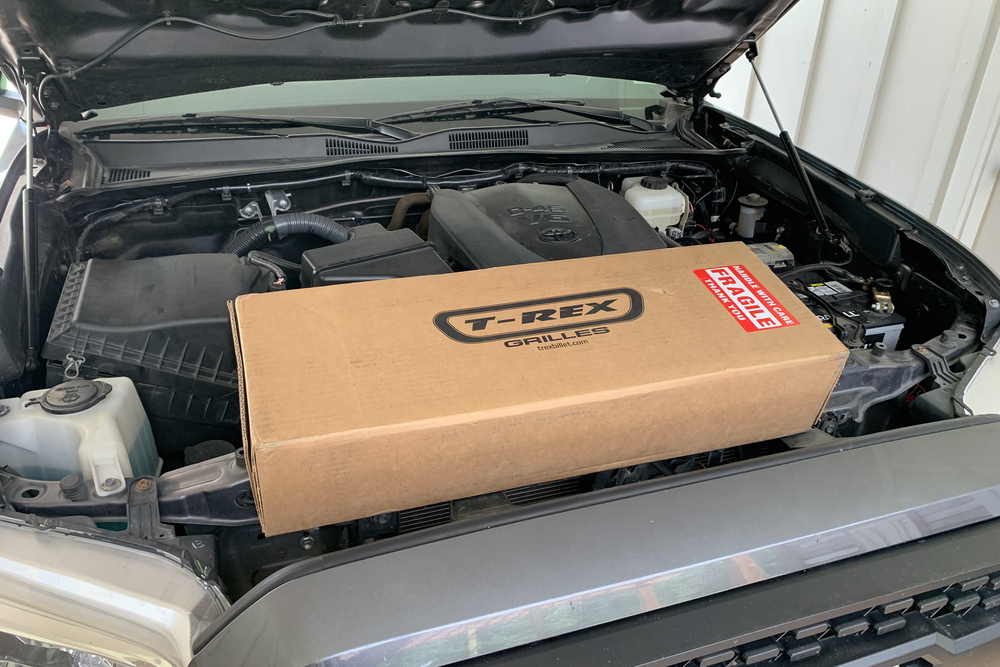
The installation process for these lights is relatively easy.
Even if you’ve never installed anything like this, ZROADZ makes it super easy by including absolutely everything you need.
Step 1. Light Assembly
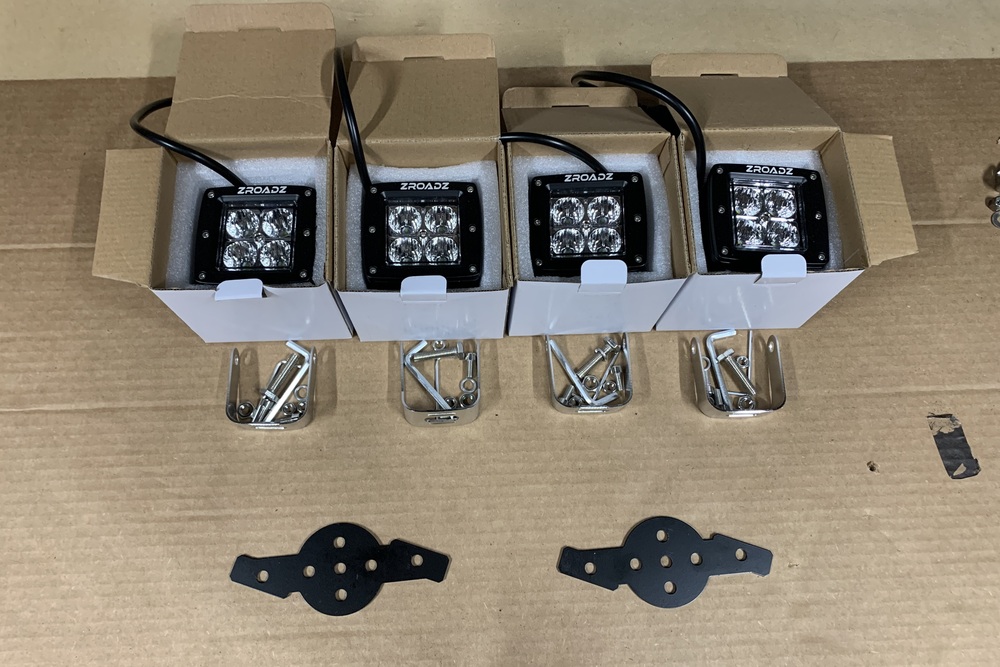
First, locate the four lights and accompanying stainless bracket hardware.
Each light comes individually packaged with its own tools, bracket, and hardware. Keep all of this separate during the install process.
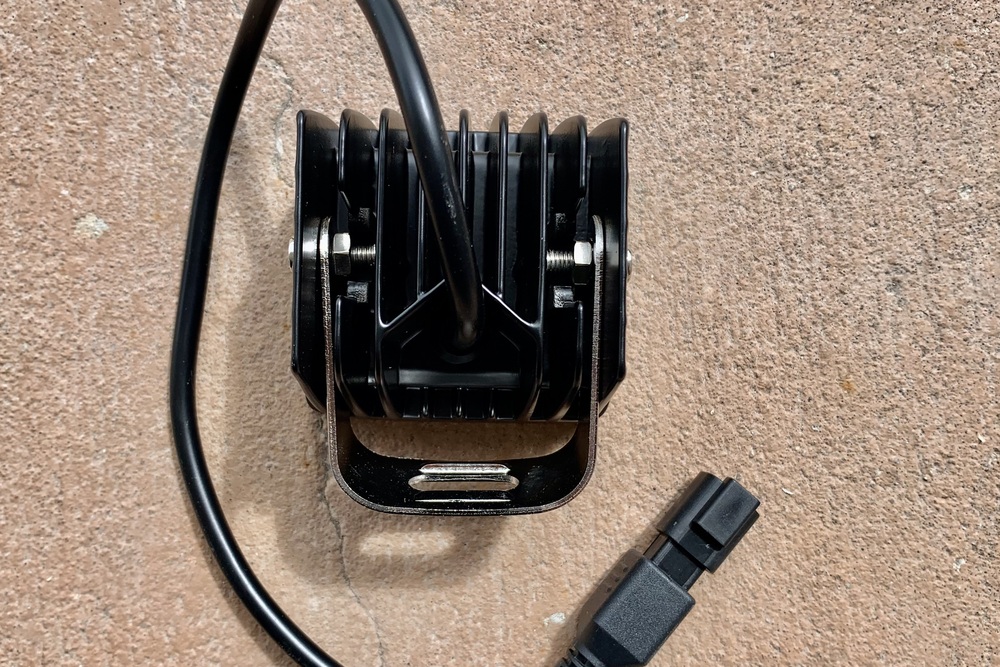
Next, assemble each light bracket with the supplied Allen wrenches.
Don’t tighten down the brackets just yet, as you’ll need to adjust the light angle once installed on your truck.
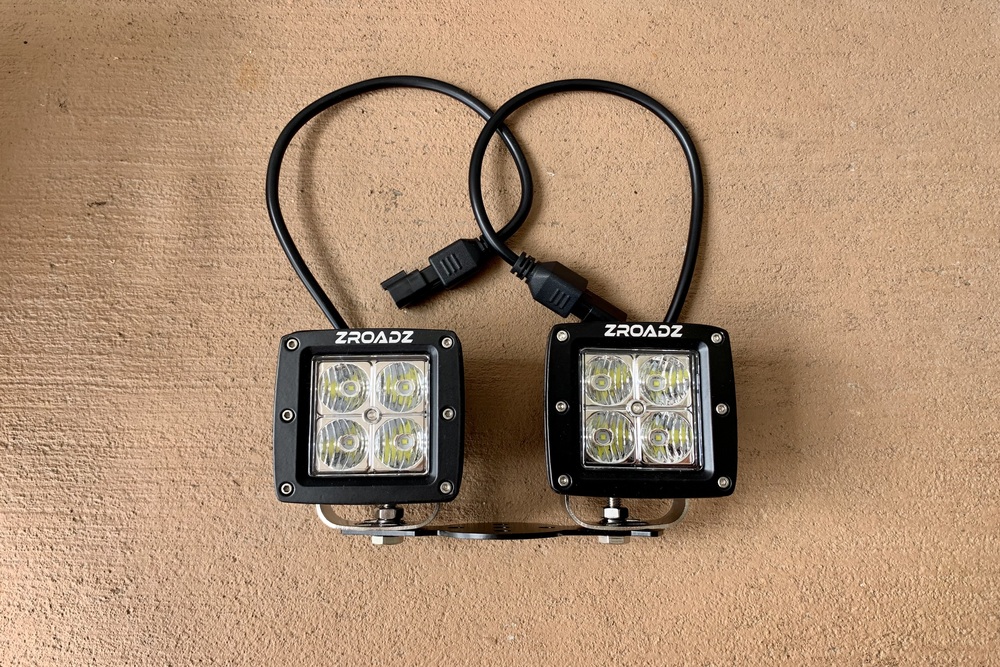
Once each light bracket is installed, you’ll need to mount the light assemblies onto the mounting brackets (black powder-coated discs with wings shown above).
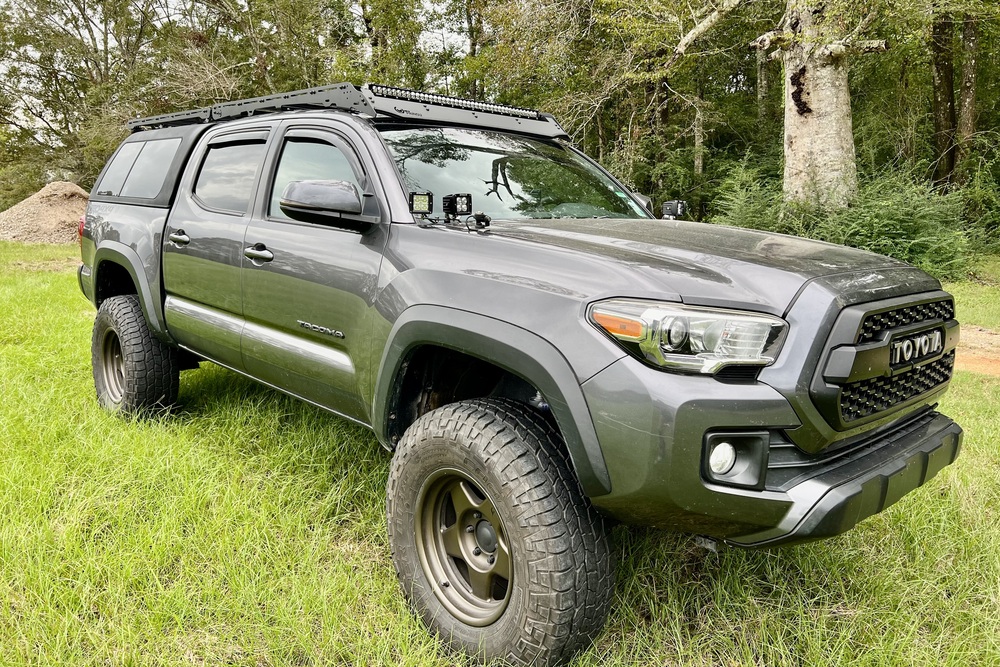
You have many predrilled holes for mounting locations. I found that mounting on the extreme edge slots was necessary for proper fit when opening my hood. Below, in the following steps, you can see the finished product.
Step 2. Hood Ditch Light Bracket Installation
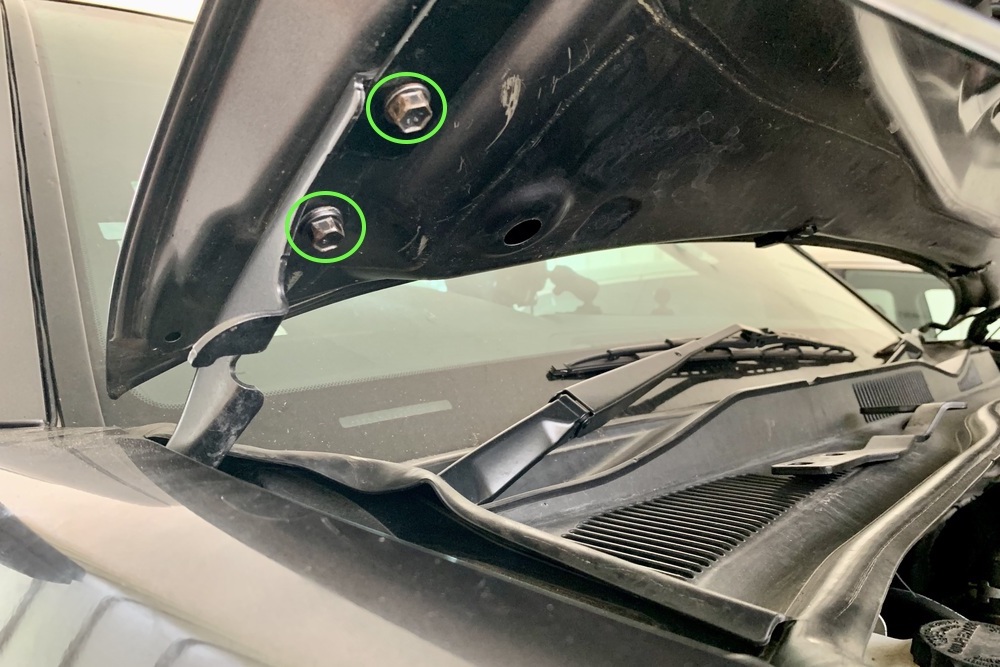
Now you need to install the hood hinge brackets. Use the 12mm wrench to remove the two hood bolts.
Only do one side at a time, as these bolts on either side are all that hold the hood in place, and removing both can mess up the alignment. Once off, grab the hood hinge bracket for each specific side, slide it into place, and reinstall the hood bolts.
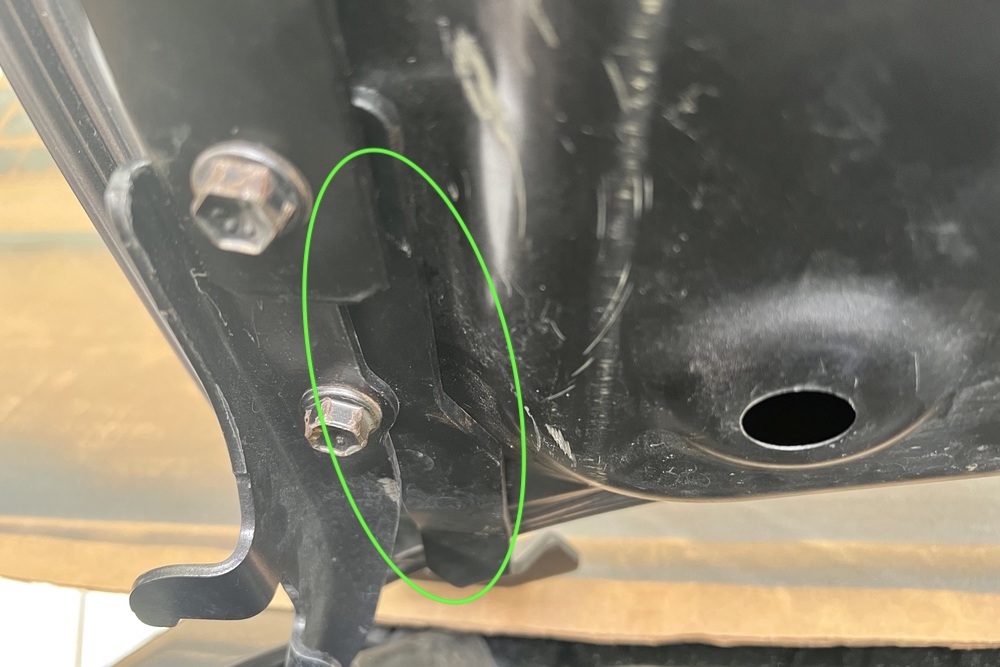
Here’s the finished install for the hood hinge brackets.
They fit pretty flush, so carefully open and close the hood to ensure a smooth fit.
Step 3. Light Mounting & Installation
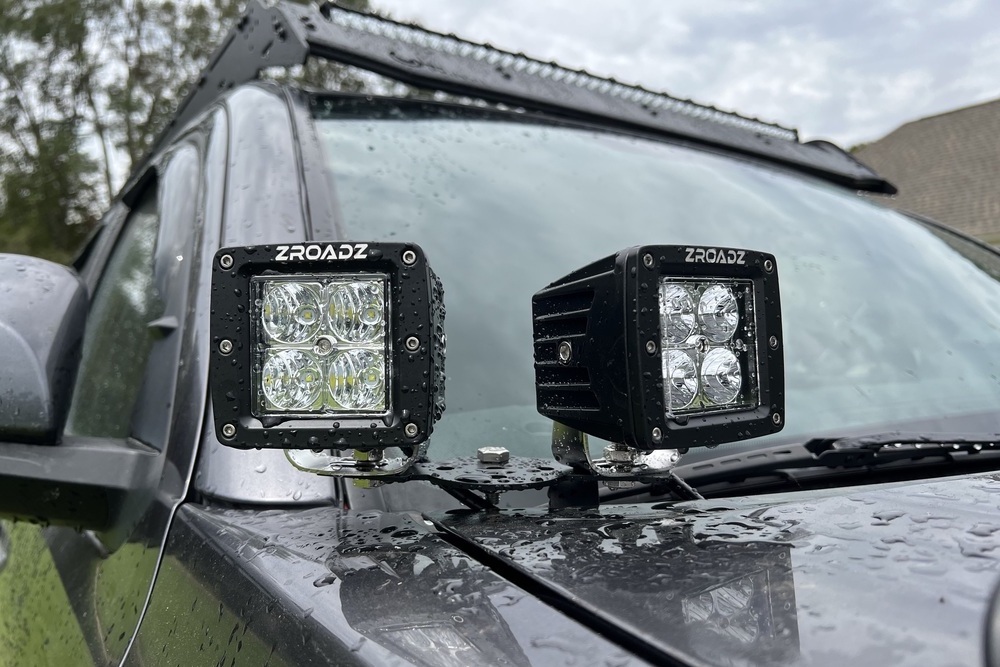
Now it’s time to put those lights on your Taco!
You may have to play with the different predrilled slots to get the right fitment. I pushed the mounting bracket as far forward as possible, for just the right alignment when opening the hood.
Step 4. Wiring LED Pods

Once you get the mounts right, drape the harnesses under the hood and find the harness splitters.
Connect these to the four lights and tuck them out of the way of the hood hinge movement. Be careful not to leave it in a path that’ll get pinched.
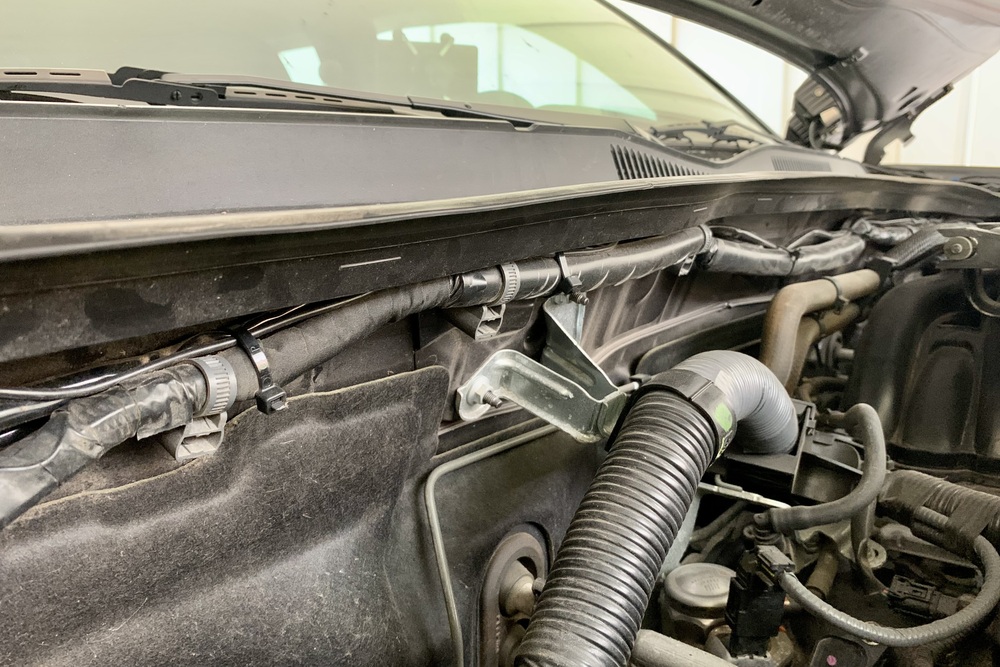
Next, connect these plugs to the main wiring harness and begin neatly running and tucking the main harness along the upper firewall side of the engine bay.
You can see above where I tucked mine, above and behind a factory wiring harness. Use zip ties to secure the wiring.
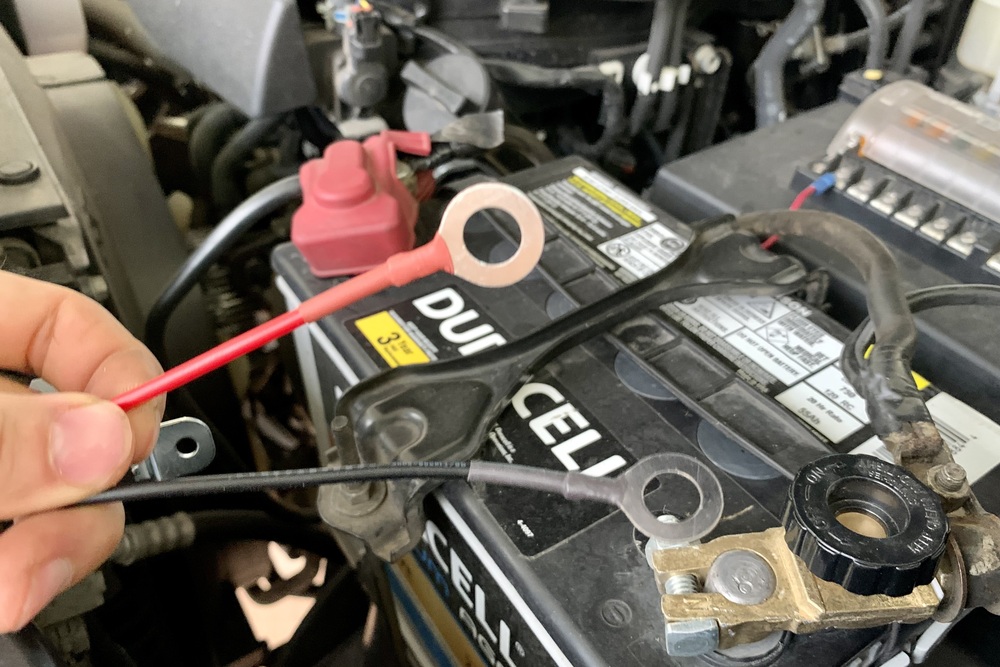
For connecting to the battery, you have two options.
For the first, you can connect straight to the terminals. This is recommended if your rig doesn’t have many accessories connected to the battery.
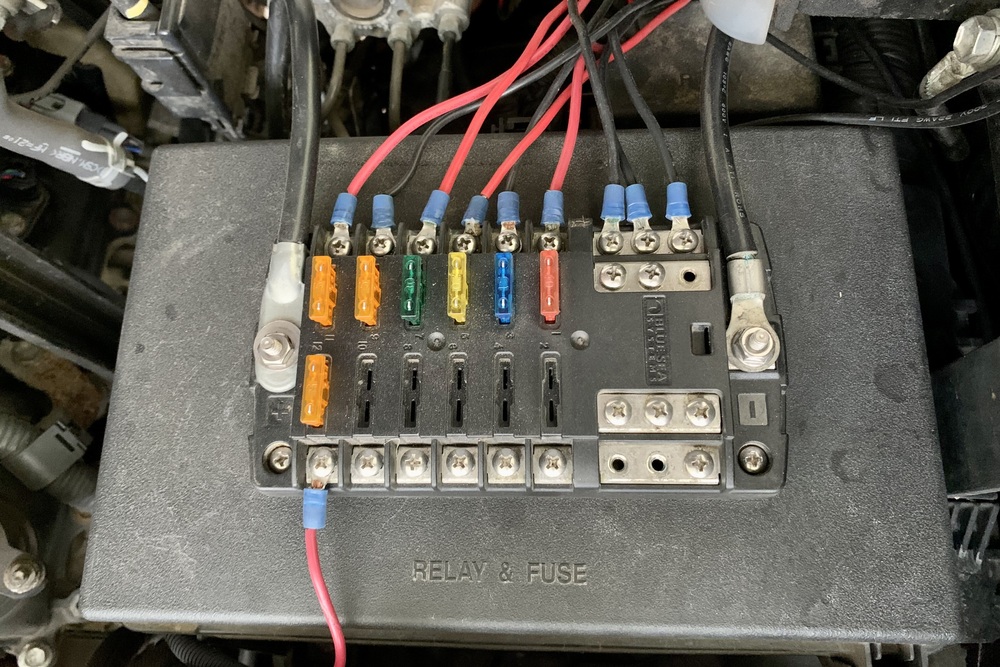
Another option is to use an auxiliary fuse/breaker box like the one shown above.
If you go this route, you’ll need a few extra tools like a wire stripper and some crimpers. The ZROADZ harness already comes with an in-line fuse, so don’t worry if you don’t have access to a fuse box.
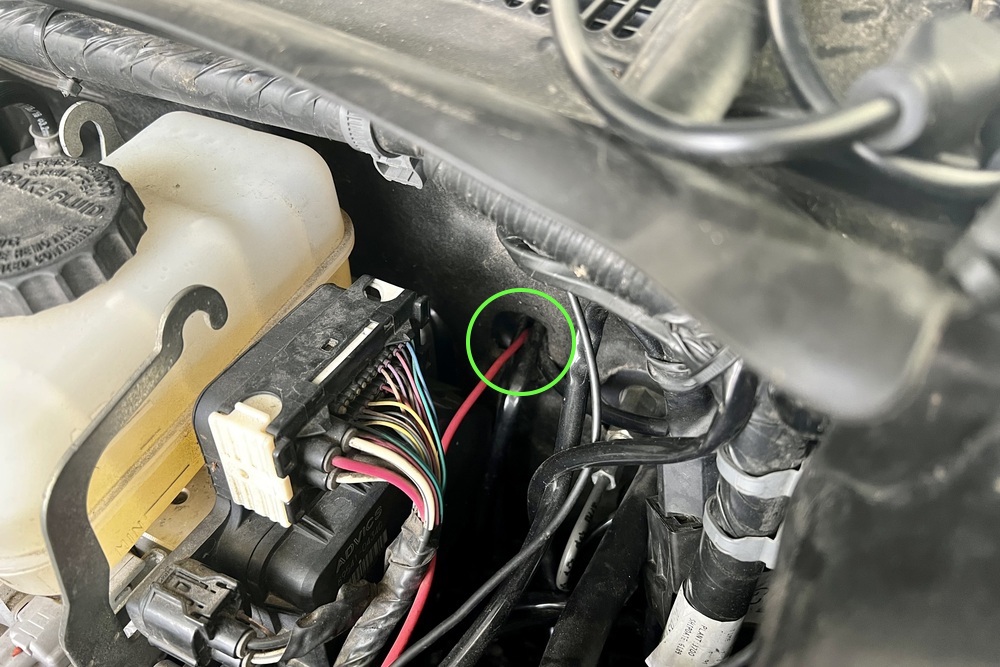
Now the wiring harness that goes to the switch needs to be threaded through the engine firewall into the truck cab. The best place for this is just behind and below the brake fluid reservoir.
Sometimes it helps to feed the wire through using a coat hanger. Just be careful if you have other wires already in this location. You can reach the wires on the cab side by feeling high above and to the left of the brake or clutch pedal.
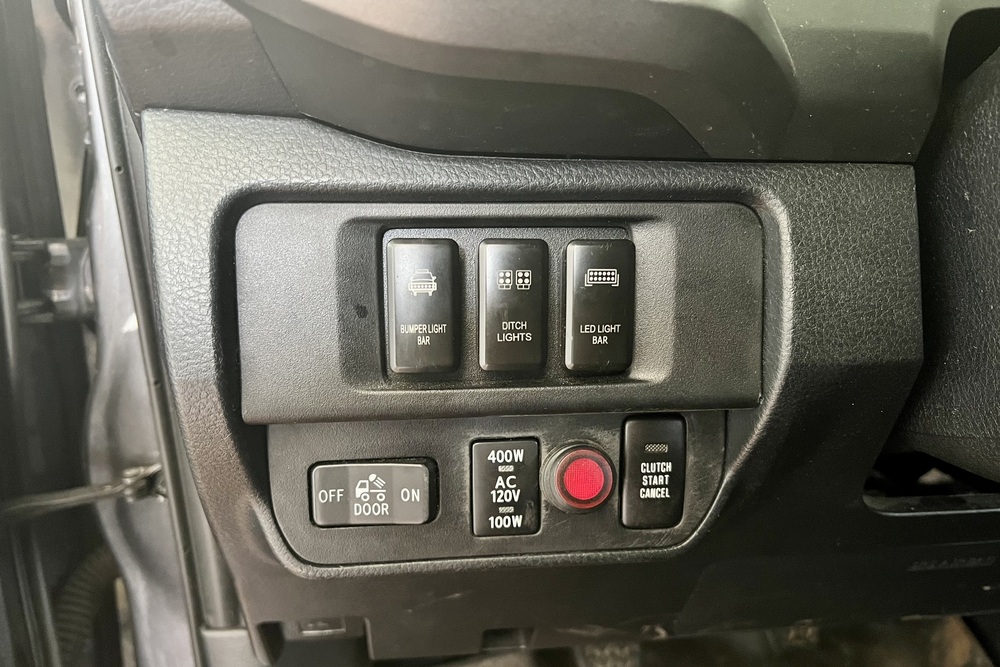
The switch that comes with the ZROADZ harness is the red toggle switch shown above.
If you prefer, you can splice into a more OEM-looking switch like the ones on the top row.
Step 5. Adjust Lights
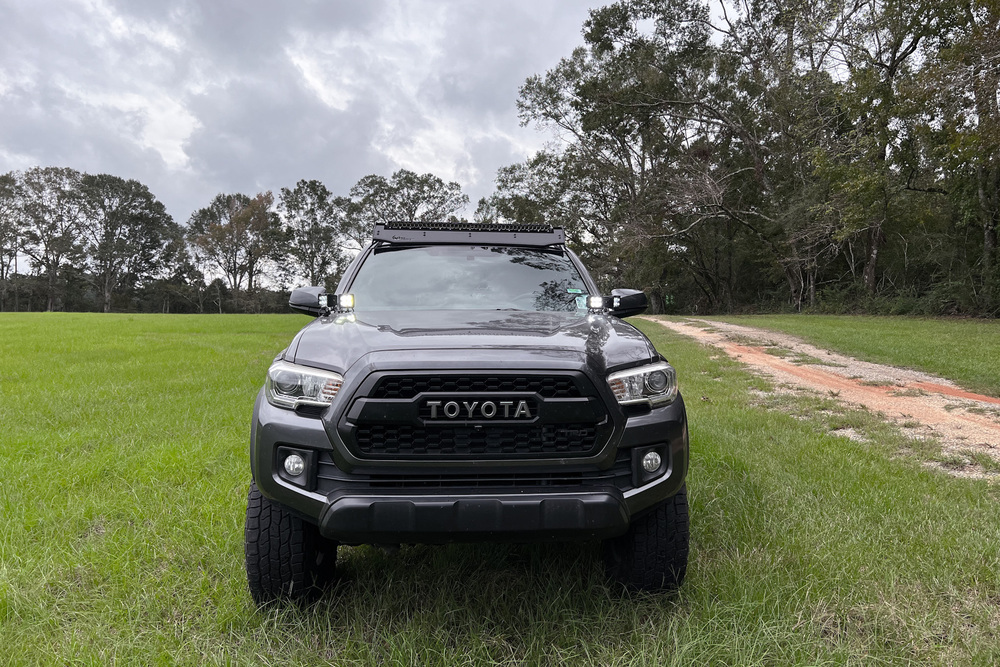
Now all you need to do is wait until it gets a bit dark out and make adjustments to where you want your light output to fall. I prefer to set up the two inner lights to face almost parallel and straight with a forward bearing.
The two outer lights I have are positioned at about 45 degrees and canting somewhat downward. These are my trail/ditch lights. Combined, I have a very bright and wide angle of light throw.
Comparison Photos
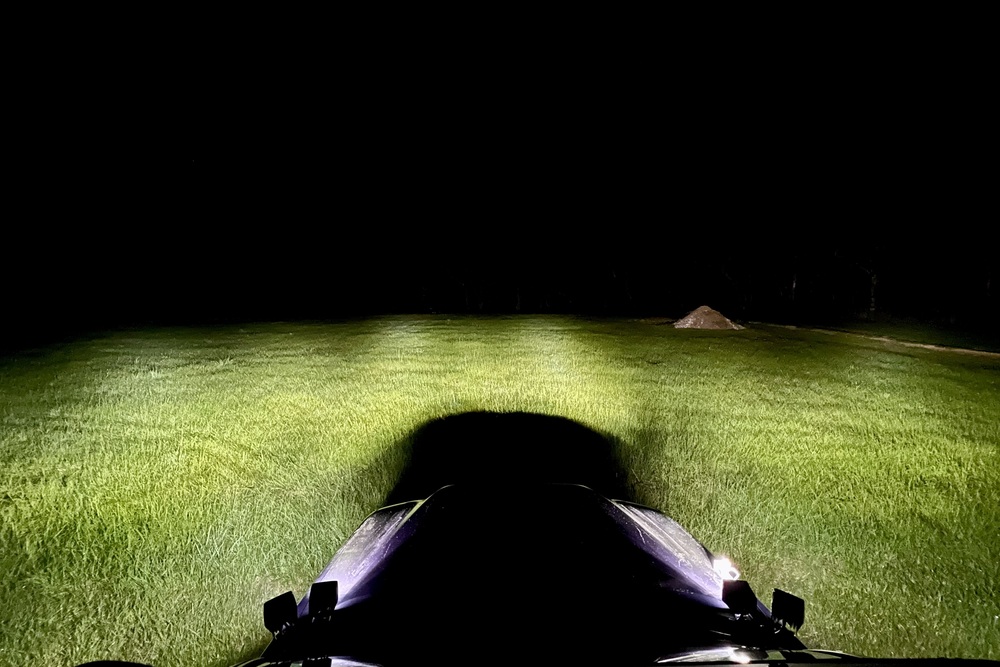
Let’s take a quick look at some various output shots for this epic light setup.
OEM Halogen Headlights
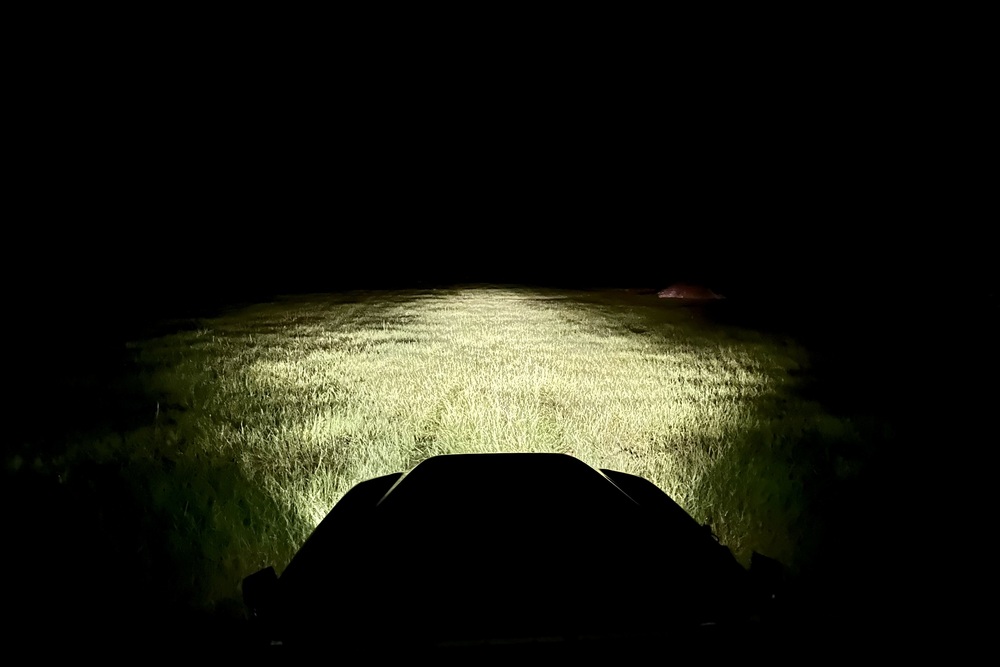
OEM Headlights & ZROADZ LEDs
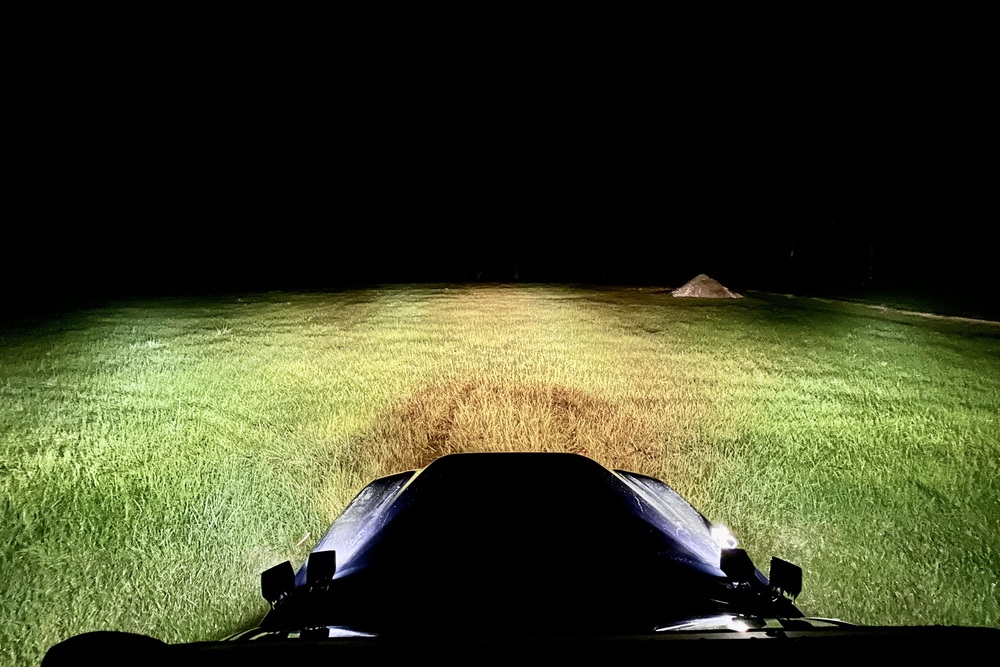
ZROADZ LEDs
Final Thoughts
Every off-roading rig should have a good set of ditch lights. Many times on the trails, you need to see obstacles or paths adjacent to your vehicle.
Some people opt for low-quality lights that quickly fail, leak water, or cosmetically deteriorate. ZROADZ makes super nice lights at a moderate price point.
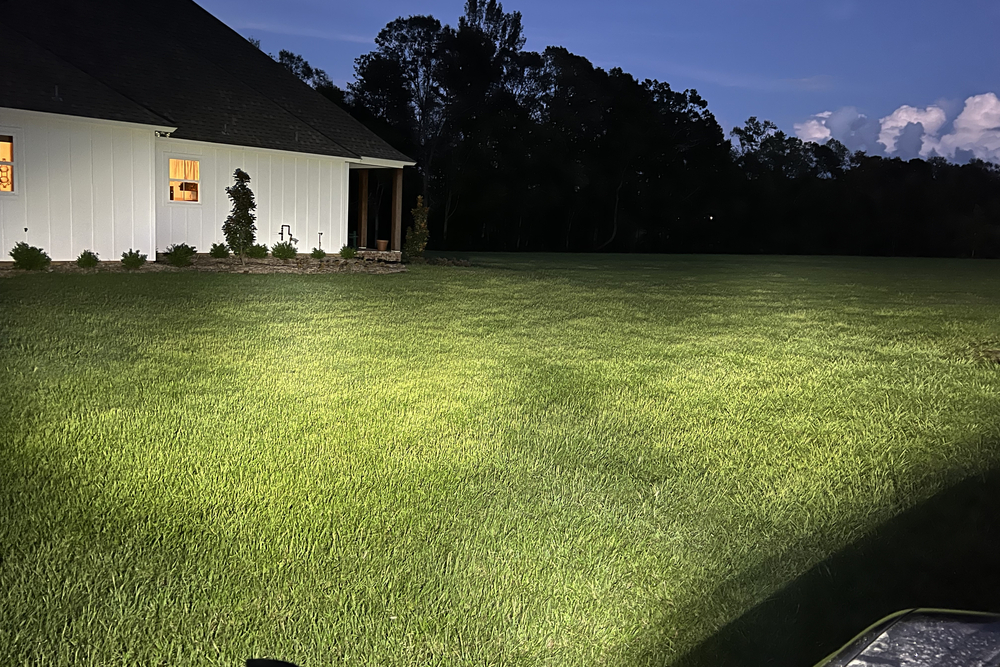
Did I mention they’re ridiculously bright?
I’ll be honest, the first time I turned on the lights and came around to look at them I was shocked by how bright they were – and this was in broad daylight. Night-time illumination was no less impressive. The four light pods have a combined 16 bulbs that light up a 210-degree field of view. Above, you can see them lighting up all the ground and side of my house really clearly.
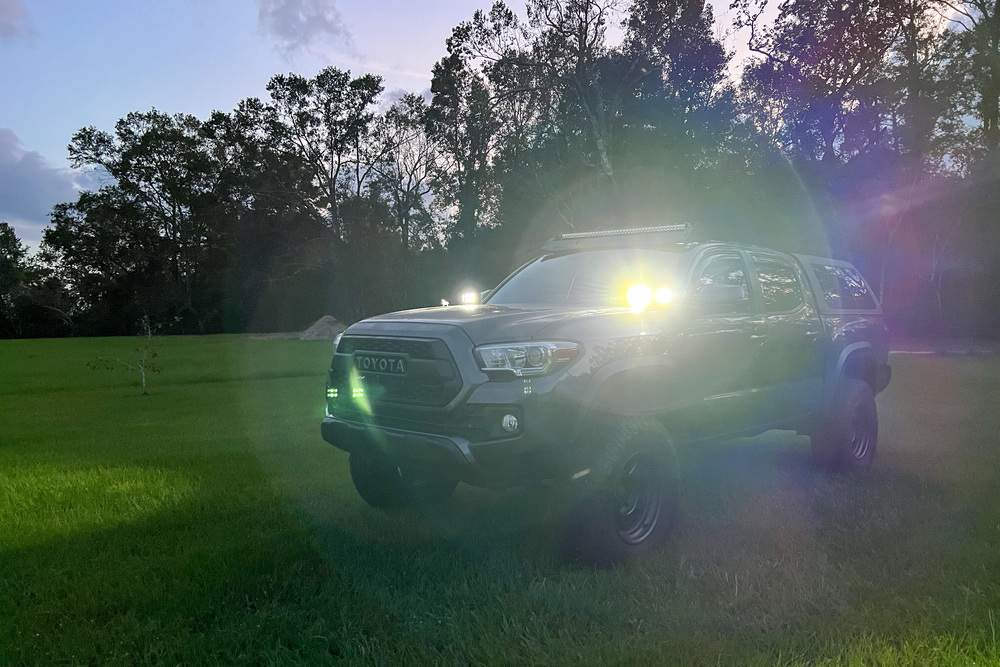
Overall, I’d recommend the ZROADZ pods for their design quality, looks, and functionality. If you’re looking for something affordable, this is a great option.
I’d also like to give a shout-out to Marco at ZROADZ customer support. I had a minor issue with shipping and he hooked it up. Great people making a great product.

