As Tacoma owners, there are two activities that we thoroughly enjoy; caring for our trucks and off-roading. Now, as enjoyable as these proceedings are, they routinely oppose each other. For example, you can detail your Tacoma only to ruin that impressive shine by taking it for a trail run the following day.
Thankfully, the folks at Ark Splash Guards share this same love and have created a product that enables us to take our trucks anywhere without the concern of ruining our engine bays (as much, haha). Ark Splash Guards provide a full-coverage engine bay covers with quality, durability, and effectiveness in mind.
Apart from just making your wheel wells look fit and finished, these provide enhanced protection that alternatives or the factory ones could never deliver. With the factory ones being paper thin, they don’t last long against the bombardment of gravel on the trails.
Find It Online
- Ark Engine Splash Guards For 3rd Gen Tacoma: Check Price
Table Of Contents
Tools & Materials
- Flat Head Screw Driver
- Needle Nose Pliers
- Pressure Washer or Hose (optional)
- Drill with Drill Bit (optional)
Step 1. Remove Factory Guards

Alright, the first step in getting the new parts on, of course, involves removing the old ones.
Start by jacking up your Tacoma and removing the front wheels. Although it’s possible to install the splash guards with the wheel on, removing them will make installation much easier; work smarter, not harder.
In the installation steps provided below, we will be working on the passenger side. However, there are no installation differences between the passenger and driver sides, just that they are inverted.

To remove the factory splash guard retention clips, use a flathead screwdriver or pliers. You’ll notice that there are two individual pieces, which is actually one of the main problems with the factory ones. This creates a gap in coverage, thus, a lack of protection.
I noticed that my factory ones were ripped around the retention clips due to off-roading and general wear. This won’t be an issue with the new ones.

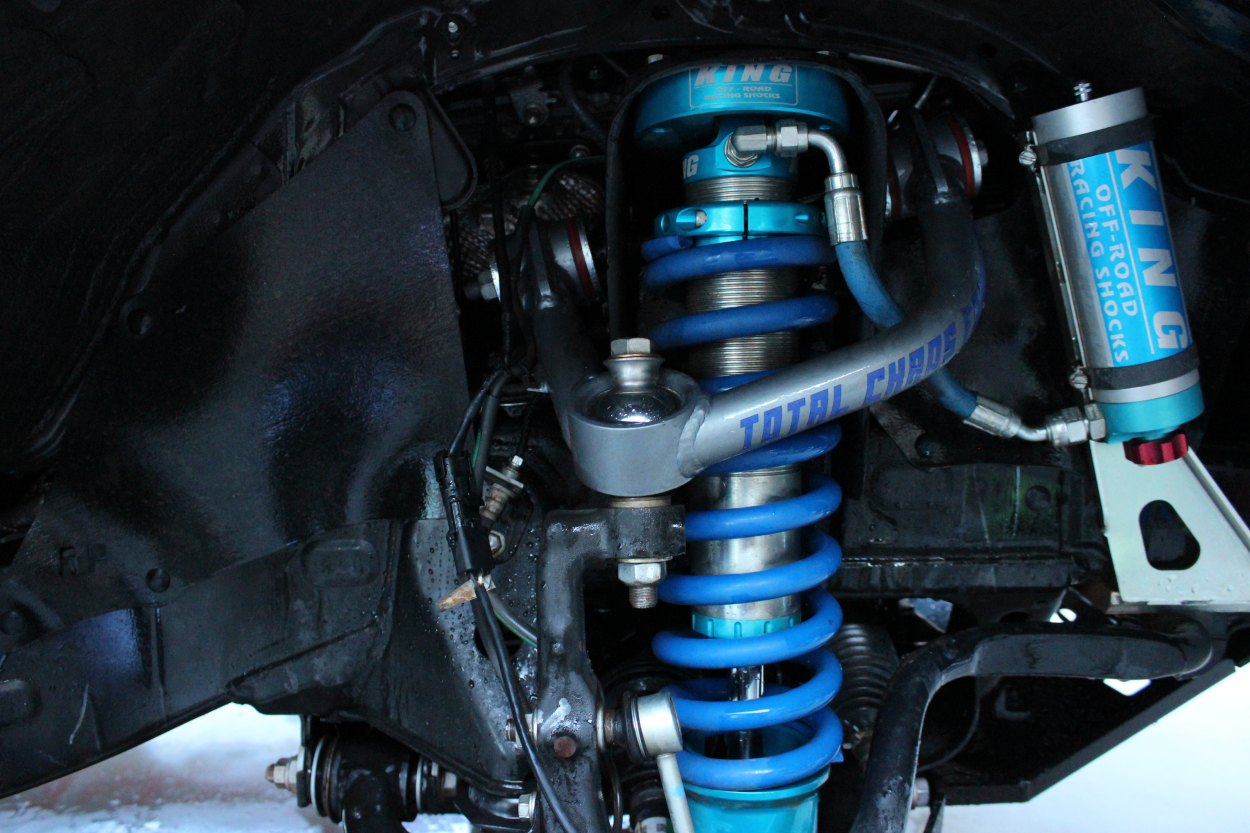
Now that we have them removed, we have access to much of our engine bay. I used this as an opportunity to use a pressure washer and really cleaned out much of that Sedona red-rock dirt from a previous trip.
Step 2. Identify Driver & Passenger Side

Once we have completed the first step, let’s focus our attention on the Ark Splash Guards themselves.
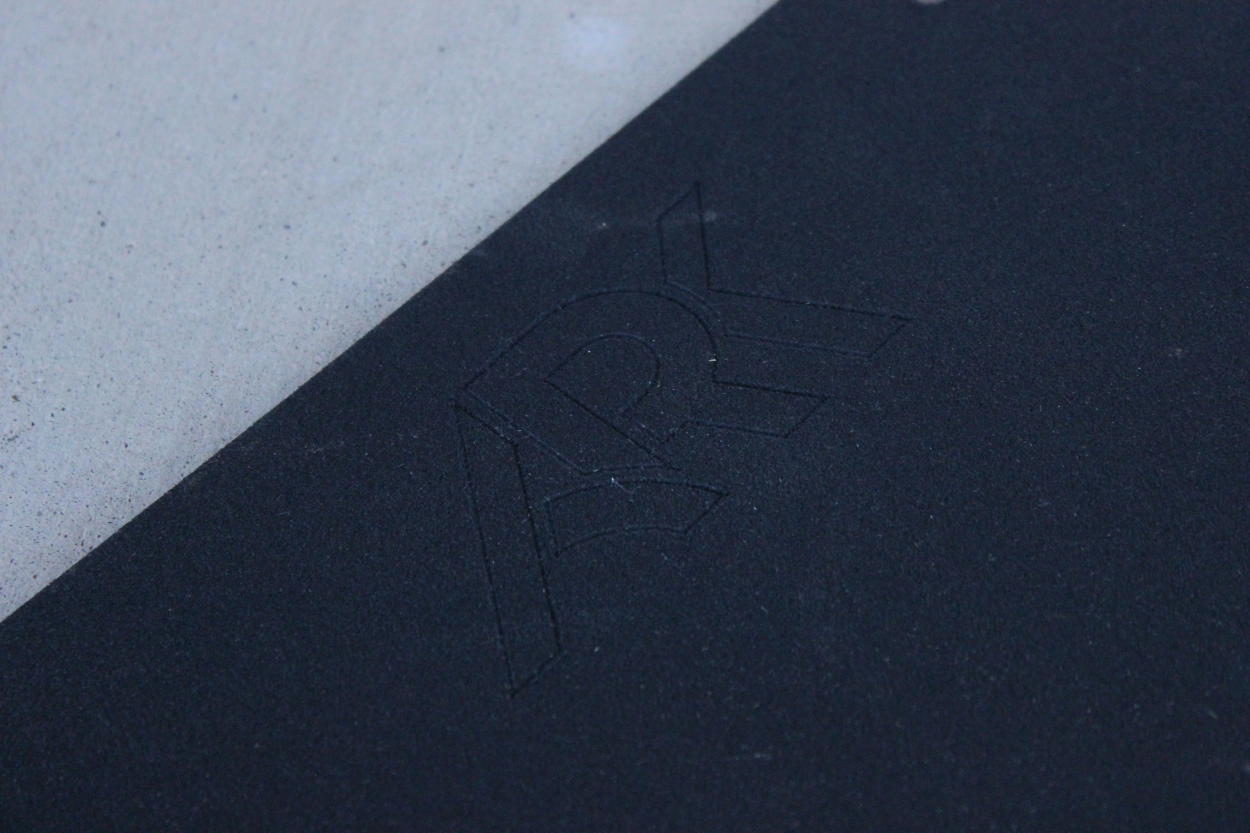
Pictured above is how you will position the splash guard when installing each side. The “ARK” logo is used for identification, as this end will be positioned towards the rear of the truck. It should also be facing outwards towards you.
Find the passenger side by identifying the “ARK” logo. It will be on the left-hand side when viewing them right-side up.
Step 3. Install Guards

Start by inserting the provided clips in the sequence as shown below. There are a total of ten clips on the passenger side. Start with the top two clips above the strut tower, then work your way out.

Once all of the retention clips have been installed, they should be securely in place. You can immediately notice the precise fitment and how much less engine is visible.
Final Thoughts

We are all set! This job took about 30 minutes and came with a ton of benefits. Every Tacoma owner will appreciate quite a few things that the Ark Splash Guards provide.
Starting with the overall build quality, you are getting a product that is significantly thicker and more robust than the factory variant. This will immediately remedy the issue that I was seeing with the factory ones being ripped up and falling from their mounts. The fitment of these is solid, and I had absolutely zero issues with alignment and installation.
The ability to create your own holes is where the optional drill comes into place, as you can easily create additional holes if needed. However, this optional step likely isn’t required.
Another significant difference between the Ark Splash Guards and the factory guards is the coverage. You can immediately tell after installing that these will provide far better protection and really help in keeping that engine bay as clean as possible. I am definitely looking forward to trail running in Sedona, Arizona, once more with these installed.

