
Let’s face it, the 3rd Gen Tacoma headlights (especially the halogens) are nothing to write home about. In a modern vehicle it’s a little disappointing to still see underpowered and outdated accessories still being equipped like the halogen bulbs and chromed out housings. Producing underwhelming output and an unpleasing look, halogen bulbs are the thing of the past thankfully getting phased out to a more modern and efficient solution.
Especially the earlier 3rd Gen owners are left to decide what’s the best option to help with upgrading the output and looks of the headlights. Luckily for us we don’t have to worry too much – there are options. Enter Form Lighting, (a sister company of Diode Dynamics). They have aftermarket headlight and tail lights, producing high-quality products with good output and great style.
In today’s post we’re going to install, review and compare these new Form Lighting headlights to the stocks while all giving our first impressions on why these might be the option for you.
Let’s get started!
Find It Online
- Form Lighting LED Headlight Housing: Check Price
Table Of Contents
Features & Specifications
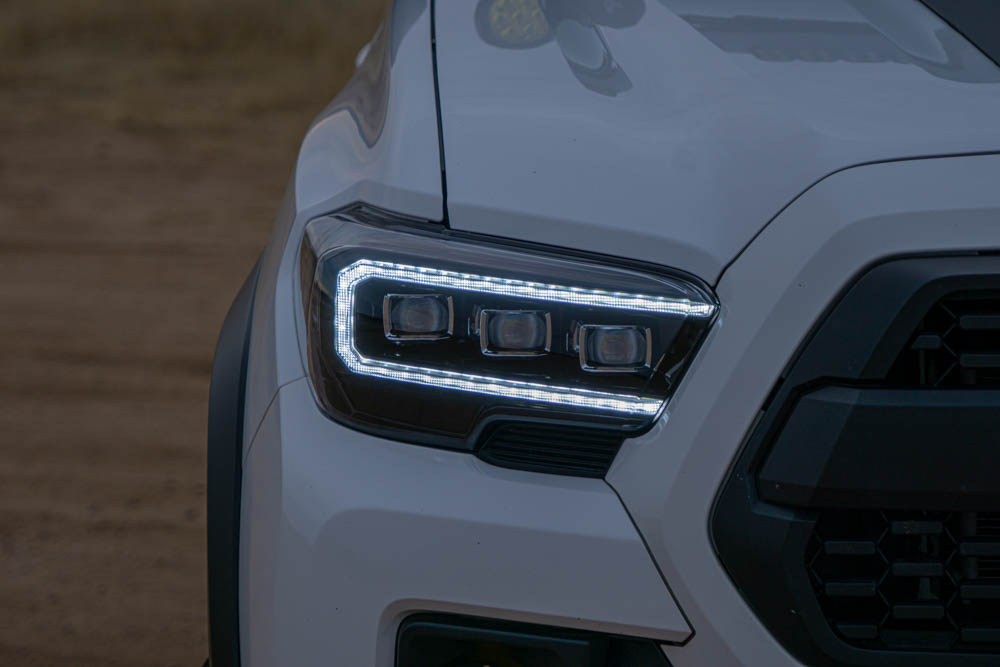
These headlights are designed to offer style and performance but also solid build quality. The idea is to ensure no corners are cut and longevity isn’t jeopardized. Some materials include durable UV-coated polycarbonate lenses which won’t be subjective to yellowing, automotive-grade LED emitters, breather vents and OEM plug-n-play connectors all assembled in a certified facility. Furthermore all Form lights are SAE, DOT, FMVSS and CMVSS legal for on-road use.
The wrap around DRL has become more popular since 2020. Form has equipped these headlights with triple projectors that are for both low beam and high beam illumination giving higher output and sharper cutoff making them extremely bright. The lights are all plug-n-play needing no wiring modification for install. If your model didn’t come with a DRL from the factory, adapters are included with the lights to run the Form DRL.
To top it all off, there is two year warranty supported by Form providing a piece of mind to know if anything was to go wrong they would work to resolve the issue.
Technical Specifications
- Power: 42 watts
- Operating Voltage: 9-16V
- Operating Temperature: -40C to 85C (-40F to 185F)
- Connector(s): OEM-Size Plug and Play
- Intrusion Ratings: IP67 Weatherproof
Physical Specifications
- Year: 2016+
- Triple Projectors
- Startup Sequence
- Sequential Turn Signal
- OEM-Grade Construction
- Plug-N-Play
- Two-Year Warranty
Unboxing

Woohoo! Tacoma mod day is back once again…look at that cool box too.
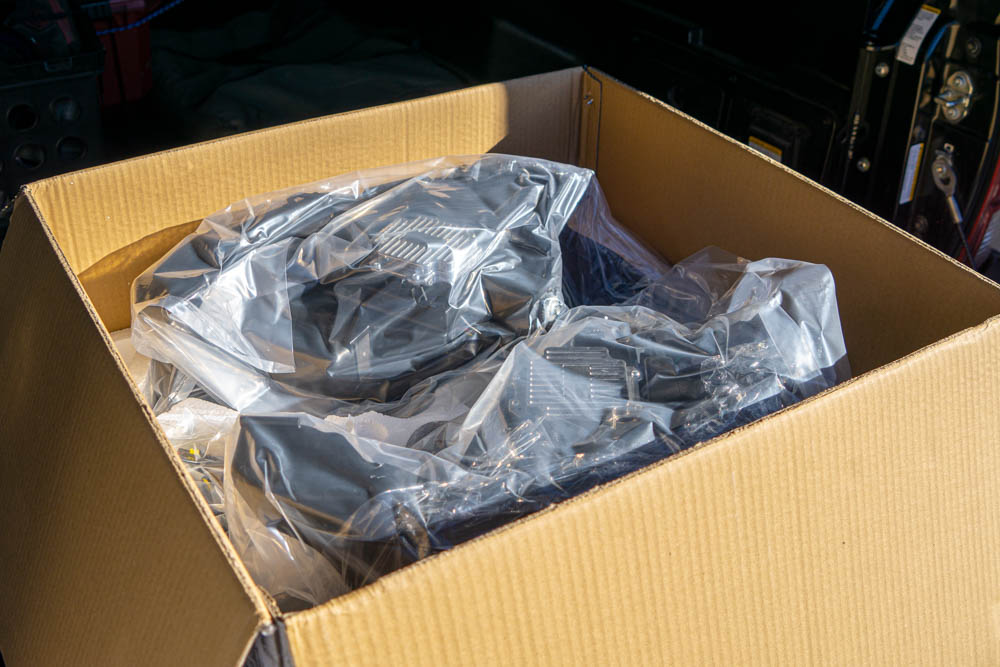
The box was packaged well with hardened foam to prevent any shipping damage that may occur.
Included in the contents of the box are both projectors, and all connectors necessary to get them up and running with no additional purchasing required!
Form Lighting has a great install video on YouTube, so we will cover the key sections in this post.
Tools & Materials
- Assortment of sockets
- Flathead Screwdriver or Push Clip Tool
- Phillips Head Screwdriver
- Needle Nose Pliers
- Trim Removal Tool (Optional)
- Wire Cutters (Dikes)
- Zip Ties
Step 1. Remove Grille

A good habit to get into when messing with any sort of wiring is to disconnect the negative battery terminal to be safe.
Removing the grille is as simple as unscrewing the two 10mm bolts on the bridge brackets and unclipping the VSS sensor harness clip (if you have that on your truck). There are two push clips on the edge of the grille (not pictured) that need to be removed as well. The grille can be removed by pulling up and out away from the vehicle.
Step 2. Remove Bumper Clips
The bumper has a total of 6 clips near the front that can be removed with a flathead screw driver or a a trim specific tool. There are two splash guards on either side of radiator too. They’re held in by one push clip each and can be removed with some wiggling and set aside for the reinstallation later on.
Removing all these clips will allow the bumper to be free enough to get to the required screws to remove the headlights. It’s your choice to completely remove the bumper or only partially remove it, either way works! I decided to not since my front bumper was in the way and I was lazy.
Step 3. Remove Old Headlights

Before removing the headlight, separate the harnesses from the bulbs. Then, unscrew the two 10mm bolts on top and set them aside since they’ll be reused for the new headlights.

Arguably the most tedious part of the installation process. In order to access the third and final bolt for the headlight, the bumper will have to be pulled back in order to access the hidden 10mm.
Start by separating part of the fender from the body by reaching in and under the fender flare pushing on the clips while pulling away from the truck. They can be stubborn sometimes and not want to break loose but take your time and they will come off. Similar to the flare, the bumper is also quite stubborn and does require a fair amount of yanking to get it to budge. The best hand placement is about the 7 o’clock position from the low beam and pull straight towards yourself (away from the truck). It’ll feel like it’s breaking but with the right pressure and angle it’ll pop right out. After everything is disconnected, the 10mm bolt should be exposed enough to get a socket in there.

10mm bolt that’s going to get removed that holds the last bracket of the headlight to the truck (seen above).
The lower piece of the headlight is held in by a clip and sliding the whole housing to the left will allow enough space to then wiggle the headlight free from its housing.
Step 4. Remove Trim Plate
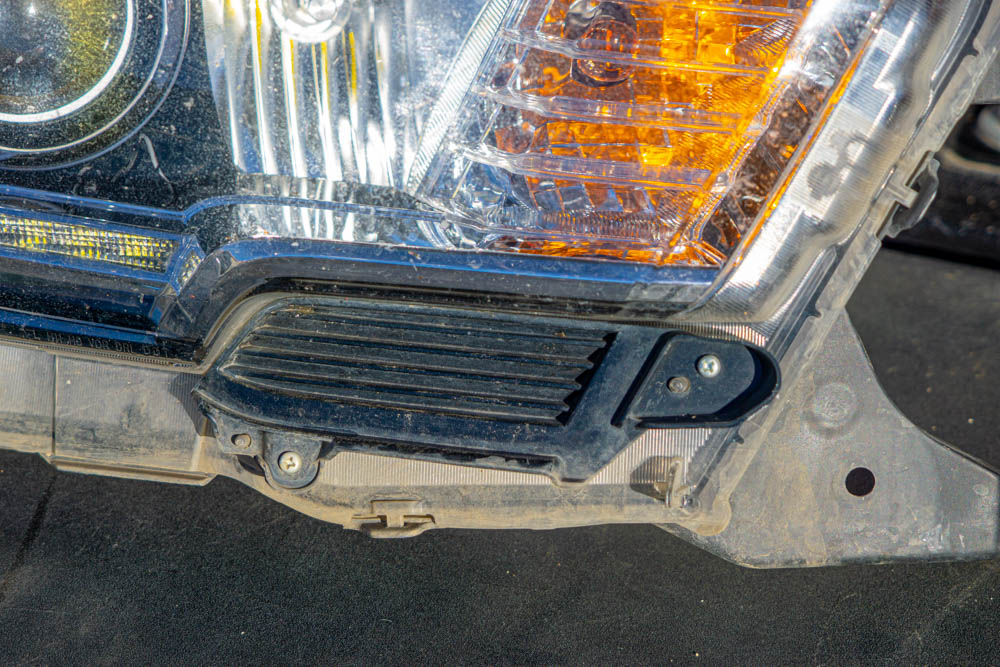
The stock trim plate can be transferred over by removing the two Phillips head screws and then installing the plate onto the new headlight.
Next, finish prepping the new Form lights. All the connectors will need to be on the light before install. I’d suggest leaving the plastic on the lenses until the light is on the truck to avoid any potential scratches.
OEM Vs. Form
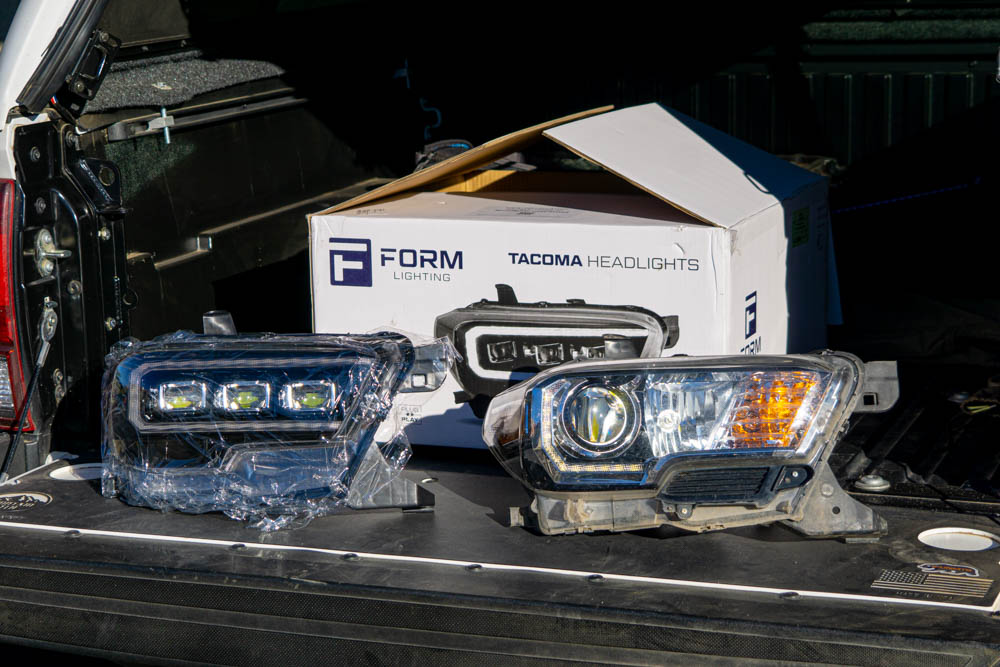
The difference between the new Form light and the stock housing is very apparent and cool to see a side by side displaying the differences in style.
The Form lights have decided to take a more blacked out look compared to the stock housing while adding enough speckles of chrome around the bulbs to add some flair.
Step 5. Installing New Form Headlights
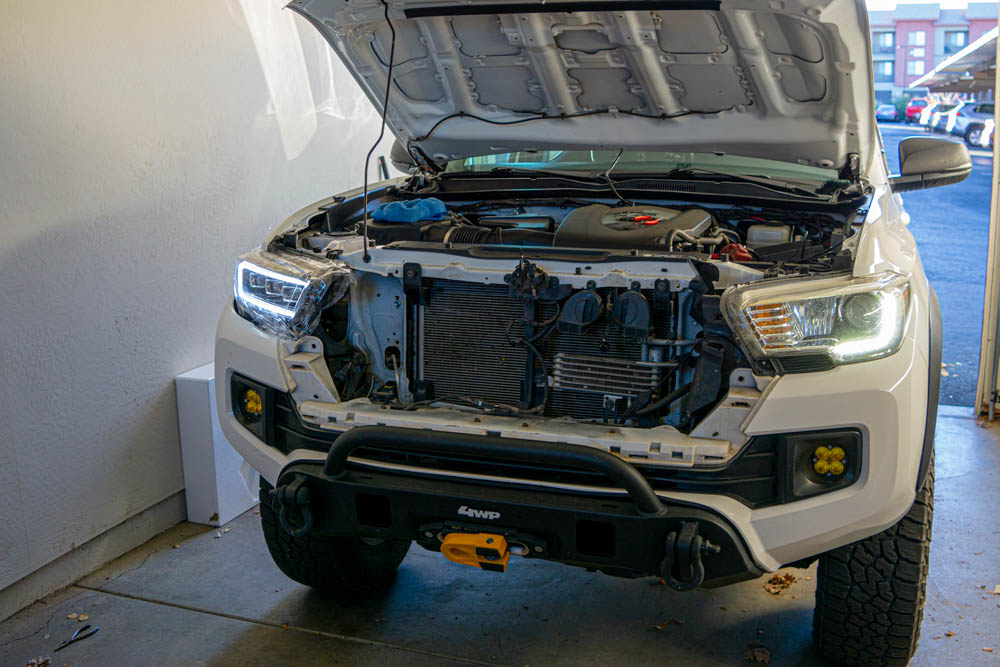
The process of installing the new Form headlights is the reverse of the removal. Start by plugging in the associated leads off of the lights to the stock harness from the truck.
Yellow connector from the truck goes to the high beam on the headlight, green connector from the truck goes to the low beam, and the last small connector plugs into the side marker. If your truck was optioned with the halogen lights, the provided short leads will serve as the bridge connector to run the LEDs on the new Form headlights. In order to the run the DRL use the provided harness and unplug the skinny brown connector off the headlight. Plug in all the associated leads and run the lead to the fuse box. The 15 amp fuse gets pulled “EFI NO.4” and replaced with the add-a-fuse.
Before fulling installing, turn on the truck to check the DRL, low beam, high beam and turn signal.
To slide in the new lights, install the front clip before sliding the rest of the headlight into its housing. Reinstall the three 10mm bolts, one on the bumper side and two on top. Repeat this process on the other side.
At this time the bumper can be clipped back in and all push clips reinstalled.
On Truck Side-By-Side Comparison
The visual difference from DRLs between the new Form and stock are significant. Not only the design but the brightness and crisp output that are put out by the Form headlights.
While the stock headlight has a single low beam projector the Form light has a triple projector being utilized by both the low beam and high beam. Finally are the turn signals, the Form lights have a sequential half wrap around style while the stocks have a blinking (non-sequential) signal.
Output Shots

Above, we see the low beams from inside the truck.
The new Form headlights offer a crisper LED output that can be easily adjusted for your truck.
Right off the bat, I noticed how much wider of a spread the headlights provide along with the cleaner output.
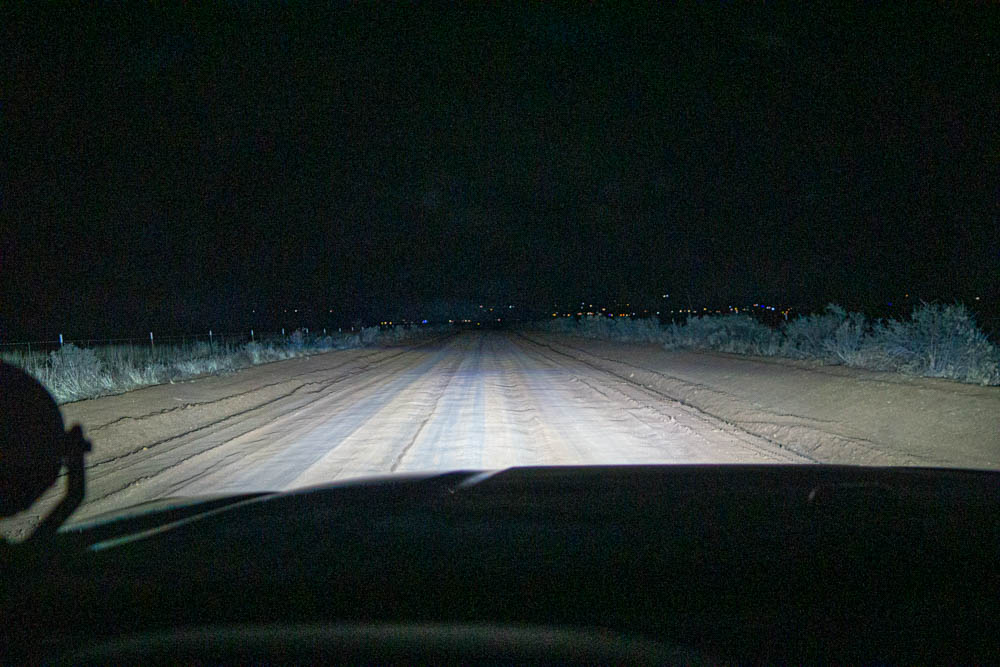
Above, we see the high beams from inside the truck.
While it might not be as easy to visualize here, the high beams are pretty bright. When switching from low beams to high beams I instantly notice how much higher up the highs provide in terms of output. While the throw is just a bit farther, they provide a lighting area that covers more and gives off a greater side lighted area as well.
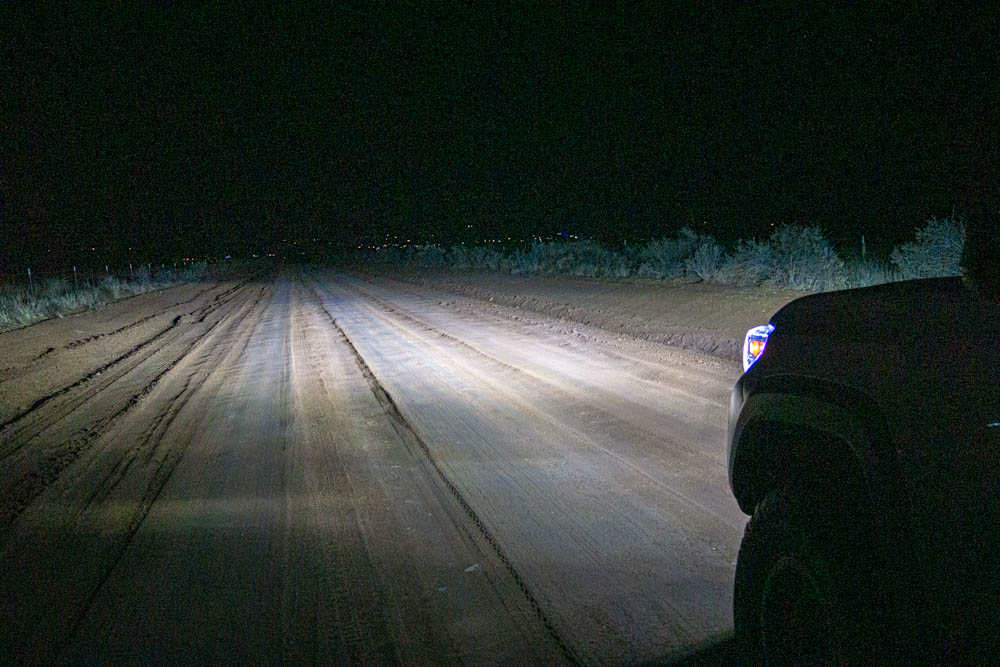
Low beam output.
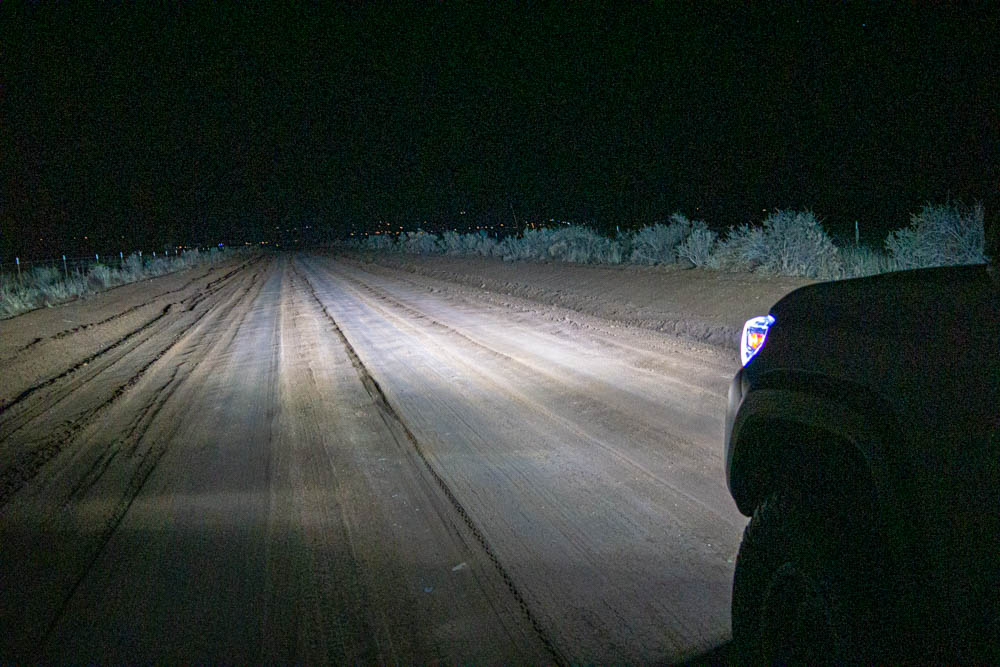
High beam output.
Higher and wider output as compared to the low beams (notice the bushes off to the sides).

Low beam from behind cab.

High beam from behind cab.

Low beam output on wall.

High beam output on wall.

Sequential turn signal shown above with full illumination.
Review

It’s obvious by now that I love these lights and how they’re a badass upgrade. From style to performance, they really do check all the boxes when looking for an upgraded headlight for the Tacoma.
These lights outperform the OEM ones and offer a more effective light pattern while also not compromising build quality and longevity. I’d also like to mention my interactions with the customer service and the rest of the team at Form. Their help and assistance with the lights was awesome, with getting things figured out in a timely manner and keeping me informed on updates. It all really showed that they cared and were there to help with any needs.

I’ve had these lights for a few months now and I’ve had no issues of any kind.
Living in the Northern Arizona climate they’ve gone through all types of environments from extreme heat to heavy rain, blowing sand to freezing snow, pelting rocks and aggressive power washing (no leaking or fogging) they’ve held up through the abuse and haven’t let me down when I’ve needed them.
And to the most important part of all…they look so good! By far one of the best upgrades when it comes to the front end of your truck and really helps add an aggressive style with the wrap around DRL and unique sequential turn signal.
Any Concerns?

I really don’t have anything negative to say about these lights!
Throughout my usage I haven’t had any issues and I think for the quality of light you’re getting, the price is more than fair considering they’re under the average of similar options on the market. My only comment is potentially offering an amber DRL option in the future for those who’d like to run amber instead of white!
Final Thoughts

I could go on and on, but I recommend Form Lighting. As good as these lights look in photos I can promise they look even better in person and can add that extra style and pop you’re looking for.
Thanks for stopping by and as always… Happy Trails!


How bright is the headlight output compared to factory oem led headlight assembly.
Alex,
The headlight output is significantly brighter than the OEM LED Headlight, I’ve noticed that the output of the form is crisper and has a farther throw.
Thanks
Sean!