
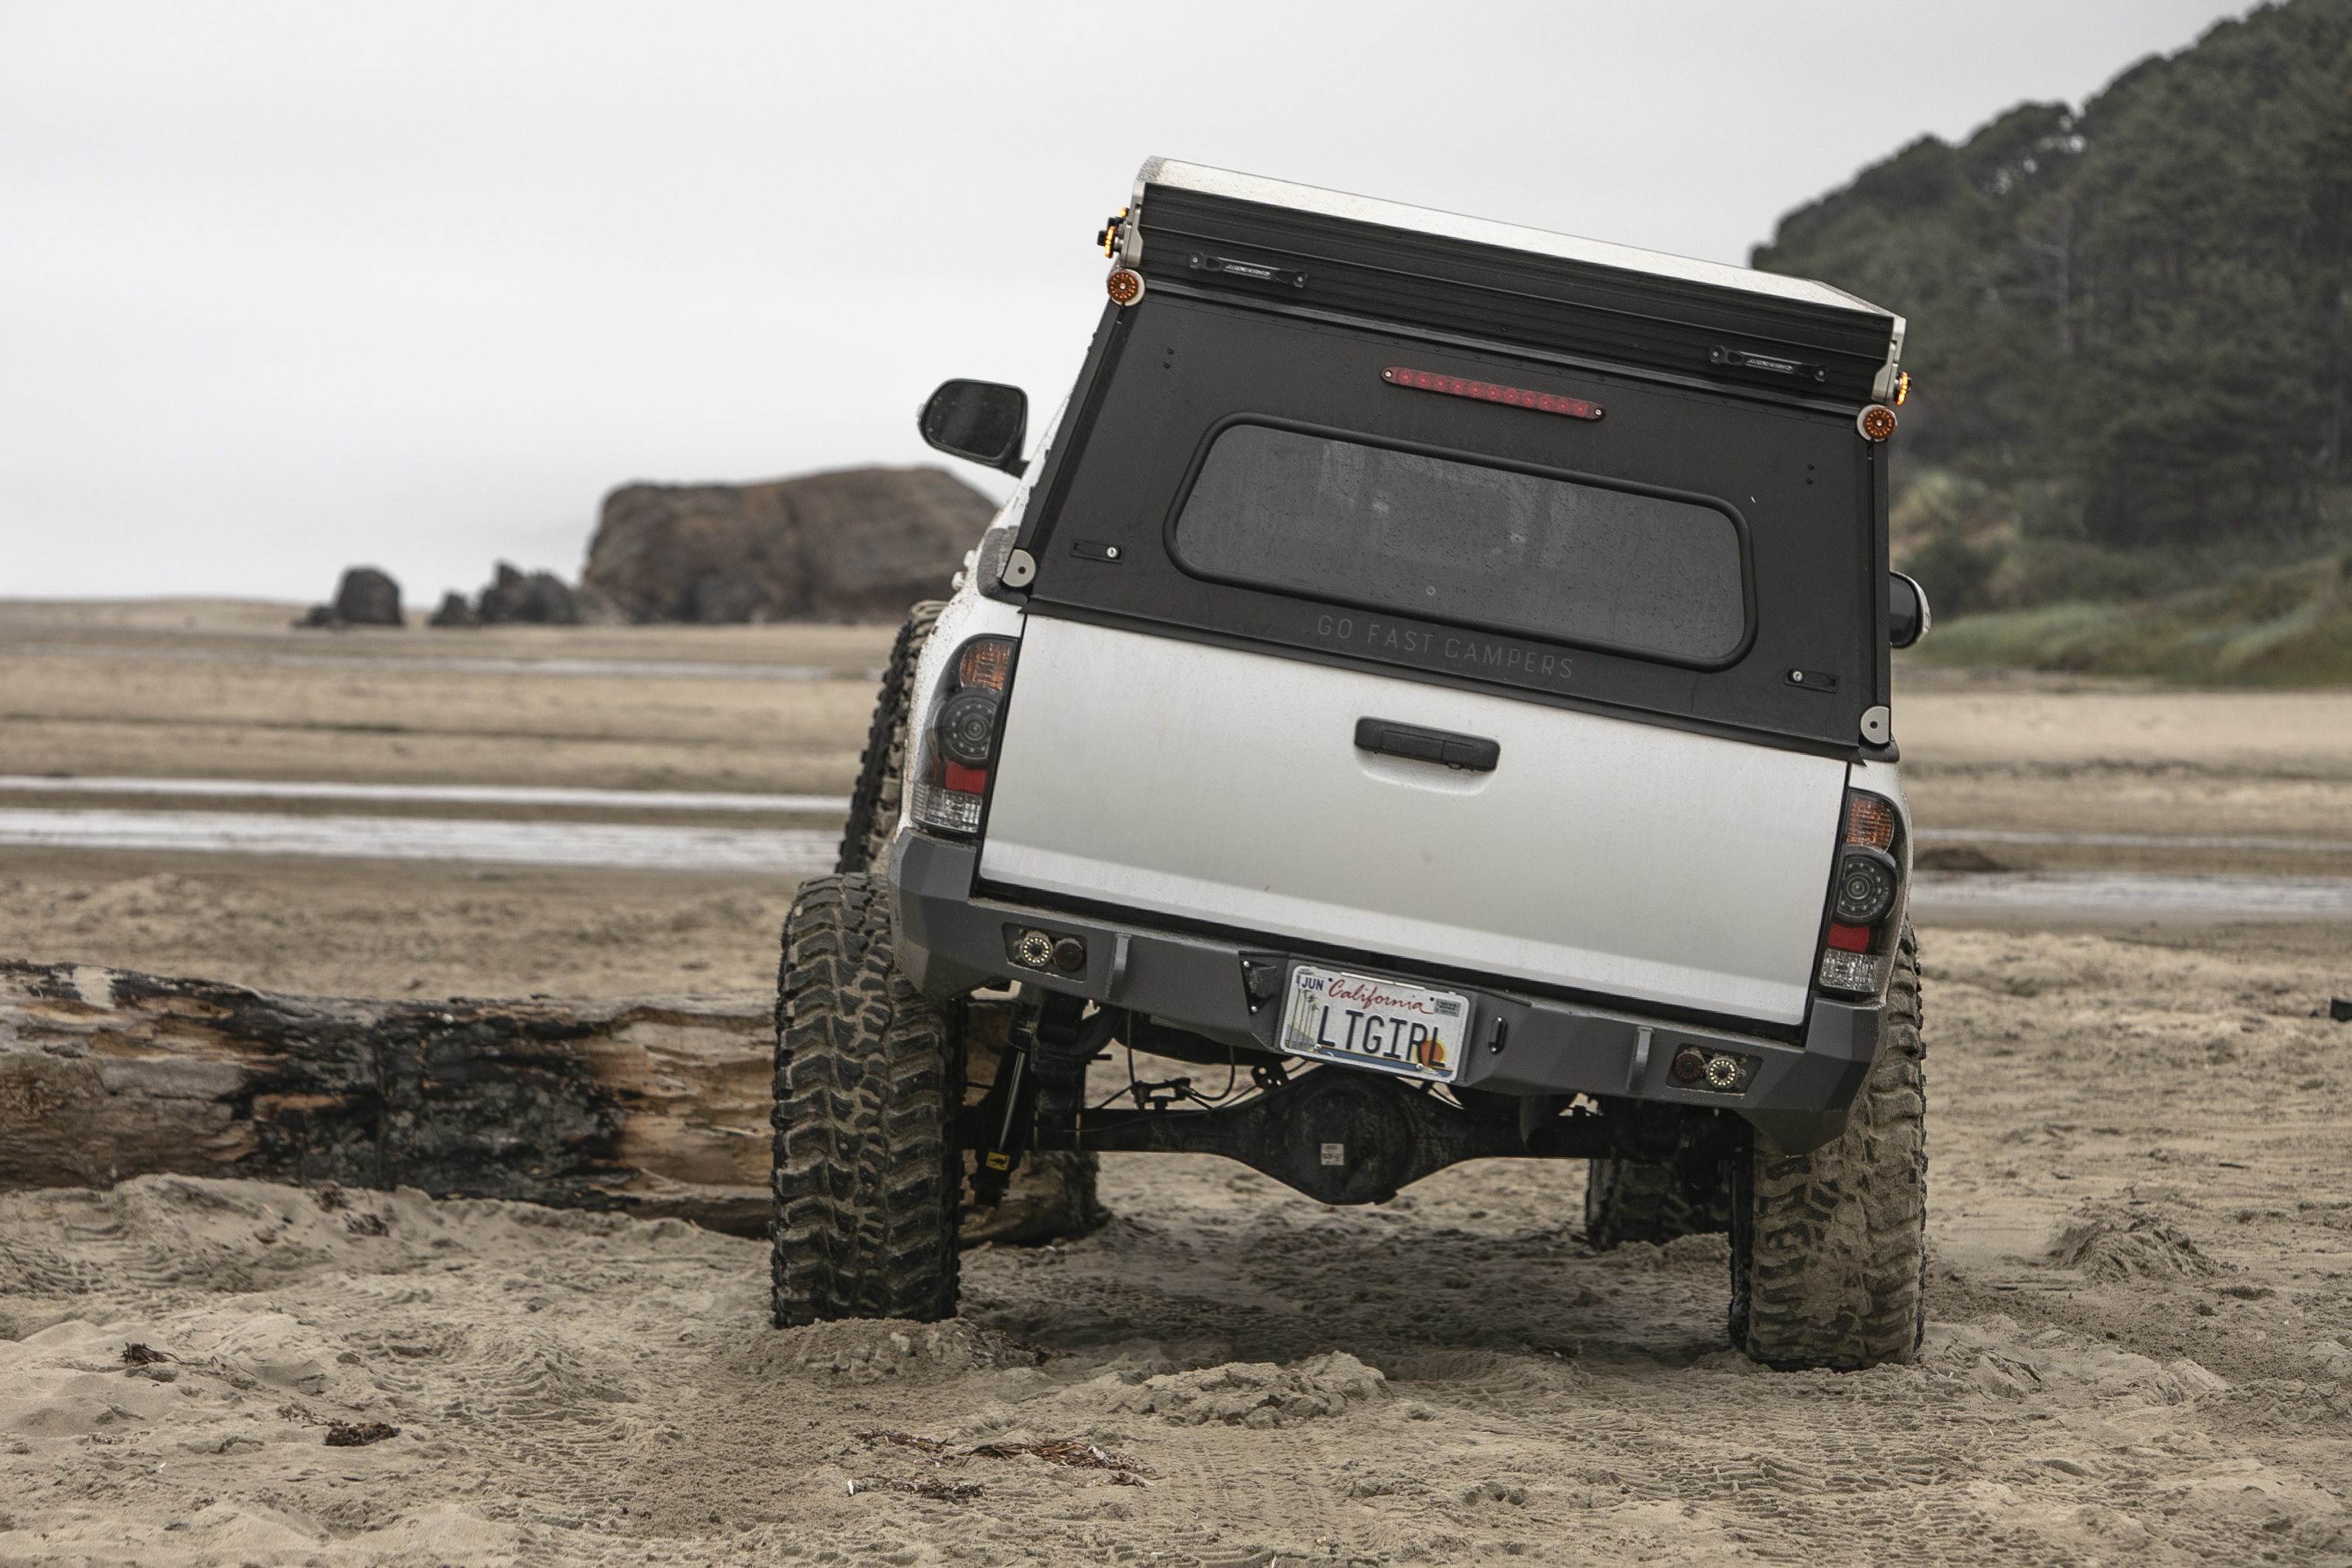
There comes a time in every man’s life when he must run more lights. This build, I’ll bet the first to admit, is a bit overkill for most but it’s a passion and hobby of mine so here we go.
There are a few installation guides out there on secondary reverse lighting, secondary turn signals, and secondary brake lights but none that will quite explain it in full detail like this one. In addition to that, and in this guide you will also find the proper way to wire in all these secondary lights.
I recently had the privilege of spending a few days at my local Toyota service center and while there, I got to see exactly how Toyota service techs repair wiring and run additional factory add-on accessories when tapping into existing wires. Ultimately this is a step-by-step installation process that you would find at your local service center.
Try to avoid using T-taps if you can. In some instances, they are needed and can be helpful if there’s a narrow window for splicing wires but for the tail lights on the Tacoma, you have plenty of room for waterproof butt connectors. They will give you a better, more stable, more water-sealed connection and they offer much less room for error.
Table Of Contents
Tail Light Wiring Diagram
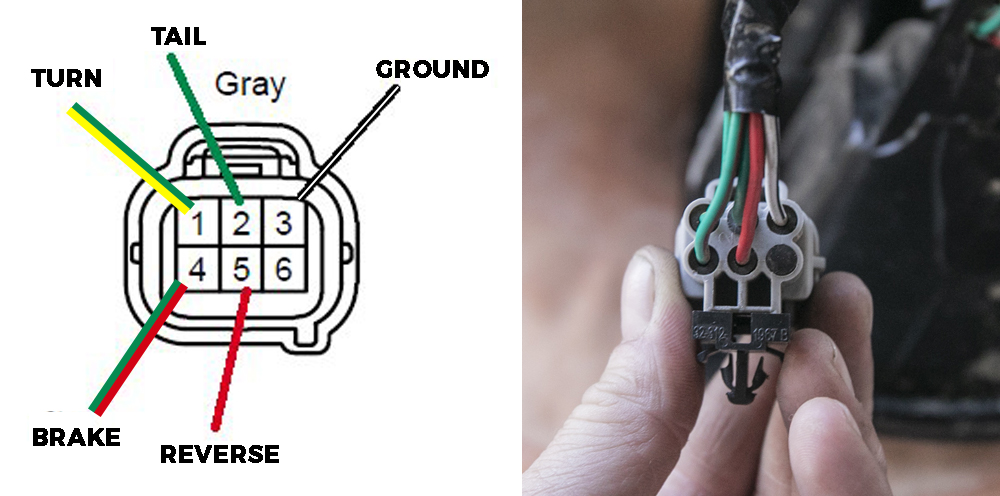
Let’s start off with the overall taillight wiring diagram and overview and then jump into tapping each wire.
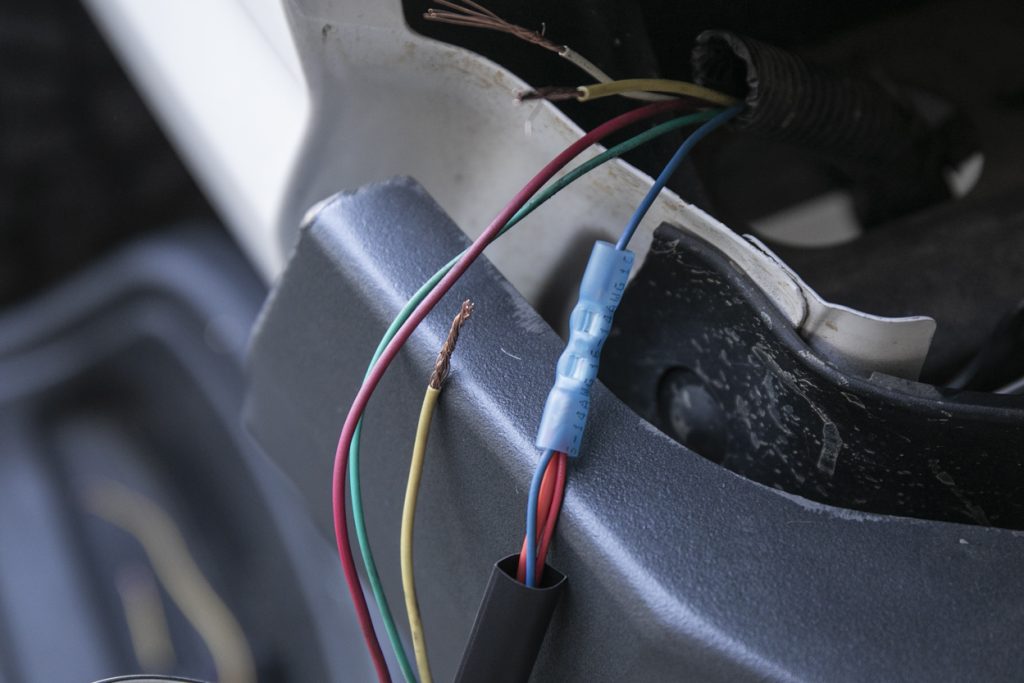
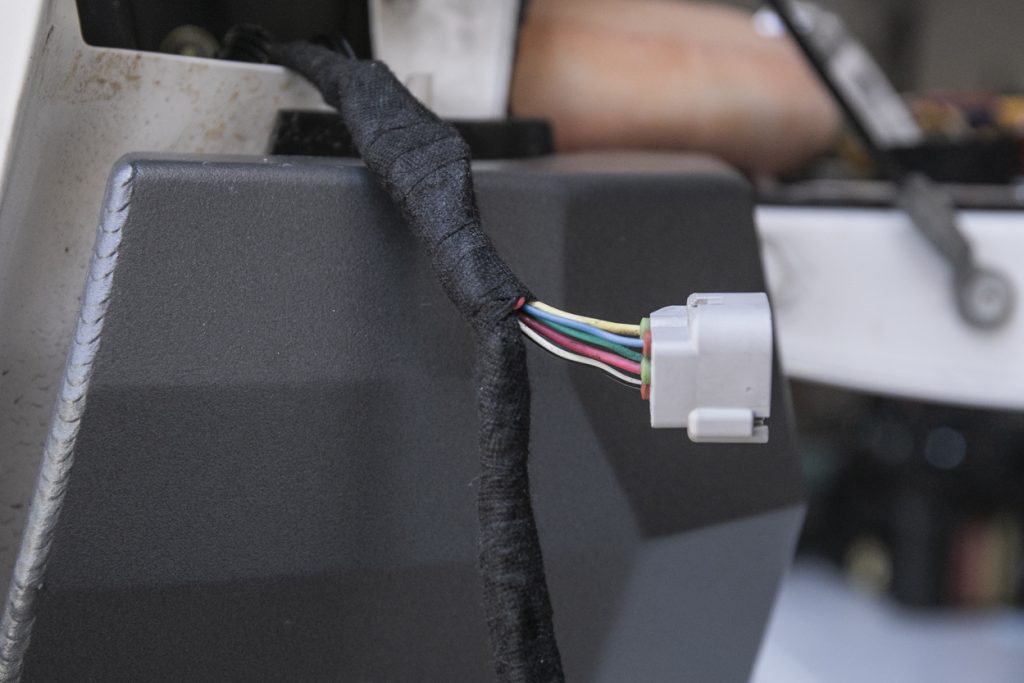
One important note here is that the passenger side and driver side wires are slightly different. The main grey connector on the tail light housing has the same wire diagram on both driver and passenger but the grey connector on the vehicle side has one wire variation; the turn signal wire. On the driver side, it’s yellow and on the passenger side, it’s blue/white.
Grey Connector on Tail Light Housing
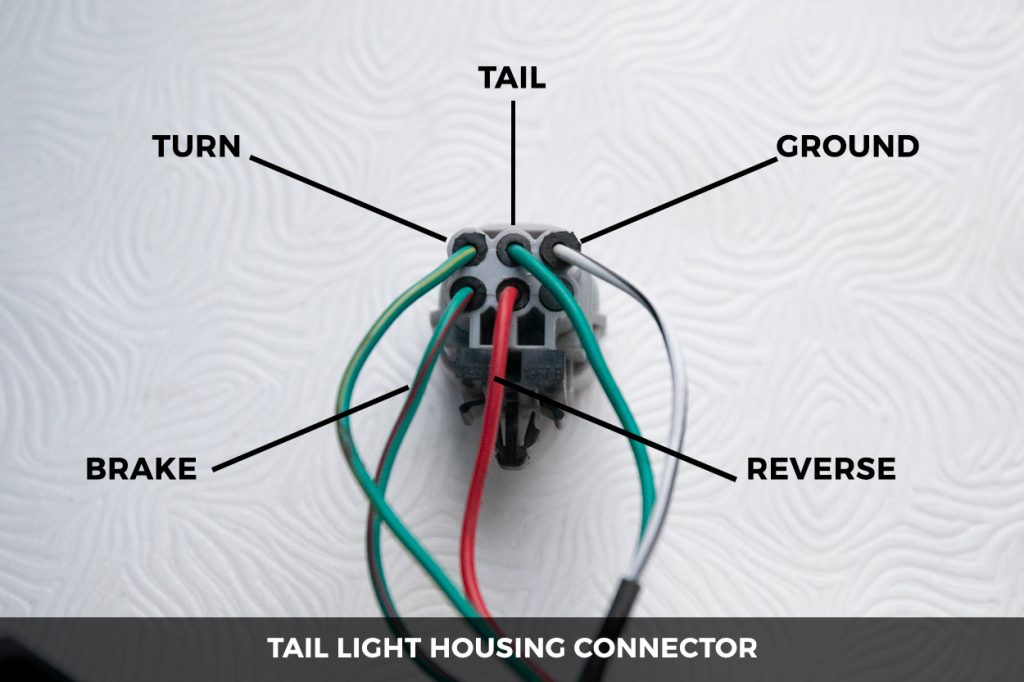
- Turn Signal Light (green and yellow)
- Tail Light (solid green)
- Ground (black and white)
- Brake Light (green and red)
- Reverse Light (red)
- Blank
Tail Light Housing To Vehicle
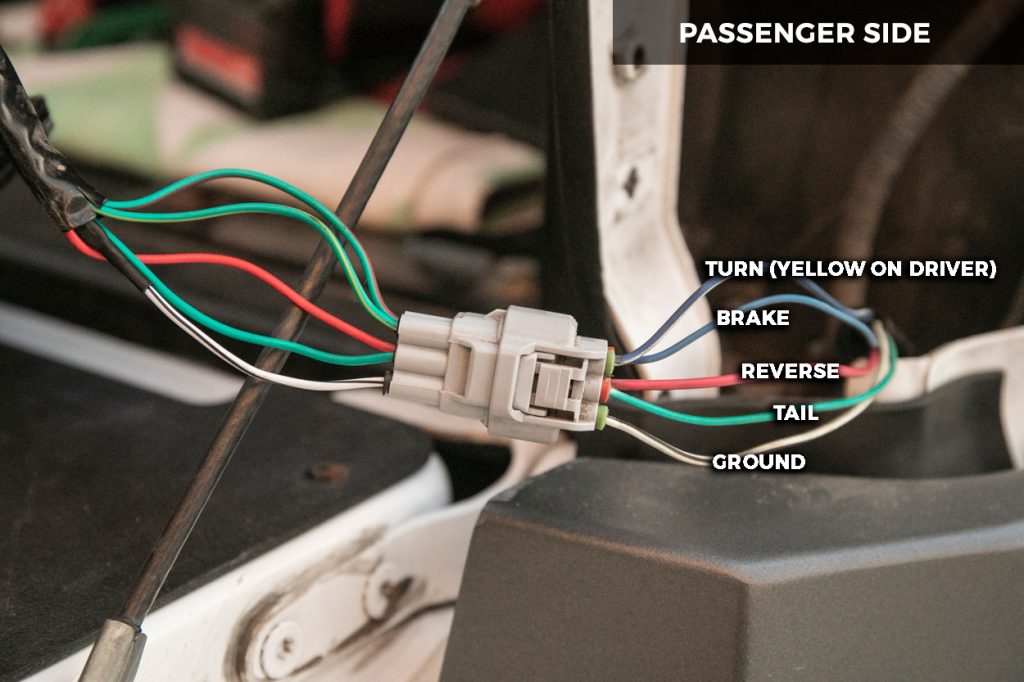
The left side of the image goes to the tail light. The right side of the image goes to the vehicle.
- Turn Signal Light (green and yellow)
- passenger side -> blue and white
- driver side -> solid yellow
- Tail Light (solid green) -> solid green
- Ground (black and white) -> black and white
- Brake Light (green and red) -> solid blue
- Reverse Light (red) -> solid red
- Blank
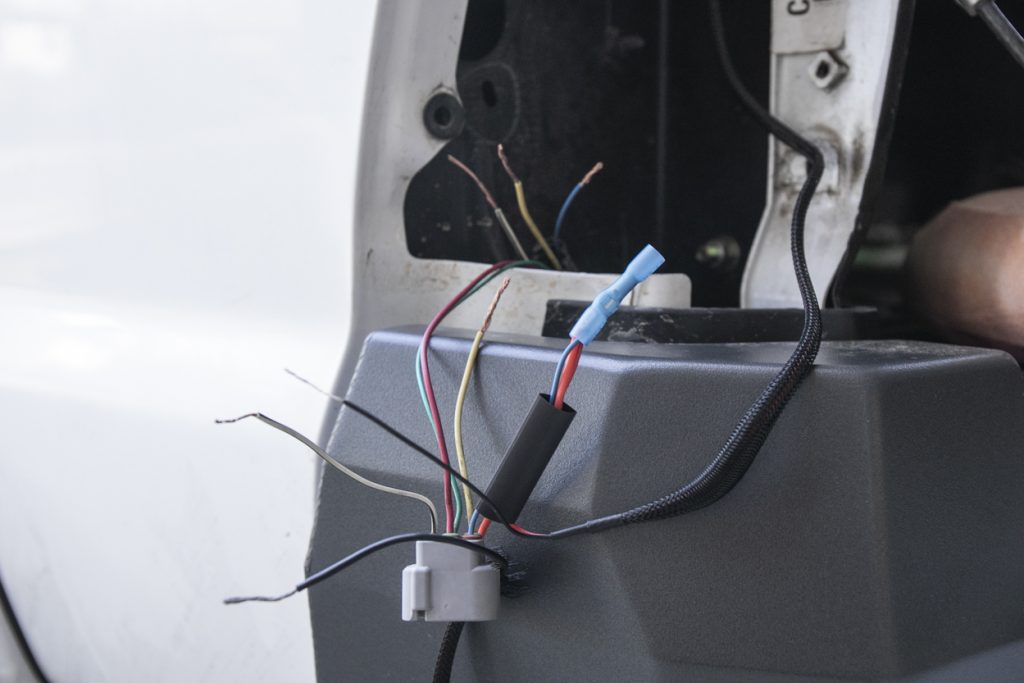
T-Taps & Posi-Taps
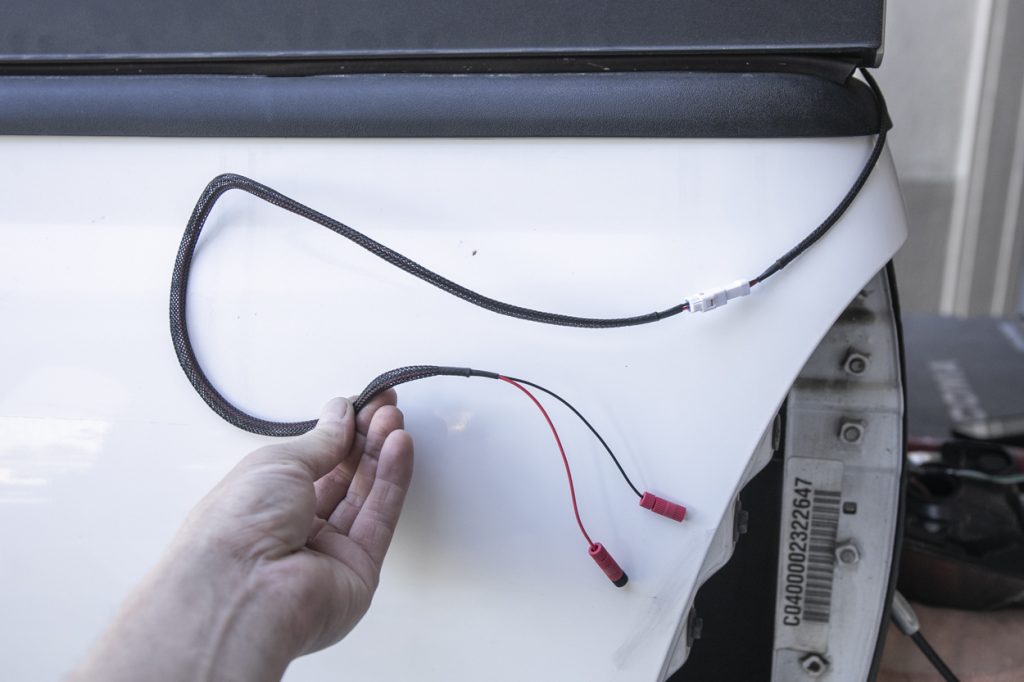
This is the harness that comes with our GFC camper. We will be cutting off these Posi-Taps and wiring them in directly to another KC Lights Cyclone light and the factory brake light. T-Taps and Posi-Taps are known to fail. Because of that, we always use waterproof butt connectors instead.
Stop, Turn, Reverse
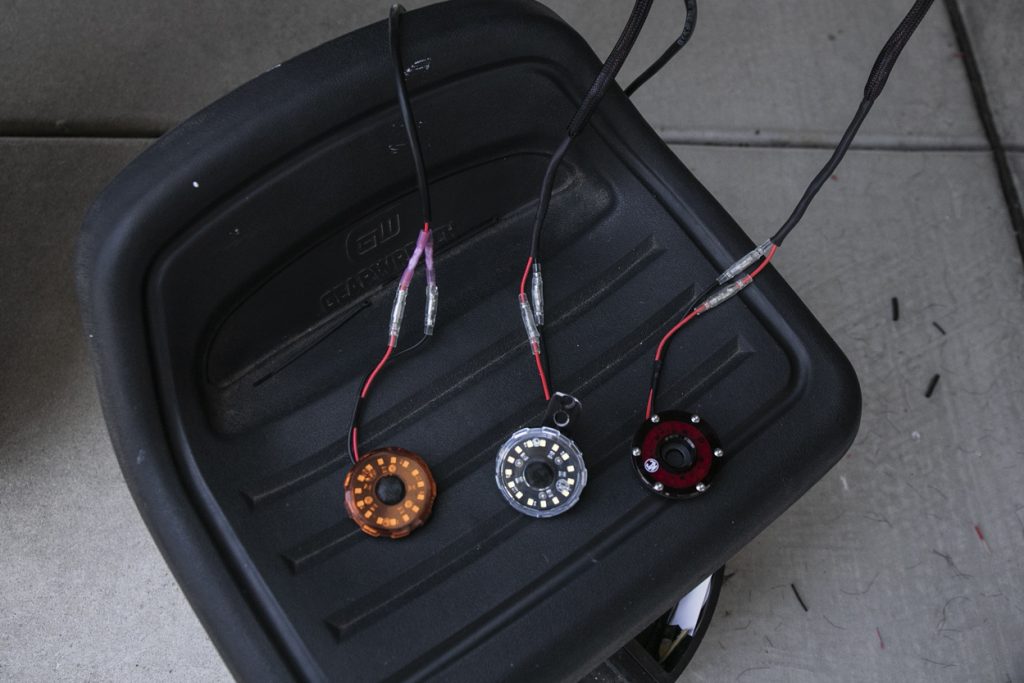
For this install, we’re wiring in the GFC brake light and three additional KC Cyclone V2 Lights; brake, turn, and reverse. The brake and reverse will be mounted on our C4 Fabrication Rear Bumper and the turn signal will be mounted on the GFC.
Sizing Heat Shrink and Connectors
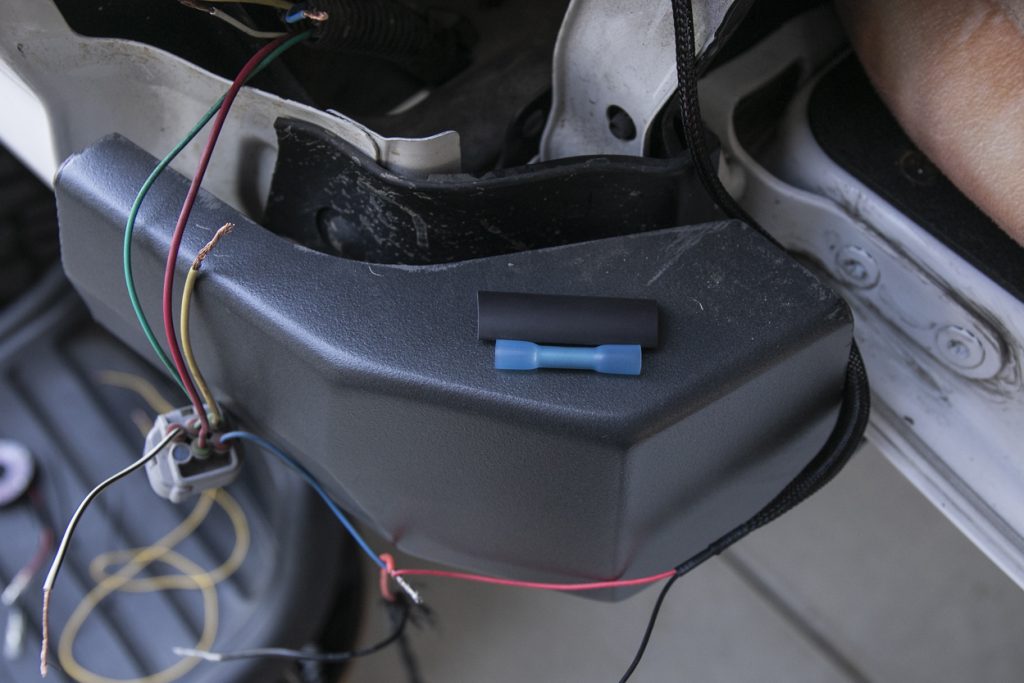
Since we don’t have much room to work with it’s important to size your heat shrink just larger than the butt connector you’re using.
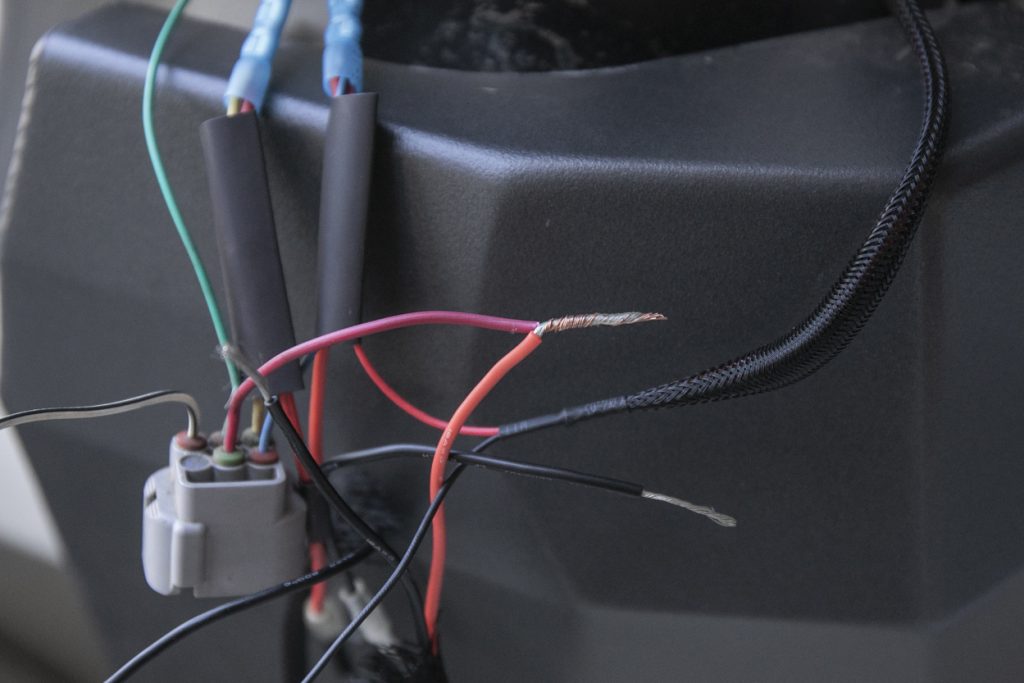
Brake Light Wires
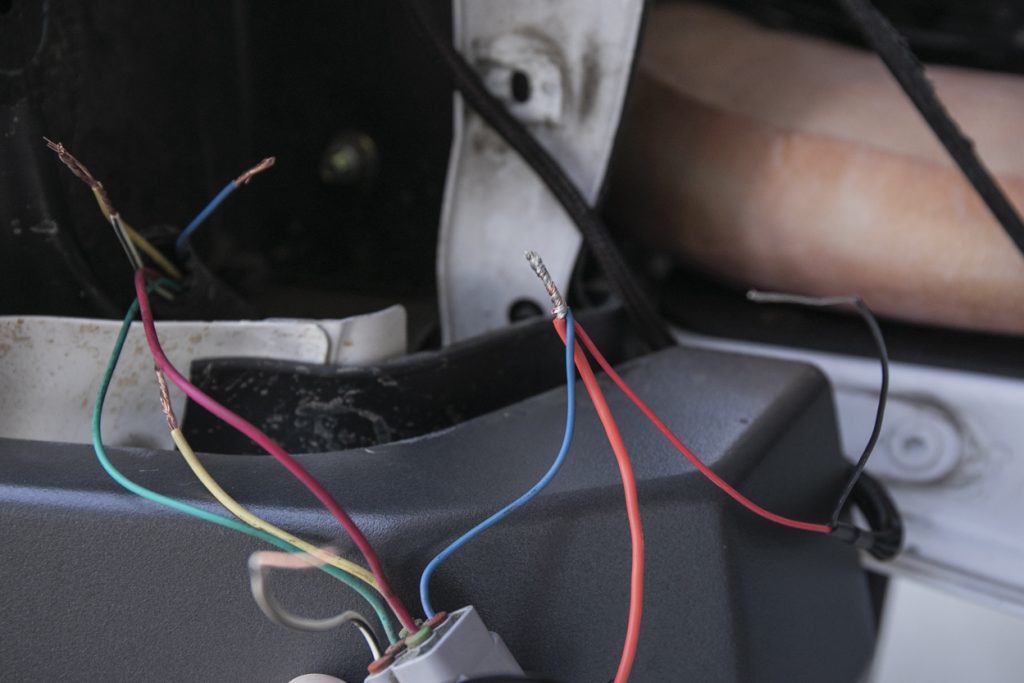
Splicing KC Cyclone, GFC Brake Light & Factory Light Wires
- Blue Wire: Toyota Brake Light Wire
- Red Wire 1 (center): KC Cyclones
- Red Wire 2 (right): GFC Brake Light
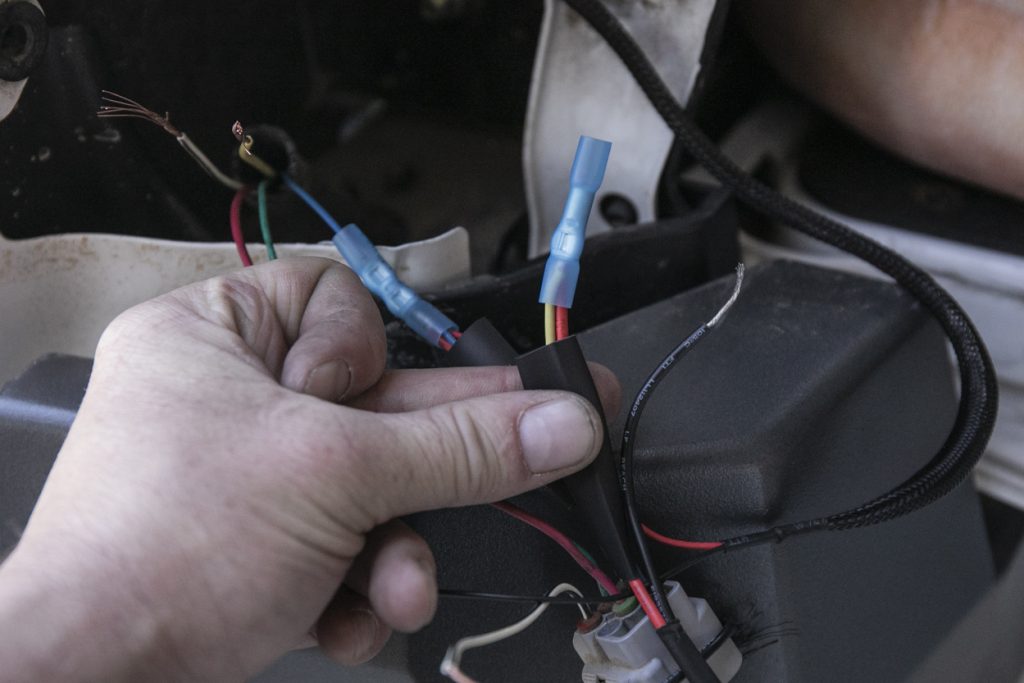
Crimp Connector To All Wires
Crimp all three wires into one end of the butt connector. This is why we’re using a 14awg connector. The 14awg connector will accommodate all three 16awg wires and one single 16awg wire. You can also use a 14awg to 16awg step-down connector if you have them on hand but the 14awg connectors work fine.
Crimp Toyota Brake Wire
Now you can connect the Toyota brake wire (blue wire) to the other side of the connector. Do not heat shrink anything yet.
Turn Signal Wires
Note: This is the passenger side. The driver side will be a blue/white wire.
For the turn signal lights, we’re only running one secondary KC Cyclone light, that’s the red wire coming into the yellow wire with the pictured connector.
Connect Toyota Turn Signal Wire
Continue crimping the Toyota turn signal wire, yellow on the driver side, and blue/white on the passenger side.
Reverse Light Wires
For the reverse lights, we’re running one secondary KC Cyclone light, that’s the red wire coming into the red wire pictured. Continue to crimp and connect the Toyota reverse light wire (red).
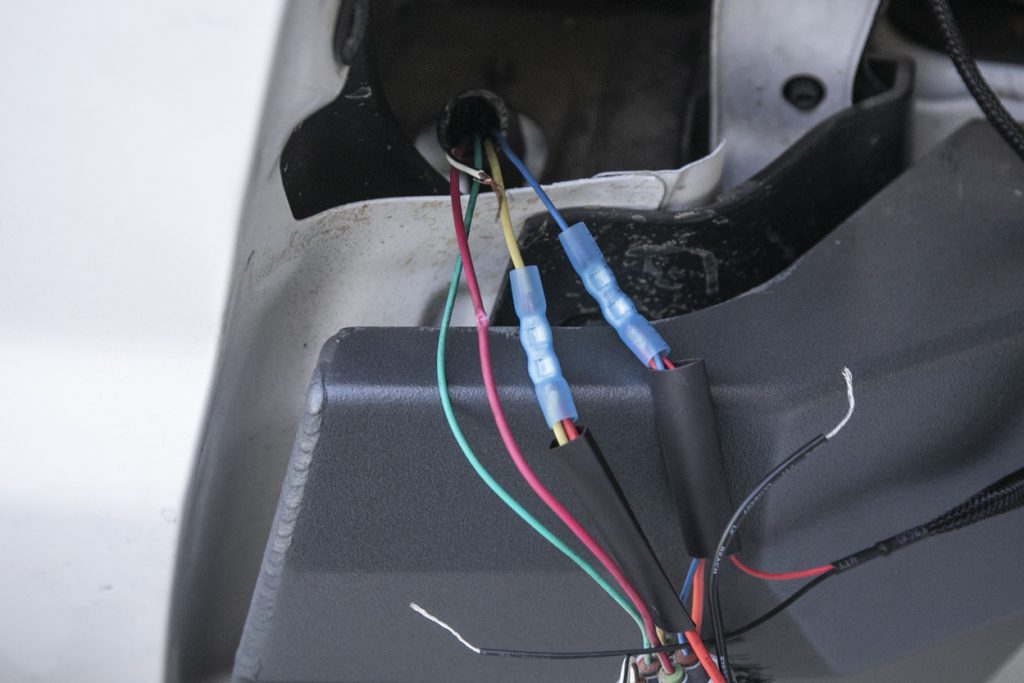
Connect All Ground Wires
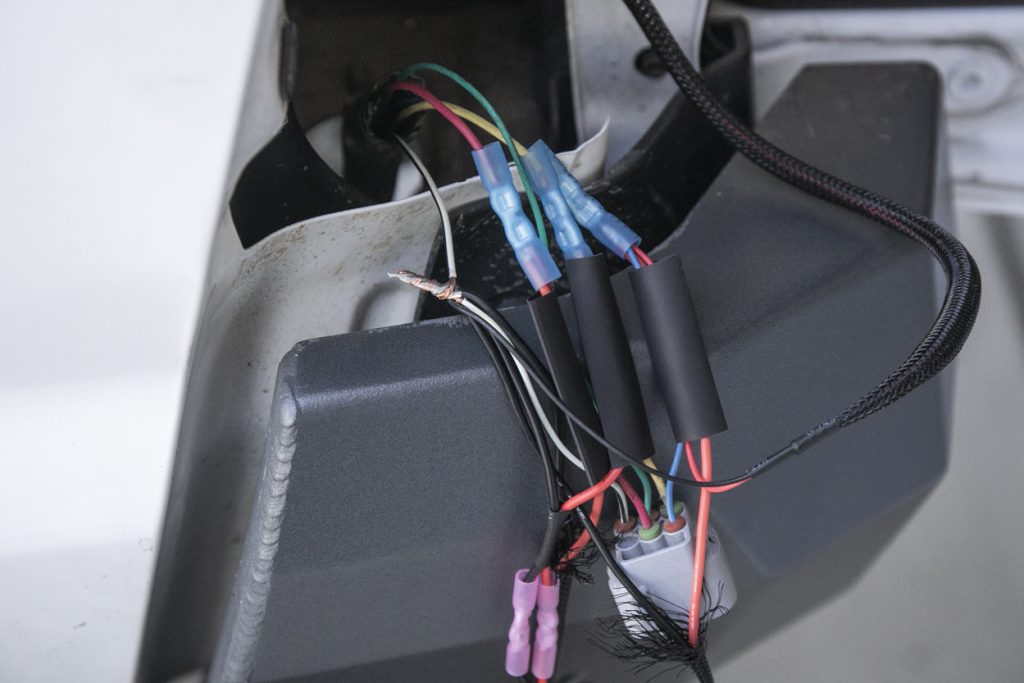
Note: Before connecting your last ground connector, wrap the wires and test your lights. Once your lights are working as they should, prepare your ground wires for a step-down connector.
Connect all applicable ground wires to the same connection. For this connection, you will need a step-down connector. We’re using a 12-10awg to a 14-16awg connector.
12-10awg to 14-16awg Step Down
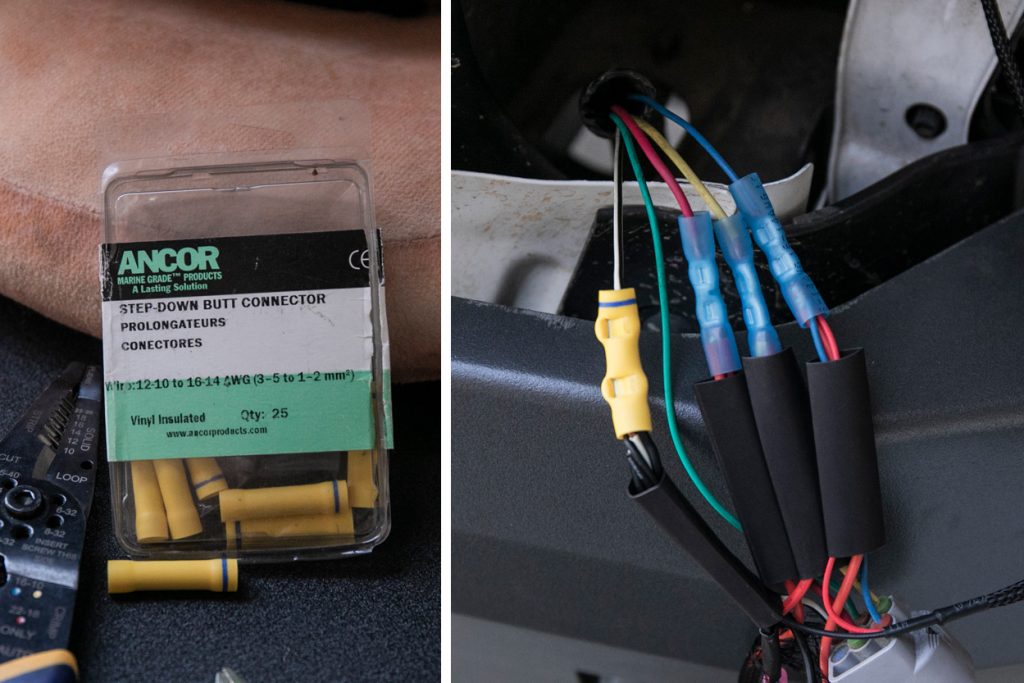
Crimp your step down to the ground.
BEFORE YOU HEAT SHRINK – TEST YOUR LIGHTS.
Apply Heat Shrink

Slide your heat shrink over each connector and proceed to apply heat.
Label wires if needed
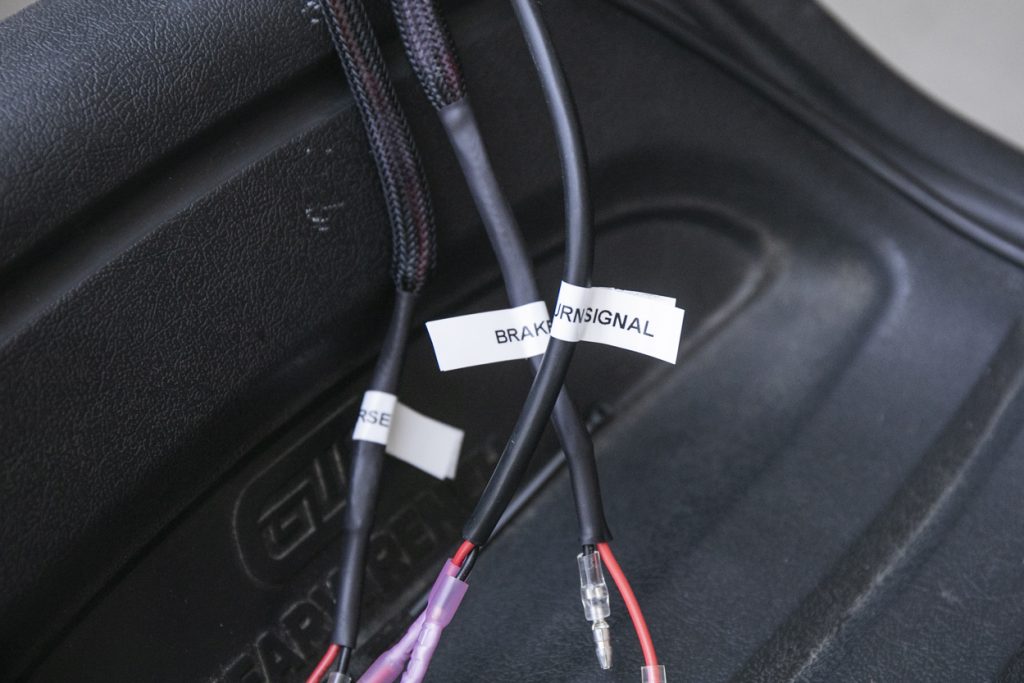
Since we have to disconnect our lights and run the harnesses elsewhere, we labeled everything to make it easier when reconnecting once the lights are mounted in place.
Wrap Harness With Tesa Tape
Just like they would at the factory, wrap your harness with extreme heat-resistant Tesa tape.
Final Thoughts
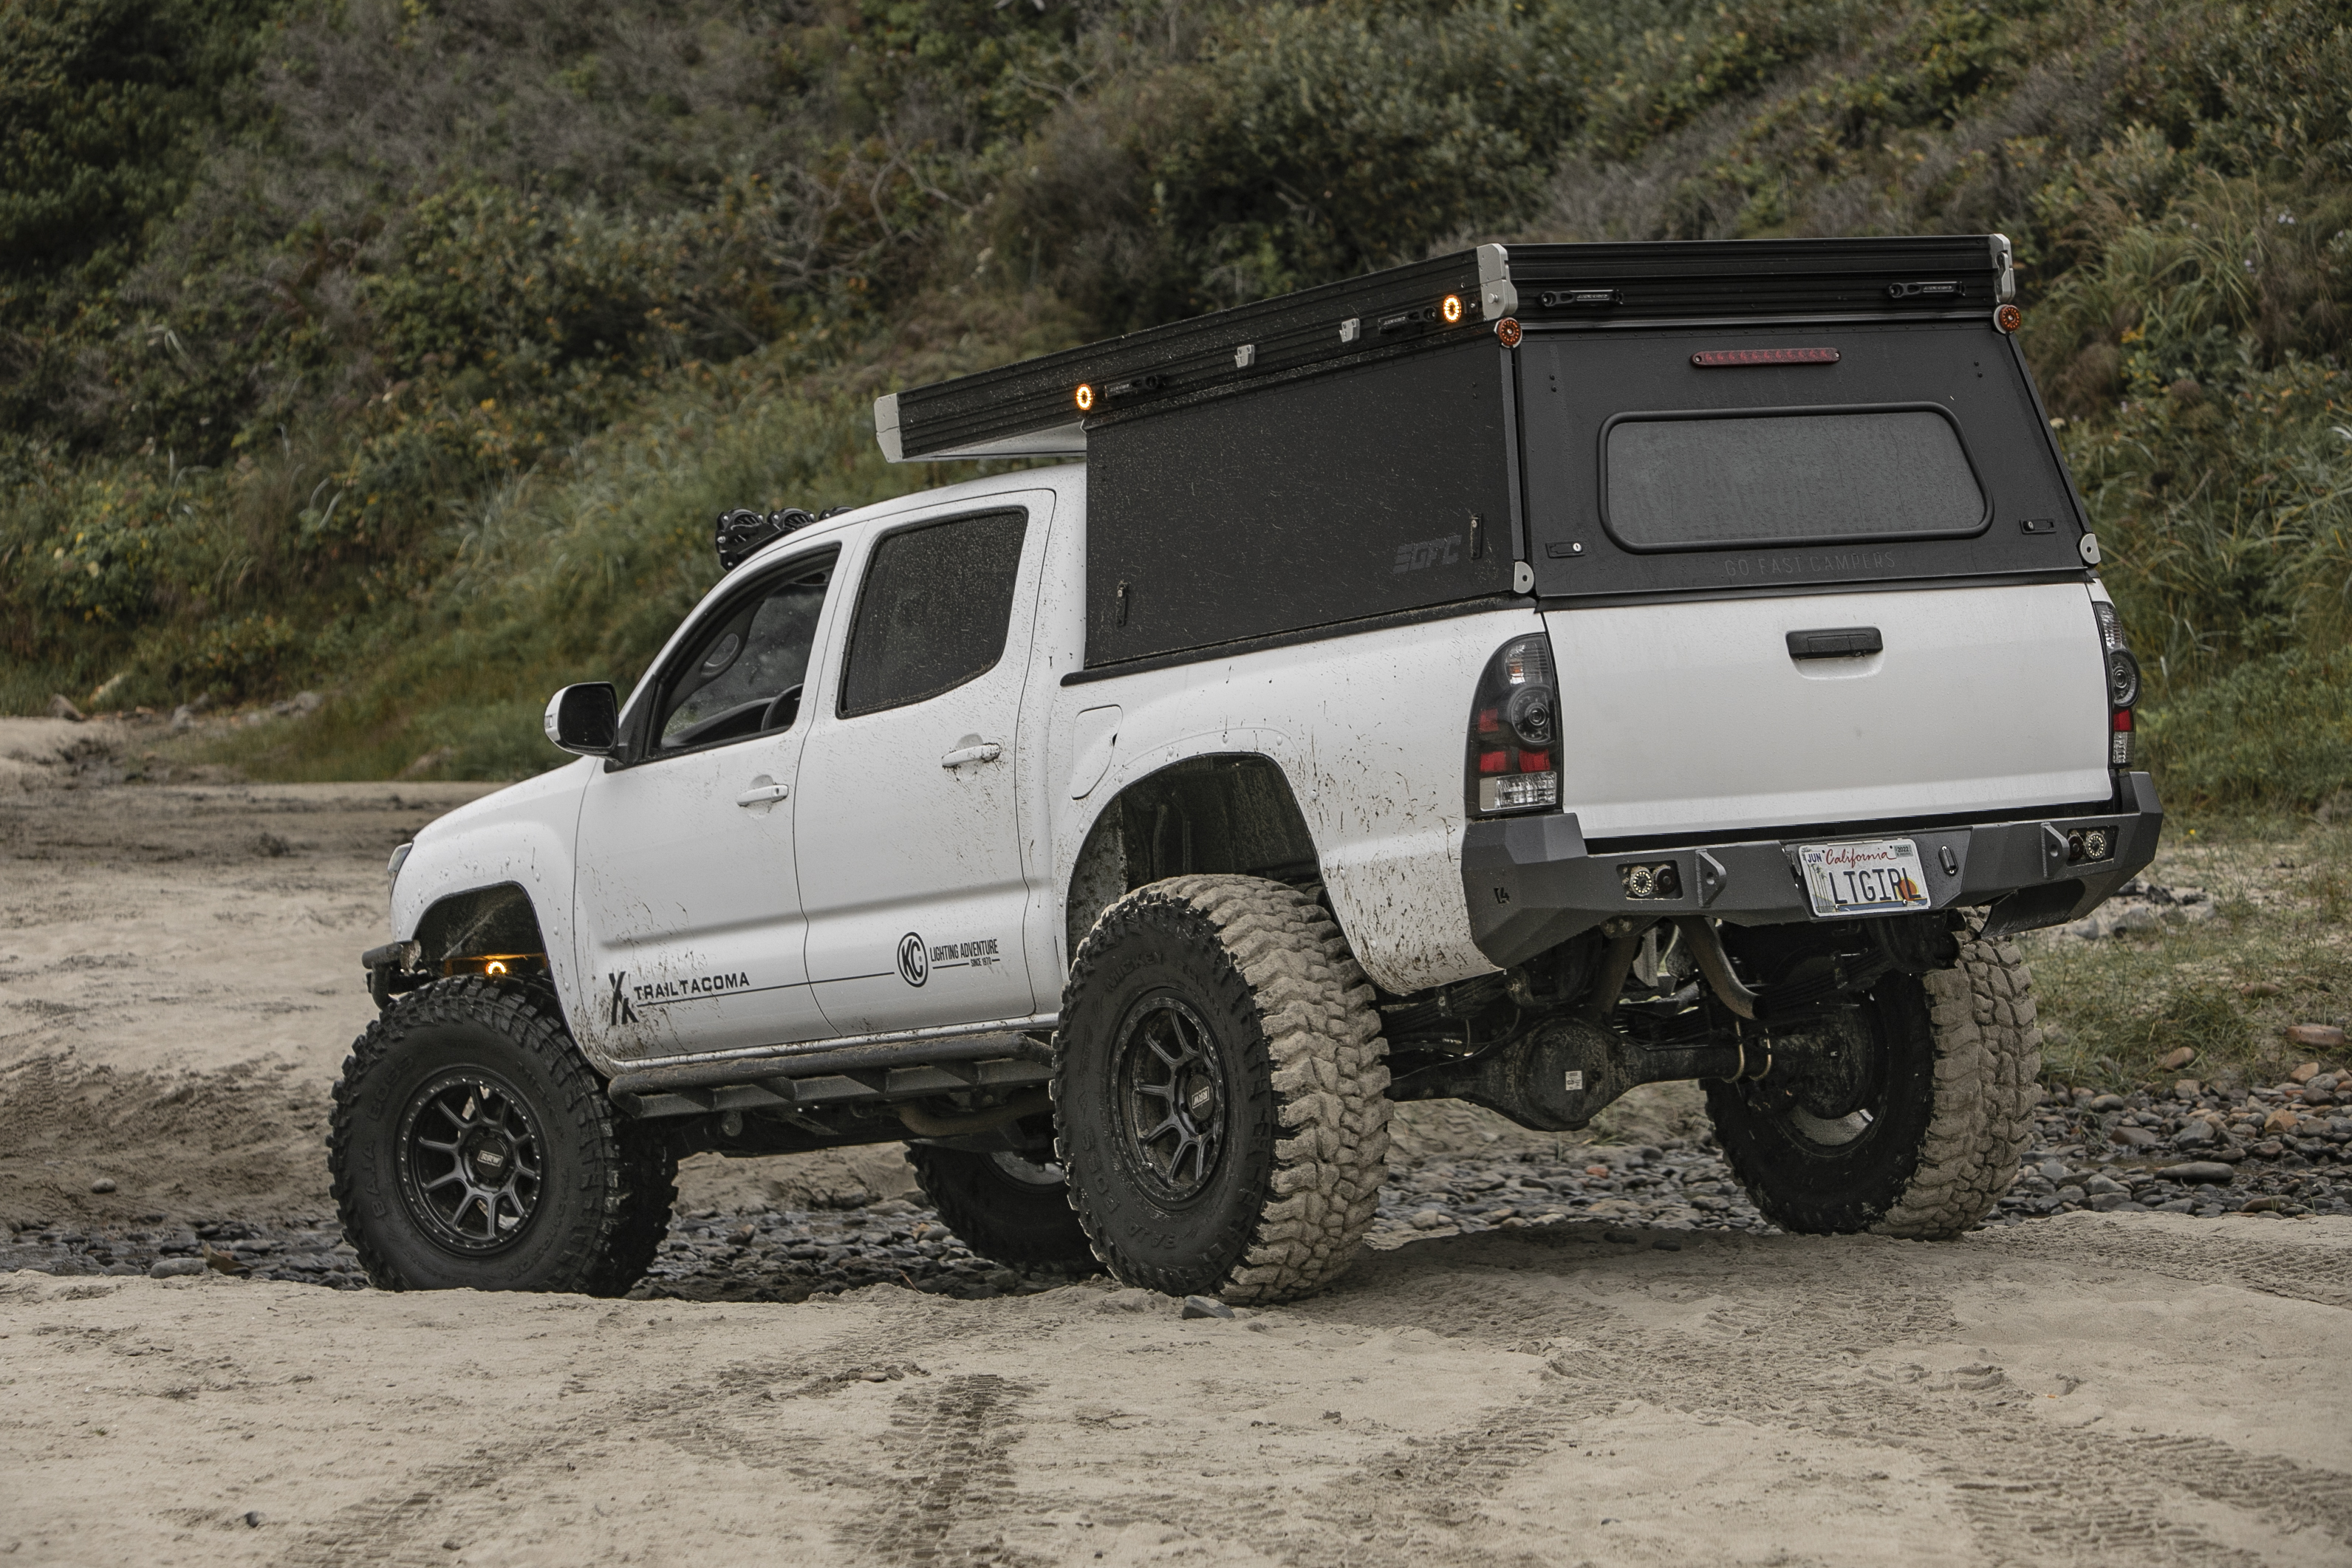
We ran the lights on a 2-week road trip through the Oregon coast and all the drivers behind me were complementing the brake/reverse lights mounted on the bumper and the turn signals mounted on the back of the GFC. The KC Cyclone V2s are nothing short of impressive, to say the least. They are easy to wire and come with everything you need to mount them on anything, be it with their provided magnet or bolted into place.
For the light output, check out my IG reel here.
I’ll record a YouTube video walkaround of all the lights soon and get that posted here as well.

Will this work on a 1st Gen 91 pickup?
Will the brake lights act as running lights or how does that work? I am going to try and use marker lights, but kinda want them on all the time when I have running lights on, but brighter when I hit the brakes
Would this apply to a 3rd gen too? Do you know any write ups that have been written for a 3rd gen?
This is the best one I found for the 3rd Gen: https://forum.gofastcampers.com/t/how-to-wire-3rd-gen-tacoma-3rd-brake-light/295
You don’t heat shrink your butt connectors too?
I definitely apply heat shrink to all butt connectors. Even though the butt connectors are technically water proof, adding heat shrink over the top of them helps by adding another layer of protection.