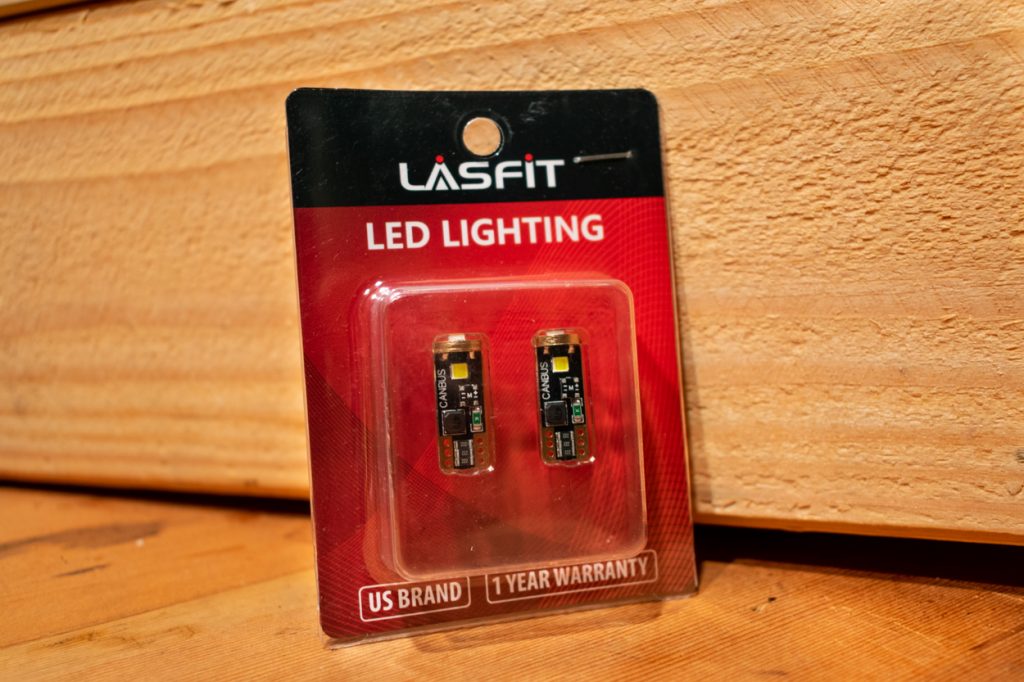
If you’ve ever accidentally dropped something while driving your Tacoma at night, then you’ll understand how annoying it is to try and search for it when you can’t see anything, even with the interior lights on.
LASFIT has a full LED light solution for the 3rd Gen Tacoma with its aftermarket LED light bulb products. The incandescent bulbs that come installed on our trucks are undoubtedly subpar, to say the least. In this review, I’ll be going over LASFIT’s LED dome light bulb as well as their LED bulb option for the license plate and map lights.
They offer these aftermarket light bulbs because many Tacoma owners have issues with both their interior and exterior lights underperforming. In this article, I will explain how to install these two products and provide my thoughts on their performance.
Find It Online
- Dome Light Bulb 400Lm: Check Price
- Bulb Style: Festoon
- Bulb Number: DE3175/ DE3021
- Color: 6000k (white)
- Lumens: 400Lm
- Map Light or License Plate Light Bulb: Check Price
- Bulb Style: T-10 Flat Top
- Bulb Number: 194/168
- Color: 3000k (amber)
- Lumens: 400Lm
Tools & Materials
- Flathead Screwdriver
- Plastic Pry Tools
- Masking or Electrical Tape
Table Of Contents
Dome Lights
Let’s start with the dome light install.
Step 1. Remove Cover
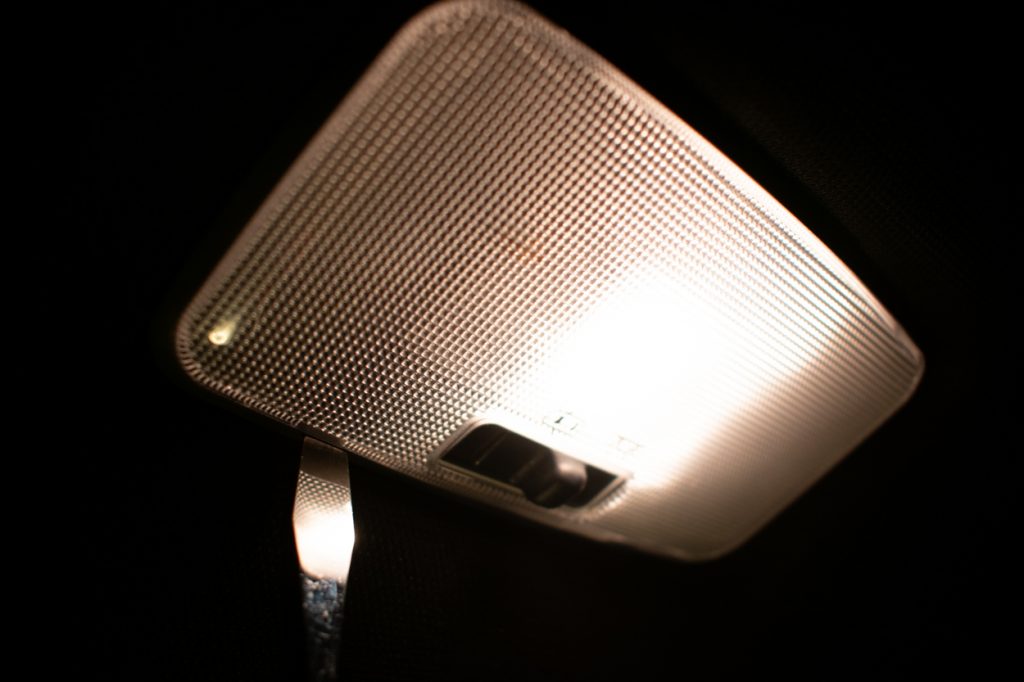
The dome light is the interior light located above the second row of seats in a double cab such as mine.
To remove the cover for this light, wedge a flathead screwdriver or a set of Plastic Pry Tools if you want to be a bit more gentle anywhere along the edge of the clear plastic and pop it out. There are dedicated slots for this if you would like to be extra careful.
Step 2. Remove Bulb

Now that the cover has been taken off, you can remove the factory incandescent bulb simply by pinching it with your fingers and pulling it out firmly.
Before doing this, take note of how the bulb is situated in the housing.
Step 3. Install LASFIT Bulb
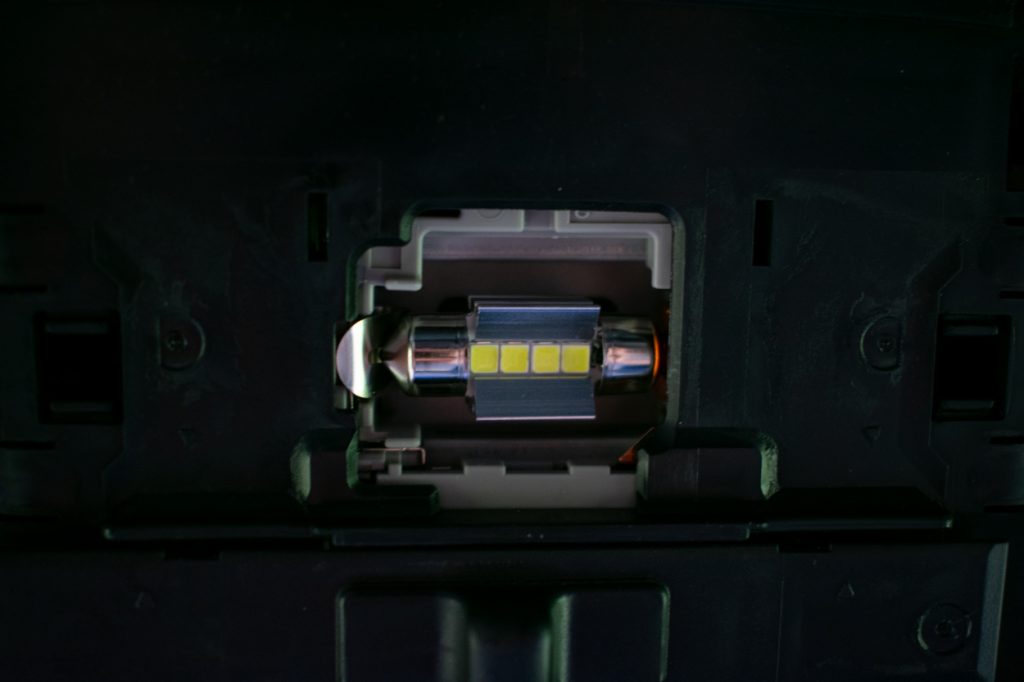
The next step is to install the LASFIT 31mm festoon style DE3175 dome light into the light housing. To do this, simply press it into place the same way the stock bulb was positioned.
Make sure that it is secure and that the light illuminates when you turn it on before continuing to the next step.
Step 4. Reinstall Cover
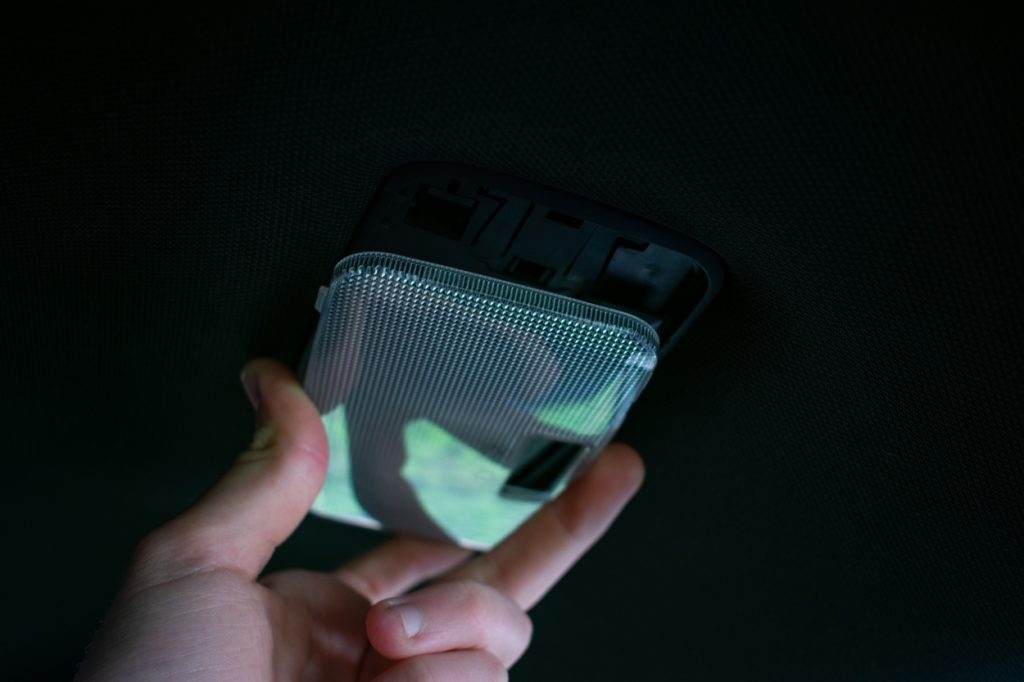
The final step to this installation of the dome light bulb replacement is to press the light cover into place by pushing it into the housing until it clicks and is secure.
License Plate Lights
Next, we’ll go over the install of the license plate lights.
Step 1. Remove License Plate Lights
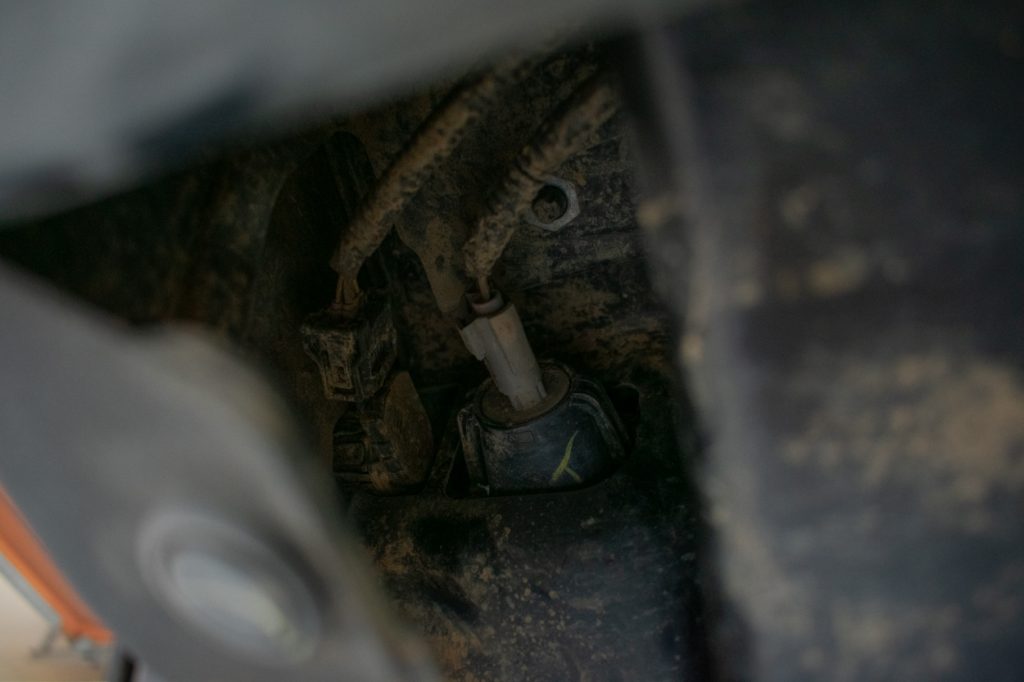
The license plate lights are located on either side of the license plate facing inwards.
To access them, you have to wiggle your hand through the gap on the underside of the bumper.
Simply twist the lights about a quarter turn to unlock them and then remove them from the light housing.
Step 2. Change Out Bulb
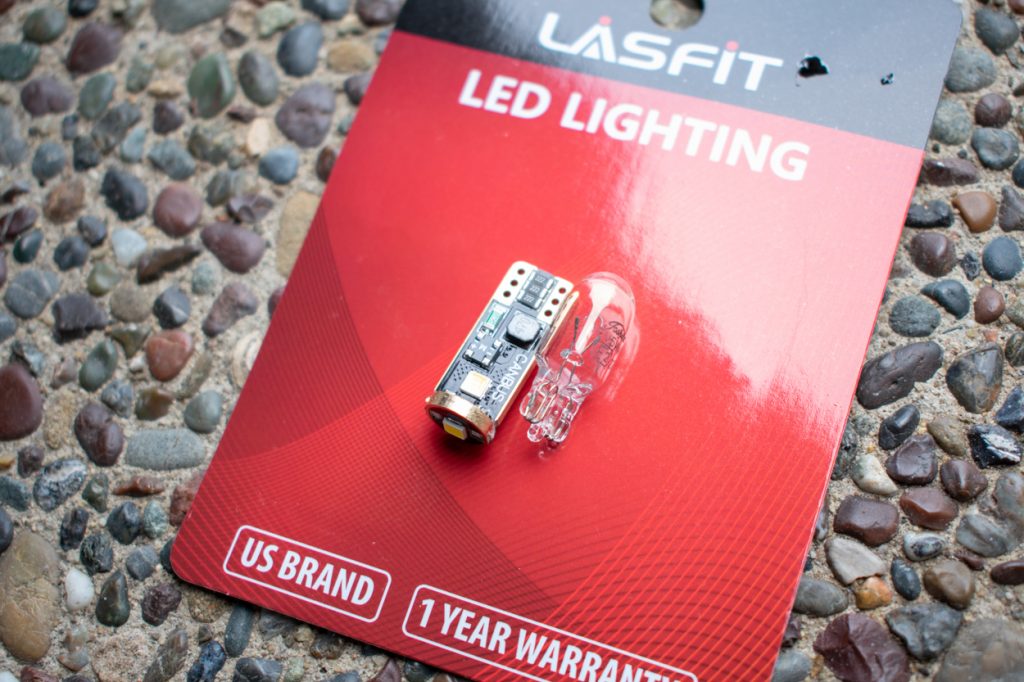
To remove the stock plate light, all you need to do is pull the bulb itself out of the grey socket. Then press your new LASFIT LED bulb into the same place.
Before continuing to step 3, turn on the lights on your truck and confirm that the new bulbs illuminate. If they don’t, just unplug the bulb and reinstall it the other way around.
Step 3. Reinstall Light & Socket
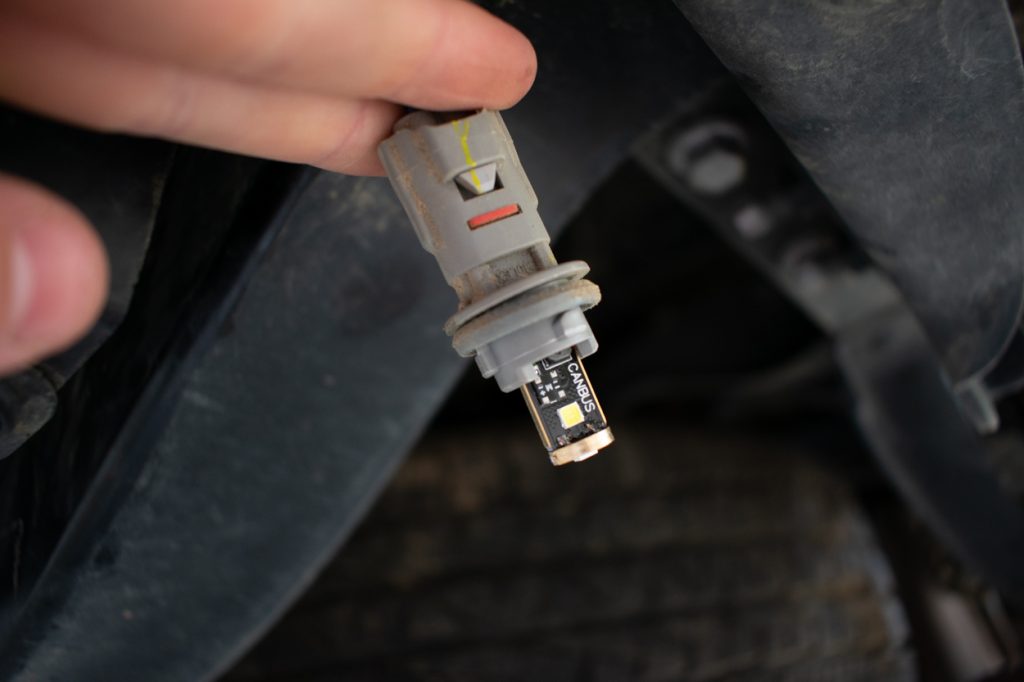
Now that the LASFIT bulb is installed, reinstall the light into the housing and twist it into place to secure it.
Repeat these steps on the other side and the install is complete.
Map Lights
Finally, let’s go over the map light install.
Step 1. Remove Covers
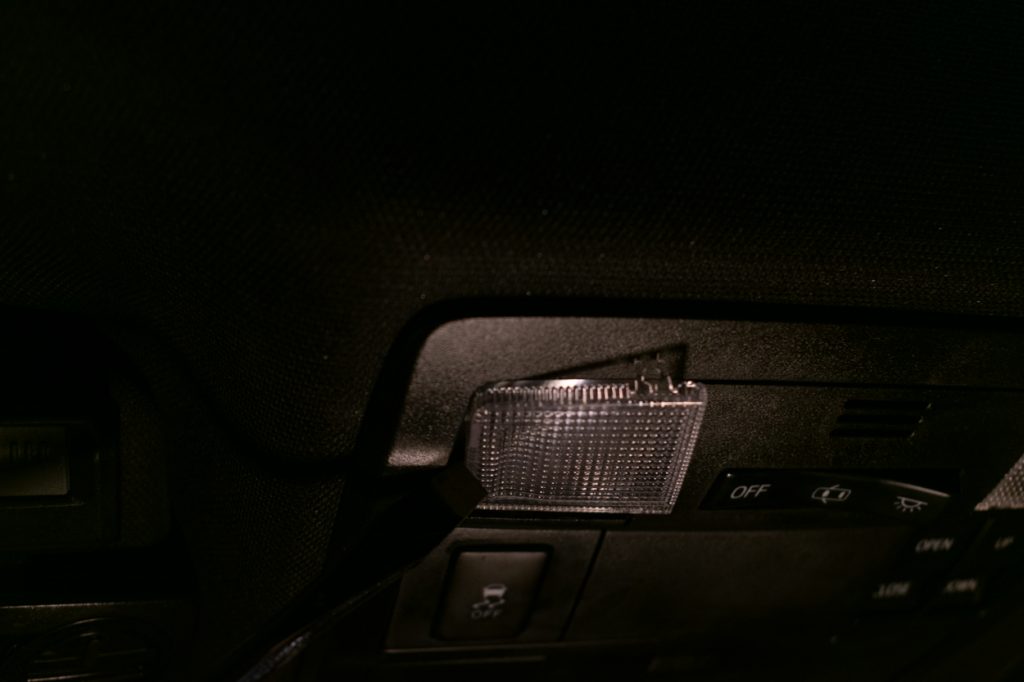
The following process is the same for both map lights. First, remove the clear light covers by gently wedging a flathead screwdriver around the edge of the cover and prying it open.
Try to use finesse here rather than brute force because I could see someone potentially breaking one of the plastic clips.
Step 2. Remove Bulbs
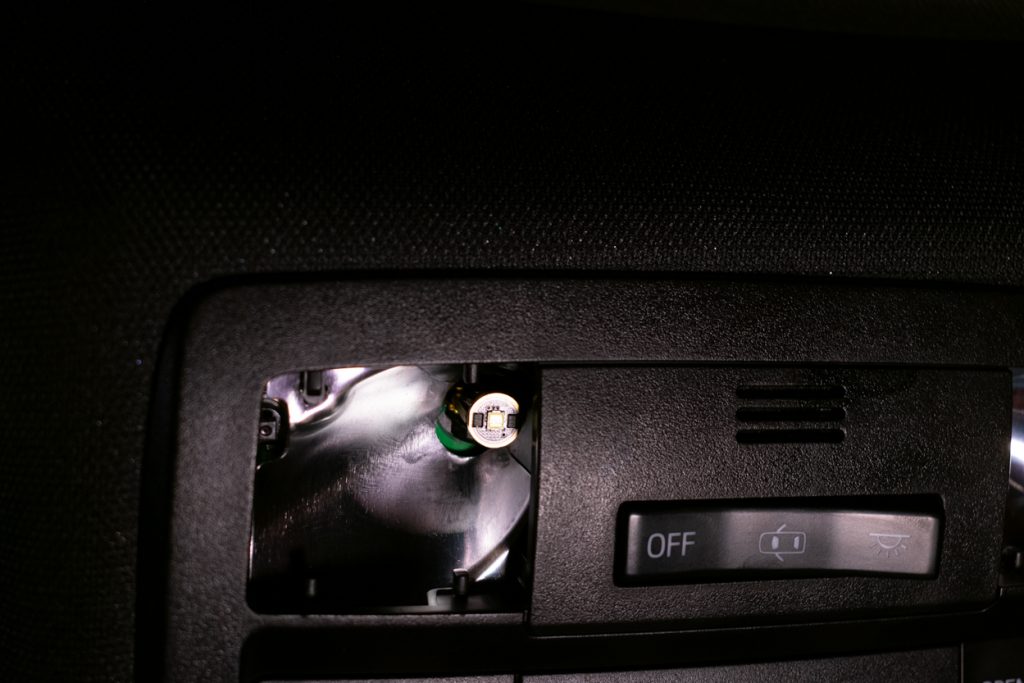
This step is surprisingly a little tricky. The light bulb is situated in a very awkward spot that makes it difficult to just pull out with your hands.
To make this easier, cut yourself a piece of masking or electrical tape about 2 inches long and wrap it around the bulb. Make sure that it is stuck on the bulb well and then pull on the tape and bulb simultaneously. This may take a few tries but keep at it.
You can see this method performed on a 4Runner map light here.
Step 3. Install New Bulb
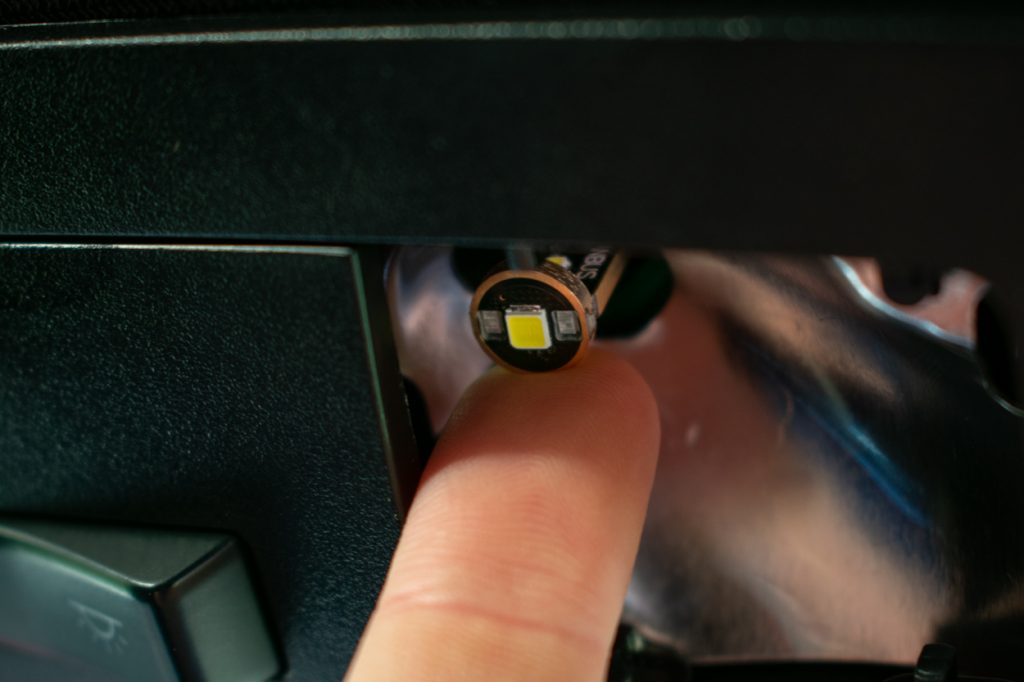
For this step, no tape or anything is needed. Just install your new LED bulbs by pressing them into the opening left by the factory lights.
Make sure that they are completely pressed in and secure.
Step 4. Reinstall Cover
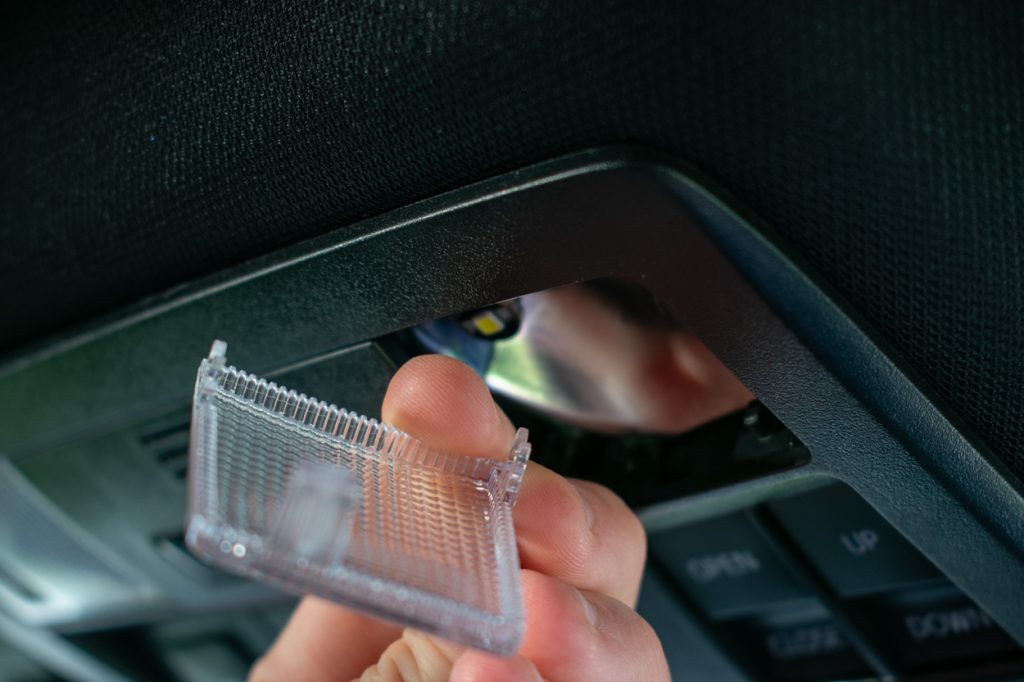
The final step is to reinstall the light cover by pressing it into the housing until it clicks into place. Repeat these steps on the other side and you are finished.
Comparison
Let’s see the differences between the output on all of the lights I installed.
Stock Dome Light
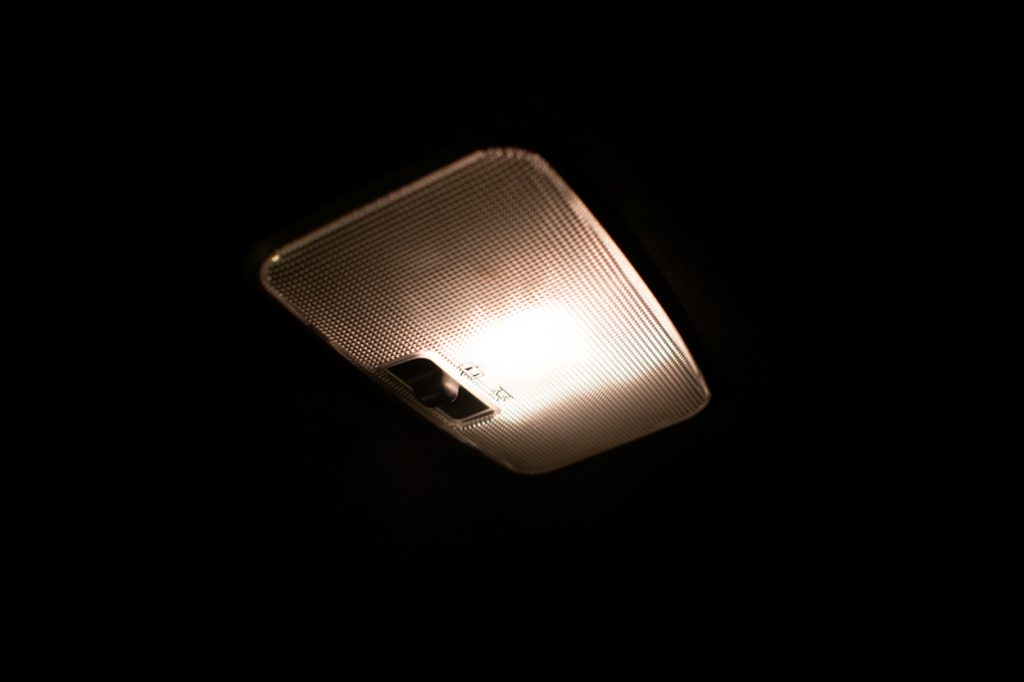
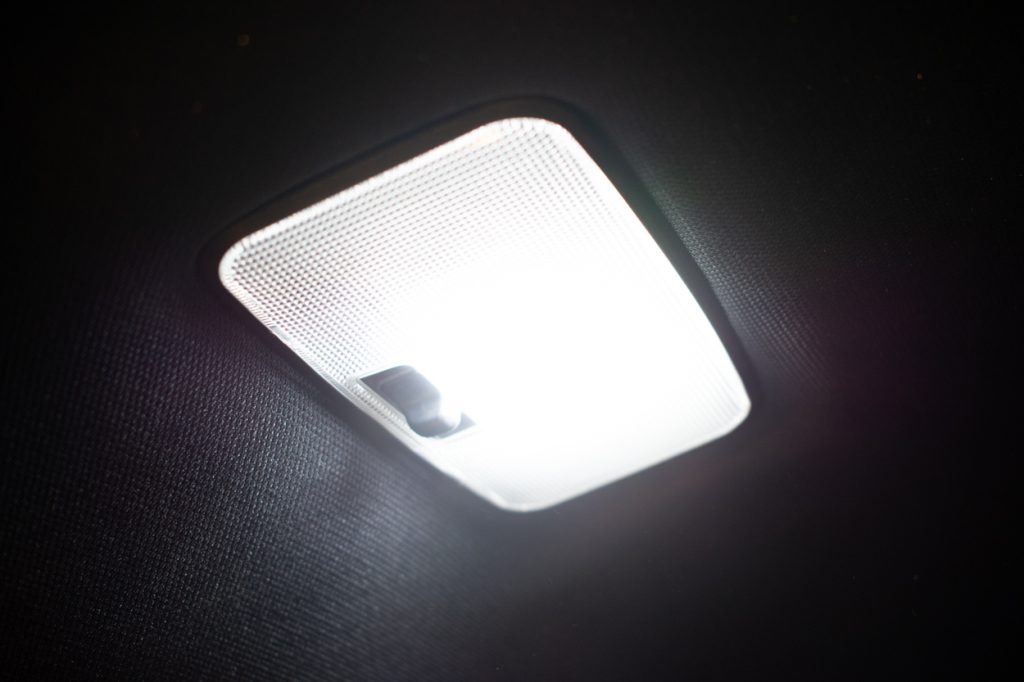
LASFIT Dome Light
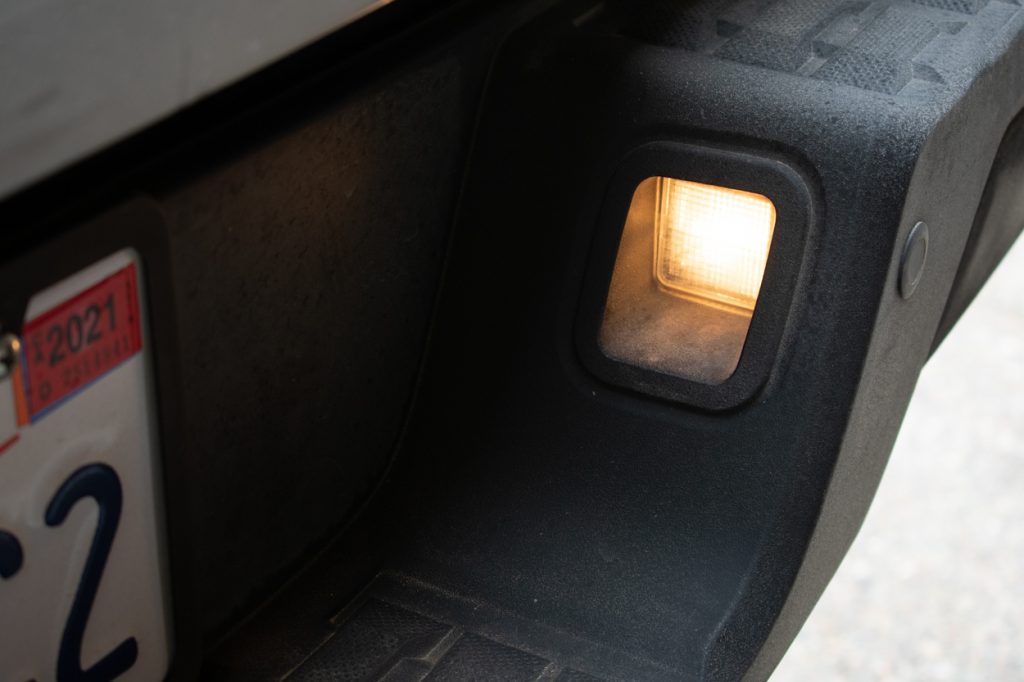
Stock License Plate Light
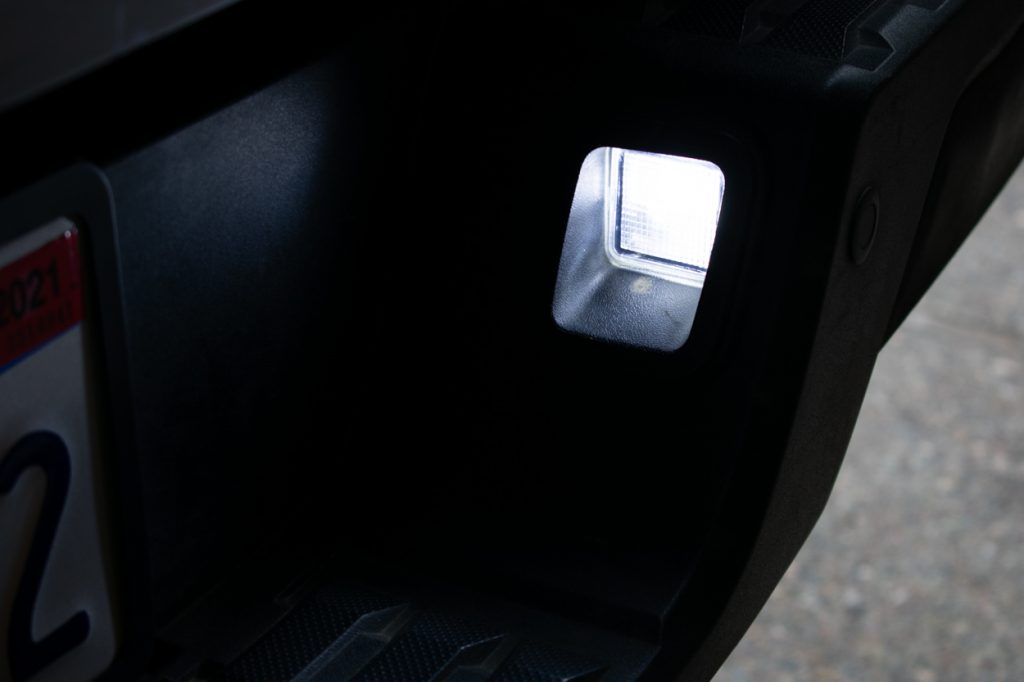
LASFIT License Plate Light
Stock Map Lights

LASFIT Map Lights

Final Thoughts
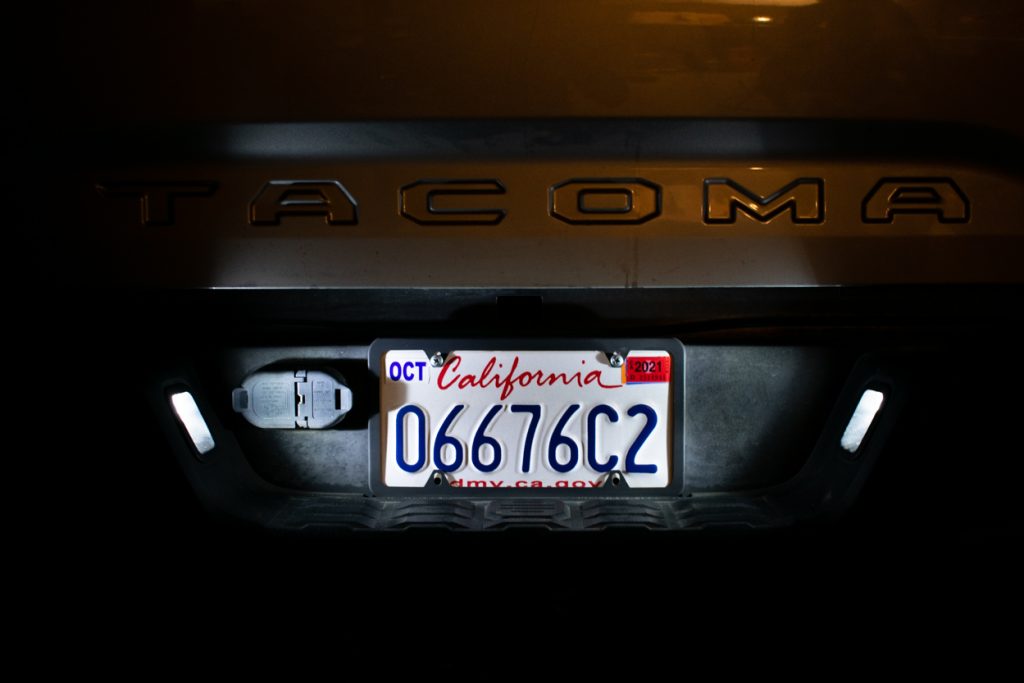
Overall, these installs were relatively easy. Although they were a bit tedious, by no means were they complicated. Each one individually could easily be done in about 15 minutes.
High-Quality LEDs
LASFIT has produced some really high-quality products with these lights. The output is much brighter than the stock bulbs and also much whiter. I have noticed a very significant difference in the brightness of these lights at night when I am getting into my truck or looking for something in the cab.
The license plate lights are also a massive improvement from stock, but I only got one set of the license plate/map light bulbs so I decided to keep them installed in the interior lights.
Underrated Upgrade
If I’m being honest, I was really surprised by how much I appreciate these light bulb upgrades. Before having these installed, I never thought that my interior lights were underperforming so badly that I needed to replace them. But, after having these on my truck for a while, I don’t think I could go back to the stock lights.
The license plate lights, in my opinion, are less necessary as they do not have any direct impact on your daily driving, though they are a nice aesthetic upgrade.
Affordable
You can get the map lights and dome lights for less than $15 per set from LASFIT and I think that this is a really great price for what you get. Ultimately, I think the choice comes down to whether or not you think you would appreciate these upgrades.
But, considering how cheap they are and the easy installs, I would definitely recommend them for any Tacoma owner looking for a quick mod that won’t break the bank.


