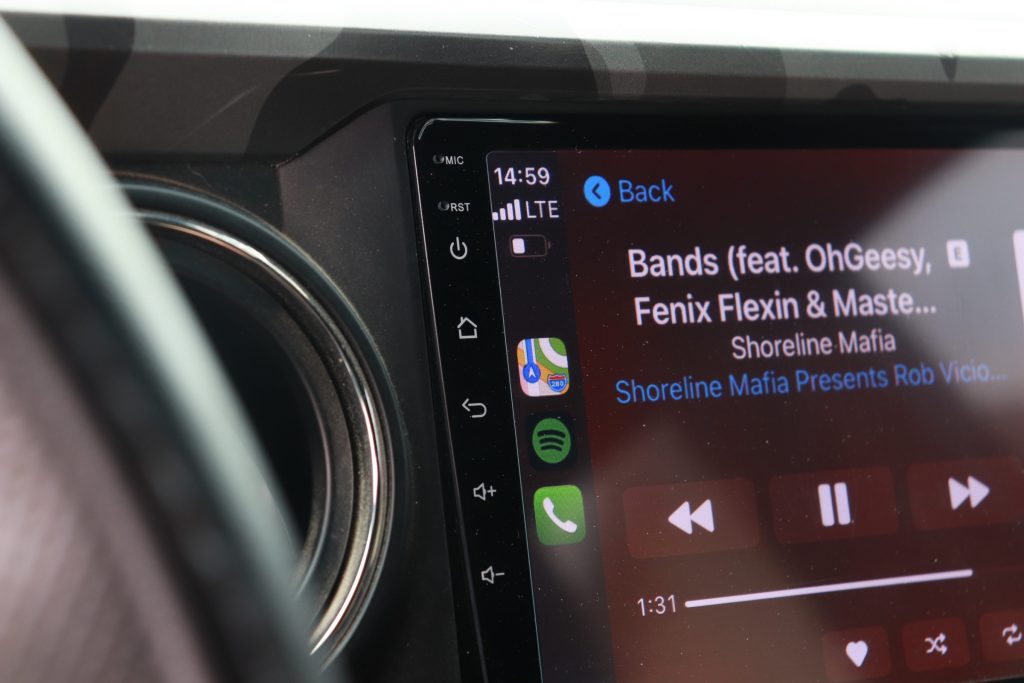
Everyone knows that the stock head unit in the 3rd Gen Tacoma leaves a lot to be desired. Whether it’s the lack of CarPlay or the even larger lack of audio control. Even with the JBL Entune system that Toyota offers, it can still be improved upon.
If you’re not interested in dropping a huge bag of cash on a new speaker and subwoofer system, then this is the option for you. Even if you have already dropped some money on a sweet new setup, this will be an even better upgrade to dial in that sound.
Find It Online
- Car Trim Home PX6: ***Discontinued***
- Alternative Product (CarTrimHome T10): Check Price
Table Of Contents
Features & Specifications
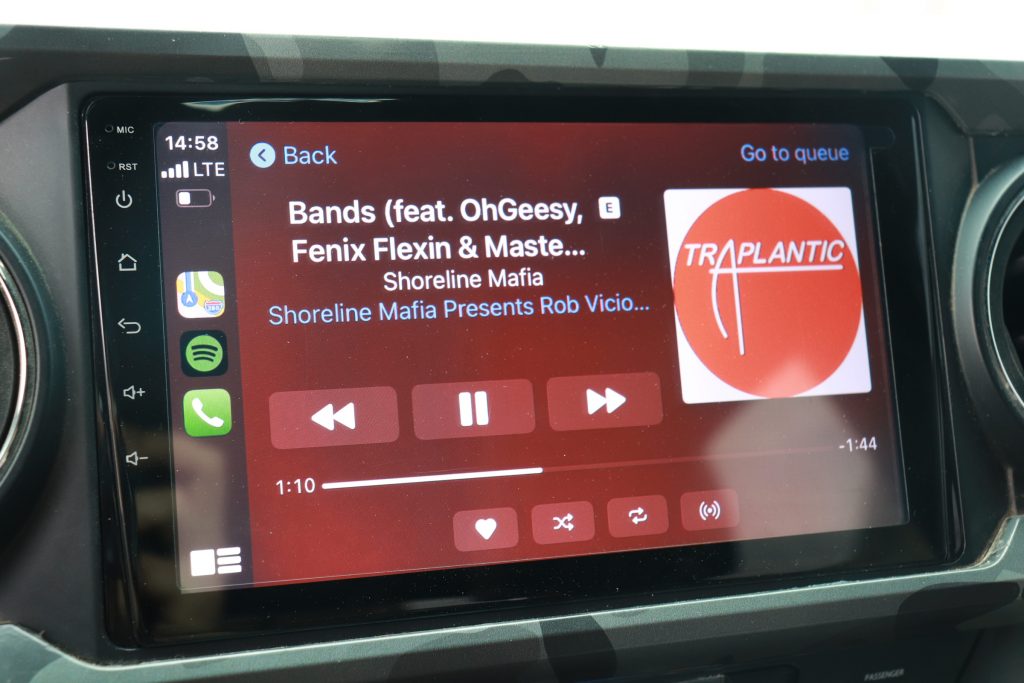
The unit is compatible with the backup camera, steering wheel controls, as well as every other function that came stock with the radio.
Features & Specifications
- Andriod 10 Operating System
- 4GB RAM
- 64GB ROM
- Bluetooth Support
- Built-in Microphone
- Compatible with USB Flash Drive & Micro SD Card
- Compatible with External Hard Drive
- Supports most Android Apps
- Capacitive Touch Screen
- Built-In Wifi
- GPS Navigation
- Works with Factory Controls & Functions
- Apple CarPlay & Android Auto
- Zlink App Compatible
Depending on the specials running, it will range anywhere from about $400-500. VERY cheap compared to the rest of the market for all of the options it has. Don’t let the price fool you though, this head unit is very well made.
Basic Installation & Wiring
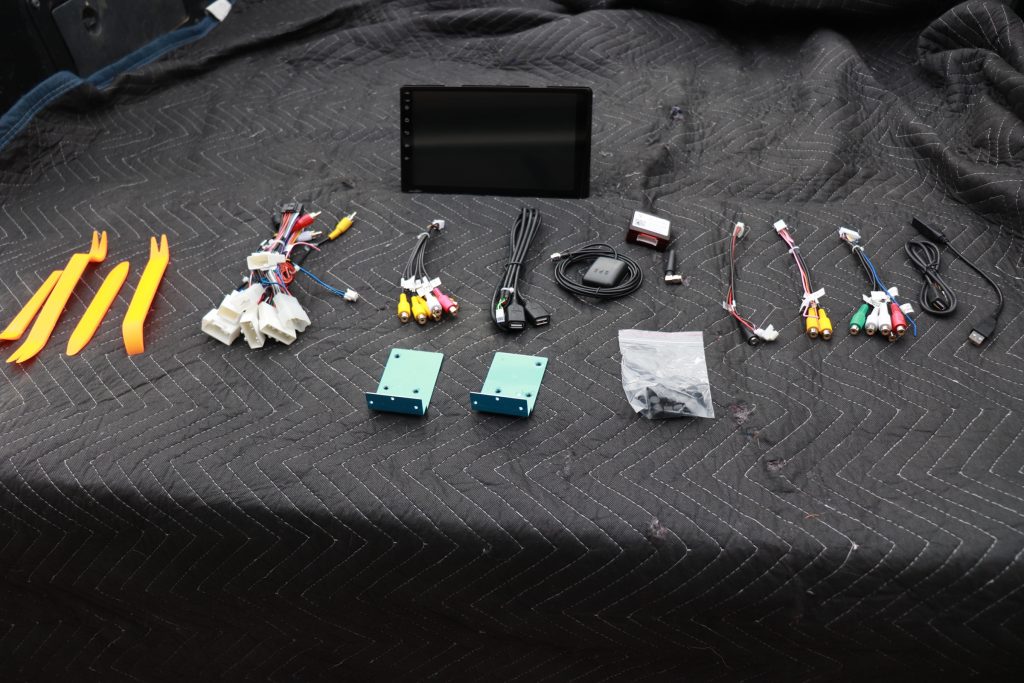
There will be some harnesses that are not used in the process and that is okay. That is because this unit is compatible with multiple vehicle platforms.
In the picture above, the second and third sets of wires are not needed unless you plan to run video to the head unit or you plan on hooking up multiple USBs. I don’t plan to do so, so I put them off to the side. They aren’t needed for this install but everything else will be used, minus the blue brackets towards the front.
Everything only fits into one place for each harness. Don’t worry about hooking something up in the wrong area, it won’t fit if it isn’t meant to be. This kit comes with everything you need to install as pictured above, except the tools.
Required Tools
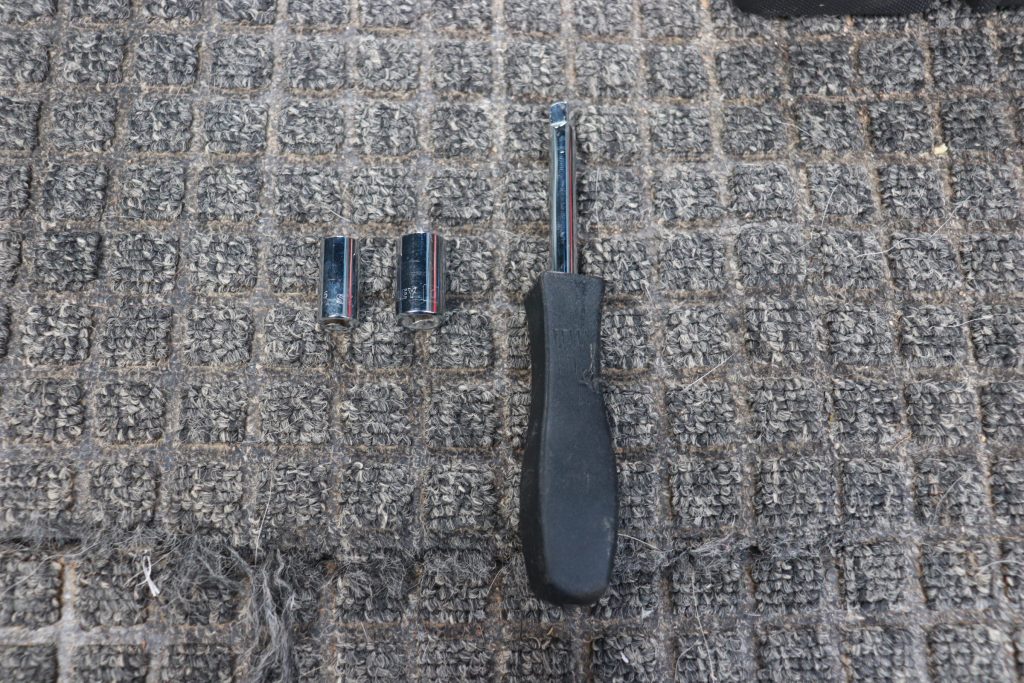
- Plastic Trim Removal Tool
- 10mm Socket
- 8mm Socket
- Socket Wrench or Compatible Socket Handle
Step 1. Remove Trim Pieces
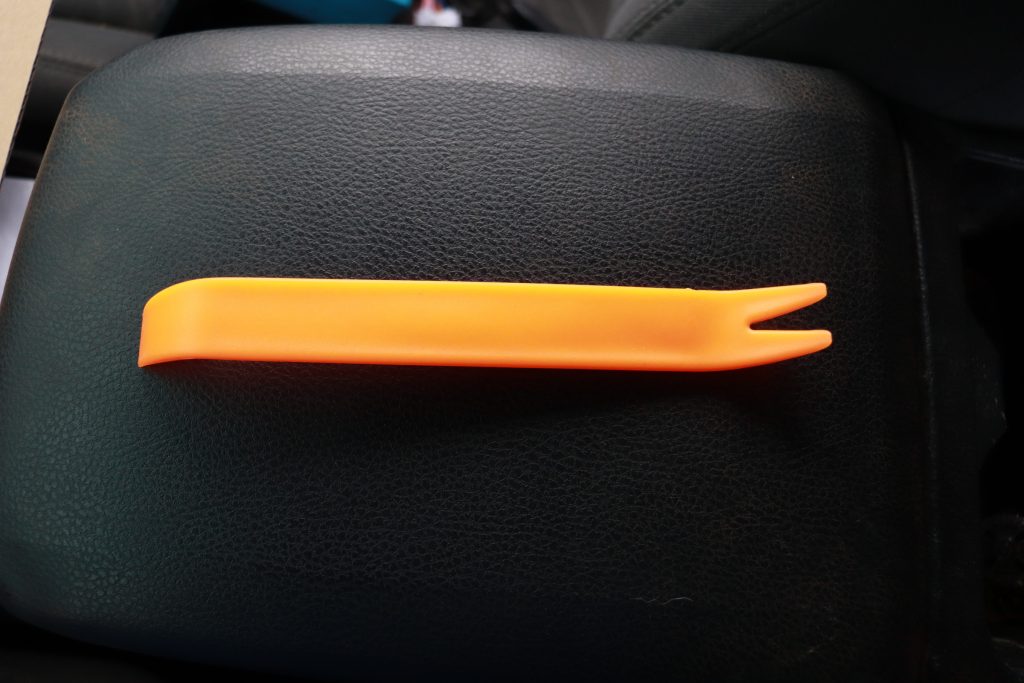
You’re going to want to grab the supplied trim removal tool as pictured above, as well as, the box that the unit came in.
Place the box upside down in front of the radio area for a convenient workstation. This is optional, but it really helped later in the process.
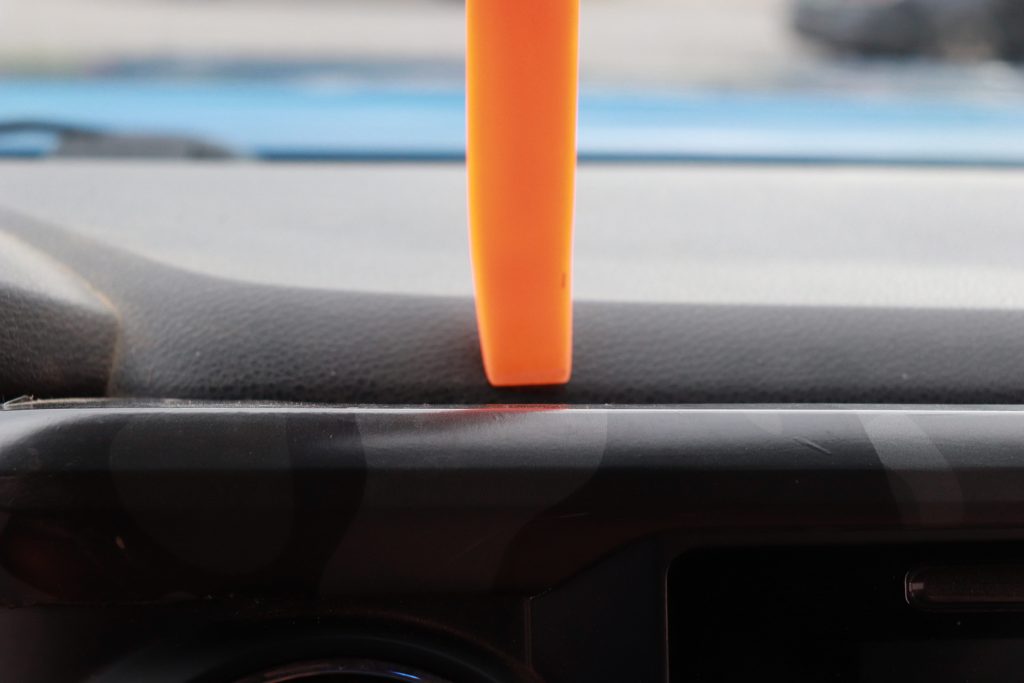
Once you have the tool, you’re going to slide it behind the bezel and pry it back and forth around the entire trim piece.
If it’s your first time removing it, it feels like it’s going to snap on some parts but it will come out once you completely go around the entire piece. Work slowly to avoid breaking any clips—we all know how easy that is.
Step 2. Remove & Disconnect Head Unit
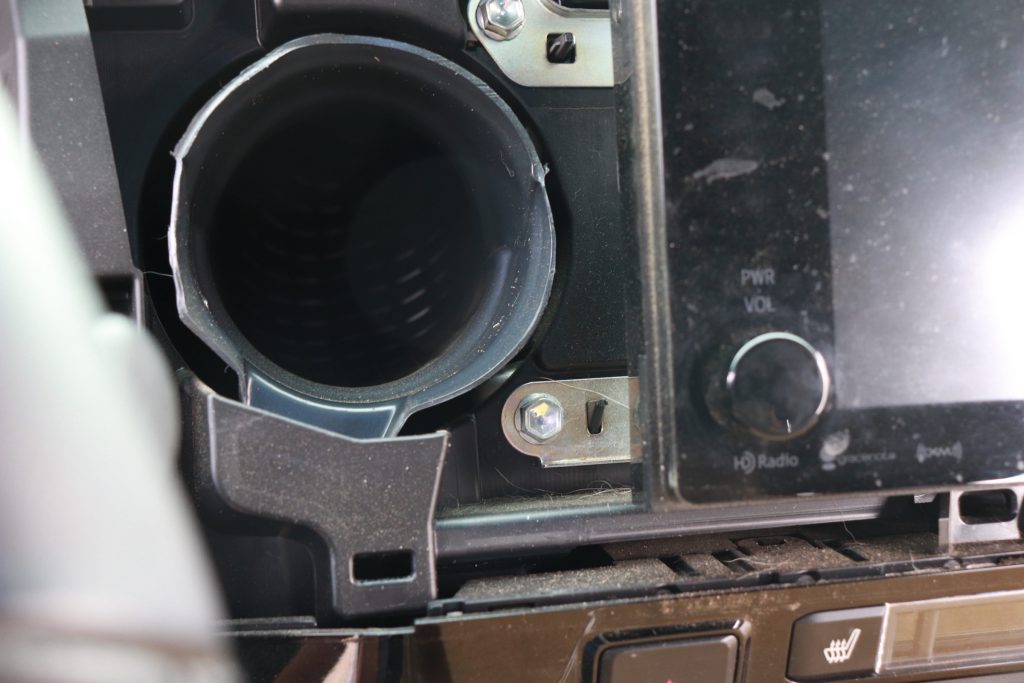
Once the bezel is off, there will be four 10mm screws to remove.
Save those; they will be used to mount your new head unit.

Once the screws are removed, pull the radio forward and it will slide right out.
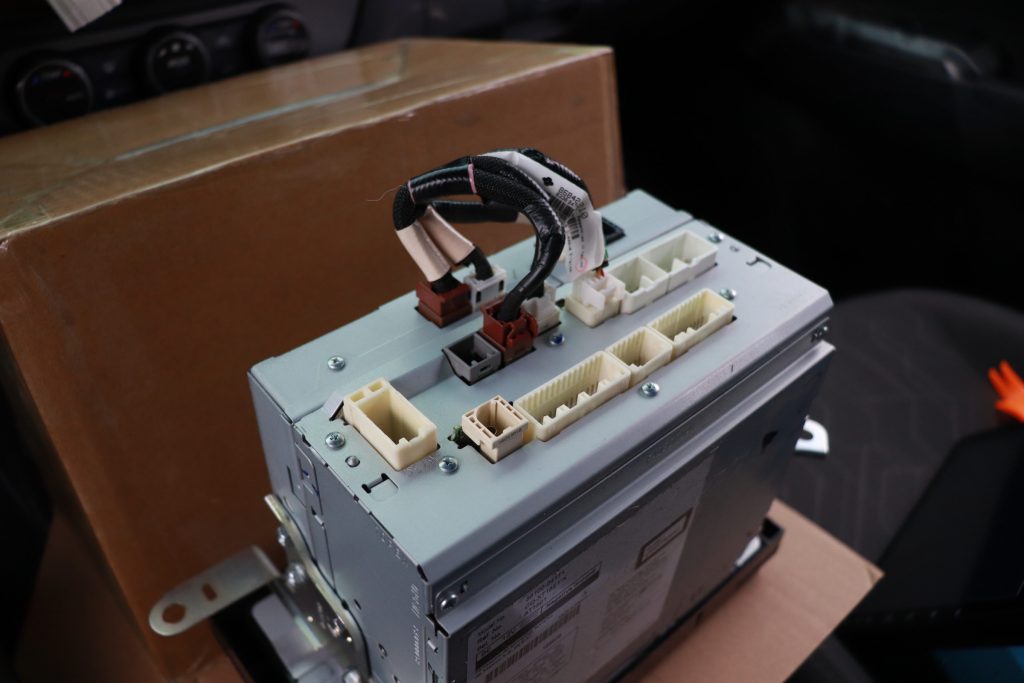
Now that the head unit is all pulled out and on your makeshift table, carefully unplug all of the wiring harnesses.
If the harnesses are connected back into the unit itself, you don’t have to pull them if you don’t want to.
Step 3. Install Radio Brackets
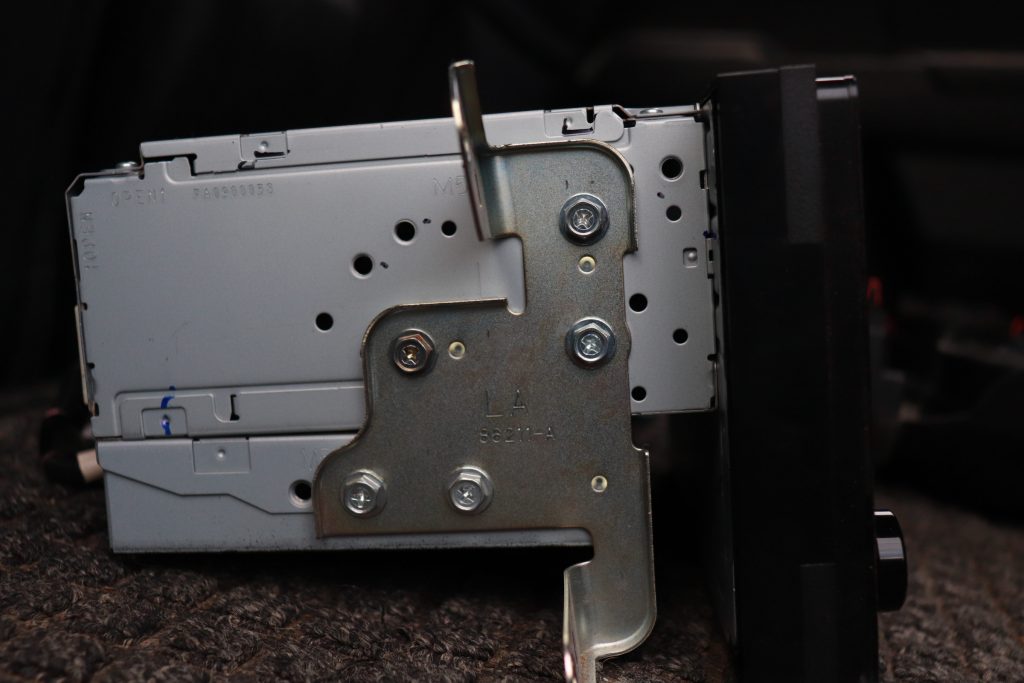
Now you’re going to get your 8mm socket and remove the 5 screws on each side that are holding the brackets onto the unit.
Save two of those screws because you will be reusing one for each side. Throw the brackets that the new unit came with away. They’re junk.
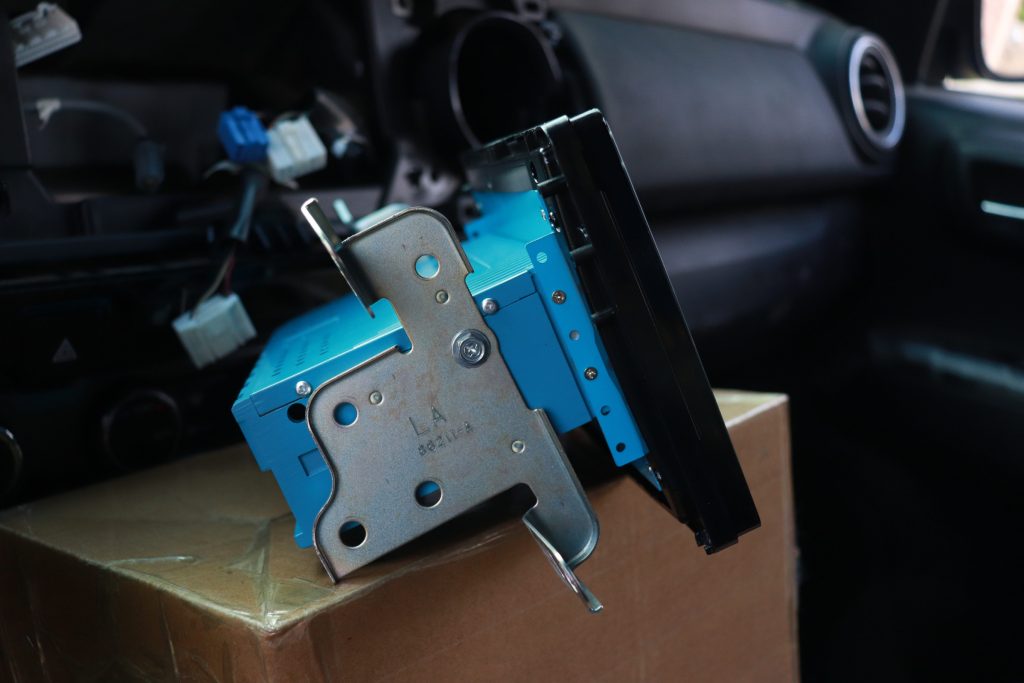
Now there are a couple of different ways you can attach the factory bracket to the new radio.
- You can use one screw for each side and not worry about doing anything else as I did above.
- You can grind down the bumps on the bracket so it lays flush on the side of the unit and then you drill a hole into the factory bracket so that it will use more than one screw to hold on.
I opted to use just one screw on each side and not worry about grinding or drilling. The radio is very sturdy in the mount and will not move at all. I would recommend you go with the single screw option. It will only line up with one hole but I don’t foresee any issues. But do this at your own risk.
Step 4. Wiring Your New Radio
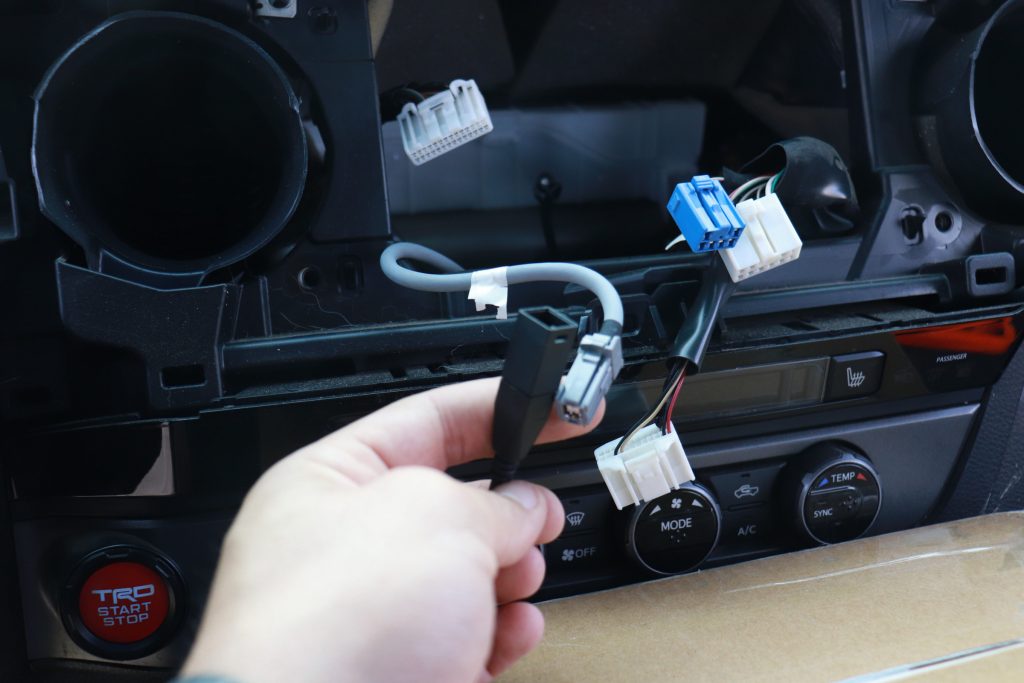
Next, you’re going to want to hook up the grey wire from the truck and the black box that fits into it as seen above.
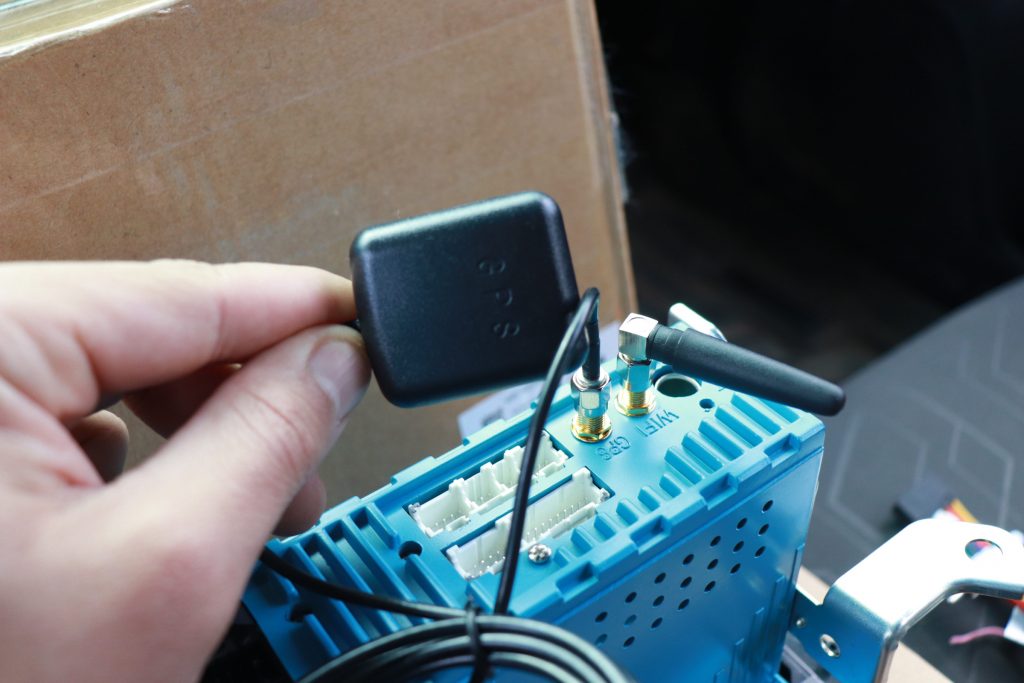
Following that, you’re going to want to screw on your antenna and GPS box.
Set the GPS box off to the side for now. We will find a place to mount it a little bit later.

In the photo above, the small harness on the right is a 90-degree plug. This harness will plug into the harness with the two blue wires. This is important, so make sure you carefully install this harness.
I originally installed this harness incorrectly and it wouldn’t click into place. After some troubleshooting, I finally understood why.
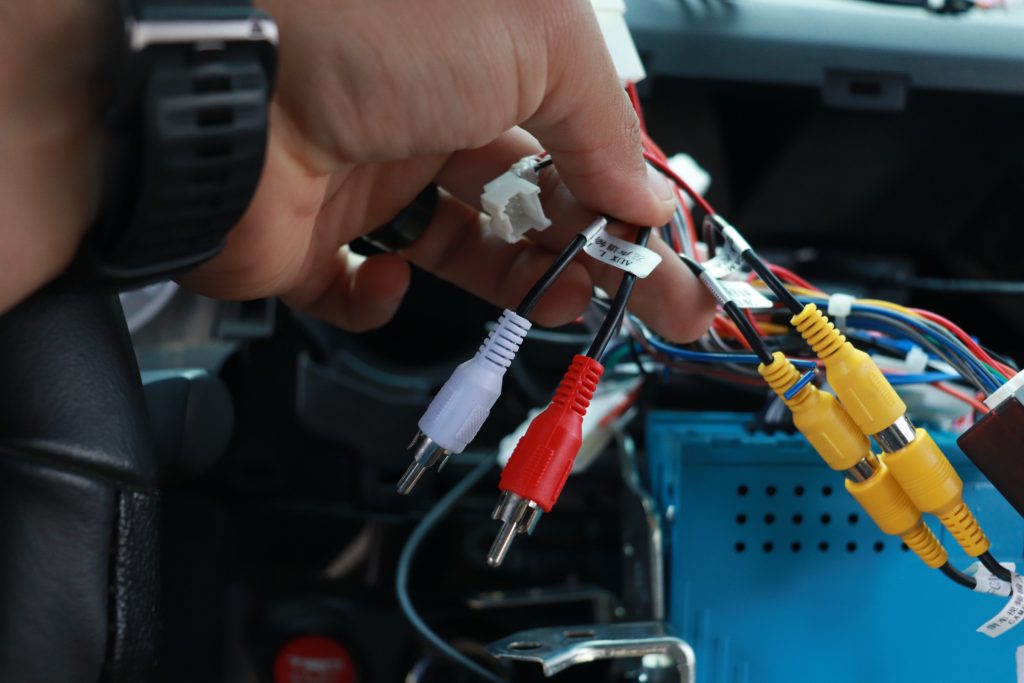
Now you can plug in the 4 yellow cables, those are for your backup camera. They are both labeled. I had them reversed and the camera would not turn on. If you run into that error, just switch them around as I did.
The red and white wires are just extra. I won’t go over the rest of the connections with you because they are all labeled, and like previously mentioned, will only fit in one place each. Just pair them with their associated ends.
Step 5. Set Up Steering Wheel Controls
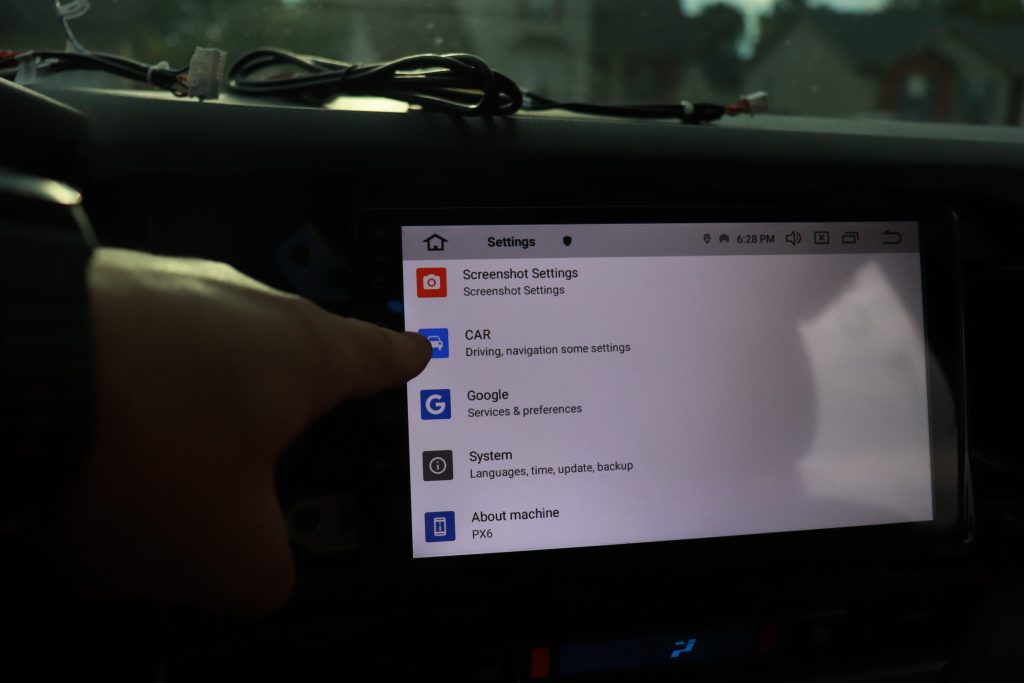
Find settings and click it. After that, you’re going to want to select car settings.
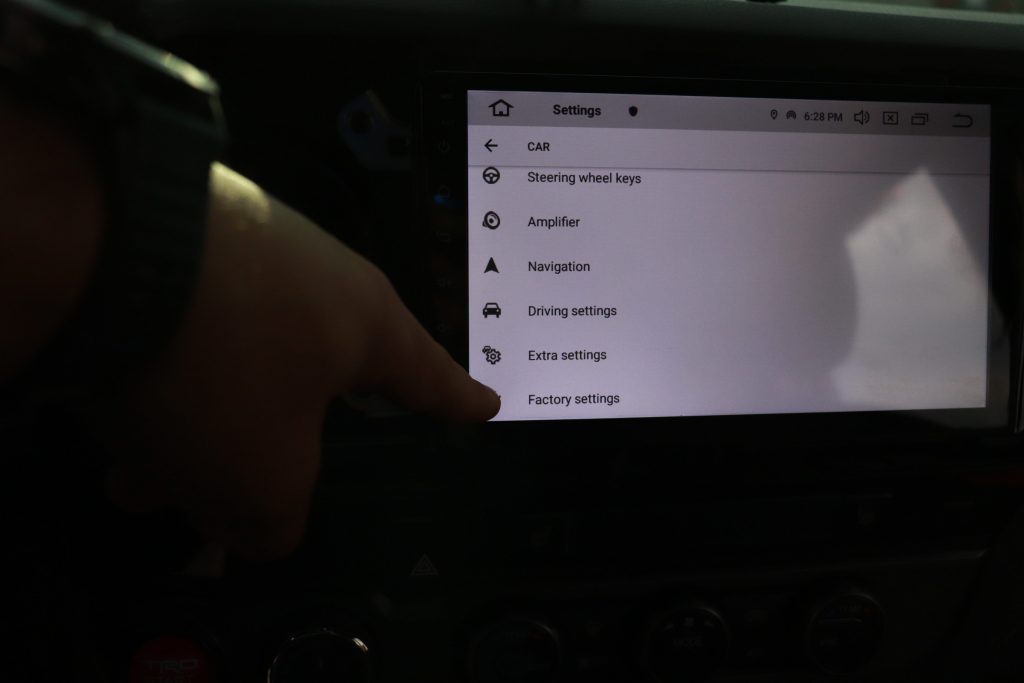
After you’re in the car settings, scroll to the bottom of the page and select factory settings as seen above.
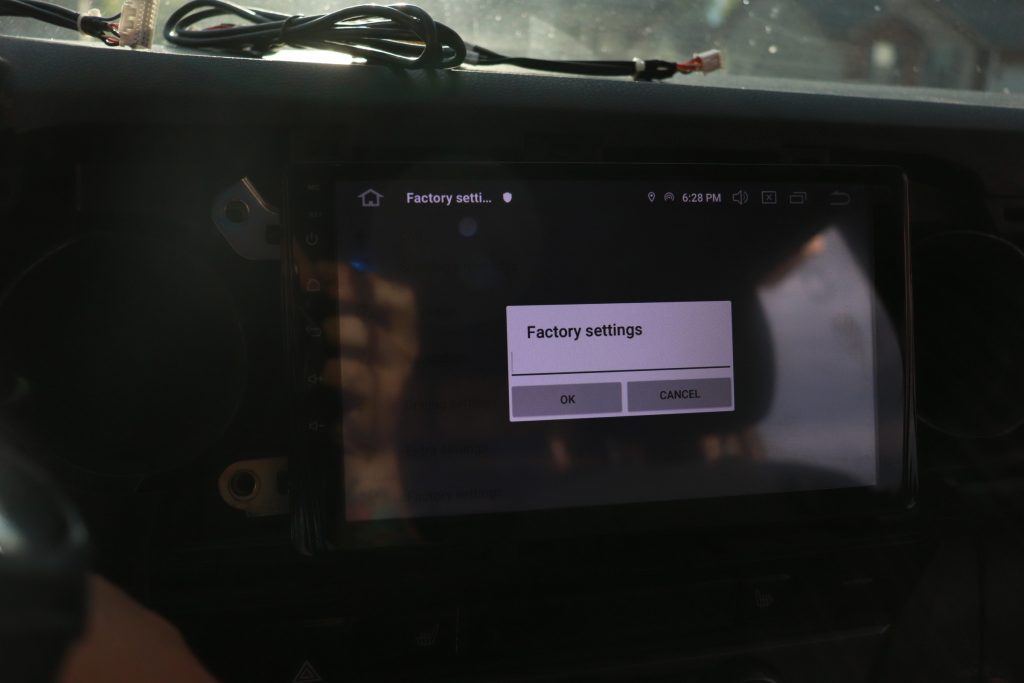
A password box will appear, click it and type the numbers 126, then hit enter.
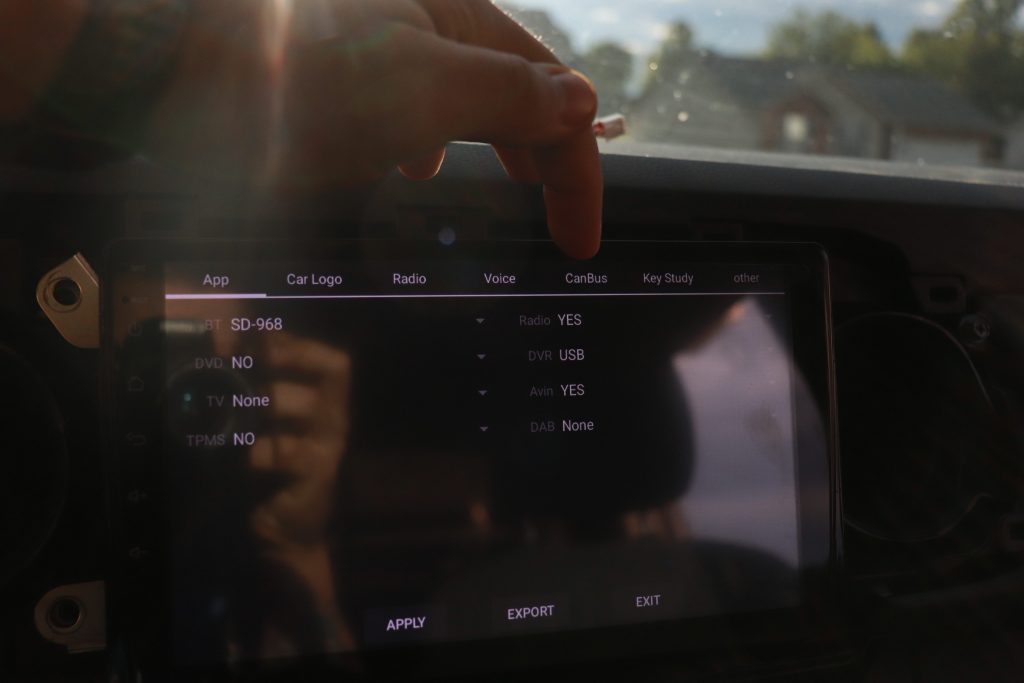
Once the screen above shows, you’re going to want to select the tab that says CANBUS.
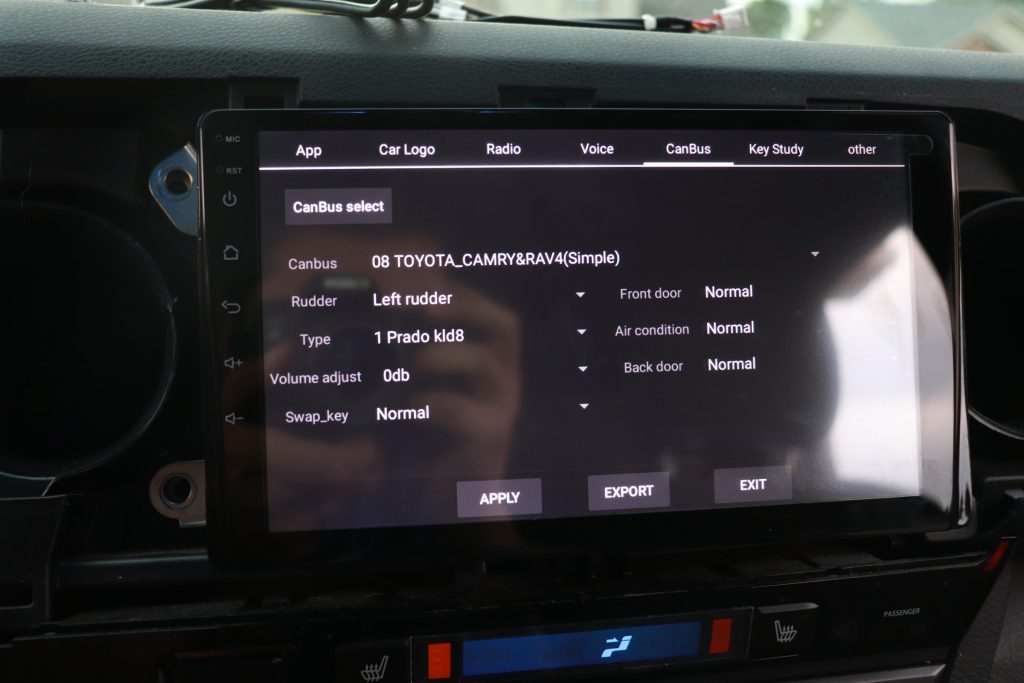
Once you’re in the CANBUS tab, make the settings look exactly as they are right here so the steering wheel controls will work.
Click apply, then click exit. If it saved your settings, the system will do a quick restart and your steering wheel controls will work after that.
Remember that GPS box I said to put off to the side? Go ahead and grab it and stow it under the dash between the foam and plastic. It will have low interference there. Verify everything works and now you can go ahead and put your dash back together.
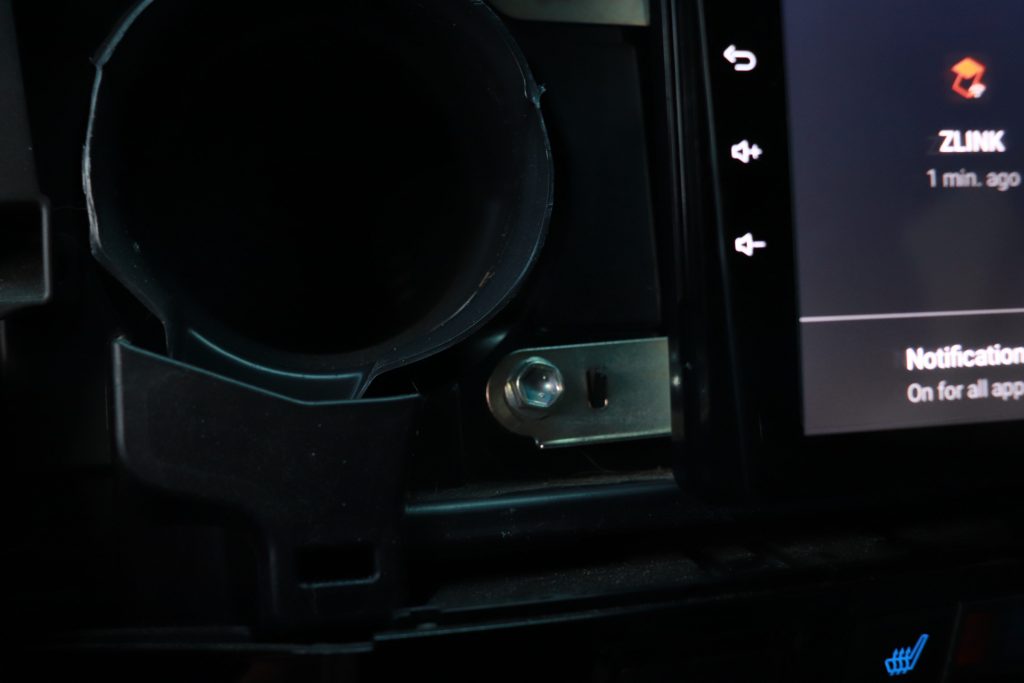
You’re going to want to get the head unit back into place and reinstall those four 10mm bolts back into their places.
Getting the radio in there will be snug, but it will fit. Be sure none of the wires are sticking out. They will all fit into the area behind the radio. Place the bezel back on the radio without hitting the screen.
You may have to adjust the radio using those two screws on the bracket so it will sit flush with the bezel. This will just be a trial and error process on how you like it to sit. Mine sits completely flush so it can be done with some patience.
Initial Review & Final Thoughts
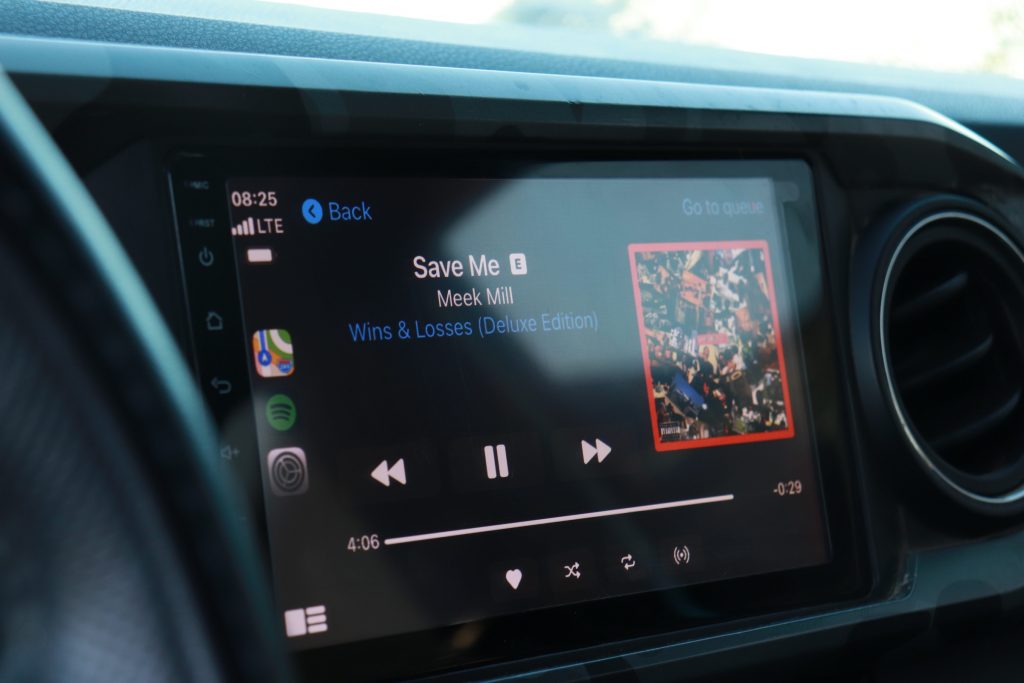
Overall, the radio is great!
There are so many different options and apps this unit has & I haven’t even scratched the surface yet. From the ability to watch Netflix, stream YouTube, stream Amazon, there is always a way this radio outperforms its competitors.
A huge seller for me was how customizable the sound system was, you get to edit the output in more than 5 ways with this head unit. It sounds crystal clear when you really dial in your settings. For those who have Android, it is compatible there as well. I prefer the CarPlay option, it looks OEM when fitted into the bezel.

With the good, there is always some bad though. Two things somewhat bother me. CarPlay takes longer to connect if you’re doing it wirelessly. Luckily, you can still hook up via USB.
The second thing, there is no volume knob. Now that isn’t a deal-breaker by any means, it will just take some getting used to. You’re still able to use all your factory controls and set everything up how you had before, except now it looks 10 times better! If you guys have any questions on install, or about the functions, be sure to drop a comment and I’ll be able to help you out!


Hi Nick and thanks for the review, can you use the factory steering wheel buttons with this unit?
All aftermarket units I’ve seen before don’t, if you install them you lose the functions of the steering wheel buttons.
Update: I just noticed found that you already answered this in the tutorial, thanks.
But just in case do you have any remarks regarding the steering wheel controls functionality or is it all well?
Thanks
Weird that you never talked about RMS.
Will this set up allow phone mirroring for android?
Will this unit work for a 2016 SR5 toyota tacoma with a stock gracenote stereo in it?
Hey, do you know if I could use a front facing camera mod that a lot of other guys run?
I got one of these for a 2021 Tacoma. I’m pretty sure they sent me the wrong wiring harness because it doesn’t have the same number of connectors as the one pictured did, and as a consequence it couldn’t work. Even if that wasn’t a problem, I’m not sure if I could have used it with a 2021 Tacoma anyway, as the new head unit for this model year has no connectors that mate with the “black box” connector (as shown in the 1st image under step 4). The USB 3.0 kit on the website is a waste of money,… Read more »
Alright, it turns out what I got was just fine! I am just an idiot and there’s a bunch of connections that the car doesn’t even need. I really should have actually tried turning the car on with everything hooked up. I got this thing because, actually, I had a more reputable head unit on backorder and this week it finally arrived and I was surprised to find connectors on its wire harness looked a lot like the CTH units’s harness. So when I decided to actually try it, I was amazed to see how well it all worked. The… Read more »
Are you talking about the startup as in the phone connecting to the head unit itself? If so, you need to check your phone wifi settings.
As far as the Kilos, you may have to go in and change some settings because I don’t remember mine being in kilos, could be an updated version.
I would join the CTH facebook group, the mods there are extremely responsive & pretty helpful
Hey man. Thanks for following up. Sorry we didn’t get back to you. Nick must have gotten caught up. Glad to hear it worked out. Thanks for the additional feedback too!
Does this GPS work independently and without a phone?
Yes, the blackbox is for GPS.
So when I go to order I’m given the option between the “px6” of the “t9” models. However I can’t find any info on what’s the difference between them. Anyone know?
t9 is for the 4Runner if I remember correctly. the px6 is the one you want. I do believe that they have an updated t10 for the Tacoma’s now though.
Looking to upgrade the sound (make it louder) for my 2020 Tacoma Limited with JBL head. Already upgraded the speakers (2ohm to match the head), however, I am struggling with finding a compatible amp.
The JBL Tacoma’s have an amp built in, I haven’t found a work around for that either.
Possibly a silly question, but will the OEM backup cam (or the anytime cam) work with this unit?
Yes it does, but as mentioned in another comment- the quality is a little fuzzy as the screen is bigger than OEM.
How fuzzy is it? Very noticeable or just minor difference?
Great write up. I love my px6. I’ve had it installed over a year and it’s one of the best mods I’ve done to my tacoma.
What is the GPS puck for? Is there a nav app that doesn’t use the phones GPS?
Yes, the radio has GPS built in.