
The stock rear ends that come in Toyota trucks are pretty durable. They were built to take a beating, but they can only take so much. If you plan on using your truck for more extreme off-roading, your rear differential will need to be protected.
Until now, I’ve never had a problem driving on medium difficulty trails without much armor besides the basic engine skid plate. As I start going through more challenging trails, dragging many areas of my truck becomes unavoidable, and armor becomes a requirement for protecting the vital components of the truck.
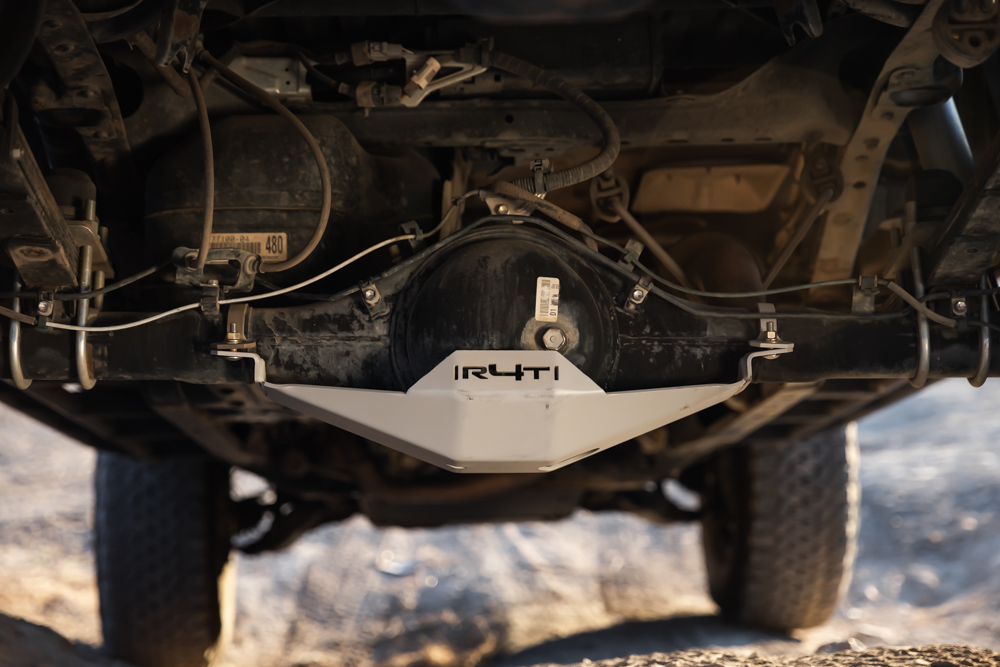
Even if you don’t go off-road very often, having a rear differential skid plate is excellent peace of mind knowing you can bang on some rocks without leaving a trail of diff fluid behind you.
Find It Online
- R4T Rear Differential Skid Plate: Check Price
Table Of Contents
Overview

The differential is a set of gears that drives the axles that turn the wheels and receives power via a pinion at the end of the driveshaft from the engine and transmission.
The differential sits inside the rear axle housing, commonly referred to as the “pumpkin.” The skid plate bolts around the bottom of the housing protecting this vital component to the drivetrain.
Features

The R4T differential skid plate is available in TRD gray or black powder coat. Along with adding extra protection to the drain plug, it protects the differential housing, which is the weakest and most exposed area of the rear axle housing. The smooth, thick steel surface allows it to easily slide over rocks and protects it from heavy impacts. With only about a half inch of ground clearance loss, it’s well worth the extra protection out on the trail.
Installation

You only need basic tools for this installation.
- 9/16” deep socket
- 3/8” ratchet wrench or impact driver
- 9/16” wrench
- (2) 1/2” wrench
1. Axle Brackets

Once you have your tools and materials set up and organized, you can start the installation.
First, get under the rear of the truck and position the skid plate under the differential housing. I used my knees to hold the skid plate in place, but you can use a box or jack to support it to make this process easier.
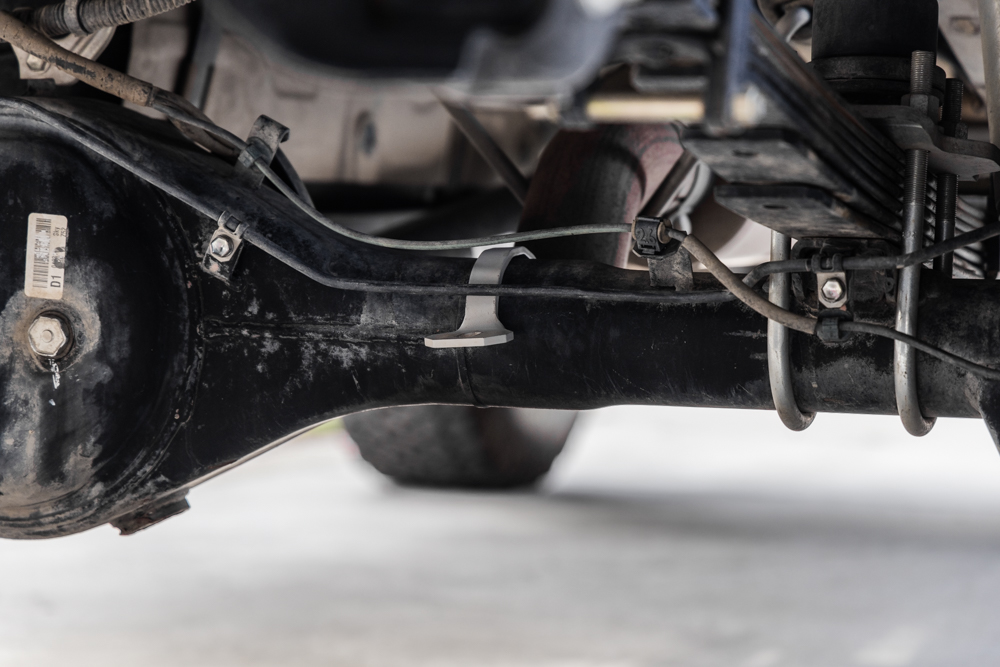
With the R4T logo facing towards the back of the truck under the axle, place the handle-shaped brackets over the top of the axle housing on either side of the “pumpkin” aligned with the mounting holes below on either side.
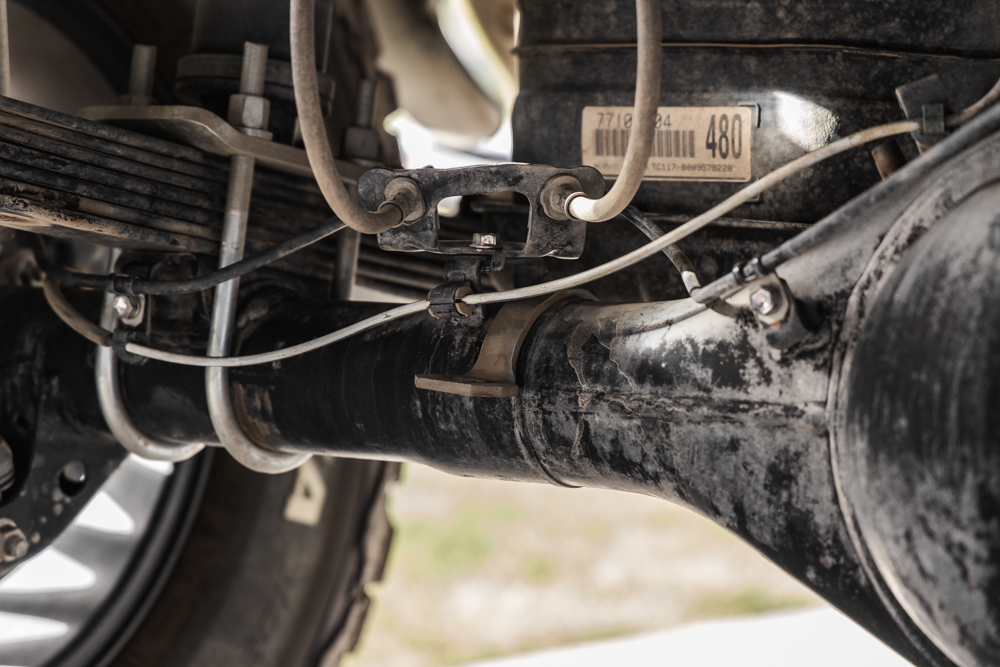
Get four of the large carriage bolts provided in the kit, and push them up through the skid plate and through the axle housing brackets. Please make sure the axle brackets go under all hoses and wires so that you do not pinch them when tightening.
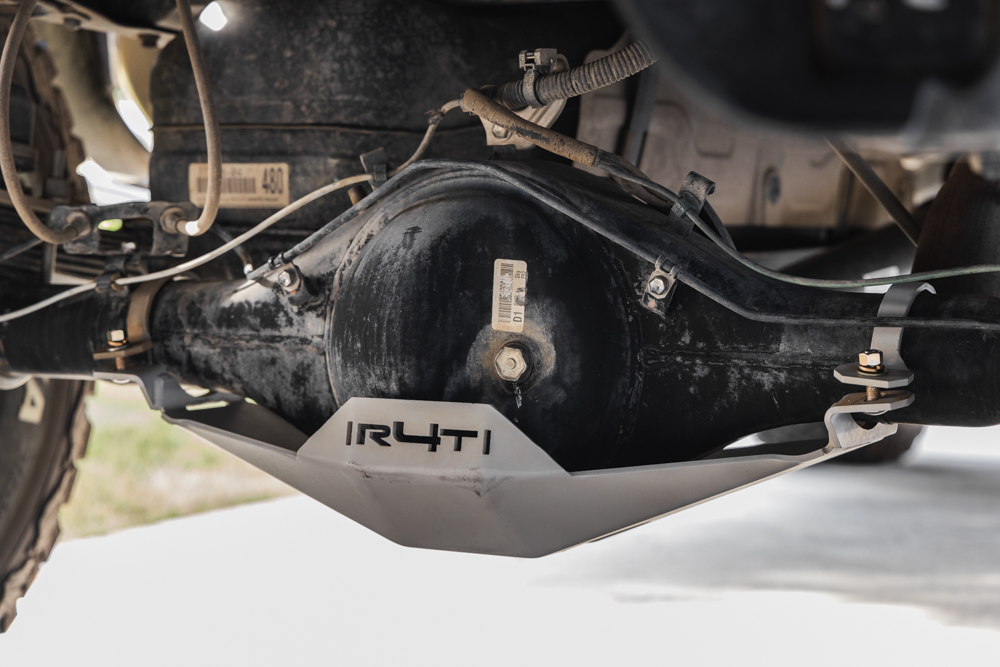
Install flat washers, split washers, and 9/16” nuts on the top side of the bracket. Hand-tighten it and leave it loose for now. Be sure to tighten each side evenly, so both bolts show the same amount of thread on either side.
2. Carrier Brackets

Grab the two-piece brackets. They will go around the carrier assembly, the cone shape on the front end of the diff where the driveshaft meets the yoke. Position the bigger bracket mounting holes facing down and pointing towards the rear of the truck. The curved end of the bracket slides on and around the thinner end of the carrier assembly right before the yoke connection. The other smaller bracket will go over the top of the assembly.

Attach the top bracket on the side closest to the rear of the truck. Ensure the bracket is oriented correctly with the squared end of the bracket matched to the lower mounting hole. You will know when you have them oriented correctly when these two pieces fit precisely around the uneven surface of the assembly.

Line up the holes on the brackets and slide the two 1/2“ hex bolts, each with a washer through, towards the back of the truck. Then, on the opposite side, add another washer and a 1/2“ nylon locking nut. Semi-tighten the brackets so there is still some space to make it easier to slide over and attach to the skid plate in the next step.
3. Connect Brackets

Next, bolt together the carrier bracket to the skid plate. With the carrier assembly bracket below, push the remaining two shorter carriage bolts up through the bracket and through the skid. Then, on the inside, place a washer, split washer, and a 9/16” nut over each bolt and hand tighten. All brackets and hardware should now be loosely installed and ready for final fitment.
4. Tighten Bolts

Make sure the skid plate is aligned with the axle, double-check that all brackets and hardware are sitting properly and installed correctly, then begin tightening all hardware.
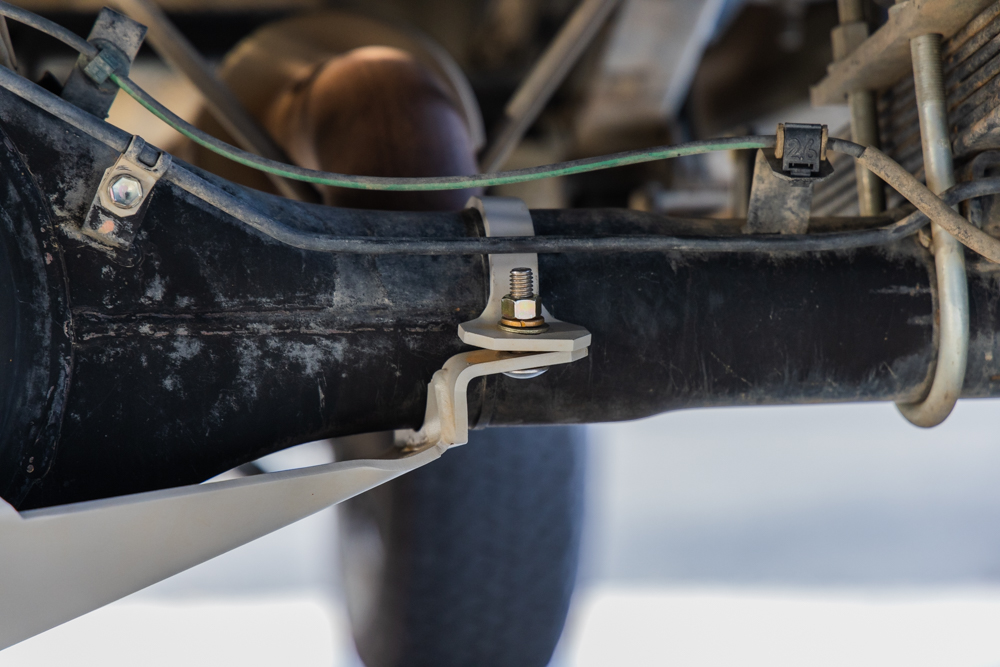
Next, you can tighten the axle brackets. Tighten both carriage bolts evenly, so each bolt shows the same amount of thread. This will ensure that the top brackets are mounted square over the axle housing to the skid plate.

Move to the carrier assembly bracket and tighten both carriage bolts evenly. The mounting holes on the assembly brackets are slotted to allow adjustments for a tight, exact fit around the assembly.
Finally, tighten down the two bolts holding the carrier assembly brackets around the assembly. At this point, it should fit up snuggly against the bottom of the differential to finish up the installation.
Final Thoughts
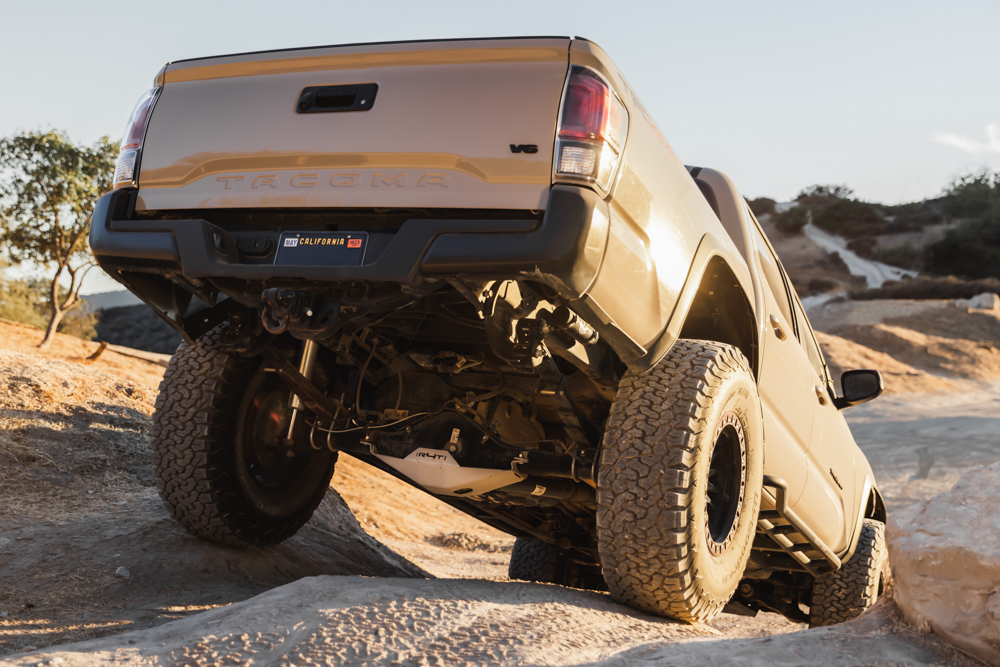
The R4T bolt-on rear differential skid plate with thick steel construction gives me the peace of mind that I need to get rough on the trail without worrying about damaging my diff.
They are the only diff skid that offers out-of-the-box color-matched powder coating to the TRD Pro skid plate. Even though I don’t have one, I think that’s a nifty little feature.
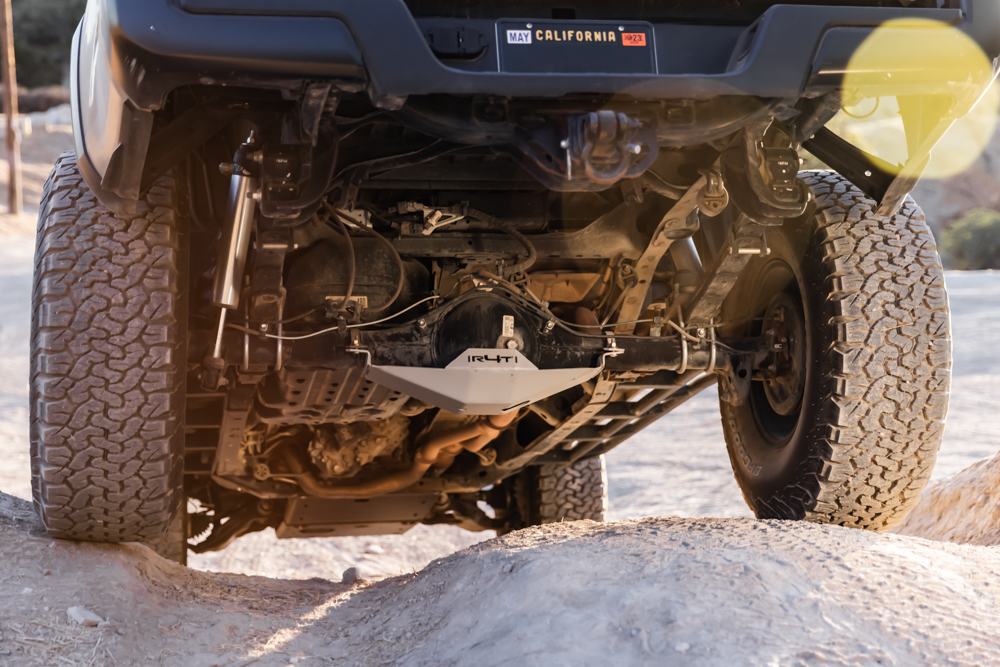
Something I would like to see added to a future version of this skid would be a yoke/u-joint protection skid. There are a few other bolt-on options, but only one or two provide this protection.
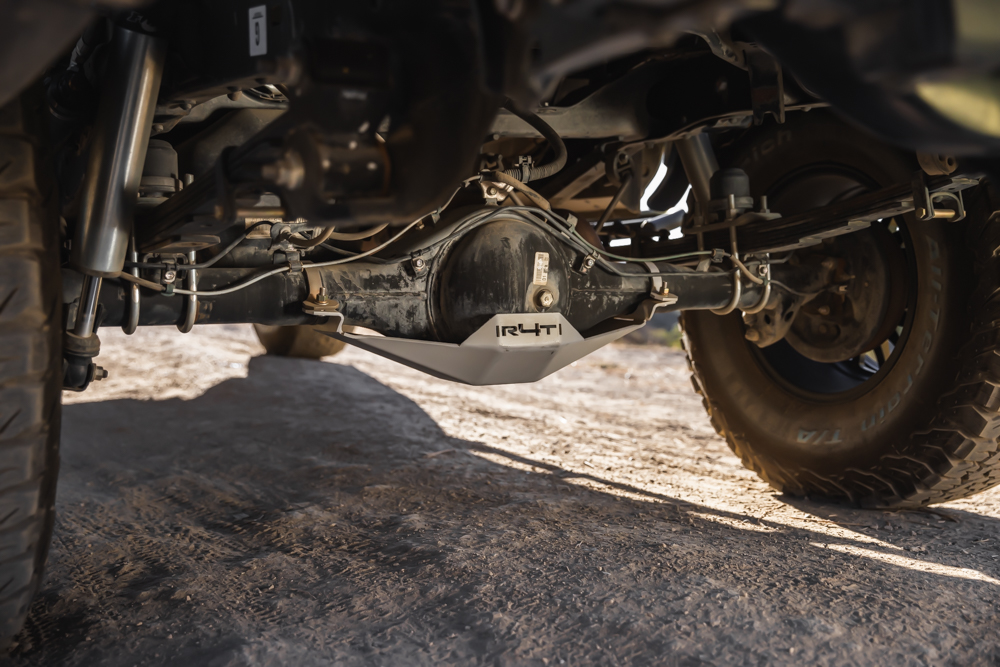
Overall, this skid does just about everything you could need to protect your rear end while you’re out on a rough trail and is something I would definitely recommend to a fellow 3rd Gen Off-Road or Pro trim Tacoma owner.


When will the differential plate be available for the 2020 Tacoma?
Been 4 wheeling for over 40 years now…I’ve been on the toughest trails in the west..Hamners,Rubicon,Moab,Fordyce and so forth…Never needed one of these..Just something else to buy when you got money to burn..