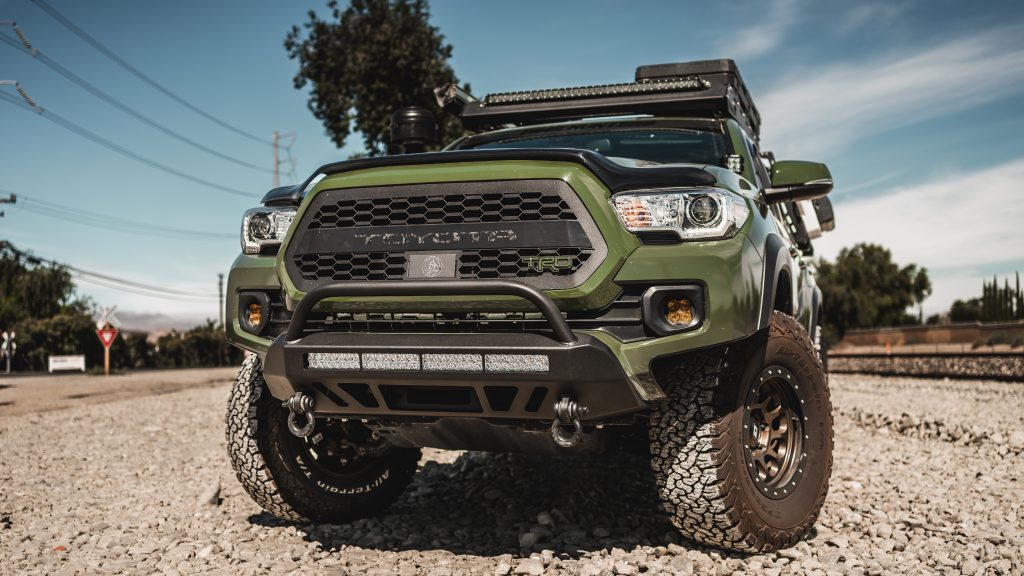
We overlanders spend a ton of our hard-earned money investing in parts to improve the capabilities of our rigs. But how do we protect those investments?
The answer to that is body armor. With a vast market of armor parts available, Cali Raised LED, which has been making rock sliders and skid plates for quite some time, has finally entered the bumper market.
At the time of this write up, the Cali Raised LED Stealth bumper made its debut just a little over a week ago. We’ll dive into the bumper, give it an install and deliver a quick initial overview.
Find It Online
- Cali Raised LED Stealth Front Bumper: Check Price
- 32″ Dual Row 5D Optic Osram LED Bar: Check Price
Table Of Contents
Overview

The Stealth Front Bumper is Cali Raised LED’s answer to the low-profile bumper market. Coming in at 77 lbs., it’s lighter than many competitors. This is achieved by optimizing the plant of materials, thicker where it needs to be and thinner where it’s not necessary.
You have the option of running two 32” light bars, one behind the bumper and one behind the grill of your rig. If you really want to light up the night, you definitely can.
This bumper also allows you to install up to a 12,000lb winch and also includes a relocation bracket for your winch controller.

Required Tools
- Standard toolbox
- Dremel or cutting wheel, anything that can cut thick plastic
- Eye protection
- Metal file
- Small flat head screwdriver
- Sharply or something to draw Your cutting line
- Set of Allen wrenches
- (Suggested) Another person
- (Suggested) Breaker bar
Step 1. Remove Front Grille
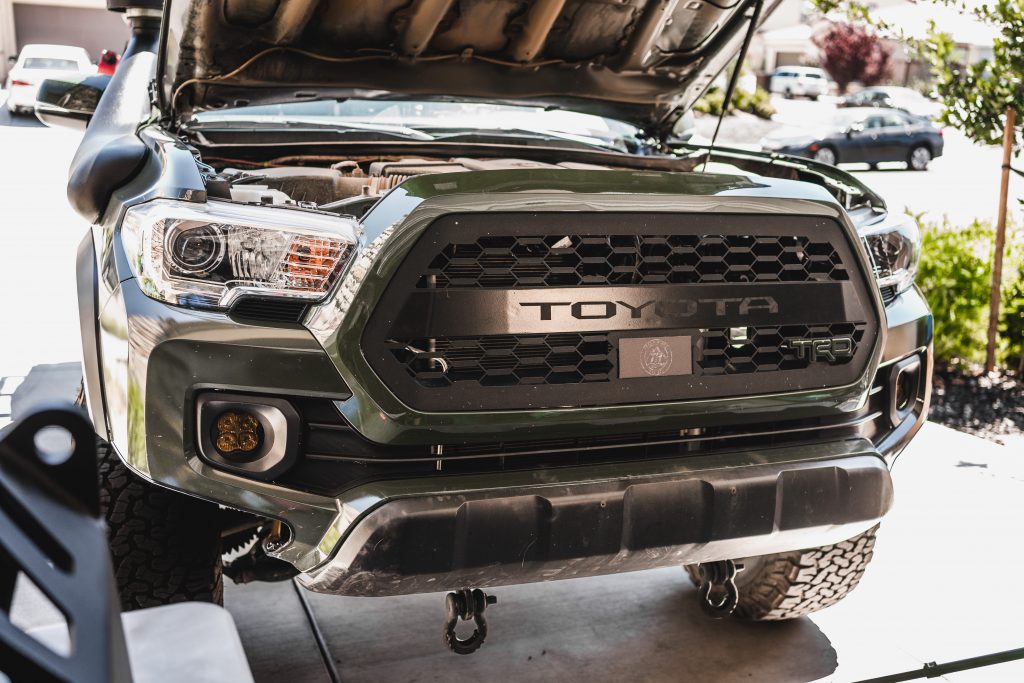
Begin by removing the grill assembly. There are two clips and two screws that hold the top portion to the rig. The bottom and sides are held in by tabs.
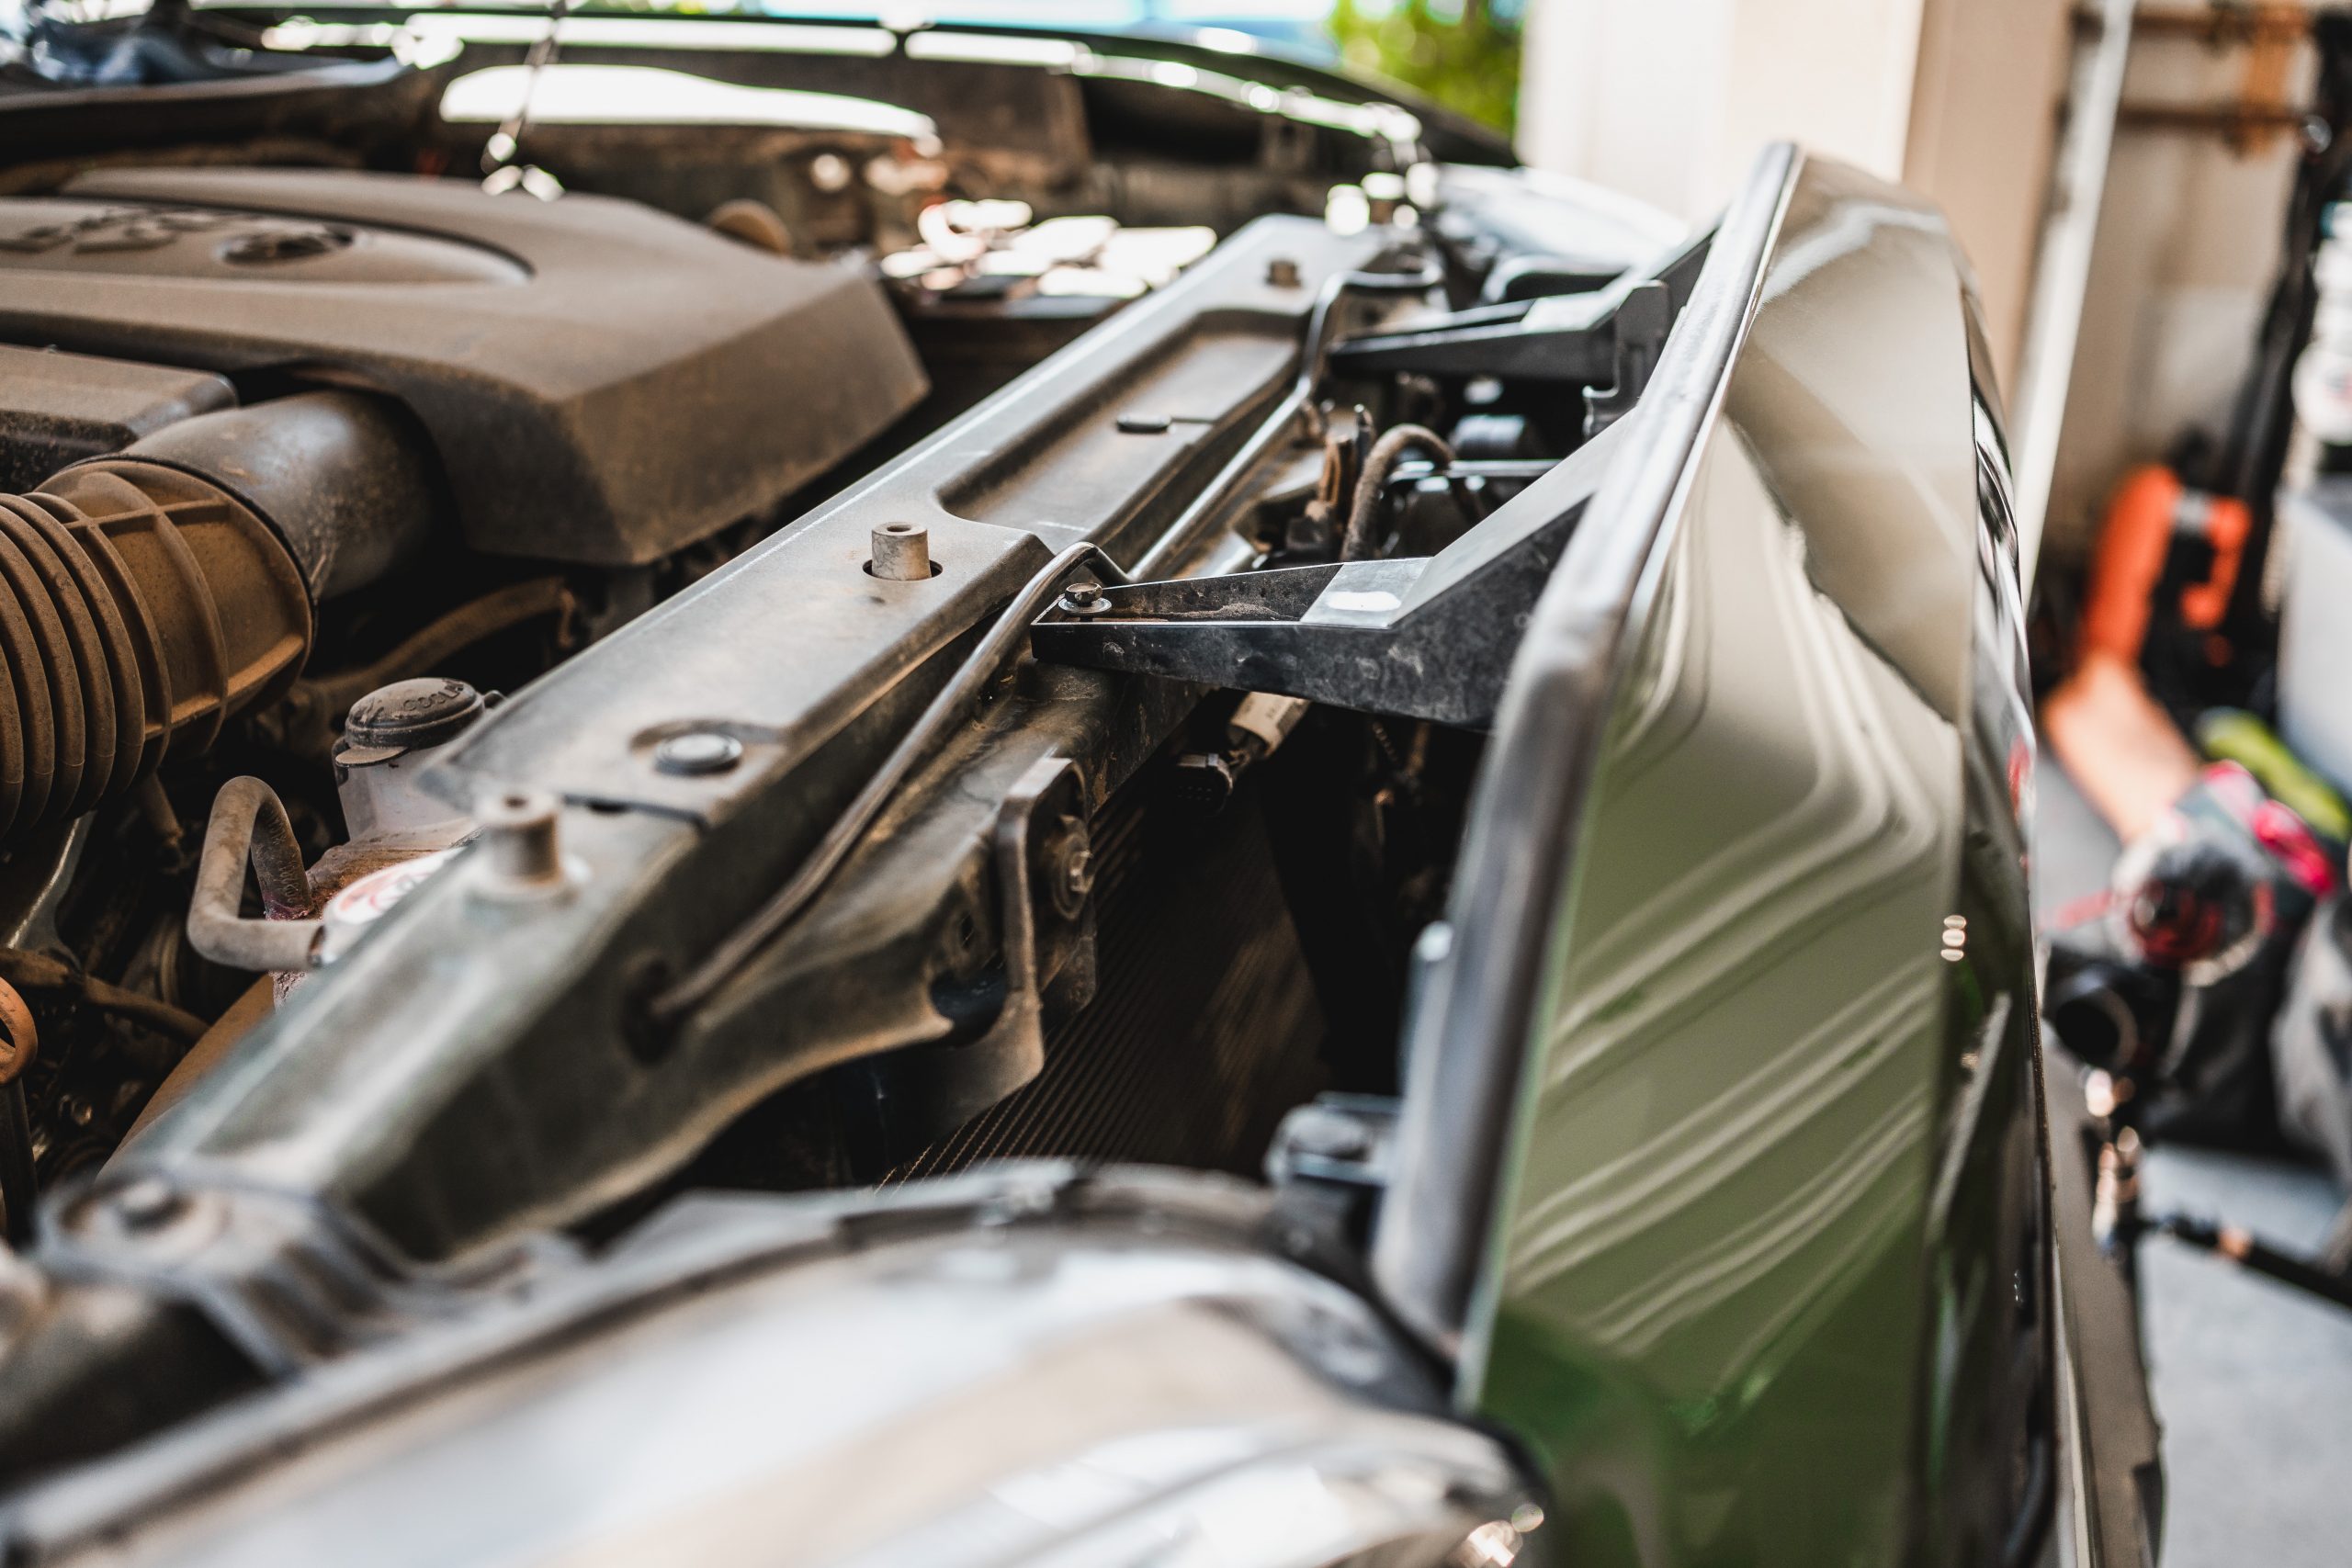
Once you remove those upper screws and tabs, give the grill a solid tug, and it should just pop out.
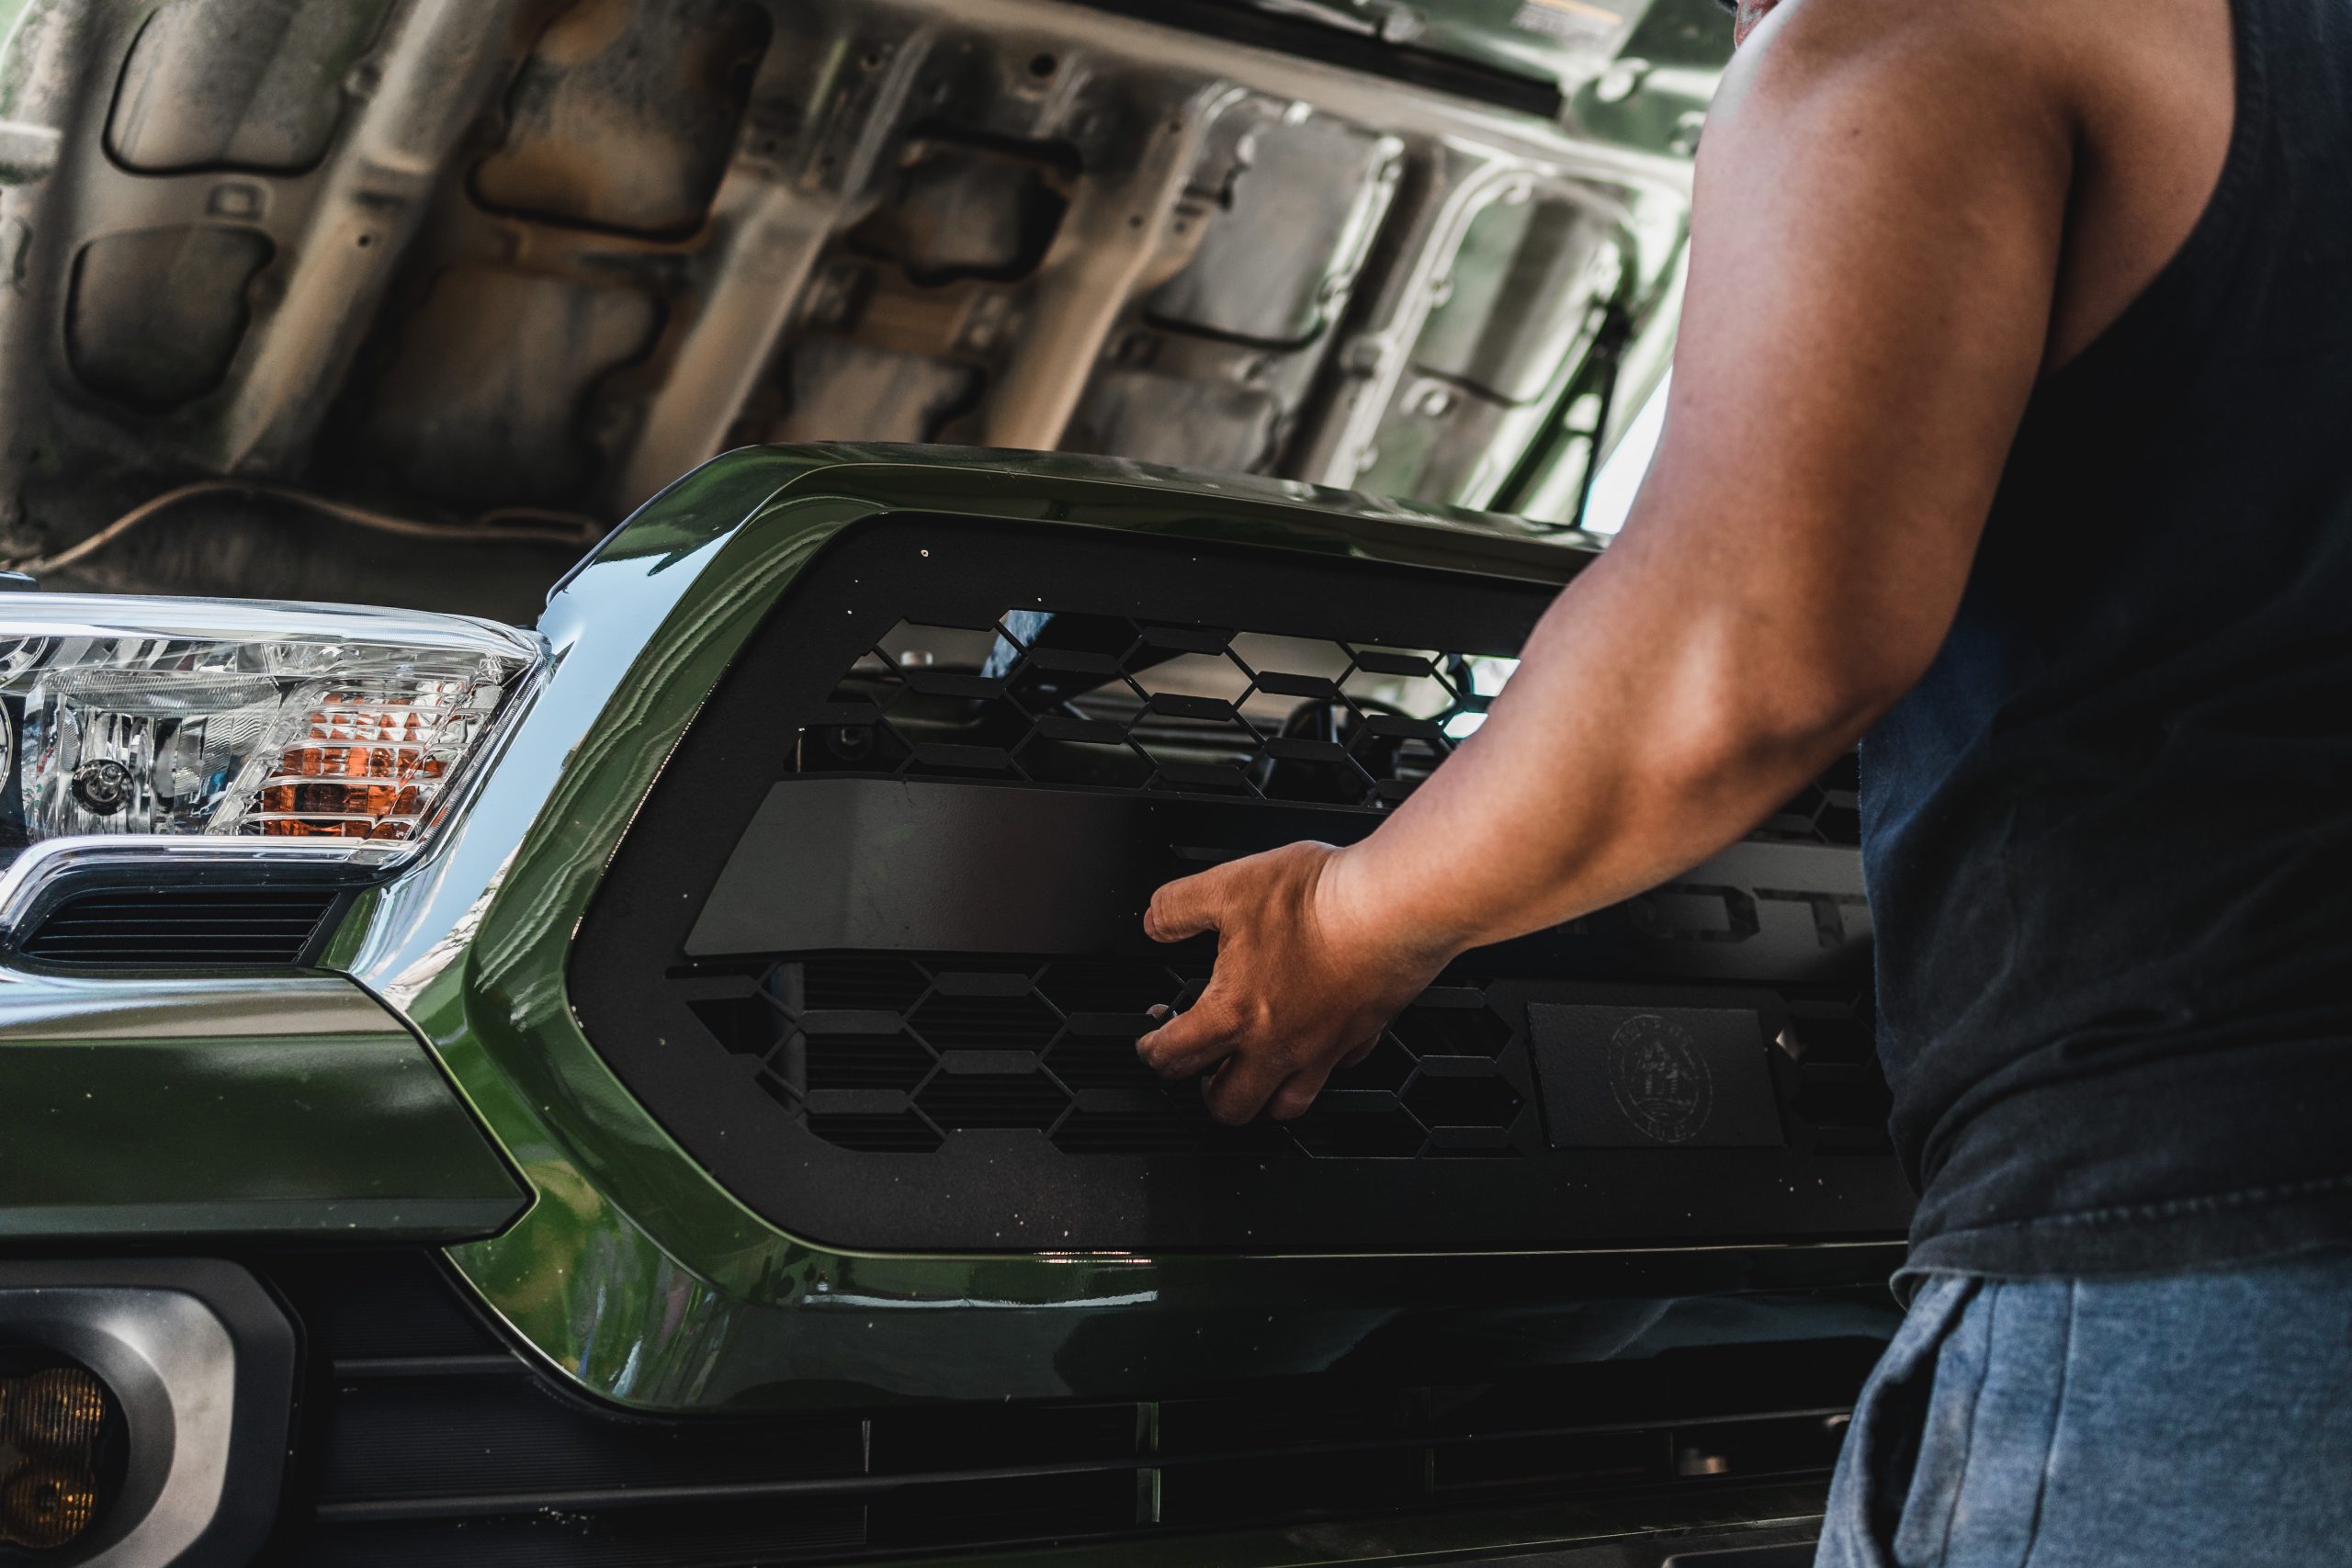
An even pull on the entire grille is all that is needed.
Step 2. Remove Air Dams

There’s one tab on each air dam. Pop the single tab out and twist the air dam to remove it.
Step 3. Remove Black Bumper Section

There are two blue tabs on both ends of the back of the trim. The easiest way for me to pop them out was to use a small flat head to push down on the tab.
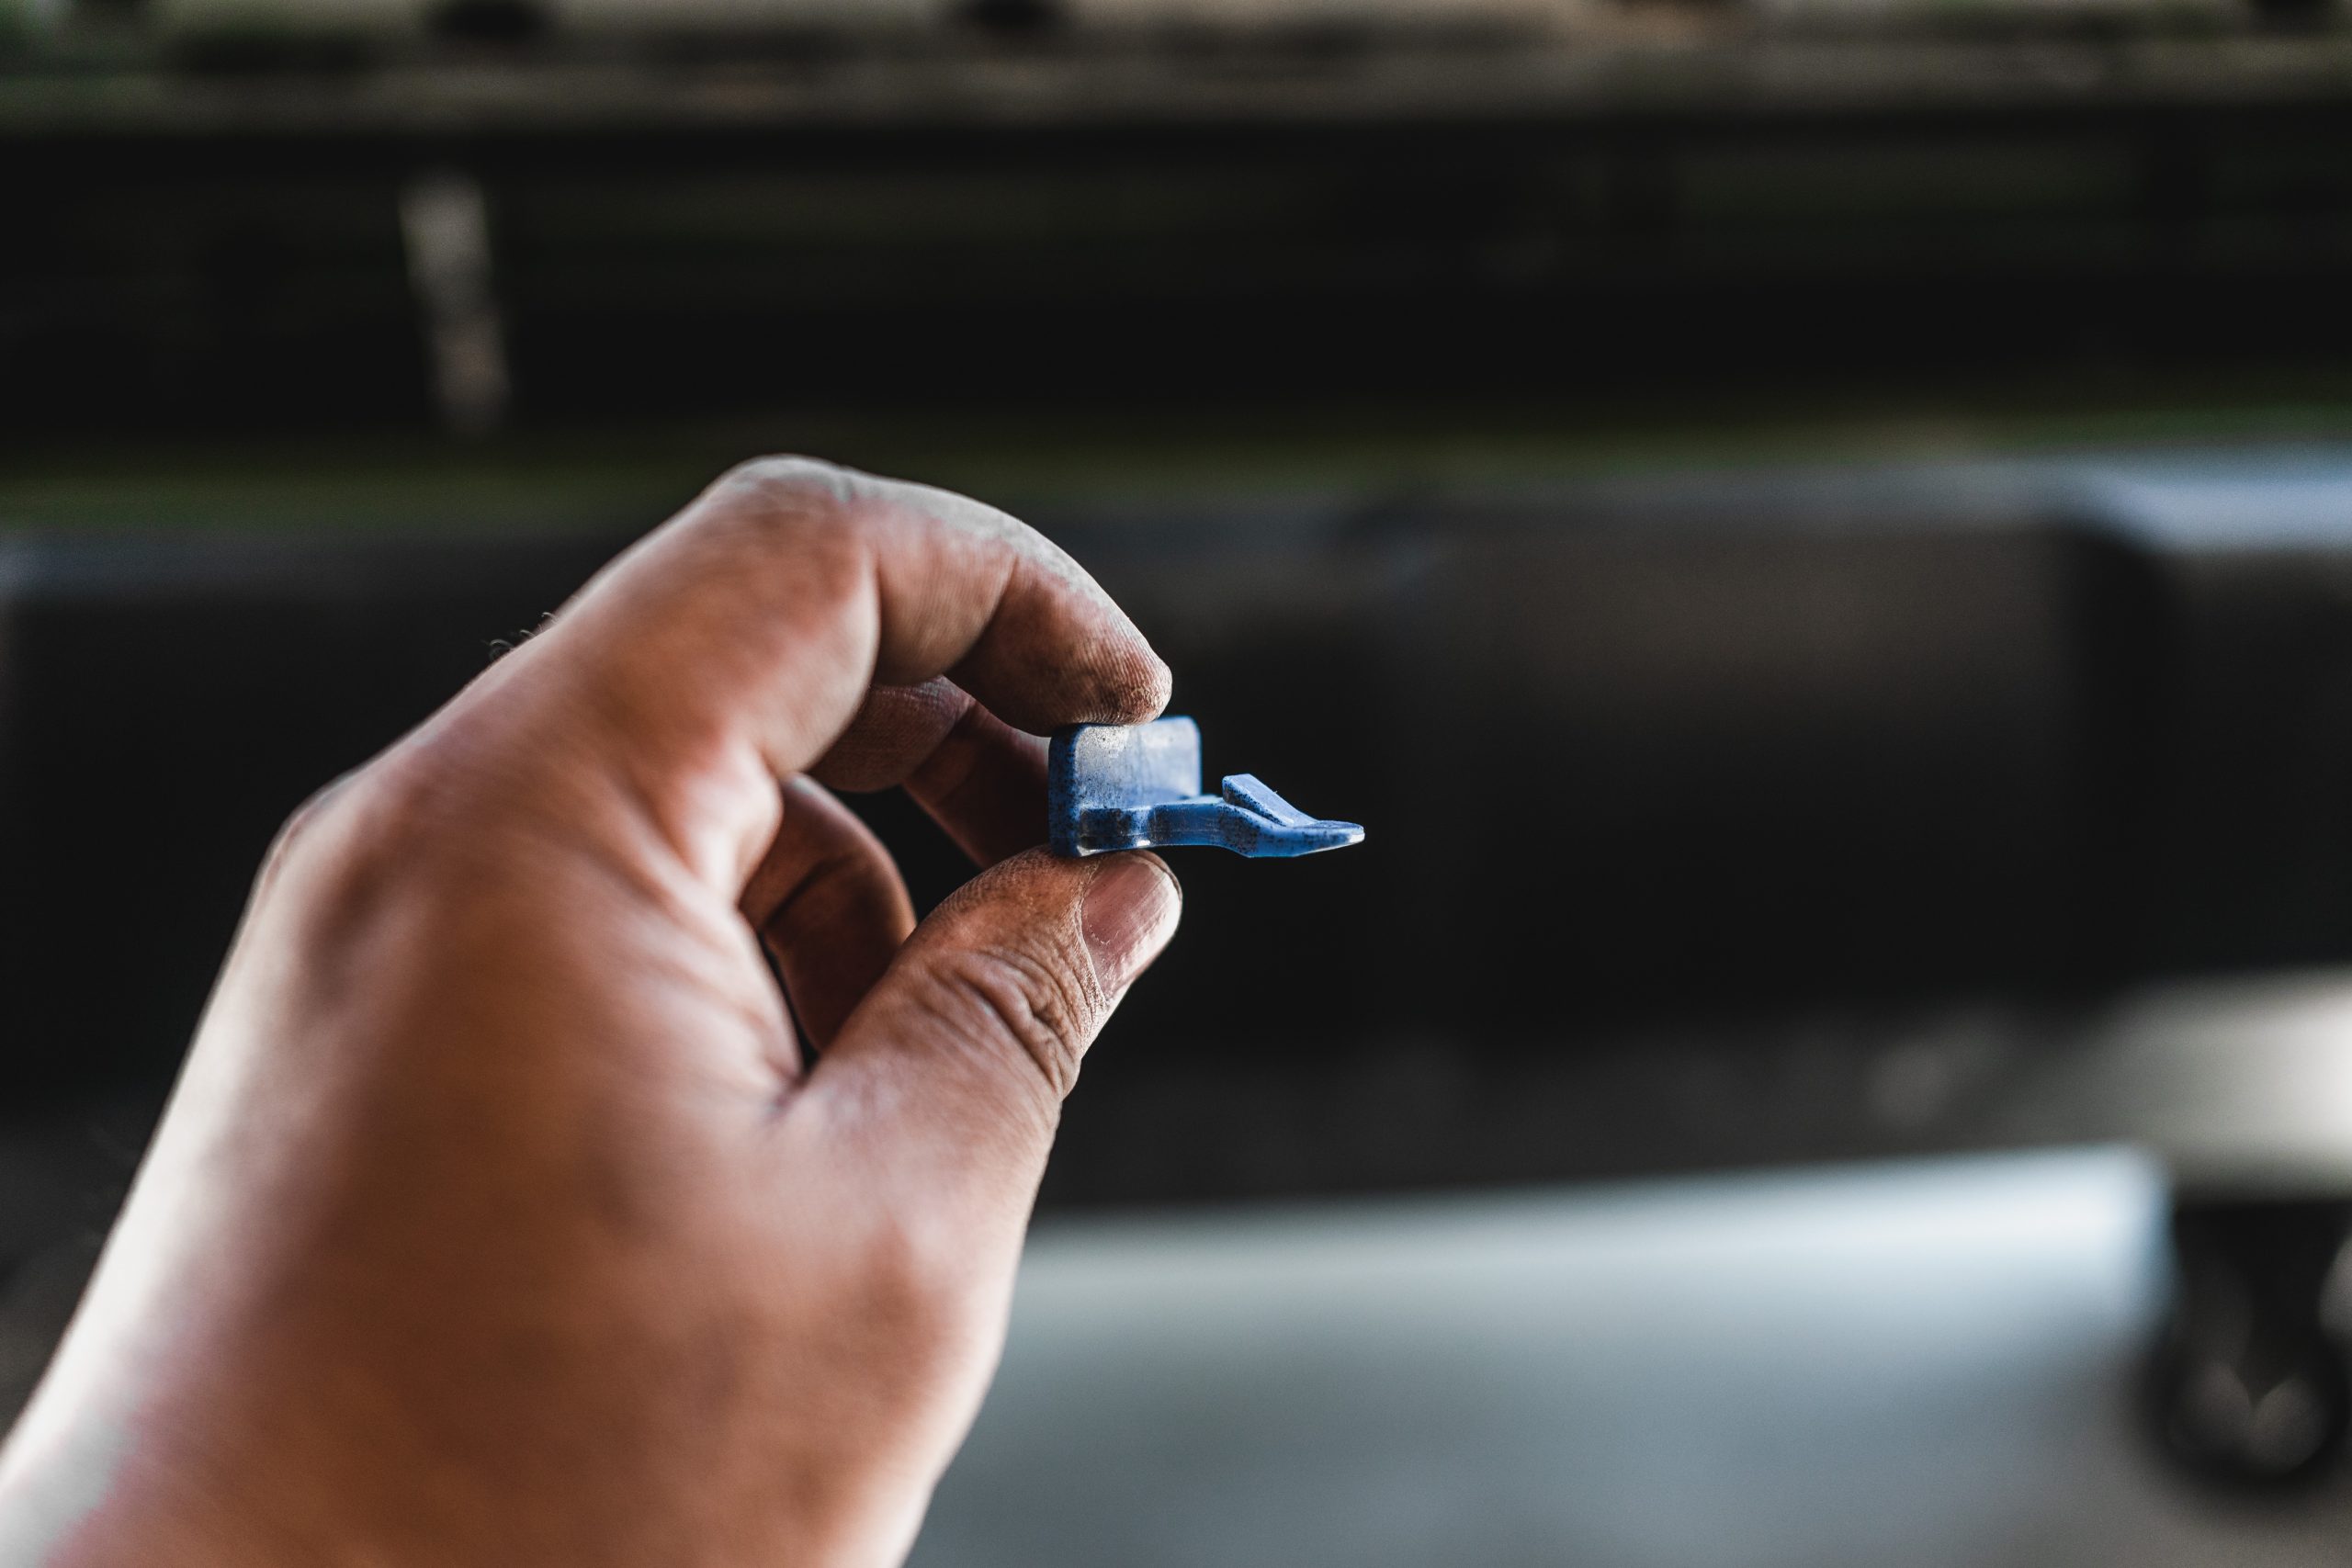
Once those two are removed, there’s a series of tabs around the back of the trim that need to be squeezed and popped out.
Step 4. Remove Plastic Reinforcement

Removal is super easy. Follow the outside, squeeze and remove the tabs.
Step 5. Remove Bumper Bolts
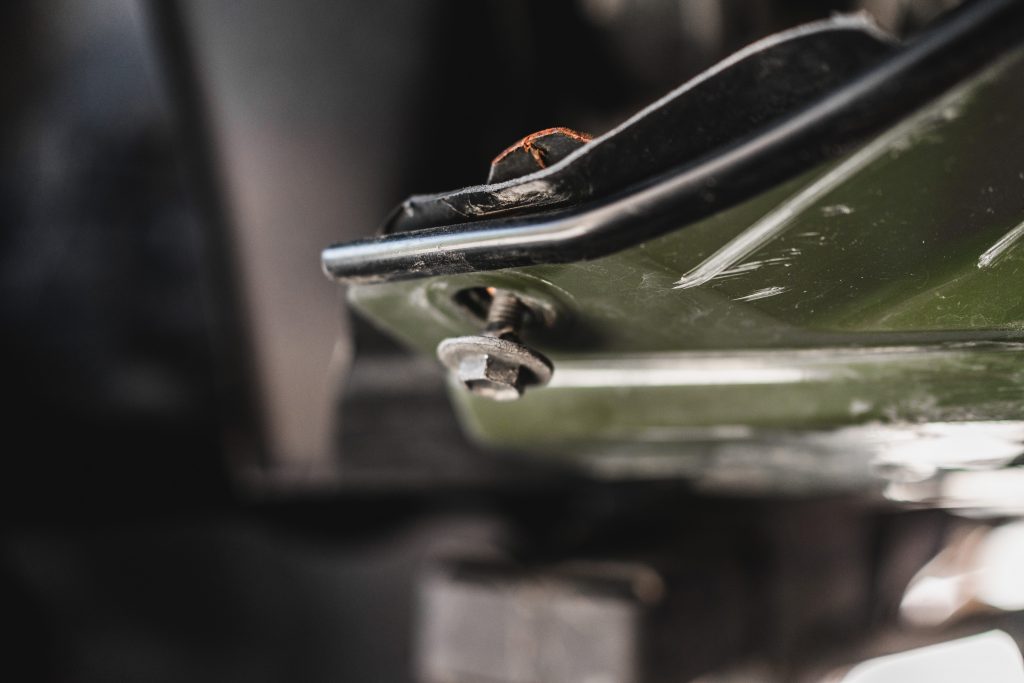
Below the truck, there are a few bolts that hold the bumper to the crash bar. Remove them.
Step 6. Remove Crash Bar

There are three nuts on the front of each end of the crash bar. Once you remove the nuts, carefully maneuver the bar and remove it.
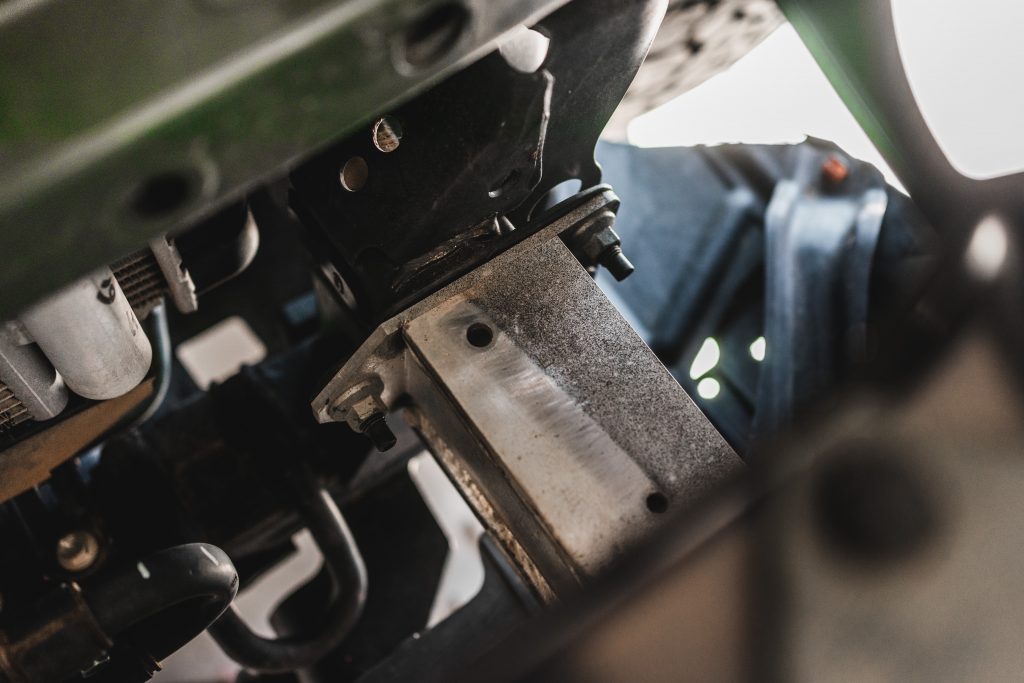
Remove the crash bar support that connects to the frame. You can potentially remove the entire crash bar and support all at once if you are careful.
Step 7. Mark Bumper Cover Cut Lines

Mark out your cutting line where the old trim piece used to be. Leave about 1/2-3/4″ of the lip; you don’t need to cut the center portion of the bumper. Only start the cut near the second clip hole. The center doesn’t need to be cut. Using a cutting wheel, Dremel, sharp knife, etc. Trace the line and cut.
If you’re feeling a little uncomfortable about cutting, leave more of the lip, and when you test fit the bumper later, you can always cut more off.
Step 8. Relocate Power Steering Cooler & Lines

Remove the two bolts in the front and a third bolt behind the mud guard on the passenger side.

Third bolt behind the passenger’s side splash guard. Add a relocation bracket using the provided hardware to the passenger’s side. The new hardware should go in the single hole of the bracket, and the OEM bolt should go in the sliding portion. Make sure to leave the OEM bolt loose for now.

Later, when tightening down the bolt behind the mud guard, you’ll need to wrench it down until the bracket bends to shape. Shown above.

Add the relocation brackets to the front two mounting points. Push the power steering cooler as far back as possible without causing any issues. Tighten the two front bolts and then tighten the bolt behind the passenger mud guard.
Step 9. Remove Factory Tow Hooks

There should be three bolts under the passenger’s side and one under the driver’s side.
Step 10. Install LED Bar

Install the light bar bracket loosely. Make sure the L of the bracket is facing inwards. Additionally, make sure the flat side of the bracket is facing forward. If you install the brackets backward, the light will sit farther back, creating a large gap. Leave loose enough to adjust.

Install light bar. Using the provided thumb screws, attach the light bar to the brackets. Leave loose enough to adjust.

Adjust the light bar to the desired angle and tighten down all bolts.
Step 11. Mount Bumper
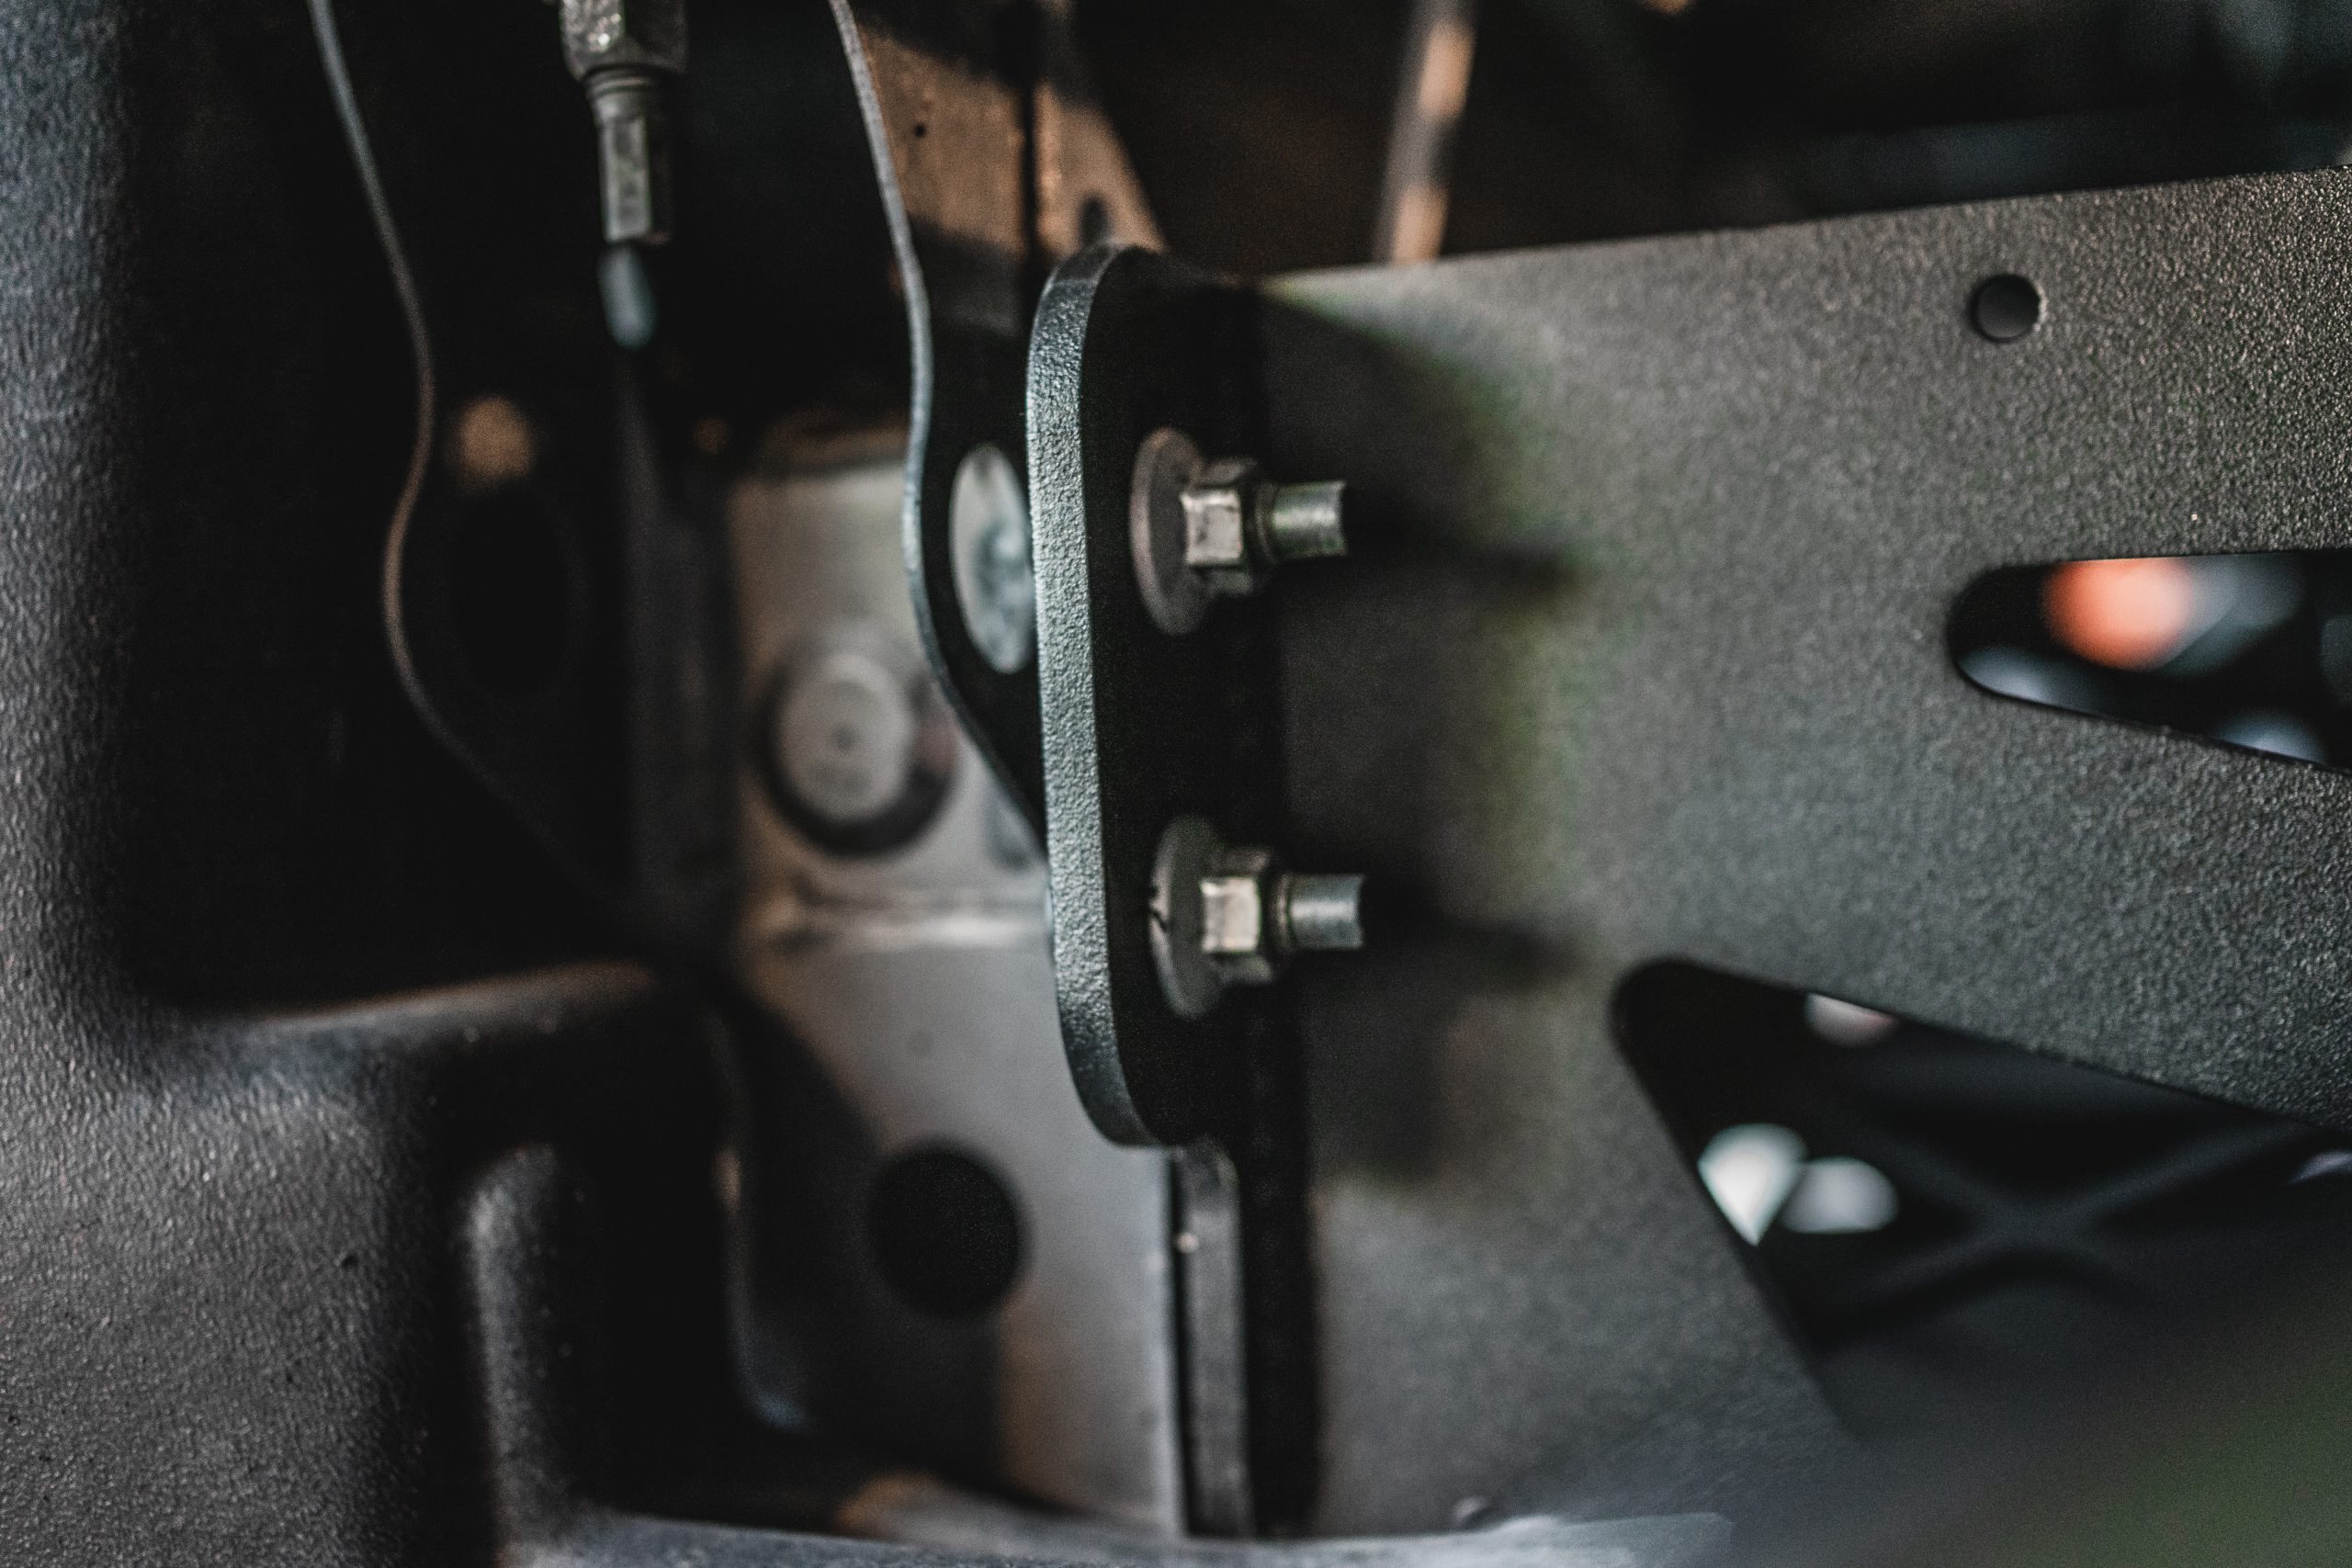
Push bumper into place and match it with the six studs. Place one or two nuts in to keep the bumper from falling down.
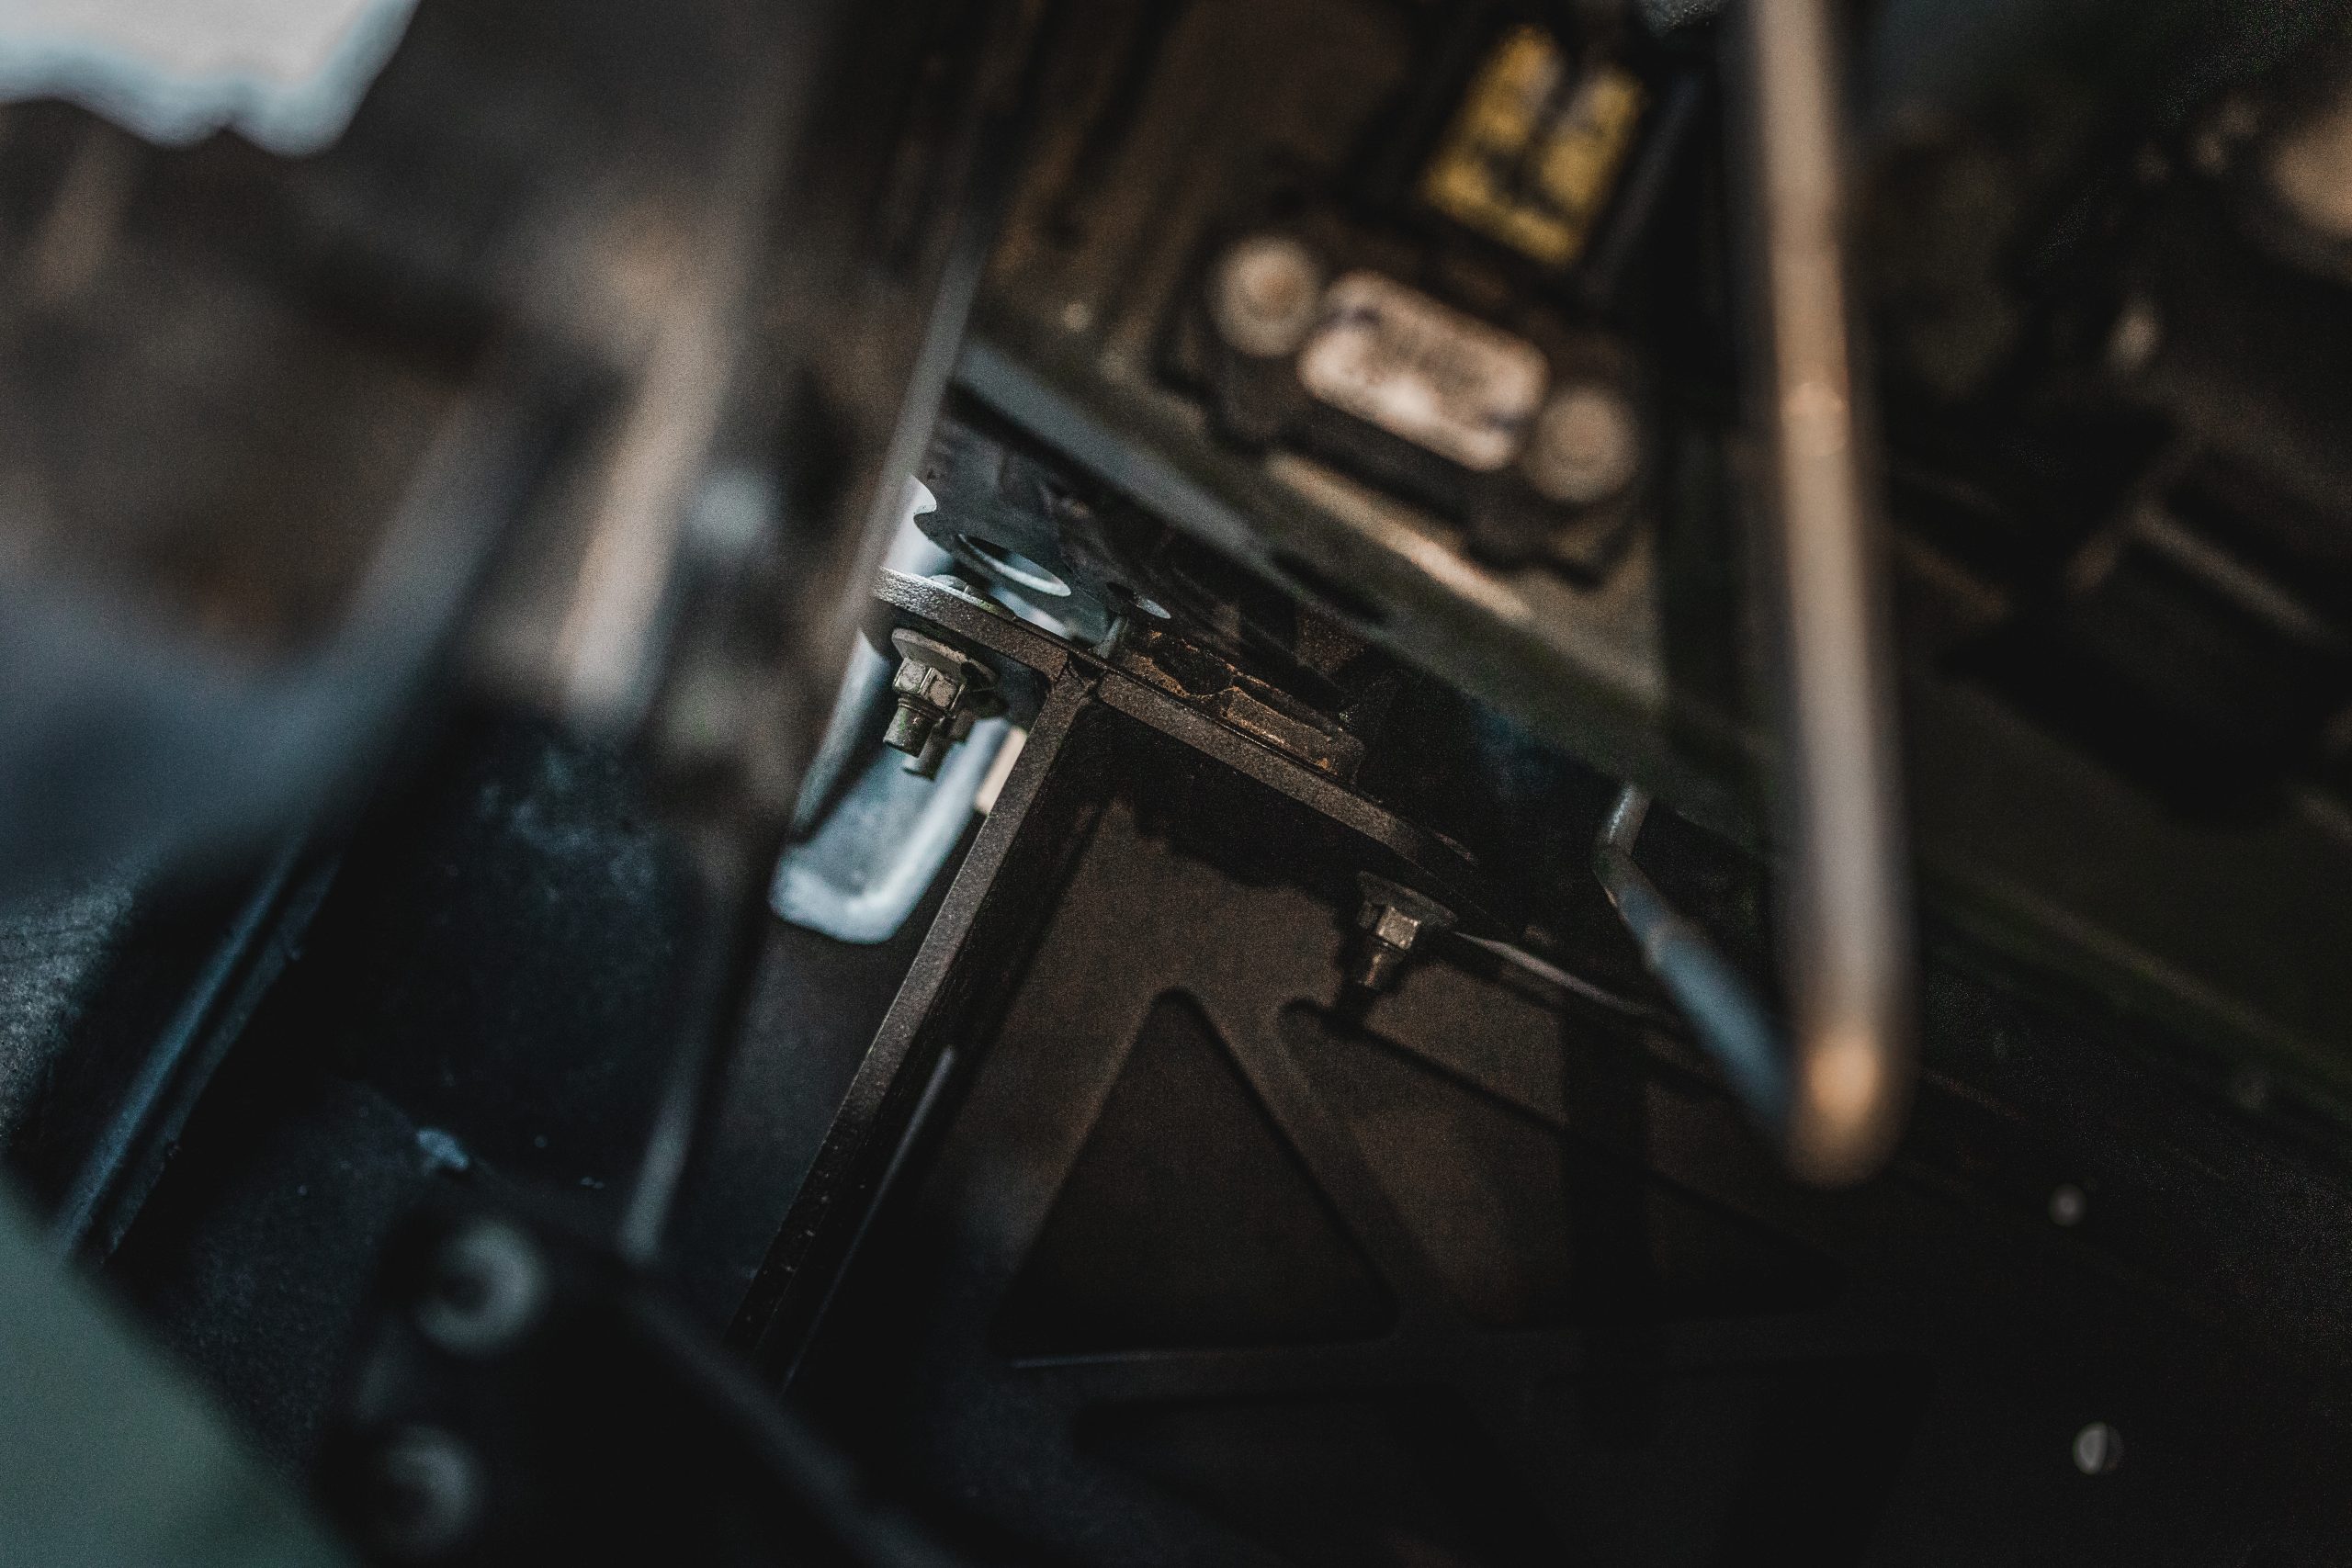
Above, you can see the bumper attached to the frame plates. Adjust the bumper to proper fitment, then tighten down the bolts and torque to 58 ft. lbs. Reinstall the air ducts, the grill assembly, and the TSS sensor, and you’re done!
Final Look

Final Thoughts
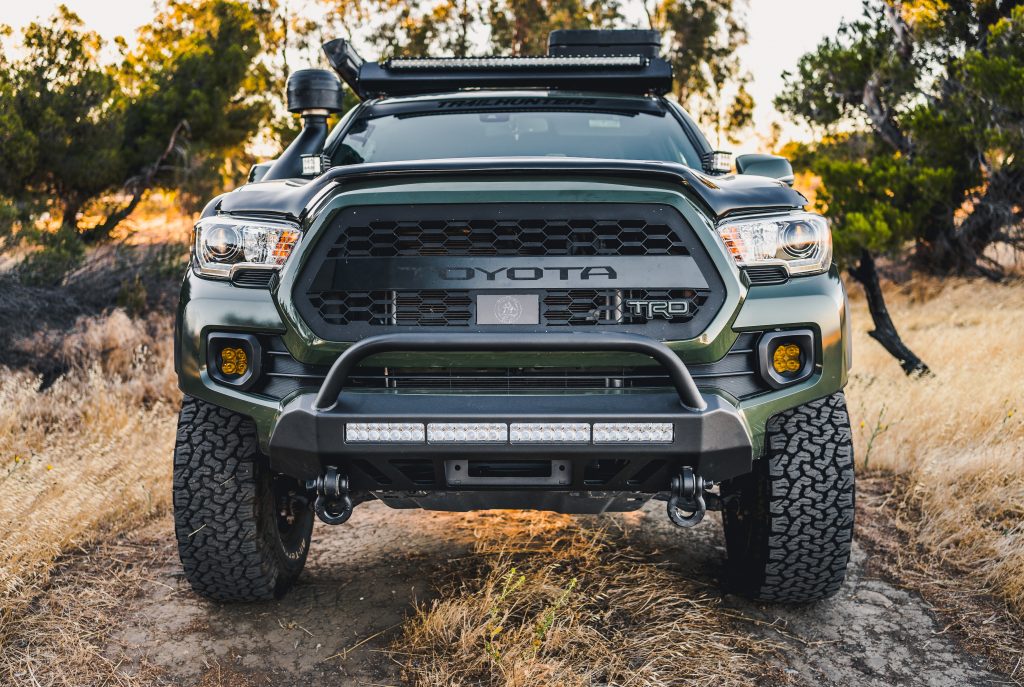
The bumper came out looking great! The lines of the bumper match the lines of the truck really well, and it gives the truck a more aggressive look without going overboard.
The installation was very straightforward and super easy. The scariest part was cutting the bumper, but unlike a few bumpers out there on the market, this bumper covers up the majority of the cutting line, so there is some room for error.
I’m looking forward to installing a winch and getting to test it out! Check out @cali_raised_led on Instagram too. I appreciate you for taking the time out of your day to read this write-up! I’m getting the rig ready to go bang it against some rocks!


Can this bumper be purchased WITHOUT the light cut outs? I have enough lights.
any idea how this would work in a state that requires front license plates?
It’s pretty cool that this bumper comes with a secondary bracket on the backside to allow for an additional light bar behind the grille. It would be cool to run that white row in the bumper and then slot an amber bar behind the grille. Pretty cool feature not many other bumpers (if any) have.
@jonrivera Thanks man looks top notch. I wish I had seen that before I brought my pro grill. The tss sensor garnish is that a custom logo or bpfs?
No worries, The garnish has a custom overlay from c_mento_taco_808 on insta.
What grill is installed here? Looks great
It’s a bullet proof fabricating grill with black camo letters.
The low profile look is so clean while still looking aggressive. Love those type of mods!
I love a full hybrid or plate bumper, but the low-profile look has definitely grown on me big time over the years. Can’t beat the weight savings either – only 77lbs… come on!
I absolutely love this bumper, I’ve been looking for a low profile with a welded bar attached. This is killer.
Yeah man, Cali Raised definitely did a great job here!
That’s a slick looking bumper! I love it paired with that army green color!
Dude, right?! And the high-clearance bumper cut – perfect.