Most of us enjoy adding a unique touch to our vehicles to make them stand out. The KTJO 4×4 door bowl LED kit for the 3rd Gen Tacoma does just that.
If you appreciate subtle additions that make your interior feel more upscale, this may be the mod for you.
Find It Online
- KTJO 4×4 Door Bowl LED Kit (driver’s and passenger’s auto windows): Check Price
- KTJO 4×4 Door Bowl LED Kit (driver’s window auto only): Check Price
Table Of Contents
Kit Overview

Kit Contents
- 4x – Door bowl “LED illuminated” hole covers
- 1x – Driver front door plug-n-play wiring harness
- 1x – Passenger front door plug-n-play wiring harness
- 2x – Rear passenger door plug-n-play wiring harness
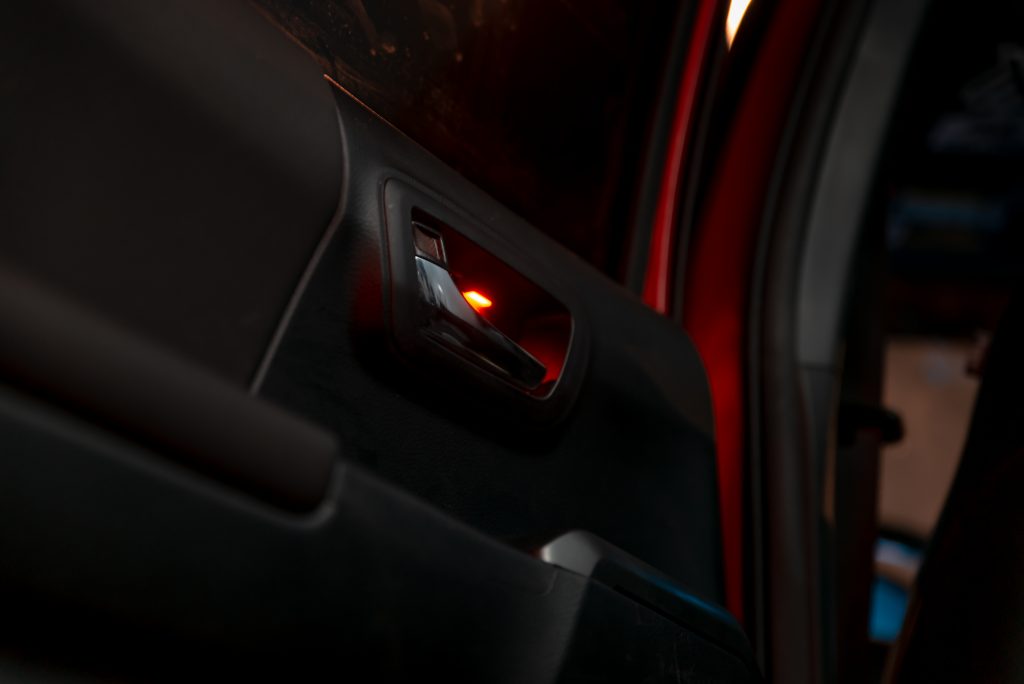
I’m honestly not sure why Toyota didn’t add door bowl lighting to our vehicles from the factory. The KTJO kit replaces your factory covers with ones that have a pre-installed LED. This provides your door handles with an accent light that looks pretty sweet at night. The LEDs are not overwhelmingly bright, so there’s no need to worry about being distracted while driving.
The KTJO 4×4 door bowl LED kit comes in three different color options. You can choose from red, blue, or white accent LEDs. I chose red because it is my favorite color and it goes well with the red and black theme of my truck.
Note: This kit is available for Tacomas with auto windows on the driver’s side only and driver’s/passenger’s side. The kits are different based on application. They are also available in a two door or four door option.
Installation

Tools Needed
- Phillips screwdriver
- Door panel remover or flathead screwdriver
Important: Disconnect your battery before you begin the installation.
This installation is pretty simple and can be completed pretty quickly. All that is required is removing the door panel which is held in place with a couple of screws and several plastic snap clips.
I’ll be showing the installation on the driver’s side front and rear doors. The same steps will apply to the passenger’s side doors.
Step 1. Remove Front Door Panel

Just above the door panel, there is a triangular-shaped plastic trim piece. Remove it by pulling straight away from the door.

Now that the triangular-shaped plastic trim has been removed, you need to remove the round plastic clip below it.
Use a small tool like a screwdriver to press on the small circular center and then remove the clip.

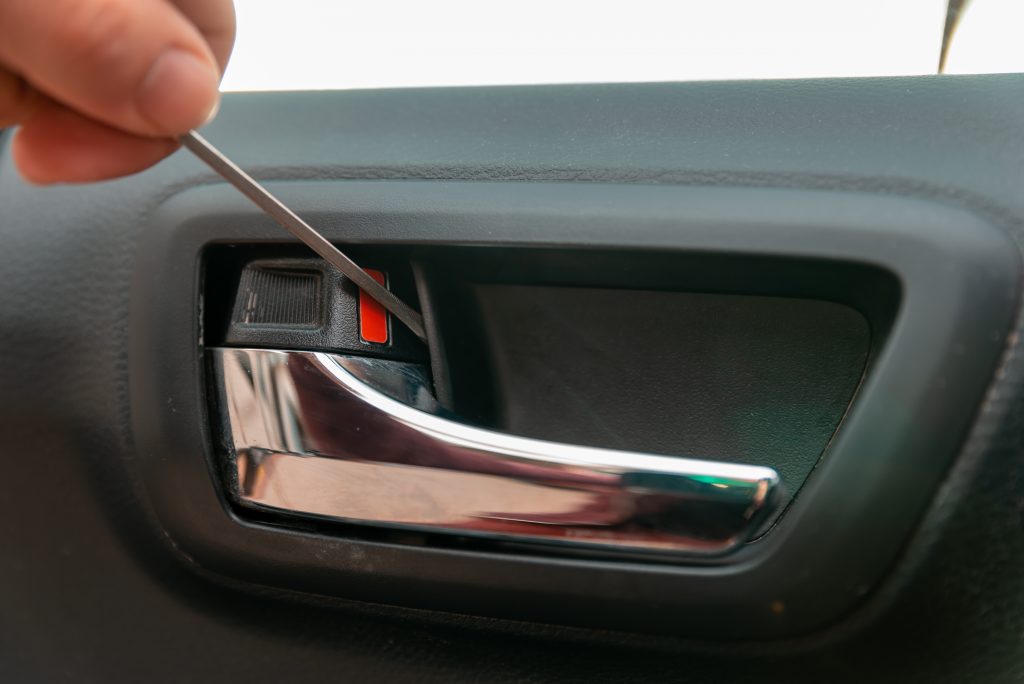
Take a flathead screwdriver or panel removal tool to pop out the factory door bowl cover. Insert the edge of your tool behind the cover and gently pry until it pops off.
This will expose a Phillips screw that needs to be removed.

At the bottom of the door handle you will see a small piece of carpet/felt. Pull that out of the door handle to expose a second Philips screw and remove it.

Now that both screws are removed, remove the door switch controls from the door panel by using a flathead or panel removal tool.
Pry up under the back edge of the switch controls and it will pop up enough for you to see the wire harness connectors.

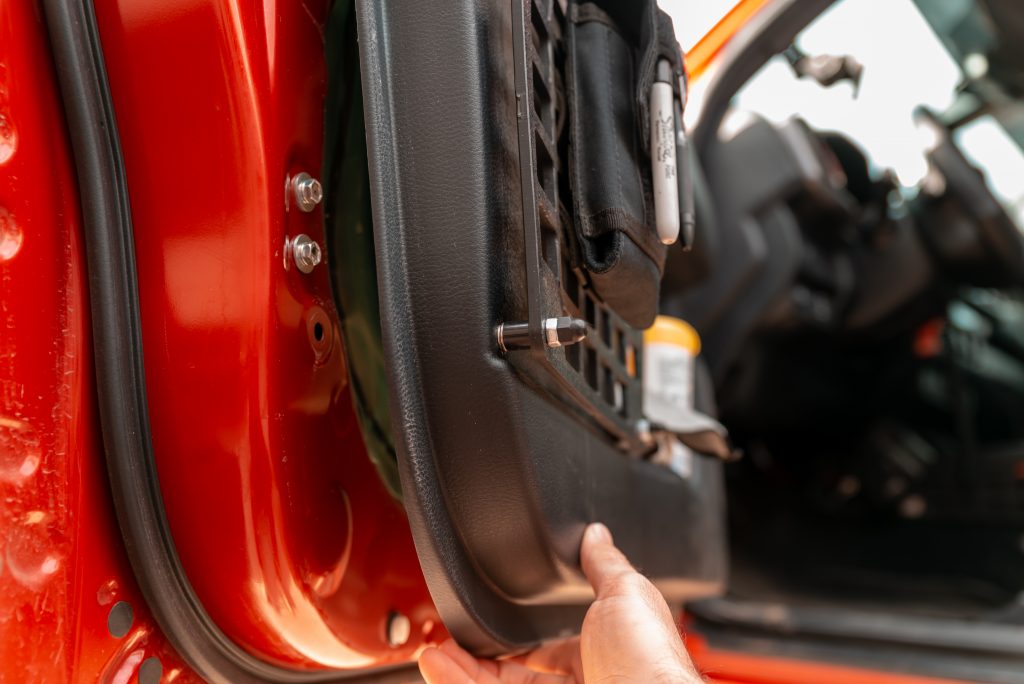
Next, pull on the bottom edge of the door panel to start releasing the plastic clips that hold it in place. Make sure to pull back on the door panel along the sides and bottom edges to release all clips from the door panel. Once all of the clips are released, you can pull the door panel away from the door.
Step 2. Connect Wire Harness

The wire harness you’ll use for the driver’s front door is going to be the largest wire harness. It has white male and female connectors.

Take the male connector and connect it to the underside of the driver’s front door switch control panel.

Next, take your KTJO 4×4 door bowl cover and unwrap the red and black wire. Take the end of this wire and feed it through your door panel where the door bowl cover will be installed.
In the photo above, you will see the bottom rectangle hole that I’m feeding my wire through. This hole is the only rectangle hole that isn’t occupied when you reinstall the door bowl cover. That makes it a perfect location to feed the wire through.
Step 3. Reassemble Door Panel

Start reinstalling the door panel by hanging the top edge onto the door. When you place the door panel back onto the door, make sure the wire you fed through is coming out of the switch control hole.
Firmly press on the door panel edges and make sure you can hear the audible clicks. These are the plastic clips securing the panel to the door. Take the two screws you removed earlier and reinstall them.
At this point, you can snap the KTJO 4×4 door bowl cover into place. Make sure you don’t let the wire get bunched up behind the cover or else it won’t install correctly. I held onto the wire where it was coming out of the switch control hole as I was installing the cover.

Finally, connect all of the wire harnesses. Once all of your wires are connected, you can turn on either your DRL lights or your headlights to test the door bowl LED.
Make sure the LED works before you reinstall the switch control housing.
Step 4. Remove Rear Door Panel

For the rear doors, the removal and installation processes are nearly identical with some small differences.

For the rear door, you will find this clip towards the rear of the door panel. Use a small tool to punch the center of the clip to remove it.

Next, you’ll need to remove the screw behind the door handle. The screw locations are the same as the front door; one is behind the door handle and the second is down inside the door bowl.

With the screws removed, you can pull out the window switch controls in the same way you did the front door. After removing the switch control panel, remember to disconnect the wire harness so you can remove the switch controls.
Step 5. Connect Wire Harness

The wire harness for both rear doors is going to be the smaller of the harnesses with square connectors. Just like we did with the front door, connect the male connector to the door switch controls you removed.
The red and black wire from the door bowl cover gets fed through the bottom rectangular hole in the door panel just like the front door.
Step 6. Reassemble Door Panel

Reinstalling the rear door is going to follow the same directions as the front door. Place the top edge of the door panel back on the door and line it up.
Before pressing on the plastic clips to resecure the door panel, make sure you feed the door bowl wire harness through the hole where the switch control will be installed.
Press on the door panel edges to reinstall the plastic clips. Then, reinstall both screws to finish securing the door panel.

You can now snap the door bowl cover into place. Make sure to not let the wire harness get caught up behind the KTJO cover.
Connect the last of the remaining connections from the wire harness and test the LED before reinstalling the switch controls.
Final Thoughts

If after you finish installing these and you feel that they’re too dim, there’s a way to increase the brightness. KTJO 4×4 designed its wire harness to work in sync with the door switch illumination. If you adjust your dash lighting brightness via the factory toggle, the LEDs will follow suit.

These lights are very fairly priced and are an awesome upgrade that anyone can do to their Tacoma.
What I like best is that the lights aren’t too bright so you aren’t distracted while driving at night. They provide a good amount of light that adds a nice accent to your interior. If you have been looking to add a unique touch to your Tacoma, this kit is a great option!

