In any off-road or overland build, armor is an important investment. Not only does it help to protect your vehicle, but in many cases, it can improve strength and ground clearance.
There are a handful of good options out there, but I’m here to tell you about my experience with the Hi-Lite rear bumper from Backwoods Adventure Mods. A newer but experienced company, I quickly grew fond of their approach, and of course, the design.
This high clearance rear is built to last and made and sourced in the USA.
When I bought my truck, it already had a bunch of mods. But after a while, I wanted to re-evaluate the look, and so started a second, call it final phase.
New armor played a big role in the equation, and changing the look included a vision for a sleeker, and more lightweight approach. Backwoods strives for armor that doesn’t get excessively heavy but still provides more than adequate protection.
I’ve been running it for long enough to have a solid opinion and overview. Let’s jump in.
Find It Online
- Backwoods Adventure Mods Hi-Lite: Check Price
Table Of Contents
Who Is Backwoods?

Backwoods Adventure Mods is unique in many ways. First off, they’re based out of Arkansas. While much of the off-road and overland community is out West, this company brings a unique perspective to product design with the same passion. Backwoods is really well known and trusted in the van space – where they outfit Sprinters, Transits, and ProMasters. More recently, they’ve been growing a bigger and bigger presence in the Toyota community.
Their main focus is on items like bumpers, roof racks, ladders, storage boxes and more. Where they really shine and stand apart, is their intent to create as much lightweight and “hybrid” armor. The lightweight portion largely refers to the use of aluminum, while the hybrid portion combines aluminum AND steel – to give you the best of both. And another key benefit, better corrosion resistance.

I’ve been aware of Backwoods for quite some time, from the early days when they first started to showcase their new products. They’ve grown a lot, and given the opportunity to run their products, I was stoked to have them be a part of the rebuild. When we recently rolled down to Arkansas for the Express Rally (they are an event sponsor), I had the pleasure of meeting the team and getting a full tour of their entire facility.
These guys have quite the operation, loaded with features like the latest in robotics, and a ton of super motivated and talented team members. They seem to have a great work culture, and it was awesome to see it all in person. I’ll be covering a shop tour post soon.
Features & Specifications

Let’s quickly run through all the important details.
- high clearance (built to provide greater departure angles)
- protects flimsy bed metal panels on the sides (requires cut to bed)
- comes standard with black powder coat (no additional costs!)
- does NOT work with factory sensors
- one single piece of steel (minus mounting brackets)
- integrated license plate lights

Details continued…
- all hardware and install pieces included (trailer harness plug/extension, etc.)
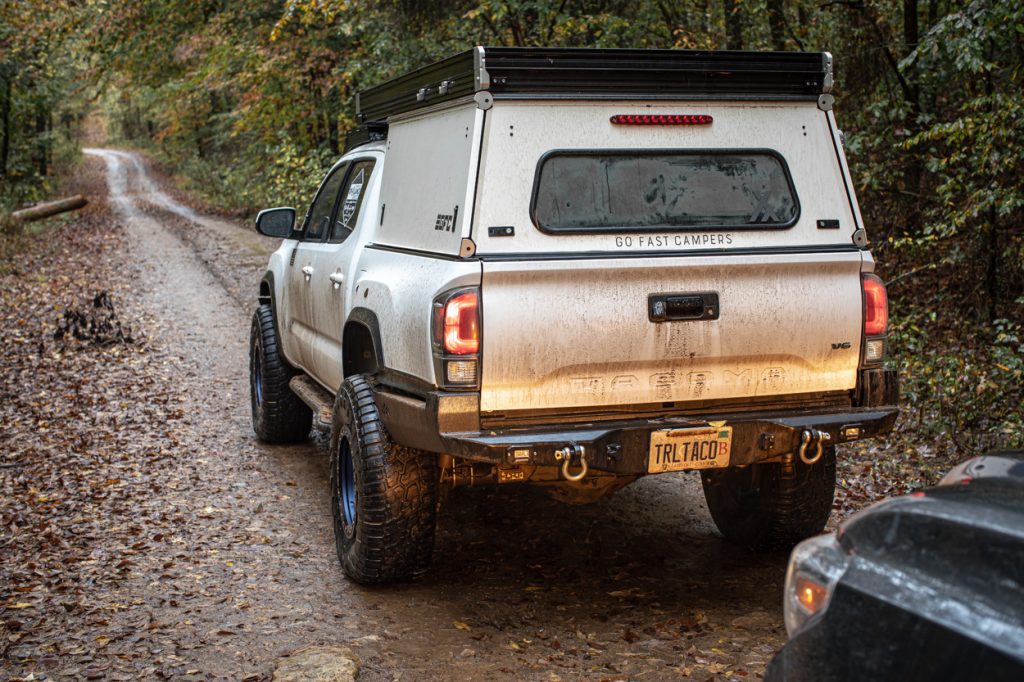
- fits (2) Pathfinder flush mount scene lights (seen on my truck)
- integrated hitch receiver (2″, hidden under license plate flip kit)
- heavy-duty 3/4″ thick recovery points/mounts
- weighs 140 lbs. (OEM components weigh ~ 80lbs. – only ~60 lbs. added weight)
- swing out option (unfortunately not currently available) features swing arms with aluminum construction
Not a bad list! Let’s move onto my experiences.
Impressions & Review

First, let’s touch on installation. Since I previously had a high clearance rear, my installation process was a bit different. I had to account for the fact that the last cut was higher, and I had to come up with a solution to bridge the gap – short of replacing the bed sides.
Long story short, I cleaned up the edges, and found a appropriately tall rubber gasket (used as a heavy duty door seal on RVs), trimmed it to fit, and used an extreme strength adhesive to help it stay permanently seated. There are other ways to do this, but I think considering the issue, a pretty good solution.
But in terms of the installation process, it comes with beefy brackets that first bolt into the OEM bolt locations (there are more than enough for a secure hold) and then the brackets bolt into the structure of the bumper itself. The way the brackets mount to the is helpful for installation, since the shell rests on the brackets without having to be perfectly stabilized in mid-air. Makes things easier. The sides also come with thick reinforcement brackets to further solidify the construction.
The way it mounts is very sturdy. And as an added bonus, there are features like holes to help attach your factory liner after you install it. I have a full fender trim and no liners, so it didn’t apply to me, but it certainly does for the majority of Tacoma owners.

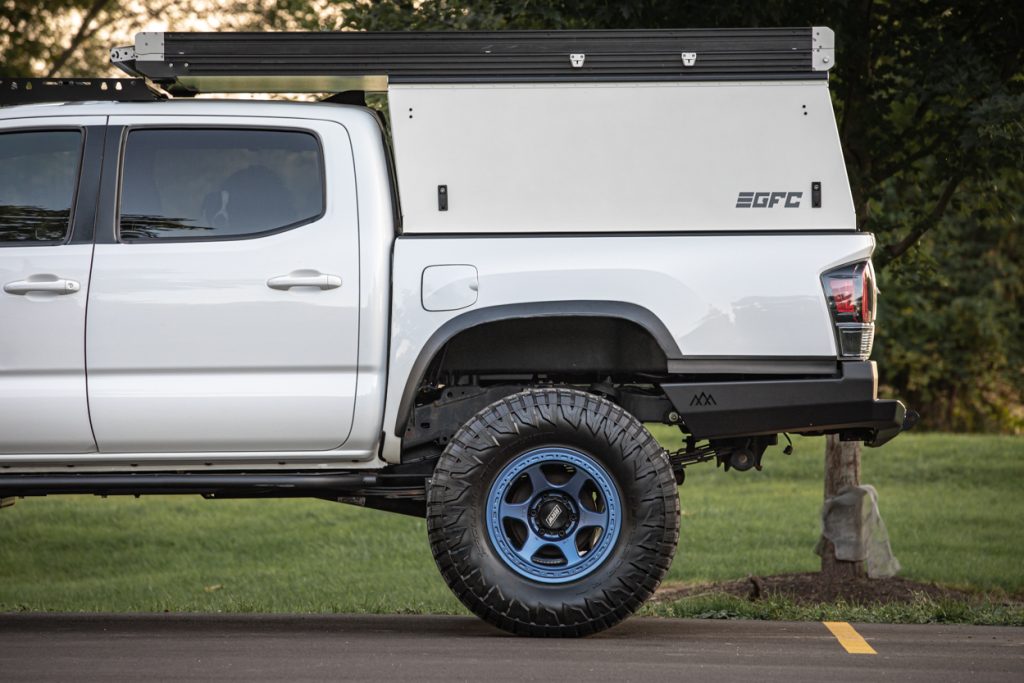
I think it goes without saying I like how the Backwoods bumpers look. They have a sleek, updated design that flows well with the body and OEM aesthetics. That also goes for the front.
I’ve had the chance to wheel twice with this new setup, and first and foremost, it’s nice saving some weight from the last setup. The truck feels better when it’s not overloaded, and the pounds add up fast. Weighing only roughly 70lbs. more than the factory setup – that weight change is nothing to be concerned about.
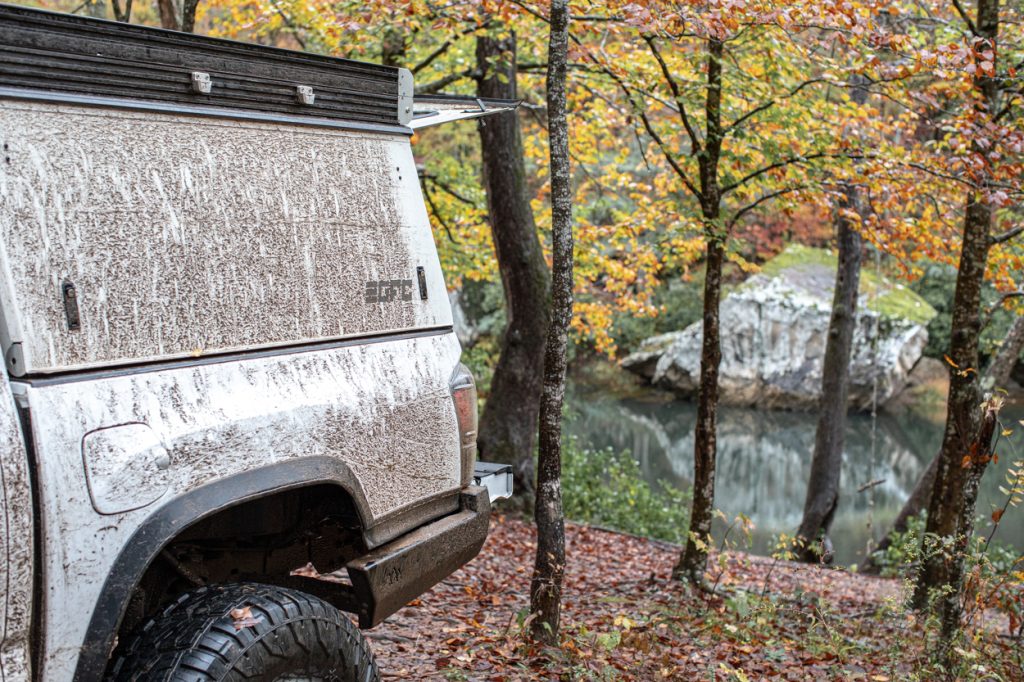
I’ve run the truck both through a local ORV park (which has some choice lines in a few technical rock gardens) and more recently through the Express Rally Overland Ozarks event. I’ve taken a few hits here and there, but little to no damage. Nothing super crazy yet, but I can tell from experience the strength is certainly not under question. During recovery scenarios (I seem to get stuck a lot, haha), the recovery points have held up great and are a perfect place for my stainless shackles.

I really like that it integrates the Pathfinder lights. Rear lights are always seemingly falling to the bottom of my list, so it was nice to have the bumper and lights available in one. They’re plenty bright, and fit perfectly. I might toss some yellow Lamin-X on them in the future.
Currently, and sadly (someone start a petition), Backwoods is not offering the swing out version. In a sense, this was a good thing for me, since I got to experience a non swing out bumper myself for the first time. And I really do like the application.
For making the truck more user/daily friendly, it’s kind of nice not having the spare tire and the other mounts on there constantly. I would like to run a hitch mounted tire carrier to see how much I liked the ability to add one only when really necessary (to me, when travelling far).

Overall, I’m super happy. The quality is top notch, it comes coated, they’re often ready in stock, and I don’t really have anything bad to say. If you’re in the market, this is a good one to consider.
Final Thoughts

Without being too redundant in this last section – the total experience with everything has been awesome. The product quality is one thing, but supporting a U.S. company is important to me, especially when it’s backed by a good group of people. No brainer, in my opinion.
I know Backwoods Adventure Mods will continue to grow, and I look forward to what they release for other Toyota models, and the new 4th Gen Tacoma.


How does the angle of departure compare with your prior bumper and/or the stock version?
I’d have to go and do some measurements, but off the top of my head, just look at the amount of space gained from not running an OEM hitch. That’s more than a couple of inches already. Then, the bumper is technically limited by the frame for how much clearance it provides. I will say, that compared to other “high-clearance” options, the overall clearance is very close between all of them. The sides see the most benefit (since you cut the bed) and the rear basically gives you clearance to the lowest point of the back of the frame. If… Read more »
I love all kinds of mods . There is one thing I’m going to ask . Why is the sides of that rear bumper angled doun in the front? I have had bad thoughts on those side guards , like getting rolled into the bed or pulled out from being hung on something. Love the truck looks great.
We literally were just having this conversation, haha. I need to loosen two of the frame brackets, and rotate the whole bumper to close that gap. Been meaning to fix it to make it perfect! I’ll post an updated shot here when I do. Thanks for the comment! But in terms of hitting anything, I can assure you that with the added clearance compared to factory (especially since you cut the bed), and based on never having seen this happen, getting it snagged on a rock or anything is not a concern. Even if it did, the amount of force… Read more »
Lol it funny how that happens when you sit and chat about things and others bring it up at the same time. That is a great point about the bumper sides. It is a very high clearance and you said you have to cut the bed to make it fit, I sure it will be just fine then. I like some of these new designs of bumpers but I’m kinda old school. I like the tubular look even when there built to rap around the side like this bumper.