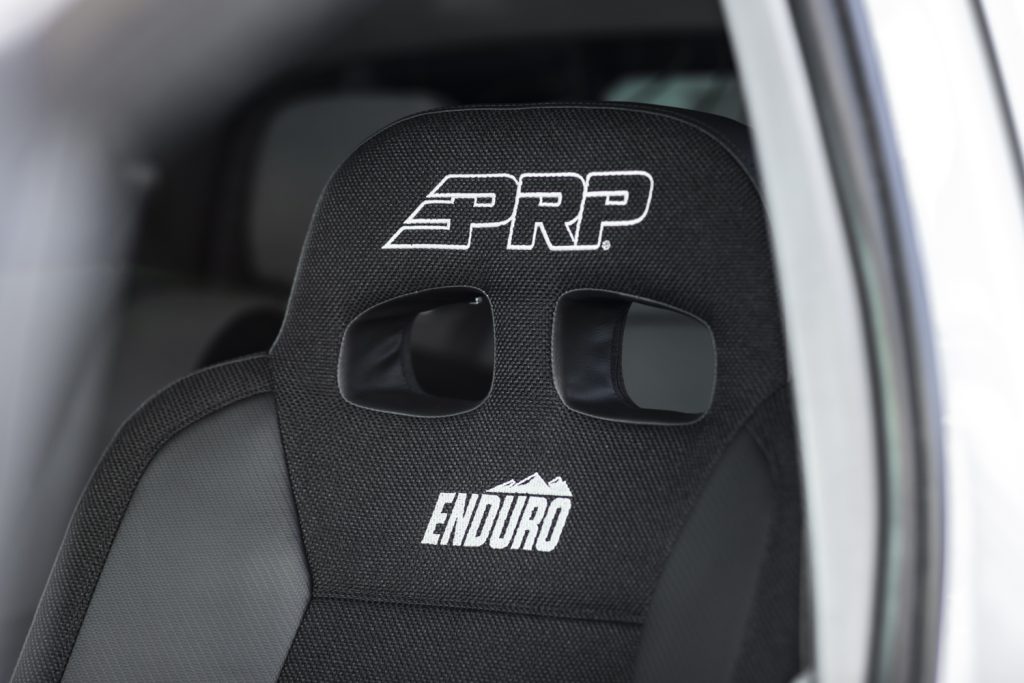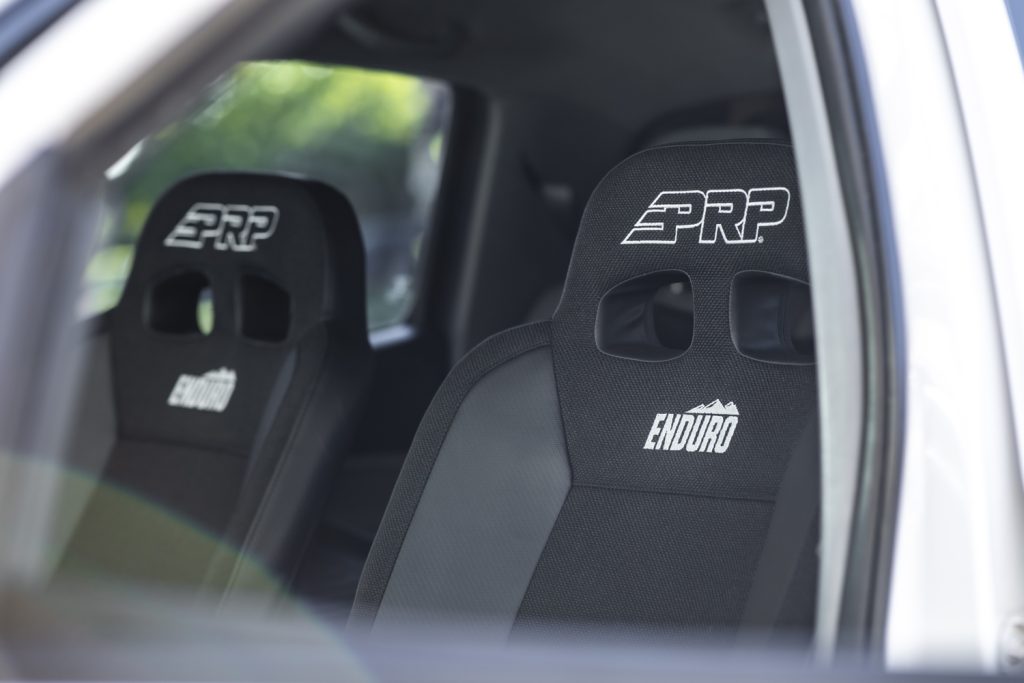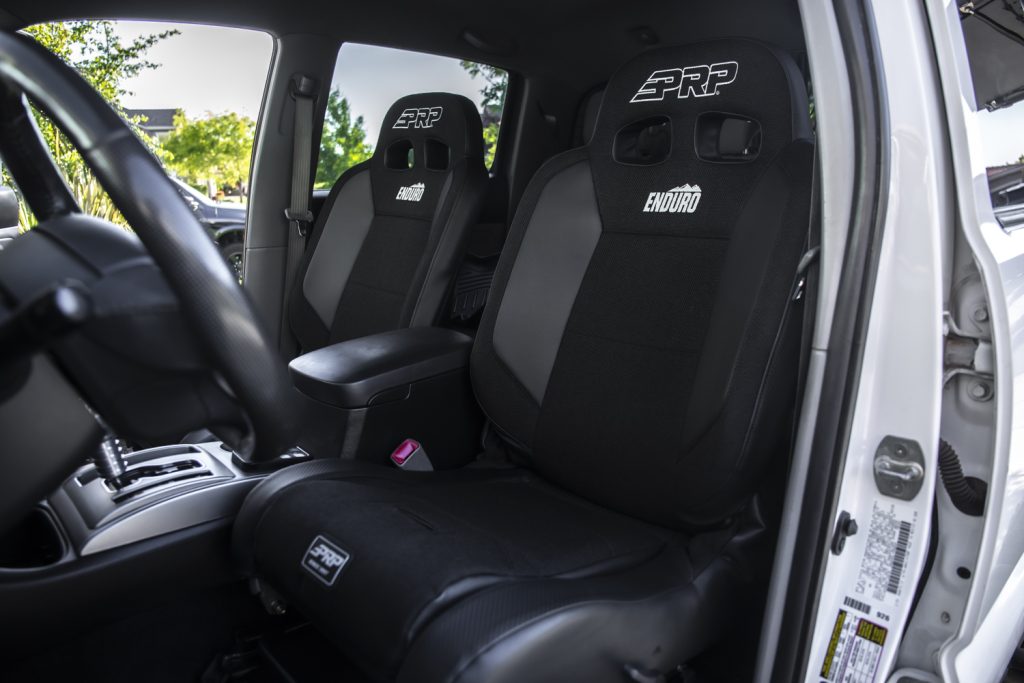
Upgrading the interior is one of the most satisfying mods you can do on the 2G Tacoma. The seats are pretty dated, and after roughly 10-20 years, depending on your model year, yours are likely pretty hammered, like mine were. I debated going with a set of PRP seat covers, but I love the look of the Enduros, and my fabric was ripped in a few random places. So I pulled the trigger on a set of pre-selected Enduro colorways from PRP (Black Tweed), which is a bit cheaper than customizing the entire set.
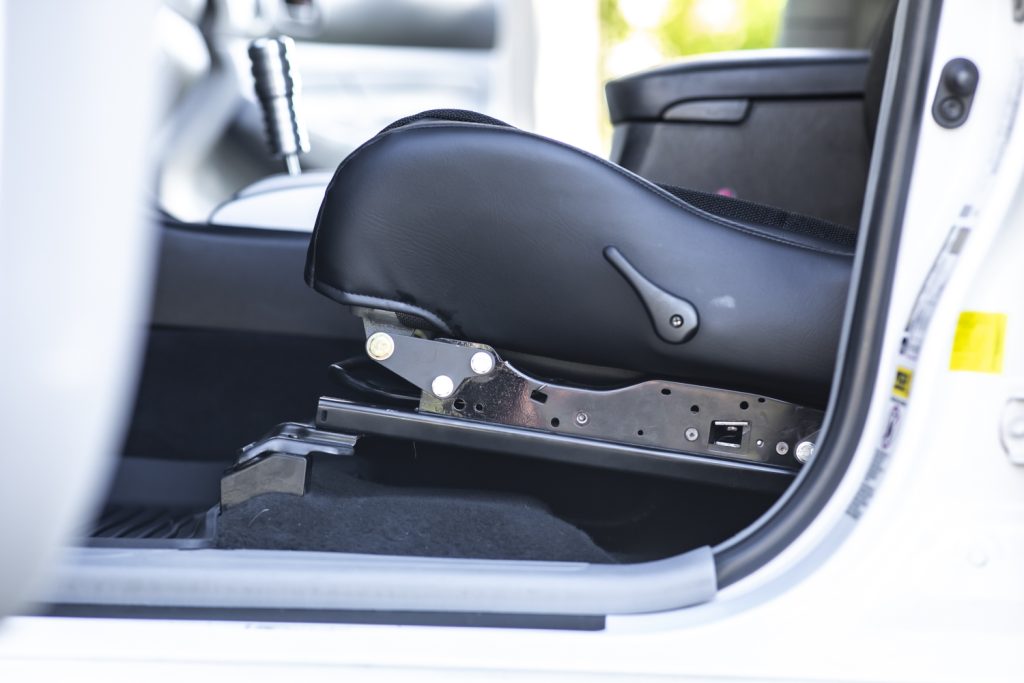
With Solo Motorsports seat brackets, this is a somewhat plug-and-play direct swap. Which is awesome, because you’re somewhat limited in the 2nd Gen trucks. You will have to chisel off a couple of brackets on the driver’s side seat slider assembly, but outside of that, it’s fairly straightforward.
Before starting the installation, I looked for a reference guide but came up short on both Solo Motorsports’ and PRP’s websites. There are a few install guides for the 3rd Gen Tacoma, but nothing for the 2nd Gen. With that in mind, I wanted to throw together a quick installation guide on how to swap out the OEM seats with a set of PRP EnduroDailys using the Solo Motorsports seat brackets.
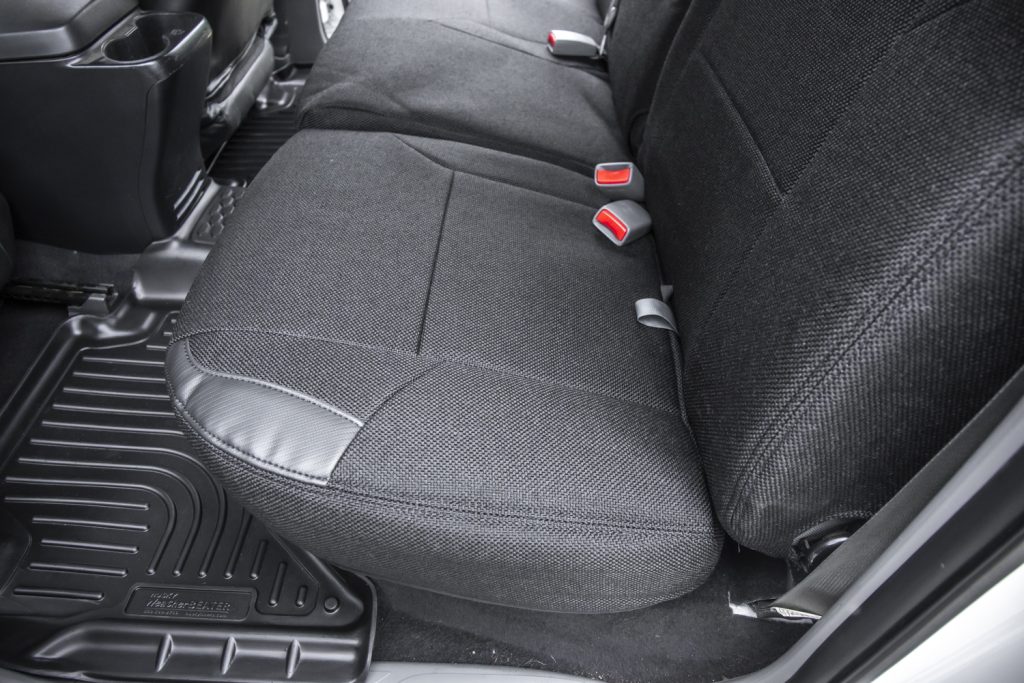
I also installed a set of 2G PRP seat covers in the rear to match the front, so I’ll be lightly covering that as well in the linked YouTube video below.
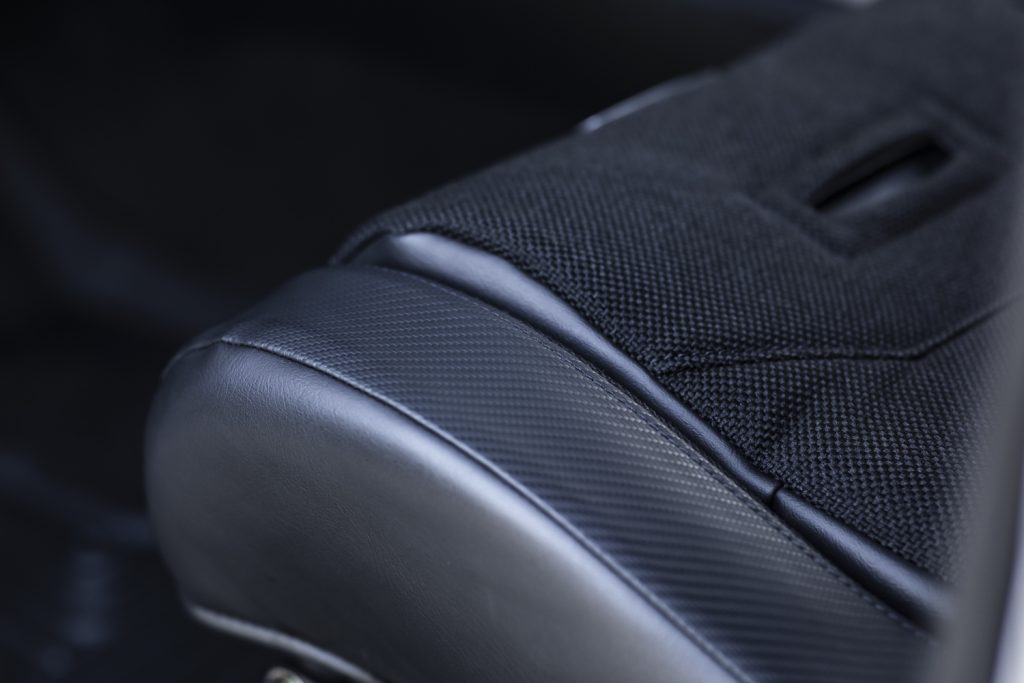
The end result came out amazing. Black tweed on black carbon vinyl on black vinyl for both the front and rear. Extremely hyped on the end result. One of the best mods I’ve done to this truck in a long time. One of those that you just keep coming back to, just to see them again.
Let’s jump in.
Find It Online
- PRP EnduroDaily Suspension Seats: Check Price
- Solo Motorsports Seat Brackets (with hardware): Check Price
Table Of Contents
Video Installation Guide (Driver Side)
This is a straightforward install with the brackets I bought. Everything is designed to bolt in place. Check out my video.
Solo Motorsports Suspension Seat Brackets
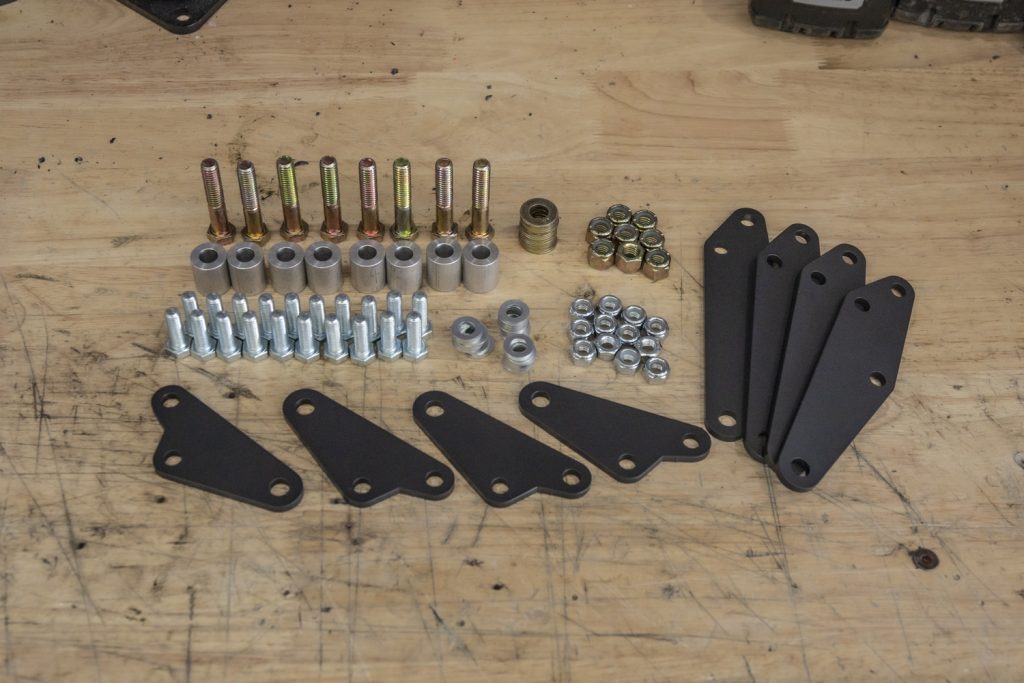
Here is a look at the 2005-2015 Toyota Tacoma Suspension Seat Brackets from Solo that bolt to the factory slider bracket, and allow you to bolt the PRP seats with 18” on-center horizontal mounting tabs directly to your factory sliders. I know this is a big question (brackets/adapters) when it comes to swapping your seats entirely, so just know that this kit exists to make your life easier.
Side-By-Side Comparison With OEM
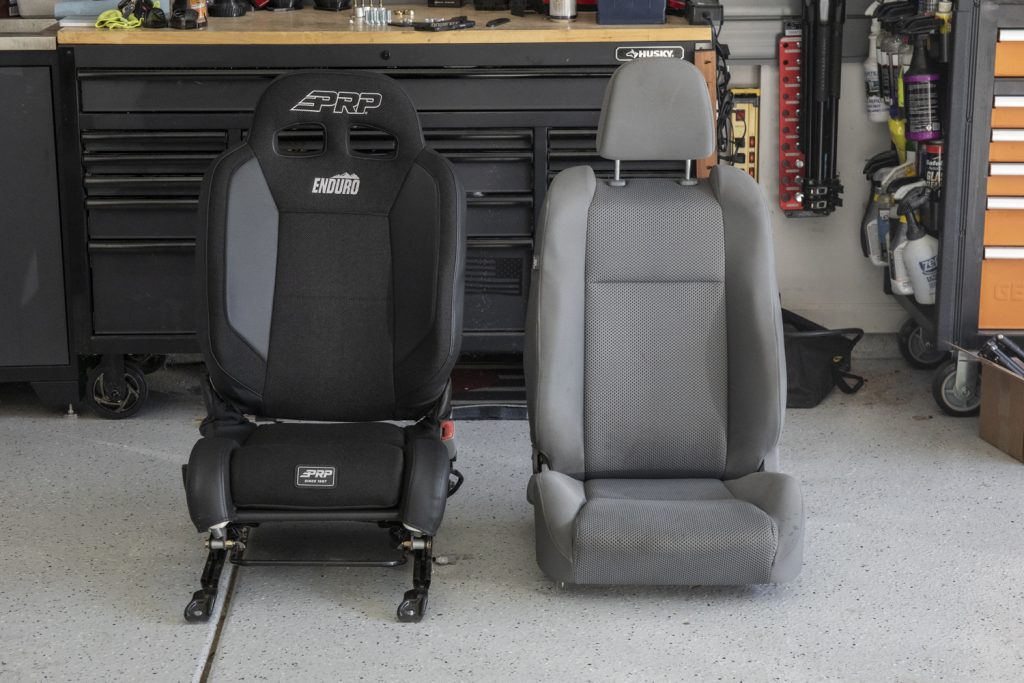
Before we get into it, here’s a quick photo of my old seats (totally beat) and the new PRPs. Quite the difference.
Step 1. Remove Front Seat (14mm)
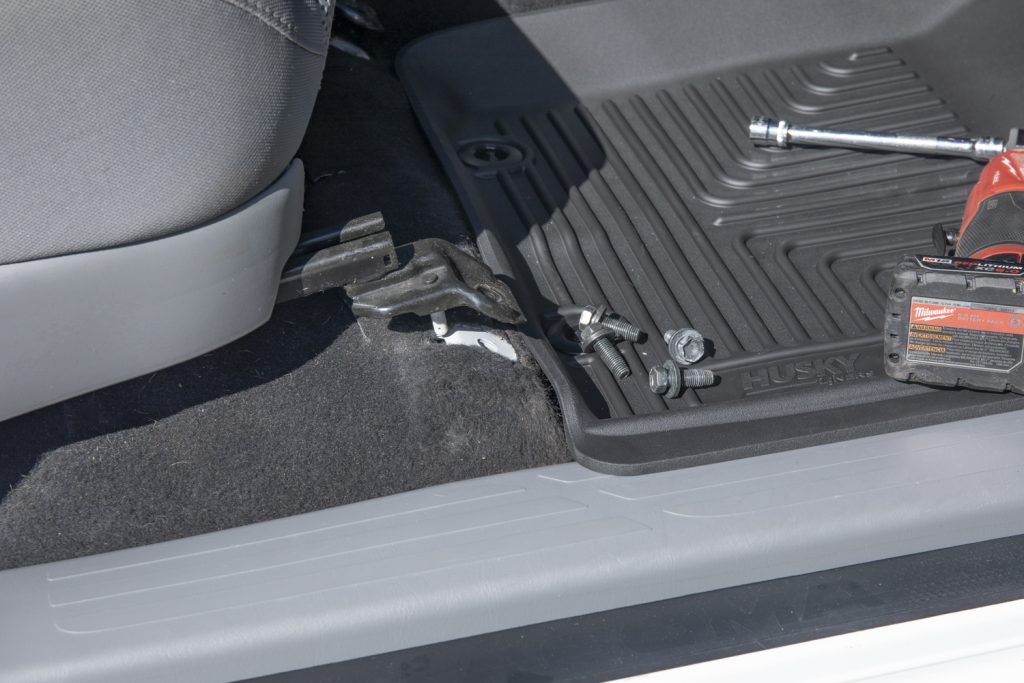
Remove the seat end-caps with a plastic pry tool. Then remove the four 14mm bolts holding the seat in place. Two in the front and two in the rear.
Step 2. Disconnect Wiring & Remove Seat
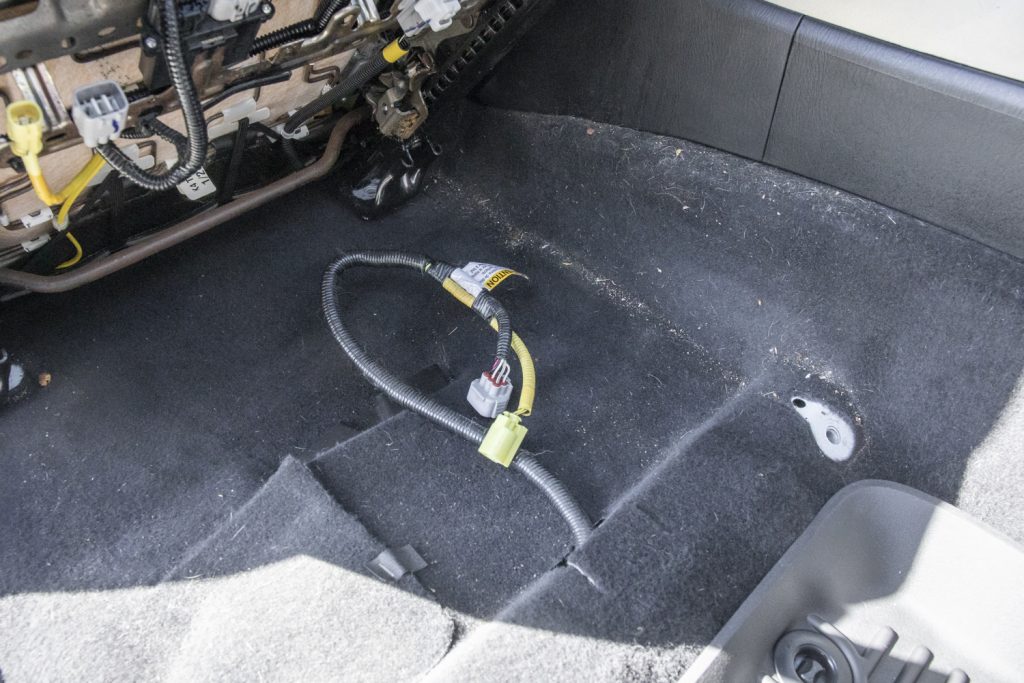
Disconnect the wiring harness from underneath the seat. Once everything is unplugged, remove the seat from the truck.
Step 3. Remove Rear Plastic Screw
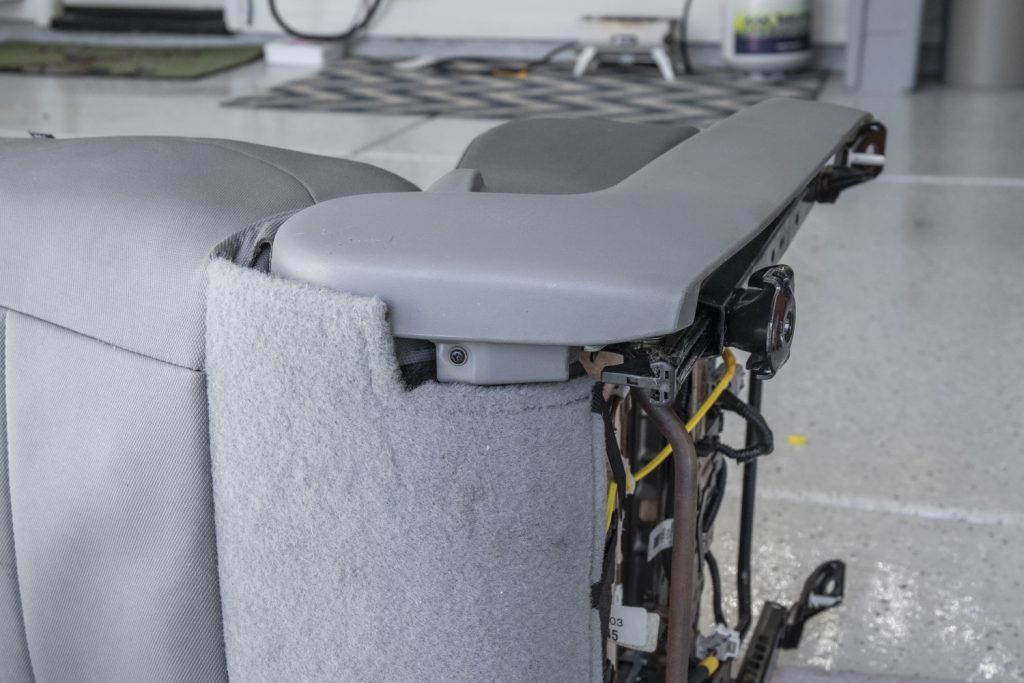
Remove the small screw from the backside of the seat plastic trim, and then remove the entire plastic trim piece.
Step 4. Remove Seat Rail Hardware (T40 Torx)
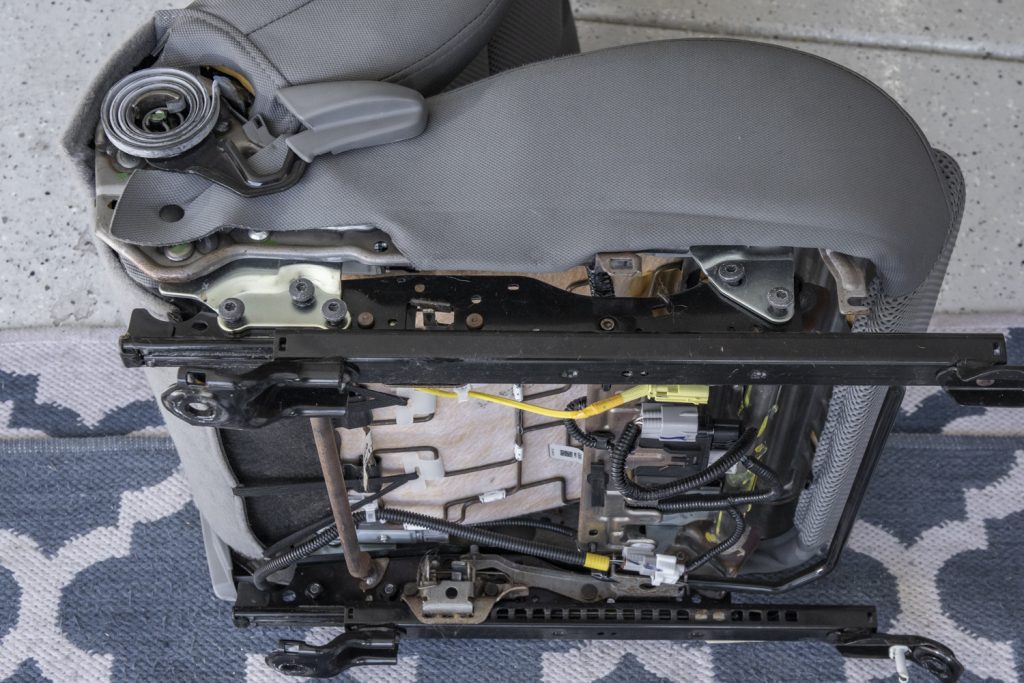
Remove all the T40 Torx hardware on the side of the seat rail assembly. This separates the seat slider assembly from the frame.
Step 5. Remove Seatbelt From Slider
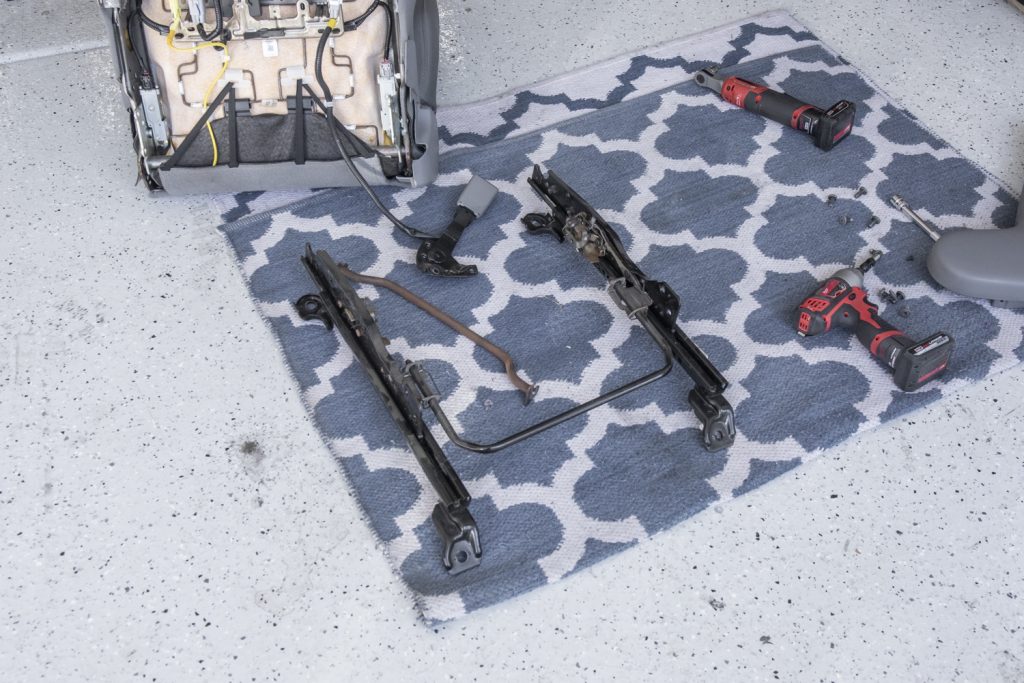
Remove the seatbelt from the seat slider assembly. No need to keep the hardware as you will not reuse it.
Step 6. Assemble Solo Motorsports Brackets
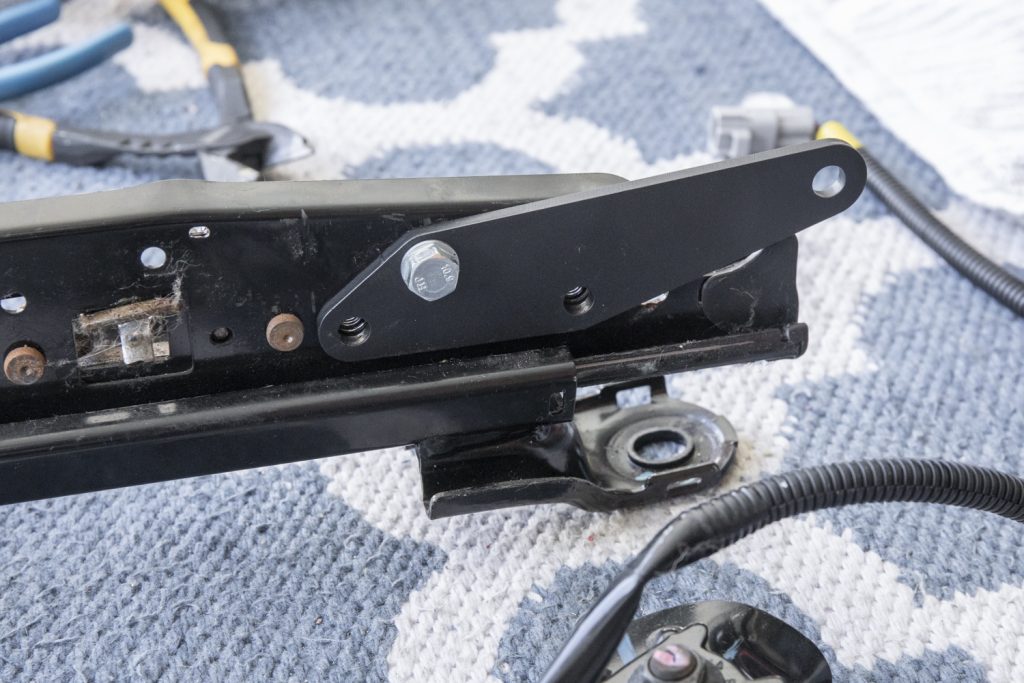
Start assembling your Solo Motorsports brackets front and rear. Make sure everything is oriented correctly. The small brackets go in the front, and the longer brackets go in the rear.
Step 7. Reinstall Seatbelt (13mm)
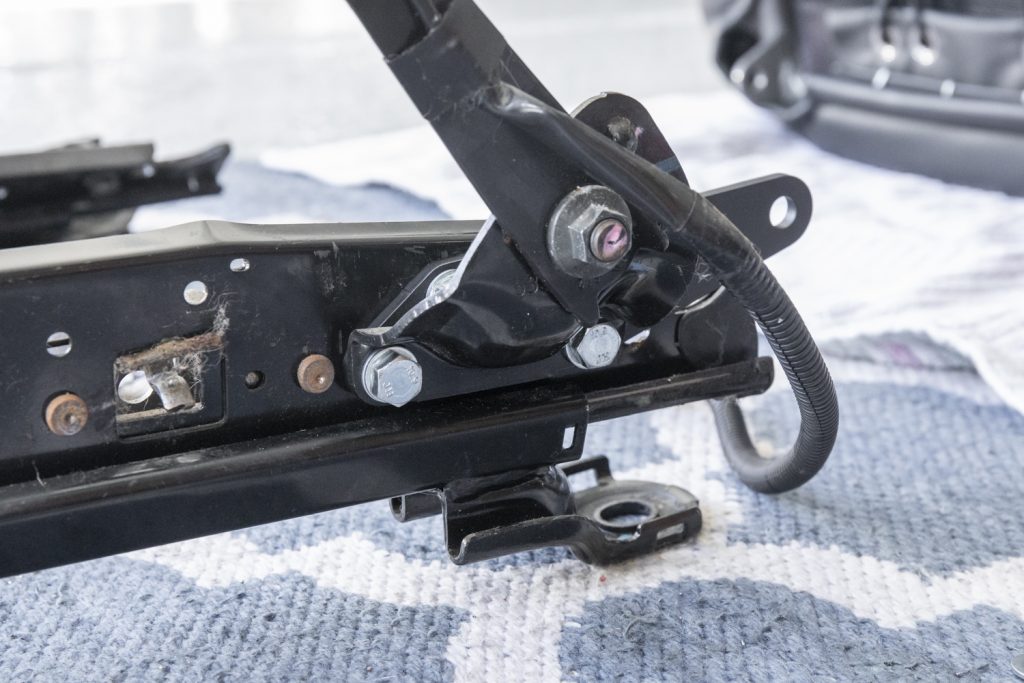
Install the seatbelt back onto the seat slider assembly over the Solo bracket using the hardware provided by them.
Step 8. Mount Sliders To PRP Seat (9/16 Long Bolts)
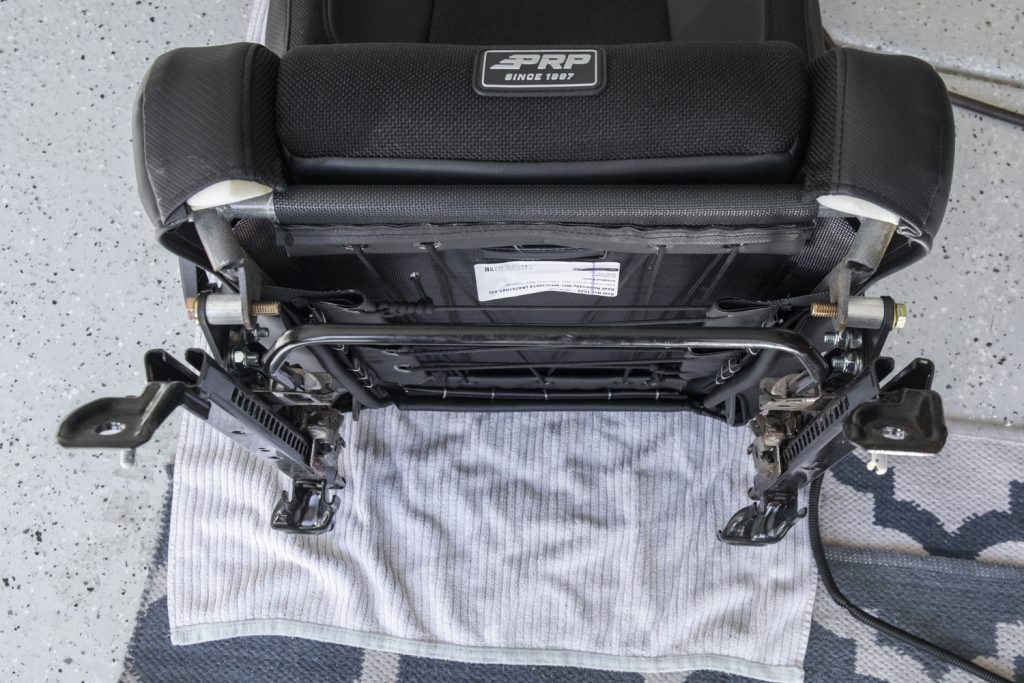
Mount the seat slider assembly onto the PRP seats and tighten everything down evenly. You may need to leave the hardware slightly loose so that the locating pins can find their home on the floor board. Once everything lines up, tighten the hardware down.
Step 9. Install Seats
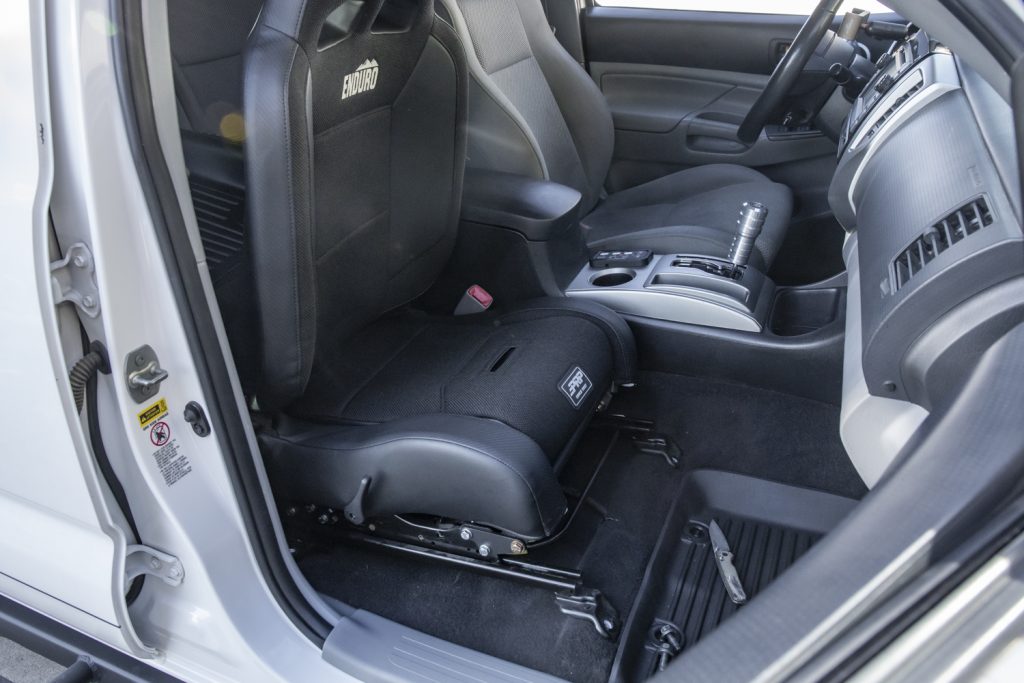
Set the PRP seats back into the truck and line up the mounting holes.
Step 10. Reconnect Wiring
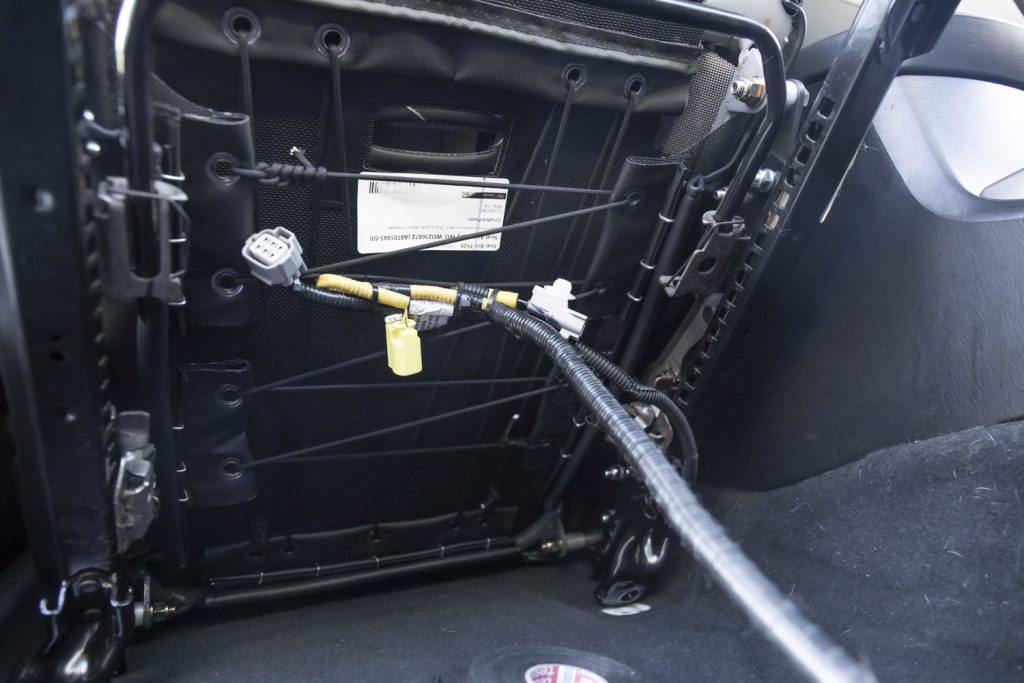
Reconnect the wiring harnesses underneath the seat. Use zip ties to secure the wiring to the PRP seat and keep it away from moving parts to prevent any rattling.
Step 11. Bolt It All Down
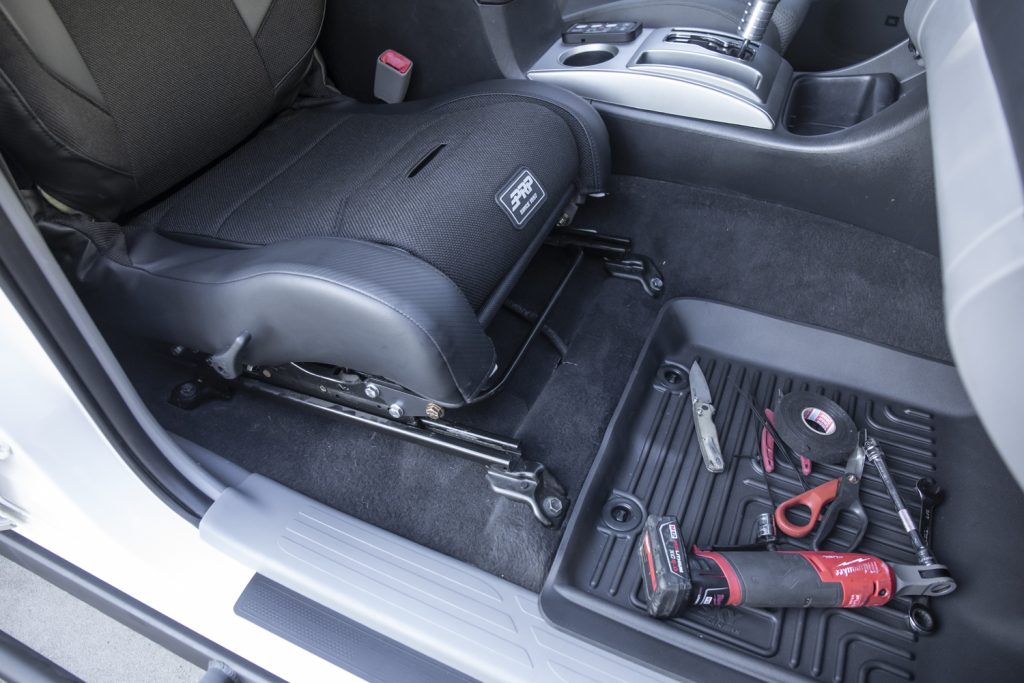
Bolt the PRP seats down using the four 14mm bolts and tighten them securely. And that’s it! Pretty straightforward.
First Thoughts
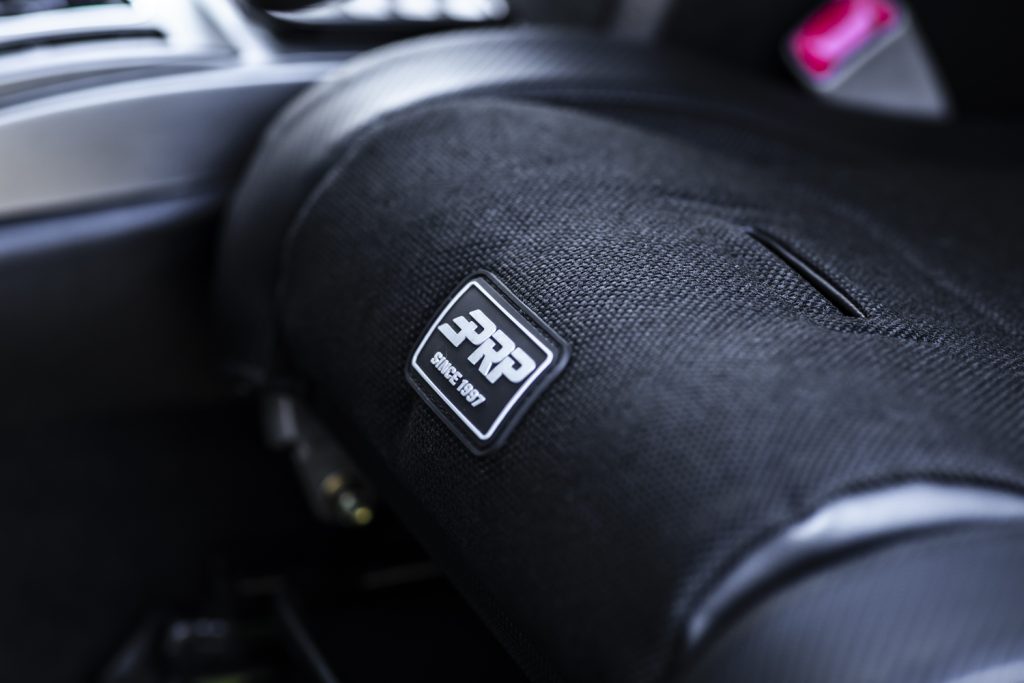
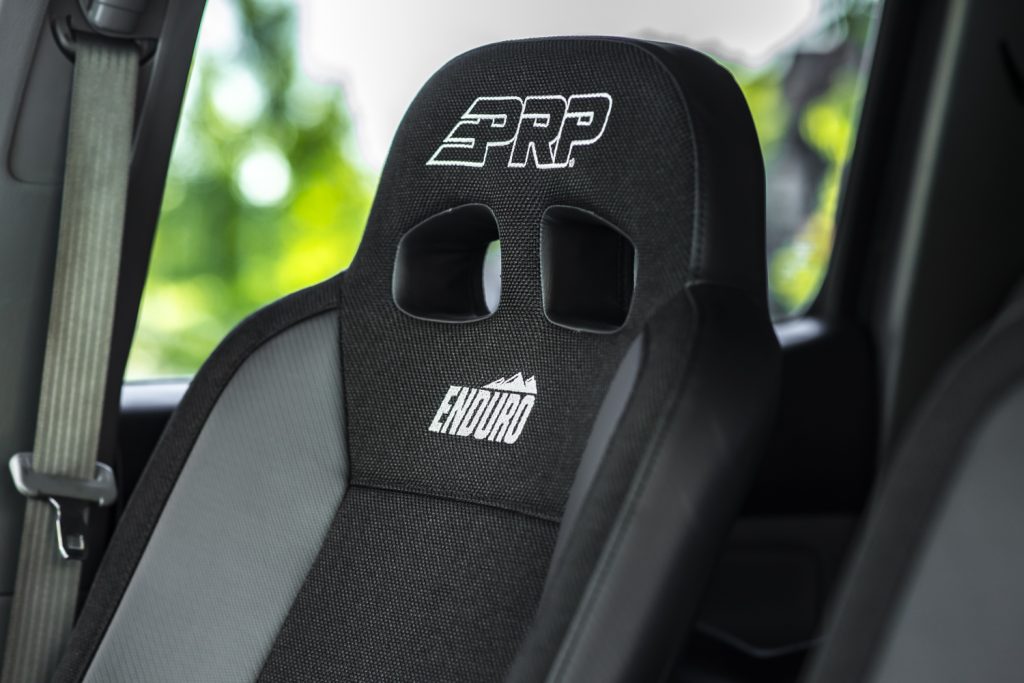
The fronts turned out amazing. They’re adjustable via the factory slider assembly (amazing to have) and they also recline. The EnduroDailys give you that race truck look with simple, clean aesthetics and the ability to customize them. Pretty happy with how this turned out. Makes a really big difference. Full race truck mode. You have the option to add a harness as well. The bottom of the seat also has a 5th point slot. The price isn’t bad either, especially for this Black Tweed set.
The area where you sit has PRP’s Flexfoam. It’s a new 3-layer gel infused cushion material to help with overall comfort. You can remove the cushion for easy cleaning too. The bottom portion is ventilated for easy drying (more so for crawler rigs). These are “low containment”, which means that they’re not super restricting and form fit around your legs and torso area. The shoulder area is nice and wide too.
All in all, a pretty well rounded replacment.
Matching Rear Covers
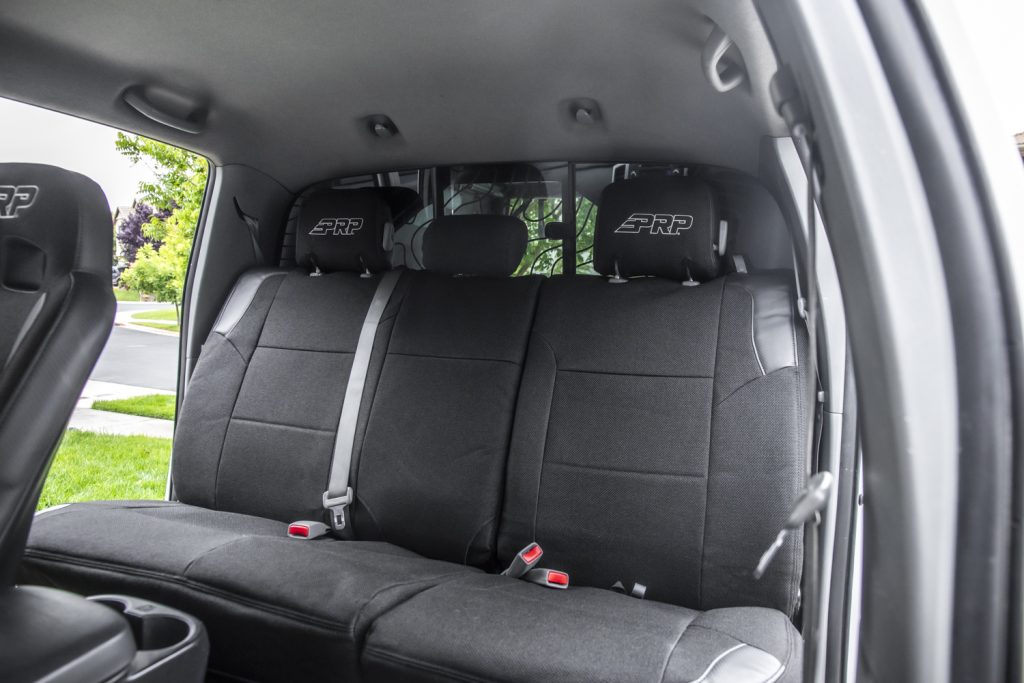
Naturally, most of us probably won’t add suspension seats in the rear. Unless you’re building a buggy. So, I got a matching rear set of their standard seat covers to complete the upgrade. They fit really tight and really bring the interior together. Again, fully customizable.
Just a killer setup all the way around. I’ve run PRP seat covers in a handful of trucks now, and they don’t disappoint. The fitment is miles beyond any other seat cover I’ve installed.
Extra Photos