
Not much beats ripping along a trail in the middle of nowhere without a single care in the world. That is until you turn that blind corner, and the smooth dirt road you had been tearing up abruptly turns into chunky rock. Suddenly you’re going Mach 10 into a loose rock garden and the brakes on your rig can only slow you down so much.
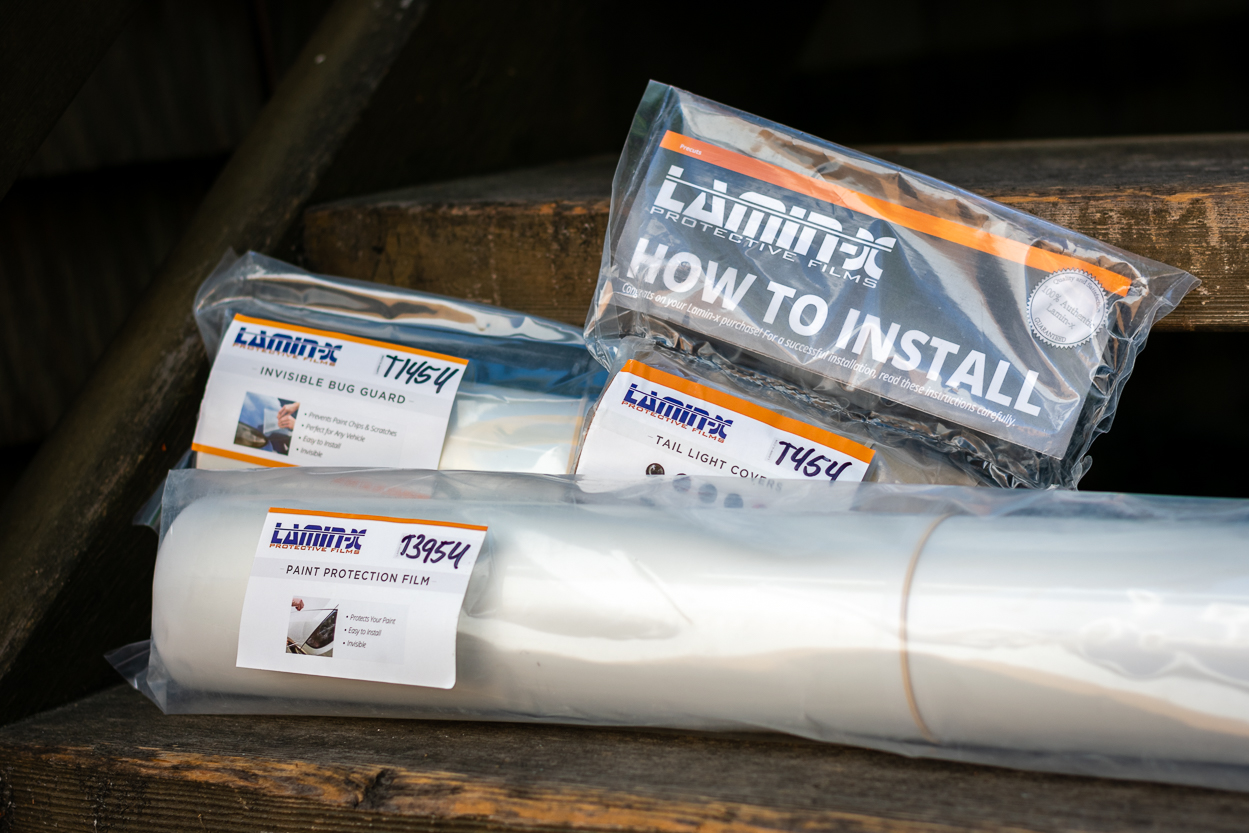
These are the moments when you hope for the best and pray that your truck will hold up to the elements. Enter Lamin-X. Based in Blairsville, Georgia, Lamin-X is a company focused on producing surface and paint protection products meant for the automotive industry.
I recently installed three of their products onto my 3rd Gen Tacoma and in this post, I will dive into my experience applying these products to my rig and how they performed.
Find It Online
- Tinted Tail Light Covers (2016-2023): Check Price
- Double Cab Rocker Panel Guard (2016-2023): Check Price
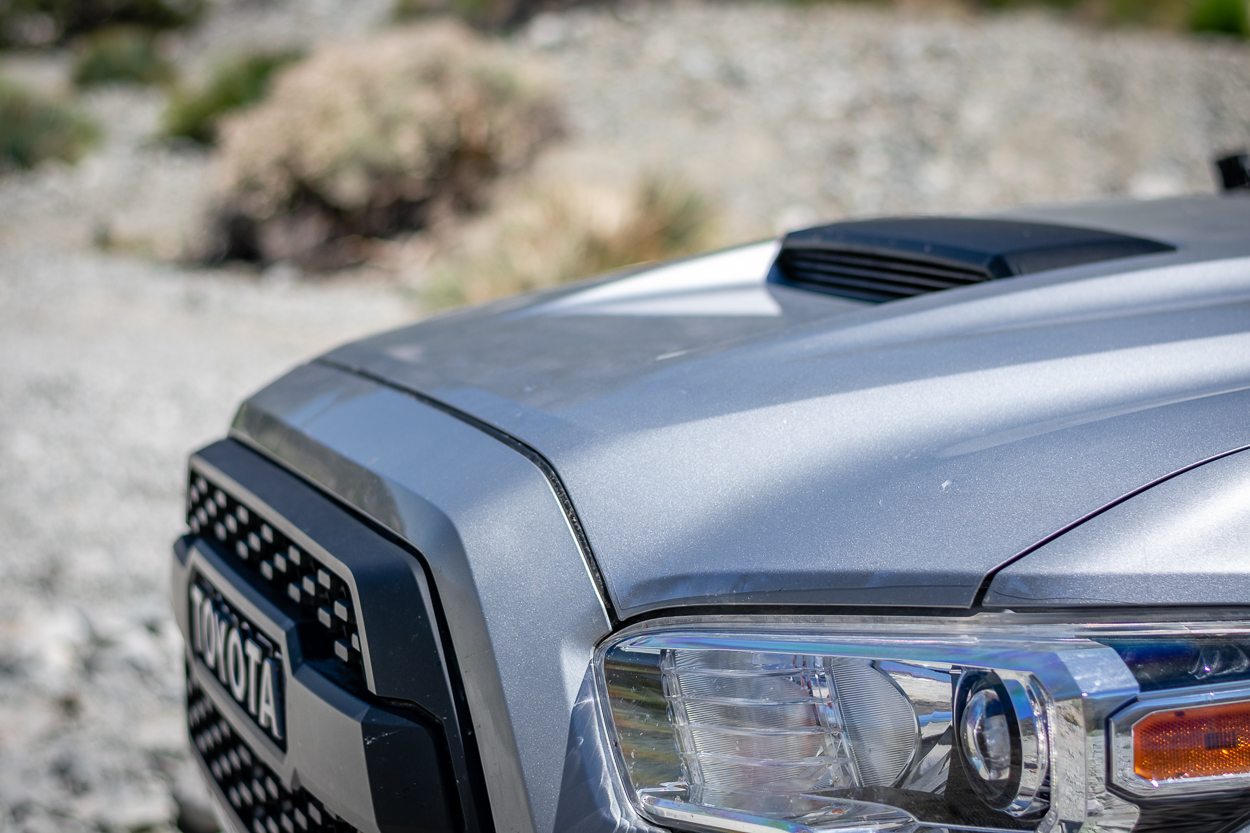
- Invisible Bug Guard (2016-2023): Check Price
Table Of Contents
Installation
Lamin-X provides everything you need to install these products in the packaging so no need for rummaging through your unorganized garage or any trips to your local hardware store.
Step 1. Clean Your Truck
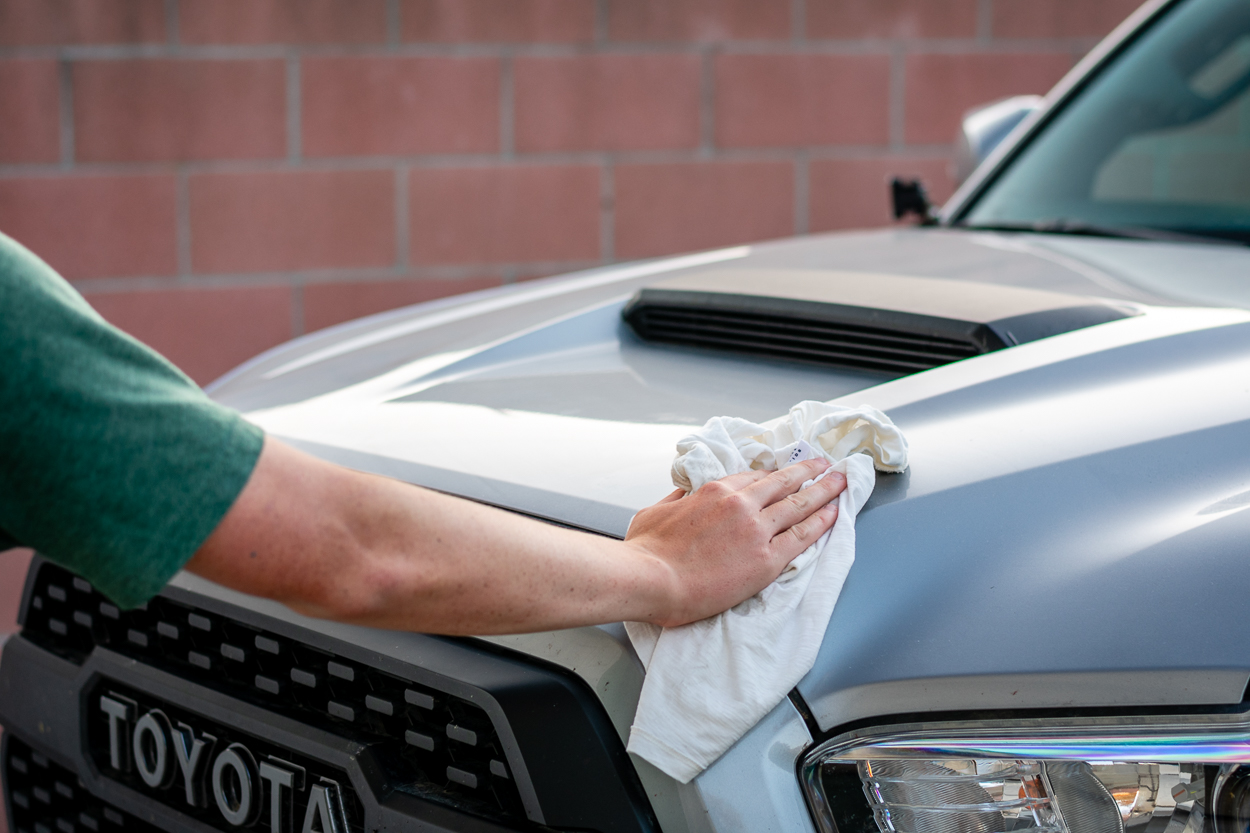
Before installing these products, I decided to wash my truck (especially since I had just gotten back from a muddy camping trip).
After giving my rig a generic wash, I went through each specific part that I’d be applying the film to and gave it a more detailed clean with a cloth and the provided spray bottle from Lamin-X.
Step 2. Spray Body & Protection Film
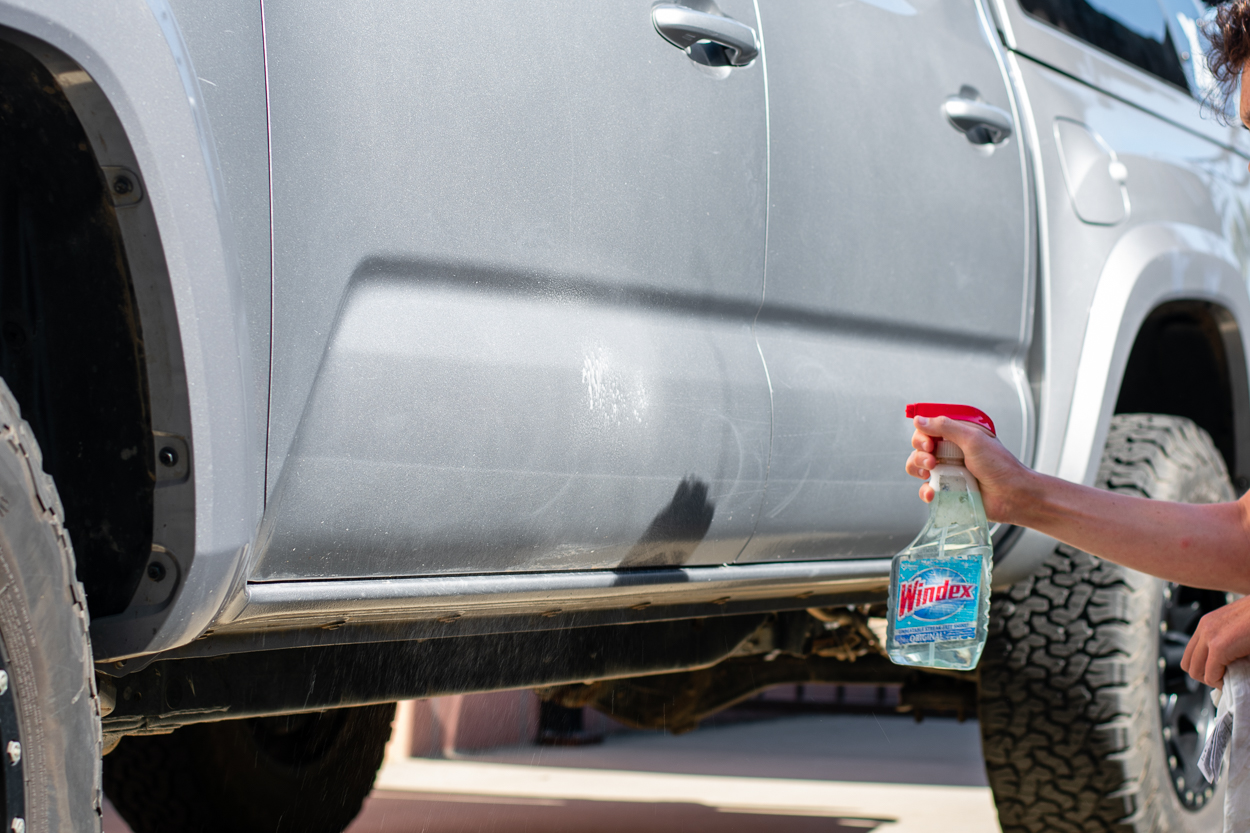
Once your truck is clean, spray a layer of water across the surface you are applying the protection to and the adhesive side of the clear film. For the tinted tail light protection, the instructions said to lightly mist the surface with water, and that was enough liquid to apply the product correctly.
On the other hand, for the larger pieces of clear protection, I found that soaking the surface and the product thoroughly with slightly soapy water was the easiest way to apply. This is because, with such a large piece of film, the application process is much harder to manage. By soaking the areas with soapy water, you can sort of slide the product into place before finding its permanent resting position.
Note: This is not Windex. I am reusing the empty spray bottle so I wouldn’t have to refill the small Lamin-X bottle often.
Step 3. Place the Protection Film & Squeegee
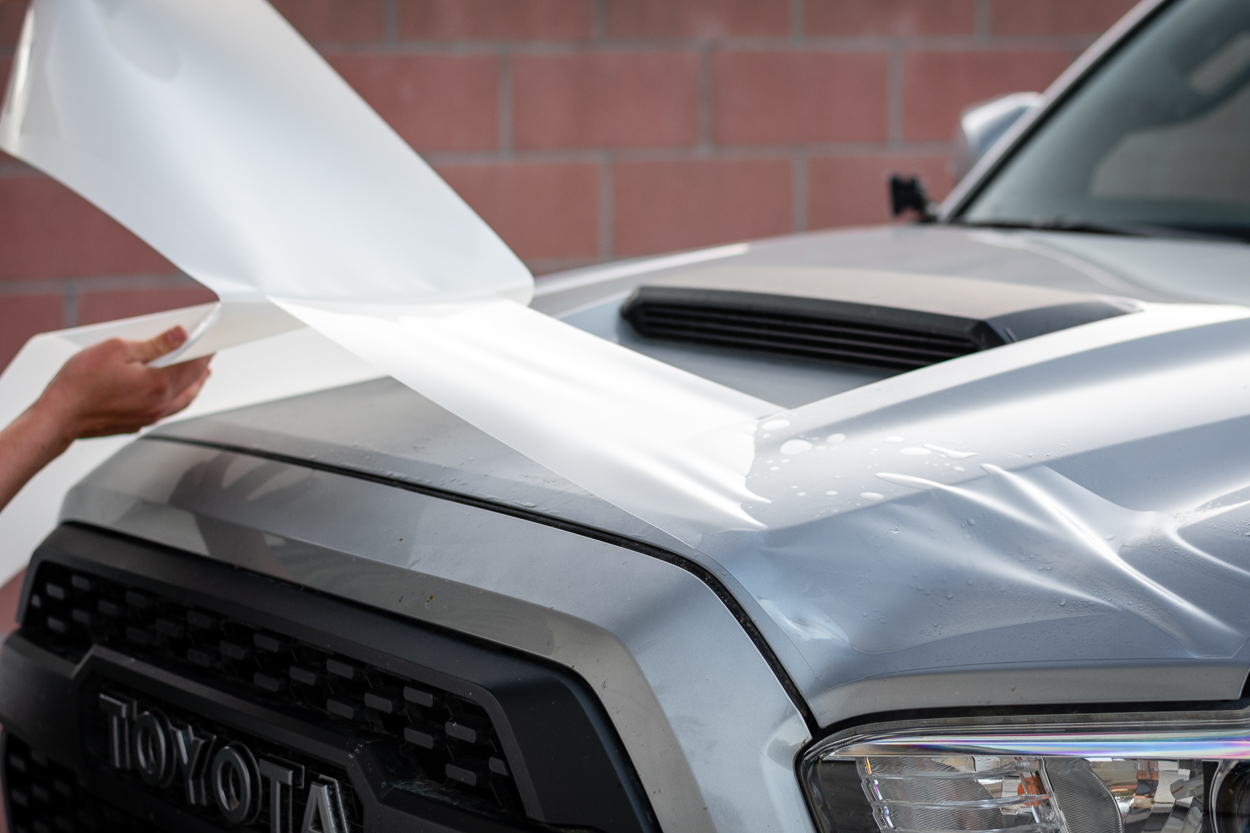
Once you have applied water to both the truck and the clear film, you can line up the two and begin to squeegee the water out from underneath. For the tail light application, since Lamin-X instructed to only mist the surfaces, you’ll want to line up the small segments of the tinted covers before fully placing it.
As for the larger pieces, since I chose to soak the surfaces, I was able to lay down the piece and slide it around until I was happy with the placement. After you have found a place for the protection where it lines up with the truck well, start in the middle and press the provided squeegee against the film with medium firm pressure. Then slide it along the surface to push the water and air outwards towards the edges.
A helpful tip to make the squeegeeing process easier is to spray the other, non-adhesive side of the protection with water to help the plastic squeegee glide over the film.
Step 4. Apply Heat & Cut Excess Film
Lamin-X suggests having a heat gun or hairdryer ready to help the protective cover stick to awkward curves in the truck’s body. I also chose to go around the edges of the product with heat after squeegeeing to “seal the deal.”
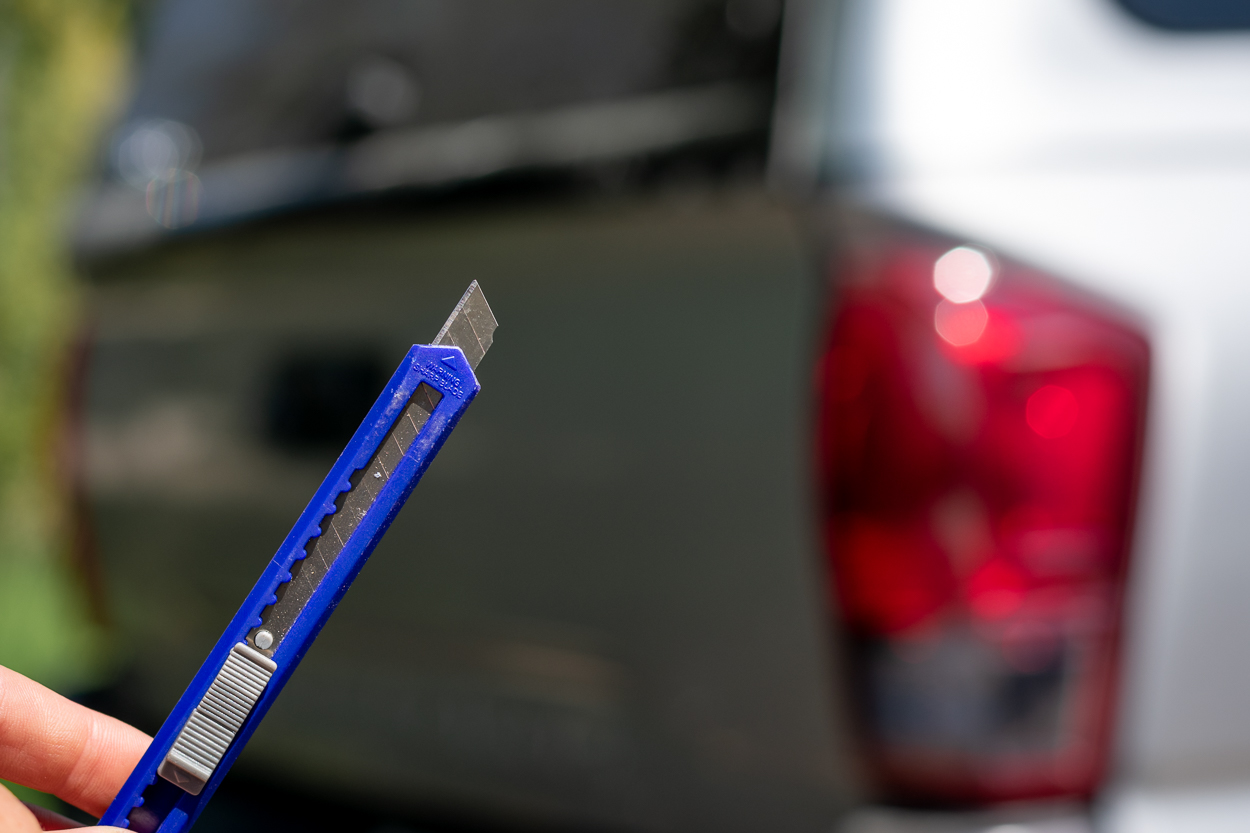
Additionally, the tail light covers come with tabs on the sides for you to hold it without compromising the clear protection, so you’ll need to use the provided razor blade to cut those tabs off after completing the install.
Step 5. Pop Any Leftover Bubbles
Lamin-X says that any slight bubbles left under the protector will eventually release, but if they don’t after some time, you can pop them by puncturing a hole ever so small and pushing the air towards the puncture.
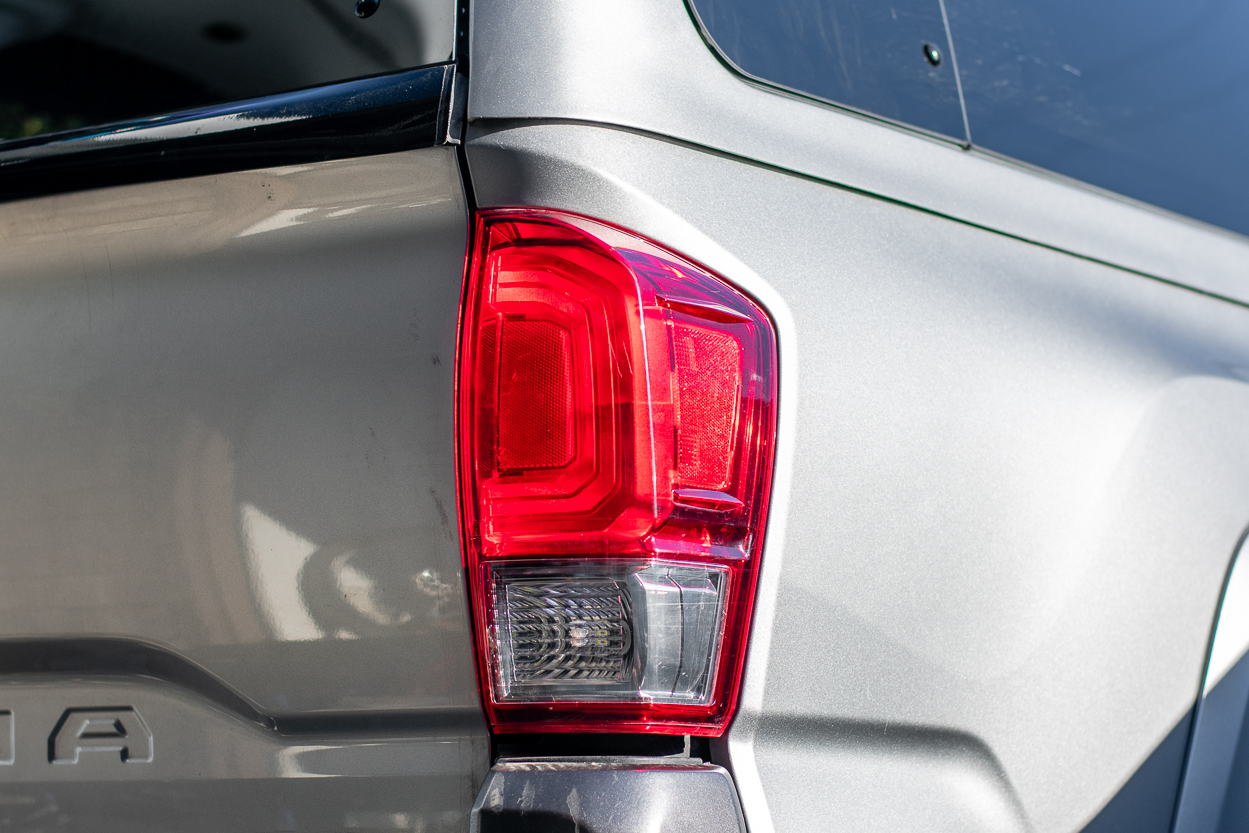
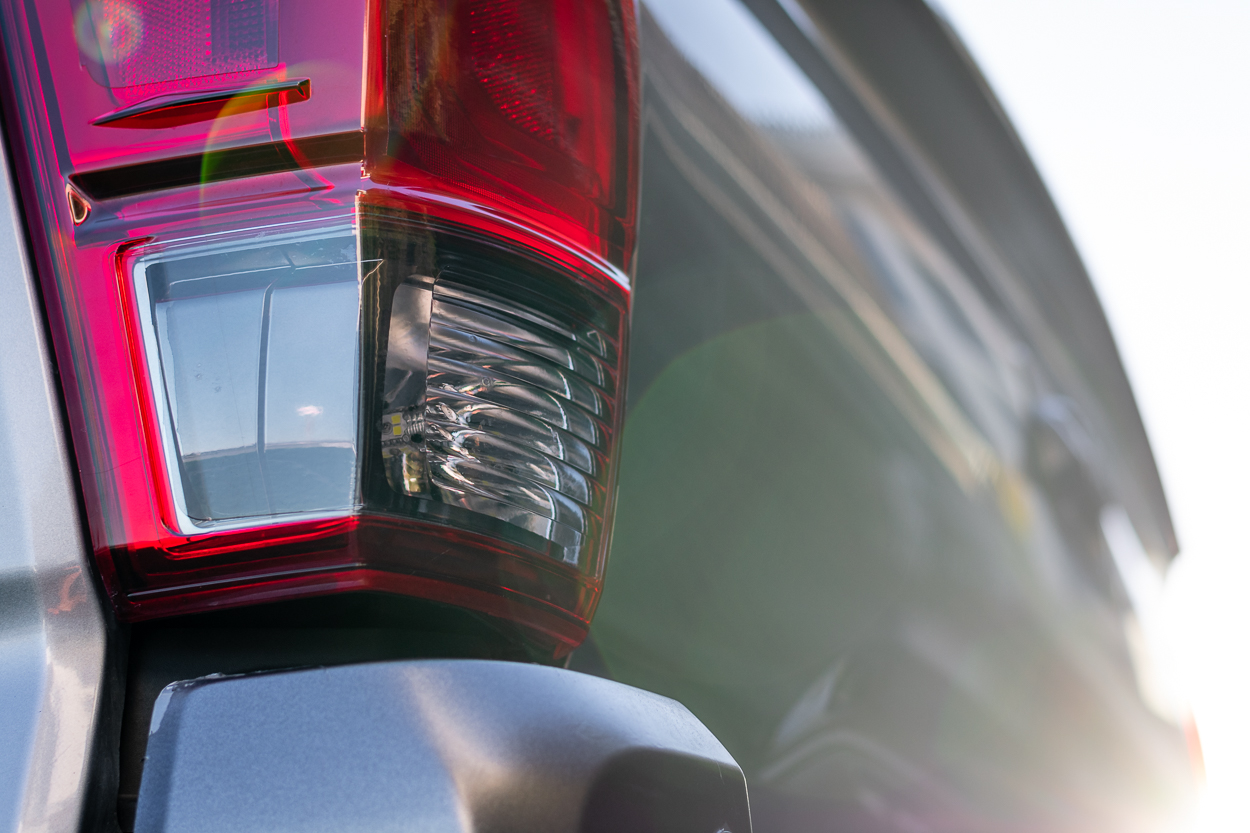
Taillight Before
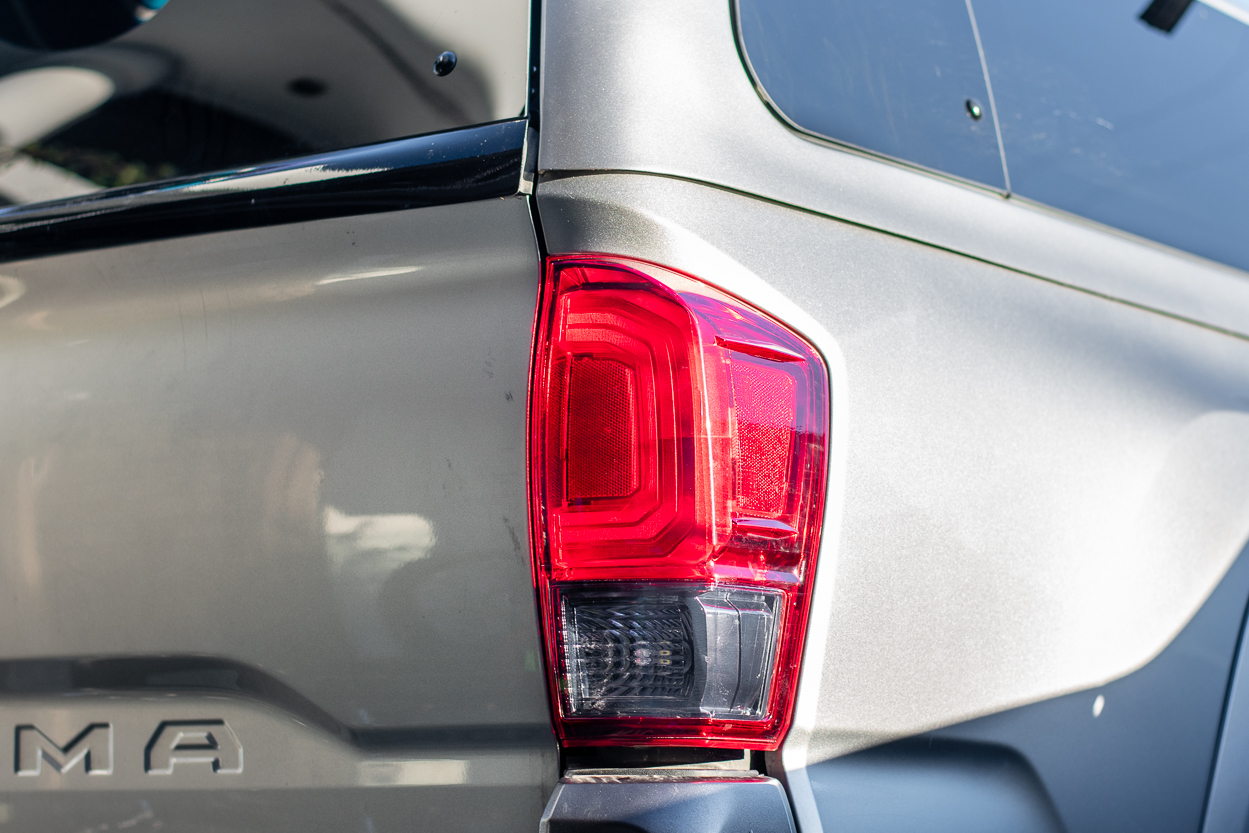
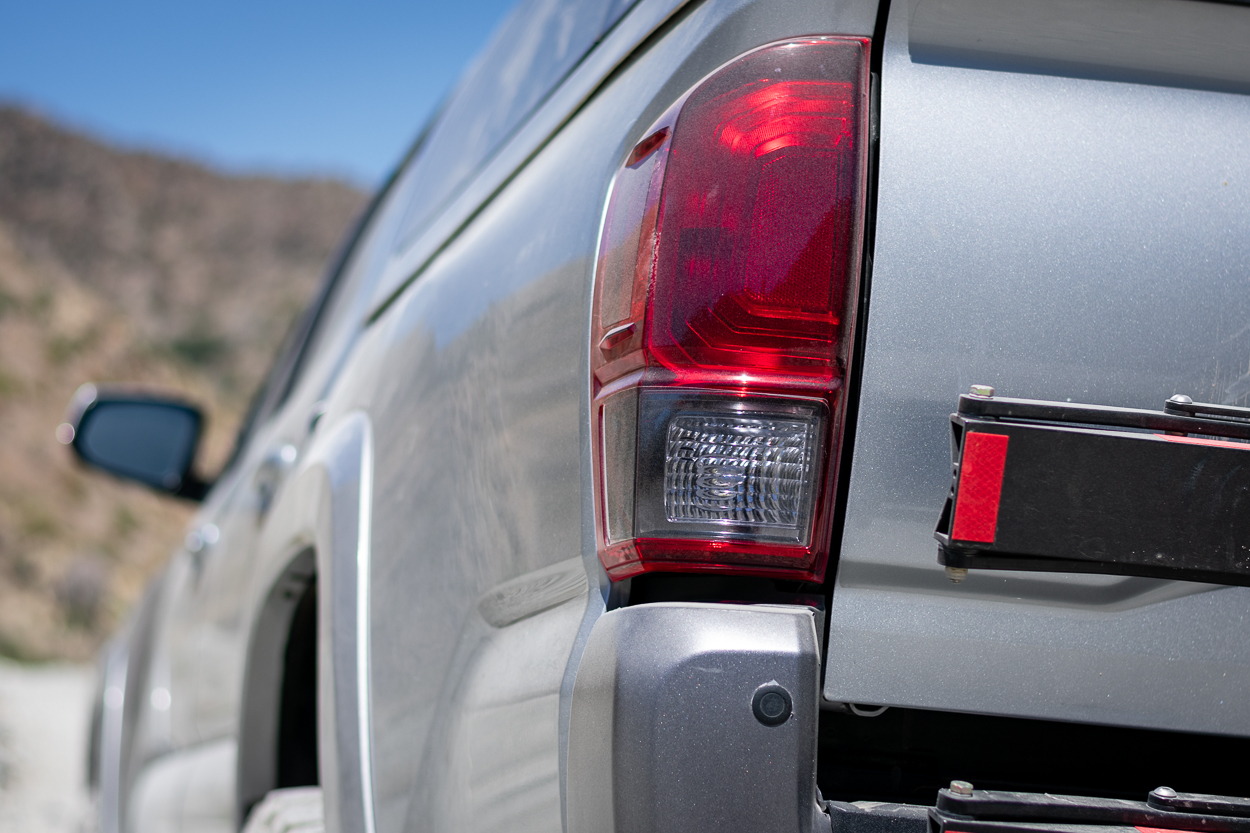
Taillight After
Installation Tips
By far my biggest suggestion for installing these products is to use TONS of water solution when spraying large pieces of protection. I only added a dash of soap to my spray bottle because I was not sure if it was safe on the paint but everyone on YouTube seemed to do it so I did as well. By spraying all the surfaces thoroughly, you can shift the Lamin-X into the correct place with ease before squeegeeing everything out.
For the tail light install, this is not necessary but for the larger pieces of protection, it definitely was. I didn’t use this technique when I was applying the bug guard and it made the install process and end-product worse.
Another tip I would offer is to set aside a good block of time to do this installation. The tail lights can be done rather quickly but for the other two kits, it took me at least three hours. Granted, I don’t have a ton of experience with installing these types of products, but I imagine many consumers in this market don’t either. Regardless, doing this install in a rush will be difficult and unless you are a professional you will end up with a lot of bubbles and inconsistencies.
Finally, I would suggest having a second set of hands to help out if you are installing the bug guard or rocker panel kits. Trying to manage large pieces of the protective film while squeegeeing out air and water can quickly become difficult to handle.
PROS
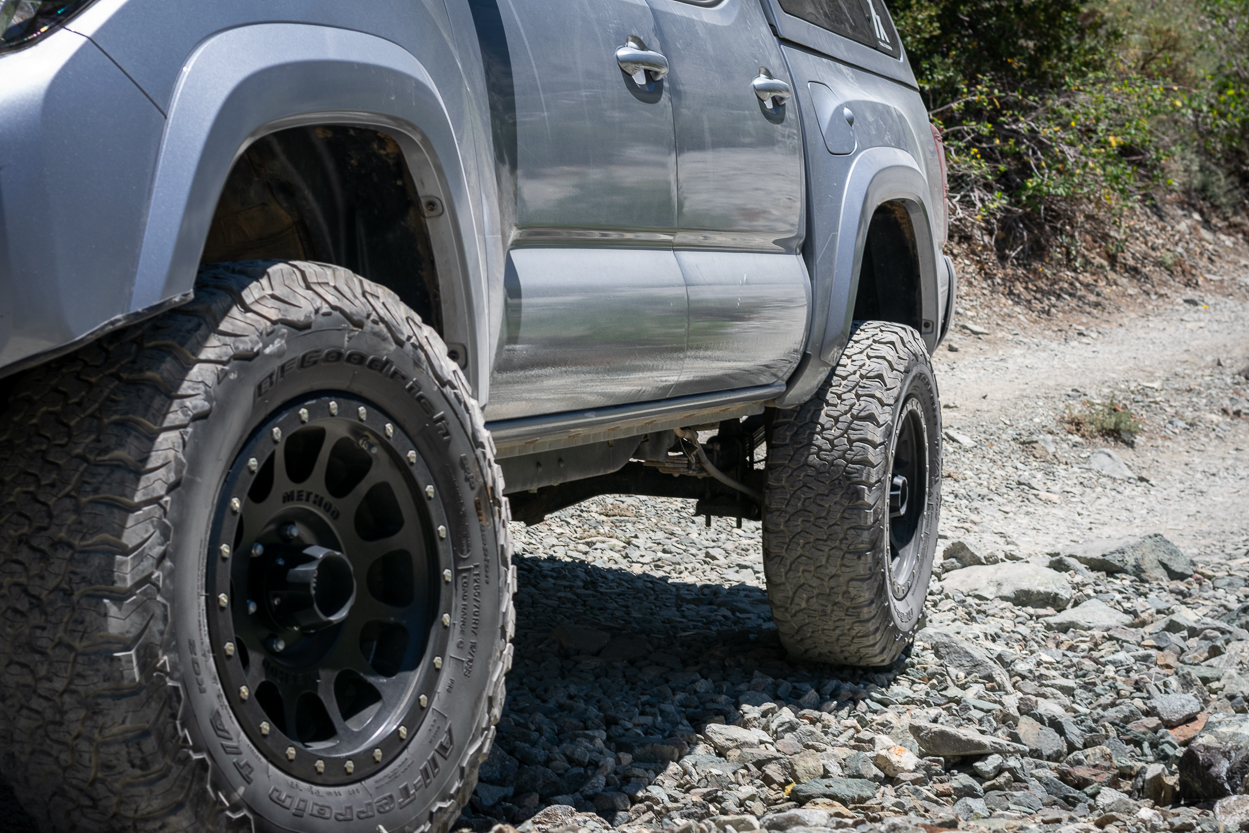
In my opinion, the biggest advantage to this kit by Lamin-X is how comprehensive it is. Particularly for the rocker panel paint protection kit, it covered just about everywhere I could think of.
Another pro is that Lamin-X includes everything you need to complete this install with the products (squeegee, spray bottle, razor blade). I found this very helpful because I personally hate when I order a product that I’m extremely excited to install, only to realize I have to go to Home Depot to buy 10 random things I have never owned to complete the installation. So +1 to Lamin-X for including everything needed.
CONS
Now for the downsides of these products. My biggest grievance with these protective kits was that there weren’t instructions included for all of them. I did receive instructions with the tail light kit however the processes for installing the other two, while similar, had some very key differences that I didn’t know going in. This ultimately led to me struggling and nearly botching the bug guard install and I had to resort to several different YouTube videos to finally figure out the best way to apply the rocker panel kit to my Tacoma.
Second, there wasn’t any sort of labeling that came with the rocker panel protective film. There were many pieces which meant that the kit was comprehensive, however without any sort of labeling of which goes where, I felt like I was putting together a puzzle to find the right place for each piece.
All in all, these two downsides to the product in my experience caused a very frustrating installation process and personally, I don’t think I would want to go through it again unless I had the help of someone with more experience who could guide me through it. Or, if there were thorough and clear instructions included, I probably would have had a better time applying these kits. Especially for the price tag on the rocker panel protection kit, this isn’t an install you really want to botch.
Another note I’d like to add here is that the tail light tint only tinted the reverse light section as far as I can tell. So while it did still change up the look, if you are in search of completely smoked or blacked-out tail lights, I would go in another direction.
Final Thoughts
Having completed this installation over the course of a weekend and then immediately hitting the trail, I can say that these products do their jobs. The rocker panel protective kit seemed to be the most advantageous in my mind because it protected the paint in the more vulnerable places on my truck.
Personally, I felt like the struggle and hassle I experienced while installing the protective kit outweighed the actual benefits I received from having them on there. But, for someone who has more experience with installing these types of products or has a buddy around to help out, I would say go for it.
If protecting your paint job from every single piece of debris on and off the road is important to you, then by all means purchase and install these. However if you aren’t as worried about little nick here and there, I would not recommend these as the level of difficulty of installation made for a frustrating process for me.
