
Camera Gear? Fridge? Blow-Dryer? Drone? Goal Zero? Playstation? All stuff that we need to keep fully charged!
The OEM power outlet in the bed and the cigarette lighter adapter in the cab isn’t always the easiest to use. I wanted to be able to power up a fridge and charge my essentials while I’m on a trip. Some other external batteries, power stations, and solar generators like Goal Zero, Dometic, and Jackery might not always be the best solution for everyone’s setups. They’re all solid products, but it ultimately depends on your personal needs, and, for some, constant 12V power is a better solution.
I needed to be able to charge my electronics off of my battery regardless of whether the car is on or off. How many toys you can charge at the same is also dependent on your battery, so make sure you know what you’re working with because I wouldn’t recommend charging stuff on the stock battery alone when the truck is off. That has the high potential to leave you stranded.
Table Of Contents
Understanding Basics
Automotive acronyms and abbreviations can play an important role in helping you understand the components in your vehicle’s electrical system and battery. Here are some quick acronyms to help you understand the hieroglyphics that are on your battery and electronics.
A or AMP
- Used to describe the amperage. This unit measures the electric current that flows through your battery’s circuits.
AGM
- AGM stands for “absorbent glass mat” this is a separating material made of microfibers. It prevents electrolytes from spilling in the battery cell. AGM batteries can last two to three times longer than conventional lead-acid batteries.
AMP-Hrs or AH
- Stands for “Ampere Hour”. A unit that measures the battery’s storage capacity.
- This measurement is derived by multiplying the battery’s current (in amperes) by the time (in hours) of its discharge. For example, a battery that delivers 10 amperes for 10 hours provides 100 amp-hrs of capacity (100 amperes x 10 hours).
Example – If your fridge draws 5 amps per hour and you have a 100 AMP HOUR battery.
100/5 = 20 hours. Your fridge would be able to run on your battery for around 20 hours while the truck is off. This formula is not exact, but it is close. This is due to the SLA battery not draining to 0V, it will/should stop around 11.90-11.40V. Additionally, the amp load also plays a part in how fast the battery discharges. The higher the load, the faster it drains, it’s not a 1:1 linear curve.
BCI Group Number
- Helps identify info such as the batteries voltage and polarity.
CCA
- Cold Cranking Amperes. The industry uses this term to help define how well a battery can start a car engine in frigid/cold weather
- Cold Weather Starting Power! The Battery’s starting power usually fades over time. So the CCA rating decreases over time.
RCM
- Stands for Reserve Capacity Minutes. It identifies a battery’s ability to sustain an electrical load for a specific period of time.
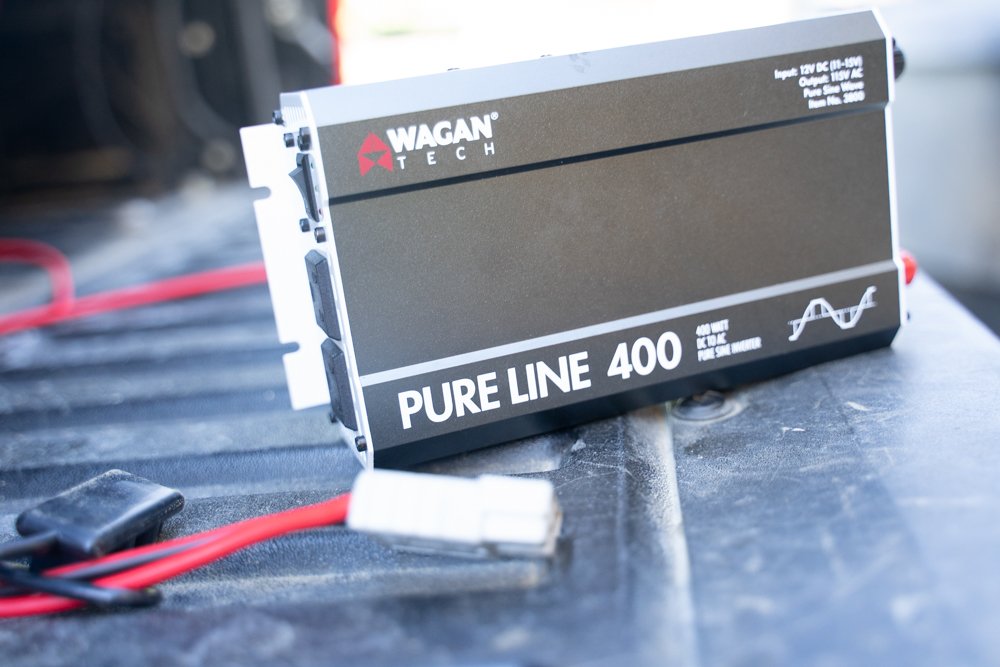
Wagan Tech Pure Line 400
I wanted to be able to run my fridge efficiently, charge some items when the truck was off, and run a couple of lights while I was at camp. For anyone wondering, yes, I do have an upgraded group 31 AGM battery. This battery is much better than the OEM battery and it allows me to run my fridge for almost 2 days while the truck is off.
Wagan Tech is known to have great products across the board, and after talking with their representatives, they told me their Pure Line (Pure Sine Waves) inverter was going to be the best for my application.
The Wagan Tech Pure Line series offers a clean, pure sine wave while retaining a smaller size.
400 continuous watts means that you can run your appliances and charge items with ease. Pure Sine allows electronics to run cooler, due to less cycling, cleaner all with less noise. Additionally, not all electronics can run on a modified sine wave like they can on pure sine. If you want clean and smooth power, this inverter is for you!
For example, Wagan Tech inverters can run a full 24 hours on a full 400-watt load while cheaper competition will lose continuous wattage after 20-30 minutes. Wagantech builds its inverters with high peak surges that allow 3x continuous rating to support high surging appliances such as tools, microwaves, air conditioners, and refrigerators. Wagantech inverters also use top quality components and reliable MOSFET transistors; a key factor in reliable inverter manufacturing.
The Pure Line 400 Specifications
- (2) Three Prong ground fault protected AC outlets
- 2.1A USB Power Port
- Ground Fault
- Error Lights
- Solid Mounting Feet
- Negative 12V Battery Terminal
- Positive 12V Battery Terminal
- Cooling Fan
- Grounding Terminal
Necessary Parts

- Inverter – Wagan Tech Pure Line 400 Watt (or any inverter with +/- terminals)
- Heat Shrink
- Quick Disconnect Battery Harnesses
- 10 Gauge (AWG) Wire
- 10 Gauge Inline Fuse Holders
- Electrical Connectors and terminals or use these Marine Grade Connectors – pick something that you can use for numerous projects. We just need 10 gauge butt connectors and ring terminals. Even though you won’t use everything, it’s nice having the whole kit down the road.
- Klein Multi-Purpose Electricians Tool and the Klien Tools Crimps
Installation Guide
The map to the installation is as follows:
- Battery > Circuit Breaker > Anderson Connectors > Inverter
We had so many leftover parts that we decided to simultaneously do it on two Tacomas! A 2nd Gen and a 3rd Gen.
The length of the cable is totally up to you, I just made sure that it was long enough to reach my back seat where the inverter is going to be mounted. If you need it shorter (front cab access) or farther back (like in the back of the bed), make sure you have enough slack on both sides to have room to work with.
Getting Wires Through Firewall
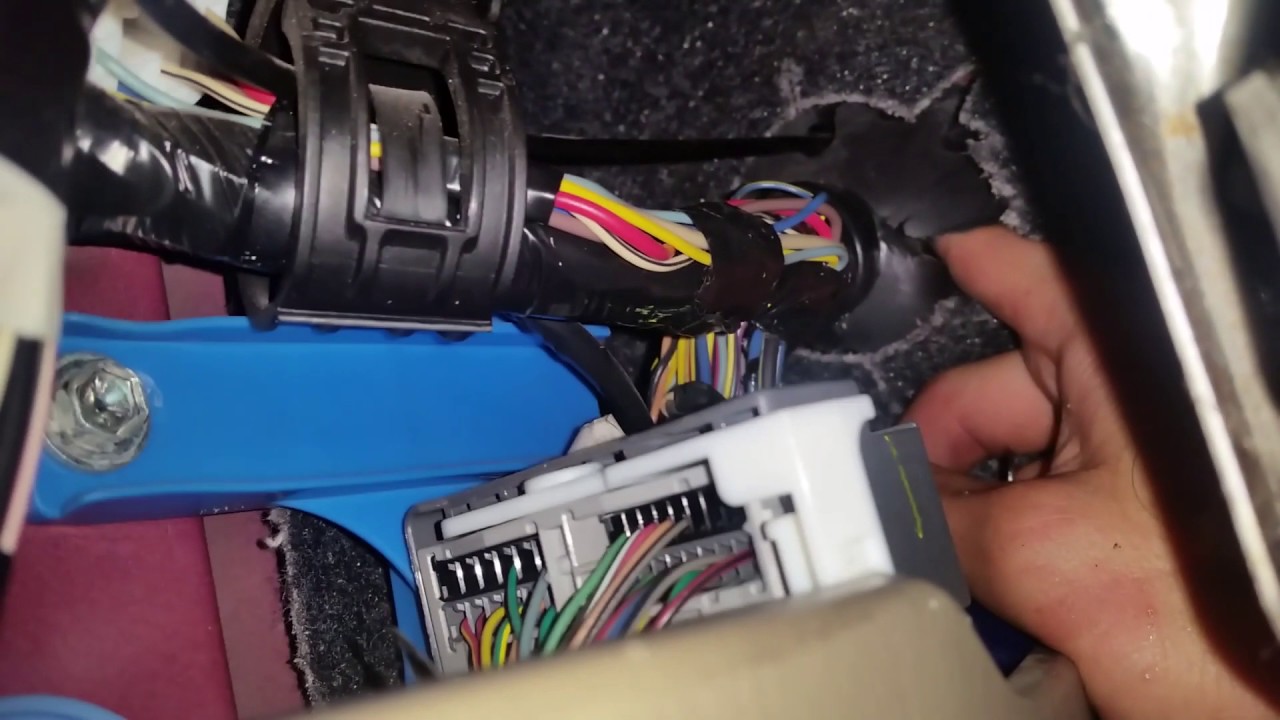
The first step is to run the wire from the cab through the firewall.
The firewall is right above the foot pedals to the left and is pictured above. The OEM firewall boot is pretty tight, luckily, the 10 AWG cables are big enough that you can push them through. If you are having difficulty pushing it through you can cut a small slit in the boot or even tape the wires to something like a metal coast hanger and push through.
Also, a good trick to running wires through the firewall can be found here. If you have access to cake icing tips you can insert your wires into the metal cone tip and then punch it through the firewall. The process is simple. Insert your wires into the cone tip and tape it up using masking tape or painters tape. Finally the lube the tip with your favorite bedroom lube of choice. Once you have your wires inside the icing tip and taped and lubed up, punch it through the firewall. – Brenan – @Trail4R
Brenan from Trail4R swears by it but we have yet to test it out.

The cables will come out on the other side, in the engine bay right behind the driver side wheel well.
Pull the wires all the way through and make sure you have enough slack to reach your battery terminals or accessory controller.

In order to best hide your wires, you can run them underneath the plastic panel on the bottom left side of the driver’s area right next to the firewall boot.
Pictures above, I removed the left side panel. You can gently pull on it and it will come out, this will give you a better idea of how the wire can be hidden.
Inline Fuse
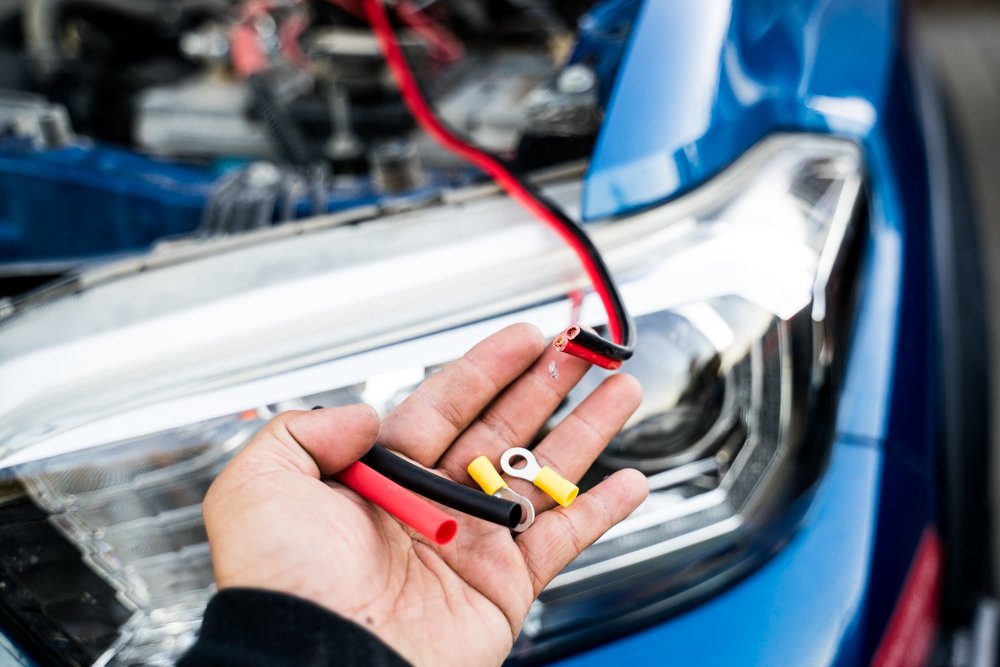
The ends pictured above will, obviously, be going to your battery. You will need to install ring terminals and some shrink wrap to be able to attach them to the battery.
Before you do, you will need to install an inline fuse to protect the electrical system. This fuse will protect the whole system from overload and any kind of potential damage. I used a 30 amp fuse.

This is the most important part of the install. The fuse must be installed as close to the battery as possible. This helps to protect both the battery and the whole electrical system from a potential fire.
I took the fuse and removed the same exact length out of that end of the positive (red) wire from the spool so that both sides will be even.

You’ll need to connect your inline fuse next. You can use a couple of different methods here. Before you connect your wires, strip the ends.
One option, you can use a butt connector as I did. You insert the bare wires into the connector and crimp the ends inside. The butt connector has a small metal pipe inside, once crimped it provides a secure way to connect two wires. Once the butt connector is crimped, you’ll want to use some heat shrink to protect the new connection.
Alternatively, you can twist the wires together, solder the connection and heat shrink that as well.
Ring Terminals

I took my Klein wire stripper tool and used the 10 gauge stripper to remove about half an inch off the wire insulation. I also twisted the wires to promote better connectivity.
This is the part that will be connected to the battery. As you can see I have already slid the heat shrink onto the wires so when it comes time to crimp the connectors they will be ready to go.

Take a heat gun, or a lighter, do not get too close to the insulation or heat shrink and heat it up till the shrink starts to tighten on the terminal.
This will prevent the wire from slipping out of the crimp and protect the connection.

Here’s the finished product.
These ring terminals will connect to the positive and negative terminals on your battery.
Anderson Connections

Now, we’re going to move into the cab. The other ends of the wires need to be prepared to connect to the inverter.
I chose to wire in an Anderson connector. This gives me the ability to switch out the inverter for other items that require quick 12V power.

As you can see in the photo above we have prepared the wires, heat shrink and connector terminals.
Crimp caps and then heat-shrink over them for a secure fit.

You can now connect the positive and negative wires to the Anderson connector. It will look something like this when it is complete.
Finally, go ahead and take some additional wire and make the other end of the connector. This end will connect to the wire coming from the battery and the other end of it can go to anything you want, in this build, it will go to the Wagan Tech Inverter.
Hiding Wires
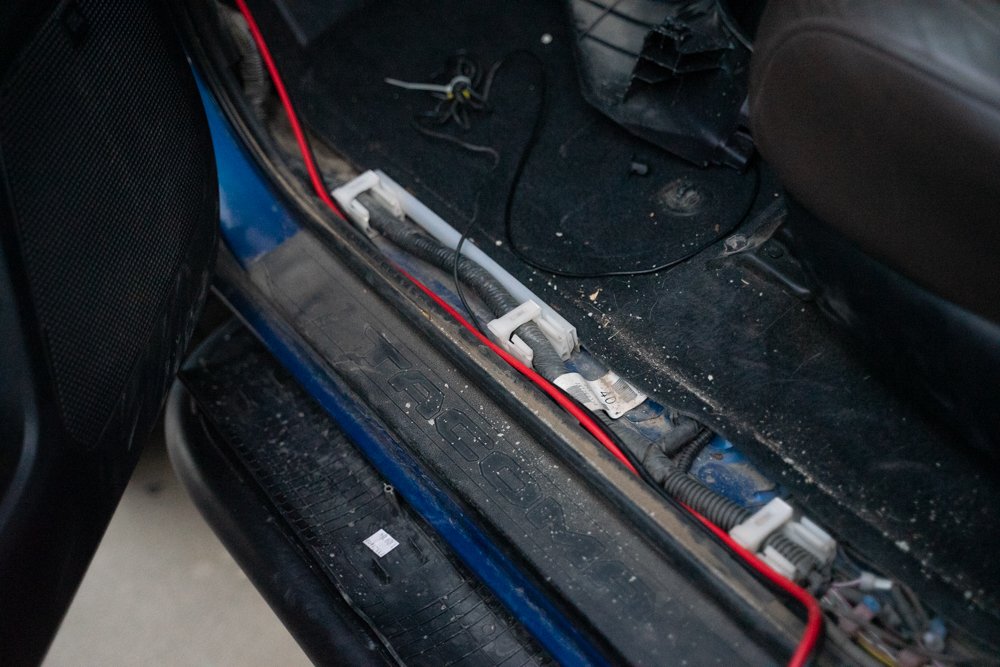
You can remove the foot panels in the Tacoma to nicely hide/route the wires.
Get your fingers, or trim removal tools, and under the edge of your plastic floor panels and pry them up. You’ll find plenty of space to nicely pass the wires through.

Connect the Andersen plugs together.
One end is from the battery and the other end goes to the inverter.

Here is the backside of the inverter. Just like the battery to Anderson wires were created, you can connect the wires to ring terminals to now attach the wiring to the inverter itself.
You now have full-time 12V power!
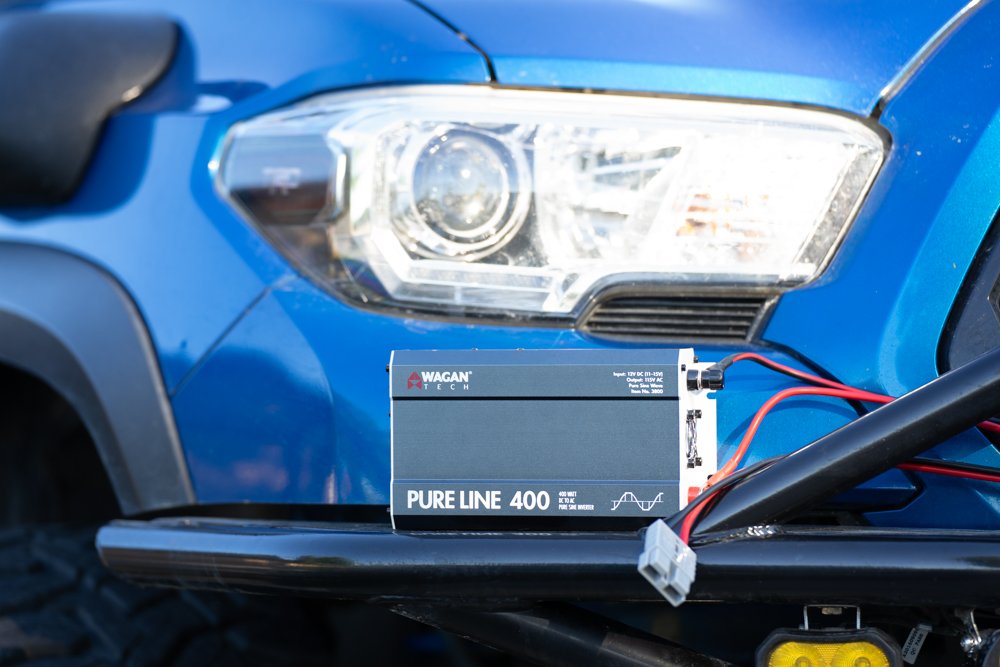
Finished Product
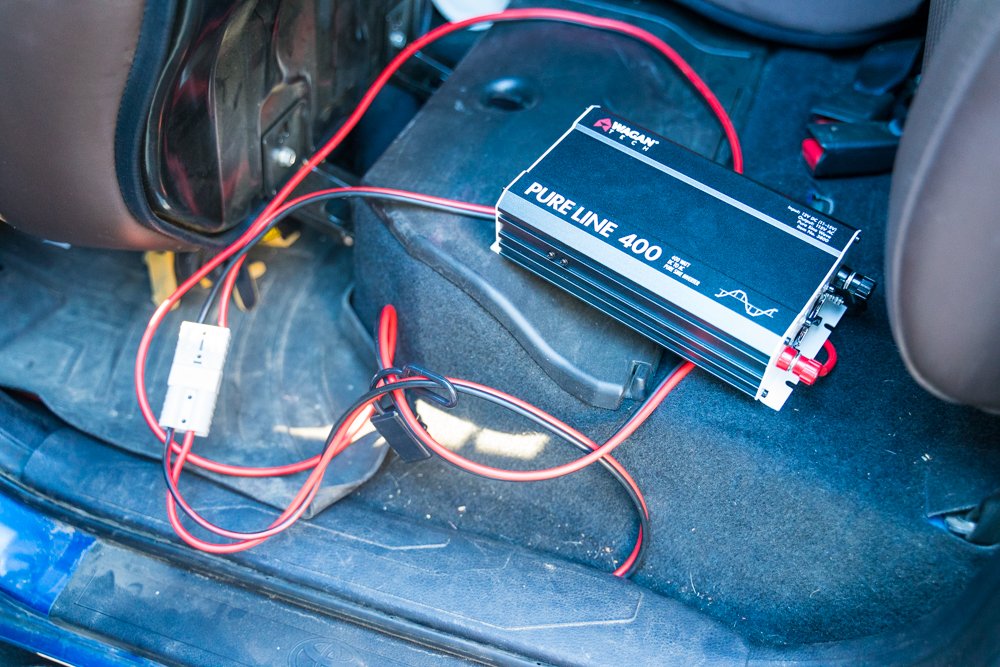
As you can see here, the whole system is now connected and I will be able to use this inverter to power anything in the cab, even when the truck is off. I plan to mount it to a 40 percent Goose Gear Seat Delete that I am currently waiting for.
It might look a bit messy, but there is just enough slack to mount the inverter anywhere in the back. Once it is properly mounted, it will look super clean.
Final Thoughts
This is an inexpensive way for anyone to get power to a certain part of their vehicle. I decided to do the Wagan Tech Pure Line 400 because of the type of accessories I wanted to run in the back of the vehicle. If I ever decide to change the end device all I have to do is make another connector for that, I do not have to remove all the wiring from the battery to start over. Wiring is one of my least favorite mods to actually perform, but this install was much easier than expected.
I often try to make sure what I install on the truck is simple and easy to troubleshoot, I think having disconnects on the main power source like this is definitely a plus.