
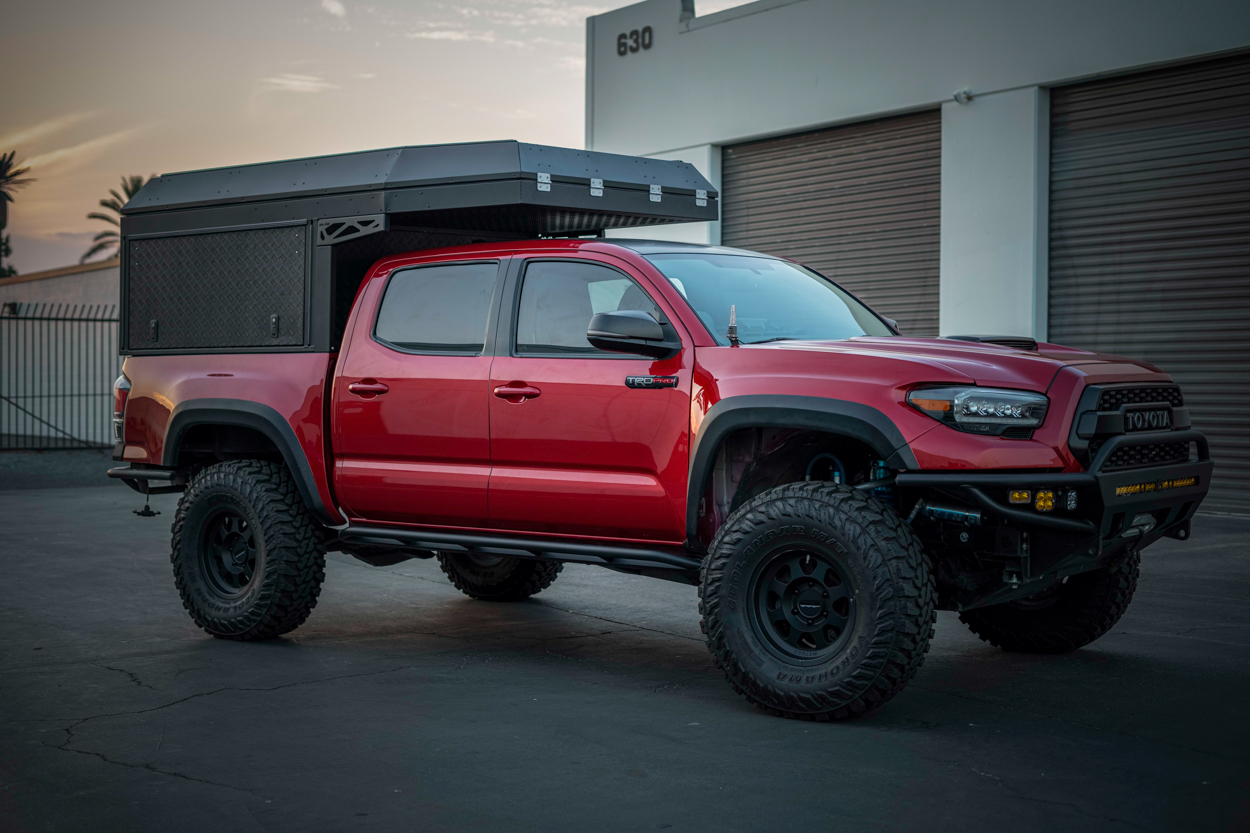
So you’ve got your Tacoma and might have added some louder, more aggressive tires, maybe you just want a quiet ride, or maybe you are about to upgrade your audio.
You do a little research and decide to throw some Dynamat on your truck. STOP. Trust the Process.
There are 3 steps (call them layers) that need to be applied for a proper soundproofing project:
- CLD
- CCF
- MLV
What is that?! What do those even mean?
- CLD – Constrained Layer Damping (commonly referred to as Dynamat)
- CCF – Closed Cell Foam
- MLV – Mass Loaded Vinyl
I’ll be breaking down the differences, their application and how each layer helps to insulate your truck.
Table Of Contents
Getting Started
The first thing most people do when they think of soundproofing is buying some Dynamat and sticking it on their truck. That will help, but it’s not the best way to do soundproof your truck.
The best way to do it is going to take 2-4 days of your time. You are going to be removing plastic trim pieces, seats, center consoles, just about everything in the vehicle. If you just want to do a couple of doors and the back wall of your truck, it won’t take a full 2-4 days, but your results won’t be the same as doing the entire vehicle.
That being said, you don’t want to rip your truck apart more than once, trust me. Do it once, do it right and enjoy it for the life of your truck.
CLD
Constrained Layer Dampening kills vibrations. To illustrate vibration on your truck, tap on the door. It is going to sound like a tin can.
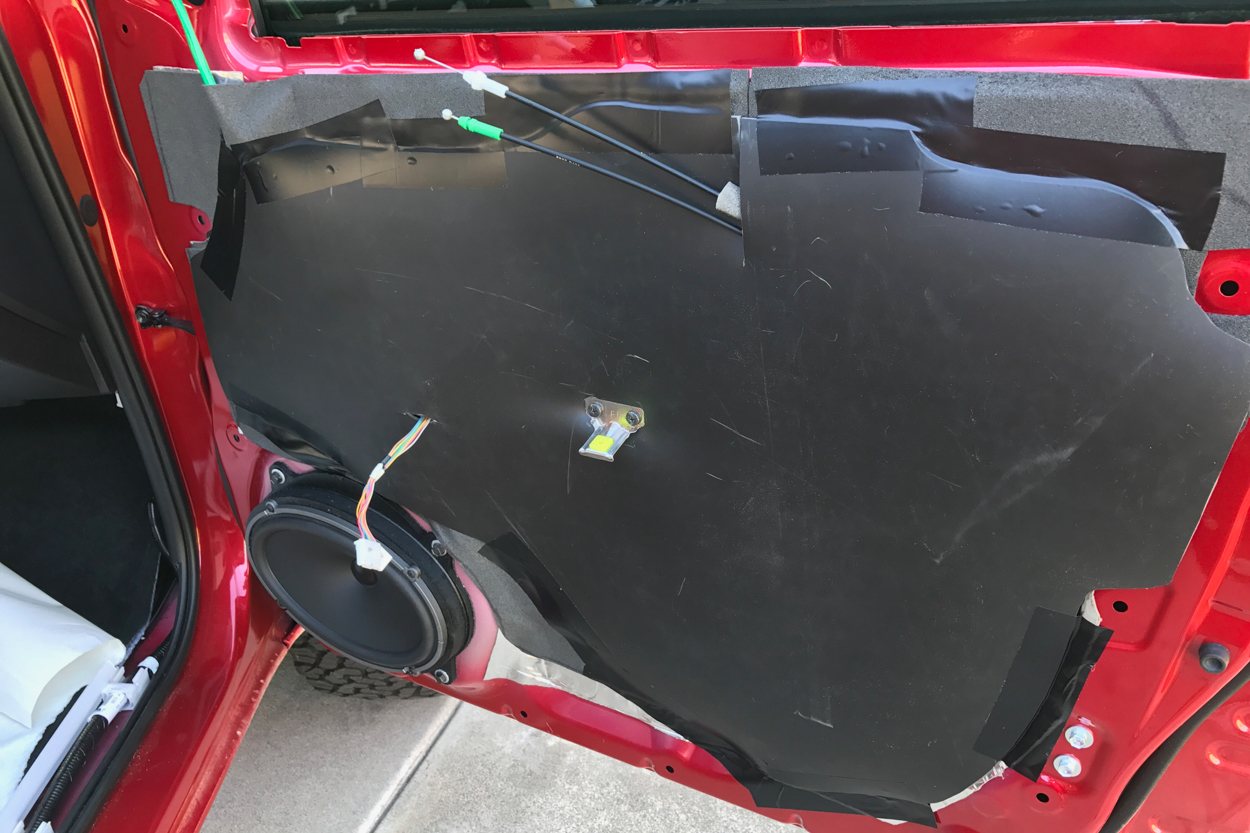
Put a layer of CLD on it, on the inside of the door skin, not on the pretty painted surface, and you are going to hear a deeper, less resonant sound (less hollow). Your truck is essentially a tin can and constantly vibrating, creating noise. The goal here is to eliminate excess vibrations and resonance.
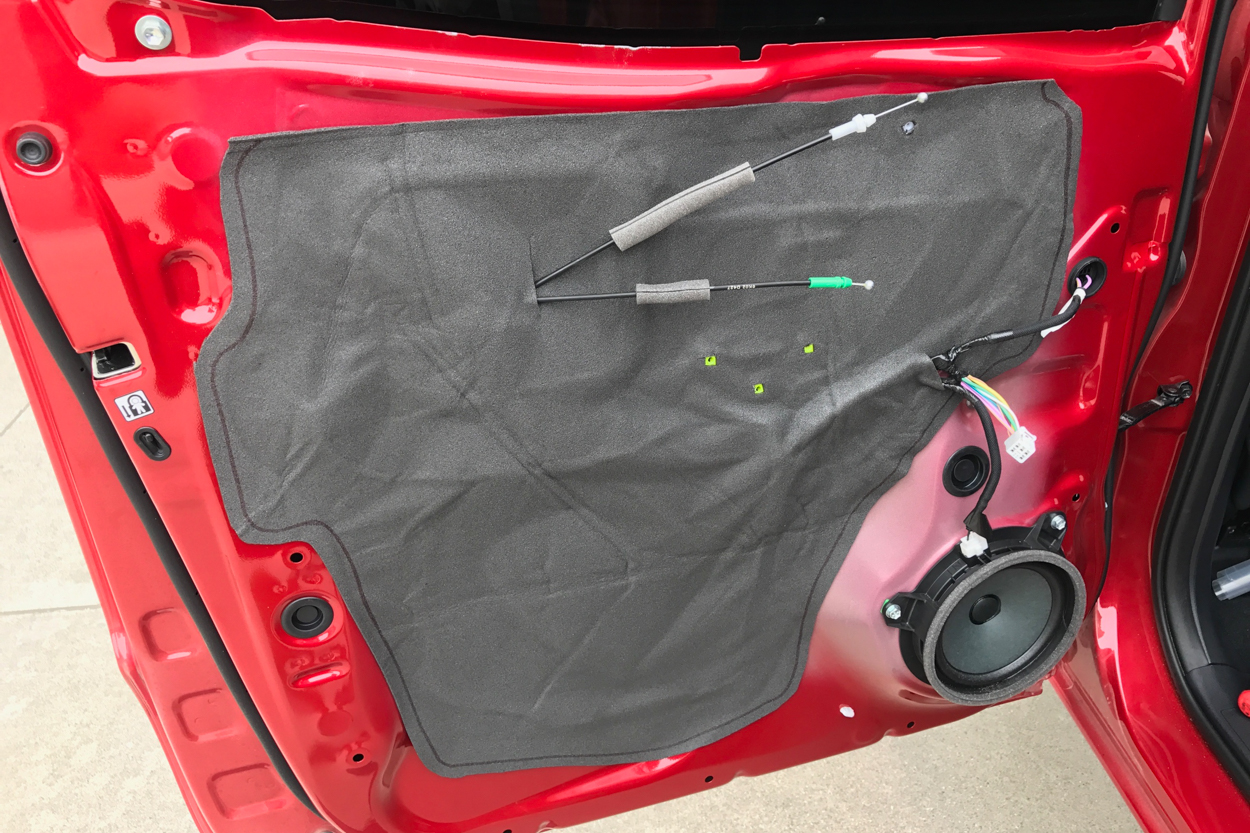
CCF
Closed-Cell Foam decouples. It is a layer between the CLD and the MLV.
You need space between the CLD and MLV for them to be as efficient as possible. Additionally, this foam is perfect to put on hard surfaces like door panels. If you think about it, if you throw two towels at each other as hard as you can, they make very little noise. That is because they are soft.
Cover the back of all of your hard plastics with the CCF and you now reduce hard surface contact and thus reduces the amount of noise in the vehicle.
MLV
Mass Loaded Vinyl is what is going to truly soundproof your truck.
Anything that has mass is going to reduce the ability for a sound wave to travel through. Mass loaded vinyl is typically heavy, at least the effective material will be. In the car audio world, most use a 1lb per 1sqft material. That means 100 square feet of MLV weighs 100lbs.
It is going to block sound. Typically it is 1/8” thick and comes on a 54” wide roll or you can buy from some manufacturers in sheets. You want to cover 100% of the vehicle with this if possible (it’s not possible, but 100% coverage is what you want to aim for).
THIS is what blocks your sound, but you don’t want it to be touching hard surfaces because it won’t be efficient. You want it over the CCF.
Step 1. Remove Everything
This step is pretty self-explanatory. No fancy pictures, but you know the drill.
Strip the car. Take off the door panels, take out the seats, the pillars, the carpet, everything you can. The goal is to expose all internal body elements of your Tacoma. You literally need to see the sheet metal on the floor of your Tacoma along with every pillar. This is going to take the majority of time throughout the installation process. Removing door panels, seats, headliner, and the carpet will take you an entire day if you take your time and do it carefully. If you are experienced, you can get this done in well under 4 hours. Set all of your interior parts and pieces into your garage and organize them in the orientation that they were removed from your Tacoma. The last thing you want to do is try to figure out how to put your truck back together when you don’t know how it was disassembled. Do yourself a favor and keep everything as organized as possible.
Step 2. Clean All Surfaces
Clean the surfaces with something that leaves no residue (Isopropyl Alcohol or Acetone are great).
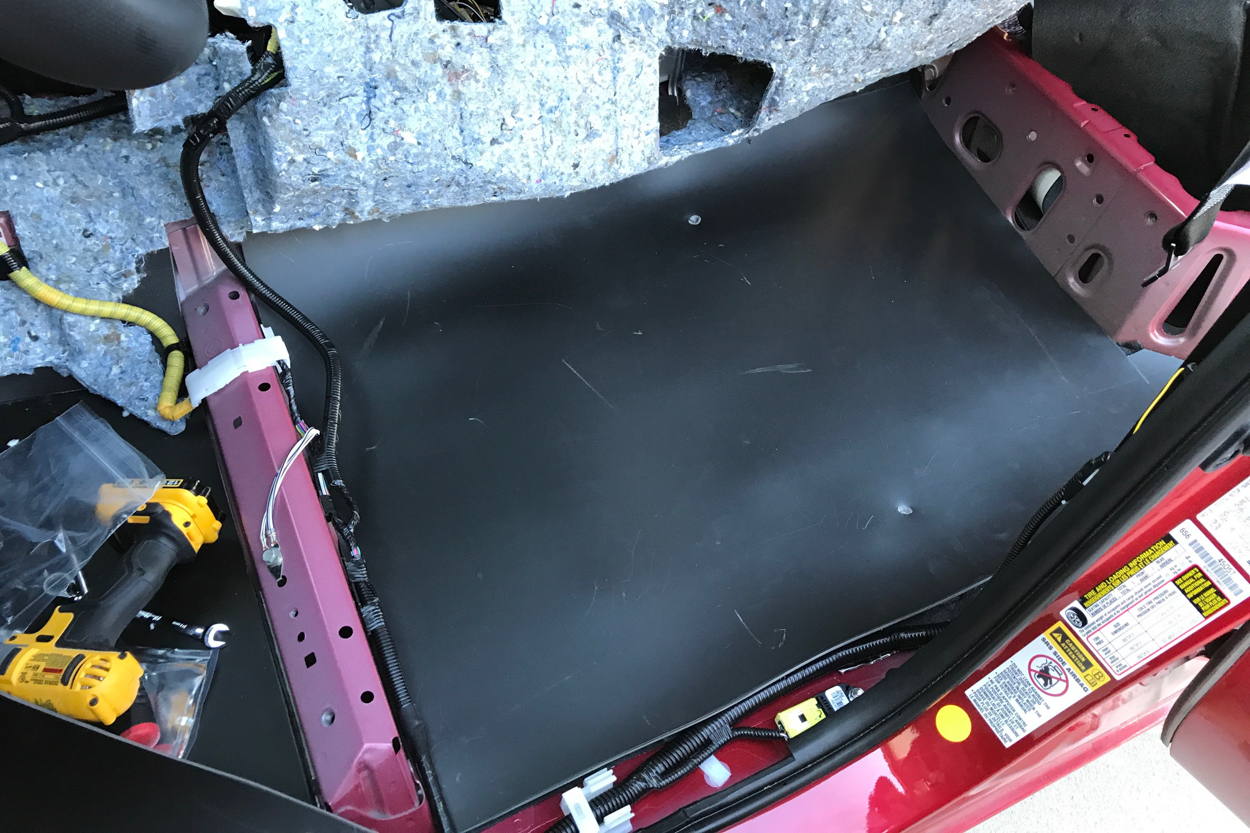
Step 3. Apply CLD
Apply at least 25% coverage of the surface with CLD.
To find areas that resonate or vibrate a lot, hit them with your knuckles (like knocking on a door). Target those spots first.
Anything over 25% coverage is going to have a lot of diminishing returns, meaning that the first 25% coverage is going to be super-efficient, and 100% coverage you are going to be spending time and money on something that isn’t going to be super effective.
You also want to make sure that you are securely attaching the CLD flush with the metal on the vehicle; if there are grooves, form the material to them.
You don’t want gaps.
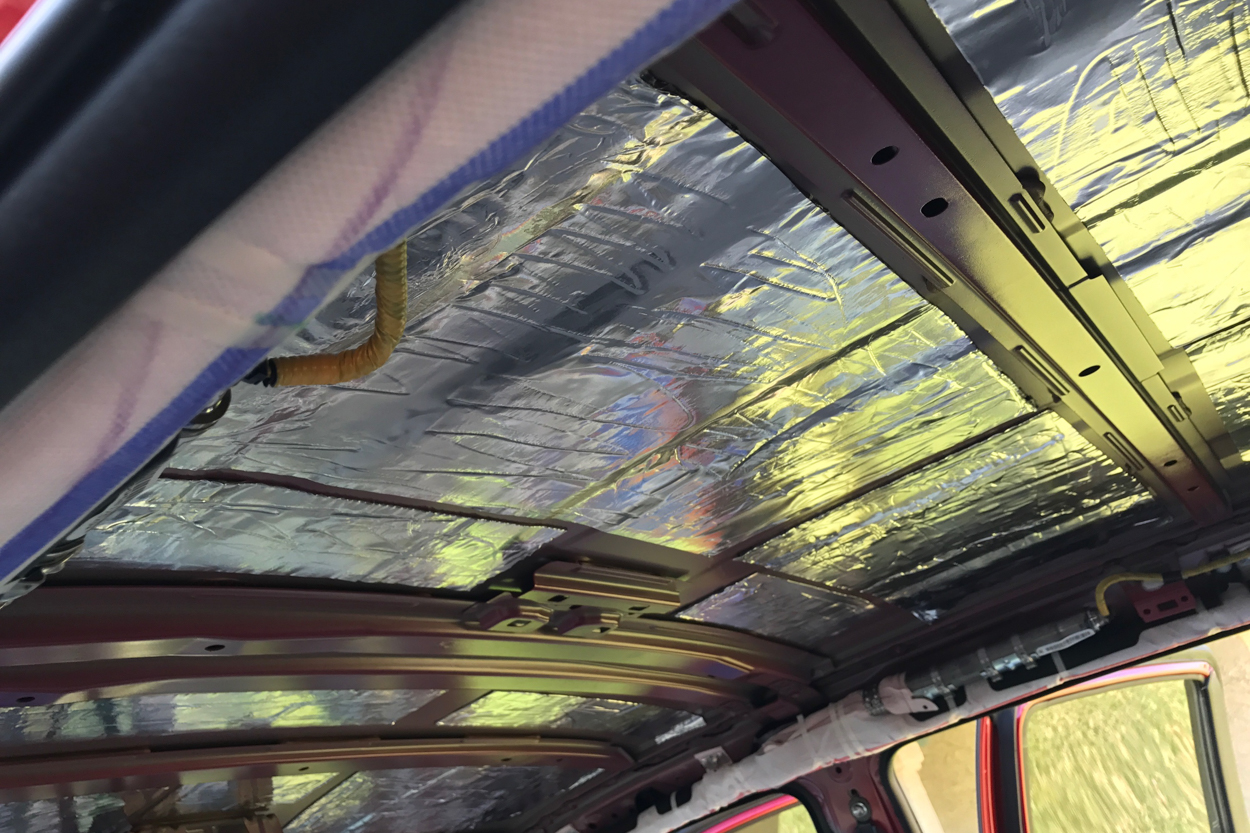
Step 4. Apply CCF
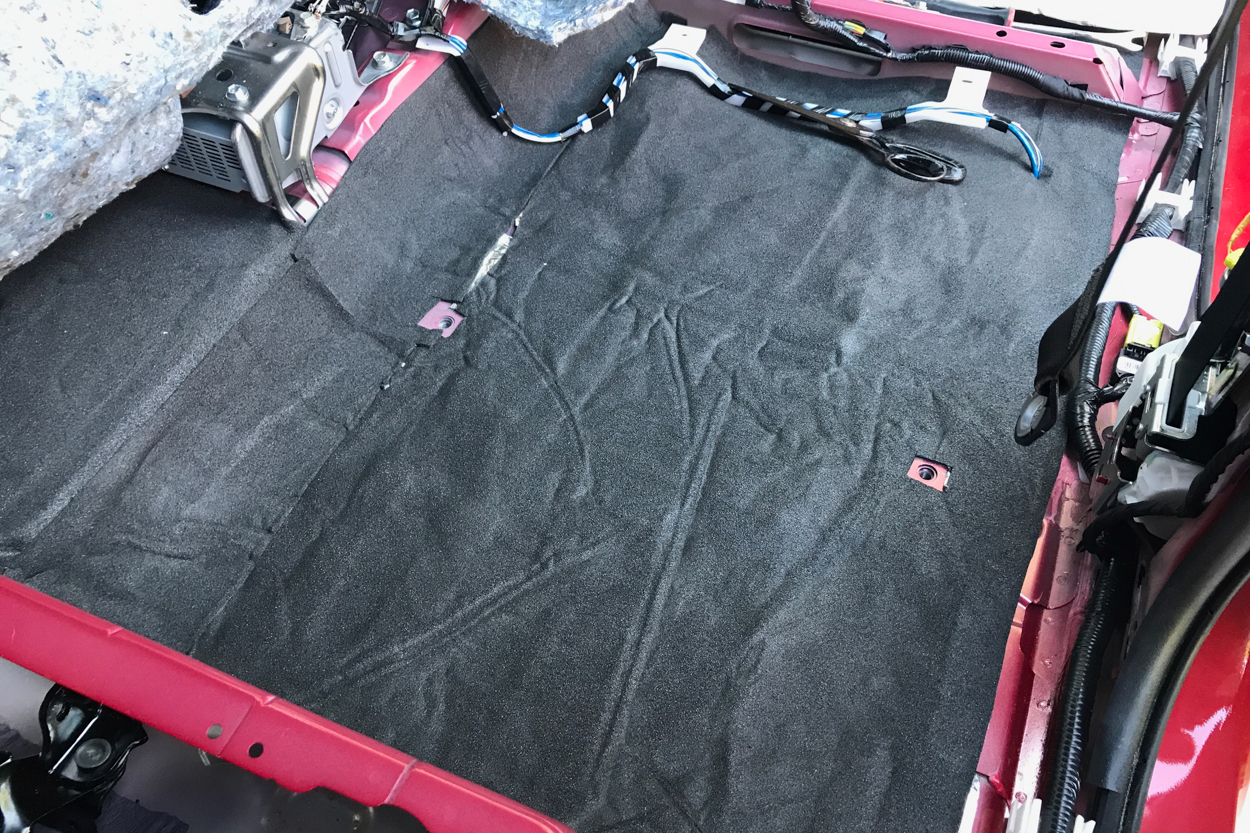
Once you have CLD applied, you want to cover the entire interior surface, 100% of it, with CCF.
Cover it all, it is going to set you up for the next step and any hard surfaces will now have a soft cover that prevents things from rattling.
You can even wrap locking mechanisms and cable looms in this. The more, the better.
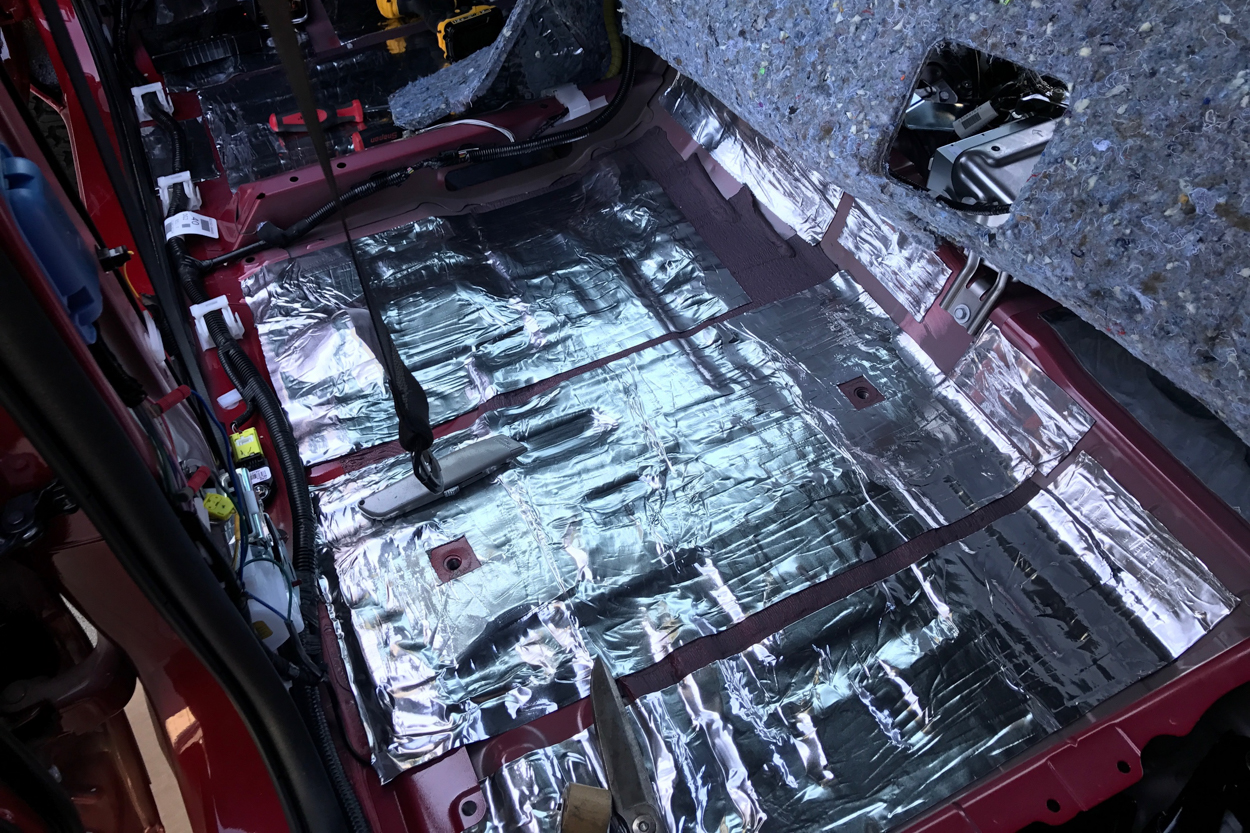
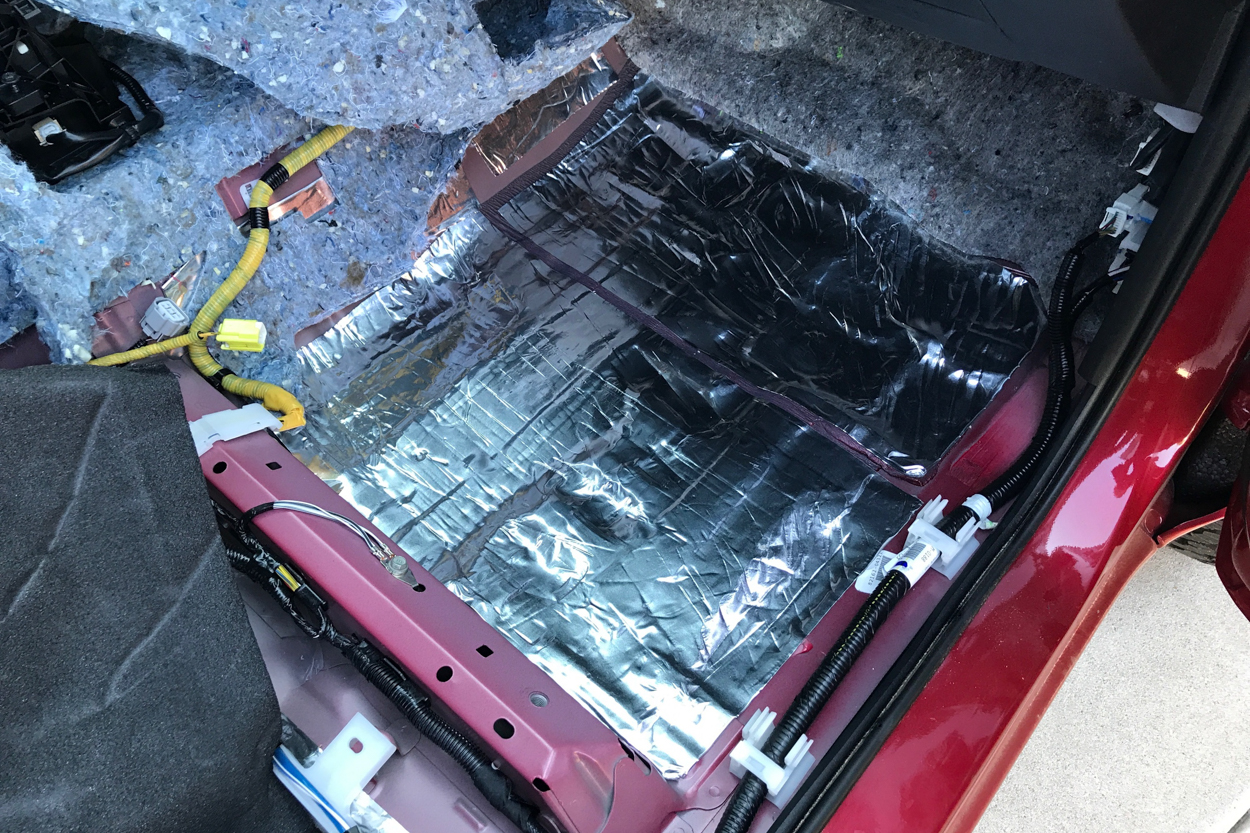
Step 5. Apply MLV
Now comes the heavy part. On the floor of the vehicle, lay down a sheet of MLV, covering the entire surface.
The fewer seams or gaps in the material, the better. To keep things in place, you can use an adhesive or some foil tape or duct tape.
In locations where the material hangs vertically, you will want to use a very strong adhesive or even some screws. I personally screw mine into the door skin and the back wall of the truck and also use some tape.
Remember, this stuff is heavy, and tape is going to possibly lose its grip over time and in the heat.
Final Thoughts
Tips & Tricks
- Be careful with the CLD. It has a foil covering on it and can cut your hands up pretty badly. Use a utility knife on a piece of wood or a surface you don’t mind scratching to cut pieces.
- Be careful of the sheet metal. It is very common to cut your hands on the door skins.
- Use screws or a very strong adhesive for the MLV. You don’t want it falling off.
- Be aware of your clips on your panels and pillars, you don’t want to cover the bolt holes or clip holes with material and not be able to get your panels to fit again.
Those are the main steps and tips that I would follow if you’re thinking about soundproofing your truck, or really any vehicle for that matter.
We will follow on this post with a full step-by-step installation guide on sound deadening your Tacoma. That step-by-step installation guide that will provide all of the details on actually removing the parts from the inside your truck.
If you want to go the basic route of sound deadening your Tacoma, you can just do the doors, floors, and back wall with Dynamat or any other constrained layer damping material. This is going to be the most basic sound-deadening solution you can provide for your Tacoma but it’s not going to be as good is doing it right.
Trust me, do it right the first time using the methods above and you won’t be disappointed.
this is great! would you be able to share the link to the full install guide? thanks!!
Any idea what the total sq ft needed is for the double cab model? I’m curious how much weight it will end up adding since that is going to reduce payload.
Thanks for the information! While the interior is stripped out do you recommend any additional interior modifications?
Hey Rob, glad we could help. I would think that the only thing you could do while you have the interior apart is running some wires for auxiliary electronics. If you’re looking for interior mods in general, we did an article on that too. https://trailtacoma.com/2020/09/07/top-15-interior-mods-for-the-3rd-gen-tacoma/
Where and are there specific MLV products? A video doing each step would help A lot. I’ve already applied Noico with follow up Foam in my 09 4 4dr Tacoma on doors, and us very noticeable. Thank you for sharing.
I am working on getting everyone a code for a site that will have both everything you need.
FOLLOWING ON THIS
Hi Daniel, any idea when you will have a code for the materials? I am anxious to do this to my truck as well.