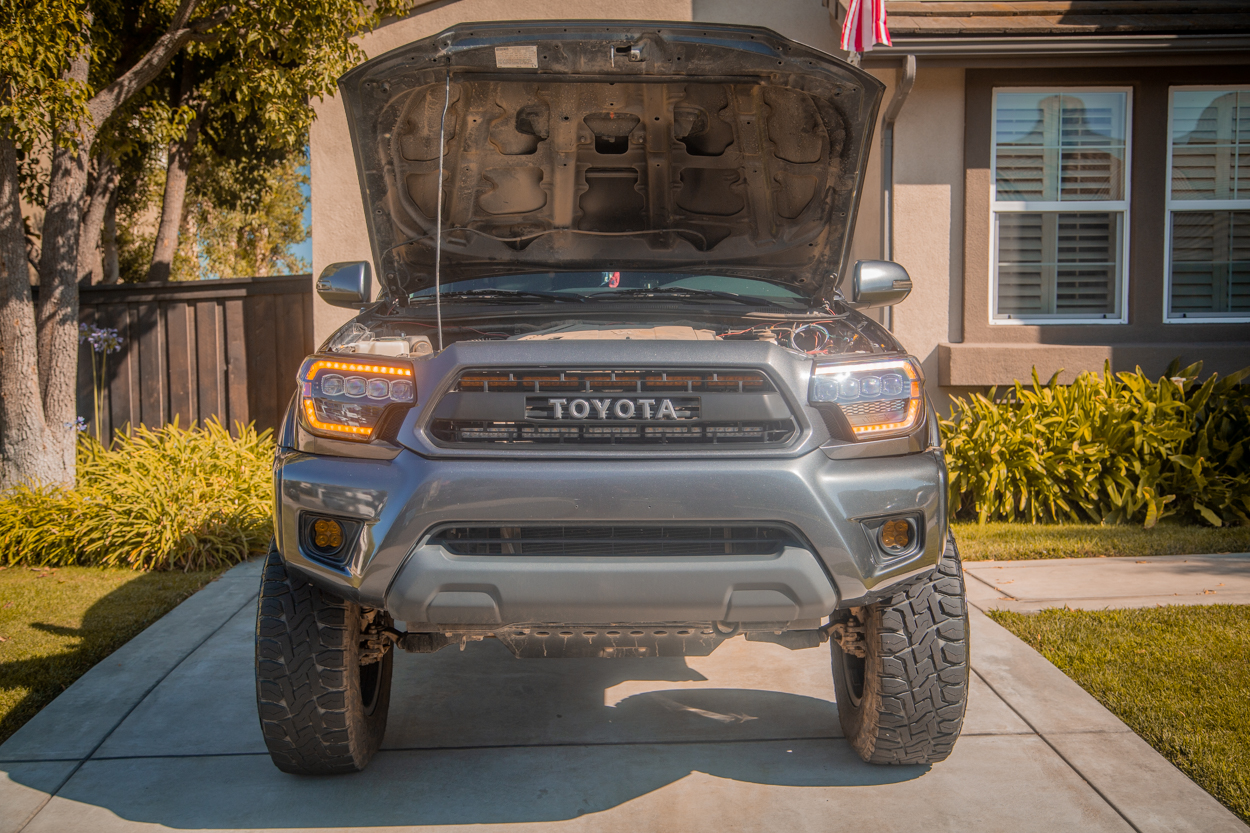
So, you are the proud new (or existing) owner of a 2nd Gen Tacoma. To ensure the healthy lifespan of any vehicle, some critical maintenance will be required.
A simple oil change can go a long way in keeping your vehicle healthy throughout your ownership and beyond. This being said, most of the time, they are considered one of the most essential items to keep up with in terms of maintenance.
It is sometimes said that doing one every 10k miles is enough to keep your vehicle’s engine in a healthy, working condition. Most enthusiasts, including Toyota, recommend that an oil change be done every 5k miles to ensure that your Tacoma will go the distance.
Working on your truck might sound overwhelming. However, there is no better place to start than tackling it yourself.
Below is a detailed guide to performing your own in your driveway. Follow this step-by-step guide to ensure that you get it done correctly, and you will be on your way to becoming your own mechanic.
Table Of Contents
Tools & Materials
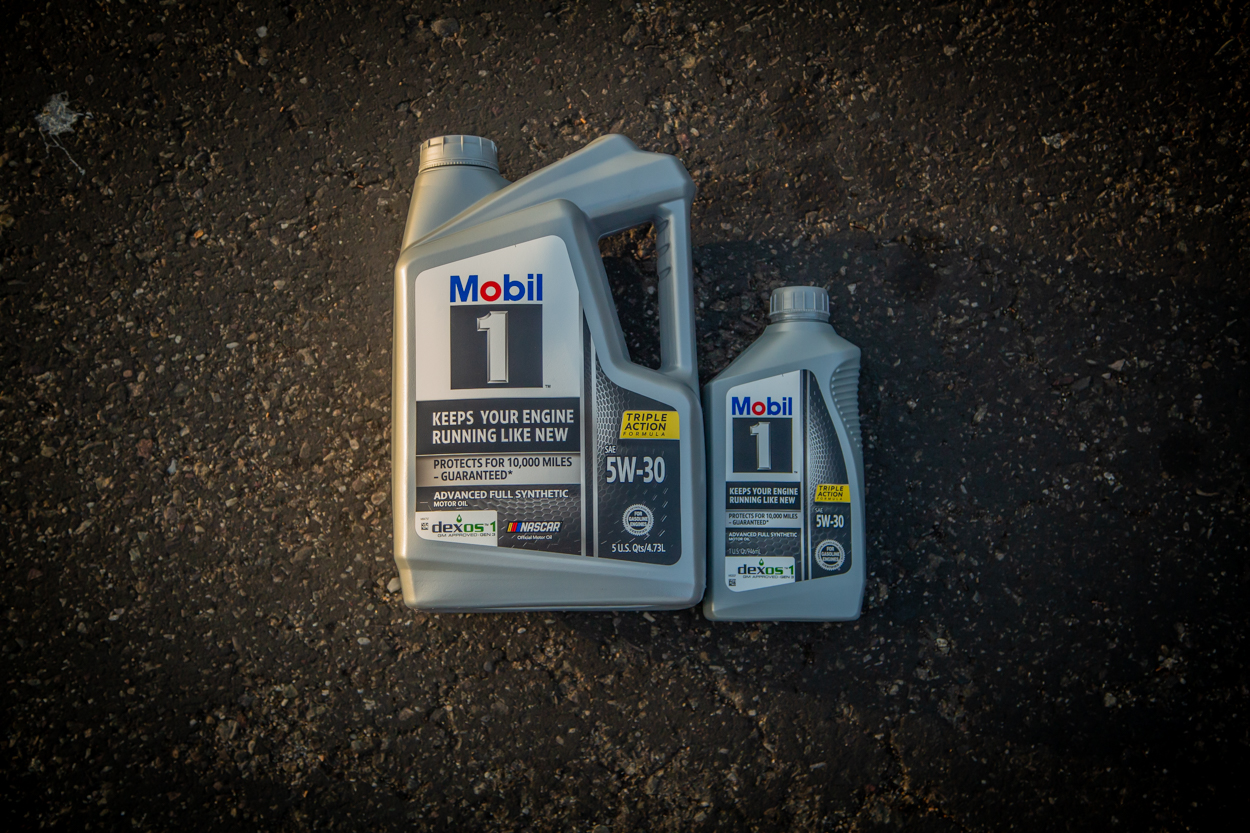
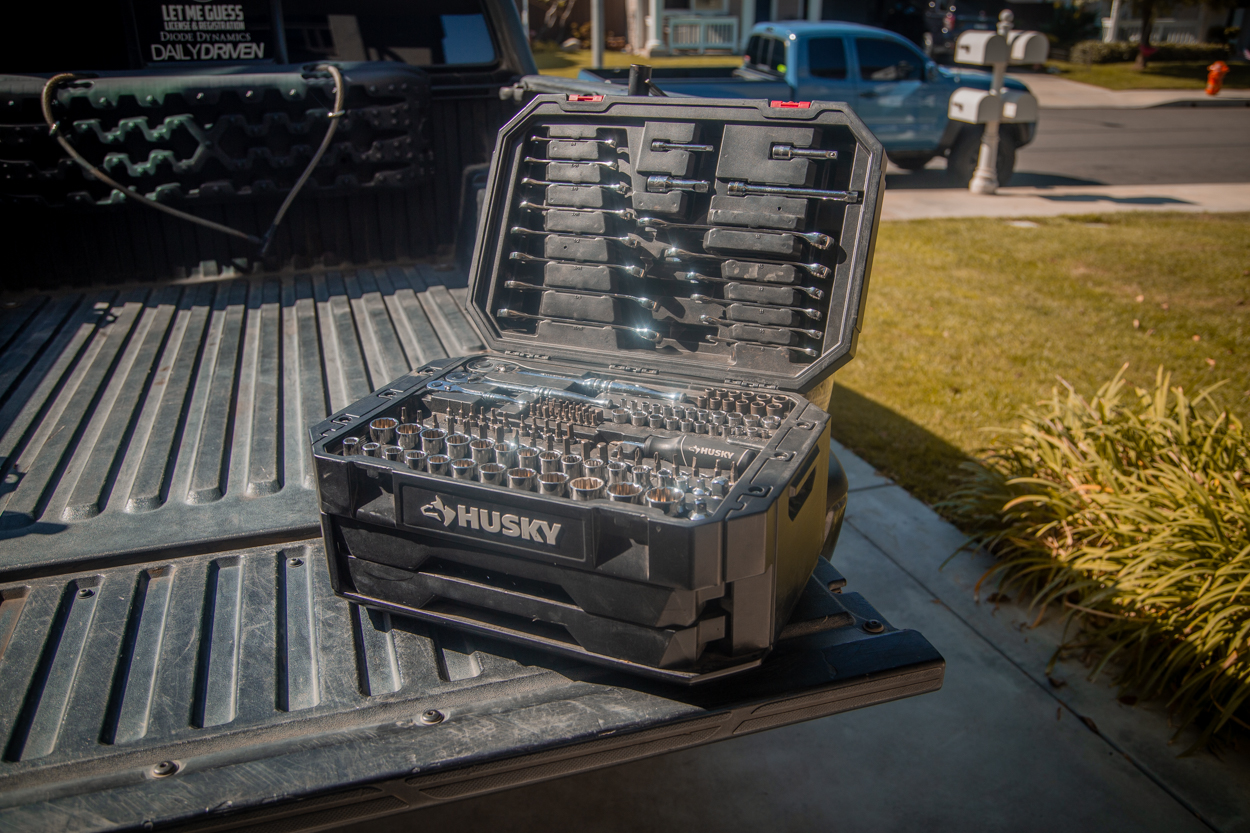
So, you decide you want to tackle your oil change on your own. You ask yourself, where do I start? Well, first you are going to need a few things.
What to buy:
- 6-7 Quarts of 5W-30 (I prefer Mobil 1 Advanced Full Synthetic, Find It Here)
- Oil Filter (I choose to go with an OEM Toyota Filter)
- Oil Catch Pan: Check Price
- Funnel
- Ratcheting Wrench: Check Price
- 14mm Socket: Check Price
- Torque Wrench: Check Price
- Engine Oil Drain Plug Gasket: Found Here
- Brute Strength
Optional Items
- Gloves
- Fumoto: F-133 – Original Oil Drain Valve With M12-1.25: Check Price
- Oil Filter Removal Tool: Check Price
Installation
Changing your oil is a relatively simple task. However, it can get pretty messy. Gloves are an excellent accessory to any oil change. A Fumoto valve is a great investment and will allow you to drain the oil quickly and easily.
You might notice that there is a range of oil you might need. This all depends on how much oil drains from the pan and a few other factors. The forums & Toyota say that the 2nd Gen Tacoma 4.0L V6 will take 5.5 quarts of oil. A great rule of thumb is to be prepared with more than you might need, should the situation occur where you need more.
Regardless of the oil purchased, you want to ensure that you add enough oil until your dipstick shows oil up to the second marker.
Pro Tip – Buy In Bulk
When shopping for oil, buy your oil/filter in bulk! You will save countless dollars, not only now but in the long run. I recommend purchasing two 5-quart containers or browsing the internet for a 12-quart container.
Step 1. Remove Drain Plug

You will want to locate your oil pan drain plug, pictured above. Once found, you will need to grab hold of your ratchet and 14mm socket.
Before loosening the drain plug, it is good practice to remove your oil cap and place it to the side. Doing this will relieve pressure inside the crankcase and allow your oil to drain faster! Once you have done that, go ahead and unscrew your drain plug bolt. While proceeding with this step, ensure you have your oil catch pan under the bolt.
The oil will likely come out quickly, with more force than you’d imagine. Be ready to move the pan accordingly to catch as much oil as possible to avoid making a mess.
Be careful when keeping your hand under the bolt when the oil drains. It is said that if your motor has been run recently, the oil can exceed temperatures of 200 degrees Fahrenheit. It’s also suggested that you try to avoid too much skin contact with the oil as well, hence why the gloves are optional yet recommended.
Step 2. Remove Old Filter
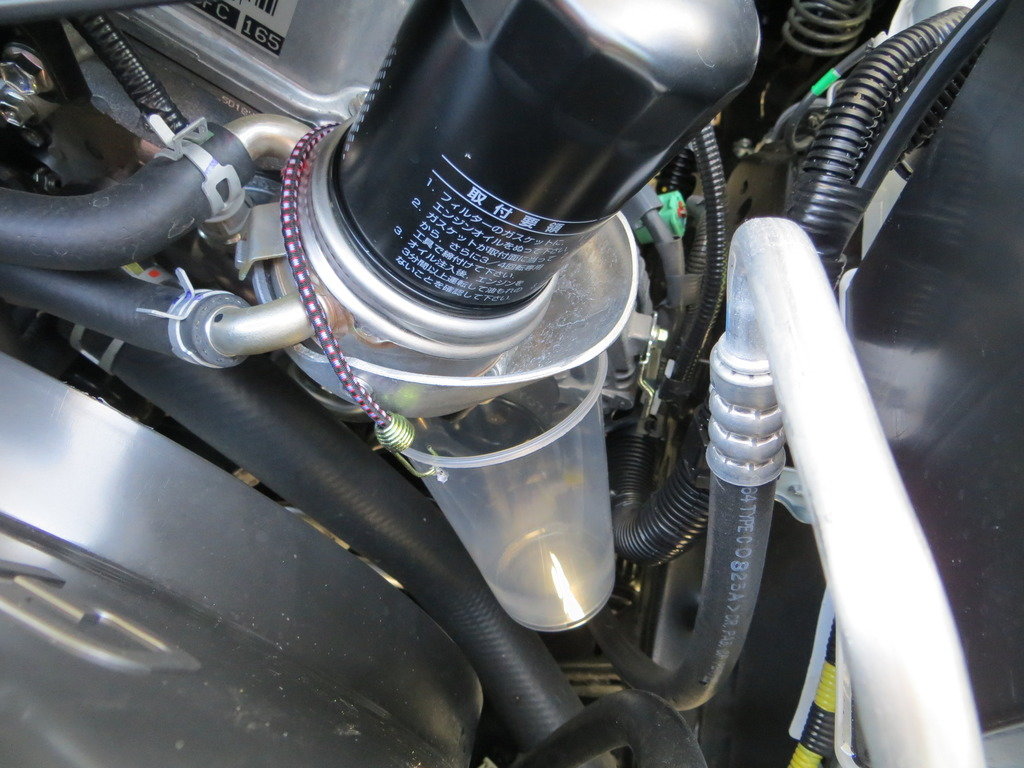
You are in luck! The filter on the 2nd Gen Tacomas may be one of the easier ones to access and remove in the car industry. This is simply due to its location in the engine compartment. If you take a peek into your engine bay, your oil filter will be located just to the left of the battery. Pictured above!
Muscling the filter off is always an option. However, this can prove challenging, so I recommend grabbing an oil filter removal tool, and you can easily complete the job.
Before removing the filter, it is important to note that oil will leak from it as you loosen it. I recommend trying to find a way to catch said oil to avoid making a mess. How I did it is pictured above.
Step 3. Install New Filter
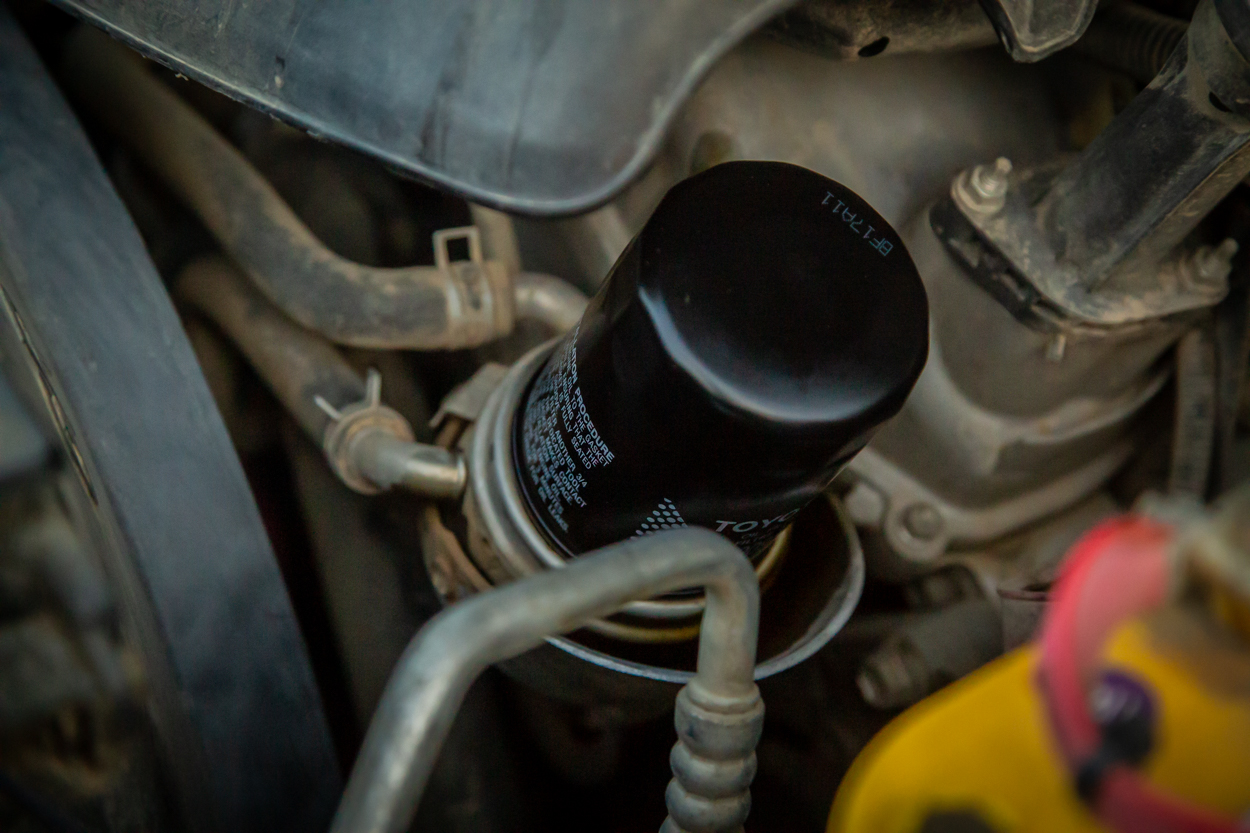
Once your old oil filter is removed, first things first, take the new oil filter out of the packaging.
Before screwing on the oil filter, you want to ensure the outer edges of the filter are oiled up. Some filters come with it already done. However, I like applying a nice oil layer to the seal before screwing it back on.
When you feel confident with the layer of oil you have applied to the filter, slowly put it back into place and screw it on. I usually tighten the filter by feel; make sure it is snug! A good rule of thumb for tightening the filter is to tighten until the filter seal makes contact with the housing and tighten it another quarter turn.
Step 4. Drain Plug & New Gasket
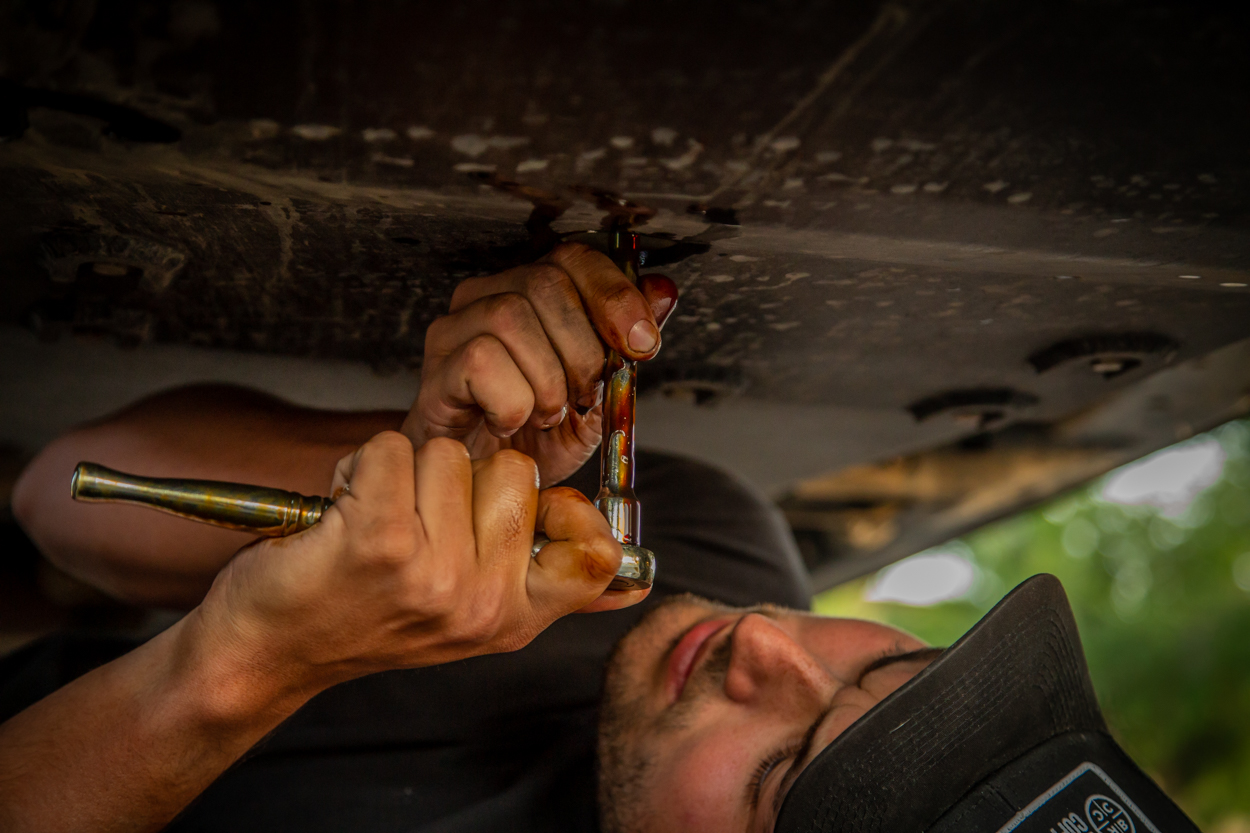
We are almost ready to put the oil back into the crankcase, but first, you must install the drain plug. Insert the provided/purchased drain plug gasket onto your drain plug; this is necessary to ensure a solid seal. After that, slowly screw the drain plug into the oil pan.
Side Note…
I say “slowly” because if you are careless, you can risk stripping or cross-threading the bolt or pan itself. I, unfortunately, learned this the hard way in the past. This required me to purchase an entire new pan, quickly turning a cheap, easy job into an expensive one. Everything will go back together easily if you take your time.
Some enthusiasts tighten the drain plug by feel, but I prefer to follow the specific torque specs set by Toyota. They state that the drain plug bolt should be torqued to 30 ft/lbs.
Seriously consider purchasing and installing a Fumoto valve. This is a cheap and easy quality of life improvement that will continue providing quick and easy oil changes. I currently have one on order and will be sure to install it for the following oil change!
Step 5. Fresh Oil

You have almost completed your very own oil change.
A funnel is crucial for this part to get all of your oil where it is supposed to go. Funnels can be found at most gas stations & auto part stores.
Insert your funnel directly where the oil cap goes. Try to keep a steady hand during this process and keep an eye on your pour. Left unattended, you might overflow the funnel resulting in spillage in the engine bay, which is no fun to clean up. Add 5.5 quarts of oil.
Once you have poured the oil in, check your dipstick. The oil should fall below but close to the second marker. If this is not the case, add more oil until it reaches that marker. When completed, start your truck, let it run for a couple of minutes, and check for any leaks under the vehicle.
After you have shut the vehicle off, it is a good habit to check the dipstick. You may find that you need to add a little bit more to ensure that your engine has the perfect amount of oil required.
Step 6. Resetting Maintenance Light
There is one easy way to do this.
Follow the steps below:
- Make sure your odometer is set to Trip A.
- Turn your truck entirely off.
- Press and hold the odometer reset button.
- While holding the button, turn your car on.
- Continue holding the button until your Trip A odometer is set to 0.
- Release the button and shut your truck off.
- The next time you turn your car on, the maintenance required light should be off
Keep in mind that when this light is reset, the next time it will come on as a solid light is at the 5k mile mark.
Step 7. Recycle Oil
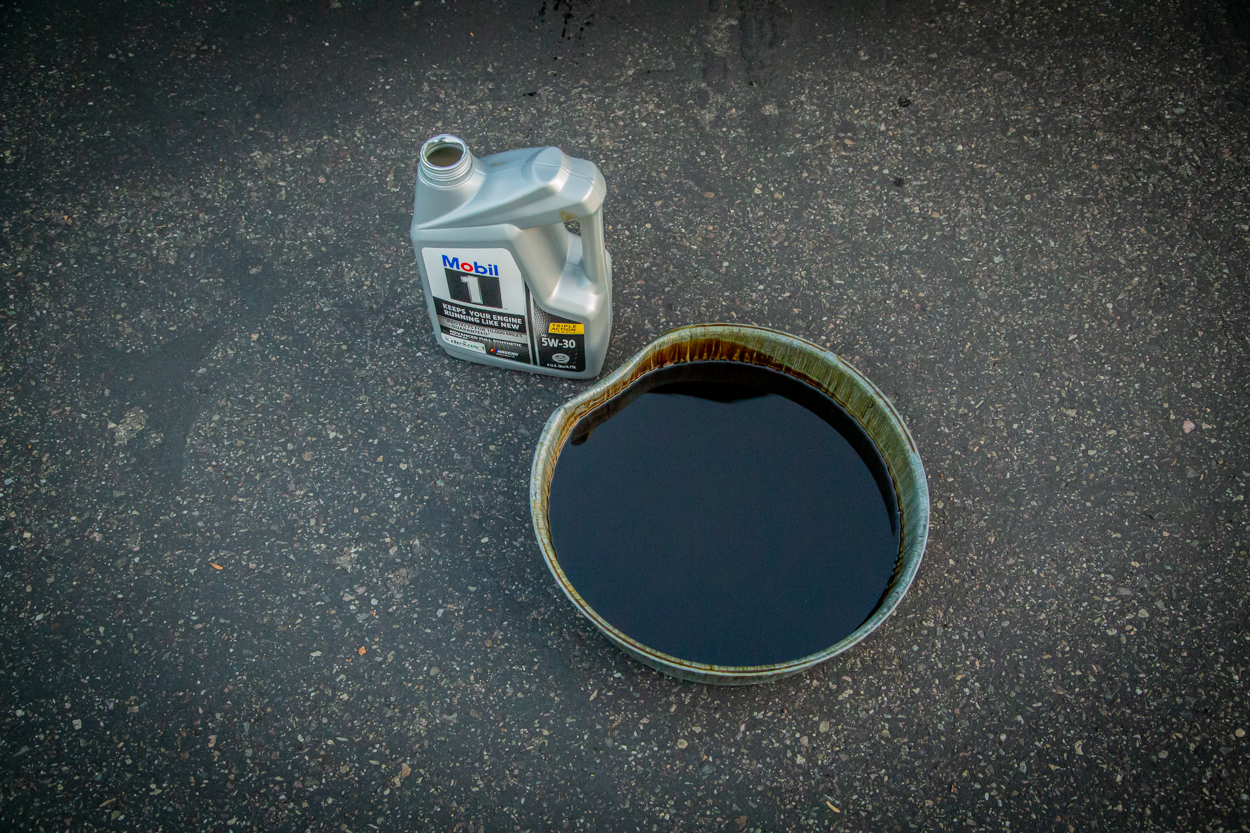
This might just be one of the more important steps in the whole process. After you have collected your old oil, you want to dispose of it correctly.
Most auto part stores will be able to recycle it. Be aware that some will charge you for this service. However, if you do your research, you will likely be able to find a store to dispose of it at no cost whatsoever.
Final Thoughts

That wraps up the process of completing an oil change on your 2nd Gen Tacoma. If you follow these steps closely, you should not have any problems completing this task with ease. In the end, you will have taught yourself something new, saved yourself a trip to a shop, and saved money in the process.
Always be sure to keep in mind that full synthetic oil is far superior to conventional oil. Last but not least, never forget to keep up to date with oil changes regularly, as it is the key to making sure your motor lasts for many more miles!


BAD, bad, bad, I have no problem finding oil filter I have a 2006 with 4 liter. THE MOST critical item was quickly find the oil plug with a CLEAR straight up shot not a distant and indisctince which plug and where you were unscrewing even fleet mechanics have confused them …two shots of the oil filter in all its glory??? dummy! I need a clear one to make sure of not getting cross thread of wrong one. I haven’t but in a hurry and many people do and some of those ‘helps’ list his engine and SHOW a different… Read more »
Great article!
stunk. visually esthetically good but descriptively flunked