
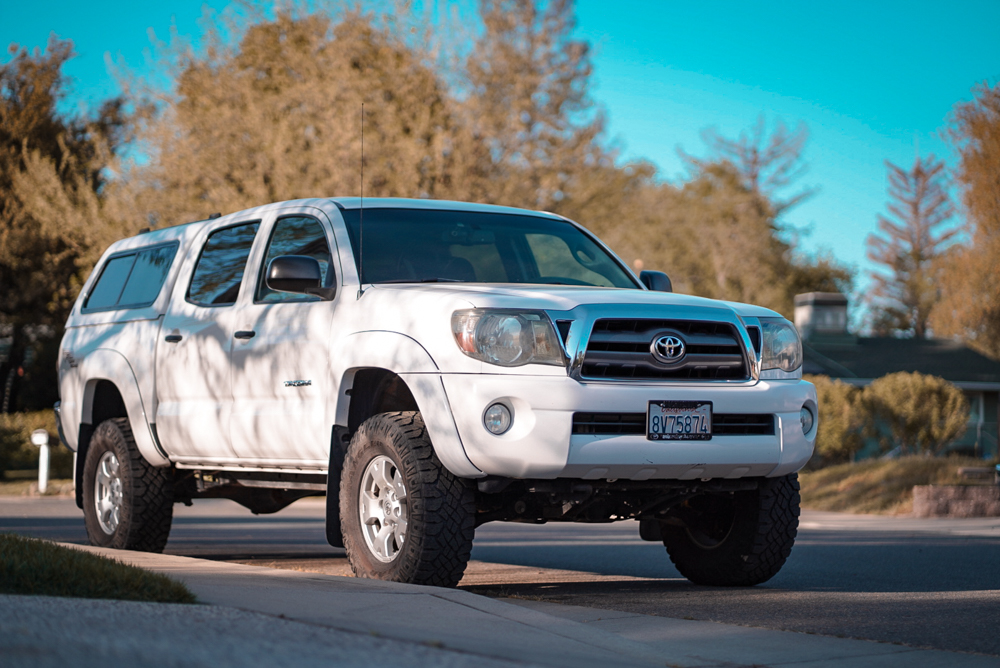
Easily one of the best-bang-for-your-buck lift kits is the Old Man Emu Nitrocharger Sport complete suspension kit. Paired with SPC adjustable control arms, this kit is more than enough to get you on the trail and dramatically improve your ride quality.
Old Man Emu (OME) is a tried-and-true suspension company that was born in the Outback. Their Nitrocharger sports are progressively valved whereas a similarly priced kit with Bilstein shocks is digressively valved. OME offers various spring rates (leaf springs included) which help you dial in your ride height for however you choose to build your truck. If you didn’t already know, OME is ARB’s division of 4X4 suspension systems. So you can bet that this kit is backed by decades of experience and happy customers.
This type of kit would be great for anyone who wants to start off-roading more frequently. The progressive shocks provide more ride quality but sacrifice a bit of drivability, which makes it perfect for cruising dirt roads. While it may not be a 2.5″ adjustable coilover, this suspension feels great on and off the road.
Find It Online
- Old Man Emu 2-3″ Lift Kit: Check Price
- SPC Upper Control Arms: Check Price
Table Of Contents
Nitrocharger Shocks

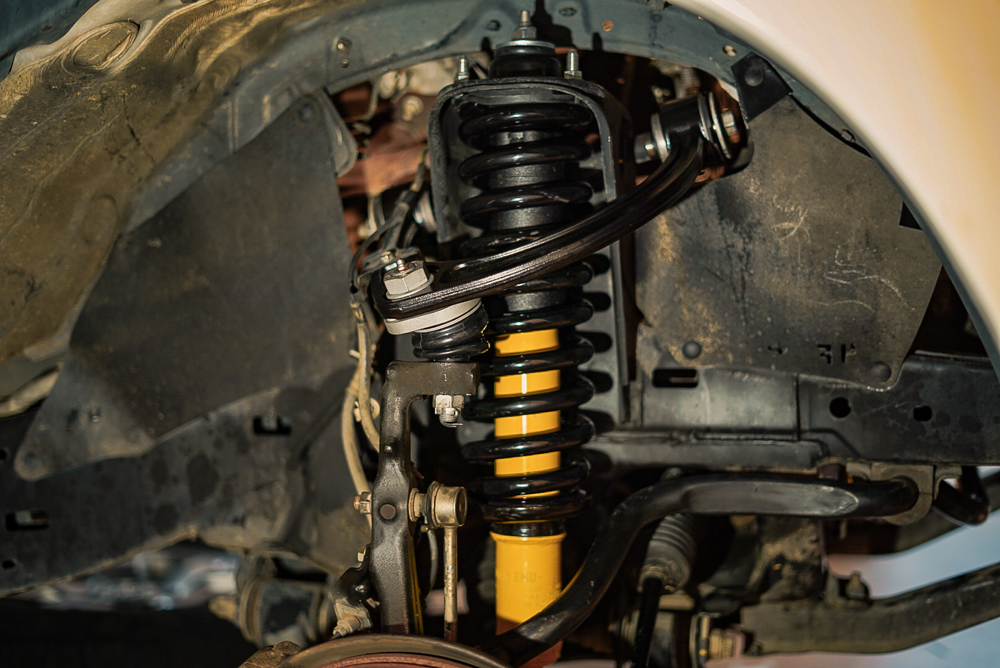
The Old Man Emu Nitrochargers is an affordable, yet capable, suspension setup for your Tacoma. They’re similar to the Bilstein 5100 shocks but one major difference is that the Nitro Chargers are progressive rather than digressive.
Progressive means the shock is valved to soak up bumps at low to high speed, all while keeping the vehicle stable. Digressive is a little stiffer over bumps, but daily driving tends to have better handling. With this being said, if you find yourself cruising down dirt roads frequently, then these are the shocks for you.
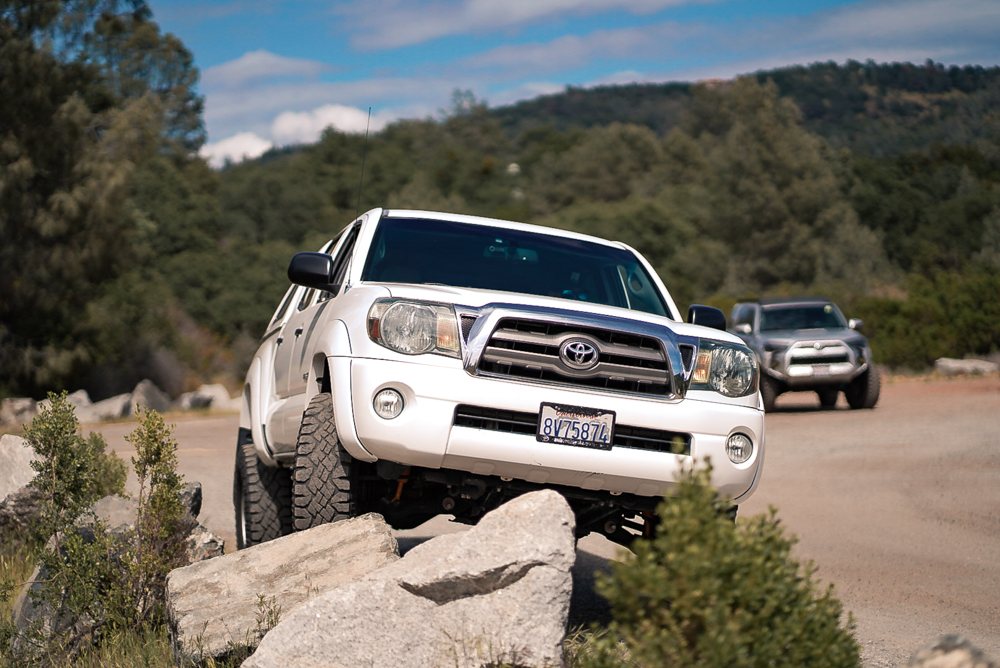
These shocks provide a great ride on and off the road, plus they won’t break the bank like a 2.5″ adjustable coilover would. When it comes to serious off-roading these shocks can definitely keep up too. Even though it’s a much smaller shock body than a 2.5″ coilover, they hold their own on the rocks and rough roads.
Nitrochargers Vs. 5100s

The main difference between the Old Man Emu Nitrochargers and Bilsteins 5100 series shock is the valving. Bilsteins are notorious for offering digressively valved shocks which are perfect for on-road driving. They are a little stiff over bumper at lower speeds, but the faster you go, the smoother the bumps get. Not to mention the handling is increased at higher speeds.
The progressive Nitro Chargers feel great over small-large bumps at any speed. The downside is the more speed you have, the less handling you have. Other shock companies that offer progressively valved shocks include King and Fox.
Real-World Comparison
- Bilstein 5100 – Great for on-road driving, perfect for anyone who daily drives their Tacoma and goes off-road once in a while
- OME Nitro Chargers – Very plush ride, perfect for anyone who does easy-moderate trails frequently.
Spring Rate Choice
One of the unique features of the Old Man Emu product line is that they offer a wide variety of spring rates. This allows you to dial in the ride height of your suspension accordingly to how much weight your truck is going to have.
Coils with larger spring rates are designed to support more weight without sagging. This is useful for those of us running full replacement bumpers with winches and lights. The additional 200 lbs are bound to make your suspension sag and feel extremely loose over bumps. The solution is using coils with larger spring rates.
Additionally, if you don’t plan on running extra weight from armor and other accessories, spring rates help you achieve more lift. The downside is the ride may feel very stiff, but you would gain an additional inch depending on which spring rate you go with.
Adjustable SPC UCA

Aftermarket control arms are never a bad idea when you lift your truck. With aftermarket upper control arms, you’re able to gain travel and there won’t be as much stress on the stock upper balljoint that occurs after you lift your truck.
Specialty Products Company (SPC) offers an adjustable upper control arm design that provides a stronger balljoint, a greaseable zerk fitting, and more travel.
What Makes a Control Arm Adjustable?
The adjustability from an SPC control arm allows you to change your caster via a plate that changes the orientation of the ball joint. This is helpful when it comes to fitting bigger tires because the more caster you have, the more you can move your tire away from your firewall. This ultimately translates to less rubbing on the body mounts, the pinch welds and the cab itself.
Too much positive caster may take away some of the drivability. There can be vibrations at higher speed and it isn’t uncommon to have more strain on your steering components. Since your contact patch is reduced during turns, you’re more prone to spin out, which can be very dangerous in winter driving conditions. It is worth mentioning, that we know several guys who run 4-5+ caster and they don’t report any issues. The previous statement is just something to be mindful of. All truck modifications ultimately affect the stresses to various components.
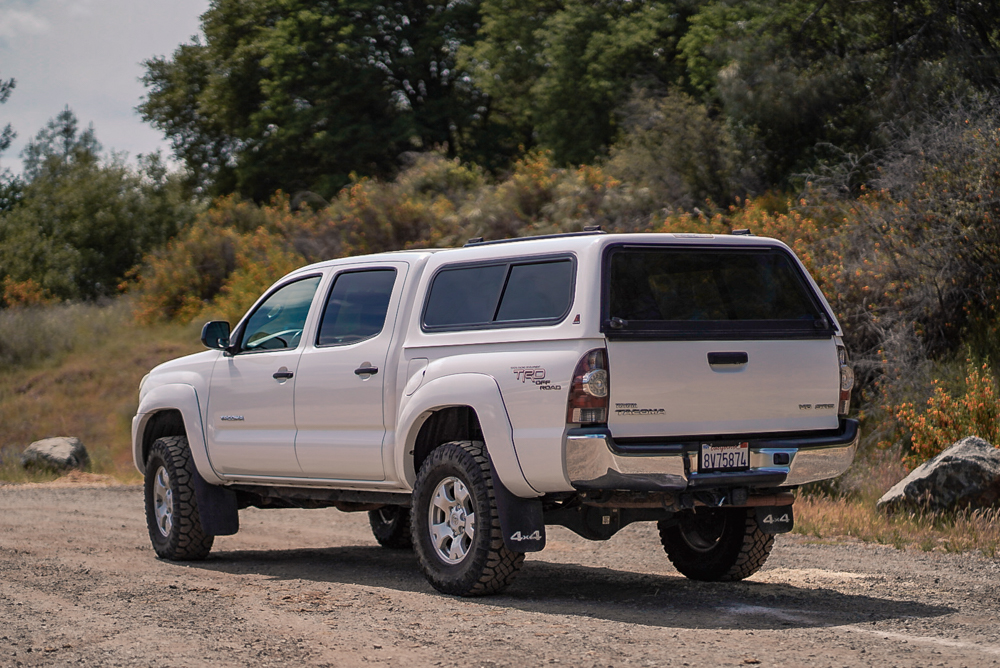
Dakar Leaf Springs
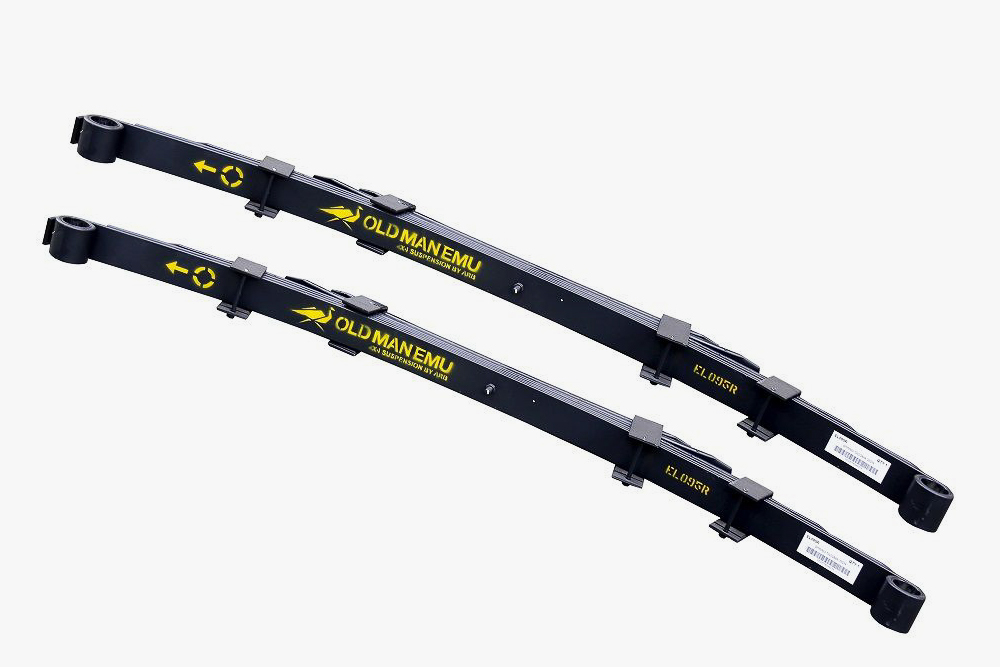
The replacement leaf springs from Old Man Emu are a great way to lift the rear of your Tacoma. Much like the front, these springs are offered at various spring rates, which is nice for when you load up your bed for a long weekend of camping.
You can also expect to get more travel out of the Dakar leaves since they are longer than the stock leaf packs. Not to mention the ride quality will be exponentially better than the worn-out stock leaf springs.
Install Overview
Difficulty
- Medium-Hard
Time & Assistance
- 3-4 hours
- 2 people
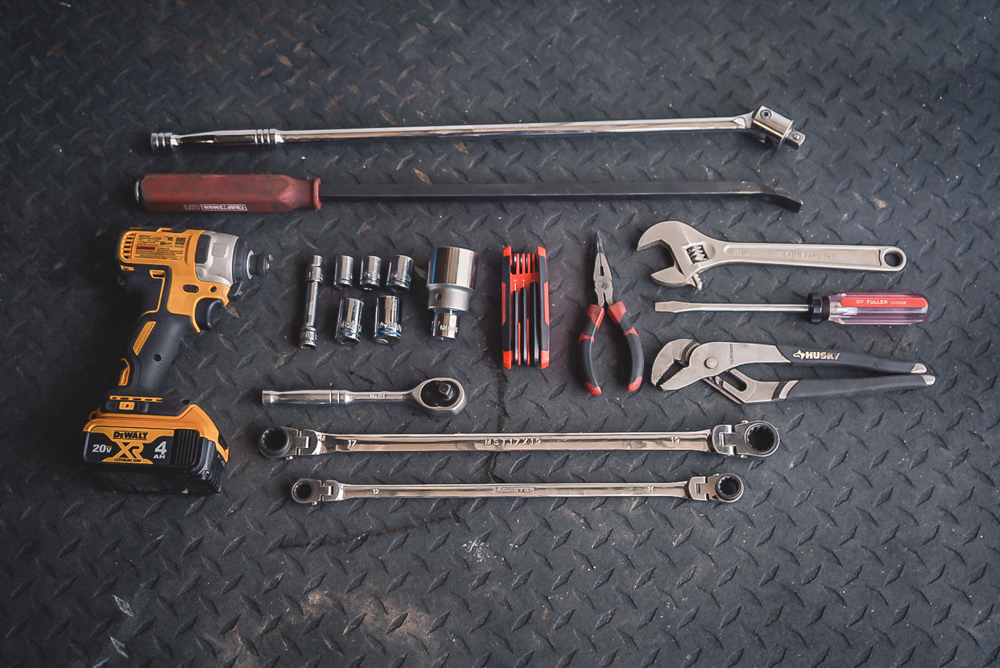
Tools and Materials
- Breaker bar
- 1/2″ socket set (17 & 19mm)
- 3/8″ socket set (10-17mm)
- Needle nose plyers
- Flathead screwdriver
- Channel locks
- Impact driver
- Pry bar
- 1-5/16″ socket
- Crescent wrench
Step 1. Remove Tires & Sway Bar

To remove the sway bar, start by removing the end link from the spindle. When you try and remove the nut that holds the end link on, the rest of the end link is going to spin. Either hold the spinning part with a pair of channel/vice locks, to fit an Allen socket into the Allen hole on the end of the bolt.
Next, remove the two 14mm bolts on each side of the frame where the main sway is bolted to. To remove the sway bar completely, it’s much easier to remove the skid plate so you can freely move the sway bar.
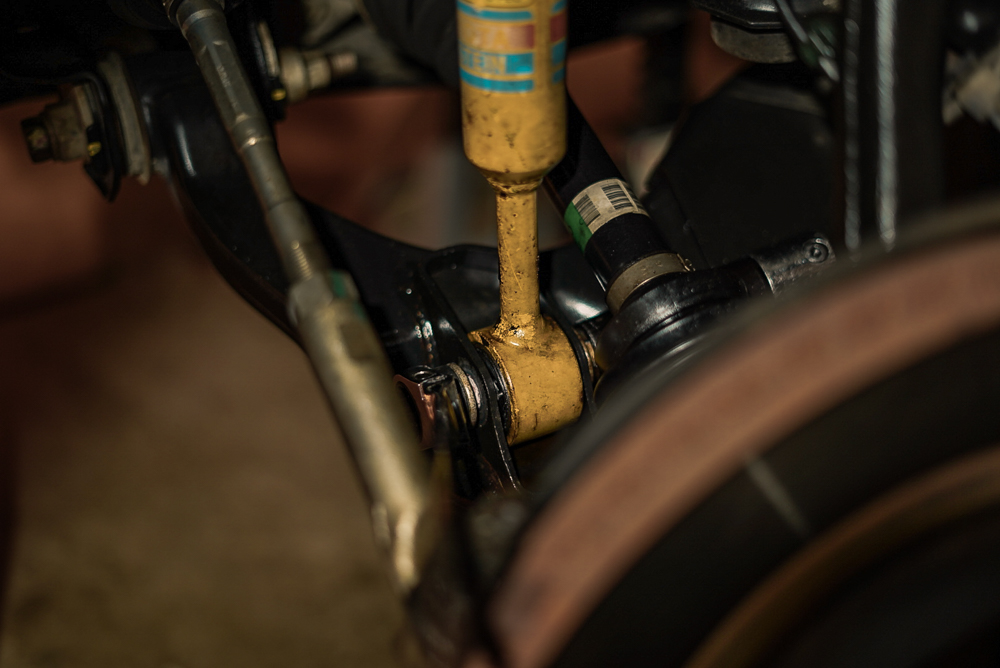
Step 2. Remove Outer Tie Rod
Remove the cotter pin and castle nut that holds the tie-rod in place. Removing the outer tie-rod from the ball joint will allow the coilover to be removed easily. If you don’t remove the tie-rod there may not be enough room between the tie-rod and the cv axle to slide the coilover out.
The tie-rod is pressed into the sleeve pretty tightly. Hit the sleeve with a hammer to break the connection and free the tie-rod end. Alternatively, you could use a pitman arm puller on top of the tie-rod. Avoid hitting the tie-rod directly on the threads, or mangling the boot with a pickle fork.
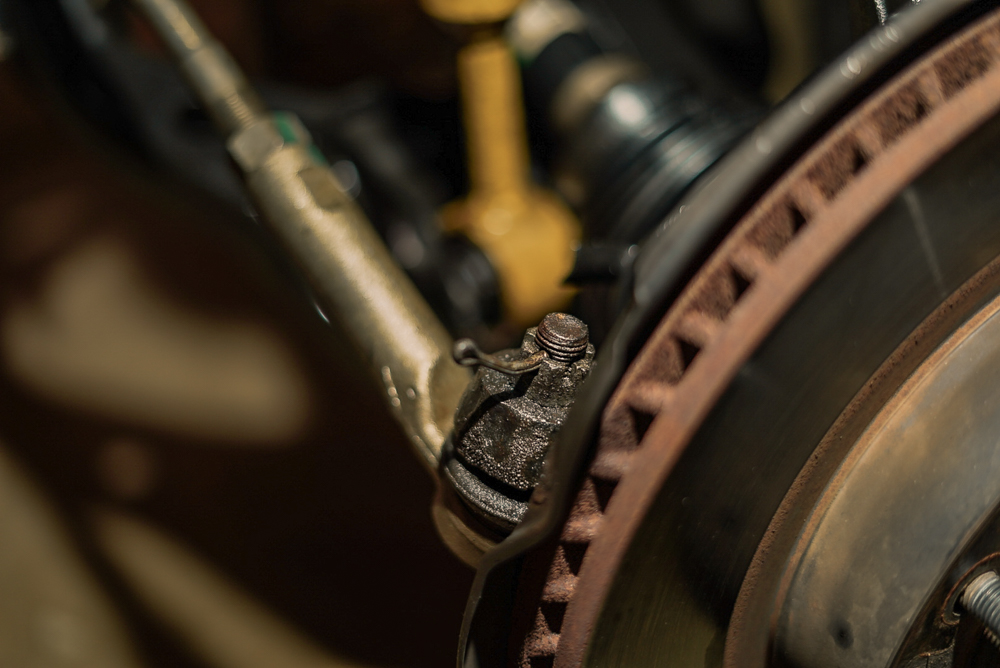
Step 3. Remove Ball Joint

Next, take the upper ball joint out of the spindle to allow the spindle to move freely. Much like the tie-rod, there is a cotter pin and castle nut that needs to be removed. The ball joint is also pressed into the spindle just like the tie-rod is. Toyota provides a strike pad on the spindle so you can beat it with a hammer and the ball joint will eventually pop out. I happen to have a pitman arm puller that fits perfectly over the sleeve of the spindle. A couple of turns of a ratchet and the ball joint came free.
Removing the ball joint will allow you to swing the upper control arm up, as well as freeing the spindle. This will give you enough room to simply slide the old coilover out, and put the new one in.
Step 4. Remove Top Coilover Nuts

Remove the three 12mm bolts that hold the top of the coilover into the shock tower.
The front two nuts can be reached with a deep dish socket and a ratchet, but the nut on the back will have to be reached with a gear wrench or open-end wrench.
Step 5. Remove Lower Shock Bolt
The last step to removing the stock coilovers is to remove the lower shock bolt and nut. Depending on whether or not your bolts are seized or not, this step may take two people. After cracking the nut with a 19mm socket, I was able to get the bolt free from the nut on the opposite side. Once the bolt is all the way out, the coilover should slide right out.
Having Trouble Getting Shock Bolt Out?
If you’re having a hard time removing the bolt once the nut is off of it, don’t panic.
Most likely the bolt is supporting the weight of the coilover. You could try and lift the coilover to relieve the pressure, or do what I did and use a small screwdriver or pinch and remove the bolt that way.
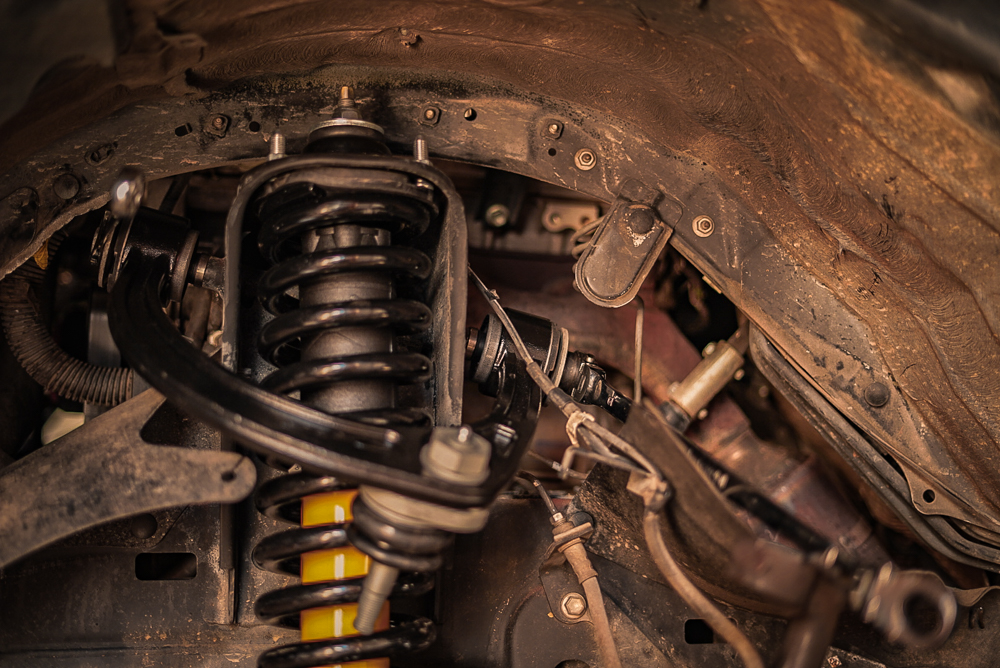
Step 6. Install New Coilover

Start by hand threading the new nuts onto the studs.
Tighten them down about halfway, this will raise the coilover a little bit into the tower, but will still allow you to move it around to line up the lower bolt. Once the lower bolt is in tighten them all the way down.
Step 7. Lower Shock Bolt

Insert the lower bolt through the control arm and the coilover.
Use a wrench on the bolt side to make sure it doesn’t spin while you tighten the nut down.
Step 8. Remove UCA Bolt Nut

Break the nut on the upper control arm.
Once it’s loosened, the bolt shouldn’t spin, but if it does, just hold the bolt end with a wrench and continue to take the nut and washer off.
Step 9. Bend Back Inner Body

To allow the bolt to slide all the way out of the control arm, you’re going to have to make some room.
The easiest way I found was to peel back the inner fender with a pair of channel locks. Start by doing a little bit at a time and continue to bend it back as it’s needed.
Step 10. Make Room For Bolt

On the passenger side, you don’t have to do anything else other than bend back the inner fender. The driver’s side is a bit of a different story.
Remove the battery so you have more real estate to get the upper control arm bolt out. Then remove the 10mm bolt that holds the wiring harness to the body. Be careful of the yellow wire loomed harness. That’s the airbag harness and you should avoid damaging it at all costs.
Step 11. Adjust Caster Plate

Once that long bolt is out, it’s time to get your SPC UCAs ready for install.
One of the unique features of the SPC upper control arms is that they allow you to adjust the caster by changing the position of the plate seen above. Adjustable caster allows you to move the tire forward or backward to a larger degree than most other UCAs. This comes in handy if you want to fit larger tires. Simply move the caster a couple of degrees forward and you gain yourself a couple of inches of clearance on the firewall.
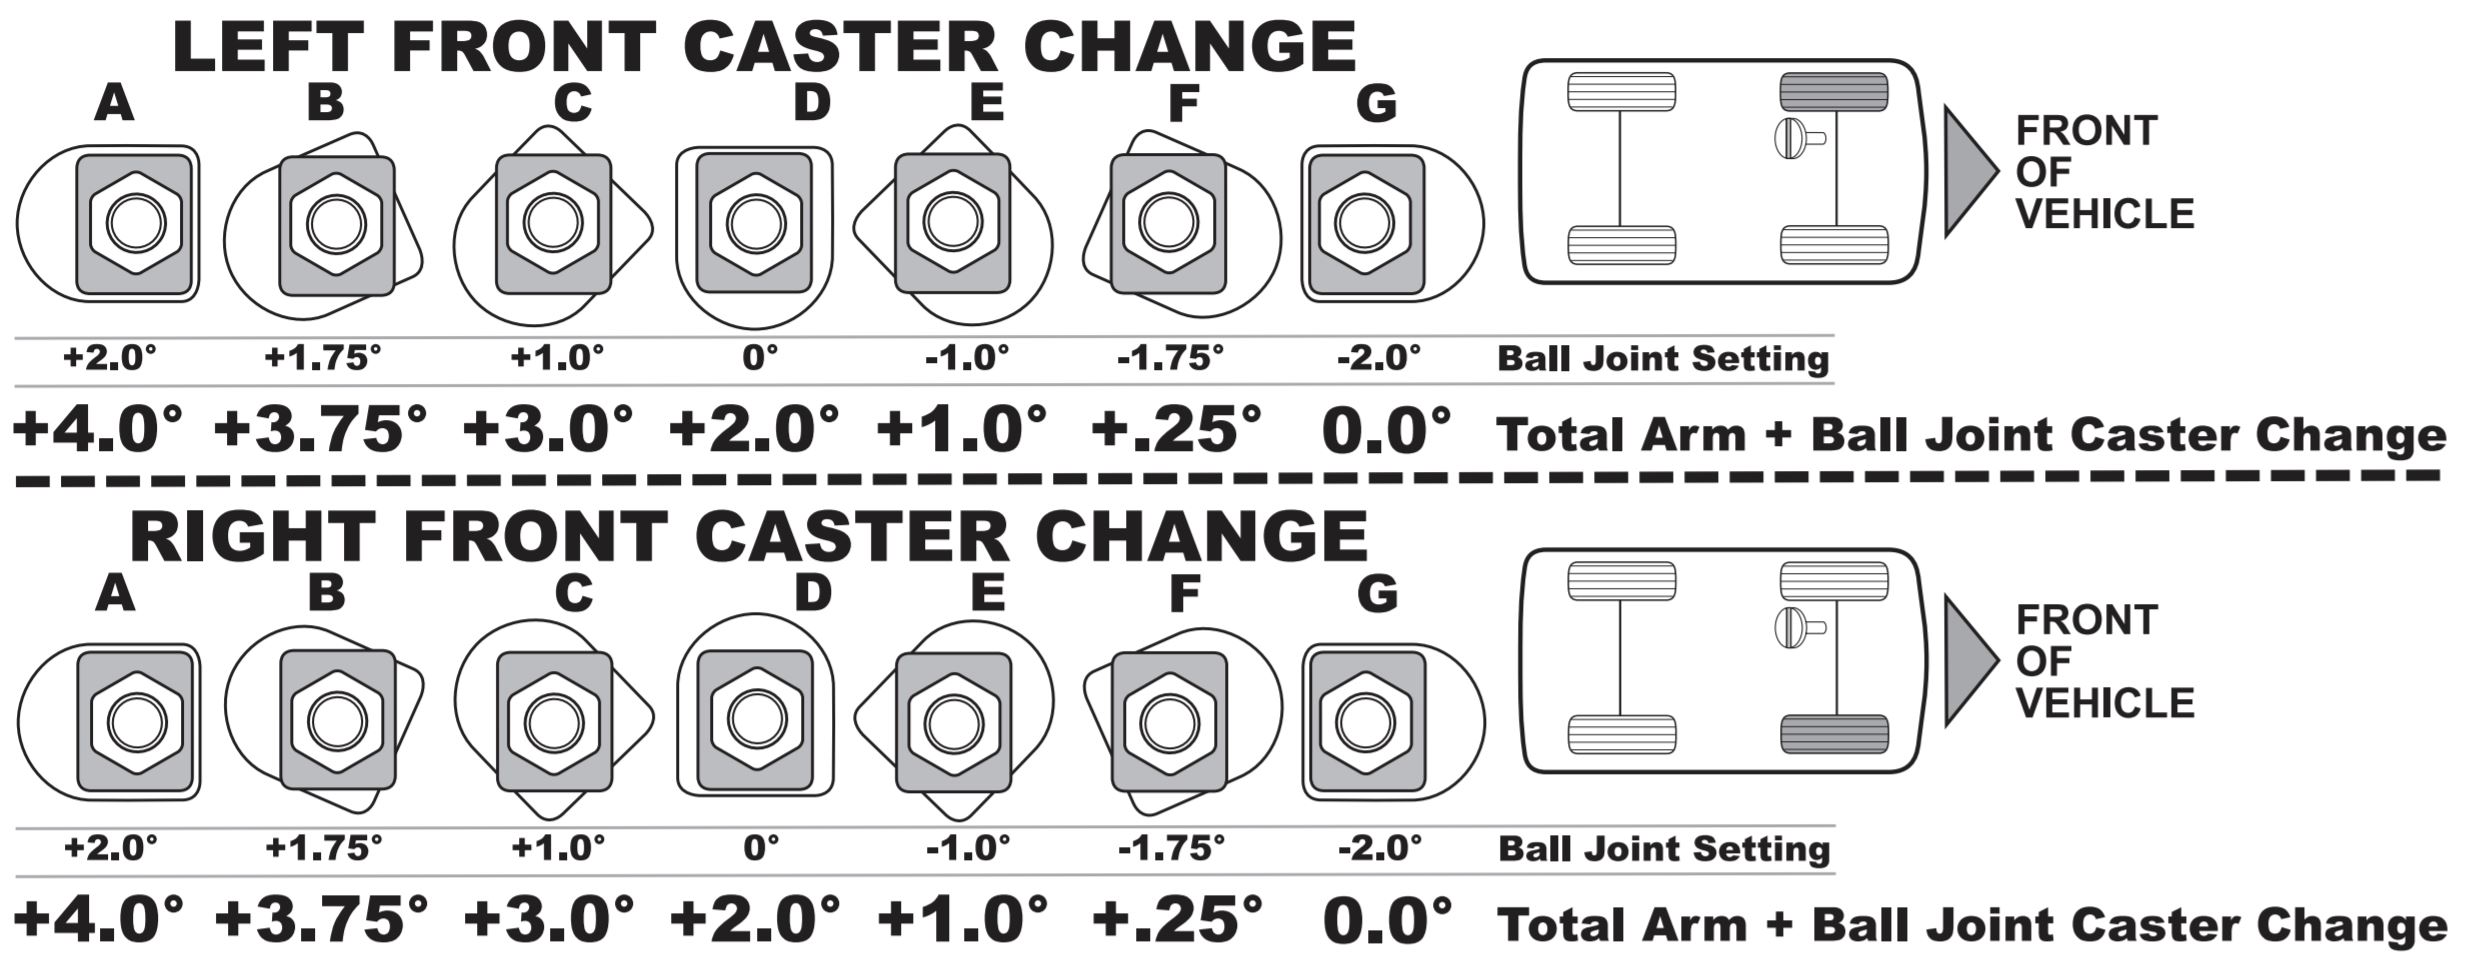
For this install, we kept the caster at 0 degrees (pictured in the first image in this step).
SPC includes a super helpful diagram (as seen above) on the different caster adjustments available for their control arms.
Step 12. Install New UCA
Next re-insert the long control arm bolt.
Since you already made room to get the bolt out, putting it back in is a breeze. It’s important not to forget the control arm washers provided by SPC.
Step 13. Install Ball Joint

Install the new SPC ball joint into the spindle. Install the new castle nut and cotter pin provided by SPC.
Once the lower castle nut is tight, use a 1-5/16″ socket to tighten the nut on top of the control arm.
Step 14. Attach ABS Wire

Re-attach the ABS wire to the upper control arm.
SPC control arms have thread holes in the same spots as OEM control arms.
Step 15. Install Outer Tie-Rod

Finally, re-attach the outer tie rod.
We put in new and outer tie-rods which is why we saved this step for last, but the tie-rod can be re-installed after the coilover is in.
Step 16. Rear Shock Top Nut

Time to move to the rear end. Start by taking the nut off the top.
This part can be a little frustrating as the shock shaft is going to spin. Use a pair of vice grips or channel locks to hold the shaft in place. Then, use a socket or ratcheting wrench to remove the nut on top.
Step 17. Remove Lower Bolt

Next, remove the lower bolt.
I used a gear wrench on the nut side and a socket on the bolt side to keep it from spinning.
Step 18. Remove Rear Shock

Once I had all the hardware removed, I had trouble actually removing the shock.
You could position your jack or jack stands so the axle droops down to allow the shock to come out. Or you can do what I did which is to slip a little pry bar in between the shock and the mount.
Step 19. Remove Brake Line Bracket

On the driver’s side only, before you put the new shock in, you’re going to have to remove the bracket the holds the rear brake line in place.
This will give you more slack in the line which makes putting the new shock in place much easier, plus, you won’t have to worry about damaging the brake lines.
Step 20. Install New Shocks

Insert the shock horizontally, compress it, and rotate it upwards.
The fit is tight, so doing this will allow the shock to slide right into place.
Step 21. Insert Lower Shock Bolt

Insert the bottom bolt and thread the nut on the other end.
For this side, I held the bolt side with a wrench and used an impact and a deep dish socket on the nut side.
Step 22. Install Top Shock Nut

Finally, install the top nut along with the bushings and washers.
The top part of the OME shocks is flat to fit a pair of pliers or a wrench on there to prevent the shaft from spinning. I used a crescent wrench and an open wrench to tighten the nut down.
Final Thoughts
Overall the install process was very straightforward and there were not any major hiccups.
This project is definitely much easier (and faster) with the help of a friend.

Our coilovers came assembled from YotaMafia. Everything was put together correctly and ready to throw on the truck.
This alone was super helpful because we didn’t have to use a sketchy spring compressor to assemble the coilovers.

After the install, we took the truck in to get an alignment, which should be done every time you install new suspension components.
The truck rides so much better than before. The suspension soaks up every speedbump and pothole, all while keeping handling that feels better than the stock handling.
Additional Images


What lb springs did you end up going with in the rear? 884 or 885? What leaf pack? Heavy duty or medium?
you have convinced me to do the same to my 08′ tacoma. What size tires do you have on your tacoma? It looks perfect with that lift.