
Rooftop tents are all the rage these days in the Tacoma and overland communities, and for good reason.
Being able to camp on an elevated surface off the ground is very appealing to many who have roughed it in a ground tent. Not a lot of people enjoy sleeping on an uncomfortable air mattress that always ends up deflated when you wake up in the morning, so having a RTT is quite the luxury.
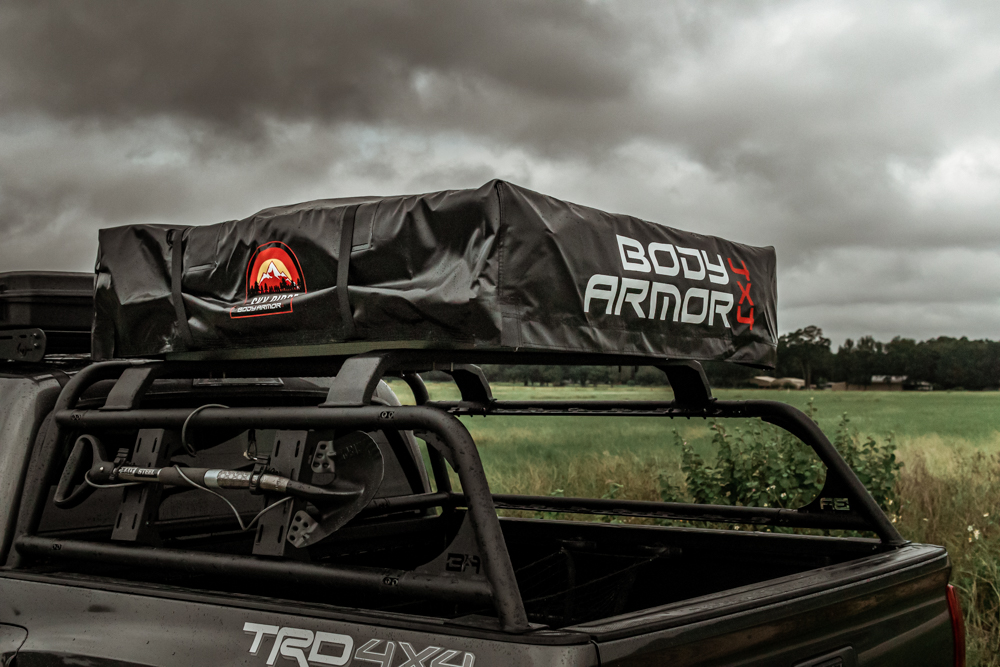
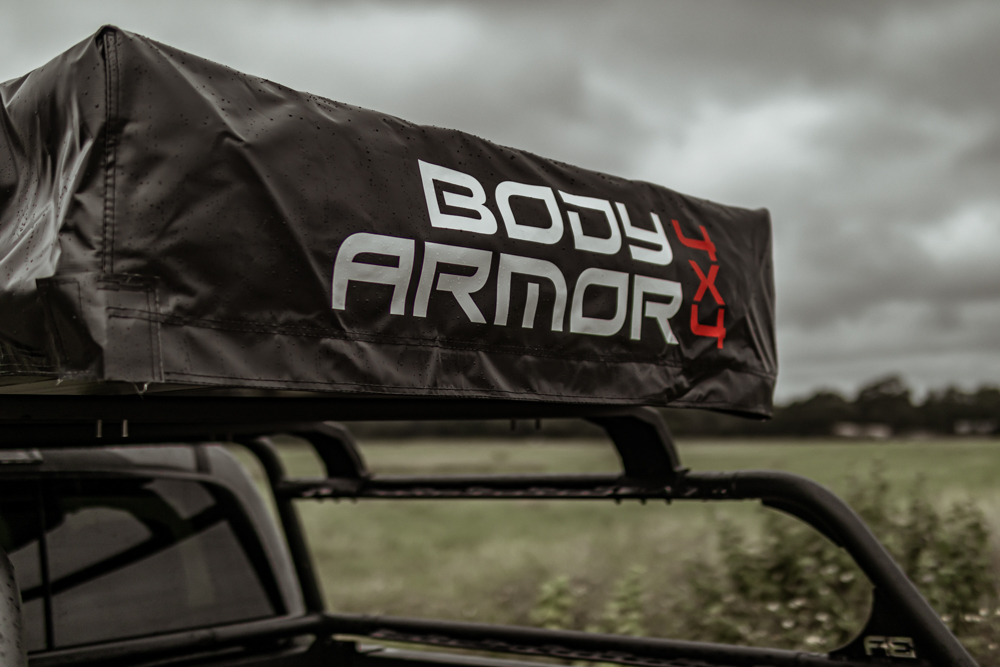
This one, made by Body Armor 4X4, is a great budget RTT option to get you, and possibly your significant other, out camping comfortably with less fear of bugs and snakes sneaking inside in the middle of the night. Many RTTs are expensive, and although none of them are necessarily cheap, this one is well priced.
This article will serve as a how-to install and initial impressions review, so let’s get to it!
Find It Online
- Body Armor 4X4 Sky Ridge Pike: Check Price
Table Of Contents
Installation

First and foremost, you will need somewhere to mount it. You have a few options here, but generally, you will need some type of roof rack, bed rack, or bed bars to mount the tent to your Tacoma. Also, your roof rack will need to be able to handle at minimum 150lbs dynamic weight and at least 500lbs static.
The dynamic weight rating refers to how much weight the rack can support while the truck is moving. Static weight refers to how much weight the rack can support while the truck is parked.
I’ll be mounting mine to my Body Armor 4X4 Overland Bed Rack. If you’d like to learn more about it, see the install and review.
As far as what you will need for the actual install, Body Armor 4X4 includes everything you will need for the average install. I say “average” install because certain rack setups might require slightly different tools and hardware.
What’s Included?
- Cover
- Ladder
- Rainfly rods
- Two mounting rails
- Hardware
- 13mm wrench + 15mm wrench
I used an impact driver with deep sockets to make my install go a little quicker, but the provided wrenches would work just fine. To clarify, you don’t need any additional tools to install. It comes with absolutely everything you need.
Note: The instructions that come with are very vague and generic. I suggest reading the directions on Body Armor’s website which are much clearer. The following sections should help to elaborate on the above directions.
Step 1. Open Tent

When you first get the tent, you will have to open the two cardboard boxes that it’s wrapped in. Do this carefully so you don’t accidentally cut a strap, or worse, the canvas.
Once you have it out of the box, put it in a spot where you will have enough room to open it. I would also suggest laying it on a blanket or the cardboard box so it doesn’t get scratched up on the cement.
To open the tent, simply undo the four Velcro straps on the sides, as well as the two longer straps on the front. Note that the two longer straps loop through two d-rings. These are the straps that will later go over the outside of the cover to help hold it in place.
With all of the straps undone, you can carefully unfold until the bottom is laying completely flat on the ground.
Step 2. Remove Contents

This step is pretty self-explanatory, but it may not be immediately obvious how to get inside.
To get access to the inside, you will first need to unhook the black rainfly on one of the short sides. There is a small plastic piece on a bungee that goes through a metal ring in the material to keep it in place. Once you unhook both corners, you can fold up the rain fly.
Next is the gray door flap/cover. To open this, follow the same steps you used to open the rain fly. Finally, you can unzip the screen door and fold it up.
At this point, you should have full access. You can now remove the rest of the contents and zip it back up.
Step 3. Install Rails
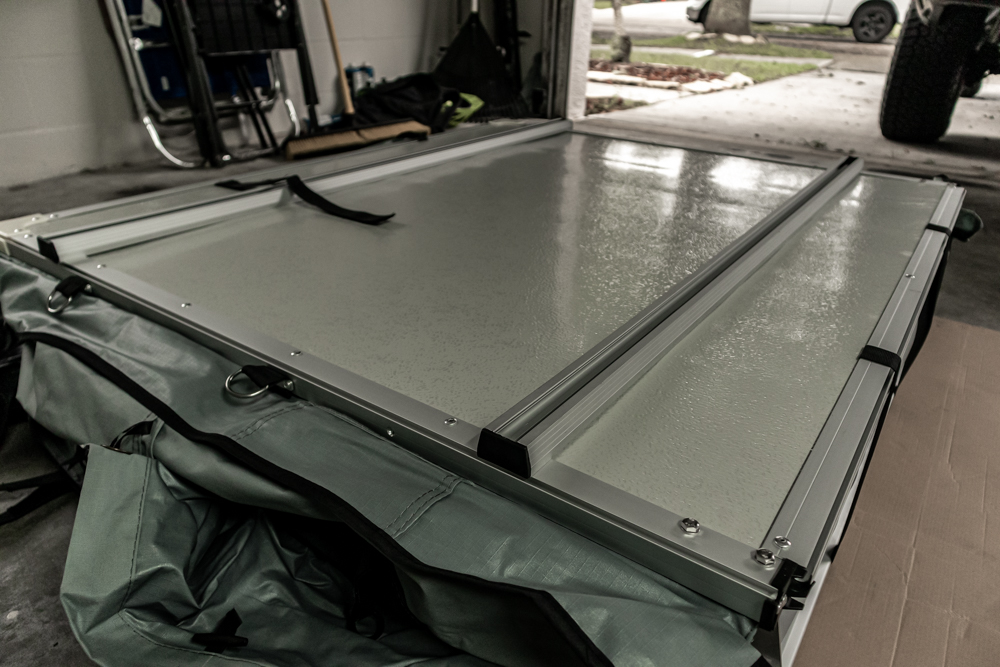
For this step, you will need the rails, wrench, and the smallest bolts in the hardware pack. These are 8mm x 20mm bolts that come preassembled with a washer and locking nut.
The first step here is to remove the stickers covering each hole on the tent, inside and out. Next, slide the 8mm nuts into the rails and roughly line each bolt up with the hole in the rail.

There are a couple of ways that you can go about installing the rails. If you have a friend to help, that’s ideal.
In this case, you can simply have one person feed the bolt/washer combo through the inside while the other person lines up the rail. Have the person inside to tighten the bolts and you’re done.

If you are doing this install solo, it’s a bit trickier. I found it was easiest to lift the bottom side to 90 degrees. From here, you should be able to feed the top bolt/washer combo through from the inside without it falling out.
Once the bolts are through, you can line up the rail and the nut in the rail with the bolt. I was able to rest the opposite end of the rail onto the other bolt while I lined up and tightened down the first bolt loosely. Once that was done, I moved to the opposite end and tightened down that bolt.

For the bottom, I was able to close the it and reach under the side with the hinge to insert the remaining bolts. Because the mattress folds on this side, it holds the bolts in place. I then lined up the remaining rail and tightened it from the inside.
Finally, hand-tighten each bolt to ensure the rail is secured. Be careful not to over-tighten as this could bend the aluminum base.
Step 4. Install Ladder

I ended up doing this step after I installed it onto my truck, but I would suggest doing it first. I did this because I was hoping my truck would still fit in my garage, not much of a surprise, it didn’t.
For this step, you will need to flip up the top and close it. You should see four black stickers covering the holes where the ladder brackets will go. Again, you will need to remove these stickers from both the inside and outside.
As the hardware for the rails, the ladder bracket is pre-assembled with 8mm x 40mm bolts and nuts. The bolt that mounts the ladder to the bracket has a bolt, plastic washer, and nut.
Unlike the rails, the ladder brackets mount with the bolts on the outside and nuts on the inside. To install, simply feed the bolt through the bracket. The flat edge of the bracket should be facing out towards the edge. Reach inside and thread the nut onto the bolt. Do this for both brackets and hand tighten them.
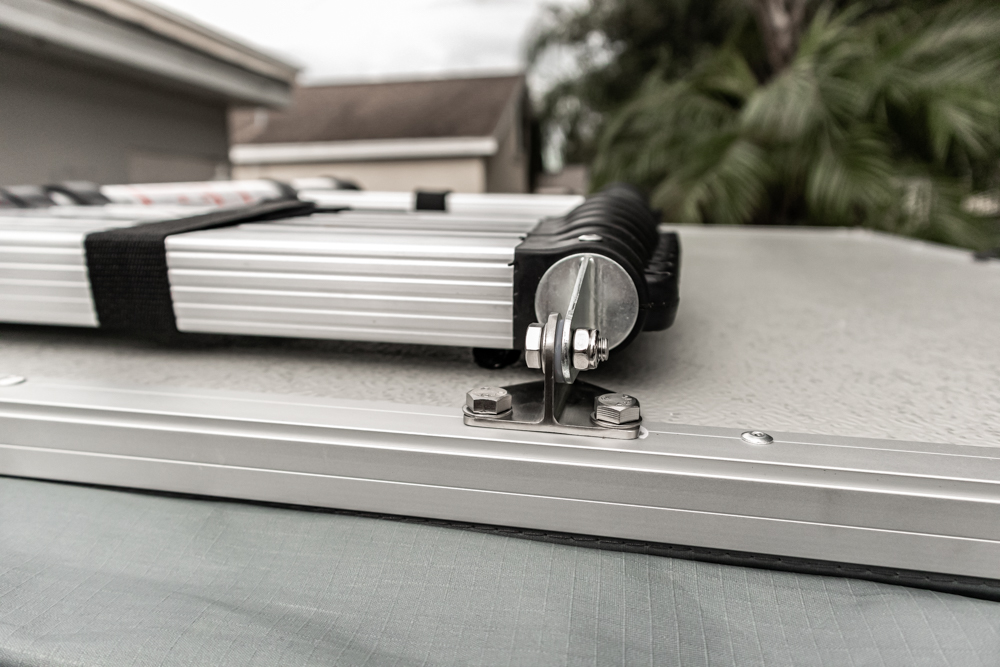
With your ladder brackets secured, it’s time to bolt the ladder to the brackets. As I mentioned, the bracket bolt, plastic washer, and nut are pre-assembled. Simply remove the nuts, slide the ladder holes onto the bolts, and tighten down the bolts. Note that the plastic washer should be between the bracket and the ladder to prevent metal on metal rubbing.
At this point, the tent is ready to be mounted onto your truck’s rack. It’s up to you whether you want to install the cover before or after you install on the truck. I decided to do it after because I assumed it would be easier to install at eye-level rather than on the ground.
Step 5. Mount Tent
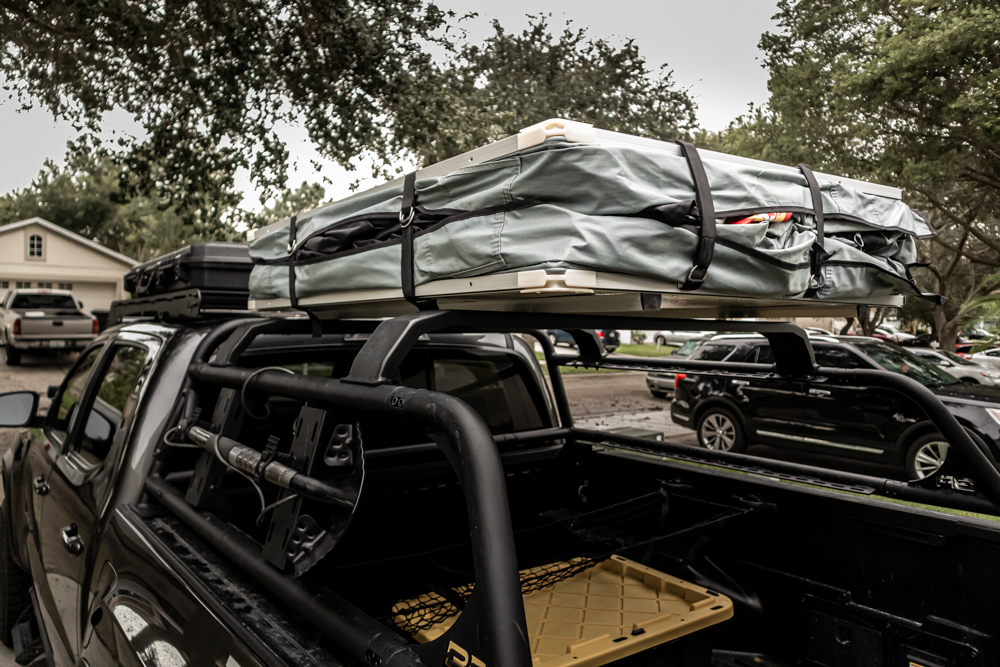
This step is much easier if you have a buddy to help lift it onto your bed/roof rack. I did the install solo, so I’ll briefly explain how I was able to do it.
Please Note: You should know your physical limitations and only install yourself if you are comfortable lifting over 110lbs. I didn’t find it to be too heavy, but it’s big and awkward and you could get hurt, so do this at your own risk.
To Install By Yourself:
- To install solo, I first leaned it against the open tailgate of my truck.
- Next, I lifted the bottom and slid it into the tailgate.
- From here, I stood on the tailgate and stood it up on its side.
- Finally, I put some blankets over the bed rack to prevent scratching, and then lifted and slid from the bottom onto the bed rack.
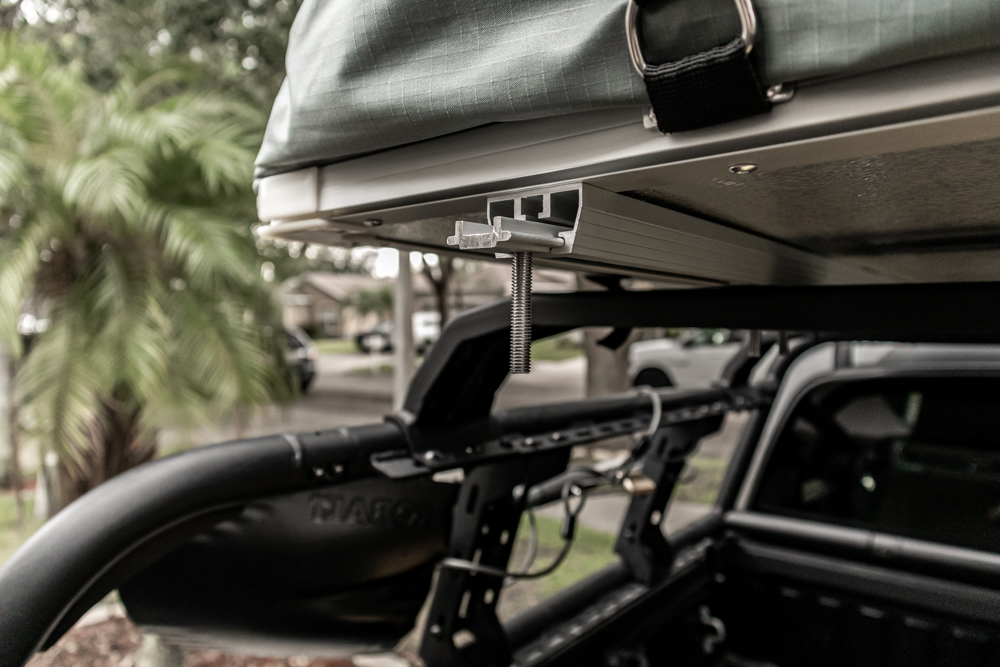
This step will look a little bit different depending on what your rack setup is. If your rack doesn’t have mounting holes through the cross-members, you will need to use the supplied aluminum plates. In this case, you will need to have a bolt on either side of the cross-member and bolt the plate under the cross-member to hold it on.
Because my Body Armor 4X4 Overland Bed Rack has mounting holes in its cross-members, I was able to bolt it on without using the plates.
Each of the bolts has an aluminum slide plate that fits perfectly into the rails. You will first need to remove the end caps of the rails and then slide the bolts into the rail. I slid the four rear (closest to tailgate) bolts in and then lifted each corner while lining up the bolts with the holes in the cross-member of the bed rack.

Once I had the rear bolts through the bed rack, I repeated the process on the front bolts. At this point, you should have 8 bolts fed through your cross-members. Finally, tighten the bolts down by hand. I carefully used an impact, but be sure not to over-tighten or you can damage the softer aluminum slides.
At this point, it should be securely installed onto your truck’s rack.
Step 6. Attach Cover
The final step in this install is to attach the cover. You will first need to undo the longer straps. These straps will go over the cover to help hold it down.
Before installing the cover, completely unzip the cover. This will remove the bottom part of the cover that has a flexible tube on one side and the zipper on the other. Set this part aside for now.
On one side of the cover, you will see the flexible tube similar to the piece you just removed. This is permanently stitched to the cover and will attach to the side with the hinges.
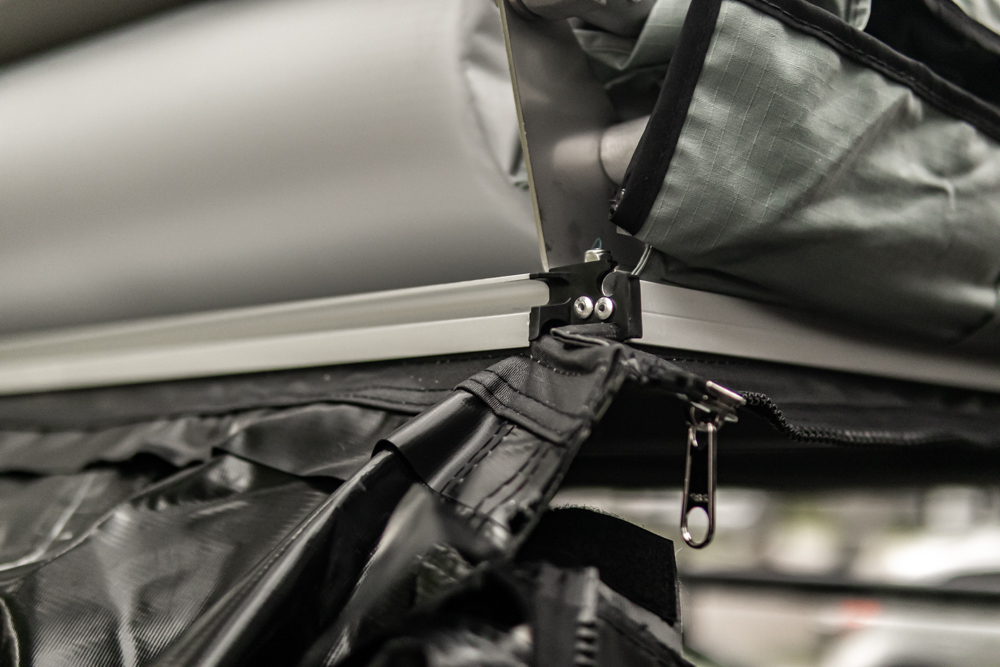
To attach the cover, simply feed the flexible tube side into the opening on the bottom corner. Once this is fully through, you can go ahead and install the piece with the zipper you set aside.
This is one continuous piece that goes around the other three sides. It installs the same way, except you will need to go around two corners. I found that it was easiest to completely feed it through one side before attempting to feed it around the corner and through the next side.
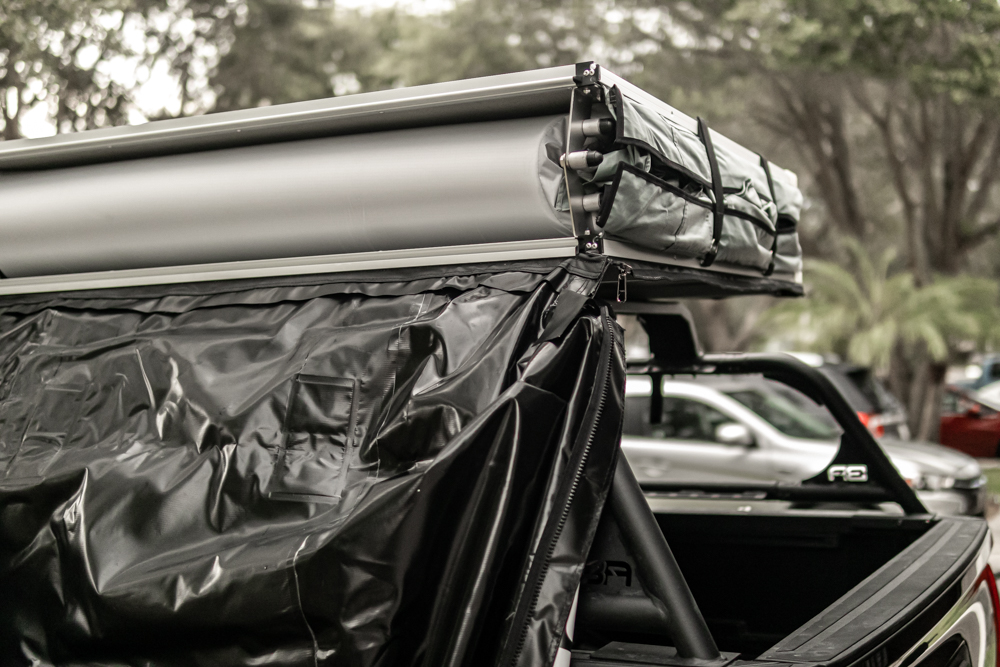
Once you have the zipper piece fed around the other three sides, you can flip the cover over the top. Now, you will need to zip the cover all the way around. After the cover is zipped up, make sure to secure the Velcro pieces on the corners of the side with the hinges.
Finally, throw the hook and loop straps over the top and secure them on the other side. At this point, it should be completely secured and installed.
Final Thoughts

This is a fantastic budget rooftop tent option for your Toyota Tacoma. It is made out of the same durable materials that the expensive brands use and looks much better, in my opinion.
My initial impression is that it is very well-built for the price range. I really like that it comes with a rain fly and a window on top to do some stargazing at night. This one is on the smaller side, so it’s perfect for the solo camper or a couple of average-height people.
Be sure to look out for the full overview article of this rooftop tent to learn all about its features and why it is one of the best entry level setups on the market.
Hello! I just got one of these and I’m camping in it for the first time this weekend. What are the red straps for that come off the center? I can’t find anything about them in the instructions it came with. Thanks!
Yes, same thing last week. I wrote to maker about “red straps” and today they replied, doesn’t make much sense to me since they’re riveted to the internal frame with just one rivet and straps aren’t very big but I’ll see when I mount the tent on top of my truck, “ The red straps are included to be used as grab handles to assist you in setup and entering and exiting the tent.”
It’s been a few years now since you’re install, still a good tent? How’s it holding up? Also, you have the body armor rack, what was the spacing on the mounting? Looking to mount it on a different brand rack, just trying to make sure I’ve got the spacing right or if I need to dab it at all.
I’m in Canada. I need a replacement bag and ladder
I looked at their website yesterday to get some info about the tent and they have an option to request spare parts or replacement parts. Use their contact page: https://www.bodyarmor4x4.com/contact/
Hi Dave. I would contact Body Armor directly. We do not actually sell their products. Try and find a contact number or email on their site.