
There are a healthy amount of mods in the overland world that expand the storage capabilities of your rig. As a Tacoma owner, one of the first things I looked into was a bed rack. They make organization easier and add multiple mounting points for accessories. As we all know, overlanders love their accessories!
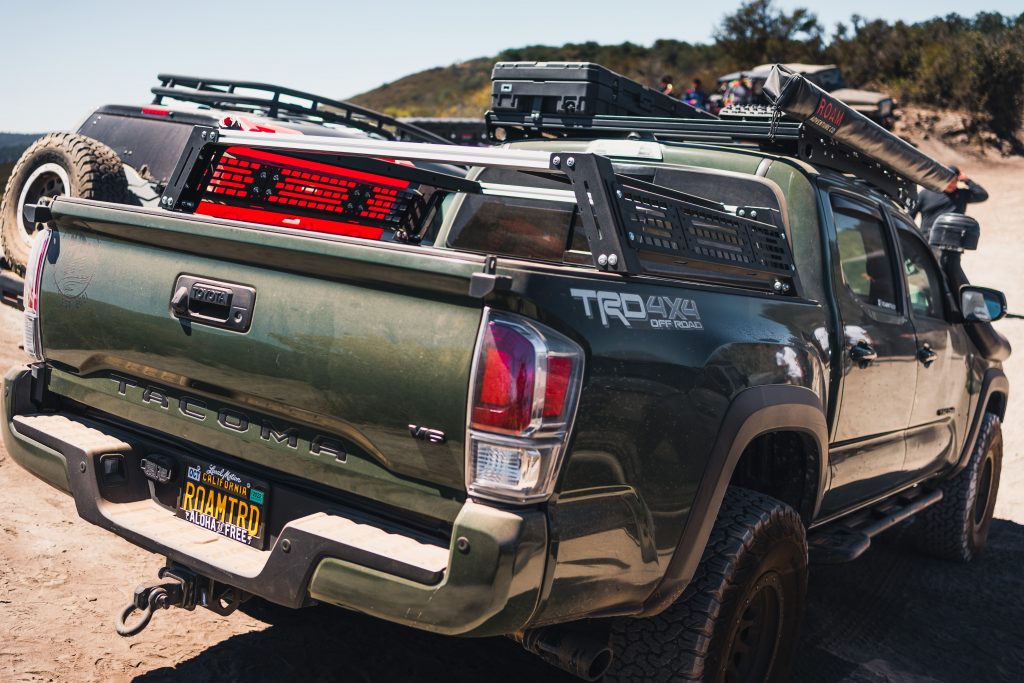
I’ve gone through multiple bed racks to find the right height and feature combination that worked best for my style of overlanding. The rig has had both a full-height rack and a low-level bar system. Now, I think I’ve found the sweet spot with the Cali Raised LED Overland Bed Rack. This mid-height rack has tons of features and is easy to install on your own. I’ve got the accessory MOLLE panels and the recovery board mounts too.
This post should provide you with a great reference point to learn more about how this system works. I’ve also linked my videos at the end of the post.
Find It Online
- For 2nd & 3rd Gen Tacoma: Check Price
- Side Molle Panel: Check Price
- Recovery Board Mount: Check Price
Table Of Contents
Installation
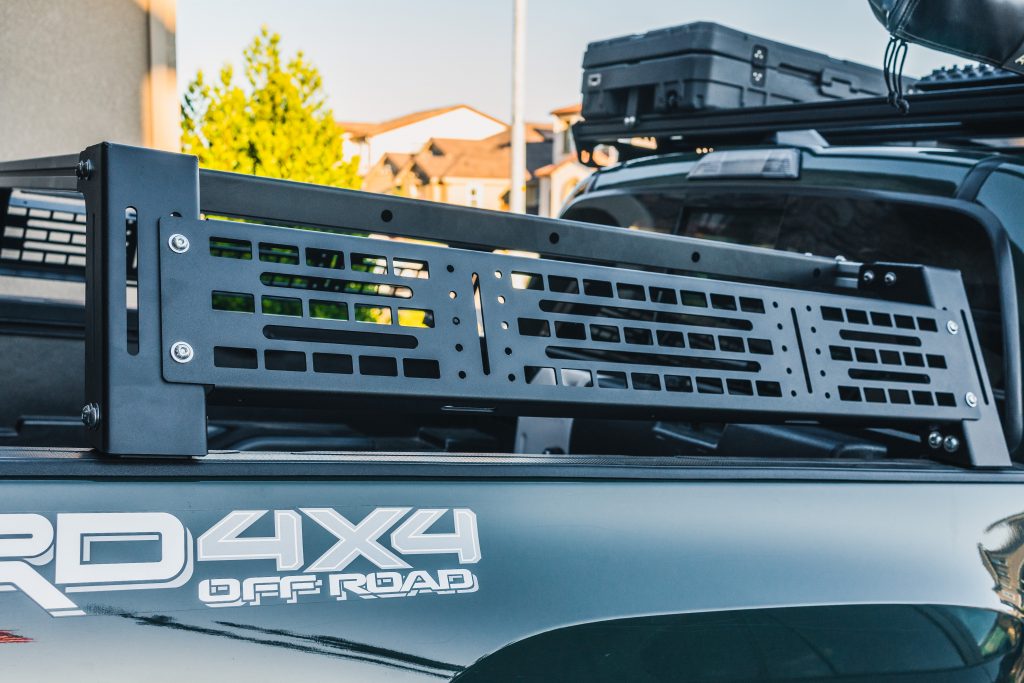
The Cali Raised LED Overland bed rack features two side MOLLE panels with predrilled holes for commonly mounted accessories like RotopaX and two vertical middle load bars.
The two middle load bars (oriented front to back) are unique. In most cases, the primary load bars are oriented side to side. With this rack, however, both sets of bars can be used to mount accessories. Every bit of space on this rack has a channel or optional panel where you can mount something.
This roof rack has a massive weight capacity, coming in at around 1,100 lbs! It comes with all the hardware needed to install, and like all Cali Raised branded products, an excellent 2-year warranty is included.
While I’m running the mid-height bed rack (10″ tall), Cali Raised offers two other heights as well – 7″ and 17.5″. Being able to choose from three different sizes is a significant benefit. And as a final point, they make them for short and long beds.
Required Tools
- Standard toolbox
- Basic hex key set
- Basic Torx key set
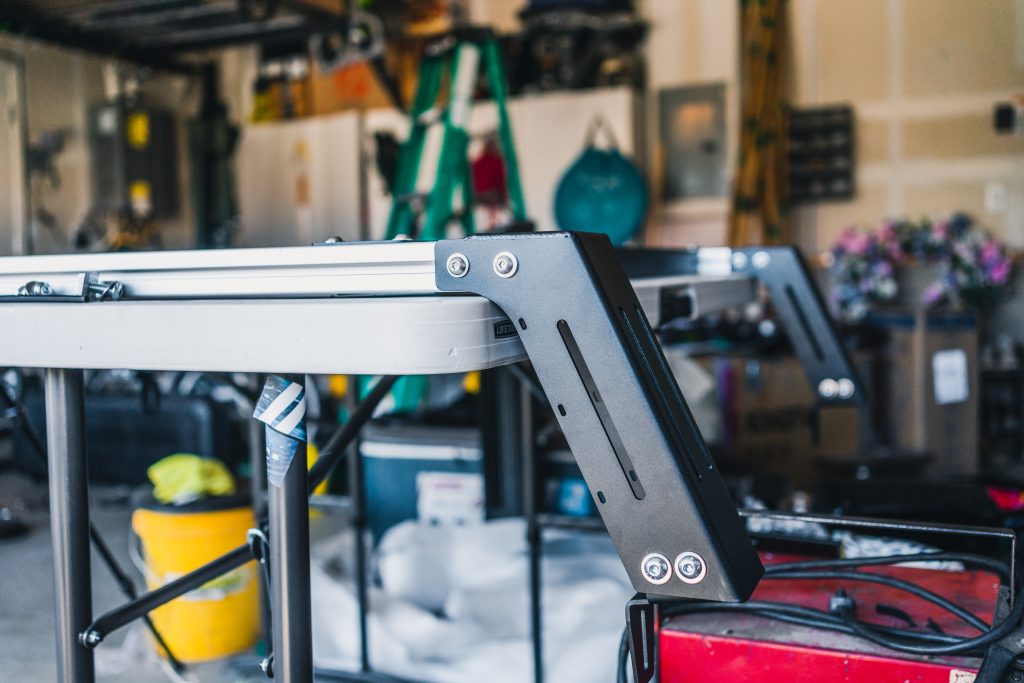
Step 1. Attach Feet To Support Beams
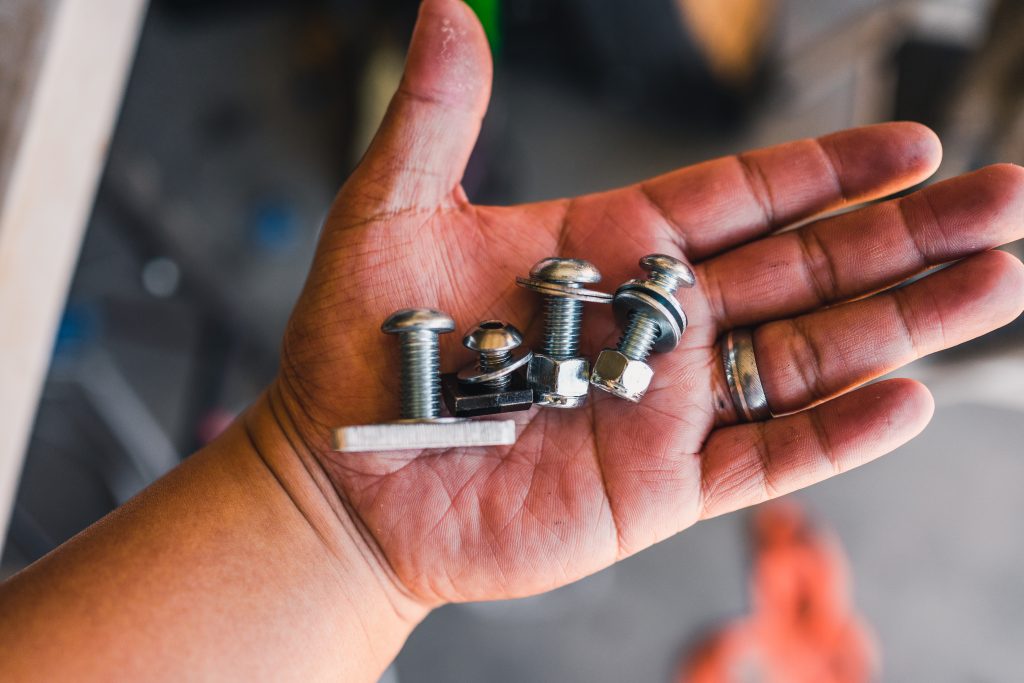
There are four different combos of nuts, washers, and bolts.
From left to right: bed track nut and bolt, extrusion bar track nut and bolt, bigger nut and bolt combo, and smaller nut and bolt combo.
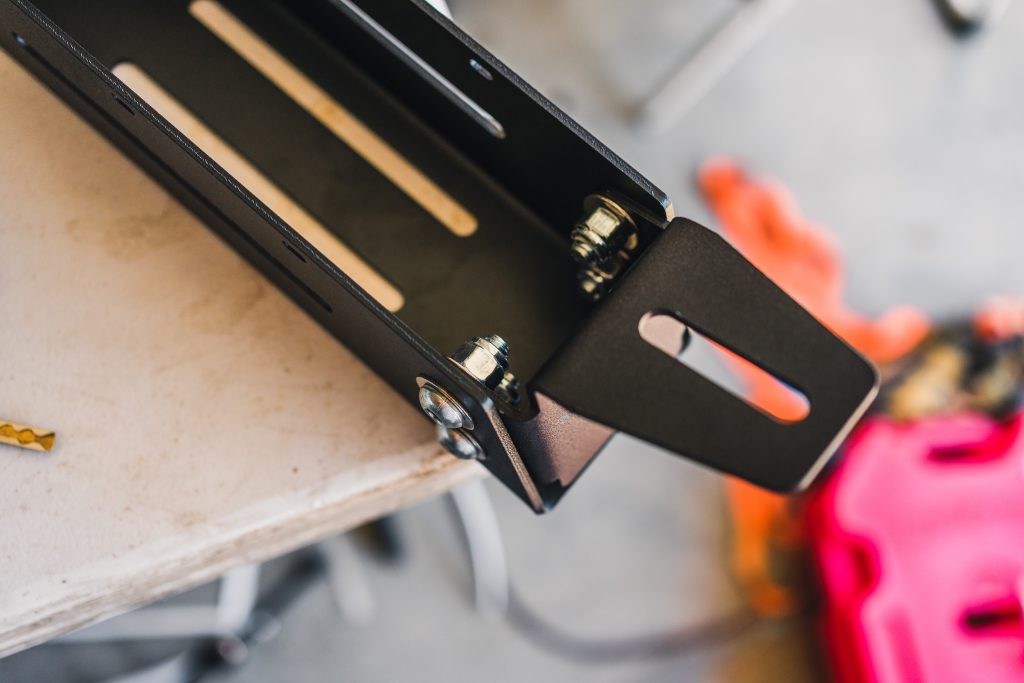
Using four of the larger nut bolt combos, attach a foot to the bottom of a support beam.
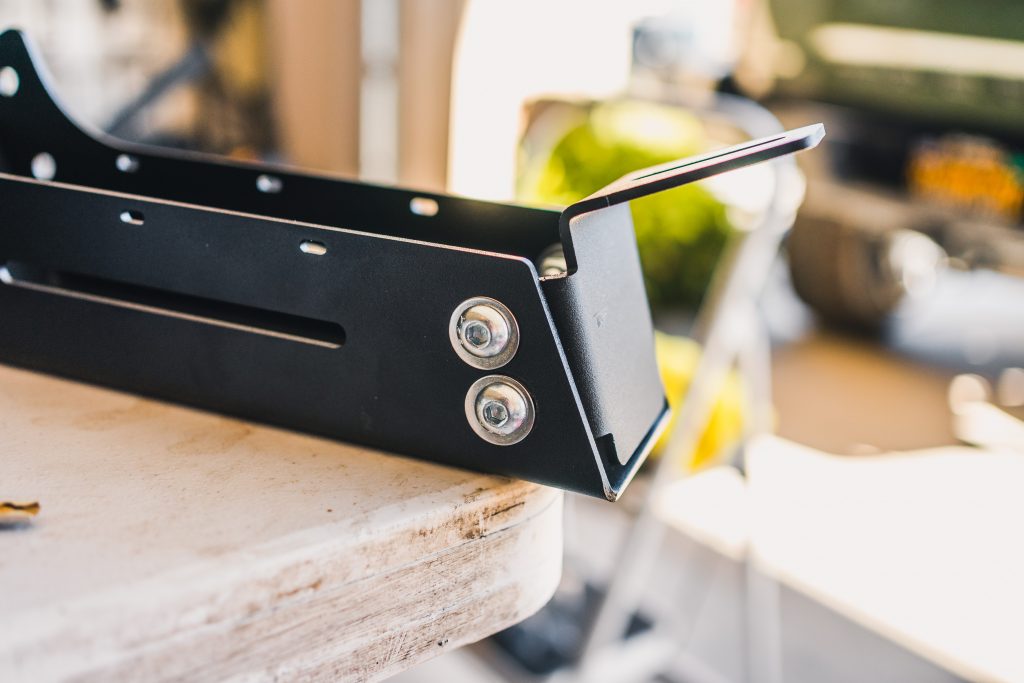
The foot should be positioned like in the photo above. Leave the nuts and bolts loose enough to move the feet until you have the rack built out. You’ll want to adjust this later so that the feet sit flat on your bed.
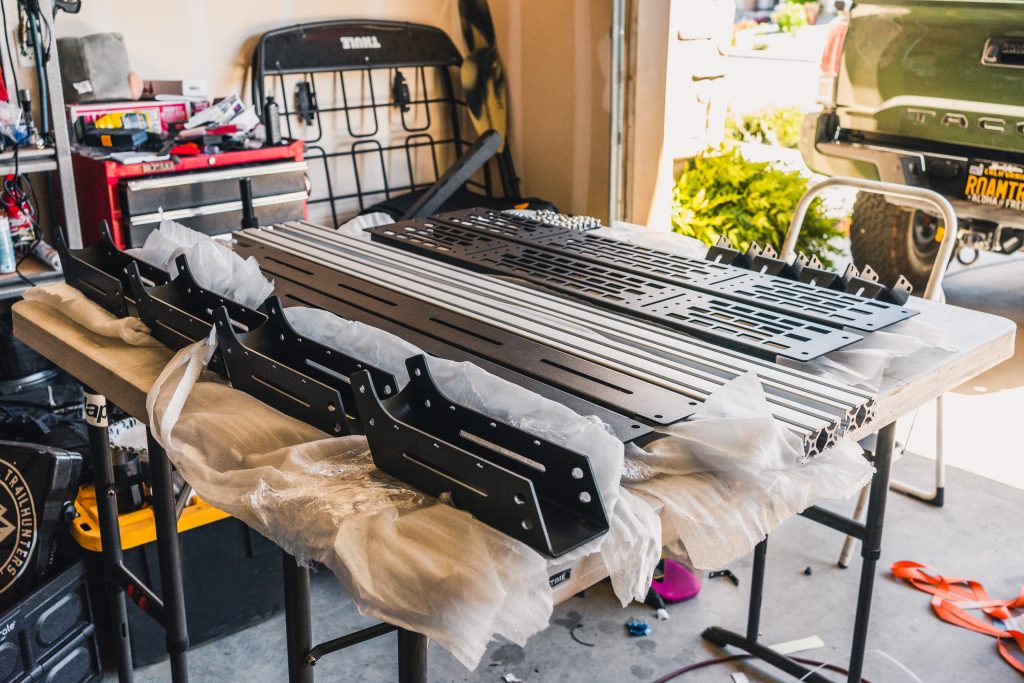
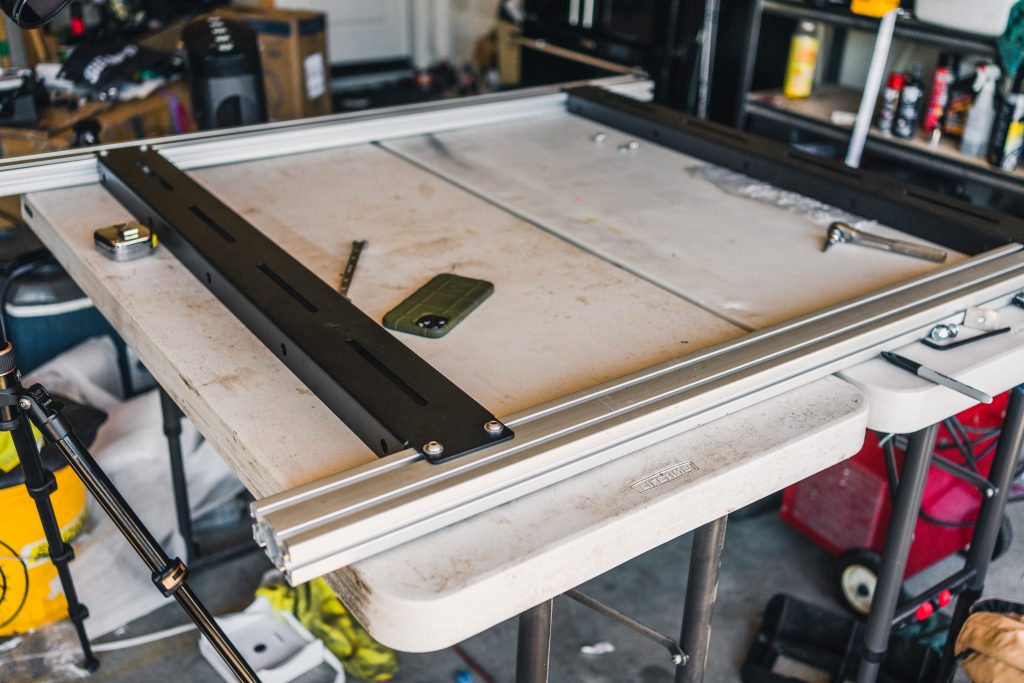
At this point, you have the option of setting the rack up using a table like I did or attaching the support beams to the bed track and building the rest of the rack above it. It was 100+ degrees outside, so I decided to build the rack in the garage and drop it onto the bed later.
Step 2. Connect Load Bars
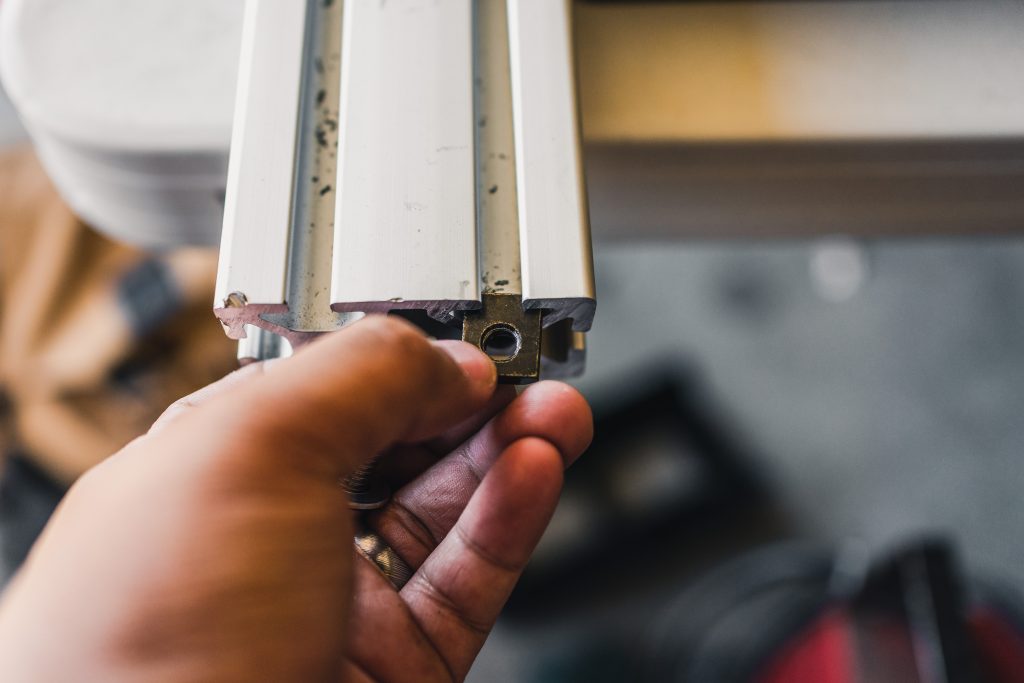
Slide the black track nuts into the top of the horizontal load bars. Eight in total will be used.
I measured out the distance to the edge the vertical bars could be not to interfere when mounting the support beams. This can be easily adjusted later. Tighten down the corresponding bolts as shown above.
Also, the top of the vertical load bars is flat, and the bottom is a U shape. Keep that in mind when attaching the support beams if you’re doing this on a table.
Step 3. Mounting Support Beams
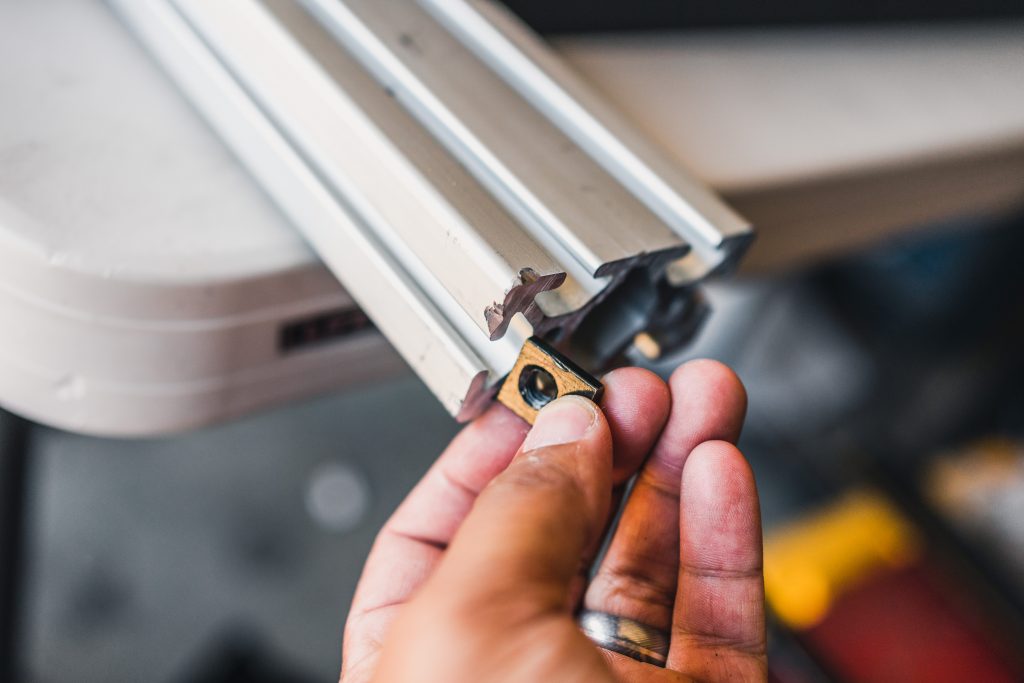
Slide track nuts into the side of the horizontal load bar. 16 total will be used, 4 per leg.
Attach the support beams to the load bars. If you’re doing this with the beams already installed on the truck, you can tighten these bolts down.
If you’re doing this on a table. Leave the nuts slightly loose so that when you transfer the rack to the bed, you can adjust and tighten it.
Step 4. Mount Rack To Bed Rails
Move the rack to the bed and position it to about where you want it to sit after installation.
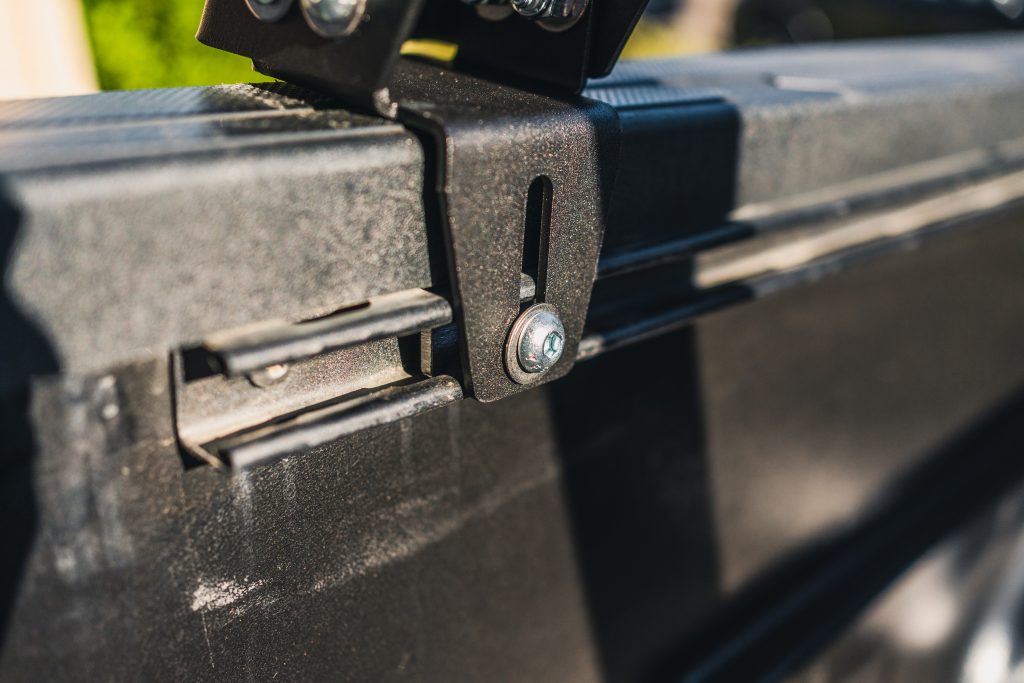
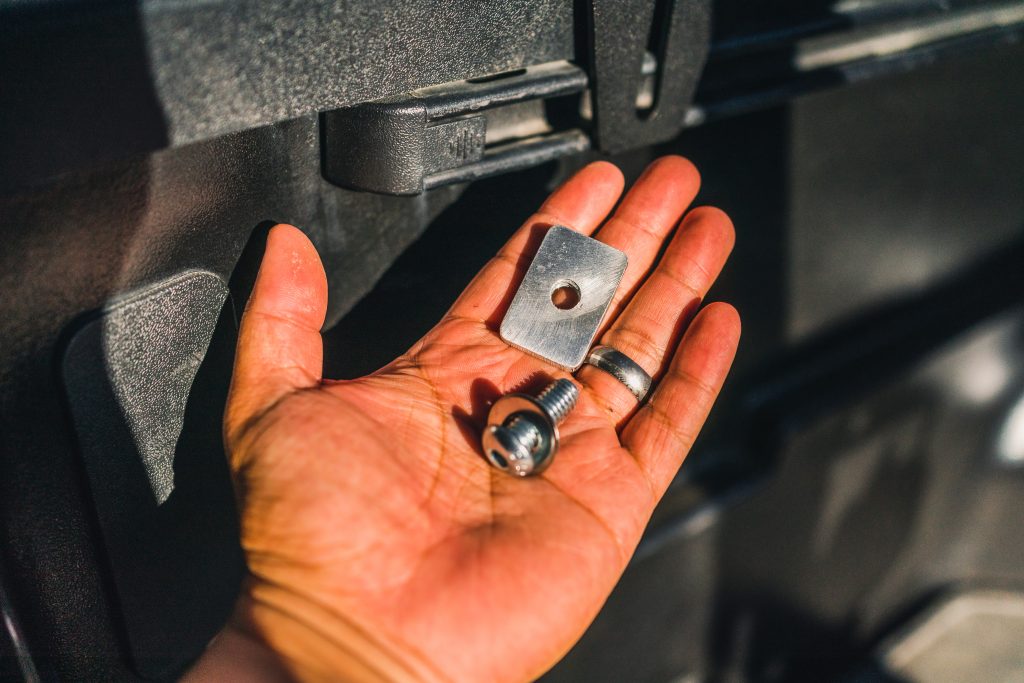
For this part, you’ll use the bed track nuts to mount the rack.
Remove the corner plastic pieces of the bed track. Slide in a bed nut per side and connect the corresponding bed bolt. Leave lose until all four are attached. Adjust the final position of your rack and tighten it down.
Step 6. Mount Side Panels
The side panels attach using the smaller set of nuts and bolts. There are four total nut and bolt combos that attach these to the support beams, as shown above. The panels are adjustable by about an inch up or down.
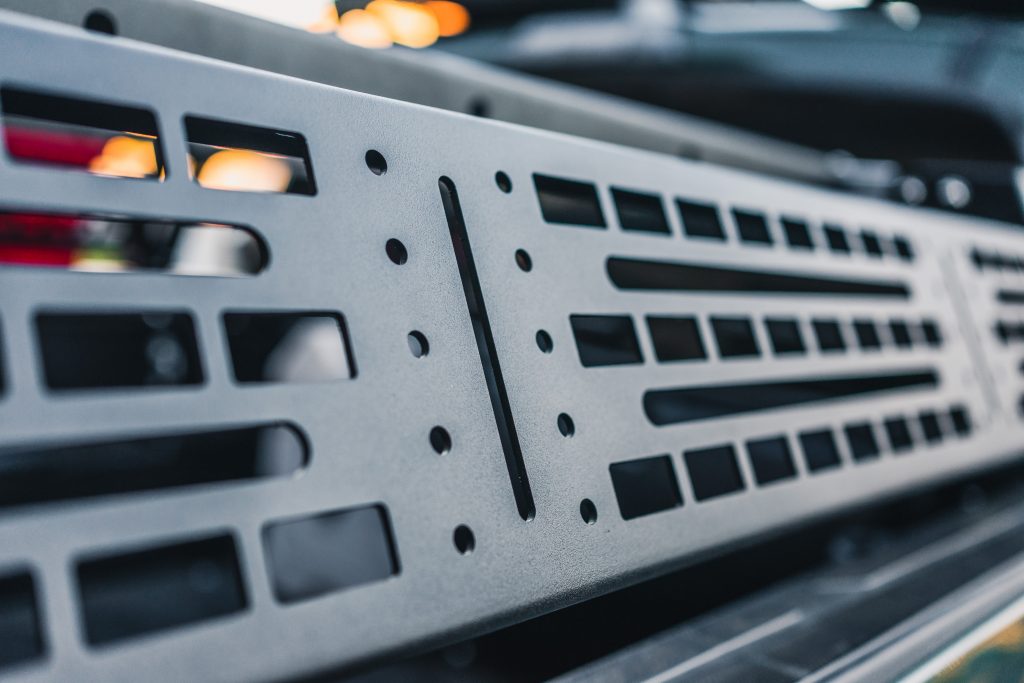
The side panels of the Cali Raised LED overland bed rack have predrilled holes for mounting common accessories.
Step 7. Attach Your Accessories
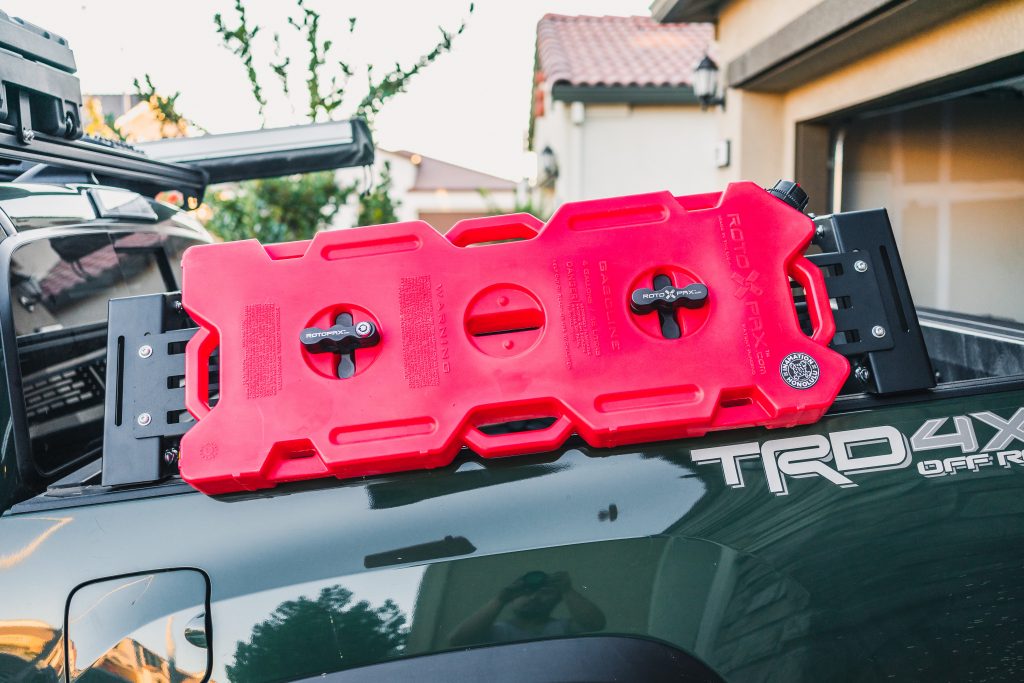
With the predrilled holes, it was pretty straightforward mounting my RotopaX. All that’s needed is to insert the mounts where you want the Rotopax positioned and tighten them down.
Installing Recovery Board Mount

Step 1. Mount Recovery Board Bolts

Start by installing the long recovery board bolts as shown above. Note the positioning of the bolt. Do the same with the other four bolts.

Leave these loose for now, they will need to be adjusted later.
Step 2. Attach The Mounts to Your Rack

Take the remaining short bolts, nuts and oval spacer and position the mount as shown above.

Install the top bolt with a washer, take your oval spacer and place it behind that bolt, then take your nut with a washer and tighten it down. Then follow up with the second bolt. Leave loose for adjustments later and do the same for the other mount.
Note the positioning of the mount. The side with the long recovery board bolts should be pointed inwards.
Step 3. Mount Your Boards

Take your recovery boards, line them up with the bolts, and mount them.
Step 4. Tighten Board Knobs

I had to shave off a bit of the spacers that were provided because they were too long. Put the spacers on the mounting bolts measure, and see how much you need to cut. Depending on what boards you’re using, you may not even have to do this.

Tighten down all of the knobs.
At this point you can adjust the horizontal and vertical positioning of the boards then tighten all of the nuts and bolts you left loose.
Final Thoughts
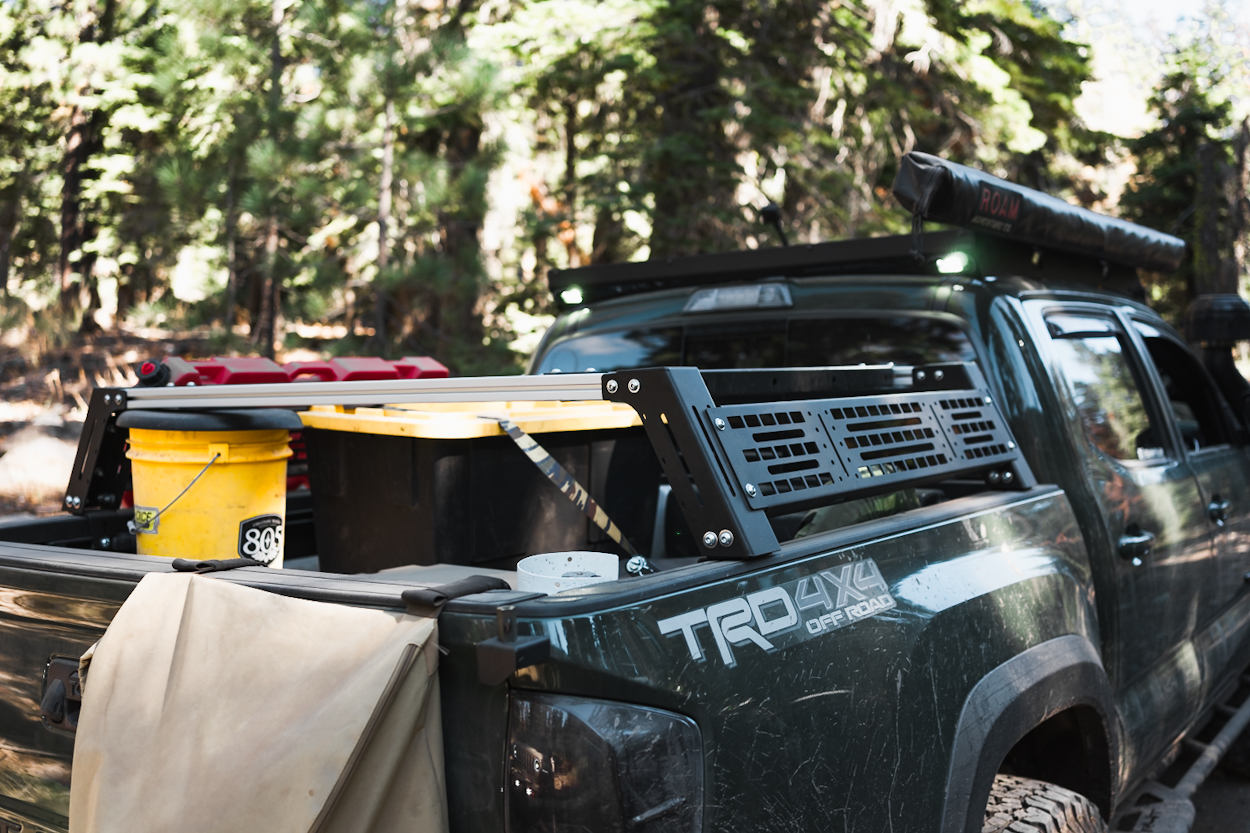
The Cali Raised LED Overland Bed Rack has been a great addition to the rig; it’s much more sturdy compared to the other options I’ve run on the rig. I’ve also taken it on a few trails so far, and it’s held up nicely! I haven’t noticed any squeaking noises, and it doesn’t sway back and forth as I’ve noticed on some of my older racks.
Attaching my RotopaX was a breeze. The recovery board mounts made mounting the boards less of a headache and put them in a much easier to get to position when I need them.
What makes Cali Raised LED unique is how many products they fabricate in-house. That means that everything from your bed rack to your roof rack can have a similar fit and finish. That’s a big deal if you’re going for a clean look for your build. More to come!
