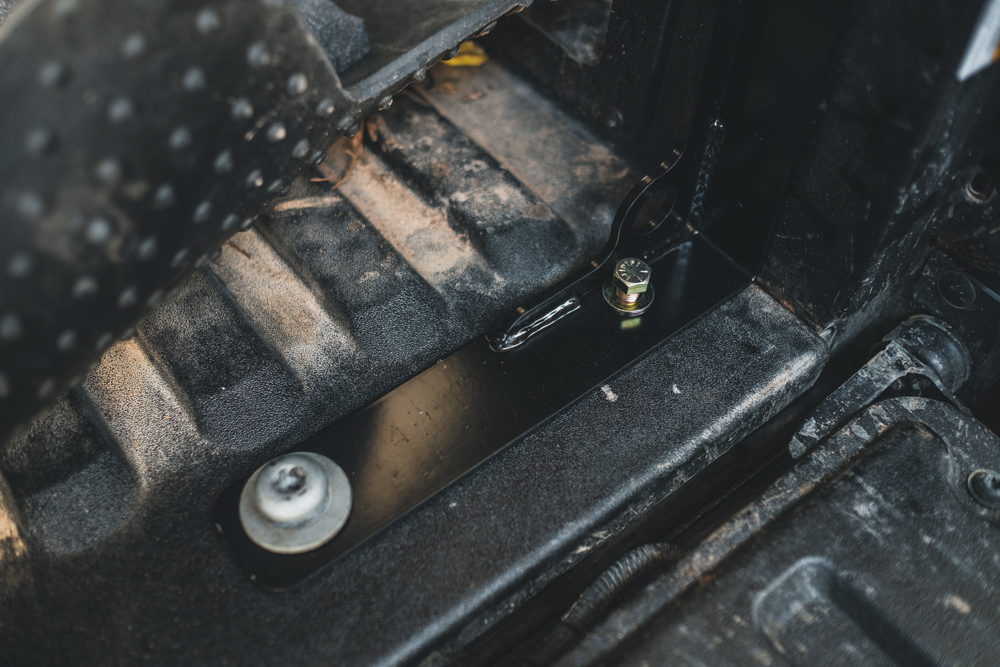
What are bed stiffeners and what do they do? Do you need them for your Tacoma?
This modification does exactly what the name shows, stiffen the bed of your Tacoma to prevent excessive flexing. The bed on the Tacoma is made of composite and can crack. This mainly occurs because of the flex from hard off-roading or the constant weight of a hard shell, bed rack and/or rooftop tent.
The way to solve this issue is to install a pair of bed stiffeners. Bed stiffeners are L-shaped brackets and are usually made out of steel, helping to reinforce the rear of the bed, therefore reducing flex. I place them near the rear of the bed, toward the taillights. This install will require drilling and the use of factory bolts.
Find It Online
- Total Chaos Bed Stiffener: Check Price
Tools and Materials
- Power drill
- 5/16” Drill bit
- T-55 and T-40 Torx socket
- 5/8″ Socket
- 1/2″ Socket
- 10mm Socket
- 1/2″ Wrench
- 3/8″ Drive ratchet
- 1/4″ Drive ratchet
Table Of Contents
Installation Guide
Step 1. Remove Tail Lights

After lowering the tailgate, locate the bolts (circled in green) to remove the taillights.

You may keep the taillights connected to the harness, but make enough room to get your hand behind them.
Step 2. Remove Bed Mount Bolts

You will now need to remove the bed bolt and D-ring located on the floor of the bed.

The bolt (circled in green) near the upper portion of the bed will also need to be removed. You will be reusing these bolts with the exception of the D-ring.

Once the bolts are removed, take this time to clean up any debris so there are no obstructions when installing the bed stiffener.

Pro tip: When removing the D-ring, remember to keep the order of washers in line. They will need to be placed in the same order when installing the bed stiffener.
Step 3. Bolt Up Bed Stiffener

After removing all necessary bolts, you will then bolt up the bed stiffener. You will reuse the original bolts you removed in step 2 with the exception the D-ring.

The D-ring will not be reused. In place of the D-ring, you will use the provided 5/8 bolt and washer with factory washers from D-ring. Remember to keep the same washer order.

Bolt the upper portion of the bed stiffener to the bed using the OEM bolt you removed earlier.
Step 4. Start Drilling

Once you have everything bolted up, you will need to drill the remaining 3 holes to install the rest of the provided hardware. You will be using the bed stiffener as a guide as you drill toward the taillights.
When all the holes are drilled, I recommend cleaning up all the metal shavings so they don’t cause any injuries.
Step 5. Secure Final Bolts

Now that all the holes are drilled, it’s time to bolt everything up. When installing the remaining hardware each 1/2-inch bolt will have two washers. One washer on the head side and the other on the nut side.
The bolts will be installed facing out, toward the tail light. You will need to use a 1/2-inch wrench on the opposite side to tighten the locking nut.

Step 6. Torque Everything
The final step is to torque everything down and reinstall the taillights. The taillights do not need to be torqued down very much, if you overdo it, you might break the plastic on the light. Be careful not to over tighten due to the tail lights being plastic.
- T-55 Torx bed bolt – 60 ft/lb
- 5/8-inch bed bolt – 50 ft/lb
- 1/2-inch side bed bolt 18 ft/lb
- 10mm upper bed bolt – 10 ft/lb
Final Thoughts

There you have it! This is a quick and easy modification that can prevent costly repairs and provide you with peace of mind.
With having the constant weight of a bed rack and rooftop tent combination, I will no longer have to worry about the bed having the potential to crack. Not only does the Total Chaos bed stiffener help reinforce the bed, but it also provides additional tie-down points.


