

One of the reasons why I bought a Tacoma over something like a 4Runner, was specifically for the bed. I can haul a bunch of stuff and keep trash and trail waste outside of the cab. This keeps the inside of my truck nice, clean, and smell-free. However, with a basic OEM bed, all I could really do was slide things in and let them bounce around.
Personally, I like to have molle panels on pretty much everything; I love modularity. Being able to mount and move things around to my needs is a huge plus. When I learned about these Cali Raised LED molle panels for the bed – I knew they were a perfect fit for my truck. Stick around till the end if you want to see the YouTube video I made for these.
Find It Online
- Cali Raised LED Bed Molle Panel For 2nd & 3rd Gen Toyota Tacoma: Check Price
Table Of Contents
Molle Panel Overview

The Cali Raised LED molle panels will give you a quick, sturdy, and easy way to mount your accessories in any way you want. Mounting storage boxes, Rotopax, WaterPorts, axes, shovels, really anything becomes an easy task. These panels also utilize all of the unused space above the wheel well, which is nice. Installing them is a breeze too; it should only take you about 30 minutes to an hour with minimal tools.
On a related side note, if you’re looking for an excellent way to mount your gear and accessories to your panels – check out the R4T MolleMounts here. They work perfectly with Cali Raised molle panels.
Required Tools
- Standard toolbox
- Basic Allen set
- Basic Torx set
- T55 Torx for the bed bolts
- Breaker bar (optional)
Step 1. Assemble Panels
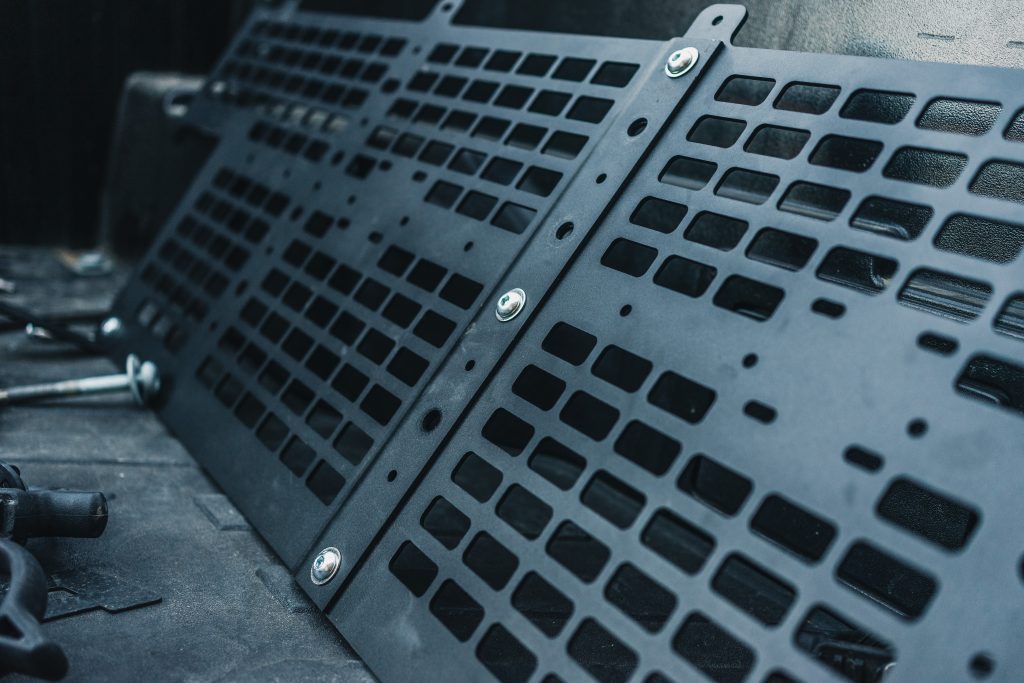
You will want to assemble your panels before you install them onto the bed, trust me, it’s easier to do this first. Connect the left and right sides of the front molle panels with three of the provided nuts, bolts, and washers.
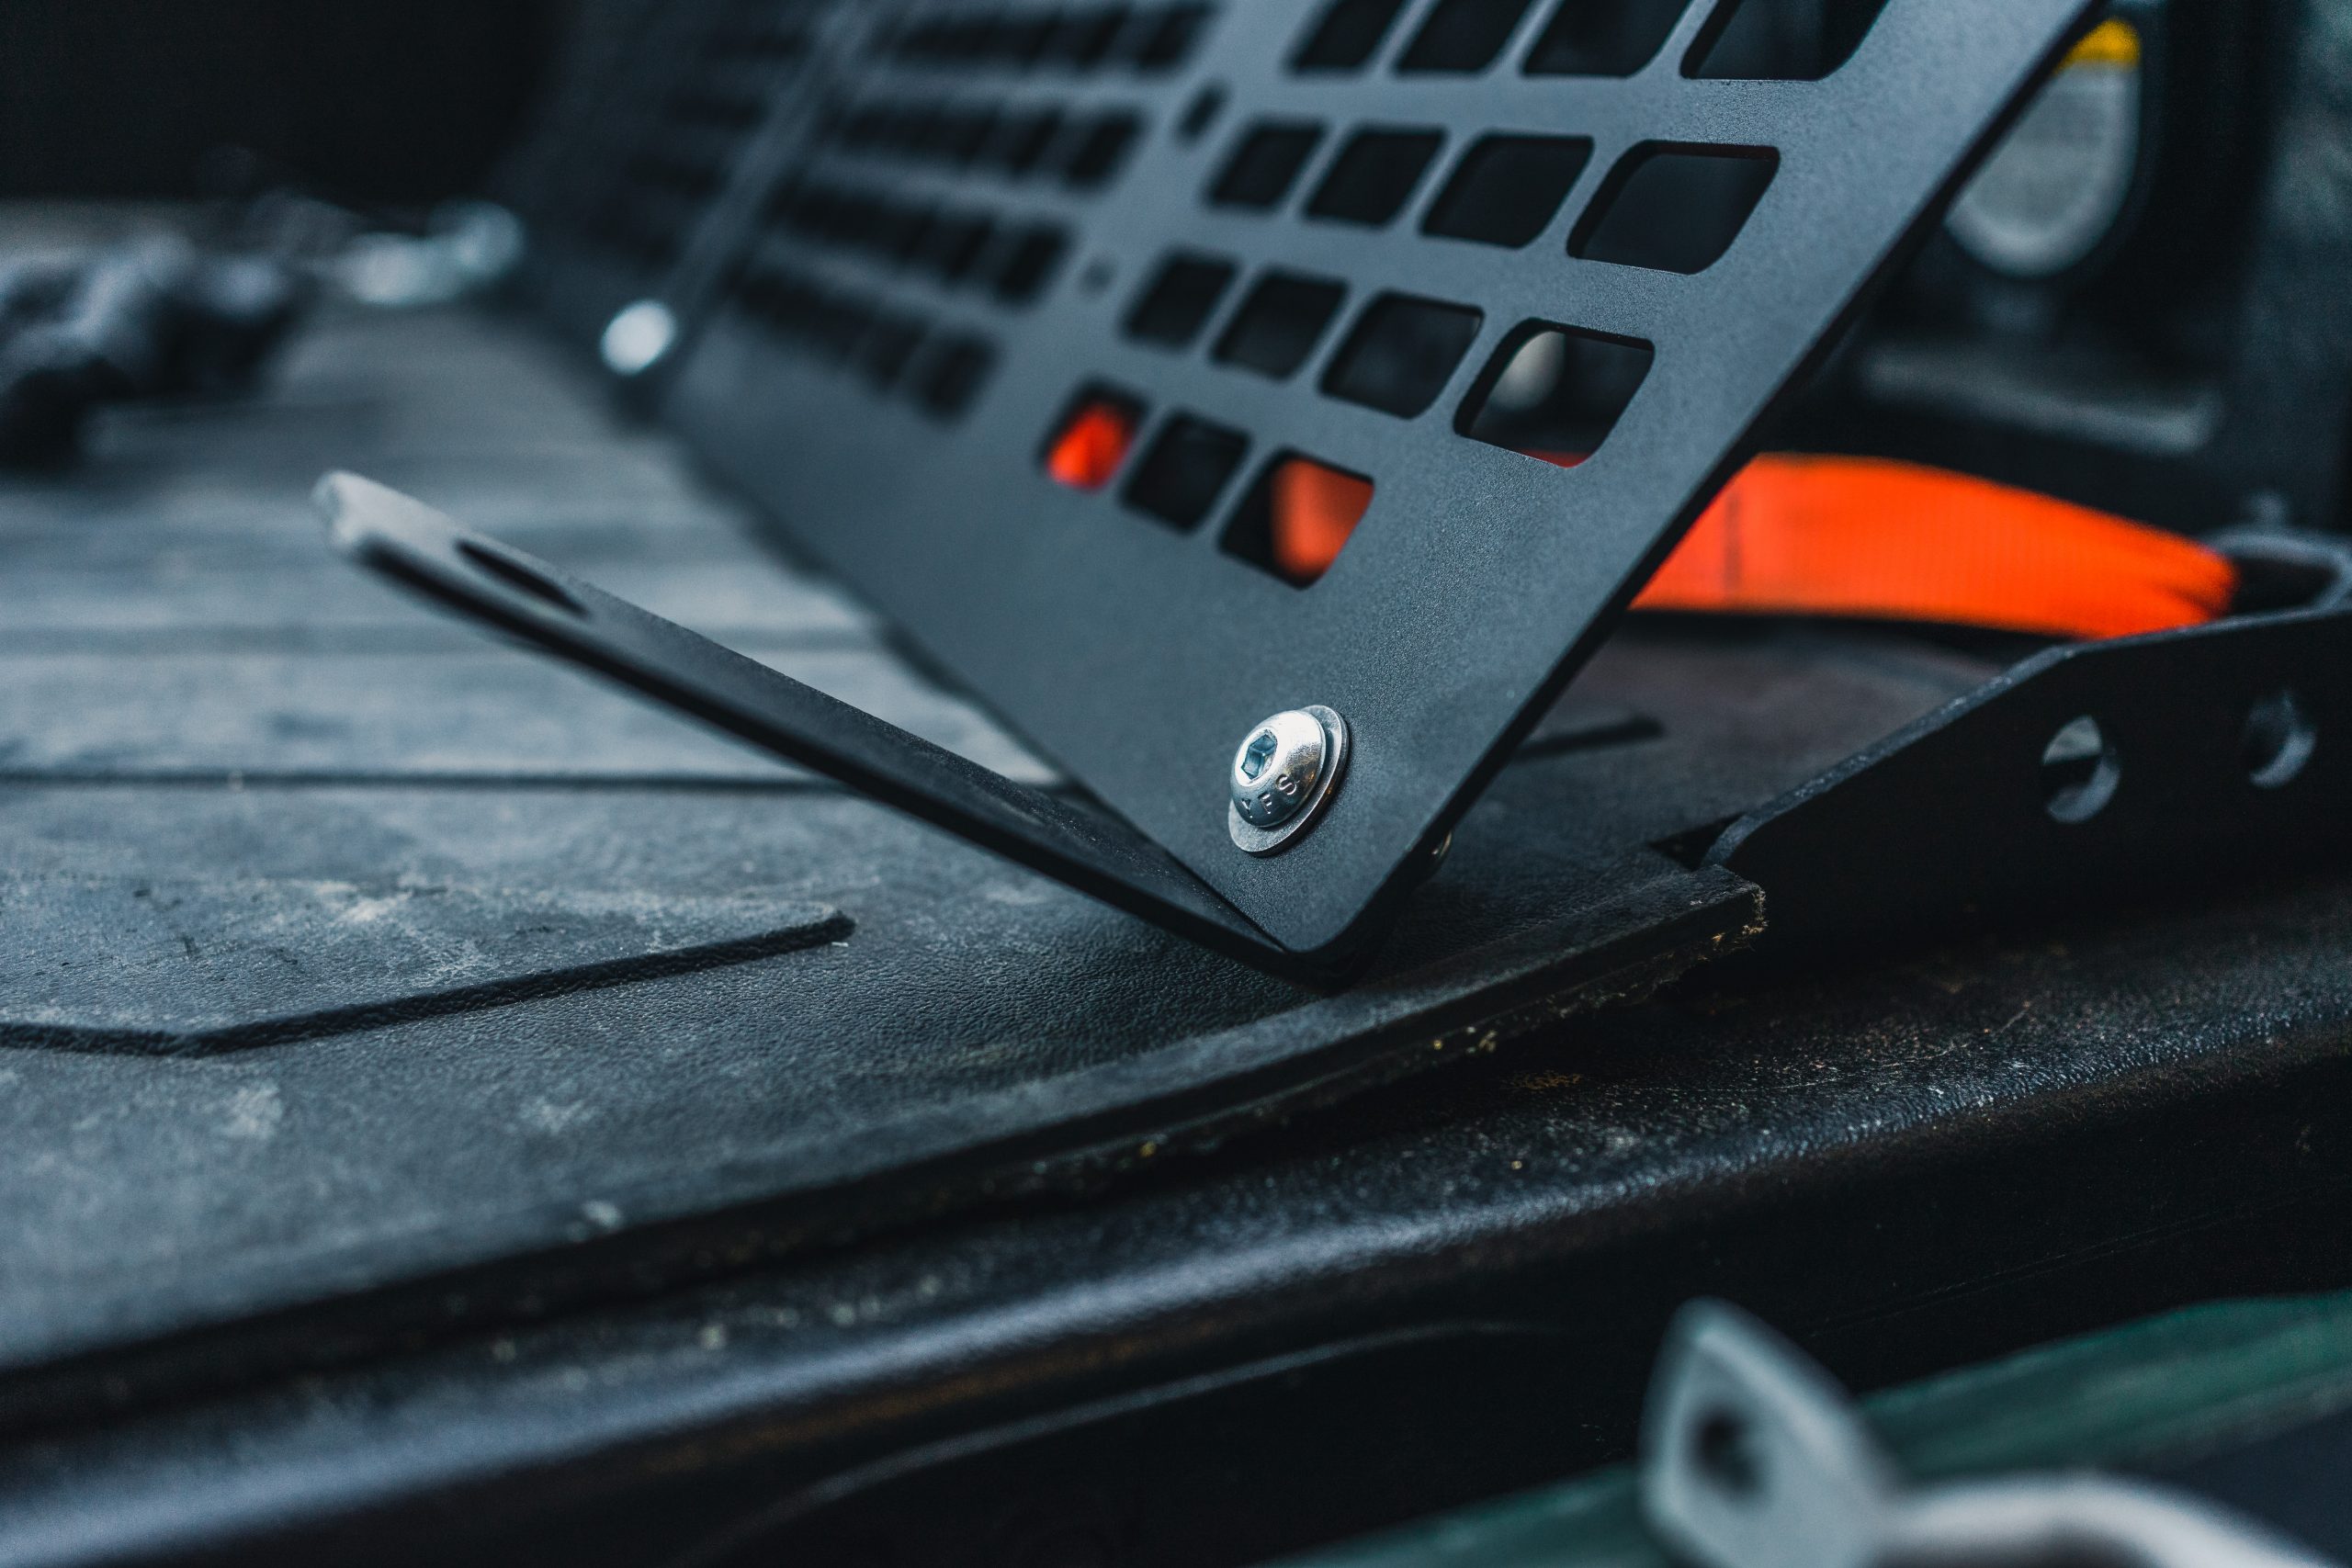
You will need to attach two L-brackets to the front molle panel; these will be on the bottom left and right side. These brackets attach to your OEM bed bolts.
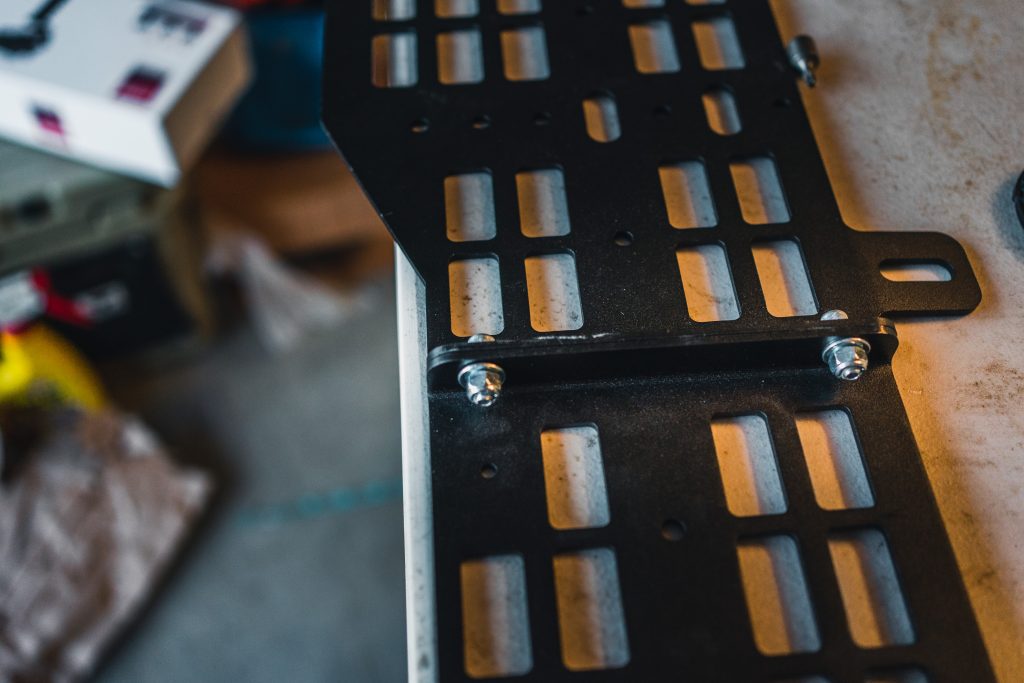
As for the passenger or driver panel, whichever side you end up getting, they’re connected in the middle using two bolts, washers, and nuts.
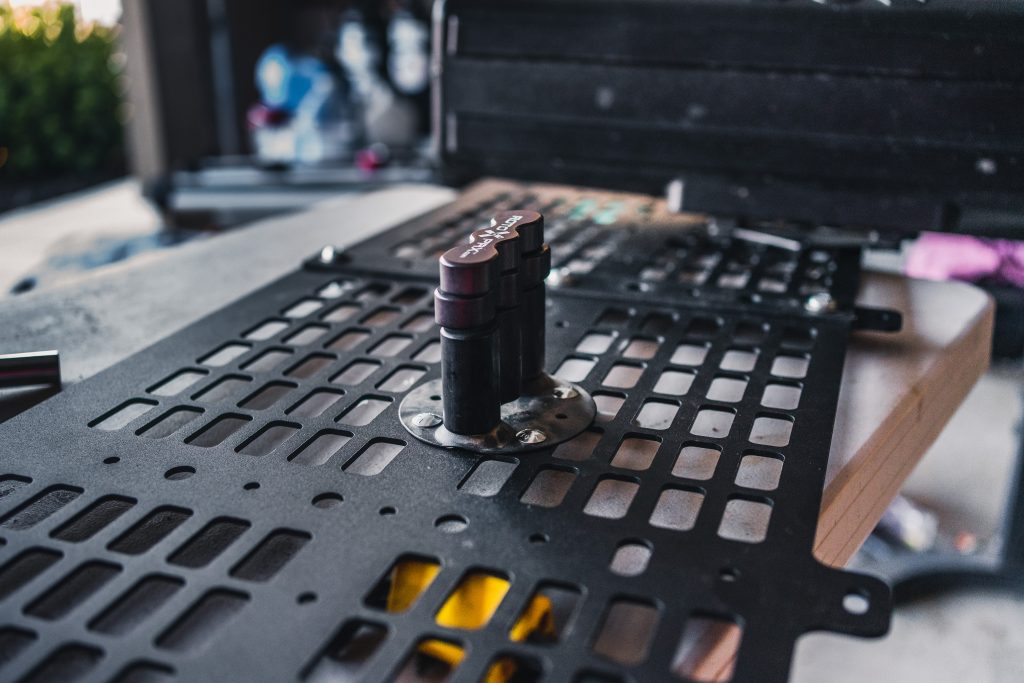
There are three rubber spacers you will need to install on the side panel. They are situated as seen in the image above.
Step 2. Attach Accessories
From here, you should install anything hard-mounted to the panels, like Rotopax, WaterPorts, storage boxes, etc. It’s extremely difficult to get behind these molle panels once they’re installed. If you want to hard mount something later, you’ll most likely have to take off the molle panel to attach it. There are pre-made mounting locations for Rotopax, but this is a molle panel, so wherever you want to mount something – you can if you really want to.
Step 3. Remove OEM Tie Downs
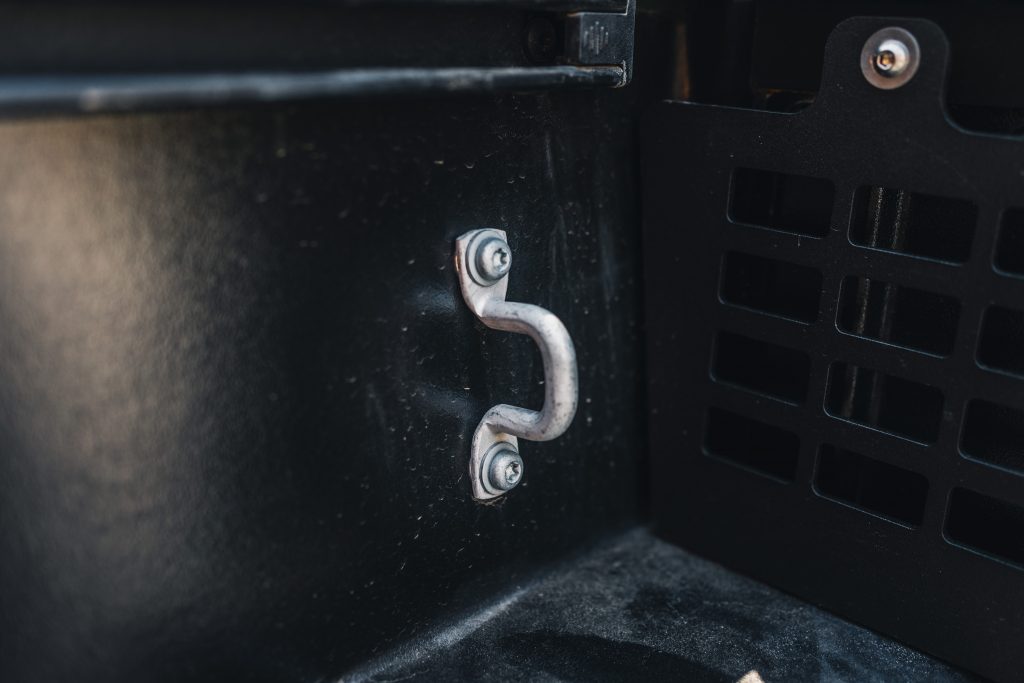
Whichever side panels you choose to run, you’ll need to take off that side OEM Tie down. This also helps give some room to install the front panel.
Step 4. Remove Bed Bolts
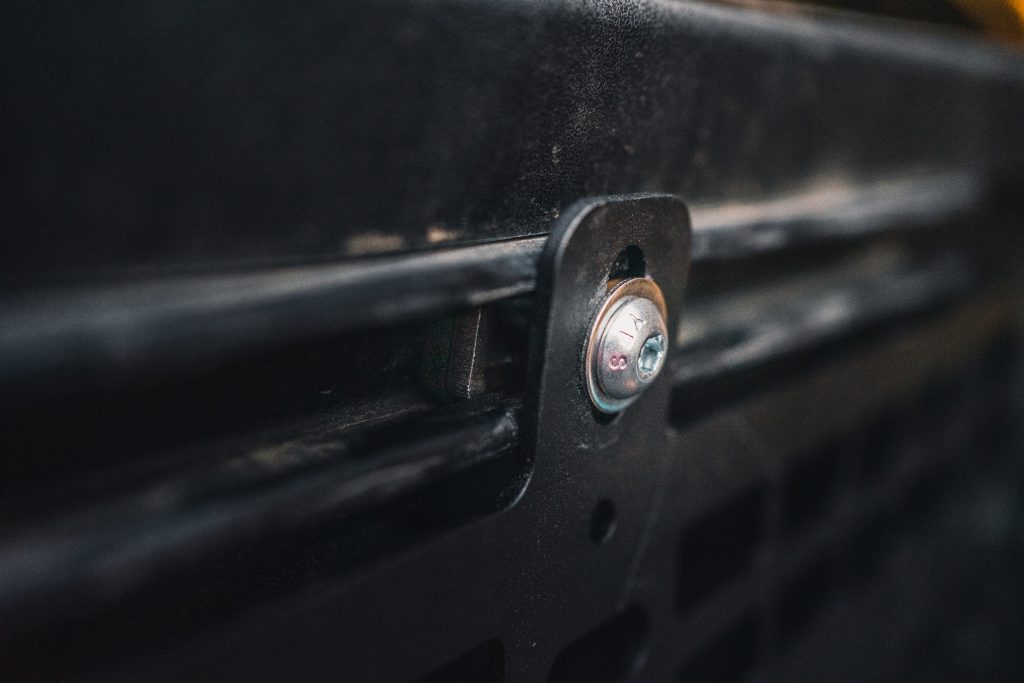
Remove the two bed bolts. You might need to use a breaker bar. One of my bolts was really stuck on there.
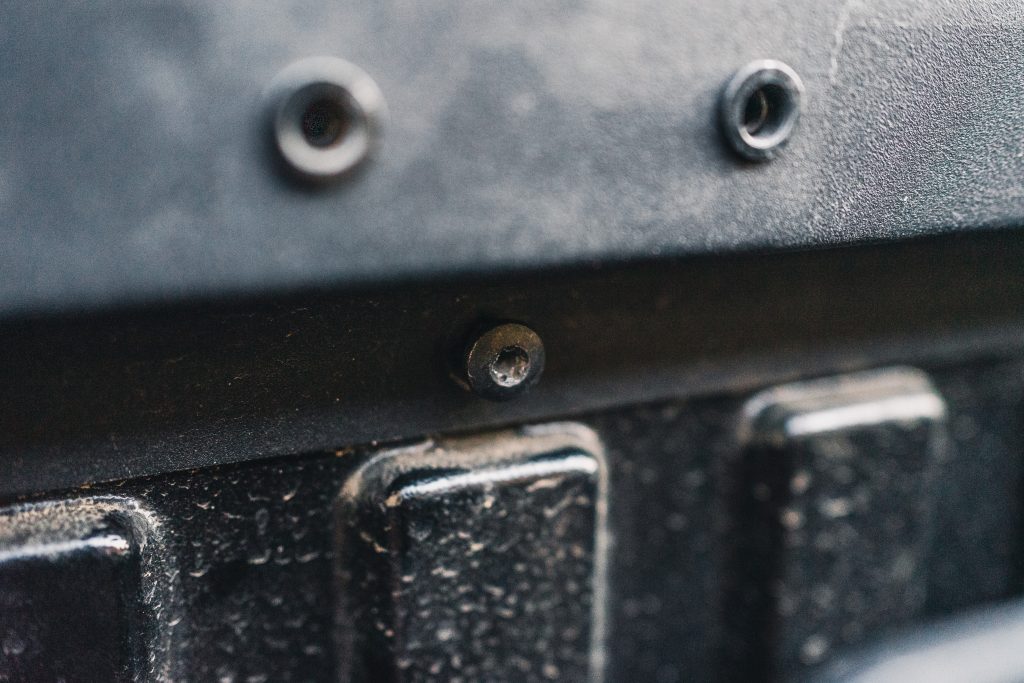
There are 5 Torx bolts you’ll need to remove from the top trim, be careful; once you remove all of them, the trim piece will want to fall off.
Step 5. Install Front Panel
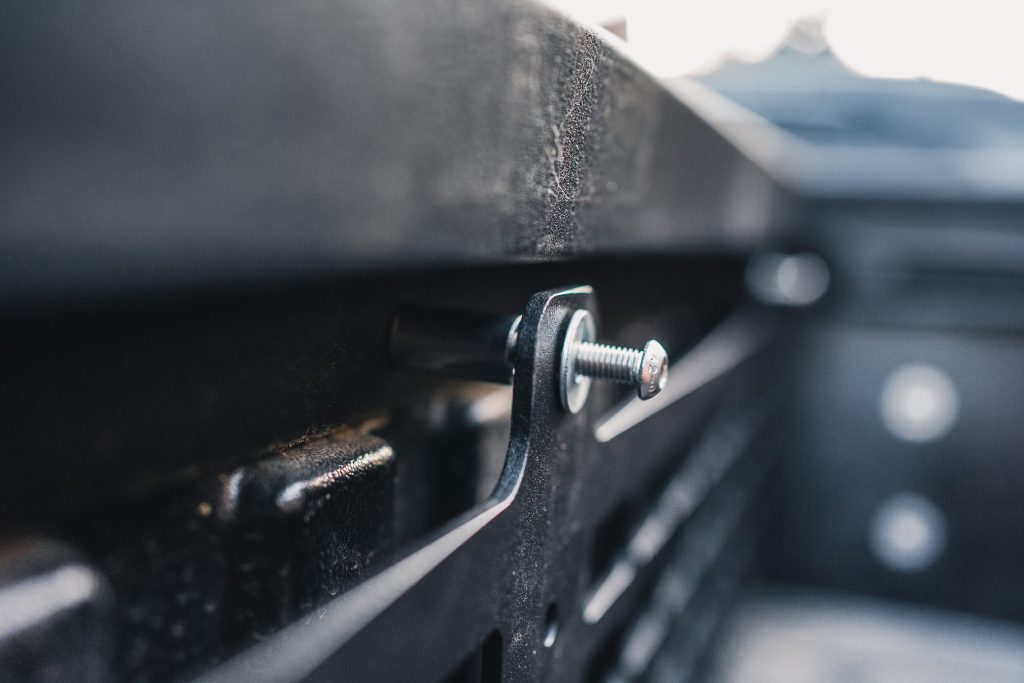
Carefully place the front panel into place and screw in the new hardware in place of the Torx bolts you removed. Place a spacer behind the molle panel and thread a bolt with a washer through as shown.
Using the OEM bed bolts, sandwich the L-bracket to the bed.
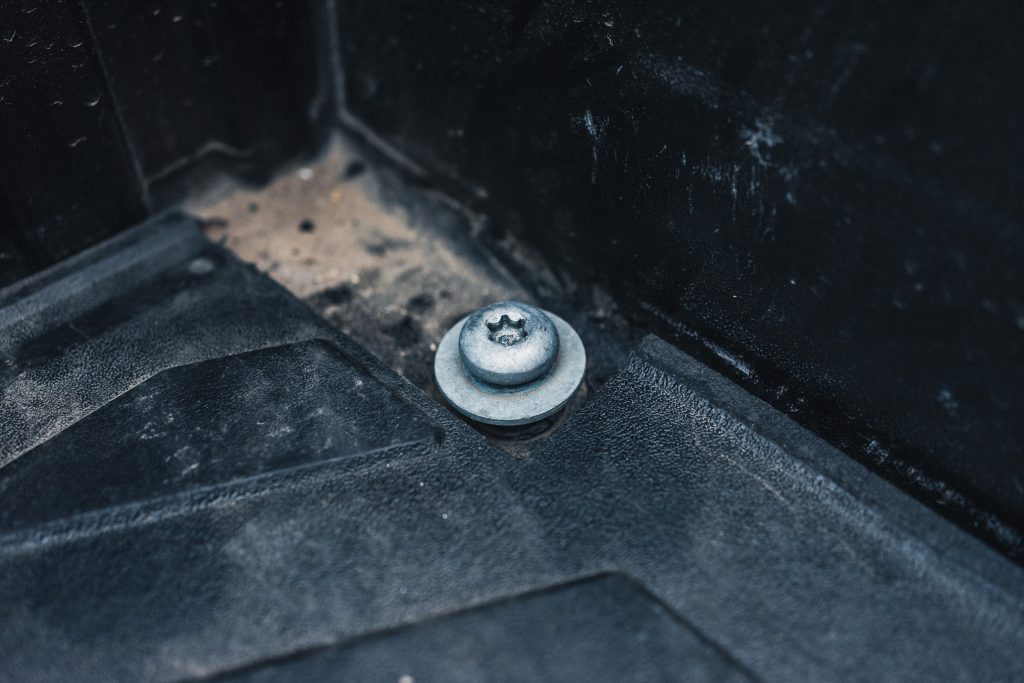
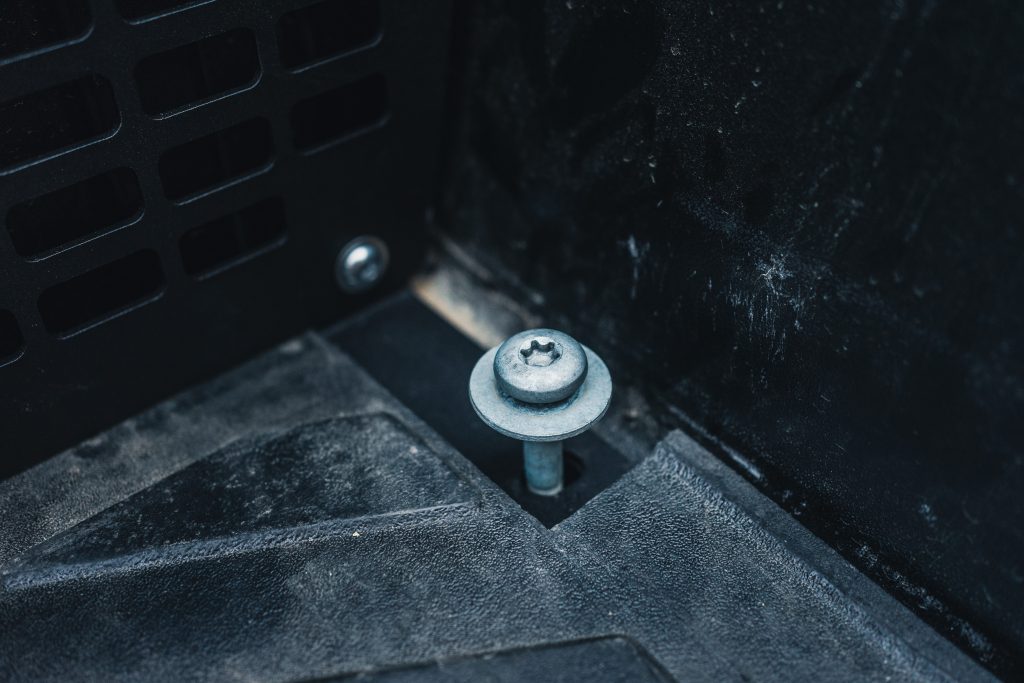
Step 6. Remove Cubby Bolts
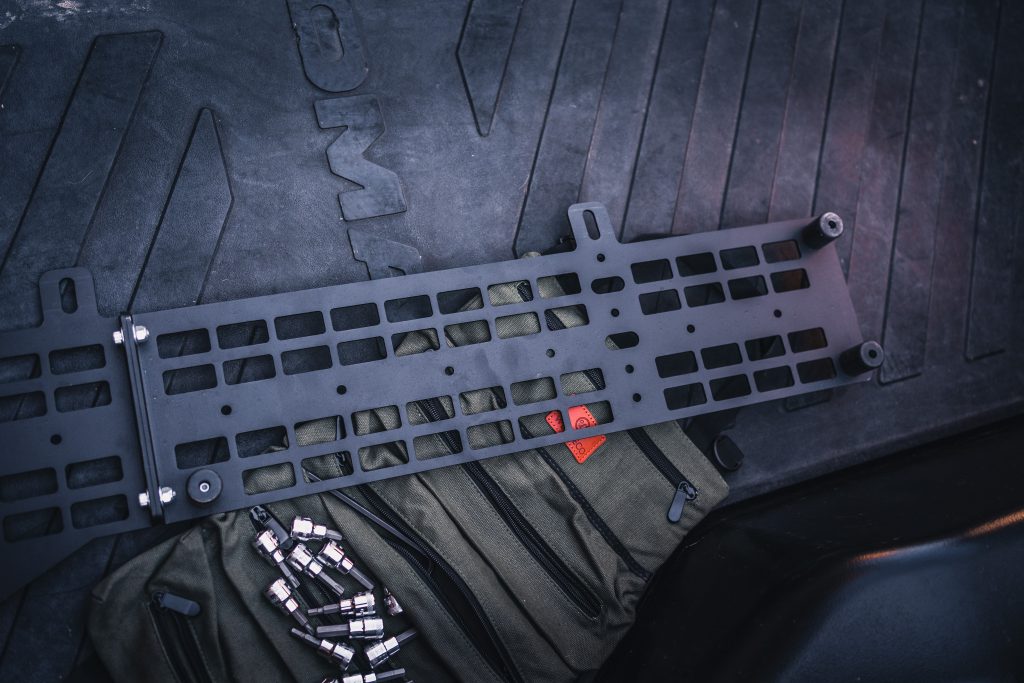
There are two cubby bolts you’ll need to remove. Above is an image of the side panel already installed to help show you which ones to remove.
Step 7. Install Side Panels
Using the OEM cubby bolts, attach the panel to the bed. It should hold itself up for the most part at this time.
Slide three bed nuts into the channel. Screw in the bolt with a washer. That’s it!
Final Thoughts
These molle panels open up a whole world of mounting options. I’ve gone ahead and mounted my water Rotopax and WaterPort in an easy-to-access spot, and I already have a couple of pairs of quick fists coming in to mount a shovel and an axe. I’m also doing some research on a few waterproof boxes to throw back there. The install was super easy and only took me in total about an hour. I was able to take the rig out and test drive it on some super bumpy roads too.
For anyone concerned about excess rattling, I can confirm that as long as you installed them correctly, you won’t have any extra sound issues. Overall the installation was quick and painless and provided a ton of utility. Super happy with how they came out! I appreciate you for taking the time out of your day to read this write-up!
I’d like to see pictures of how people mounted their gear to these panels and has anyone use the molle panels for inside the truck?
Runnin4tacos makes molle panel mounts, what I ended up doing is fabbing my own.
I actually just installed the center console molle panels in the rig and they’re pretty nice. Mounted my first aid kit to the passenger side.
These are sweet, great post.