New light companies are popping up, each saying their products are special. As someone who’s always researching, I was overwhelmed by the numerous manufacturers and configurations of products.
Personally for my rig, the first lights I wanted to install were ditch lights because they seemed the most functional. I already have my LED headlights and fog lights projecting forward, but the sides of the trail were often left in the dark.
In comes Heretic Studio.
They are an aftermarket lighting company based in Utah that has designed their BA-2 LED light pods for different applications. As I mentioned, I’ve been researching for a while and this was a prime opportunity to test a product that’s different from everyone else. Not only do these lights look different, but they also offer some impressive specs.
Find It Online
- Heretic Studio BA-2 Pair (Amber): Check Price
- Heretic Studio BA-2 Pair (White): Check Price
- Cali Raised LED Ditch Light Brackets: Check Price
Table Of Contents
Specifications

Specifications:
- 1462 Raw Lumens
- 12 Watts of Power
- 6 Watt Cree LEDs (each light)
- 6061 Billet Housing
- IP68 Rated (Can withstand dirt, dust, sand, and water submersion up to 1.5m)
- 3” x 2.1” x 2.4”
- Stainless Steel Mounts
When I unboxed these lights and held them in my hand, you could tell they had a strong build quality.
Installation

Tools & Materials
- Mechanic’s Tool Set
- Klien Terminal Crimper
- Klien Wire Stripper
- Waterproof Crimp Terminal Connectors
- Waterproof Crimp Buttsplice Connectors
- Wagner Heat Gun
- Cali-Raised Switch Panel (optional)
- OEM Style Switch (optional)
- Self-Tapping Screws (optional)
- Screwdriver
- Zip Ties
Step 1. Mount Lights to Brackets

For my install, I chose to run Cali Raised ditch light brackets because they are more low profile than other options that are on the market. Although, this decision came down to my personal preference and I would suggest finding reviews or recommendations from people on forums, blogs, etc. to find which ones you should purchase (but don’t overthink it, they are all similar, for the most part).
Since these brackets are lower profile, I decided to install the lights onto them before attaching them to the hood to avoid any difficulty getting a wrench on the bracket. I tightened the bolts with a 12mm socket just enough to keep them in place while still being able to move them around. This way, you can make adjustments on where exactly these lights point before tightening completely at the end of the install.
Step 2. Mount Brackets to Hood
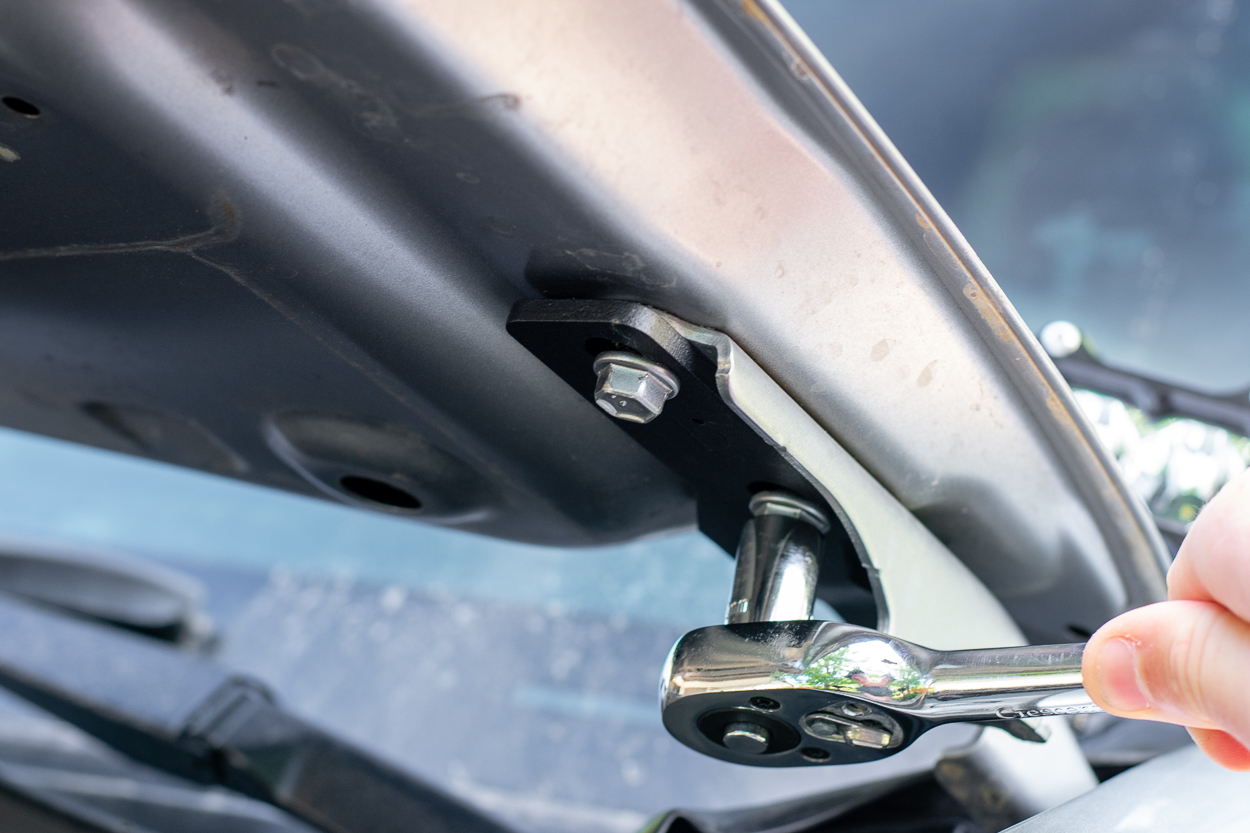
Depending on which brackets you choose, the instructions may vary slightly. But for the most part, the processes should be similar.
Pop the hood and place your light + bracket combo somewhere convenient and close. Locate the two bolts that hold your hood in place and loosen the forward-most bolt. The key here is to remove the bolts one at a time to avoid any issues with the alignment of your hood.
Once you have the first bolt off, you can put the ditch light bracket in place and re-install the bolt until it is hand-tight. Then remove the rear bolt and do the same. Now that both of your bolts are back in place with the bracket installed, you can snug those down and repeat on the other side.
Step 3. Wiring Lights

I chose to use the wiring harness that Heretic Studio offers on their website to avoid any unnecessary difficulties getting power to these lights, especially because I am not super knowledgeable on how to wire everything up on my own.
I plugged my lights into the harness and ran the switch through the firewall into the cab of my truck. I did this to make sure that I was giving each light and the switch enough slack before securing everything down.
I also mounted the wire to the battery and the ground to the side of the engine bay to make sure that the light was illuminated and worked as expected before finishing up the install.
Step 4. Cut & Splice Extra Wiring (optional)
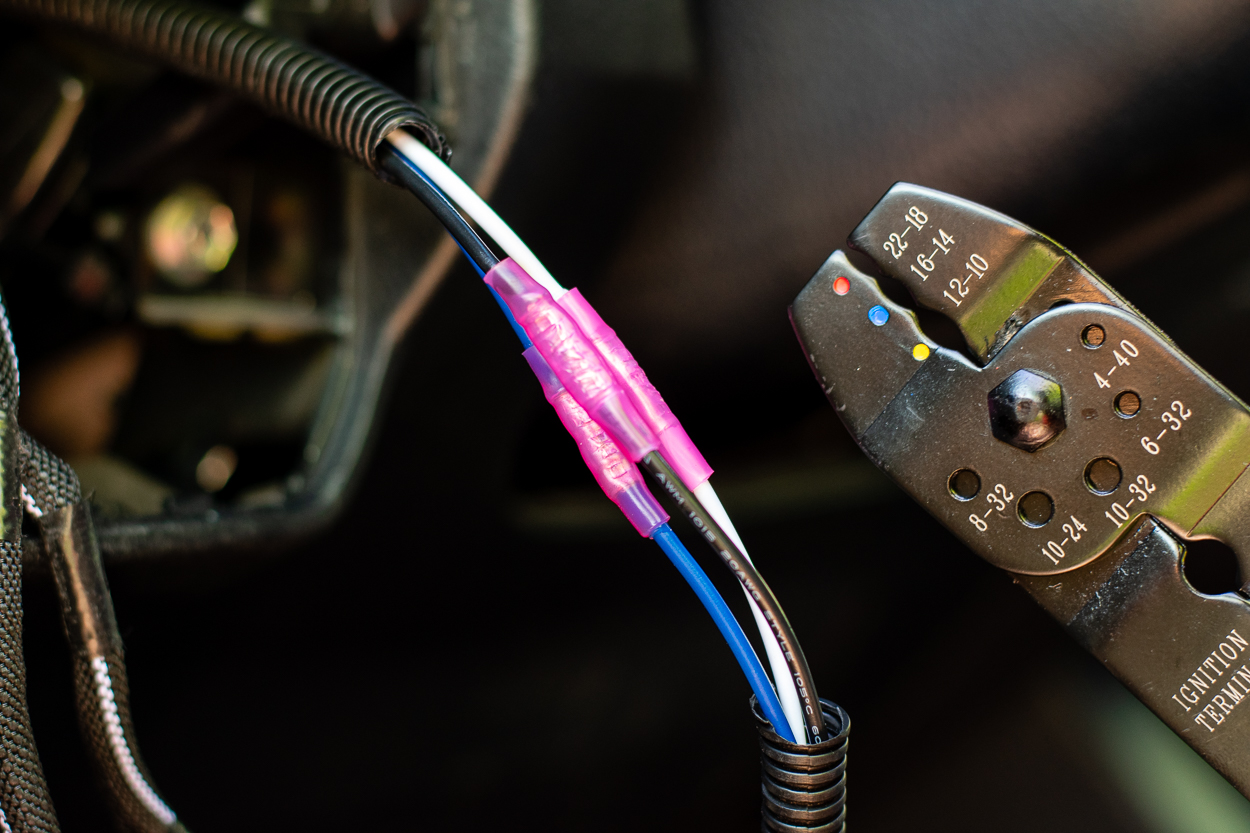
Heretic provides a ton of extra length in their wiring harness. This allows customers to use the harness in a multitude of different applications, but since I am only running the wires from the hood to the battery and the switch in the cab, I decided to cut the unnecessary bulk.
To do this, all you need are buttsplice connectors that allow you to cut the excess wires and reconnect the ends with ease. Remember to disconnect the wiring harness from the battery so you don’t end up shocking yourself. I cut through the black tubing that housed the different wires in the harness and cut those wires in a convenient place. Next, I did the same further down the line while making sure I wasn’t cutting anything too short.
To splice the wires back together is a relatively simple process. All you need to do is strip the ends of the wires, place them into the buttsplice connector, crimp them down, and apply some heat to the heat shrink connector to seal everything off.
Step 5. Secure Wiring Harness

After plugging everything in and removing the bulk of the harness, I found where I wanted to secure the harness in the engine bay. Some people choose to zip tie the harness to the bottom side of the hood, but I chose to zip tie it to another harness that runs along the rear side of the engine bay.
Next, I figured out where I wanted to secure the inline relay and the extra length of the harness that I decided to keep just in case. I chose to bunch this all up neatly and zip tie it off near the battery, however, in the future I plan on finding a bolt that I can use to secure the relay to the threaded holes that come from the factory located on the side walls.
Step 6. Mount/wire switch
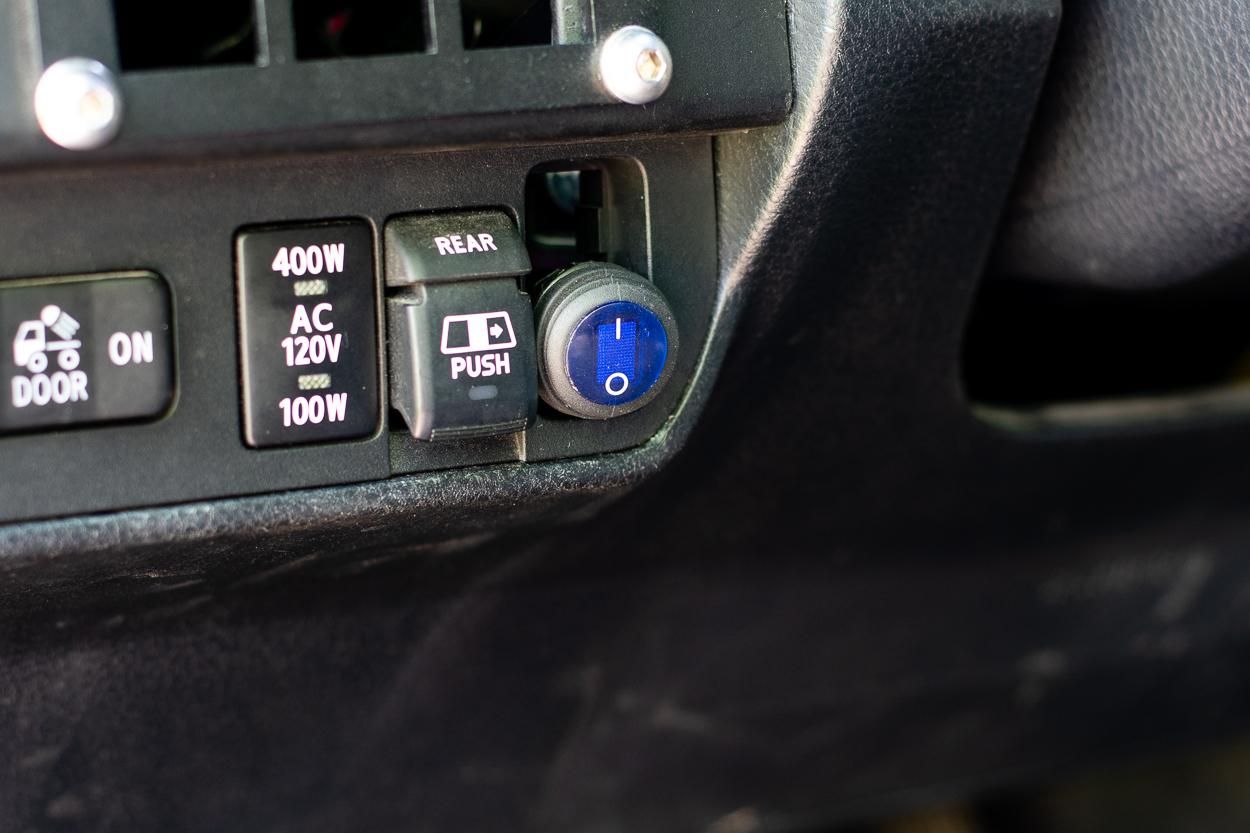
This is another part of the install that can vary depending on what you decide to use as a switch for your rig. Adam has a good write-up on wiring his OEM-style switch here but I haven’t decided exactly what I want to use for a switch quite yet, so I placed mine in the switch housing to the left of the steering wheel. It is not a perfect setup, but it works in the meantime while I decide what I want to do.
I have seen videos of Tacoma owners drilling holes at certain places in their dash to perfectly fit the switch that comes on the wiring harness but I haven’t done this yet.
Initial Impressions: Post-Installation

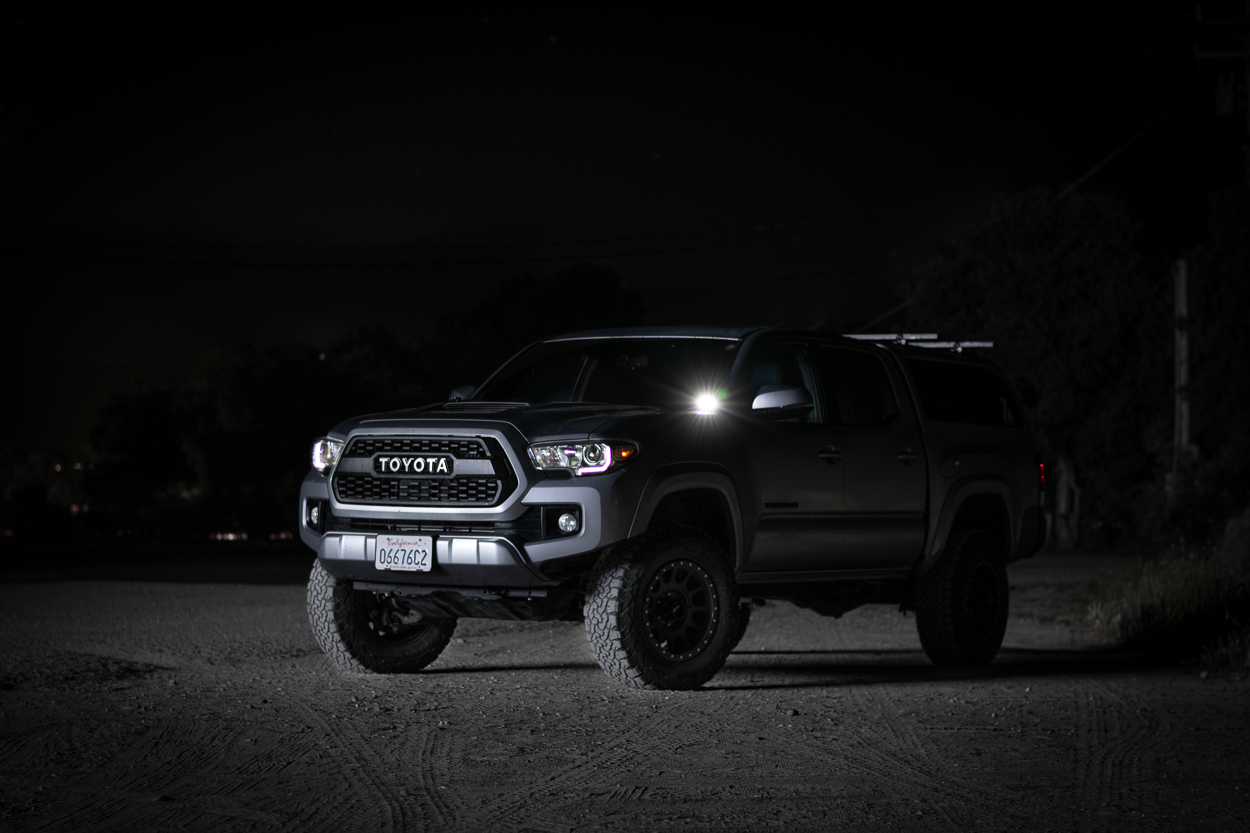
By the time I finished up this install, it was almost dark outside. When I flipped the switch and took a step back to see for myself what kind of output these lights could pump out, I was impressed. Of course, I had not yet gotten a chance to test these from the driver’s seat but man, the output of these lights was impressive – especially considering the low-profile and compact design.
This brings me to my next point. I particularly wanted a setup that wouldn’t obstruct my view too much as I thought it would be distracting while I drove. In combination with the Cali Raised brackets, these lights were perfectly tucked out of the way to the point where I am driving my truck around, I have not once found that they are in the way or distracting.
Finally, I personally prefer these to many other ditch light options on the market as they add to the look of my truck without being too distracting. Since my Tacoma is my daily driver, this was another factor that I had not considered until installing these.
All in all, these lights passed my initial impressions test, but let’s get into how they truly perform.
Performance & Light Output
I wanted to quickly highlight how these lights compared to the other forward-facing lights in my truck. These should help to give you a more accurate idea of how they perform and the overall light output for the BA-2s.
High Beams Only
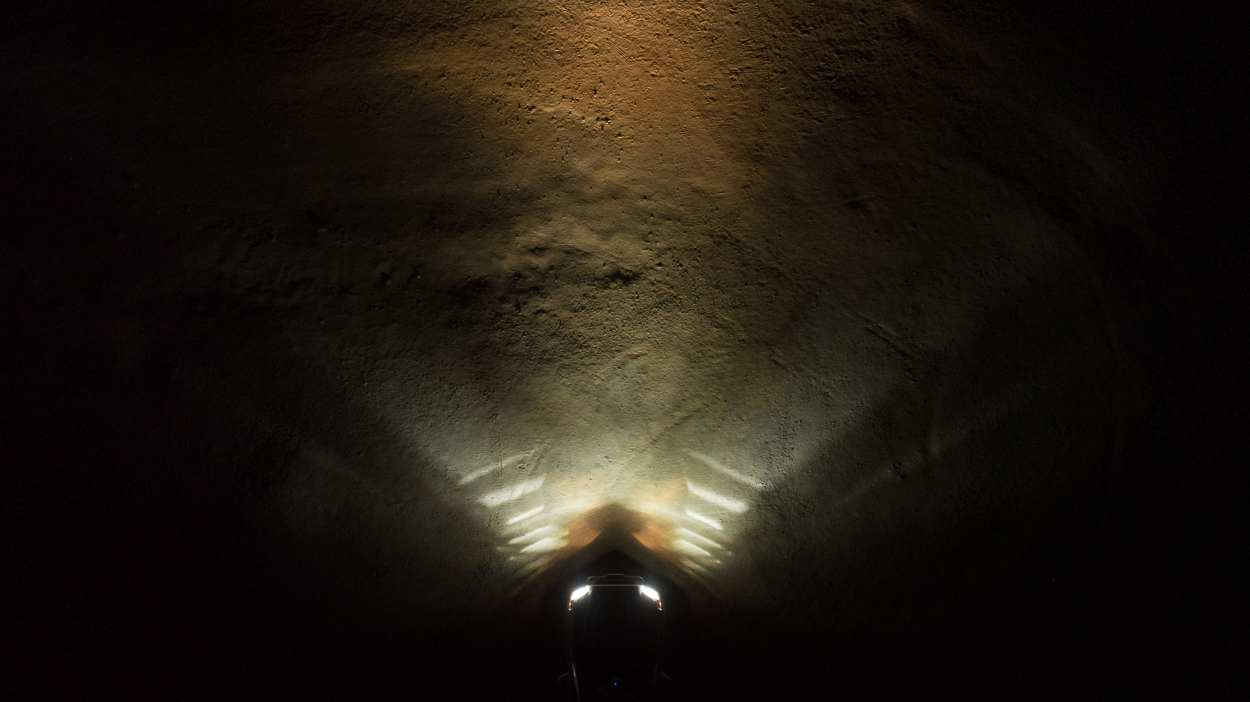
High Beams + Heretic Studio BA-2
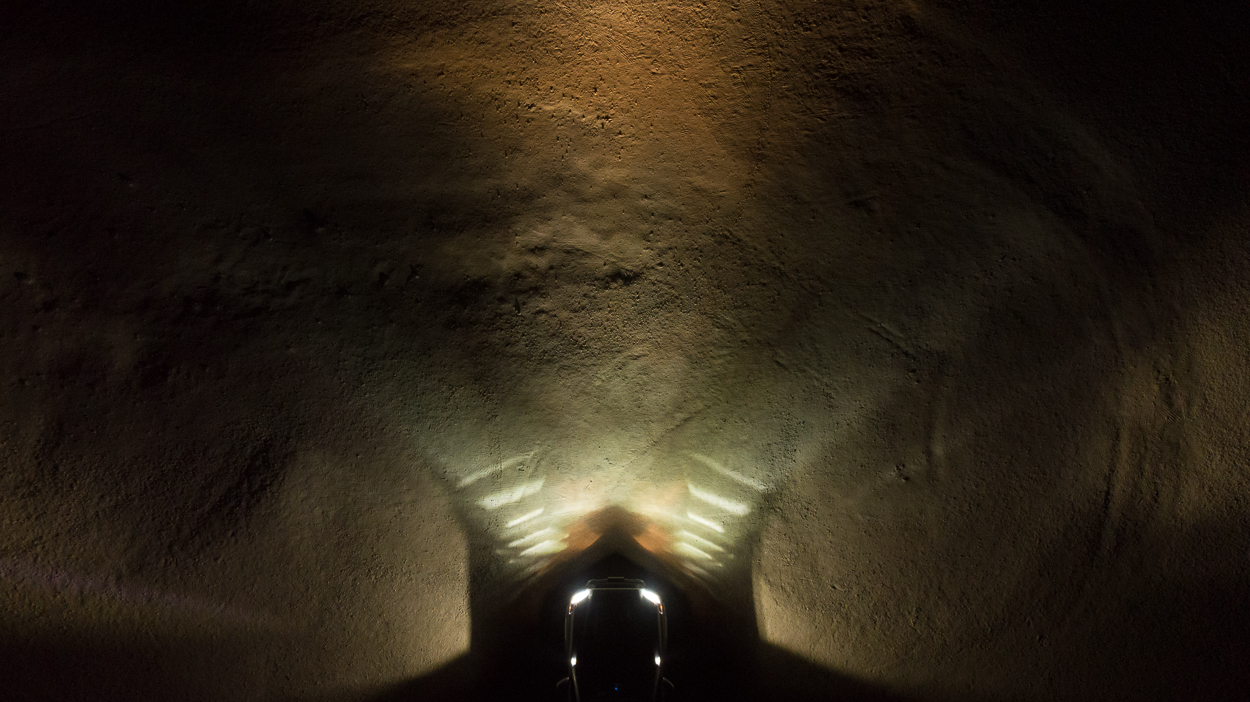
High Beams Only

High Beams + Heretic Studio BA-2

As you can see in the photos above, I pointed these lights so that they projected outwards from where my headlights stopped. These illuminated the sides of my truck where the surroundings were previously pitch black. Additionally, the BA-2’s color temperature is very white. While I have LED high beams and fog lights, the low beams on my truck are still the stock halogens and I found that these Heretic Studio pods produce a much clearer white color temperature than all of my other lights.
Having the ditch lights facing outwards as a continuation of my forward-projecting lights, I increased my field of view immensely and I can easily see what is around me in places that were previously pitch black.
Although this is my first experience with ditch lights on my truck, I can honestly say that the output of Heretic’s LED pods leaves little to be desired. Driving with them at night gives me a newfound confidence in several situations—whether that be driving on a backroad with heavy deer traffic or seeing obstacles along a trail while wheeling in the dark.
Additionally, having the BA-2s on my rig means I am now able to see details of objects off to the side much easier. Up until this point, I have been using my fog lights to help illuminate around my headlights but these are infinitely brighter and cast directed light beams along the side of the road/trail.
Final Thoughts
So what does all of this really mean? Who are these lights for and who should check out other options? Based on my experience with these Heretic Studio pods through testing them on trails, backroads, and messing around in various other settings, I would recommend these lights to anyone looking to expand their field of view at night while keeping their setup compact and out of the way. Of course, your desired price range will play into your decision as well and these come in at $200 for the pair (plus an extra $40 if you choose to use their wiring harness) which puts them on par with other well-respected lighting companies in the market in terms of pricing.
Additionally, the install for these lights was fairly straightforward and the only real issue I encountered was managing the abundance of wiring that came in Heretic’s harness. Having ditch lights, in general, is a great way to gain confidence while night wheeling, finding campsites, or seeing around corners, and for me, gaining all of those benefits in a low profile package with the BA-2s is a major win.
Overall, I am very pleased with these lights and how they have held up to my testing. Heretic Studio’s BA-2 LED pods are a great choice for many rigs in my opinion and I don’t plan on changing these lights out anytime soon.
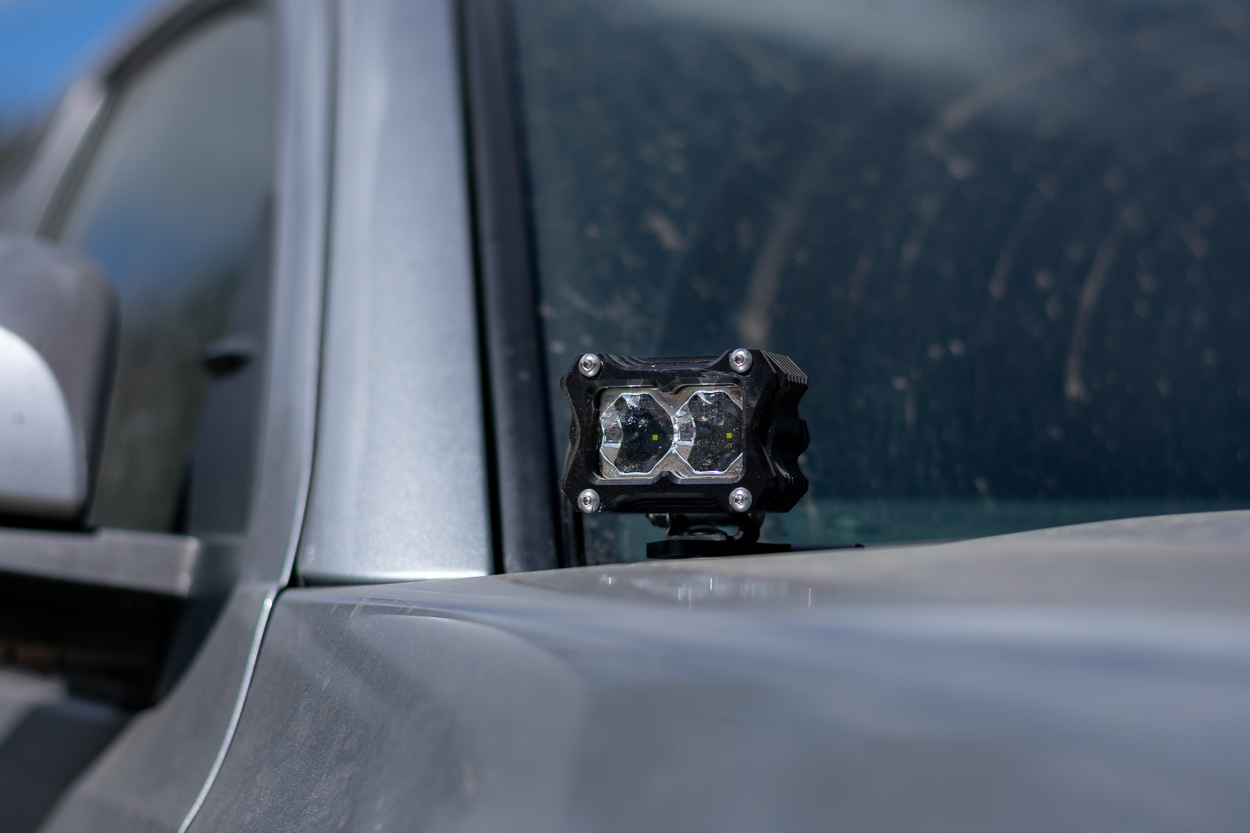
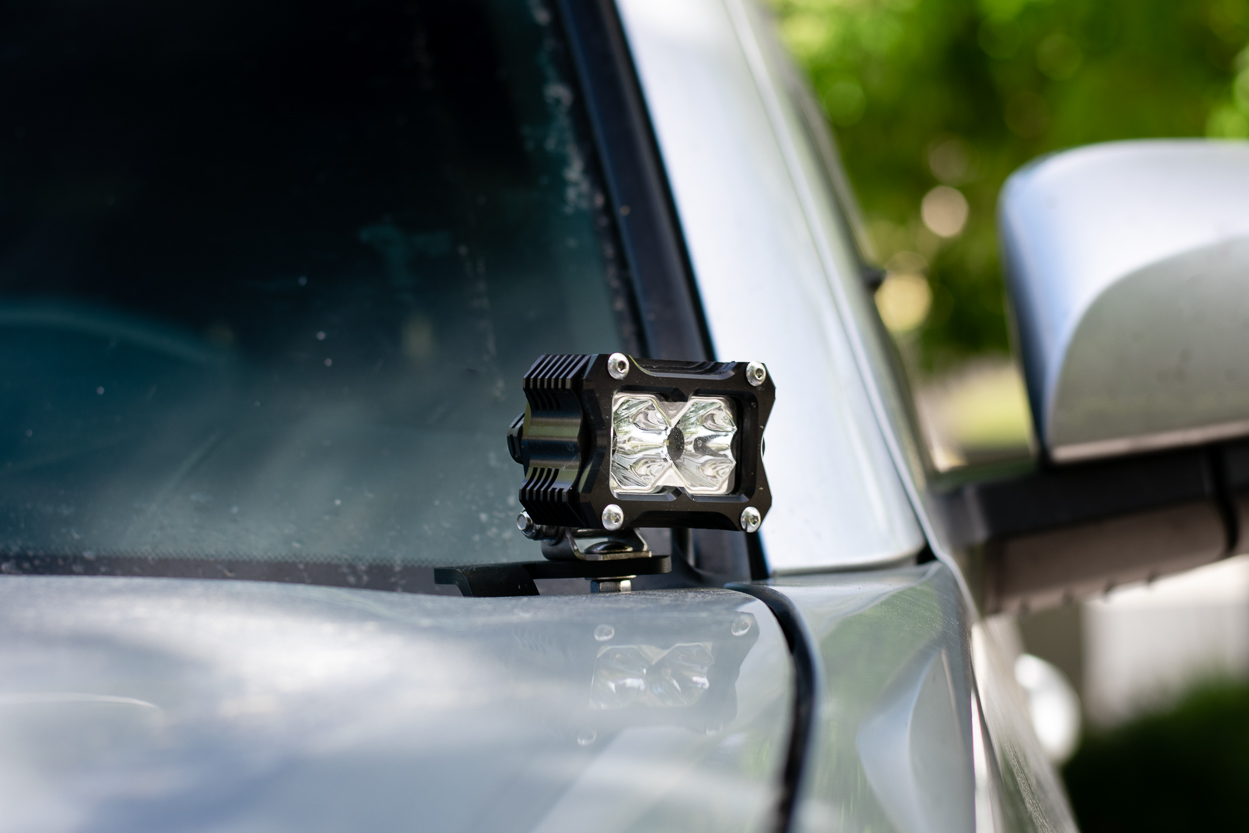
Side Profile of Ditch Lights

Side Profile of Ditch Lights Close Up