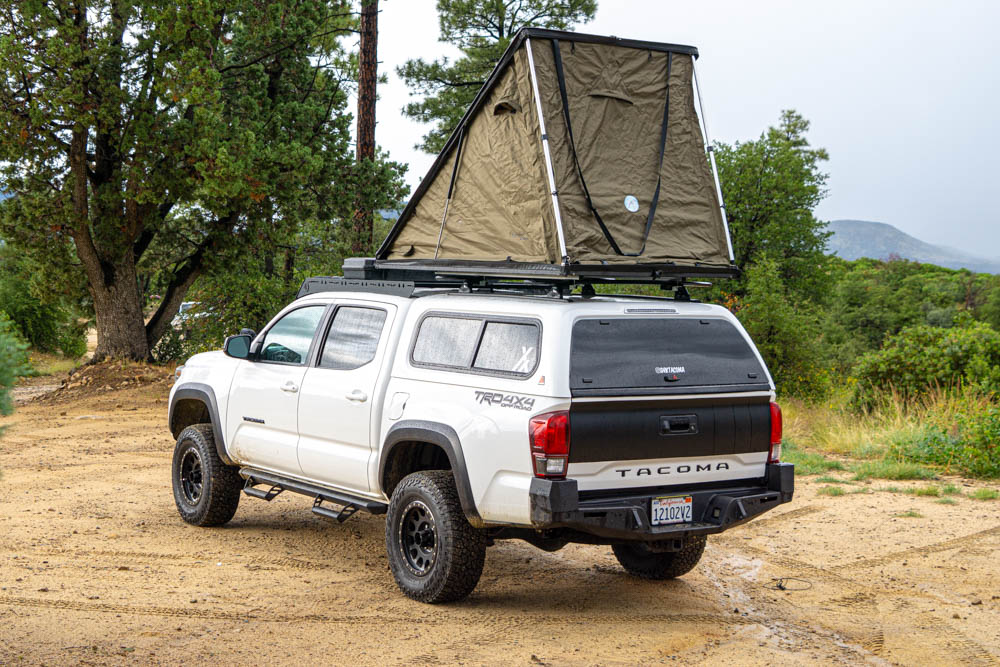
Bay Area local company Inspired Overland recently brought us a new and very light RTT. The tent itself comes in at a very low weight of 87 lbs.
A newer company to the market, Inspired Overland has made a name for itself by bringing new and affordable products to the market. Not only their rooftop tent, but also suspension kits and accessories.
Inspired Overland has worked hard to stand out, quickly growing their following and ultimately winning Global Media Award at SEMA 2022.
The coveted roof top tent (cream of the crop for overlanders), has been a staple of off-road camping for the last few years. With multiple designs and hundreds of companies producing tents, a new market has been tapped into offering ultra lightweight options. The lightweight market is usually classified as sub 100 pounds and between 4-6″ in height, providing slim features for those looking to stay minimal.
Another noteworthy feature of these tents is that they’re significantly more affordable than others. They range anywhere from $1,000-3,000 (or so) depending on the brand. These tents have started to become more and more popular with more companies entering the game bringing new products to the market.
We want our gear cheaper, lighter, more compact – which is exactly what these tents are trying to achieve. With only a handful of companies in this category, Inspired Overland provides a compact tent package with loads of features at an affordable price point of $1,500. All while weighing in at under 90 lbs. Included in this tent package is a collapsible ladder, all the mounting hardware and tools, as well as rainfly poles and interior pockets.
Today we’re going to unbox, mount, look at the features and ultimately give our initial impressions on this legit setup.
Let’s get started.
Table Of Contents
Feature & Specifications
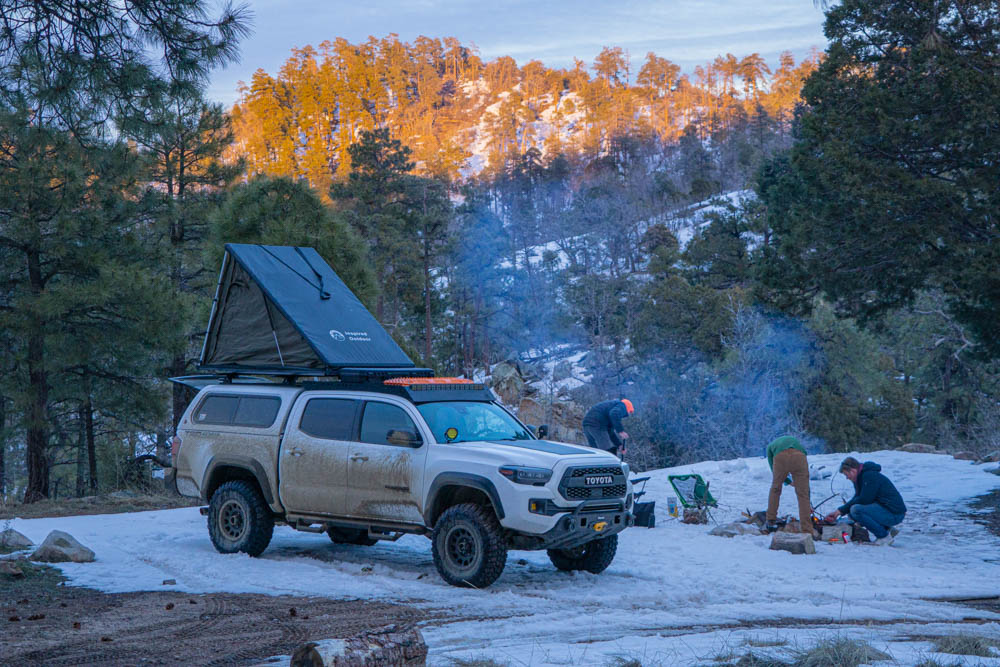
- 87 lbs.
- Closed Dimensions: 82″ L x 50″ W x 4″ H
- Open Dimensions: 48″ H (entrance)
- Sleeping Area: 78″ L x 48″ W
- Weight Capacity: 500 lbs.
- Frame: Soft PVC with gas struts
- Main Fabric: Waterproof 600D fabric with UV protection
- Ventilation: Breathable windows made with high-density tulle
- Access Point: 3 doors/windows
- Rainfly: Strong rainfly with rods
- Storage: 2 large boot bags + 2 interior pockets
- Mattress: 1.5″ foam mattress with anti-condensation pad
- Ladder: 8.5ft Aluminum Telescopic ladder
All features seen here are standard.
Video Overview
For a video overview and general review of the tent, check out this video Brenan put together.
Unboxing
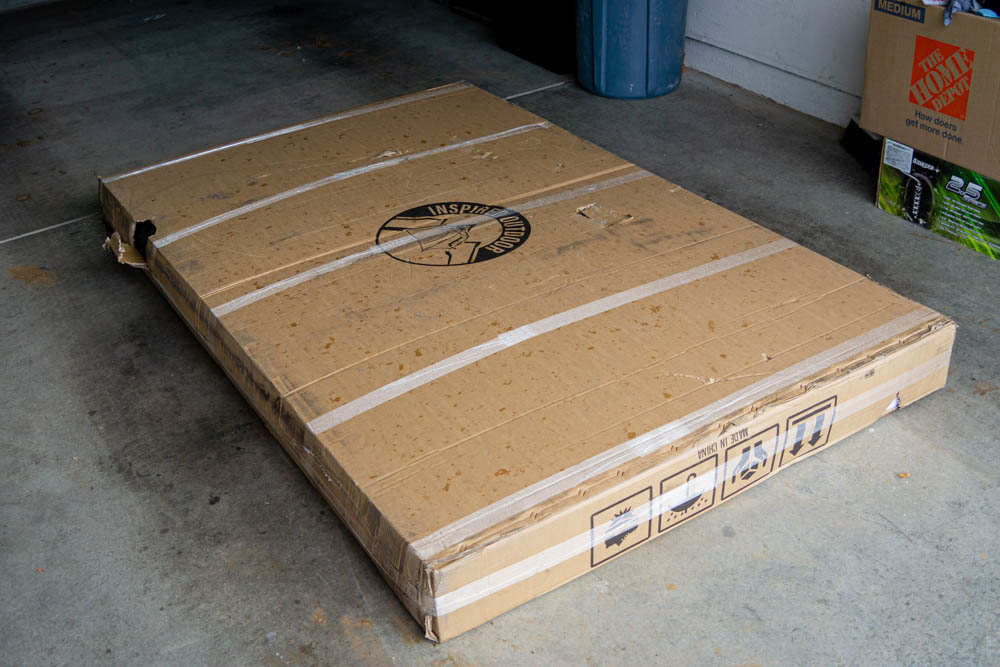
New Tacoma mod day is always the best day.
Tent showed up via freight and was an easy delivery process! Note that if you want it shipped it’ll show up freight, but if not, they do offer installation at their warehouse in Oakland California.
Furthermore, if you’d like to see the tent in person before you purchase there are a handful of stores in the Bay Area where it’s on display. Check out their website for more details.
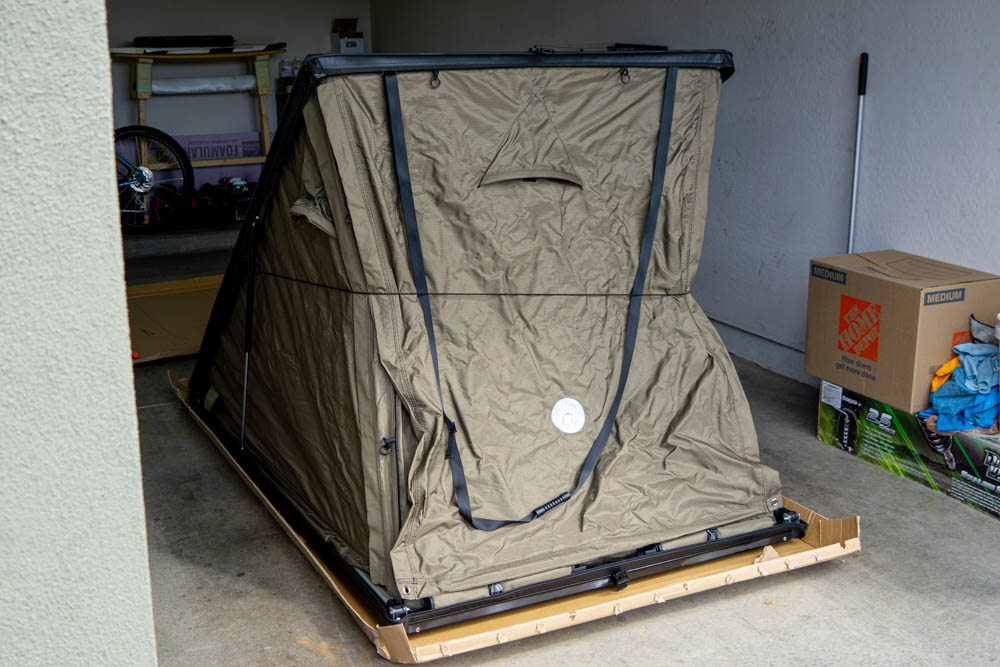
Opening the tent is as easy as undoing the buckle and undoing the zippers.
Tools + Hardware
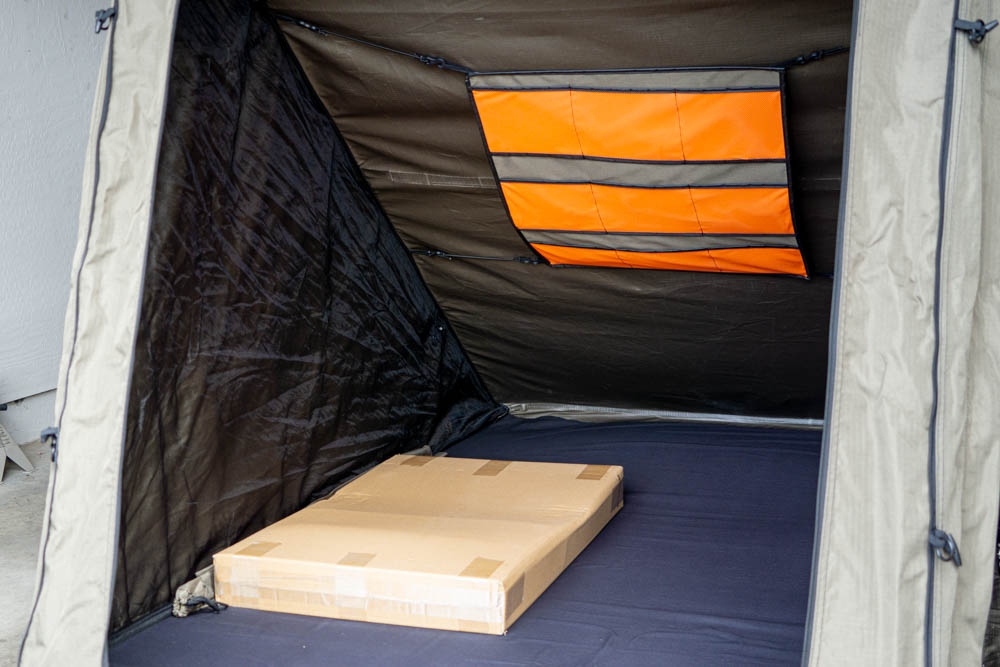
Inspired Overland made sure to provide all the required hardware to get the tent mounted up and ready to camp out the door. Down to the ratcheting tool.
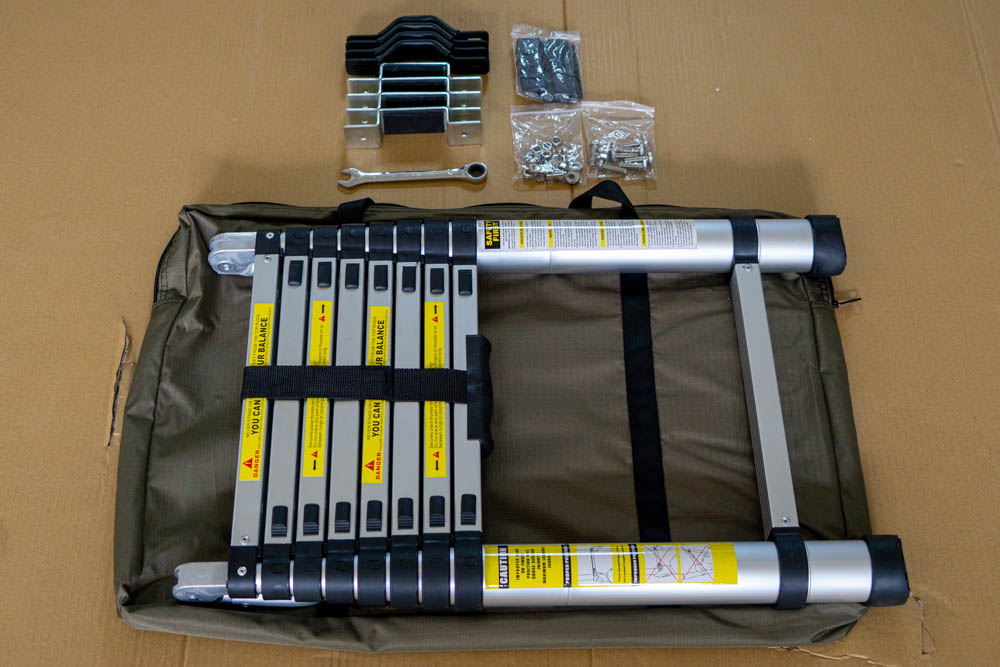
Included in the hardware kit will be the ladder (with carrying case), two types of mounting brackets, nuts, bolts, washers, end caps and even a 13mm box end wrench – you don’t need any extra tools for installation!
Step 1. Test Fit Tent
Depending on how you’re going to mount your tent to the rack of your choice, pick the best brackets that fit the crossbars. Find the best position based of your vehicle and mounting solution.
Step 2. Mounting Tent to Rack
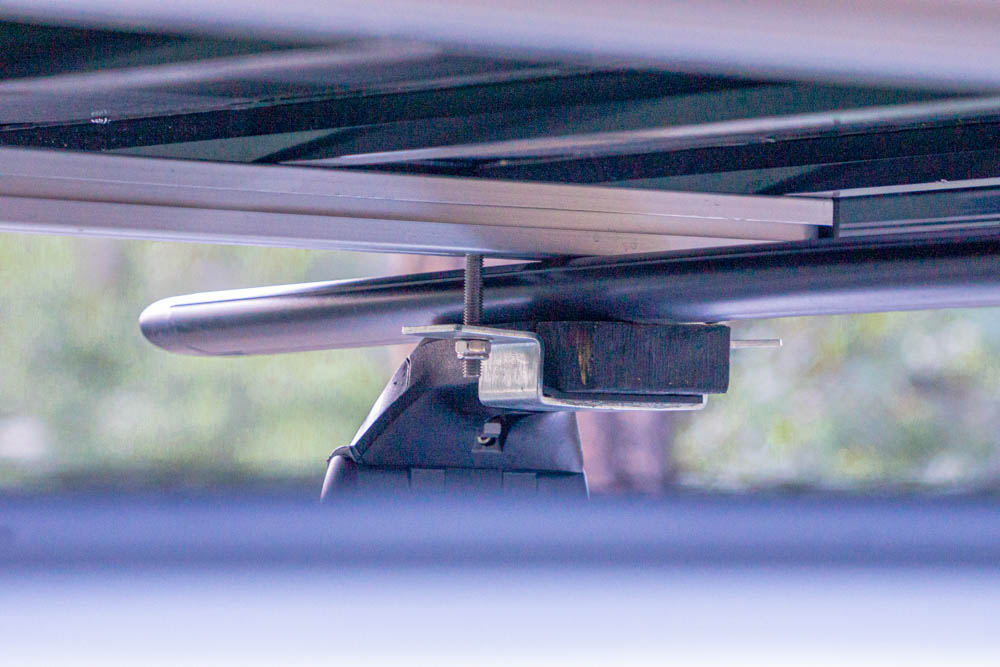
The included bolts are designed to slide into the channel aluminum without the need of a wrench to hold them from spinning. Use the provided washer and nuts, lock down the brackets in place using a 13mm wrench. Since my feet on my roof rack conflicted with the brackets of the tent I had to make spacers in order to hold it down. There are companies out there that make offset tent mounting brackets specific for situations like this, which is something that I’m going to look into further down the road, but for the time being this does the job.
The tent install is finished. Super simple and straight forward just be sure to take your time!
Detailed Feature Overview
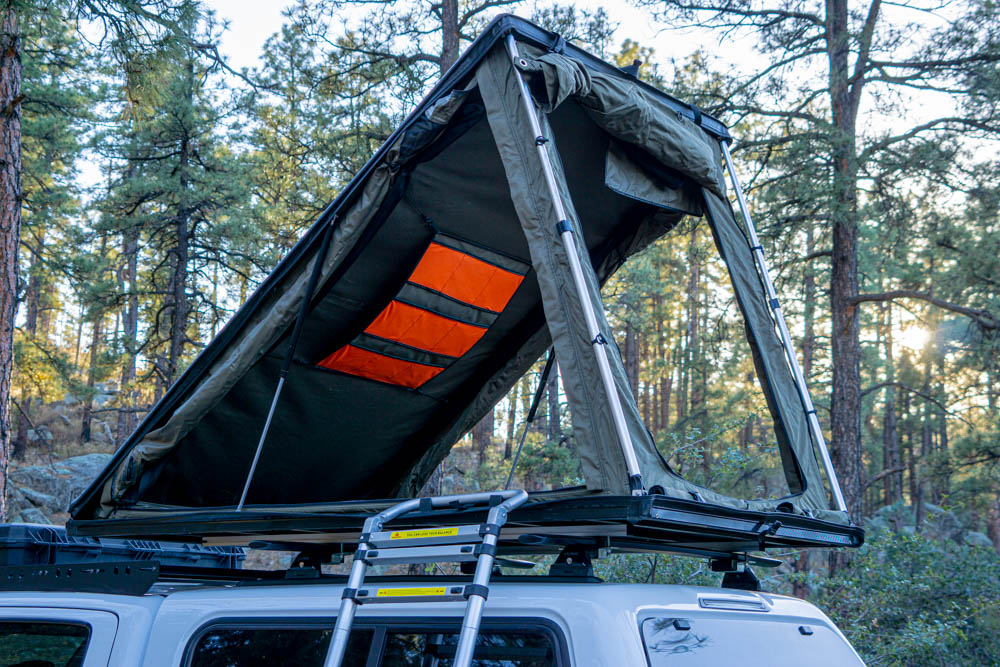
As briefly mentioned above, the Inspired Overland roof top tent is packed full of features in such a small platform. Below we’re going to take a closer look at all the details this badass tent has in store!
Material
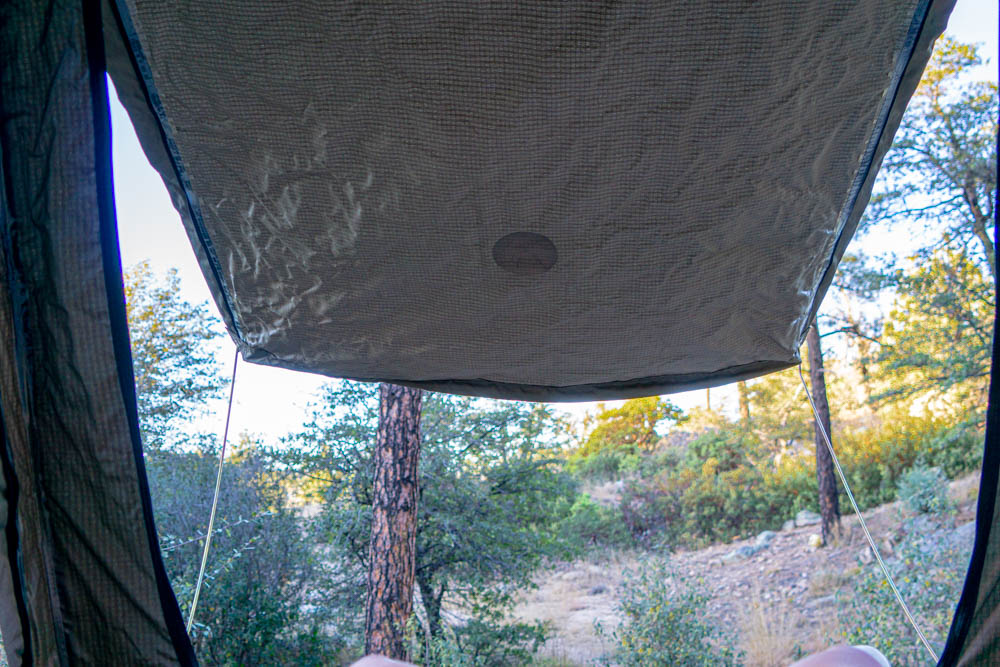
Unlike other competitors that make lightweight roof top tents, Inspired Overland’s materials have taken a nontraditional approach with their build. The our shell of the tent is a rigid material lined with a soft weather proof PVC material that is similar to a tonneau cover. This material provides strong durability, weatherproofing and helps with weight. Furthermore, the tent is assisted by two gas struts and uses zippers and one buckle to keep closed. The helpfulness of the zipper provides ease of use when opening and closing of the tent as compared to other alternatives.
As for the tent material the 600D waterproof fabric used on almost all roof top tents has proven its strength and longevity. Paired with the canvas outer walls are the mesh bug nets on all sides that provide ultimate ventilation when the doors are open. These help with keeping bugs out during those seasonal months. The tent can certainly be used as a 4 season tent but some extra blankets and insulation would be highly advised.
Mattress
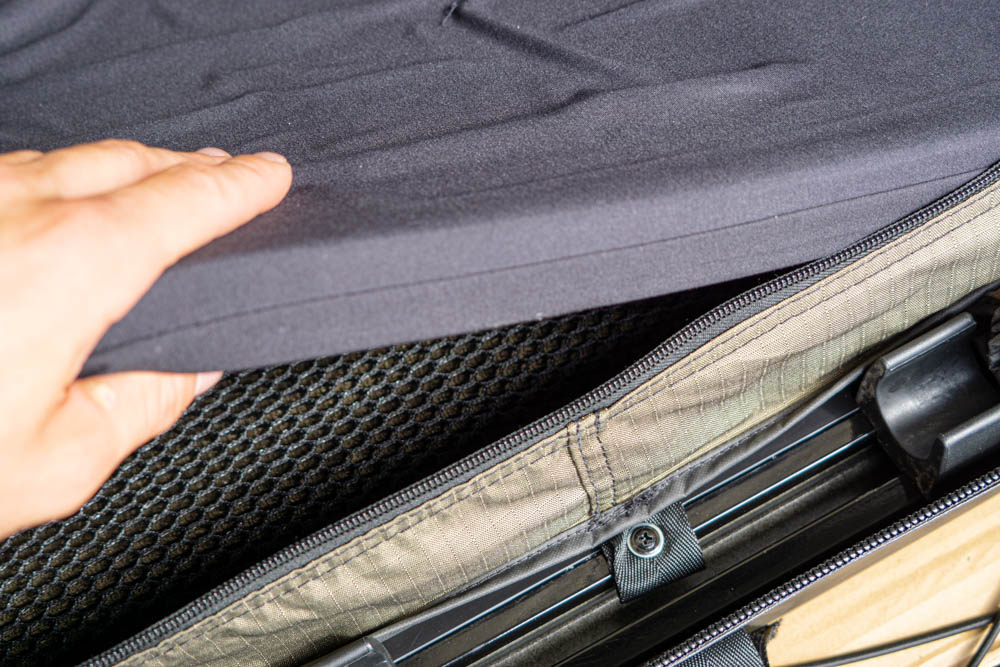
The 1.5″ foam mattress is a big part on why this tent is only 4″. While it’s firm and thin, it does get the job done. If you’re one to enjoy the comforts of something more plush, adding a mattress pad or topper helps! A thin sleeping bag, a smaller pillow, blanket or related items can be stored in the tent but anything more would be a challenge.
Condensation Mat
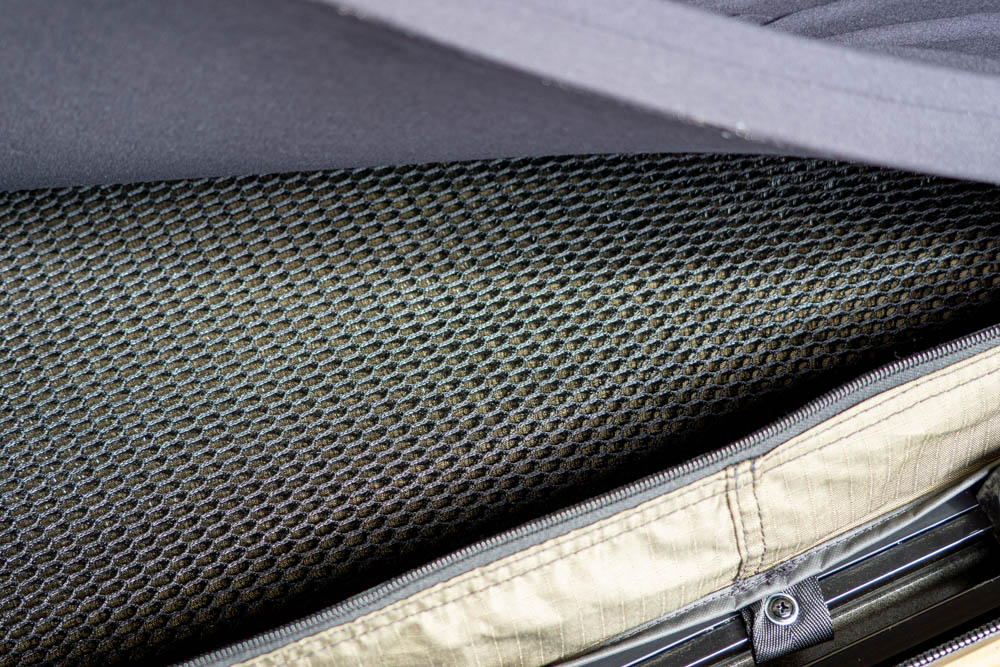
The anti-condensation mat does exactly what it sounds like in preventing condensation from forming on the base below the mattress.
Pouches & Bags
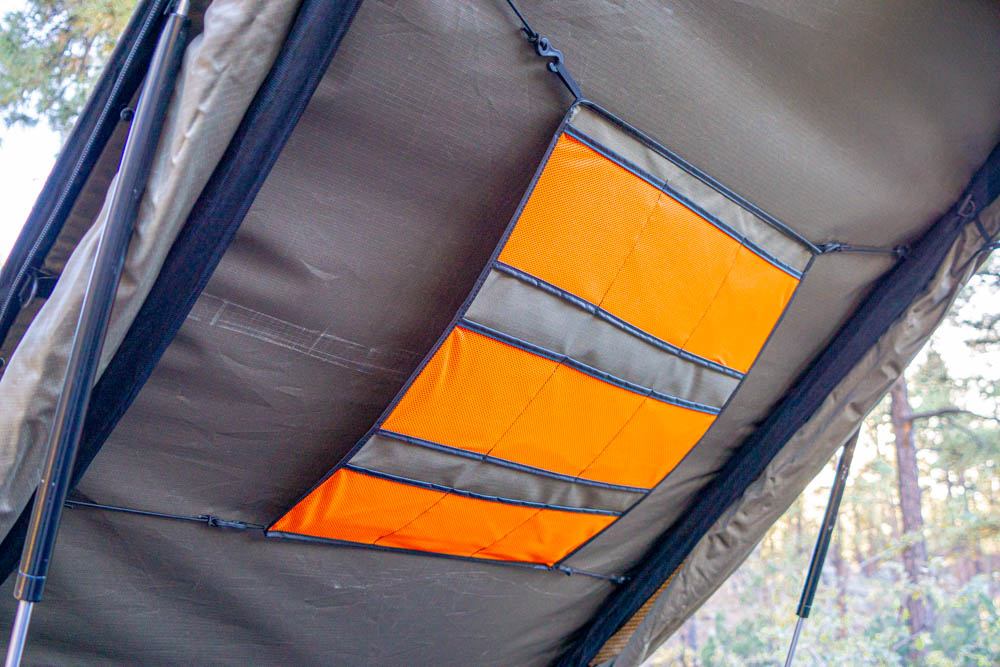
Included in the features of this tent are a couple of shoe bags off the rear end of the tent perfect for setting in dirty shoes before getting into the tent. Furthermore, on the inside roof of the tent is a suspended set of pouches perfect for phones, wallets, keys, lights and other accessories.
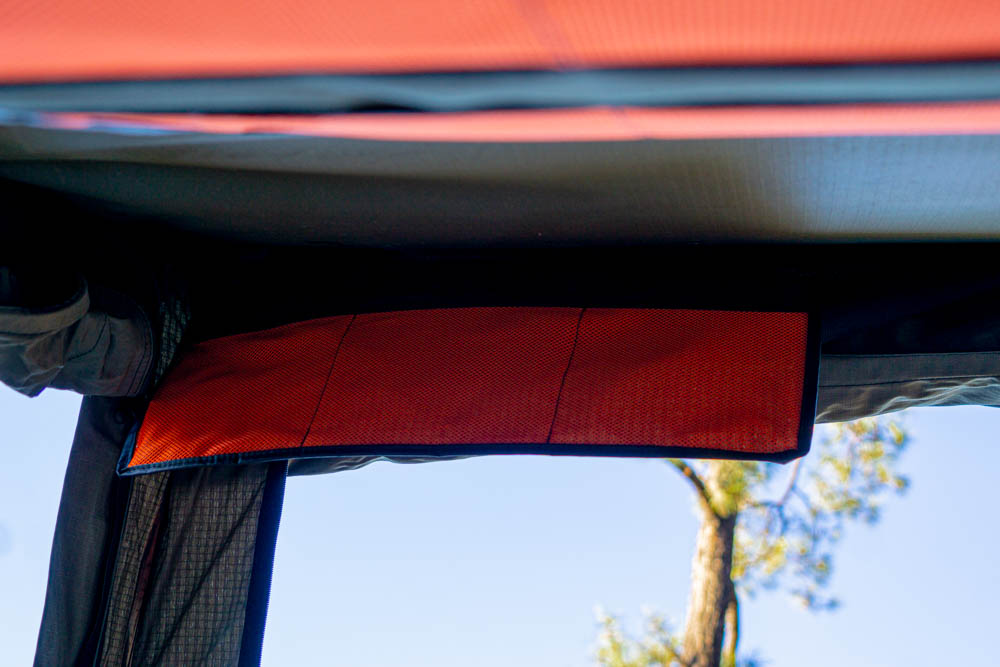
Secondary roof storage.
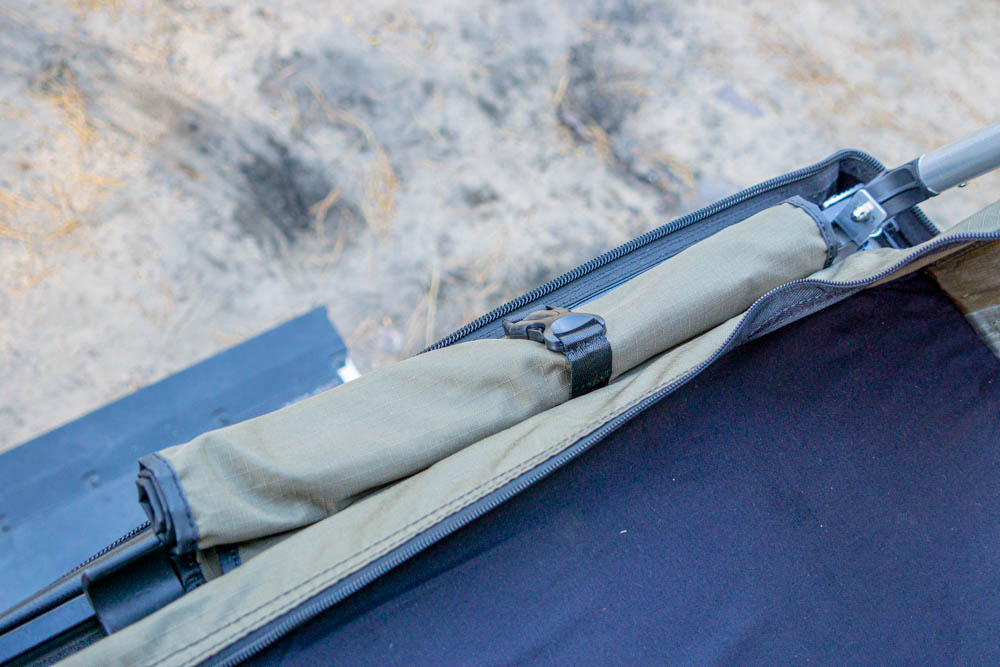
Closed shoe bag.
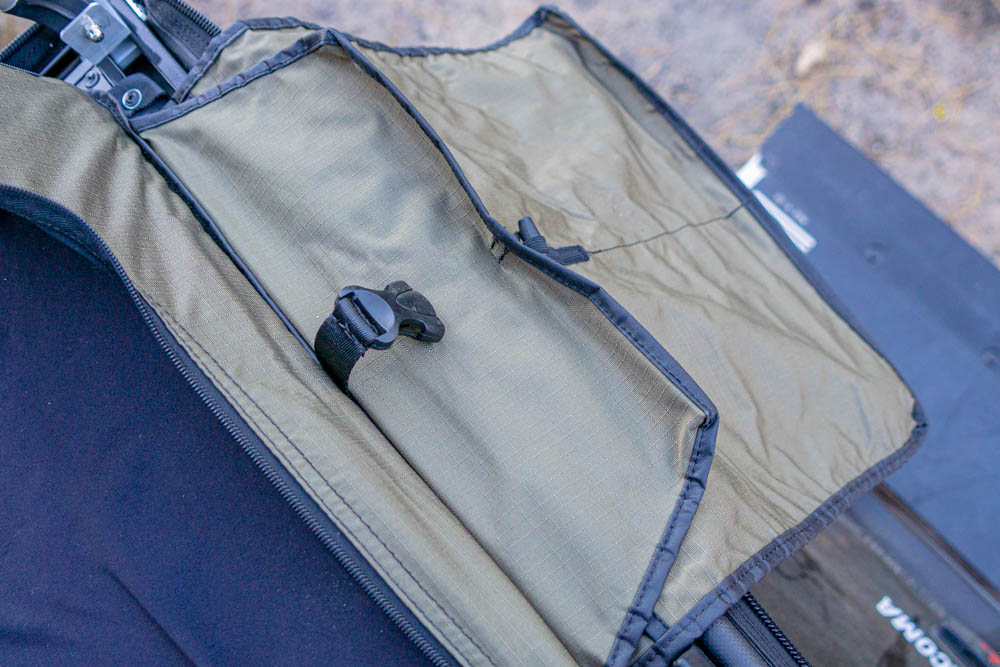
Open shoe bag.
Ladder & Poles
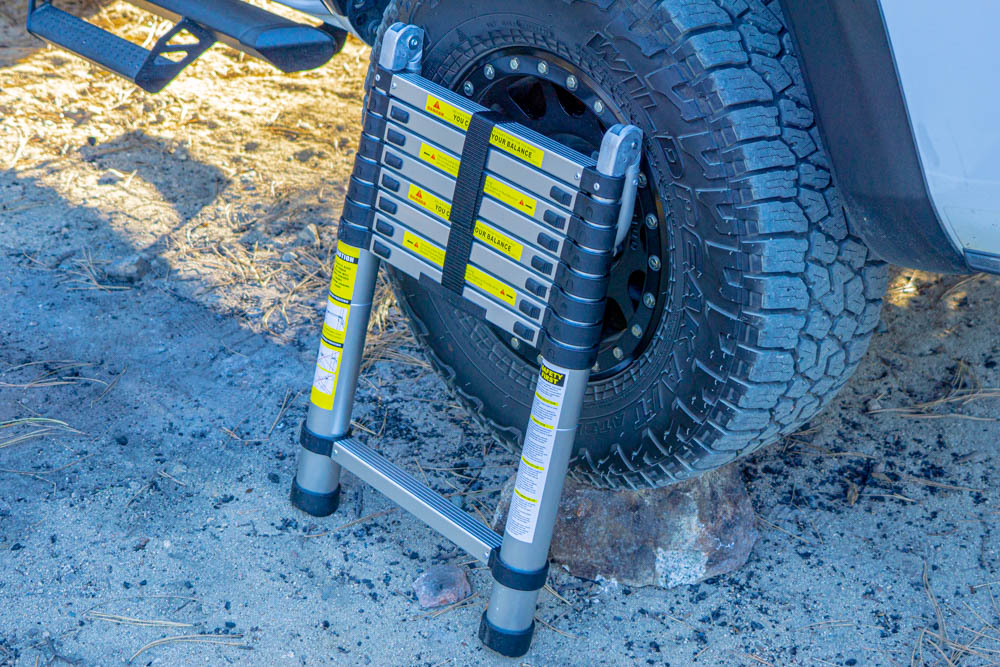
The ladder provided is a traditional telescopic ladder, as seen on most roof top tents. It provides 8.5 feet of height and adjustability with a weight rating of 330 lbs.
There are three spots where you can mount your ladder. It all depends on how you’d like to enter – from either the sides or the rear.
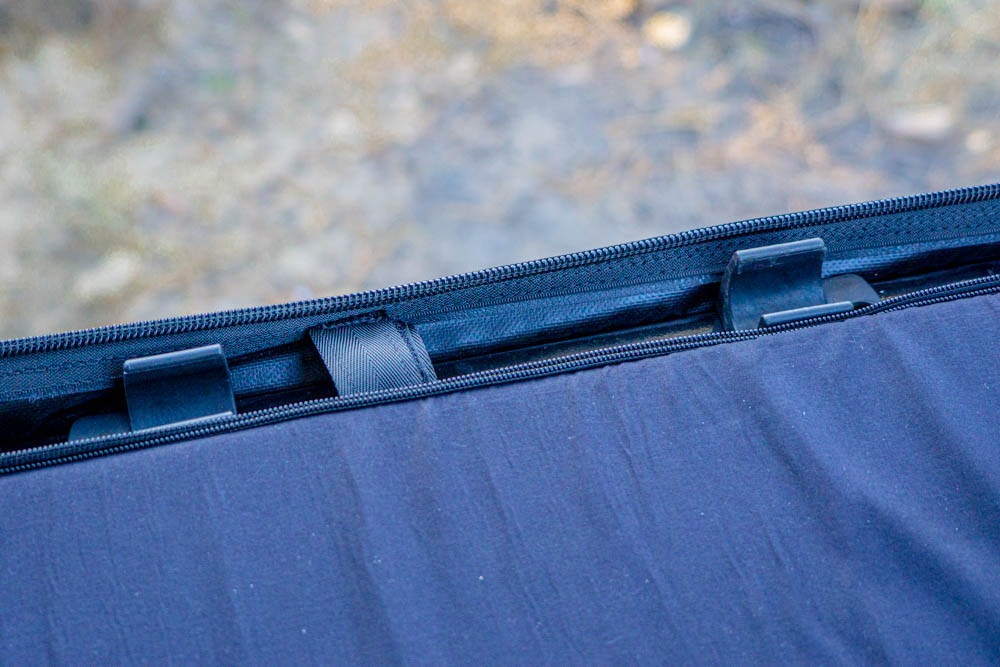
The ladder bracket/mount is pictured above.
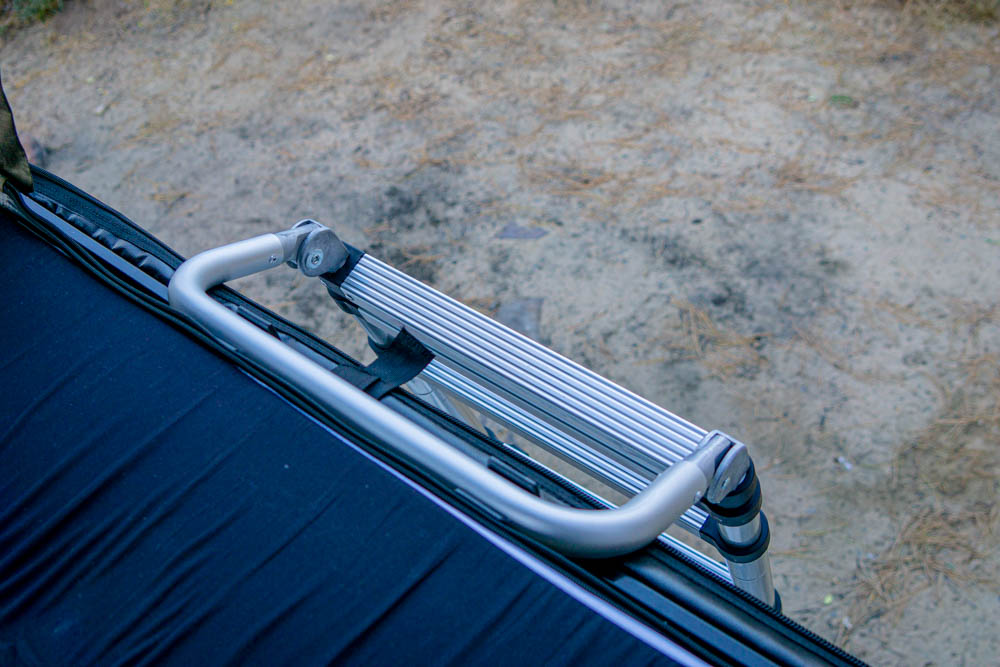
Ladder mounted.
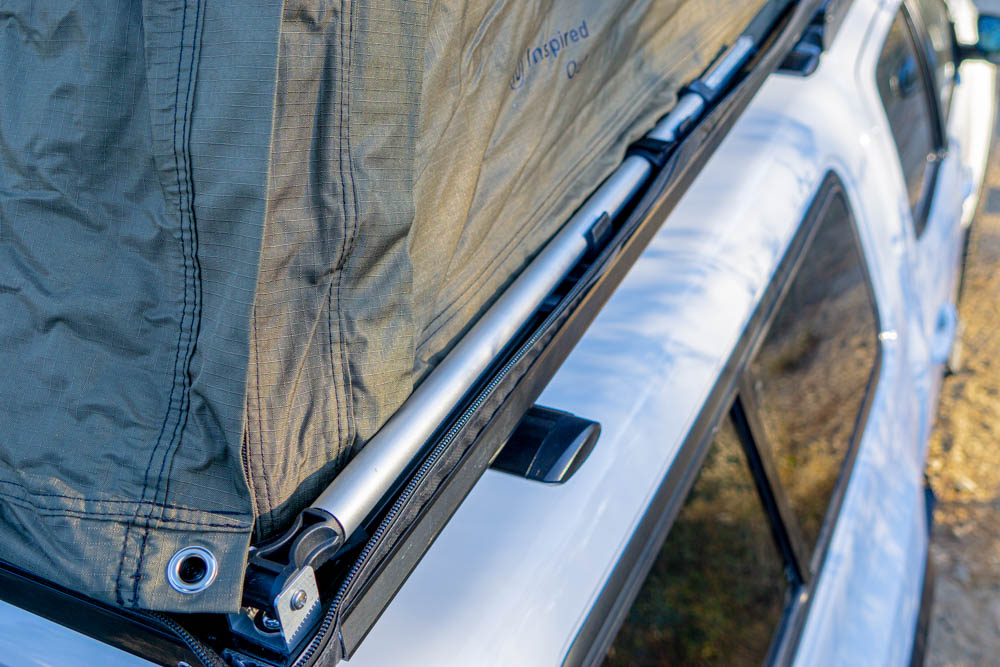
Another additional feature are the two telescopic poles that can be added for rigidity during windy nights. If not wanting to extend them, they fold down out of the way along the rail. They help quite a bit with the stability, so they are usually deployed.
Air Vents
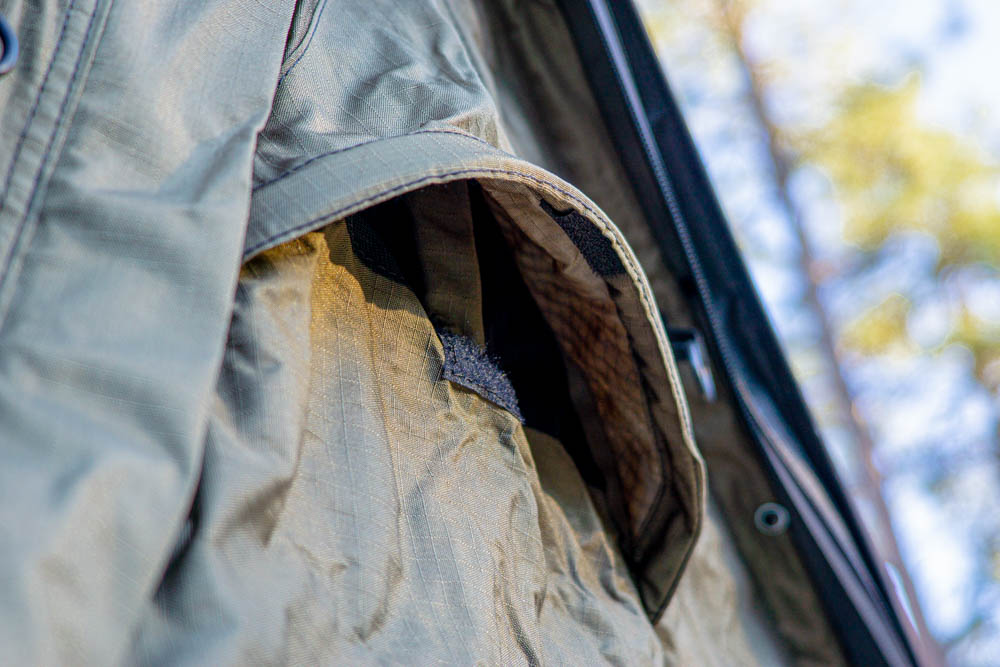
Vent in a closed position. Does not completely close.
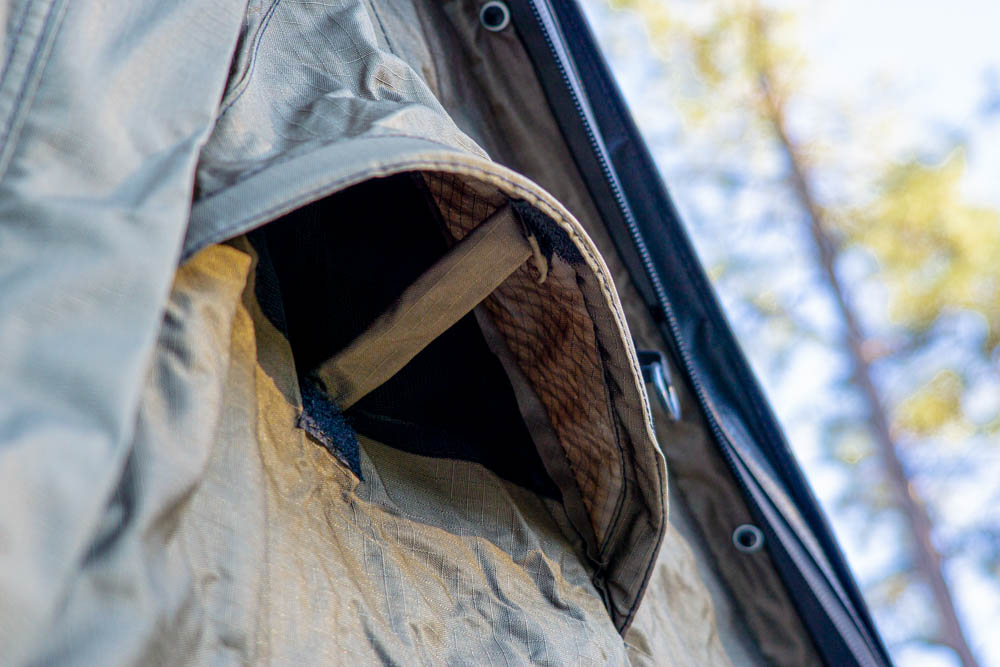
There are 3 vents placed on all sides up high to help with ventilation. They’ve got collapsible supports with hook and loop fasteners.
Awning
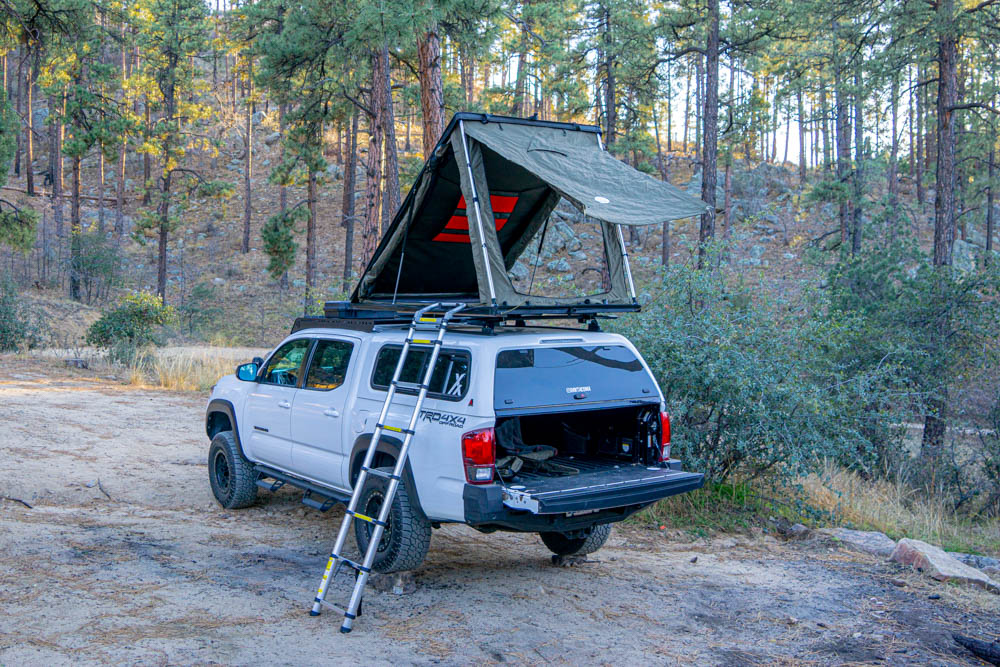
The awning installs with the two provided poles, inserting them into the holes on the base of the tent. Extending the awning helps on those rainy days when you’re looking for dry space or looking for extra shade on a hot day. The awning is only on the rear.
Set Up
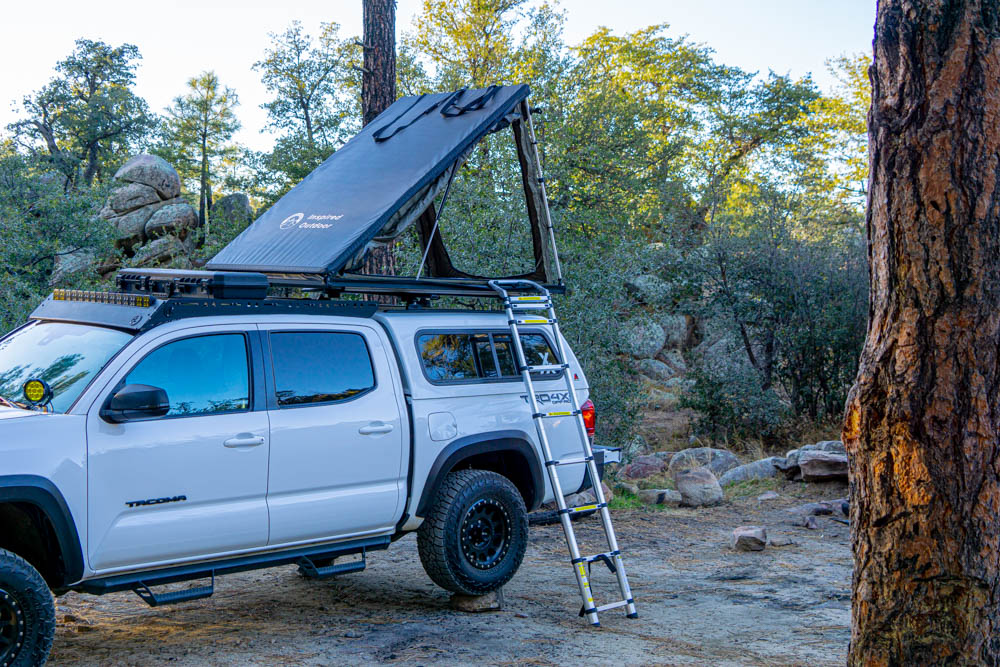
One of the best perks of the Inspired Overland tent is the ease of setup.
Its traditional clamshell style means setup and takedown is as speedy and stress free as ever.
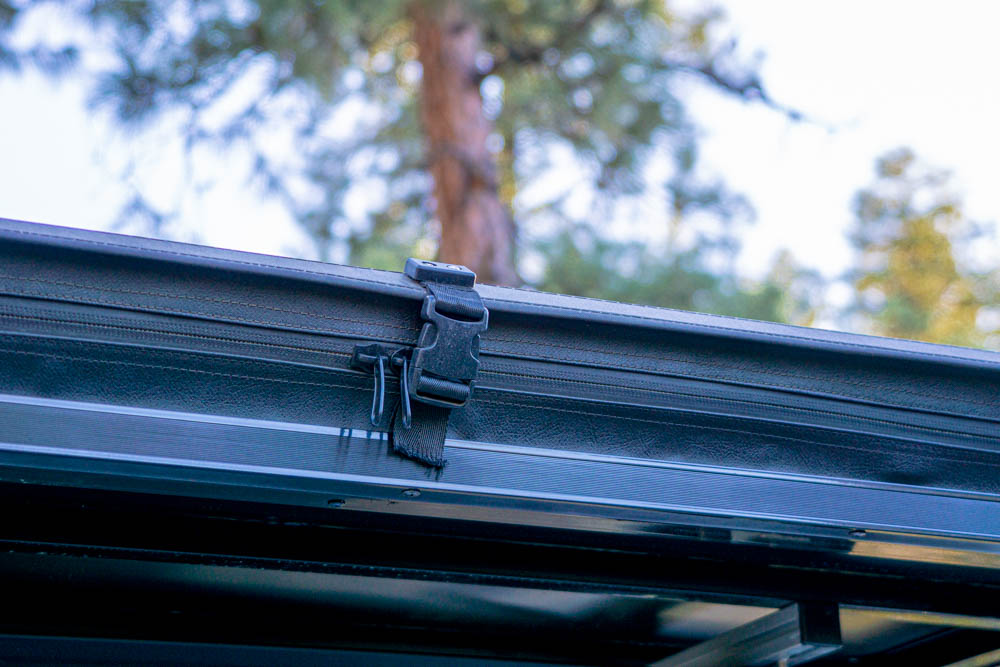
Unclip the buckle on the back side of the tent and unzip the two zippers all the way around.

Going to the rear of the tent, add upward pressure enough to get it started so the gas struts do the rest of the work.
Yup, that’s it, it is now open… it’s really that simple.
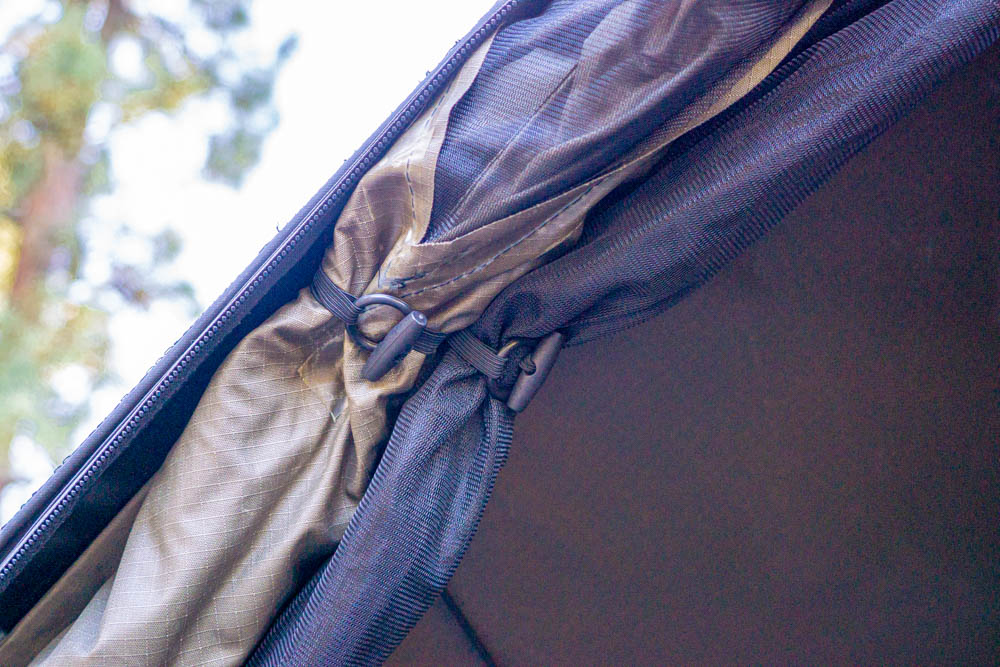
There are three entrances (windows) on the tent and can all be opened and tied up out of the way for maximum ventilation.
Unzip the chosen window and roll up tightly to the top of the tent where the associated clasps are to hold up the fabric. The rear entrance rainfly can be propped open by using the provided poles for shade as well as an awning. Insert poles in the selected drilled holes and extend to the eyelets on the rainfly.
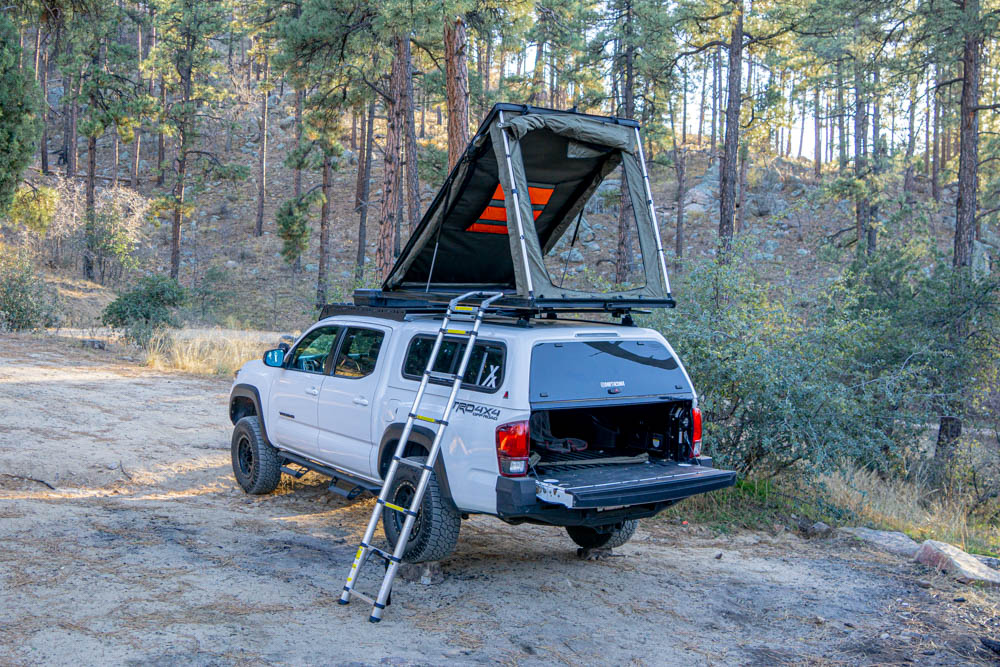
The choice is yours on whether to use the additional poles for added strength or not! They tuck nicely out of the way alongside the rails and are telescopic in the way they extend. Associated hole mounts on the roof of the tent are where the poles rest into. Extending these poles will help with the rigidity of the tent in strong winds.
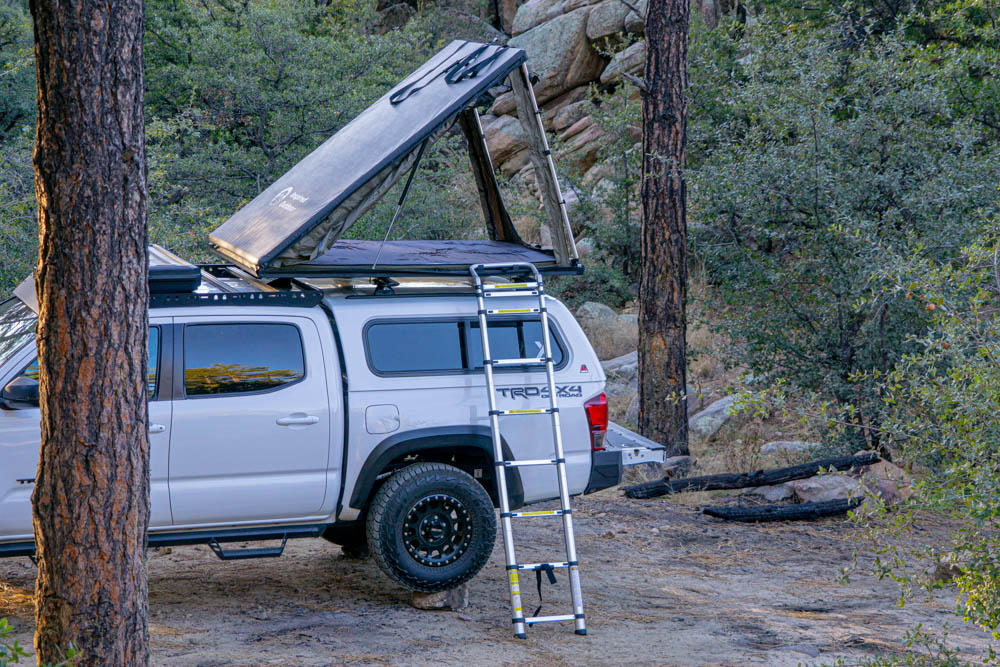
The provided ladder can mount on any side of the tent, meaning you aren’t limited on how to enter depending on how you’ve got your vehicle set up. There’s associated mounts specific to holding the top run of the ladder into place.
As for takedown it’s the reverse of the setup and stowing everything where it belongs. Make sure to tuck in the fabric that’s hanging out of the side before zipping it all up.
Setup Time (Without Windows & Rainfly):
- 30 seconds
Takedown Time (Without Windows & Rainfly):
- 60 seconds
Setup Time (With Windows & Rainfly):
- 3 minutes
Takedown Time (With Windows & Rainfly):
- 3 minutes 45 seconds
Note that all these times are averages through a handful of times setting up and closing the tent. Starting to get familiar and finding the best way to work around it will help speed these times up. But, as you can see they’re already insanely fast compared to a traditional style!
Final Thoughts
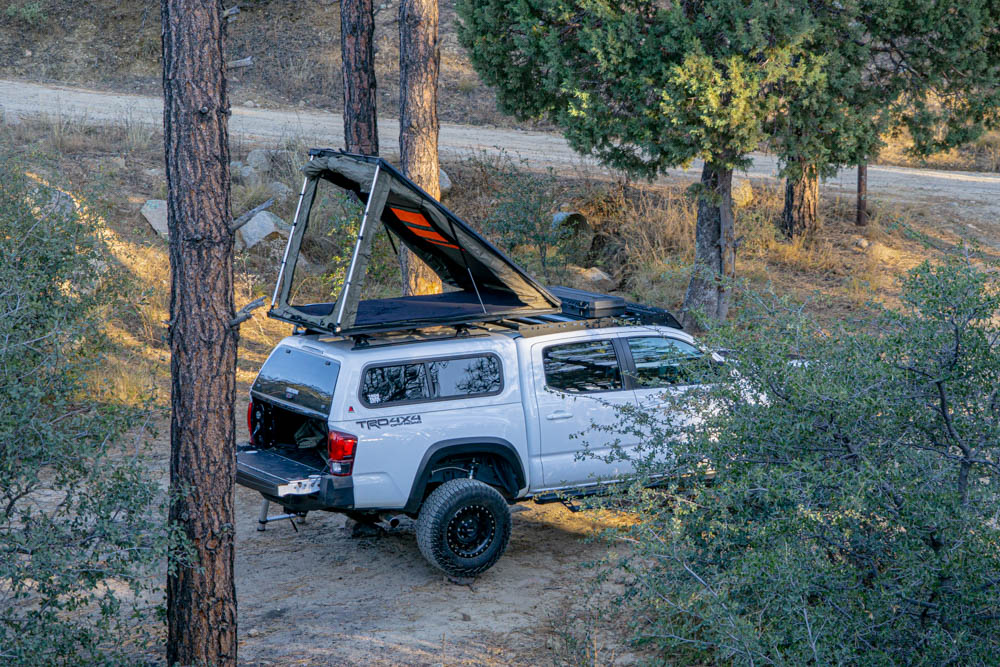
Overall the installation of the Inspired Overland tent is really straightforward, and following along the guide, you shouldn’t have any issues. Inspired does a great job at providing all tools and hardware necessary, making sure there’s not extra purchases or tools needed to get up and running.
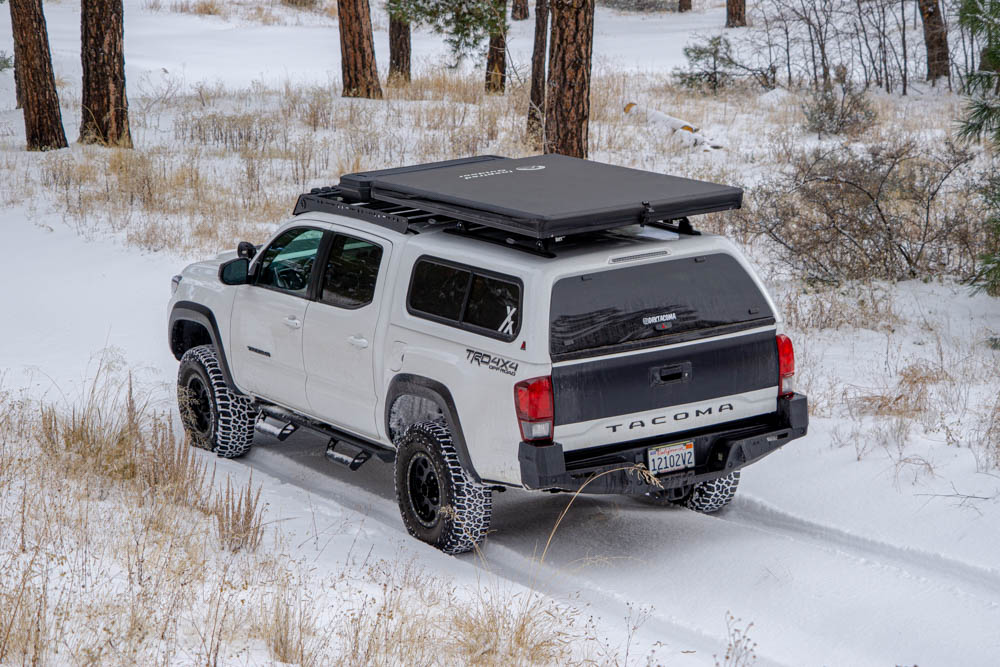
So far this tent is wonderful and has blown my expectations out of the water. After getting some more nights under our belt we’ll come back for an in-depth review on how it’s held up through some use.


Is the roof top tent strictly supported by the roof rack on the truck cap? Or is part on the track cab rack and part on the cap rack? I have a 2017 Tacoma and have Prinsu racks on both but thought I would have to mount the tent on the cab rack. Thoughts?
Hi, is there netting for windows and to keep the mossies away?
Maggie,
Yes there is! The netting is on the inside of the waterproof shell.
Any updates on this IO RTT? I am interested in your opinion after running it for it bit.
Thanks!
Scott,
I’ve loved it! While definitely can tell it’s a cheaper tent it’s suited my needs and with some modification I’ve made it quite comfortable! I really enjoy the lightweight construction, I hardly notice its there.