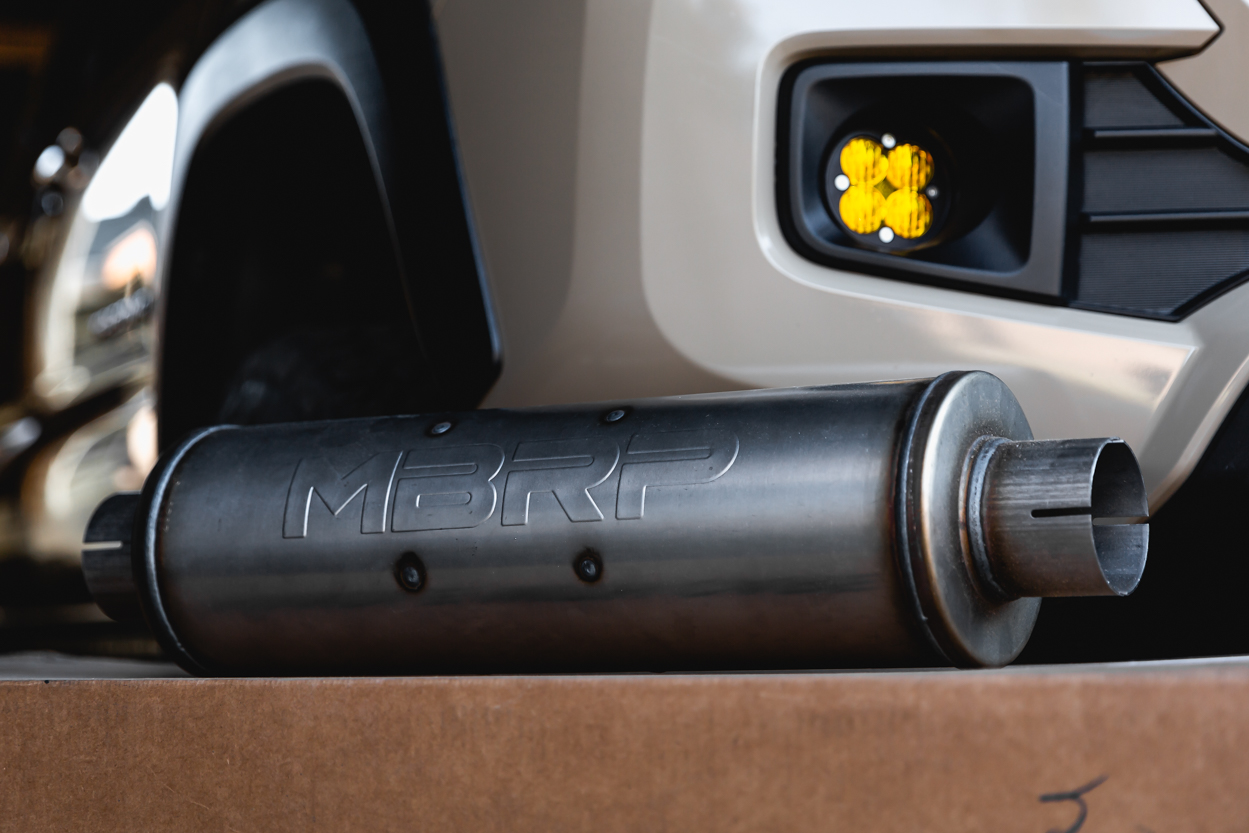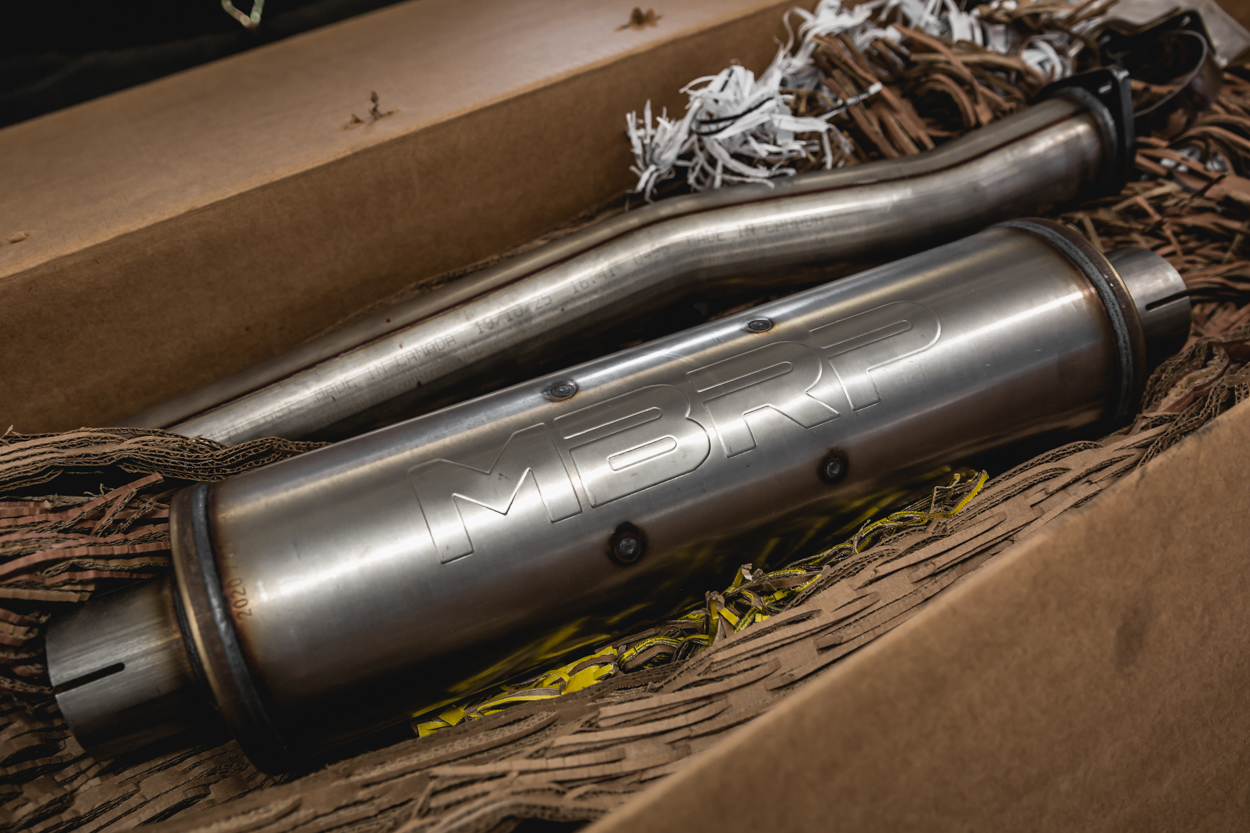
The MBRP XP Series 3″ Cat-Back, Turn Down, T409 exhaust adds performance and an aggressive “throaty” sound to your Tacoma.
Made of stainless steel, it features a turndown exhaust, bolt-on installation, and a limited lifetime warranty.
The 3” diameter mandrel-bent pipes and high-flow muffler provide increased airflow over the stock 2” cat-back system for a small increase in horsepower and torque.

This article will serve as a complete install guide should you choose to do this portion on your own. It’s easier than it sounds and you don’t need a ton of experience to knock this one out.
Let’s get started!
Find it online
- 2016-2023 Tacoma MBRP XP Series: Check Price
Table Of Contents
Installation

Allow the exhaust to cool down before you begin your work. The Install time is approximately 30-60 minutes. Eye protection is recommended.
Note: This install was done on a Tacoma with a relocated spare tire, 33-inch tires, and 2” rear lift. If you have a stock set up, you may need to consider the following points during step 2 of installation. This is just a guess, however, and may not be necessary. I personally haven’t worked with exhaust removal on a stock truck.
Tools & Materials
- Mechanic’s Tool Set (check price)
- Ratchet / Crescent Wrench
- 14mm Socket
- 15mm Socket
- Channel Lock / Exhaust Hanger Removal Plier
- WD40
- Hack Saw / Reciprocating Saw
- Perfect Bungee
Tips For Install
- If your truck has a spare tire in the stock position under the bed it might need to be removed temporarily.
- If the truck is stock ride height you may also need to jack up the rear of the truck on the frame allowing the axle to droop. Making more space to clear the pipe between the axle and the underside of the truck bed.
- If the system is caught on the axle and you’re unable to jack up the rear: Cut the pipe behind the muffler and it will drop out easily in two pieces.
Step 1. Disconnect Stock System

Start by removing the bolts (14mm) from the rear flange of the Y-pipe located just past the passenger side front door.
Keep the bolts, you will reuse them later.

Next, remove the hangers from the rubber isolators starting from the flange.
You may want to spray a little WD40 on the rubber to get them to slide on the hangers. Use channel locks or hanger removal pliers to push the hangers out.

Use a bungee cord to hold up the front pipe as you work your way down to each hanger.

Then remove the cord and set the front pipe on the ground.
Step 2. Remove Stock System

To remove the exhaust system from under the truck, pick the pipe up off the axle and rotate the muffler counterclockwise until the tip is facing the ground.

Pull the exhaust system over the axle toward the front of the truck until the tip is close to the axle.

Rotate the muffler counterclockwise again until the exhaust tip is facing the driver’s side and then pull the last part of the tip over the axle.

You may need to angle the system a little as you clear the axle.
Step 3. Trim Front Pipe

Double cab long bed models can skip to step 4.
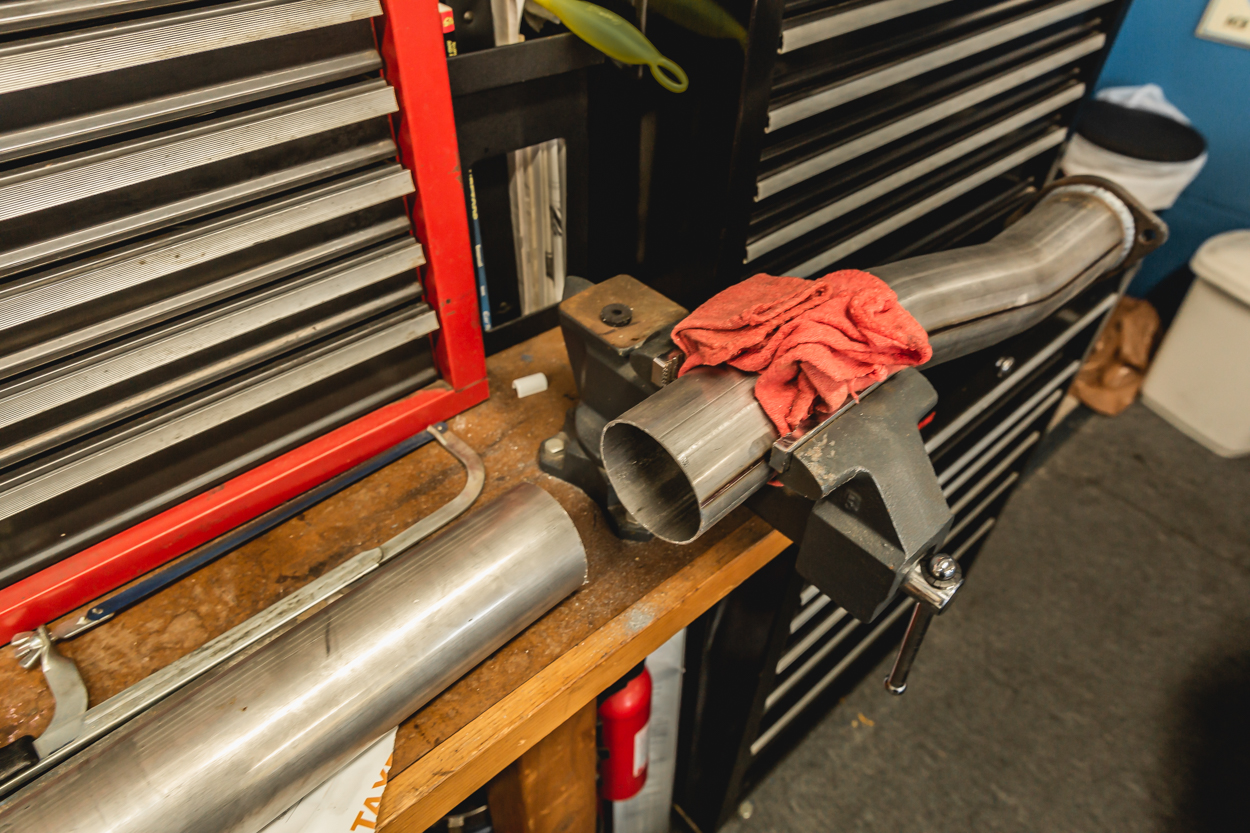
If your truck is NOT a double cab long bed (DCLB) then you will need to trim the front pipe.

Measure 20 1/8” inches from the flange and mark with a sharpie.
Do this all around the pipe to keep your cut straight.

Secure the pipe in a swivel vise or place it somewhere sturdy like on the floor and begin cutting.

The hacksaw will require a lot of elbow grease so I recommend using a reciprocating saw if possible.
Step 4. Install Front Pipe

Take the front pipe and attach it to the Y-pipe with the original bolts.

Install the hanger bracket onto a 3” band clamp by removing the nut and inserting the band clamp tightening bolt through the slot in the hanger bracket.

Make sure the bolt is seated properly in the bracket slot and loosely replace the nut on the band clamp tightening bolt.

Put the assembled hanger over the end of the front pipe with the hanger tip pointing towards the front of the truck and install it into the factory rubber isolator.
Step 5. Install Muffler

Install the muffler by sliding it forward onto the front pipe as far as it can go.

Use a bungee cord on the end of the muffler to hold it up and prevent the weight from pulling down on the pipe.

Make sure the band clamp is sitting squarely over the connection between the front pipe and muffler.
Keep the clamp loose for now.
Step 6. Install Tailpipe

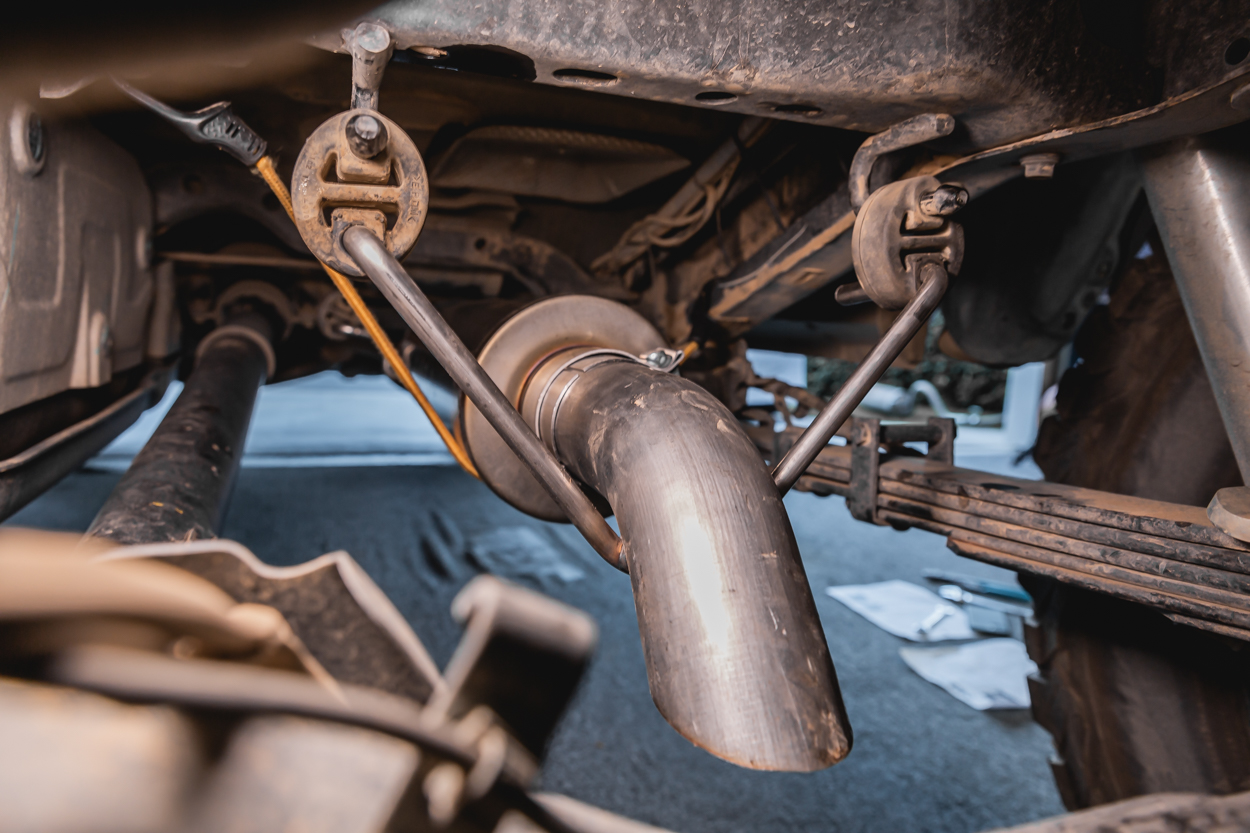
Place a loose 3” clamp over the muffler outlet.

Insert the tailpipe into the muffler outlet and insert the tailpipe hangers into the factory rubber isolators.

Remove the bungee cord around the muffler.
Step 7. Final Fitment

Make sure the exhaust is properly in place and both band clamps are seated squarely over the muffler inlet and outlet connections.

Check the Y-pipe bolts are properly tightened then tighten both clamps (15mm) firmly starting with the front hanger clamp and lastly, the outlet tailpipe clamp.
Final Thoughts

That’s a wrap, now fire it up!
This exhaust is loud and it’s not for everyone. Sound clips only go so far. The best way to pick the right tone for you is to hear it in person first, if possible.

This install guide will work for all bolt-on style, turn down exhausts like the MagnaFlow off-road pro series.
Thanks for reading! Feel free to reach out with any questions or comments. You can also follow my truck build and adventures on Instagram.


Thanks again for the thorough walkthrough. I’m presuming the process is very similar on gen 2 Tacomas. Looking at this in conjunction with the Volant cold air intake.