Founded in 2010, Relentless Fabrication started as a small side project that quickly grew and evolved into one of the most popular fabricators on the West Coast for the 2nd Gen and 3rd Gen Tacomas today. They create unique, high-quality off-road parts for 4X4 trucks and also provide custom fabrication services. Every product is designed and built in-house at their Sparks, NV location by people who take pride in their craft and strive to build the best off-road armor and accessories in the industry.
Lead times can be 8 to 10 weeks for products like the crossbars and up to 16 to 23 weeks for bigger products like bumpers. In my opinion, Relentless Fabrications has some of the best-looking armor and accessories for the 2nd and 3rd Gen Tacomas all while keeping at an affordable price point.
The combination of a great price and high-quality fabrication definitely make it worth the wait to me.
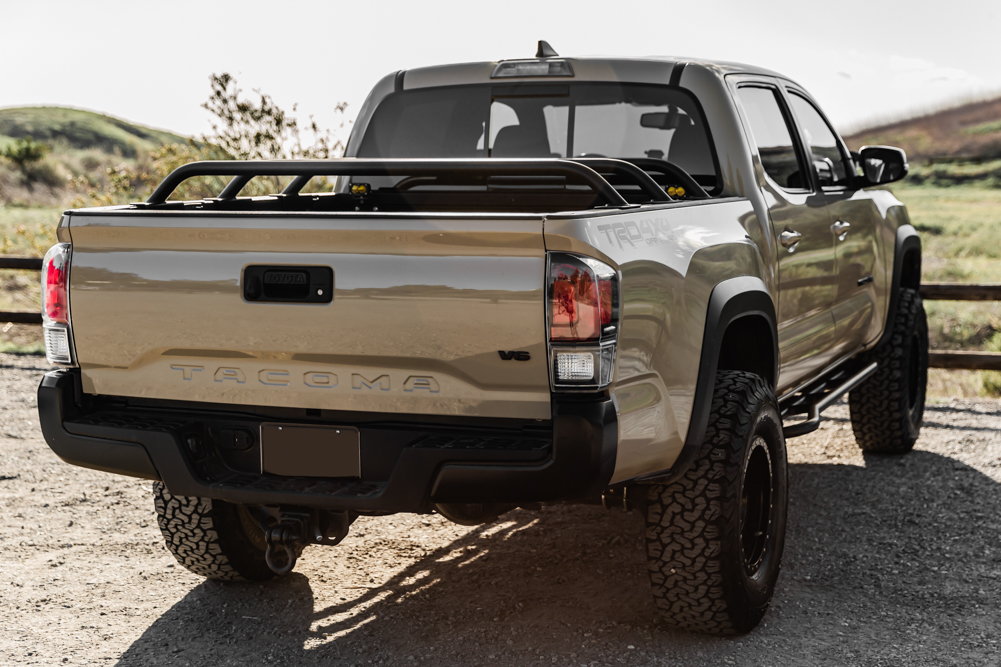
In this article, we take a look at the Relentless Fabrications set of three-bed cargo crossbars for mounting RTTs, cases, or cargo baskets on 2005+ Toyota Tacomas. No drilling or modifications are necessary. There are optional mounts and tabs for lights, antenna, or hi-lift jack. The product is made in the USA with CNC cut and welded 3/16” steel mounting plates and 1.75” diameter .090” wall tubing. Mounting hardware included and available sizes in standard (5”) and tall (9”).
Find It Online
- 2005-2023 Tacoma Bed Cargo Cross Bars: Check Price
Table Of Contents
Installation Overview
These bed crossbars are shipped bare metal with no powder coating or paint option available.
You can get them powder-coated by a local shop or paint them yourself. This article covers both the prepping, painting and installation processes. Skip to Step 3 to just view only the installation portion.
Cleaning, Prepping, and Painting Bare Metal For the Bed Rack Cross Bars:
Tools & Materials
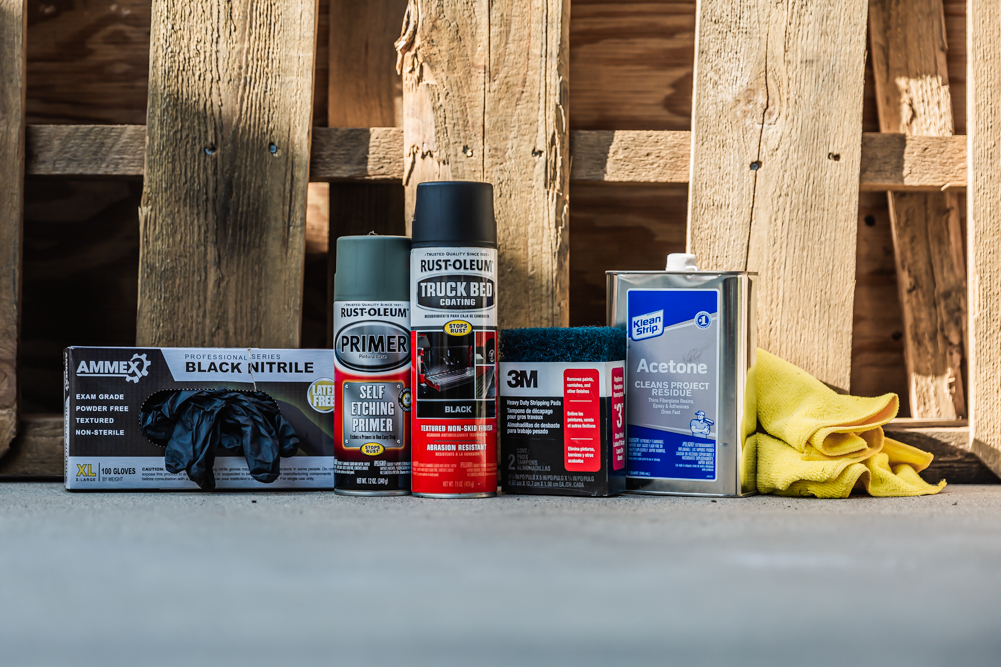
- Primer & Paint:
- Optional Paint (Higher Quality):
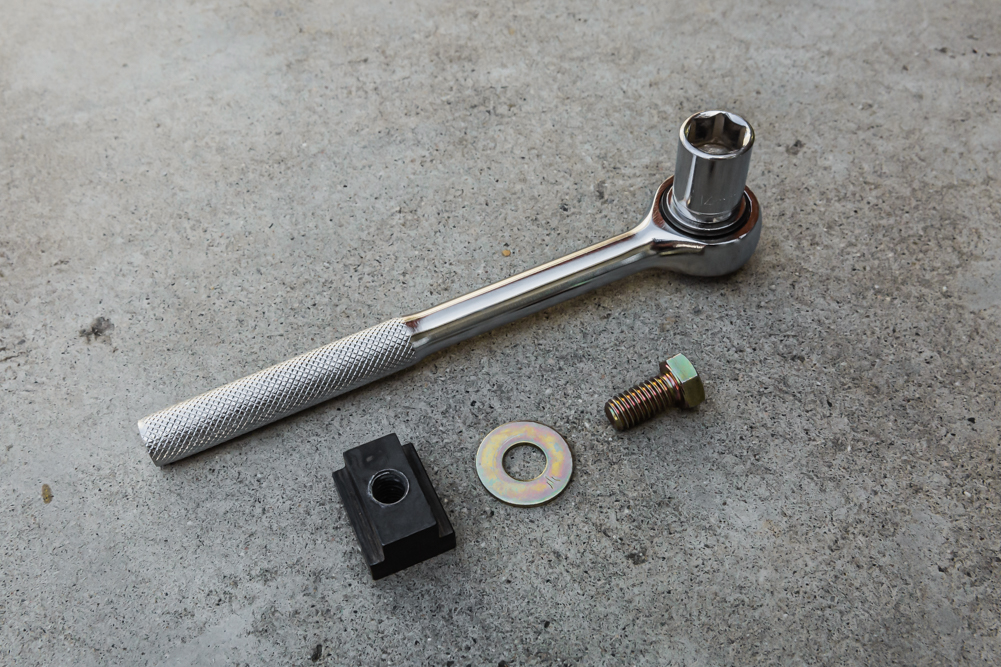
- 9/16” or 14mm Wrench
- Included Hardware
- Cleaning Pad of Choice
- Brushing/Scuffing Bits
- Rubber Gloves
- Acetone
- Microfiber Cloth
Step 1. Prep Metal
Before primer and paint, the raw metal needs to be cleaned of surface rust and residue.
It’s always important to have a clean surface for the primer to adhere properly to prevent peeling or flaking. Use the scotch pad to sand the metal surface until all rusty spots and residue are removed.
If you really want to go the extra mile in cleaning the metal, you can grab the coarse and semi-coarse wire brush drill bit attachments linked above. These are going to make the job go faster, easier and will ultimately provide a cleaner metal surface allowing the paint to adhere much better. That said, it might be overkill for some.
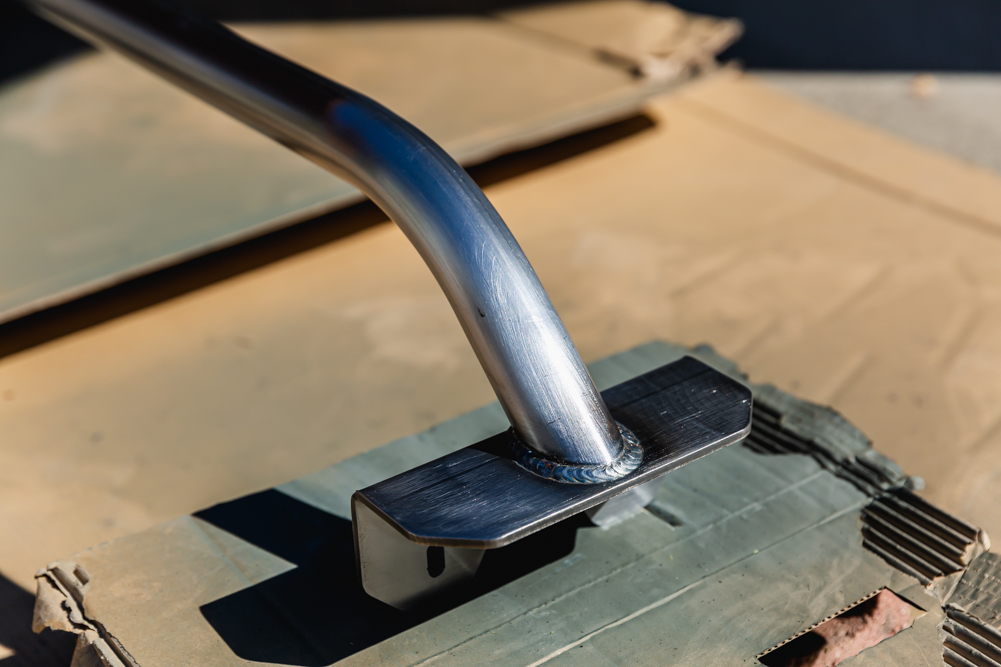
Once the surface is looking scuffed and shiny, apply acetone to a microfiber cloth and wipe the surface down to remove sanding dust left behind from the scotch pad.
Acetone is strong and harmful to breathe or touch, so make sure you wear a face mask and rubber gloves. Keep an eye on your gloves and replace them with a fresh pair as needed since the chemical wears through rubber quickly.
If you have streaks left over by the acetone wash you can use denatured alcohol to clean those streaks away.
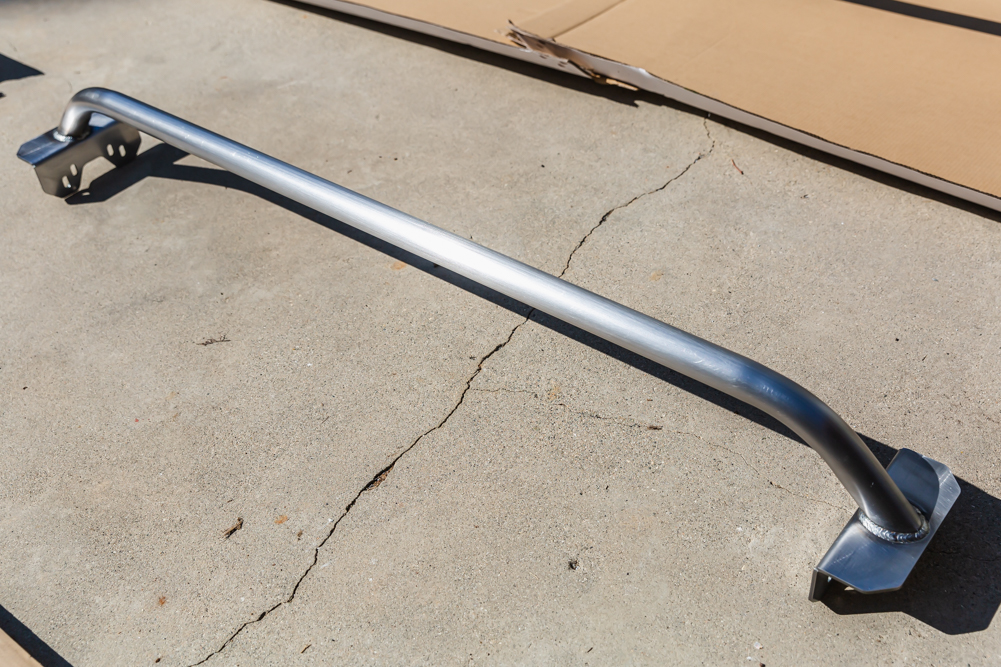
Now that the raw metal is clean and dry, make sure to spray the primer right away or you may have to repeat the cleaning and prep process again.
Step 2. Primer & Paint
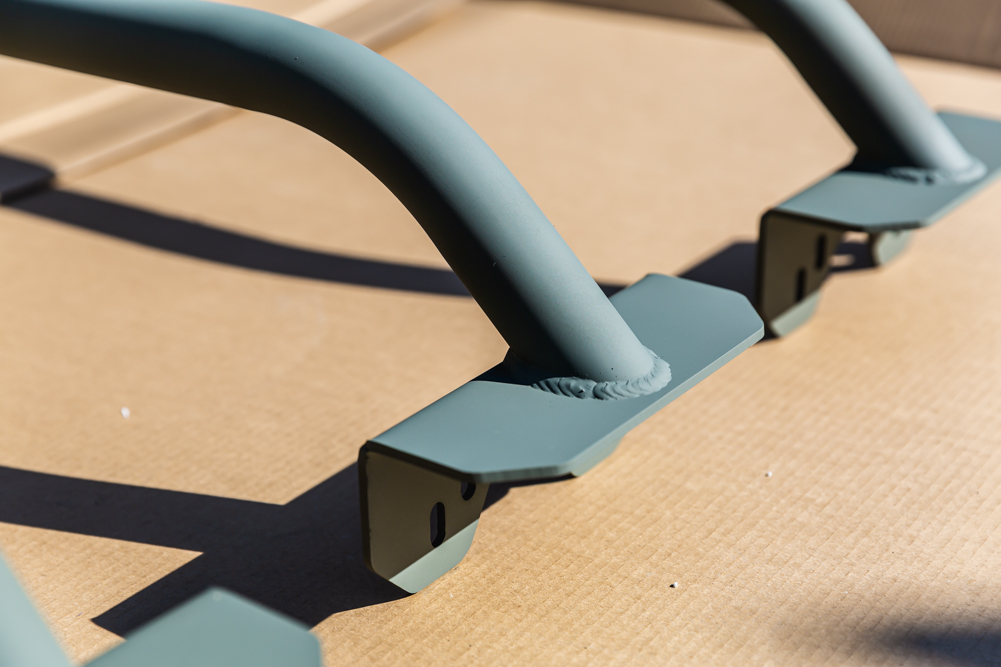
Raw steel can quickly develop surface rust again after just a day or two. Even handling it with bare hands can cause rust from the natural oils on your skin, so make sure to wear gloves if you’re moving the bars to another area for paint.
I used about one can of primer and 3/4 of a can of bed liner for each crossbar. I had enough bed liner spray left over for touch-ups.
Avoid painting in windy or wet conditions. Cover surrounding areas to protect from overspray.
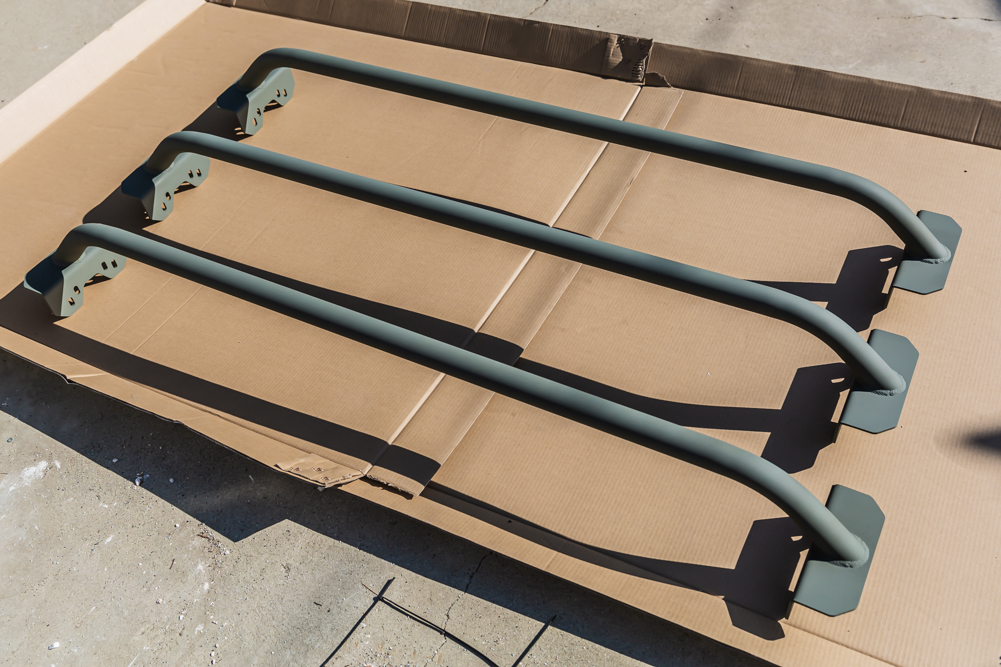
Start with the self-etching primer. Shake the can vigorously for one minute. Spray the bars from about 12-16” away in a steady back-and-forth motion. Apply 3-4 coats allowing about 5-10 minutes between each coat and let dry for a couple of hours before applying the bed liner.
If you encounter any runny spots, you can use acetone and a microfiber cloth to carefully rub off some of the excess paint and respray the area.
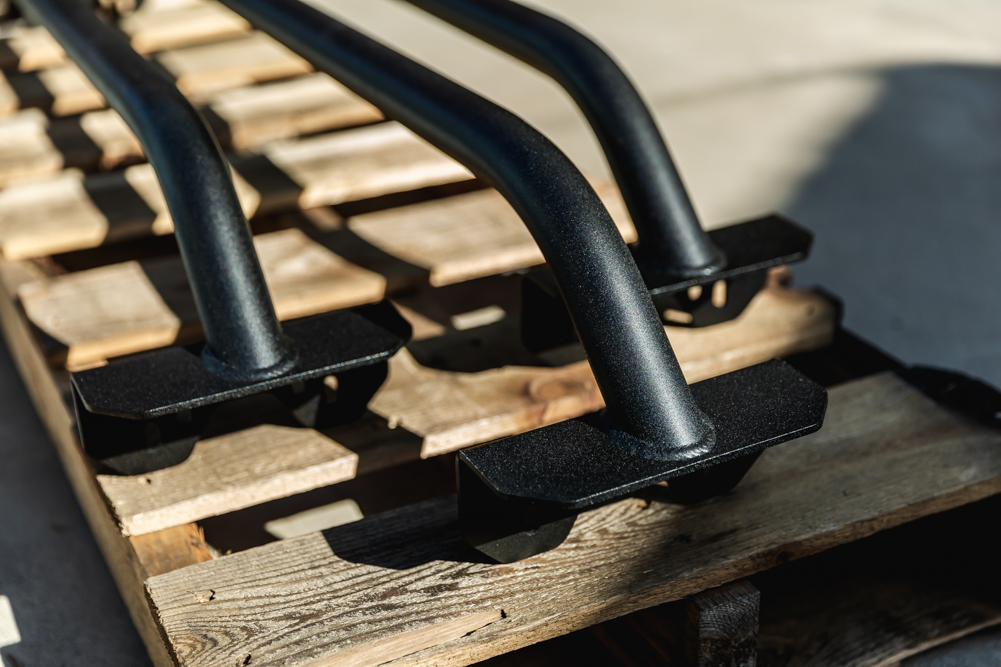
Once the primer is dry, start applying the bed liner.
Be aware that the bed liner spray comes out faster and thicker compared to the primer so you will have to slightly adjust your spraying technique to avoid runny spots and uneven coats.
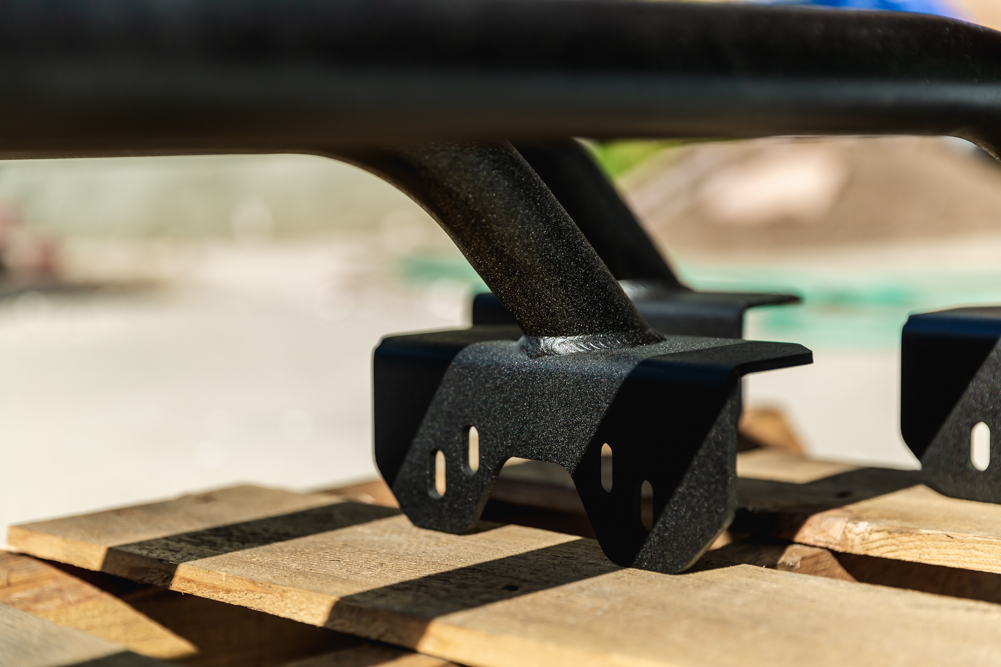
Apply two coats allowing 1-2 minutes between coats. Let dry for 24 hours and allow 72 hours to fully cure.
Step 3. Mount Bed Bars
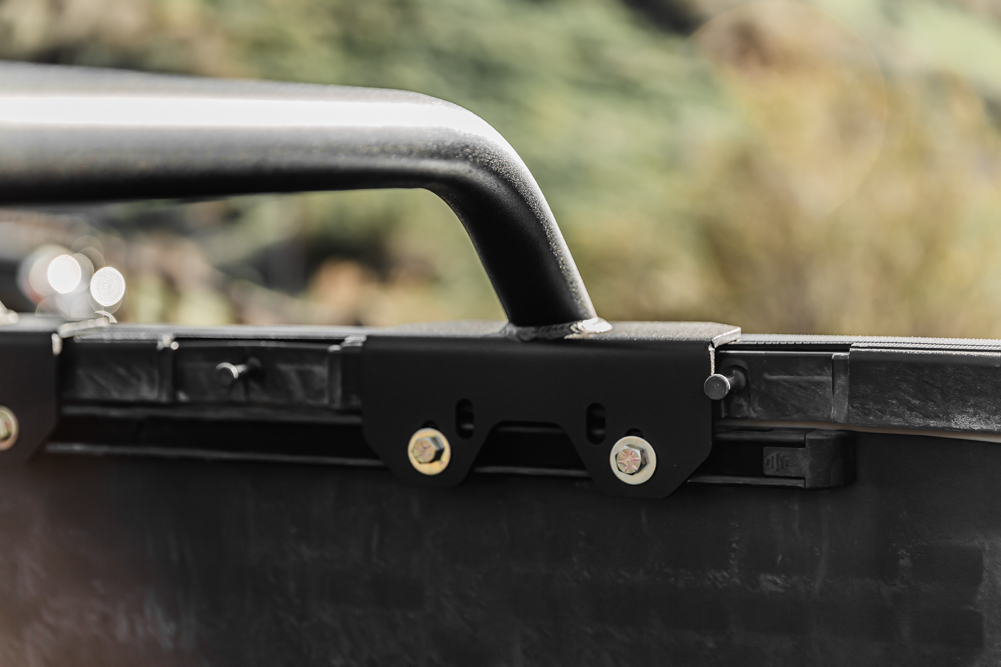
Using the supplied hardware, slide six T-slot nuts in each bed rail and space them throughout the rail where each crossbar will be mounted.
Place the crossbars on the bed and align the T-slot nuts to the mounting holes on each bar. Use a washer with each bolt and hand tighten.
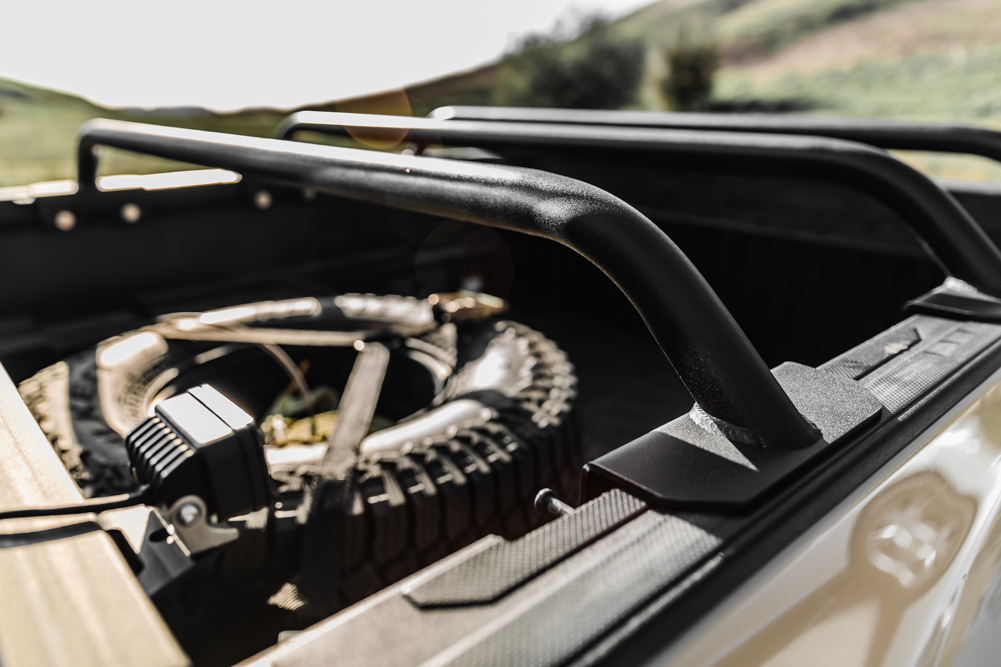
You may need to adjust the spacing of each bar to accommodate the mounting position of whatever you’re mounting on the bars.
Once your gear is mounted, fully tighten down all mounting bolts with a 9/16” wrench.
Mounting Rooftop Tent
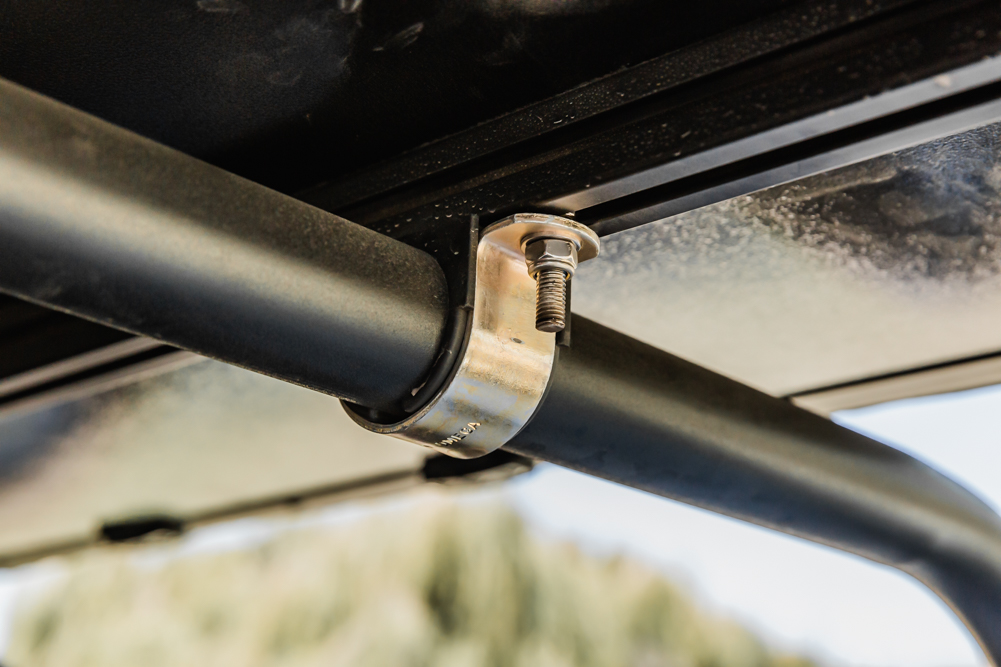
To mount my RTT, I used McMaster 1.75” vibration dampening routing clamps in combination with the nuts and bolts that came with my tent.
They have a rubber cushion and the U-shaped clamps look much cleaner than the mounting brackets that were provided with the tent.
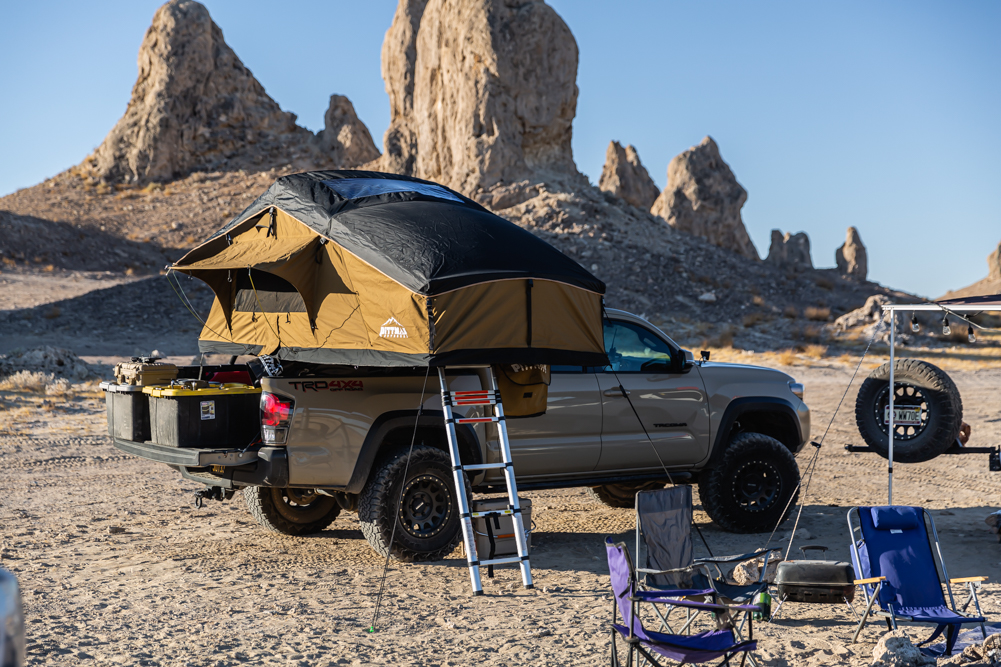
For my off-road driving style, most bed racks are too tall with the RTT mounting position above the roof of the cab, or the rack is constructed with a modular bolt-together design.
To me, this seems a little weak when loaded with gear compared to a welded steel tube design.
Final Thoughts
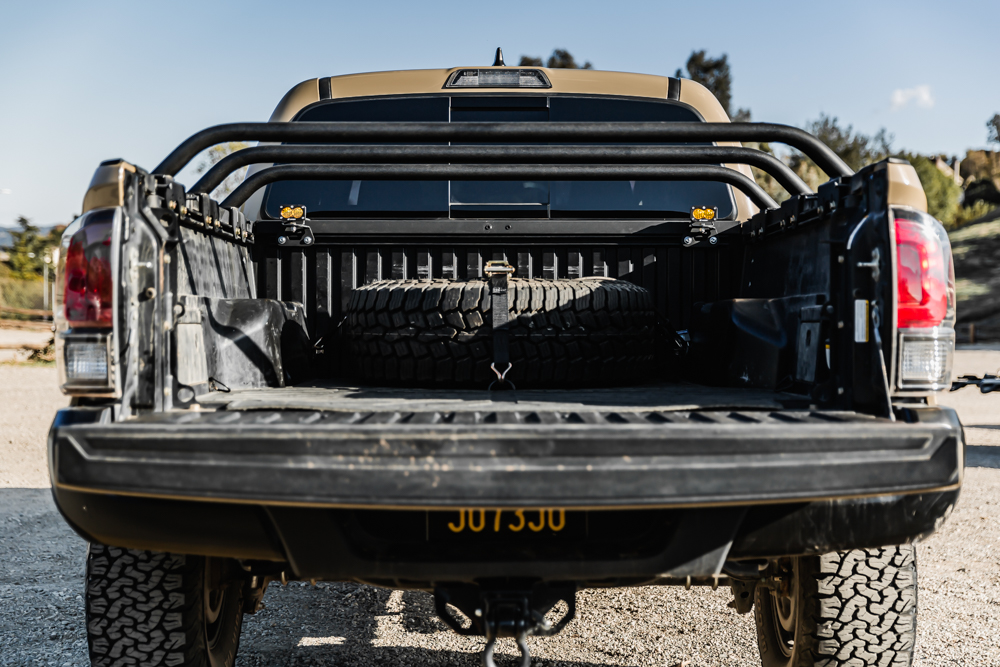
The Relentless Fabrication bed cargo/crossbars are heavy-duty and well constructed.
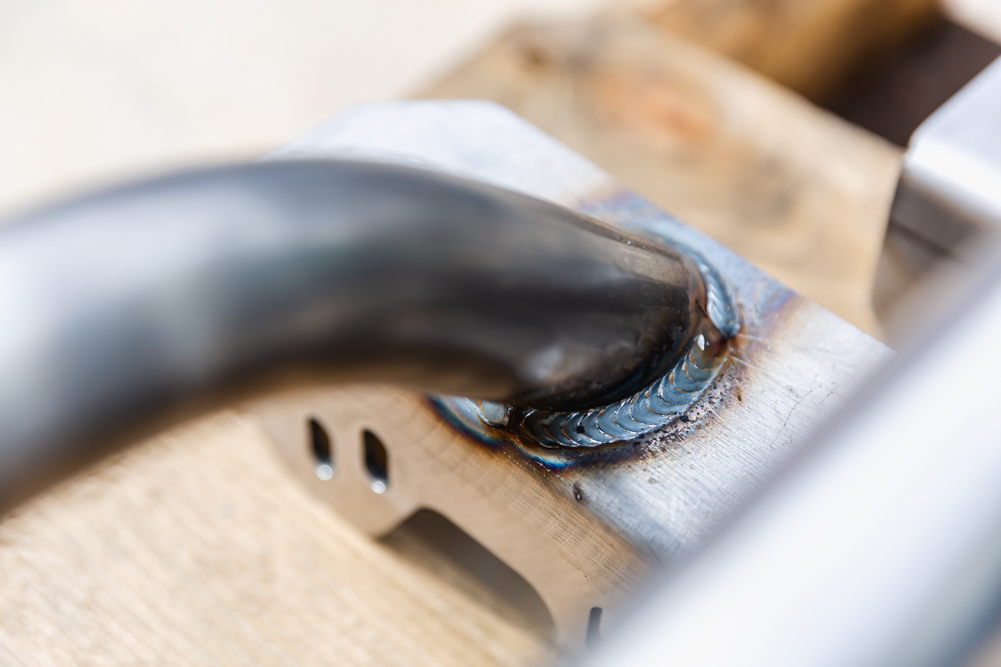
The bent tubes are beautifully welded to the mounting brackets to provide more support than other bed racks with bolt-together assemblies.
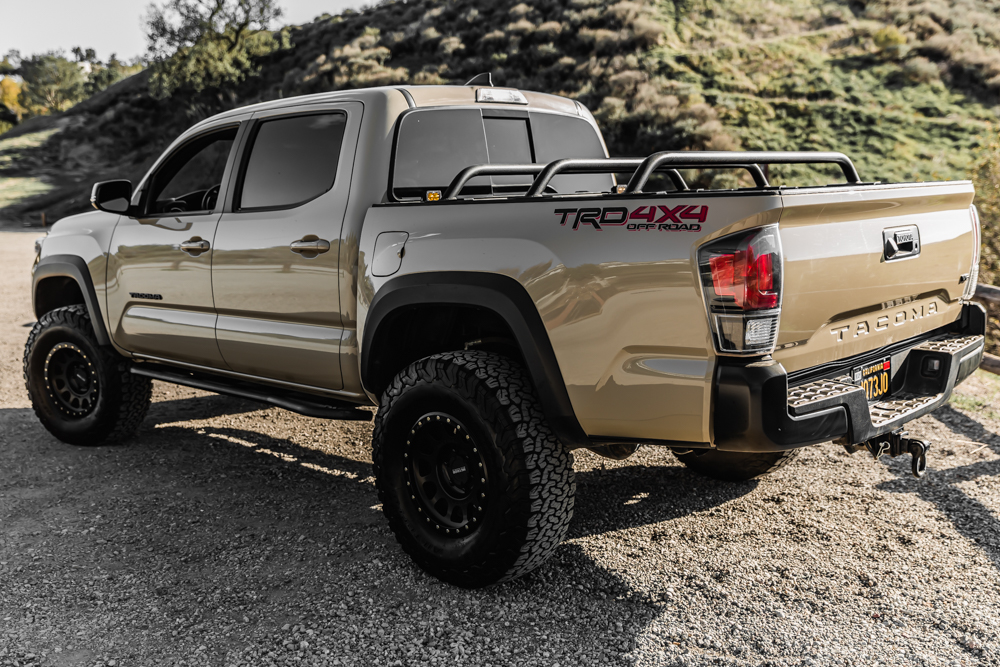
Most bed racks are tall and bulky with the tent mounted above the roof of the cab. I wanted a simple and affordable mounting system for my rooftop tent that kept a lower center of gravity to prevent tipping on rougher and tougher trails.
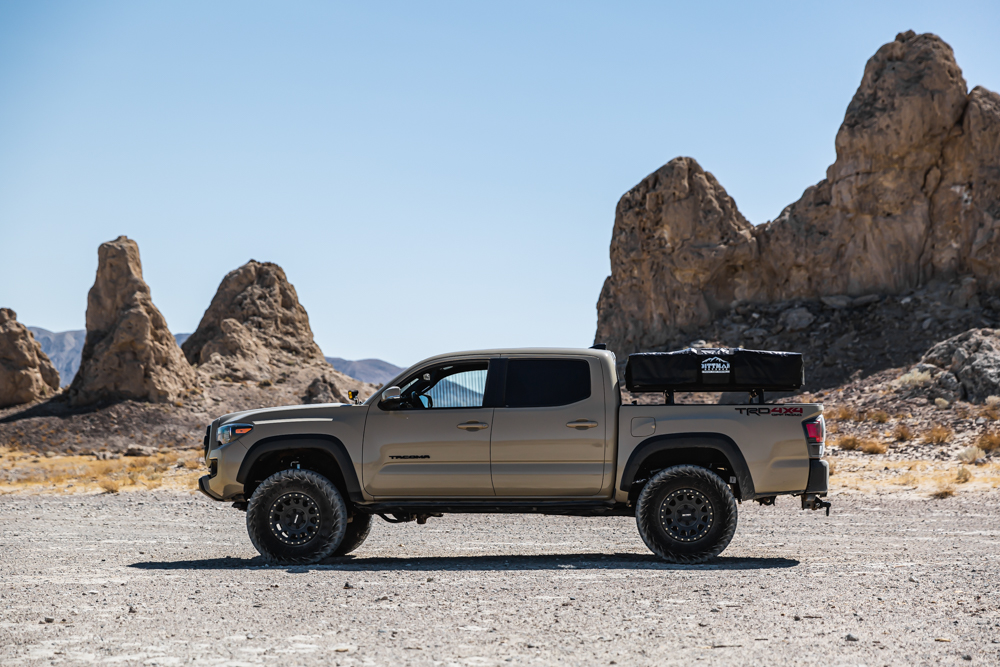
Since I’m not a big overlander, I don’t need as much mounting or storage space. This bed rack system is perfect for my needs, providing enough storage for a 2-3 day camping trip and easy to break down when I’m not running the RTT.


