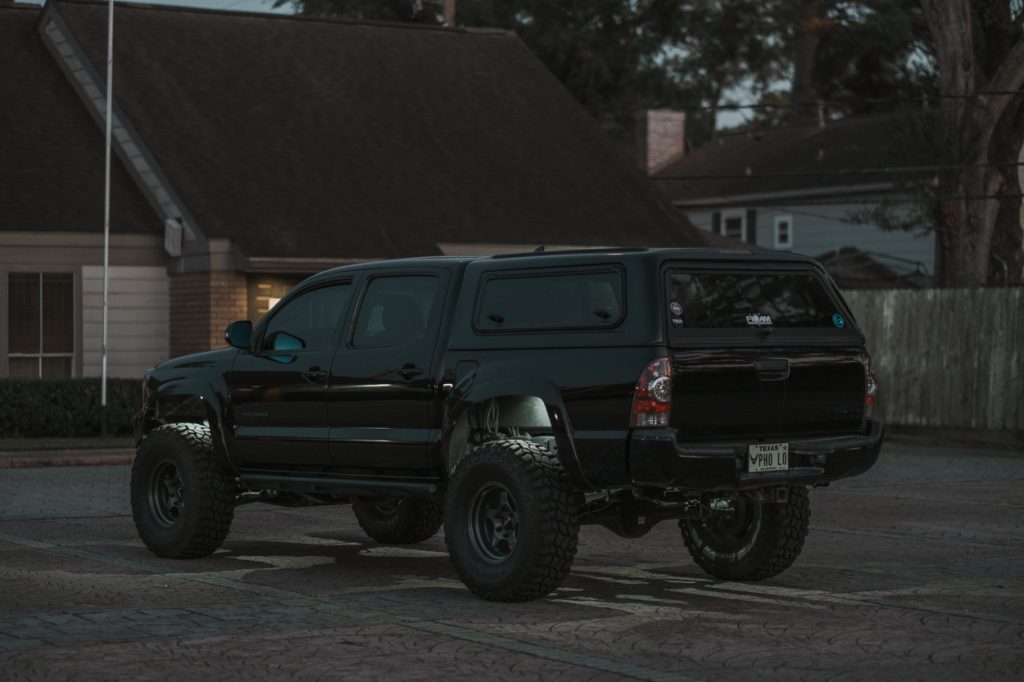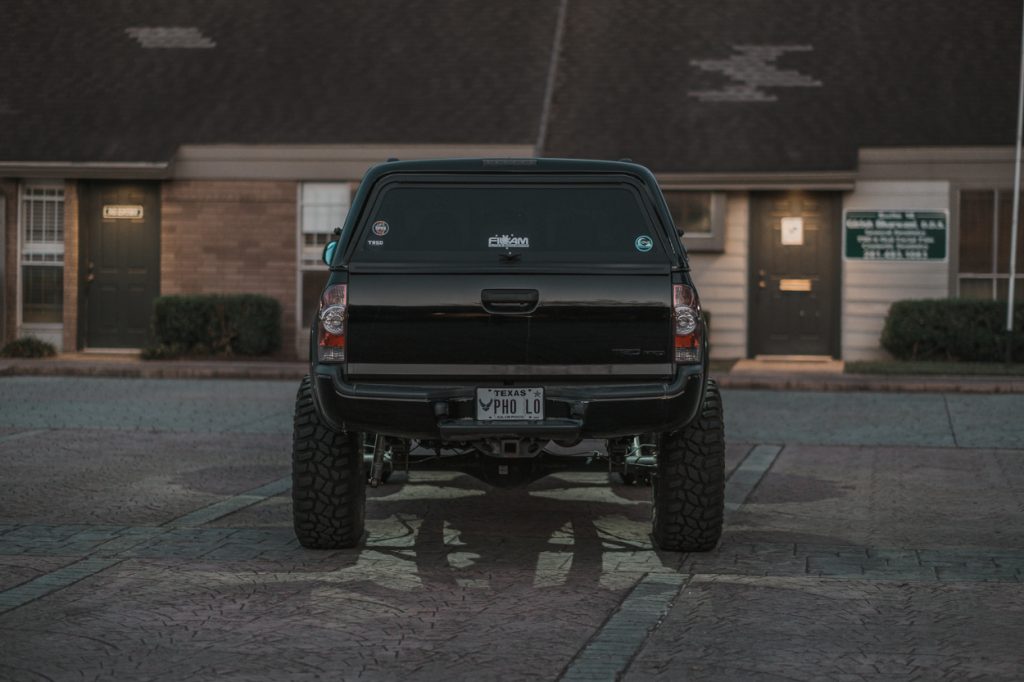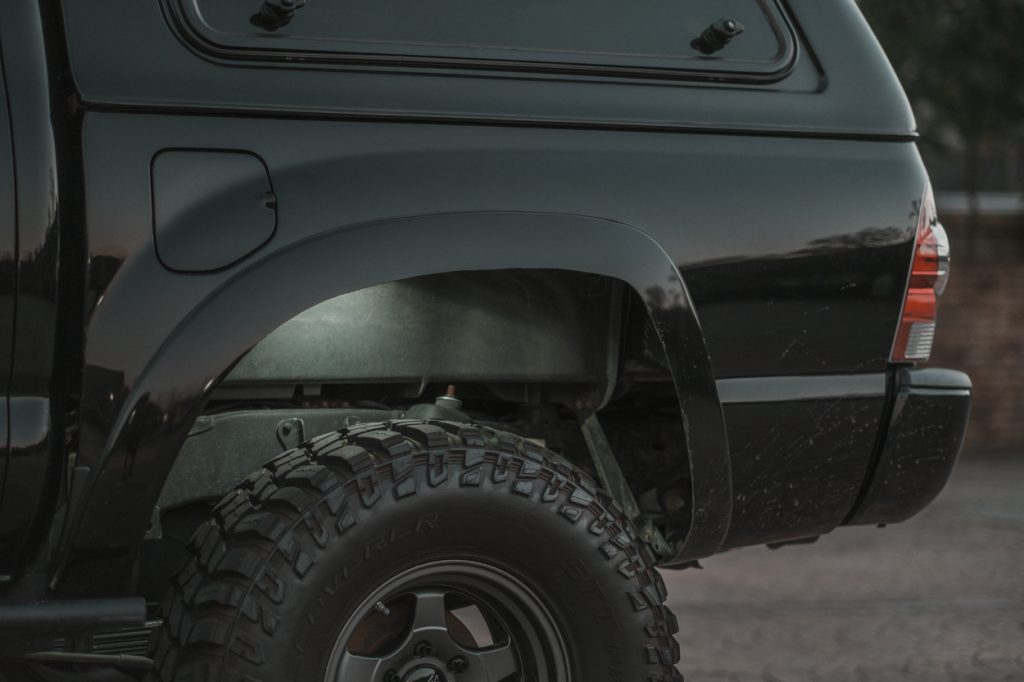
Rock lights are an affordable way to brighten up your path on the trails, but not all of them. A set of Baja and KC rock lights are pretty steep.
Check out these LED rock lights by Rear Light Bar (RLB). They are super affordable, and actually super high quality. If you are in the market, check these out for sure.
Table Of Contents
Why Add These?
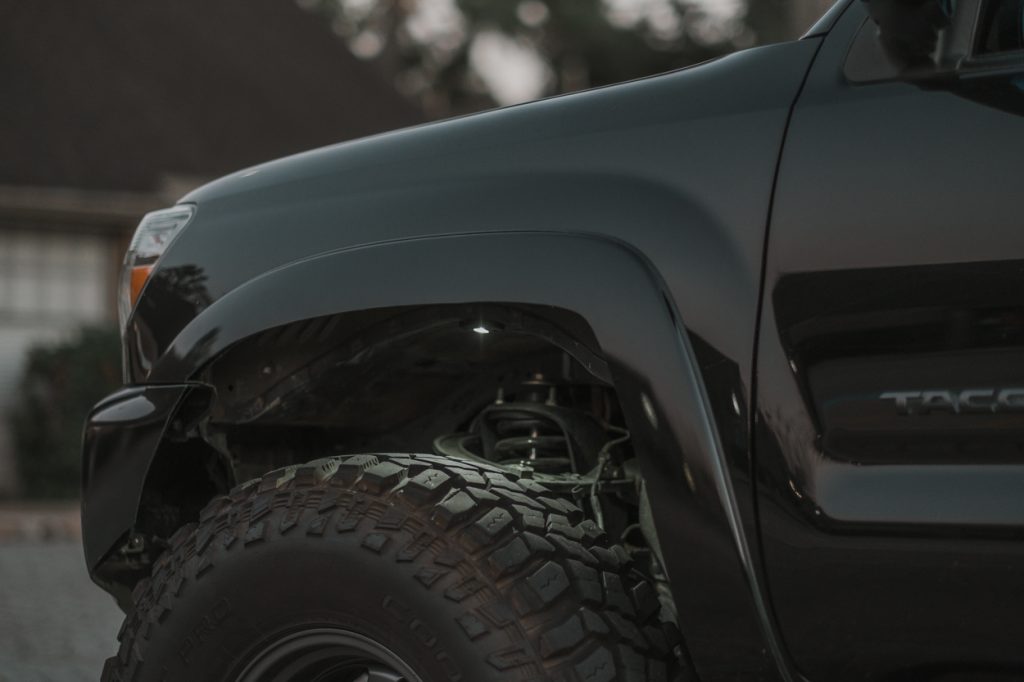
When you’re on the trail at night, rock lights are needed to see, well, the rocks. They’re used to illuminate the ground near the tires so you can see when you’re tackling an obstacle on the trail.
If you have been on a trail at night with your head out the window, can’t see much, and you’re anxious about doing unnecessary damage, then rock lights are for you.
Rock lights can also be installed in a way to just function as auxiliary scene lights. Mainly to display one’s suspension or to have under glow beneath the body.
In this article, you’ll see me mount the light for maximum functionality off-road, but there are multiple spots where you can place them. I will be doing a basic four-light setup, but you may install more lights if needed. Some guys run 6 light kits and others run full 8 light kits. We may add some additional lights on ours in the future.
I also do not have a fender liner so mounting points will not be exact. You can achieve similar mounting points with the fender liner installed.
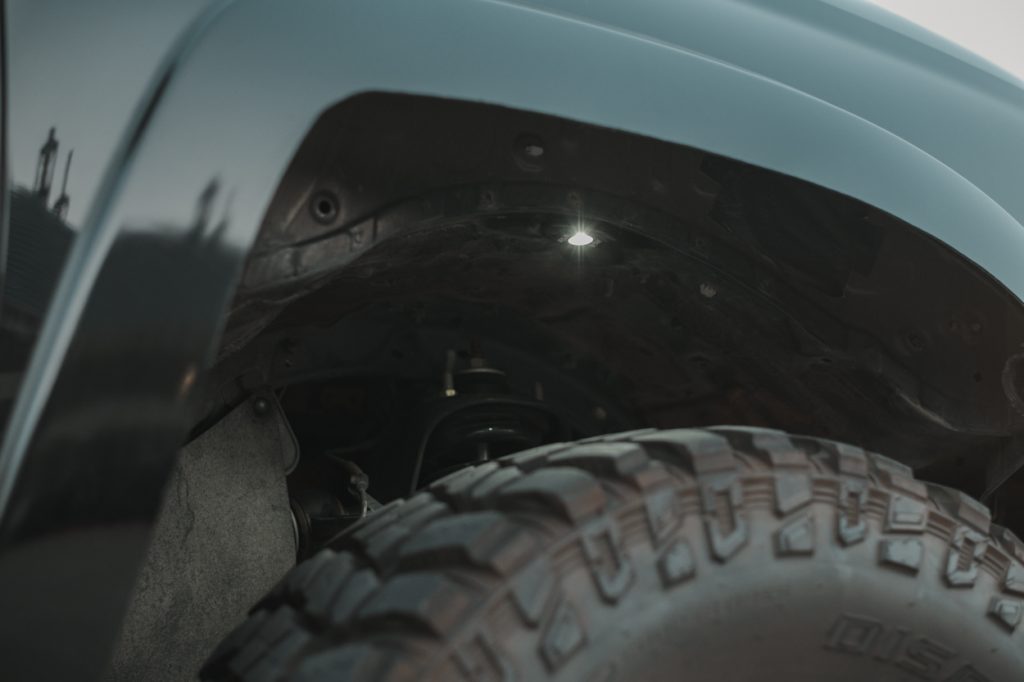
These come in 3 different colors: White, Amber and Blue.
These LED lights feature a waterproof housing, 120° angle beam and only draw 9 total watts per light. You’ll need some sort of switch to attach the light to. I opted to use my Cali Raised wiring harness and accompanying switch. You can find the links to everything below.
Find It Online
- RLB (Rear Light Bar) Universal Rock Lights: Check Price
- Cali Raised Wiring Harness: Check Price
- Cali Raised Switch: Check Price
- Other Wiring Harness Options (multiple leads): Check Price
Tools & Materials
You’ll need some basic wiring materials and tools for this install. Don’t worry, it’s all stuff you can easily find online, and it’s not rocket science.
- 18 Gauge 2 Color (Red/Black) Color Wire
- Heat Shrink Solder Connectors
- Split Wire Loom
- Wire Cutter
- Wire Crimper
- Wire Stripper
- Heat Gun
- Drill and Self-Tapping Screws
Step 1. Choose Mounting Spots
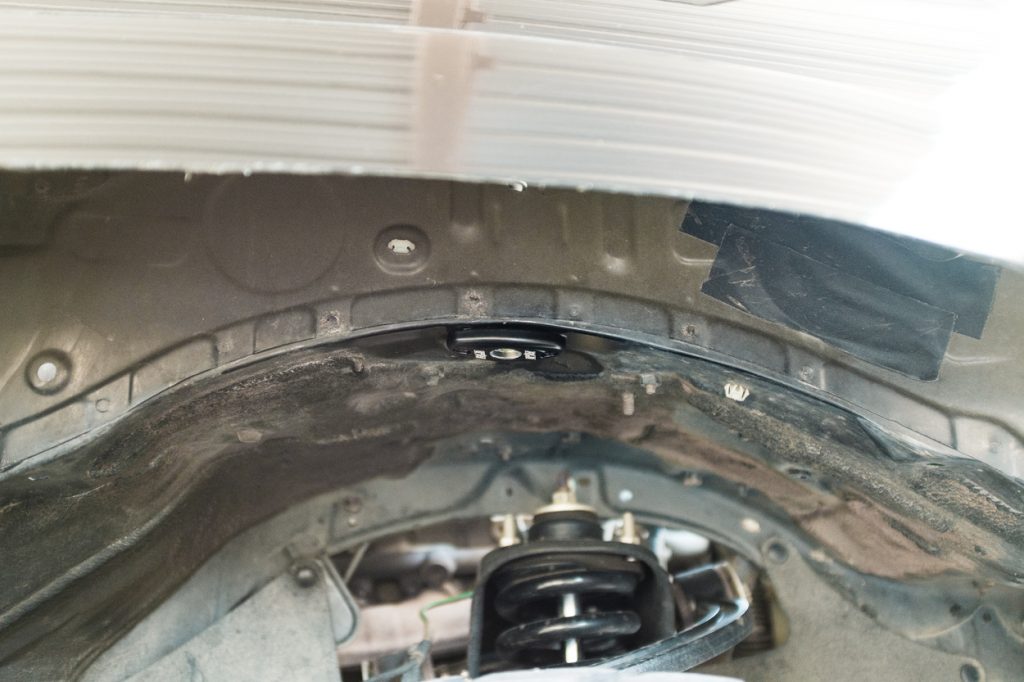
Where you place them will depend on if you want to use your lights as rock lights or auxiliary lights.
Lighting coverage is important when you’re on the trail at night. Placing the rock lights so they will illuminate behind and in front of the tires is best. As you can see above, this is essentially in the middle of the wheel well and the tire. This placement is ideal, so it will not create shadows around the tire. This makes it easier to see objects that you come across on the trail.
If you’re using them as auxiliary scene lights, then you can place the lights anywhere in the wheel well. But if you plan to mount the lights above the tire, make sure they will not be in contact with the tire during full flex. Mount the lights inward at a 45° angle to give you the best lighting coverage.
Step 2. Mount Lights
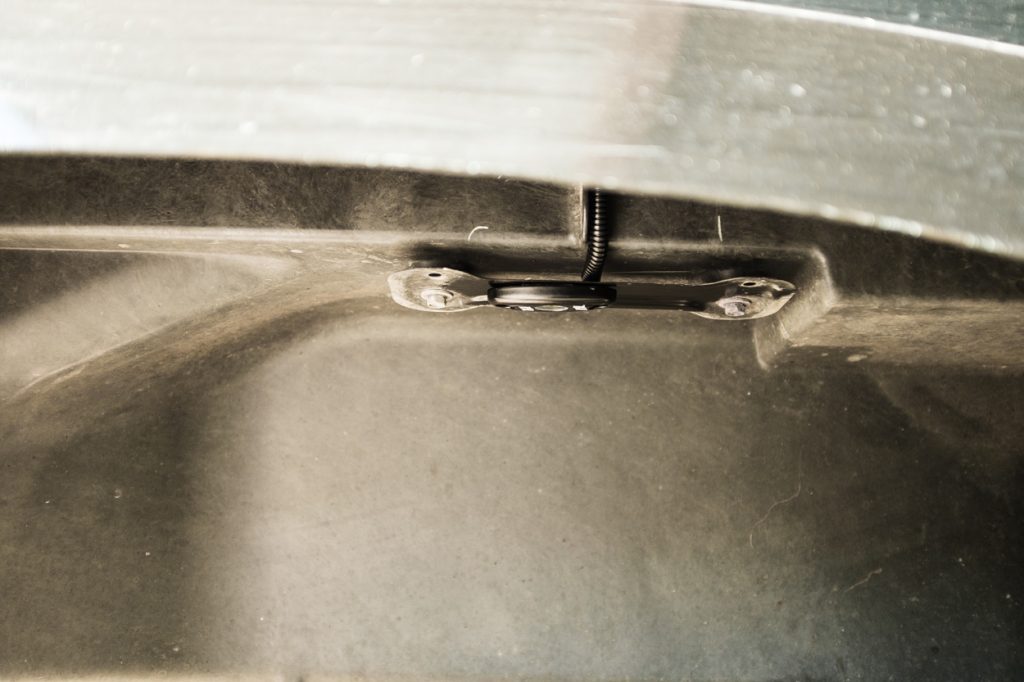
Once you find the placement of your lights, you will need to secure the lights using the provided hardware or self-tapping screws.
If using the provided hardware, you will need to drill a total of 3 holes to secure the light, with 2 for the provided bolts and 1 hole to run the wire through. You could technically route the wire around the body, but it’s really not worth the hassle. Once the holes are drilled, secure lights with the provided bolts.
Step 3. Wire Lights
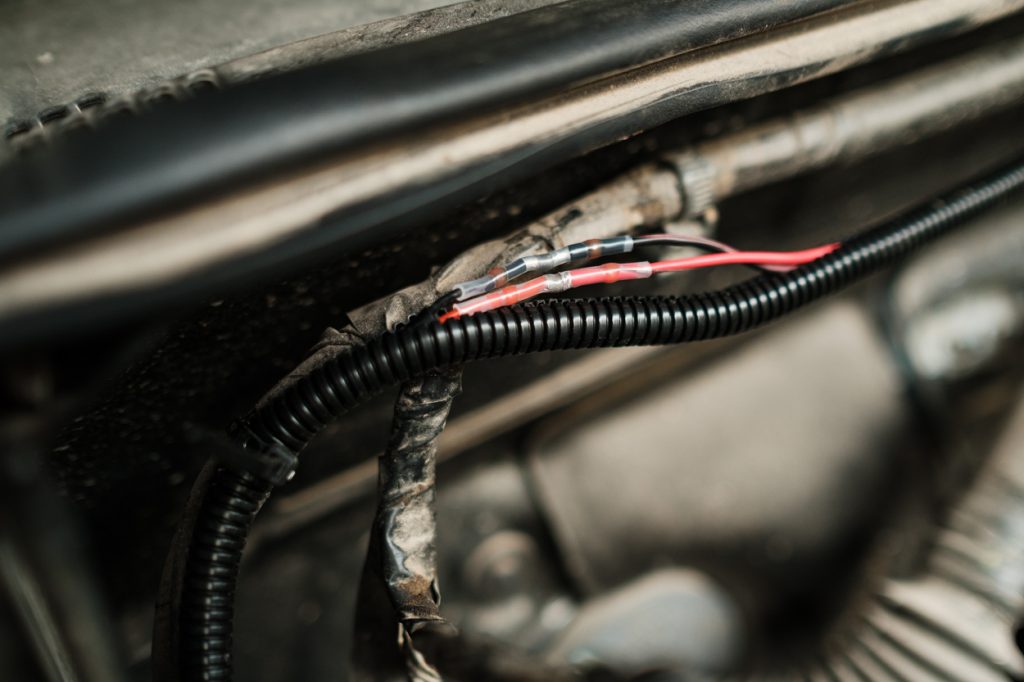
Wiring up the rock lights using a standard black and red color wire is pretty simple.
You’ll need to match red with red and black with black using the heat shrink connectors. Using heat shrink connectors over traditional butt connectors help keep the water out and keeps the connection secure.

Simply strip each wire end, insert the connector and twist wire ends together. Then move the connector until the solder is over the visible wire and use the heat gun until the solder ring and sleeve have melted around the wire.
For the rear lights, you will run the 18-gauge wire down the frame toward the driver side engine bay. The best way to wire is by tapping two rock lights into a single two-colored wire. While for the front lights, you can just extend the passenger wires towards the driver’s side.
All of them will need to be wired into the Cali Raised wiring harness.
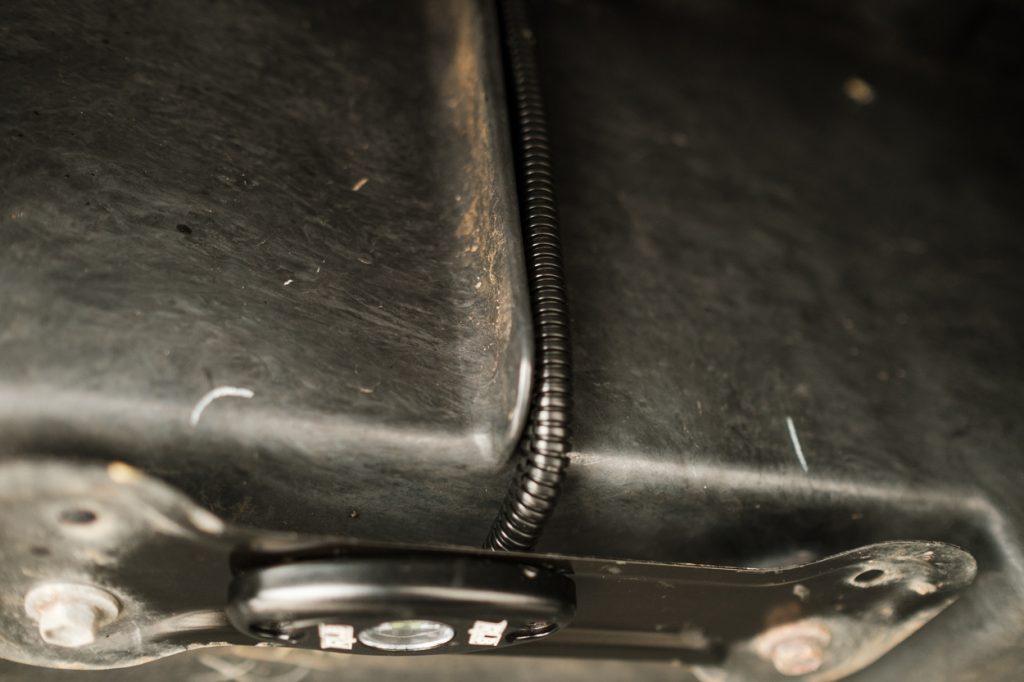
Once you have the wiring ran, you can now cover the wires with some split loom to protect the wires from heat and the outdoor elements.
Once you have the rock lights wired, you can now wire them into the Cali Raised wiring harness and switch by using this how-to video provided by Cali Raised below.
Final Thoughts
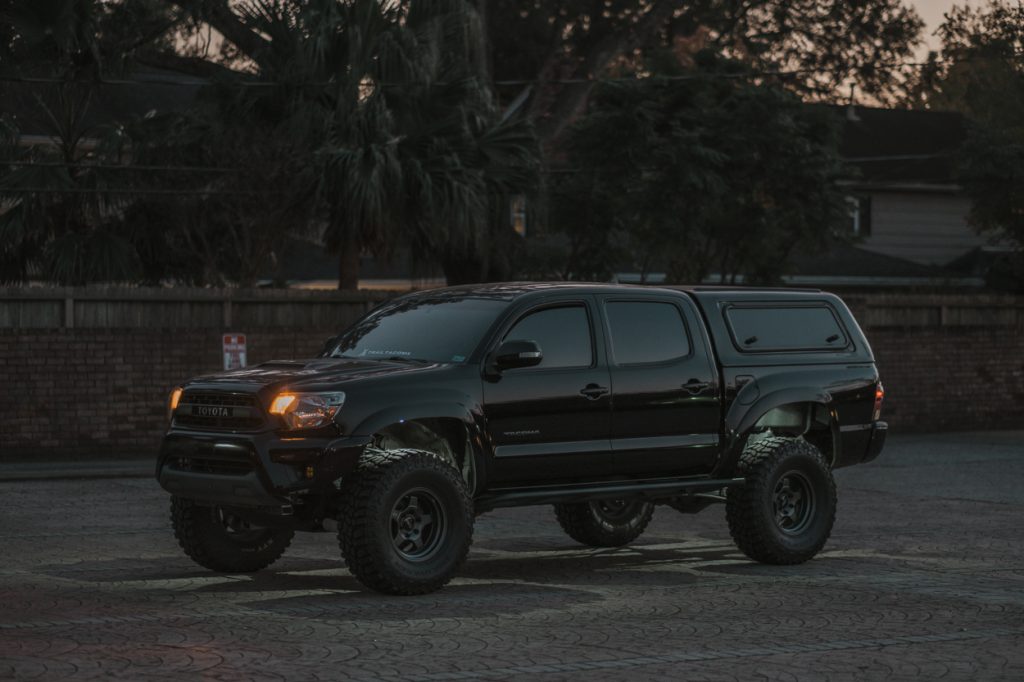
RLB rock lights are a great addition to your truck’s lighting. With a little bit of DIY wiring, you can customize your lights to your liking and place them where ever you want.
These lights are BRIGHT. I took these images just after sunset and as you can see, even with some remaining light outside, they lit up the parking lot. These will definitely give me the peace of mind to know that I won’t hit a surprise rock anymore. Well, at least as long as my spotters don’t skip a beat.
If you’re thinking about adding some rock lights to your build, I would highly recommend a set of these from Rear Light Bar. You won’t be disappointed. I’m satisfied with the light output from just four lights, but you could easily add more to your liking.
If you haven’t already, check out the RLB website. These guys are one of the originals in the off-road and LED light space. They recently came out with a switch panel as well! Definitely, a company to keep an eye on for future products.
Output Shots
