

When I got my 2009 Tacoma the first thing I told myself was that the interior amenities did not matter to me. After having my truck for about 3 years now, I can honestly say the technology inside an early model 2nd Gen Tacoma has plenty of room for improvement.
I originally made the switch from the stock head unit to a third-party one that didn’t include a screen – which is why I ended up upgrading to the Stinger unit in this post (Model: STH10TACOM). The unit is an all-inclusive dash and multimedia upgrade which fits perfectly in a Tacoma.
Packed with media features like Android Auto/Apple CarPlay, hands-free Bluetooth, SiriusXM compatibility, and HDMI; this head unit allows you to stay entertained whether you’re taking a road trip or just on your daily commute. And with safety features like 4 camera inputs and integrated GPS, you can drive with even more confidence.
In this article, we’ll cover just about everything you need to know about this stereo.
Find It Online
- 2nd Gen (2005-2011) HEIGH10: ***Product Discontinued***
- See: Aftermarket Head Unit Setups
Table Of Contents
Why Upgrade?

After getting tired of having no screen or any other cool features that many other cars in the market have standard, I decided it was time to upgrade the head unit once again. I wanted to get something that really checked off what I needed which was Apple CarPlay, Bluetooth, Apple Maps, and the ability to install cameras around my Tacoma.
Stinger was nice enough to send the head unit that checked all these boxes plus more, in a package that is very quick and easy to install.
Lack of Features
Like many of us, 2nd Gen Tacoma owners know, especially the early models, our trucks lack a lot of features such as Apple/Android Car Play, Bluetooth, GPS, or any sort of camera input besides an optional backup camera.
The lack of ability to do anything besides listening to music is absurd when it comes to these cars after you pay a hefty price tag, especially in the market today. One thing that I wasn’t sure I would need because I have it on my phone, is Apple Maps, but the GPS on the Stinger head unit works just as good if not better than my phone.
Kit Contents
- 10-inch HD touchscreen display + infotainment system
- Complete radio replacement which retains factory controls
- OEM Tacoma antenna adapter
- Sirius XM Adaptor (allows you to retain factory SiriusXM antenna, sold separately)
- Custom-fit dash kit
- Flush mountable, dual USB ports
Music, Video & More
- Bluetooth
- Android Auto + Apple CarPlay
- Use apps like Gaia GPS (and in the near future, onX Offroad)
- SiriusXM-ready
- HDMI/AUX/USB connections for external devices
- 4 potential camera inputs (backup camera and side cameras)
- 15-band equalizer (get the most out of your factory or aftermarket speakers)
- Customizable background image and button color illumination
GPS Navigation
- Integrated navigation system, no need for data connection (GPS microSD card from iGo sold separately)
Installation

The install for the head unit was very straightforward. Even though there are a billion wires (more like 15), the install wasn’t hard at all.
Tools & Materials
- Mechanic’s Tool Set
- 10mm socket
- Plastic Trim Removal Tools
- Phillips Screwdriver
- Wire Stripper/Crimper/Cutter
- Wire Connectors
- Zip Ties
Step 1. Climate Controls

To remove the original hardware you will have to use a plastic pry tool and start on the edges and work your way around the climate controls on the dash. Then, disconnect both connectors from the control panel.
Step 2. Remove Bolts

After removing the climate controls, you will need a 10mm socket to remove the 4 bolts holding in the upper part of the bezel.
Two of them are very easy to find, the other two however are not in plain sight. You can find them slightly above the two visible bolts and can reach them with a ratchet and extension.
Step 3. Remove Stereo & Cables

Using both hands (one on the bottom and one on top) and pull the unit up and towards you. The two clips will release and you’ll be able to pull the unit off.
After pulling the unit out, you’ll see all the connections to the stereo. Carefully disconnect everything connected to the stereo and that will allow you to take the entire stereo out without it being connected to the truck.
Step 4. Connect Wires
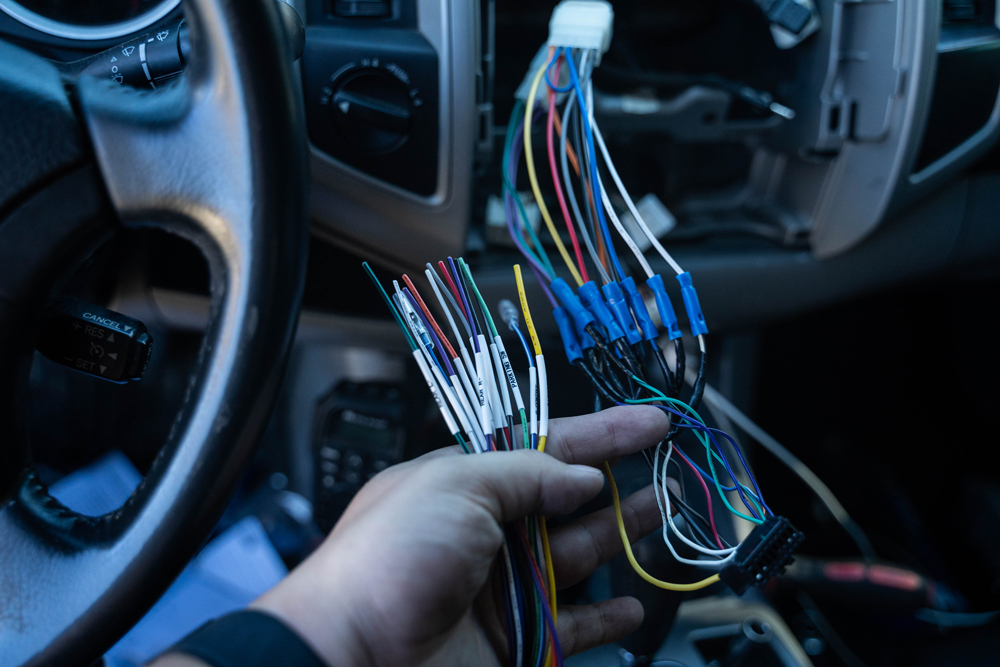
This step looks complicated, but I promise, it’s not. First, you will have to cut the existing wires that are connected to the harness on your current system.
Once you have cut the cables that were connected you will have to match the colors to one another. Using the 16-pin harness, match each color (blue to blue, red to red, etc.) using a wire stripper and crimper. Strip the wire so you have about 3/8″ to 1/2″ of bare wire. Twist the wire tightly by hand to keep the wire strands together. Using the wire connectors, put one end of each wire and crimp each side. Give the wires a little pull to make sure they are both secured and crimped to the connector.
Step 5. Assemble Head Unit

Next, attach the metal brackets to the plastic mounting brackets by using two of the M4x6 screws.
Then align the two holes with the bracket and insert the two screws. You should have a total of 4 screws (on the top and the side, by the black bracket).
Step 6. Mounting Bracket

Taking the clamp provided to you, attach it to the display using four M4x14 screws.
Make sure you don’t align it all the way up, leave two holes visible as shown in the picture.
Step 7. Attach Rubber Boot
The head unit has five hooks on the back of the mounting bracket.
These make sure that the screen firmly attaches to the rubber boot.

After the rubber boot is on, you will be attaching the stereo to the rest of the assembly.
First, hook the top hook to the top rail. Then, push down on the spring to compress it. Finally, attach the hooks to the lower rail.

You will be also using the locking clip that goes on the side corners.
Cut the clip to the size as shown above.

As seen above, attach the locking clip to the corner and screw it in with an M5x10.
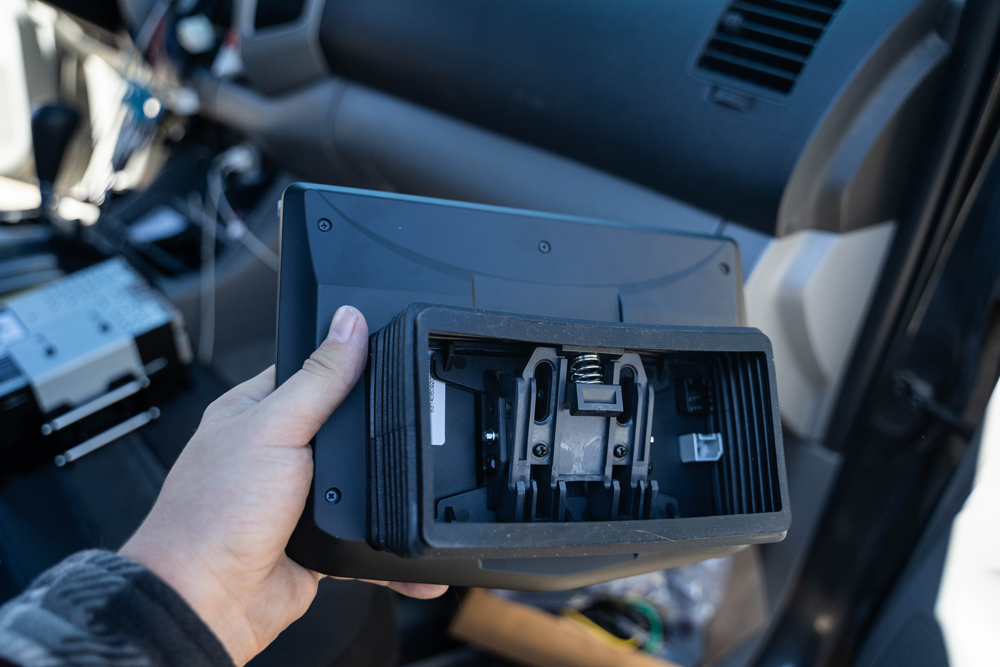
Step 8. Mounting Kit
When you first get the TOYK972 mounting kit, you will have to remove the tabs on both sides. Then align the pins on the spaces on each side and snap them into place and make sure everything is properly oriented and aligned.
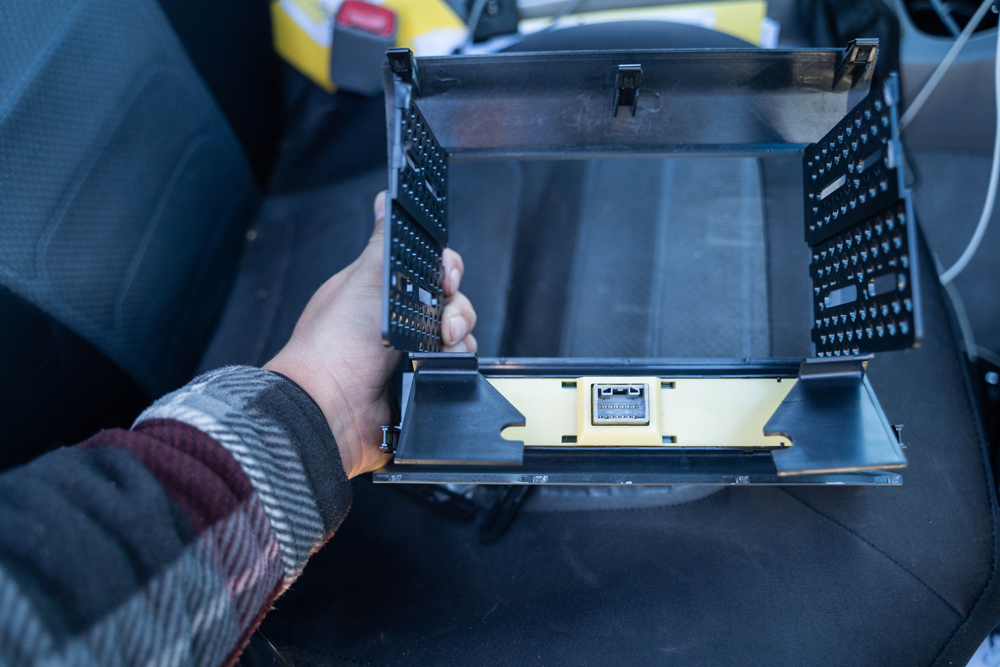
Remove the center plastic on the mainframe because that is where the head unit will be going through. Attach the three metal spring clips on the mounting studs as you see on the top of the image above, along with the mainframe. Then, position the hazard/clock module inside the frame and align the side brackets, and make sure it’s firmly attached.
Once you have everything mounted and assembled, insert the radio through the front of the mainframe and make sure it is centered correctly so it can go in smoothly. Align the holes of the radio and then using the 10 x 3/8 bolts, insert them in the holes and tighten them down.
Step 9. Connect Harnesses

Using the provided module, insert all your cables and make sure they are in the correct slots to be able to ensure your radio works correctly.
Auxiliary Cameras

The Tacoma comes with a backup camera (at least certain models do), but with these optional new cameras from Stinger, you will be able to look at what is in front, or even to the side of your truck. Super helpful for not only daily driving but for the trail!
To install, you will need to route your camera wiring through the firewall under your steering wheel and make sure it’s connected to power and the input on the unit. As well as from the doors or rear of the truck, if you’re so inclined.

Once the cameras are set, and everything is reinstalled, you’ll be able to locate the source on the head unit and see the camera live feed.

Front camera live feed pictured above.
As long as you follow all of the steps above, all cables should be installed correctly and now it’s time to install the unit into your truck. I would recommend you use zip ties to make sure all the cables are tucked in and secure. Position the radio in the center and slowly put it in and make sure everything lines up properly. After that make sure you put on all four screws that you remove in the beginning.
After reinstalling the climate controls, that is all you have to do. Now turn on the truck and make sure everything is working properly.
Final Thoughts
Like I stated in the beginning, I was never big on entertainment in my truck, and I was okay with the OEM radio. But let me just say that the Stinger Off-Road stereo showed me how much I was missing out on. It elevates your entertainment experience to another level, and honestly, makes your stock speakers sound really good.
One of my favorite features of this unit is the cameras. My setup has the add-on cameras that were installed (two on the sides, one front, and one back) which work seamlessly with the unit. You can activate them at any time with a simple push of a button. They work great when you are unsure of what is in front or behind you especially when you are offroading.
When it comes to the GPS/Maps you have to buy the maps SD card – which comes loaded with the most current maps and it works great. I am so used to using Apple Maps, but I can see how this can help many individuals when you are offroading or cruising around town.
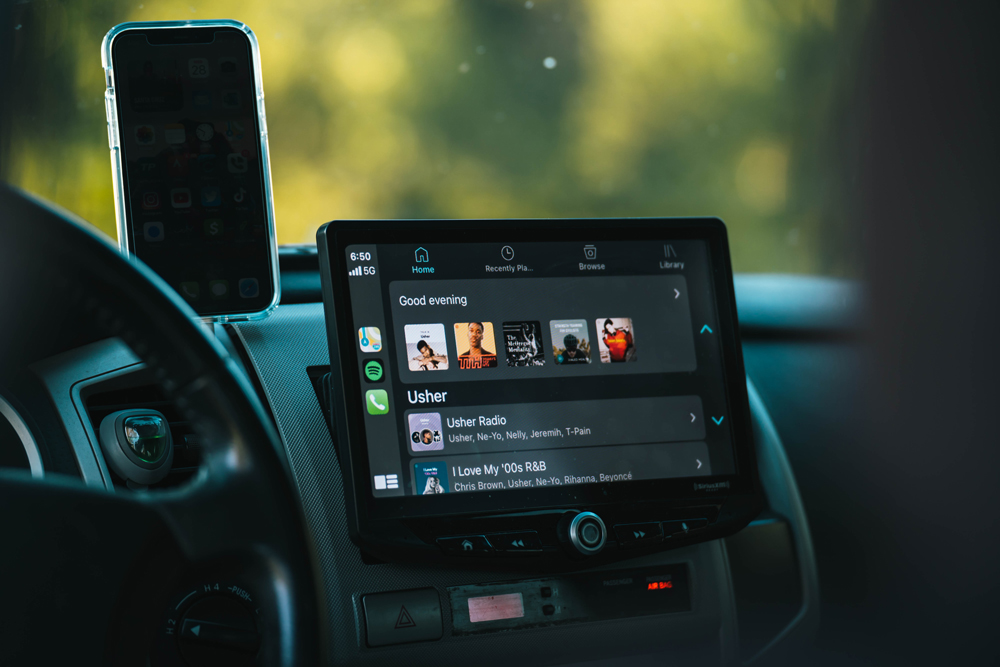
Apple CarPlay is the feature I use the most and I love it and enjoy how everything is integrated into my phone and I can see it all in a beautiful 10-inch display.
Overall, I do recommend this unit for anyone who is looking to add Apple Car play and many more other features that you can buy separately. The best part is you can upgrade as you go and get what you need and you will be happy either way.