
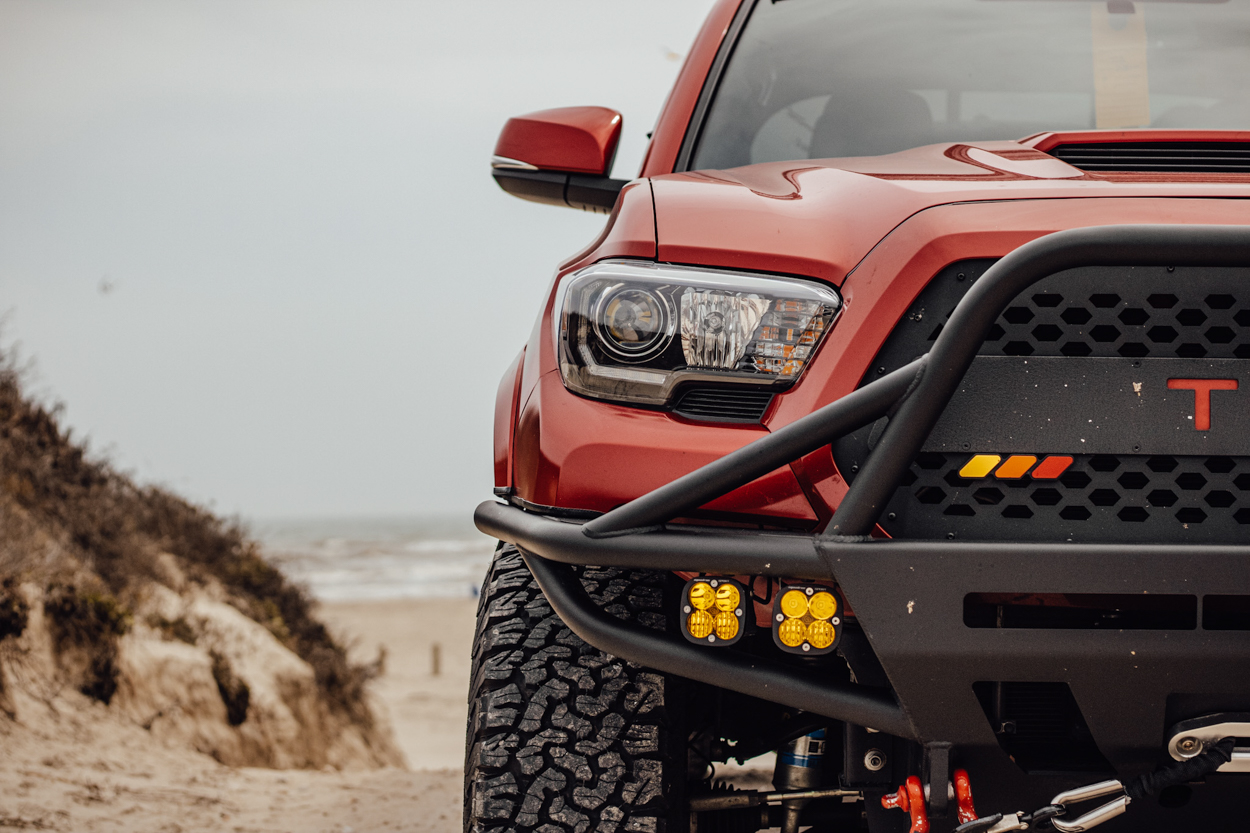
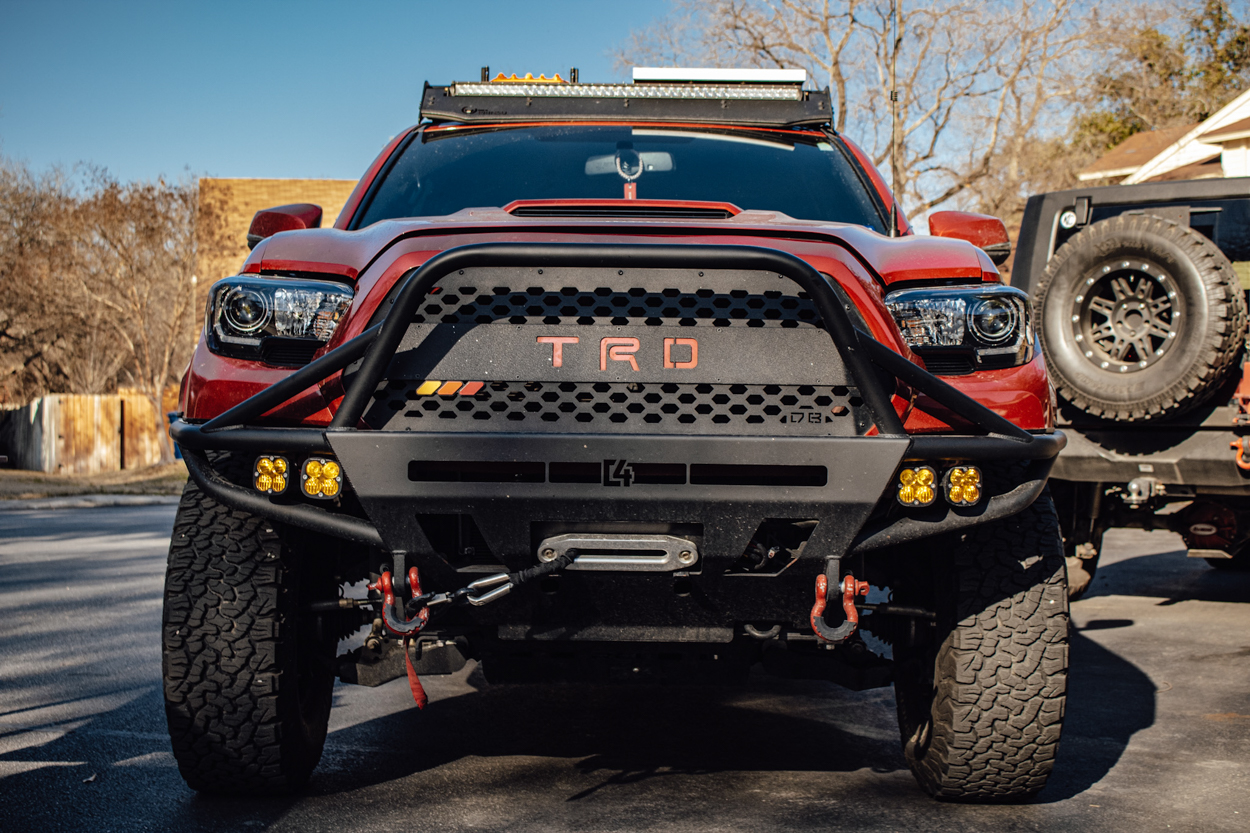
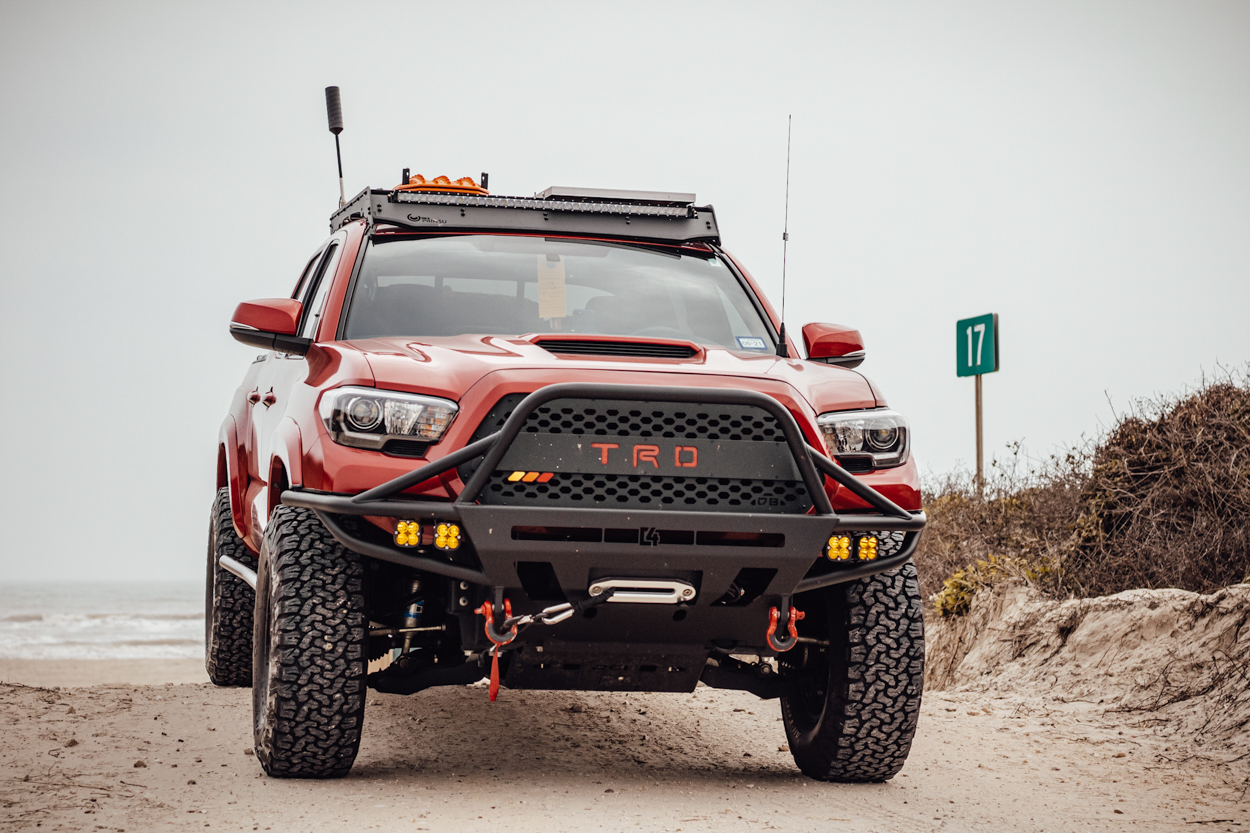
Just about everyone who purchases the 3rd Gen Tacoma upgrades the headlights. Not to say that the design is off-putting in any way. If I’m being honest, I like the design of the OEM ones that came standard on my Tacoma. The only thing I didn’t like about them was all the chrome inserts. Then again, I’m not a big fan of excess chrome, and many stock Tacomas certainly come equipped with a lot of it. Chrome grilles, badges, emblems, headlights, taillights, and side-view mirror lights.
Blacked-out headlights are a sought-after commodity in the Tacoma market, and there are several brands out there. Subtle changes like this can make a huge impact on the appearance of your vehicle as a whole. I’ve been searching for an aftermarket blacked-out headlight for some time. The only issue is most aftermarket options are upwards of $1,000. I wasn’t willing to drop that amount of cash just to swap out the headlights, but that’s where Unique Style Racing comes in.
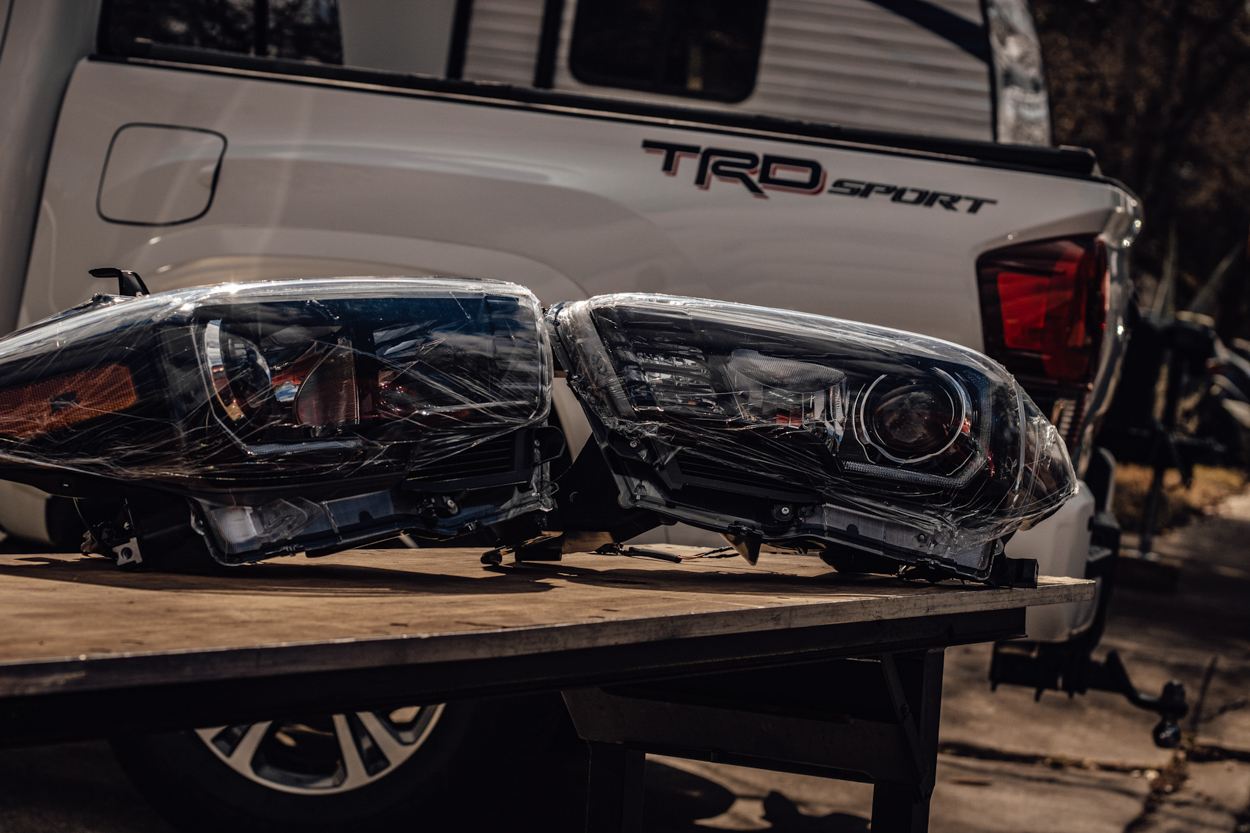
I am currently running their LED Dome & Map Lights as well as their TRD Pro Style Tail Lights. I was familiar with the quality of their products and knew they put out some great stuff. I discovered that they sold their own TRD Pro style blacked-out projector headlights, and had to have them! In this article, I will cover an in-depth install guide, as well as a review.
Find It Online
- 2016-2023 Tacoma TRD Pro Style Headlights: Check Price
Discount Code
If you like what you see, and you’re ready to make a purchase, USR has sent over a discount code for an additional 10% off of your purchase.
Use code – TACOTRL – at checkout.
Table Of Contents
USR Background
Unique Style Racing’s sleek design and price tag undoubtedly set their products apart from others. What makes them desirable is they are designed to OEM specs. As I mentioned earlier, I am currently running their LED Interior Dome Lights as well as their taillights. I’m well acquainted with their products, and the light output for all of them is exceptional. I knew these headlights would be no different.
What I like the most about their products though is the ease of install. This is a huge factor for me, as I do all the installs to my Tacoma myself. The last thing I want to do is spend hours trying to rewire everything. But lucky for all of us, USR offers a simple plug-and-play design. That means less time installing, and more time enjoying the product. I’ll break down some awesome features later on, but first, let’s cover the installation.
Installation Overview
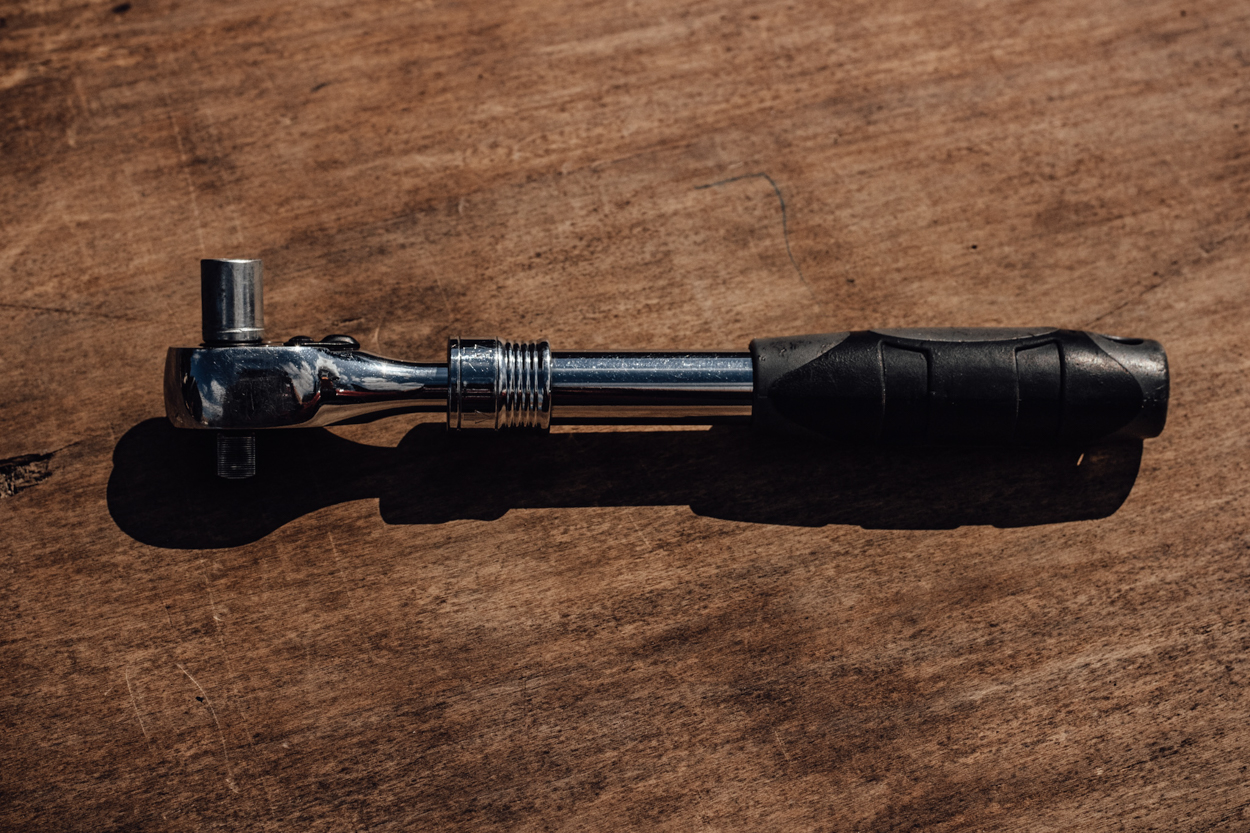
Tools & Materials
- Ratcheting Wrench
- 10mm Socket
- 8mm Socket
- Flathead Screwdriver
- Pliers
- Heat Gun or Lighter
The install process is fairly simple and just requires removing some bolts and clips. You’ll need either a socket wrench set or a ratcheting wrench. I suggest a socket wrench set for those hard-to-reach places. You will need a 10mm and 8mm socket to remove all of the bolts. You will also need a flathead screwdriver, or prying tool, for the various clips that need to be removed. I suggest a flathead screwdriver because everyone has one lying around their garage, but not many people have access to a prying tool.
Once the headlight is removed, it’s as simple as unplugging the old one and plugging in the new one. No need to remove your old bulbs from the OEM headlights. USR provides you with brand new bulbs. There is some minor wiring required for this install only because I opted for an LED turn signal. Some simple splicing is all it took, and I’ll show you how to do it in the next couple of steps.
Step 1. Remove Top Screws
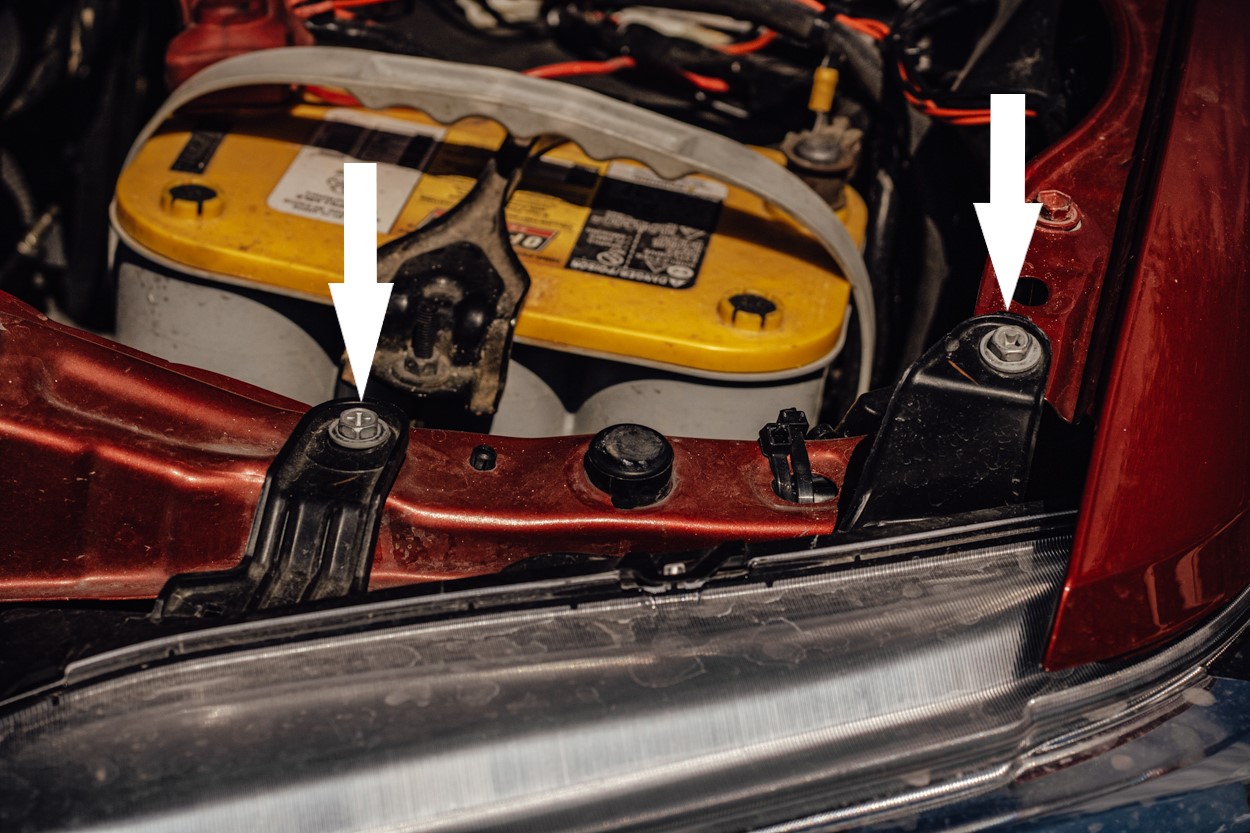
Use your 10mm socket wrench to remove the two bolts shown in the image above.
As you can see, you can remove these bolts with a Phillips head as well.
Step 2. Remove Grille Clip
There is a clip on the top right, next to the inside of the headlight which is very easy to spot. This clip secures it to the grille and is simple to remove. There is a top portion that will separate from the body of the clip with the help of a screwdriver or clip tool. Using your flathead screwdriver, gently pry the top portion of the clip upwards. You will hear it snap which means it is now loose and the clip can now be removed.
My truck has a few modifications that are different from a stock vehicle. For one, I have a high clearance front bumper, so I didn’t have to remove certain clips due to me no longer having them. Secondly, I was involved in a wreck, and when my truck was rebuilt, the shop left out a few clips and plastic parts. I will point those out to you as the install process progresses.
Step 3. Remove Grille Screws
There are two bolts right in front of the engine on both the driver and passenger sides and they are extremely easy to spot.
Using your 8mm socket wrench, remove both the bolts. With both removed, the grille should feel much looser and wiggle a bit more freely.
Step 4. Remove Grille
This step for me was optional. As I previously mentioned, there are some variations with my vehicle. But I did shoot a couple extra images on my dad’s Tacoma just so everyone could have a reference point.
Due to a couple of missing plastic parts, I had more than enough wiggle room to slide my headlight out without having to remove the grille.
More than likely you will have two plastic pieces on either side of the grille protecting the inside of each headlight. These plastic pieces are secured by a couple of clips. You already removed one of the clips in Step 2. The second clip is located at the bottom. This clip can be removed using the same process as in Step 2. With a flathead screwdriver pry the top portion of the clip in an upward motion until you hear it snap. Then remove the clip.
There are a few more clips along the bottom of the grille that are easy to spot. Just remove the remaining retaining clips, then pull the grille off of the vehicle.
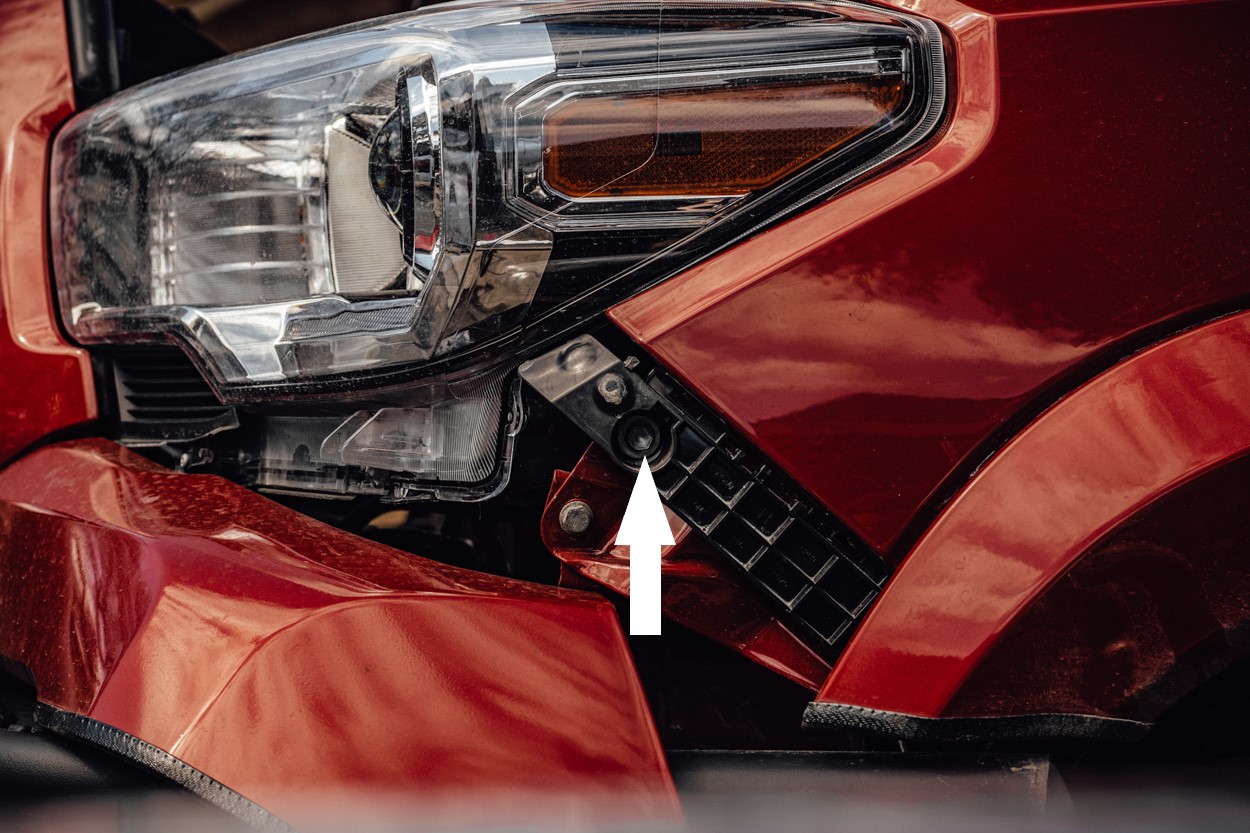
Step 5. Access Brackets

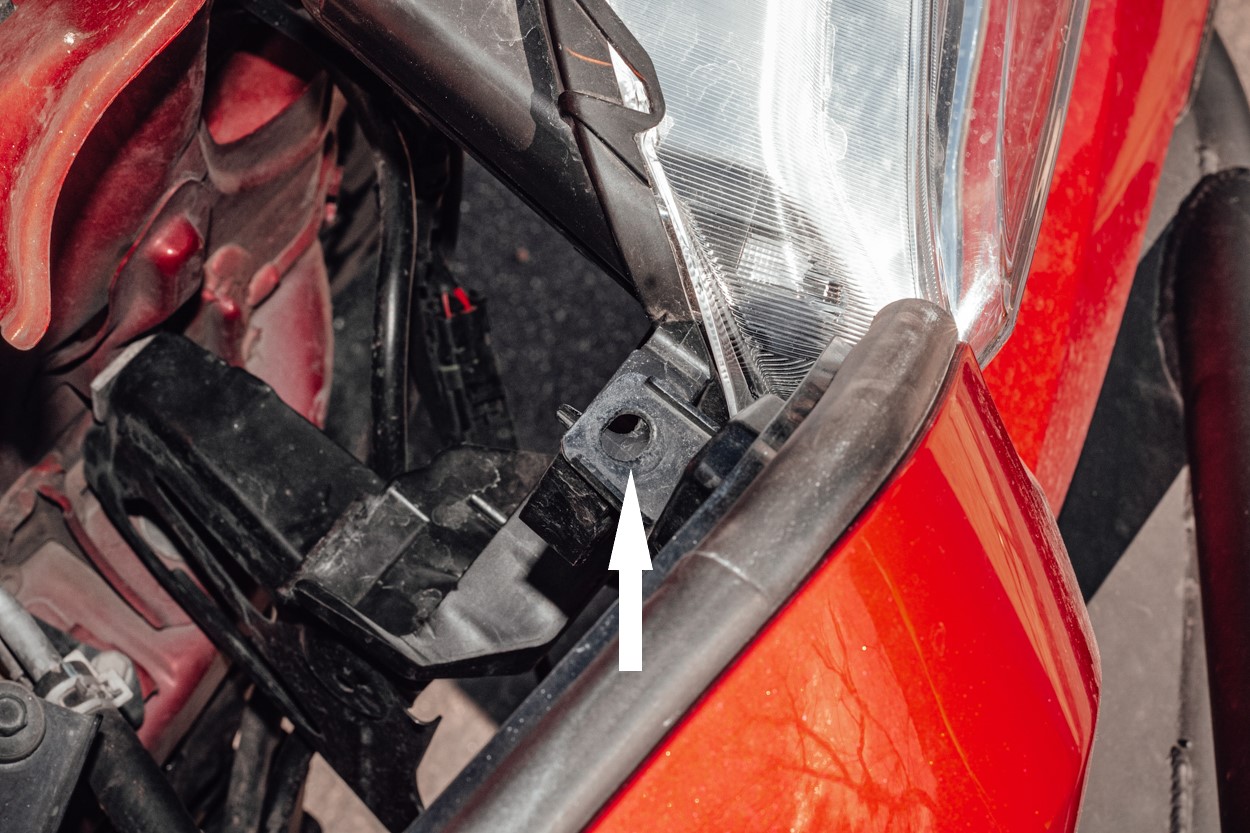
There are a few screws and clips that need to be removed on the fender to loosen the bumper and gain access to the last bolt securing the headlight. The first screw is visible as shown above, and the second one is tucked up behind the fender just out of sight. I marked it with an arrow to help you find it.
That screw in the image above is not the original screw, but rather a self-tapping screw that I added myself. Don’t fret, because the original screw is located just below it. As I previously mentioned, I have a high clearance front bumper. This means that majority of my OEM front bumper and fender were cut off of my Tacoma. So, I only had to remove the two screws in the image above. The original OEM screw and clip that hold the lower portion of the fender were cut off of my vehicle. What does this mean for you? It just means that you have one extra bolt to remove.

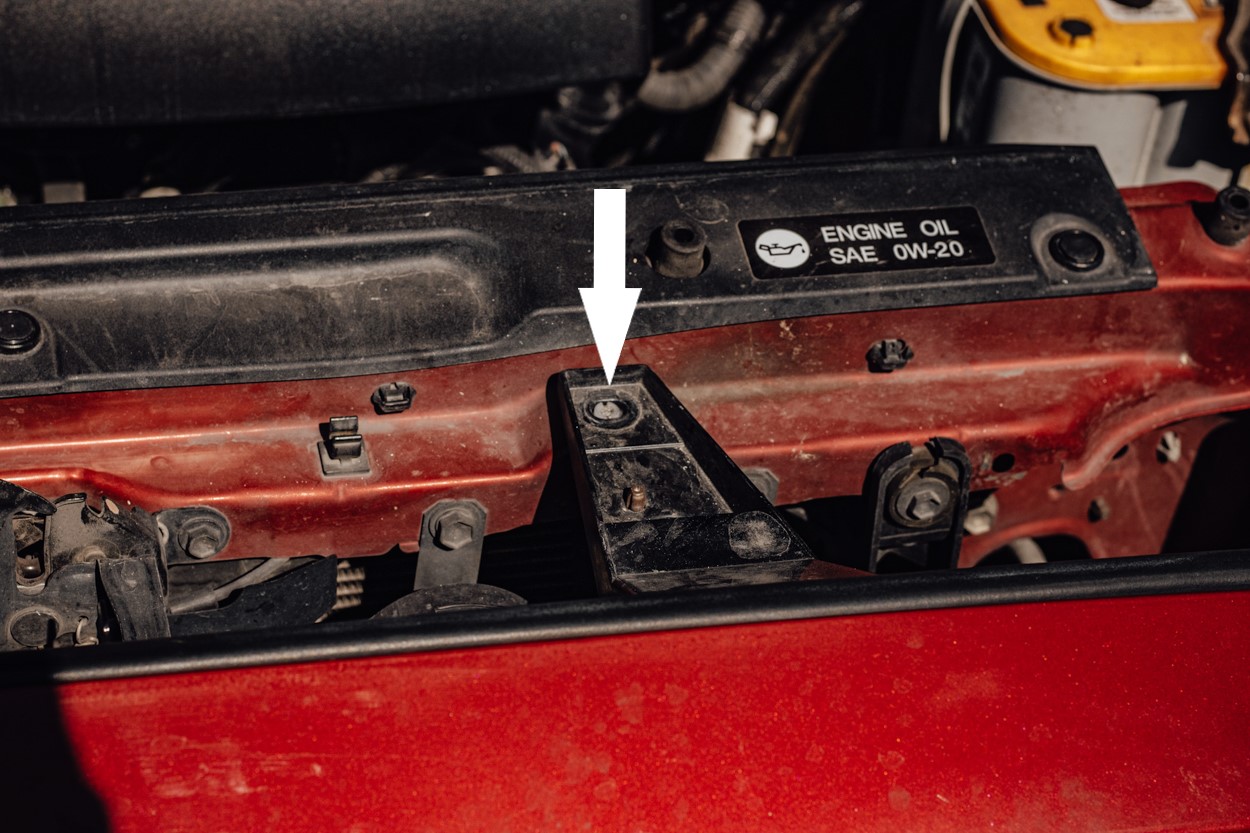
As shown in the image above, this is what a factory OEM bumper will look like. The screw and clip are depicted above. Extremely easy to spot.
The bottom one is a clip, and you will remove it in the same fashion as all the others. The one directly above it is a bolt and can be removed using a 10mm socket wrench.
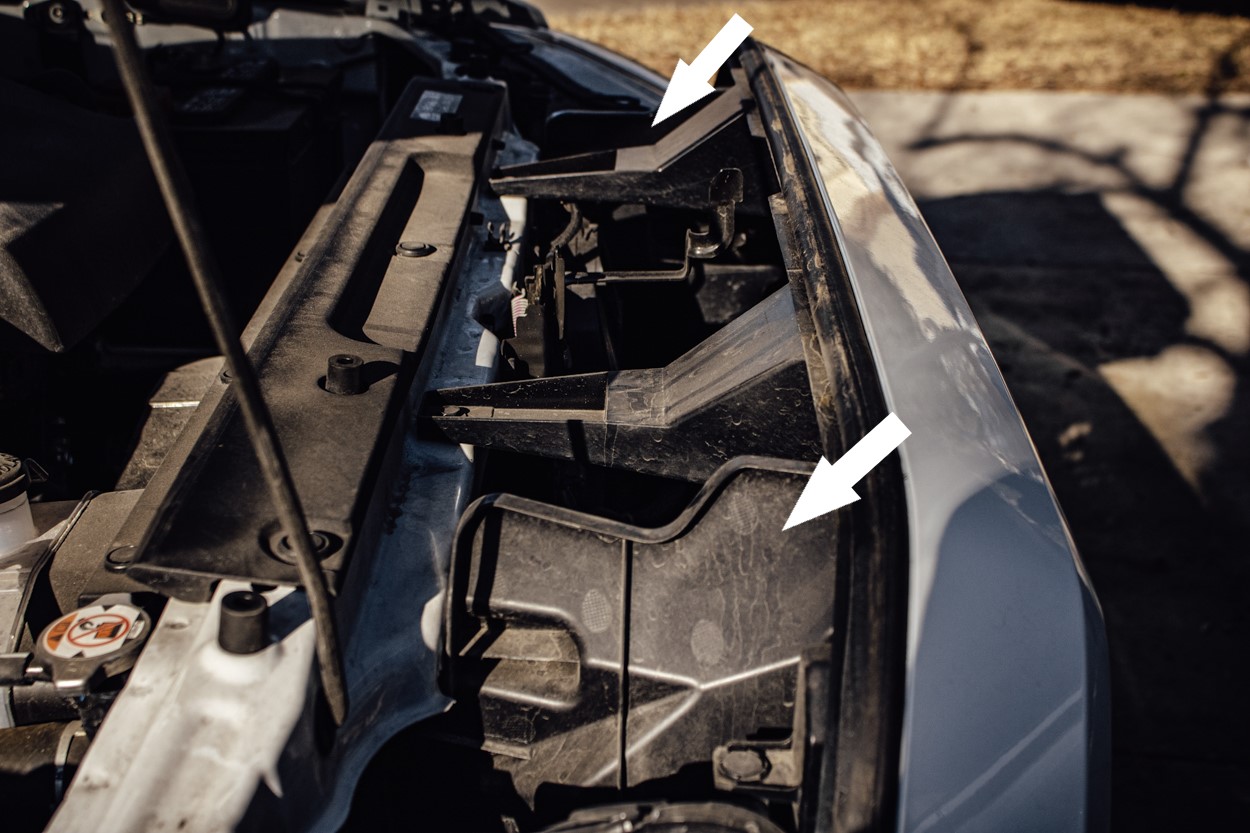
Step 6. Partially Remove Parts
With the bolts and clip removed from the fender, the fender will feel slightly loose. You cannot completely remove it from the vehicle because it is still held by several clips on the inside that you cannot see. Firmly grab the fender with both hands and pull straight out away from the vehicle. You will hear the clips snap out of their mounts which will free the fender completely from the vehicle. It is imperative to take your time on this portion. These clips snap in and out of place, and you don’t want to rush and break them.
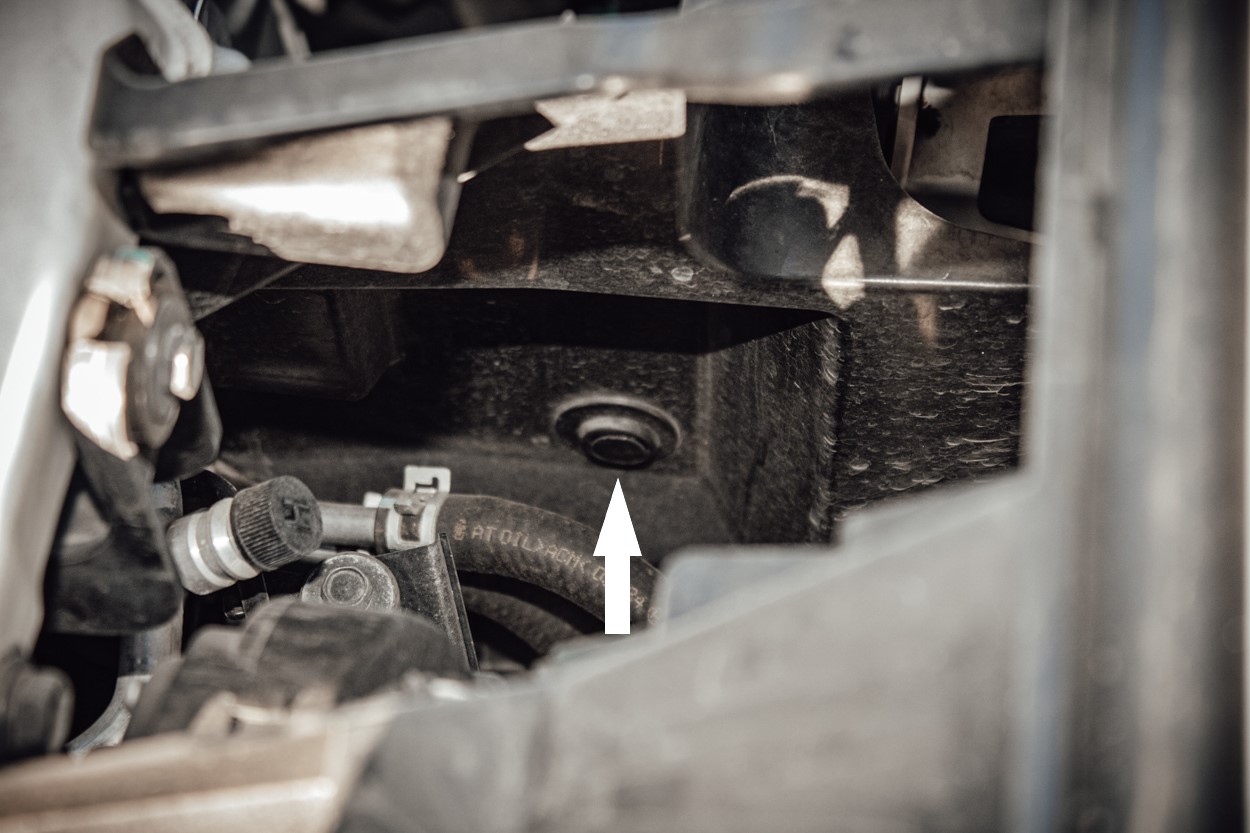
Once the fender is free, you can slide your hand under the fender lining behind the bumper. Using minimal force, pull the bumper out. It will snap out of place exposing the last hidden bolt to remove the headlight. You only need to remove this portion of the bumper and fender to gain access to that last bolt. Remove that bolt using a 10mm socket wrench.
Step 7. Remove Headlight
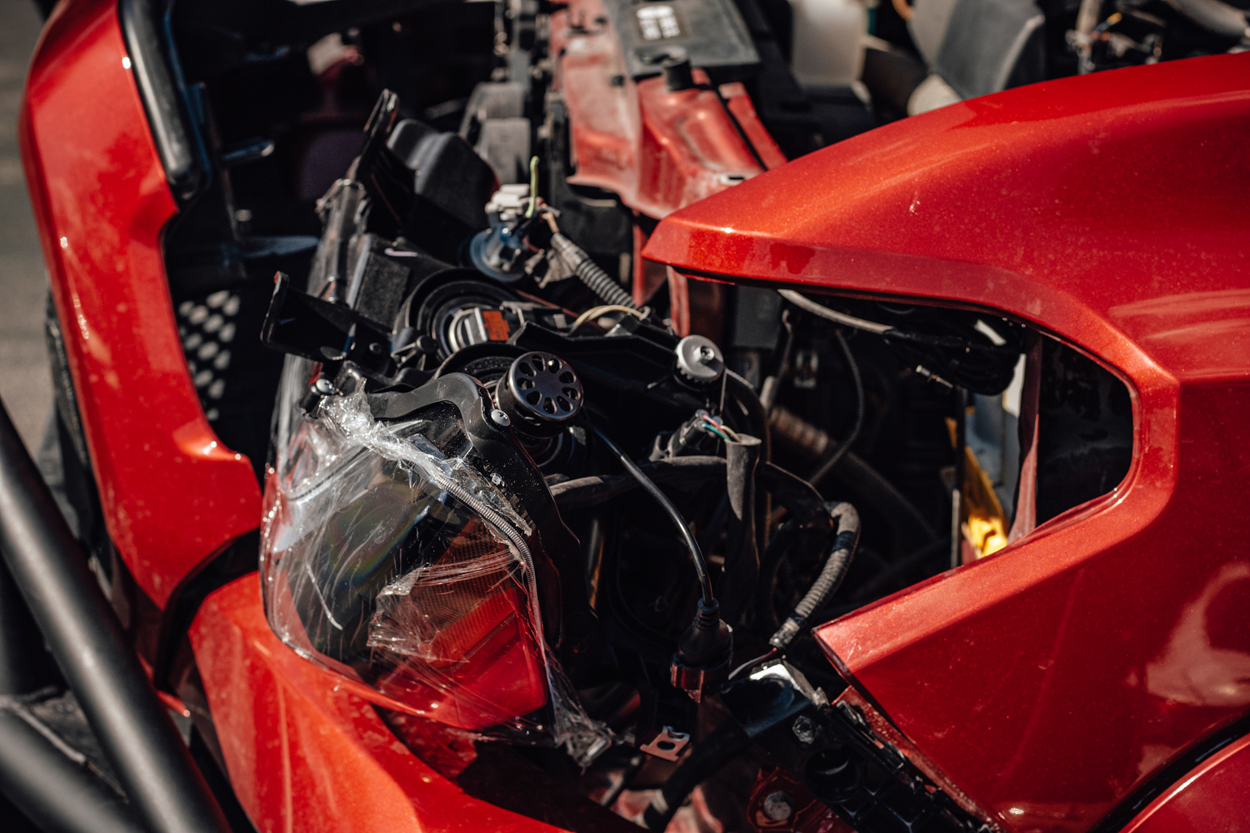
There is a small plastic lip that is still holding the headlight. To free it from the vehicle fully, you will need to slide it in towards the passenger side.
The headlight will slide out of the lip holding onto it and free the unit. Once that is done, you can start unplugging all the wires.
Step 8. Cut Turn Signal Harness
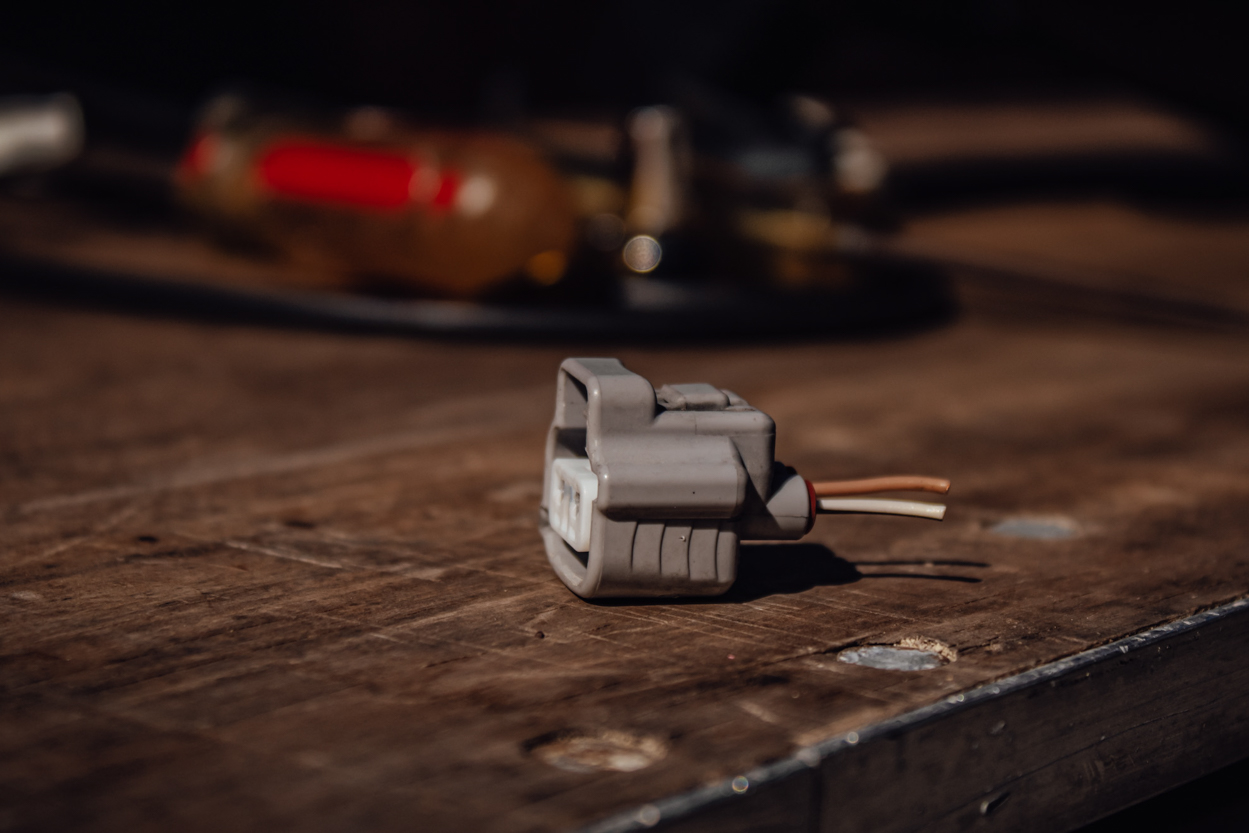
If you opted for an LED turn signal, then this portion is for you. If you stuck with the standard Halogen bulb then skip to Step 9. This portion requires some minor splicing with the LED turn signal.
First, you will need to cut the OEM turn signal housing from the wires.
Step 9. Crimp Wires
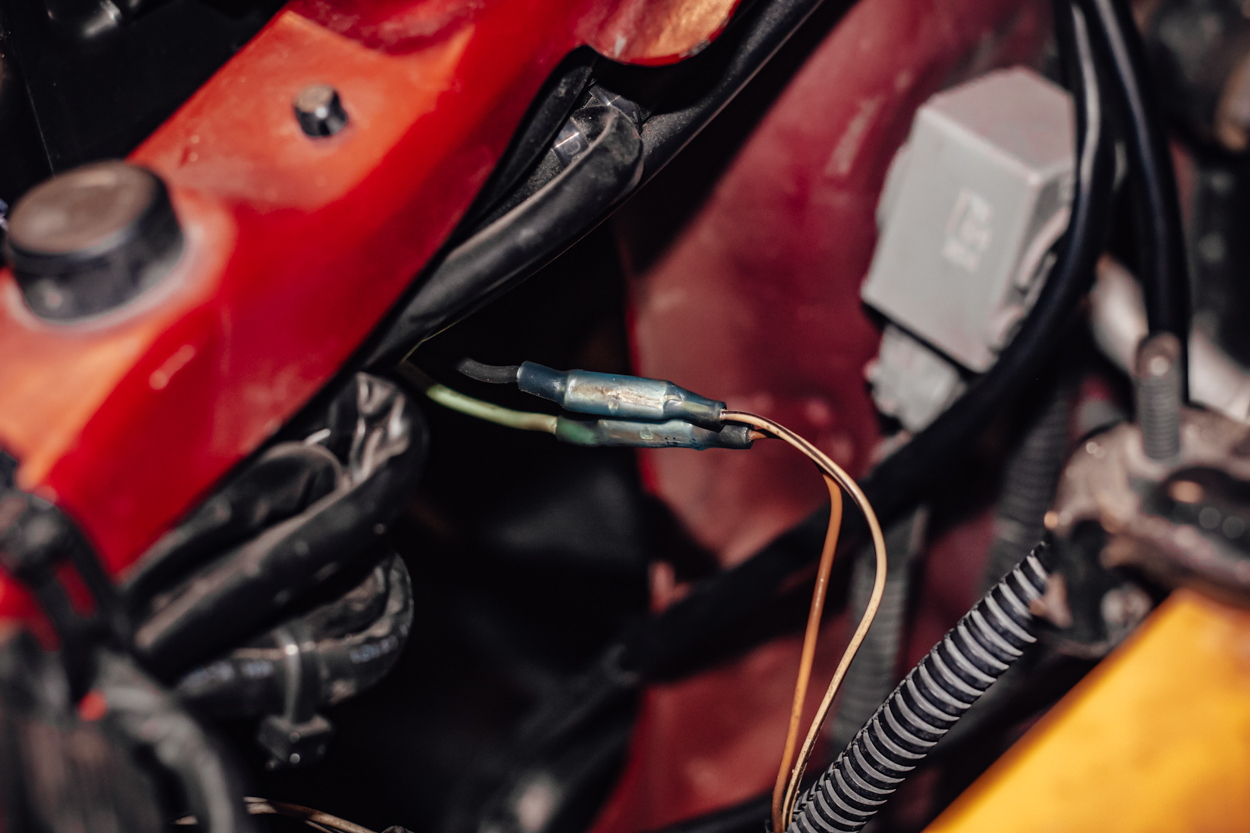
Next crimp the ends of the wires to expose the inner metal wiring. Then twist the LED turn signal wires and the vehicles turn signal wires to make sure the individual wires aren’t frayed.
The wires will be paired as such:
- Black Wire – White/Black Wire
- Green Wire – Colored Wire (driver’s side is brown and passengers side is dark green)
Place a heat shrink connector on the ends of each wire and clamp the ends down with plyers. This ensures that the wires won’t come undone later on, and closes off the electrical current securing the flow of power. Next, heat the ends of the connectors so they shrink and tighten around the wires to form a seal. You can use a heat gun or lighter. I used a lighter, which worked just fine.
Step 10. Test Lights
Before going through the trouble of securing the headlights to the truck, test them out to make sure they work first. Once you determine that they are working, continue with the reinstall process. To reinstall them, just follow the steps in reverse order. Once completed on the driver’s side, repeat the process for the passenger’s side.
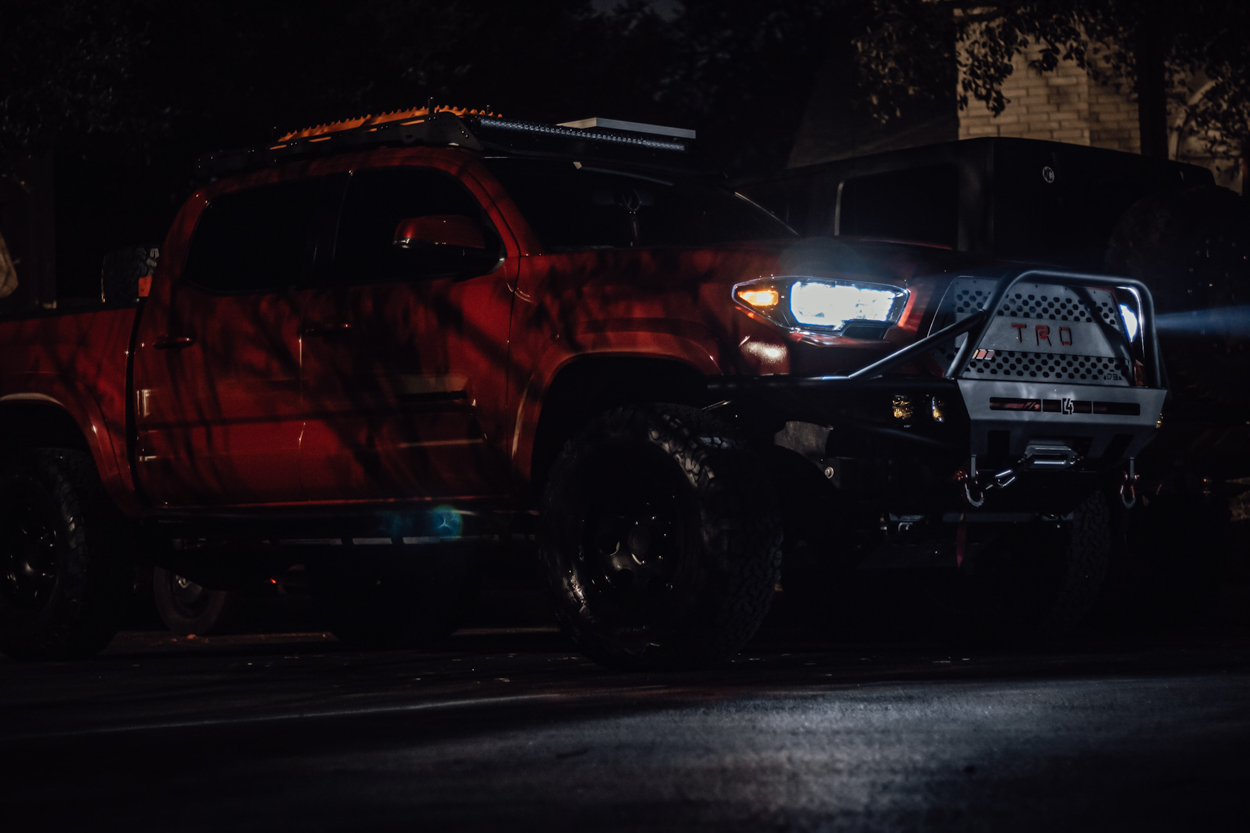
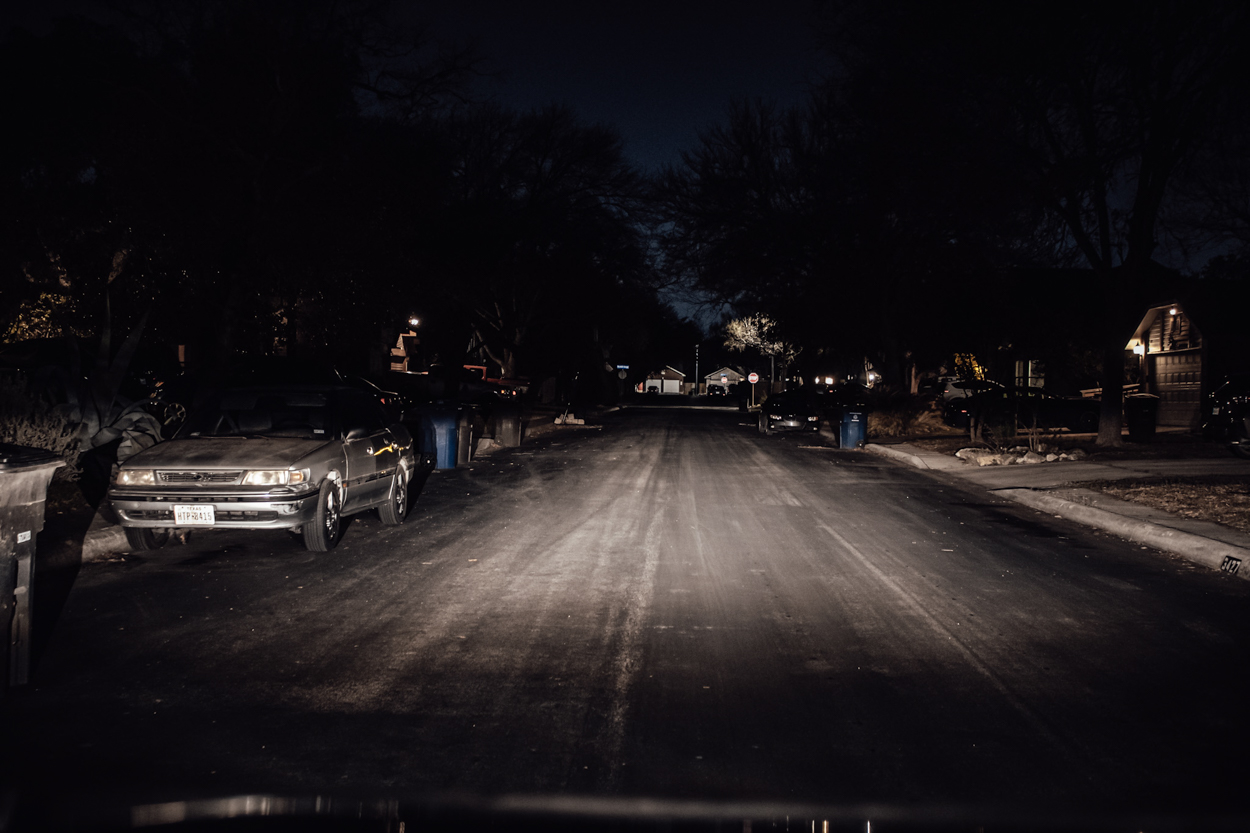
Light Output
Luckily, I had access to a stock 3rd Gen Tacoma to get a side-by-side comparison.
The output on USR lights is phenomenal. I mean there is no comparison at all! I was never one to run LED lights on any of my previous vehicles, but after installing these, I honestly don’t know why it took me so long. I can’t go back to halogen bulbs after rocking these.
OEM – Halogen Bulbs
USR – LED Bulbs
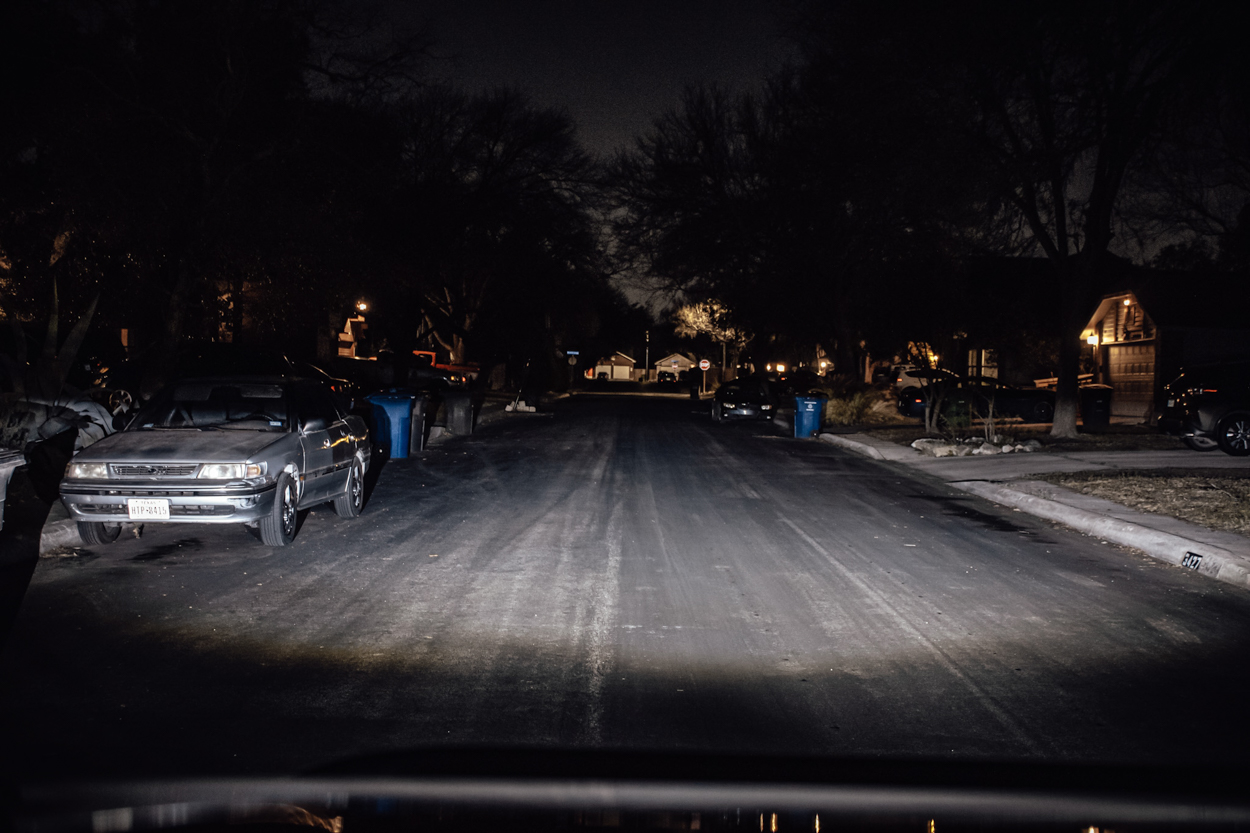
As I mentioned earlier, I opted for both LED Projector Low Beam bulbs, as well as LED Turn Signals.
USR utilizes Platinum Edition High-Power 3000 Lumen Ultra Bright H11 Bulbs for the Low Beam. These things have incredible reach. Not only forward, but outward too.
Low Beam Features
- 6000K White Output
- Blacked-Out Housing
- No Error Code
- Plug and Play
- 20,000+ Hours Operational Life
- 35W Power Consumption (Stock Halogen Bulb – 55W)
- 3000 Lumen
- 1-Year Manufacturer Warranty
For the turn signals, USR utilizes Platinum Edition High-Power 2000 Lumen Ultra Bright 7440 Amber LED Bulbs. I never realized how dull the halogen turn signals were until I started using these.
Turn Signal Features
- Brightest 7440 Bulb
- No Error Code
- No Hyper Flash
- Energy Efficient
- Ultra-Long Life
- 2000 Lumen
- 1-Year Manufacturer Warranty
Customer Service
USR’s customer service is outstanding. Truly next to none. Their attention to detail amazes me every time I receive a package from them. I want whatever product I’m spending money on to be in pristine condition when I receive it. There is nothing more frustrating than receiving a product you spent a lot of money on to be less than perfect.
Every package I get from USR is always protected. These headlights came wrapped in plastic film wrap, and placed in a cardboard box. Inside the box were several cut-to-fit cardboard cutouts to secure and freely suspend it to eliminate any jostling during transport. If that wasn’t enough, they even wrapped it in bubble wrap, as well as air-filled packaging bags.
Final Thoughts
These headlights are definitely worth the investment. They completely change the appearance of the front end of the 3rd Gen Tacoma as the blacked-out housing makes for a sleek overall design. The light output is also incredible. These are a budget-friendly alternative to some of the more expensive brands out there.
My overall experience with USR’s shipping, customer support, and products has been excellent; I have no complaints. They have been putting out some high-quality products for extremely affordable prices. Out of all the products that I am currently running from USR, I haven’t been disappointed with any of them. They all perform exceptionally well and are super simple to install. These guys are definitely worth checking out!
Really like the looks of these headlights! I have a aftermarket hybrid bumper. Can I still get the fender and bumper loose enough to get to the bolt with this bumper on?