
Let’s take a look at and go over the installation process for a full interior LED light upgrade kit by VLEDS. As most of us already know, the factory Tacoma lights are notorious for being pretty weak. The vanity, map, and dome lights aren’t the best and provide little to no output. This is especially true of the dome light.
I can’t be the only one who goes to turn on the interior lights and find that they are lacking and could use a serious upgrade. Having a set of LED interior lights is extremely beneficial for being able to see at night and helpful for those nights spent camping outdoors.
If you’re looking for LED lights, you may have already heard of VLEDS. They’ve been around for a while and have a ton of excellent products. The VLEDS LED kit gives you every single bulb you’d need to completely replace all bulbs in the interior of your 3rd Gen Tacoma. The kit is affordable and comes with an easy plug-and-play install process as well as multiple color options to suit all your needs.
Some of the color options for the dome and map lights include 5000K (natural white), 5500K (pure white), 6000K (cool white), red and blue. The vanity lights only come in 5000K, 5500K, and 6000K.
For today’s review we are going to do an install, review, and side by comparison to the stock interior lights on the 5500K pure white bulbs. Let’s do it!
Find It Online
- 2016-2023 Tacoma Interior LED Kit: Check Price
Table Of Contents
Installation
Tools & Materials
This part couldn’t be any easier. You’ll only need two things:
- Small Flathead Screwdriver
- Duct Tape
Kit Contents
There are seven bulbs total that need replacing. This complete kit has all of them:
- (4) Vanity Lights
- (2) Map Lights
- (1) Dome Light
Vanity Bulb

Both the driver and passenger side take two vanity bulbs.
Locate two of the tube-like bulbs from VLEDS, these are going to be the replacement LED bulbs.
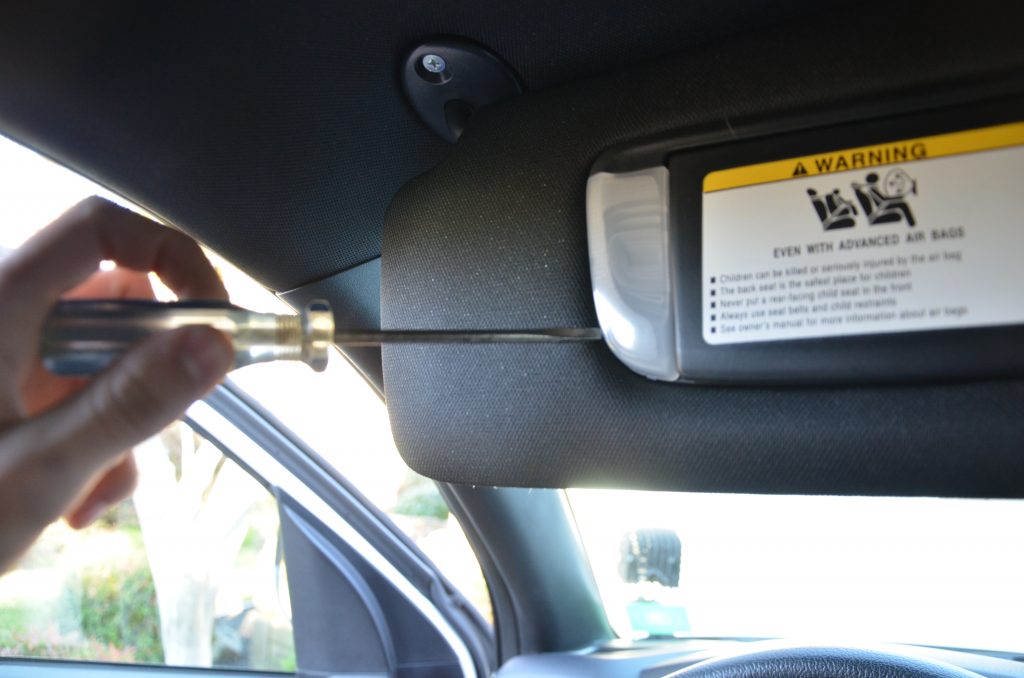
Let’s start with the driver’s side vanity lights. After pulling down the sun visor you will reveal the two vanity light covers. Take a flathead screwdriver, preferably with a smaller head, and work around the base of the light cover.
The bottom of the light cover has a little cutout made to easily pop it out. After slowly working your way around the cover, it should pop right off.

Now with both covers off, take your screwdriver or any other similar small tool and get under the bulb and lightly pull up.
The bulb should just pop right out.

With the old bulbs out, get a hold of your new bulbs. To install them, you’re going to grab the bulb while trying your best not to touch the actual bulbs themselves.
Then, line up the two contact points up with the latches and lightly press until the light sets in place. Opening your mirror should turn the light on; if it doesn’t, flip the light 180 degrees and try again.
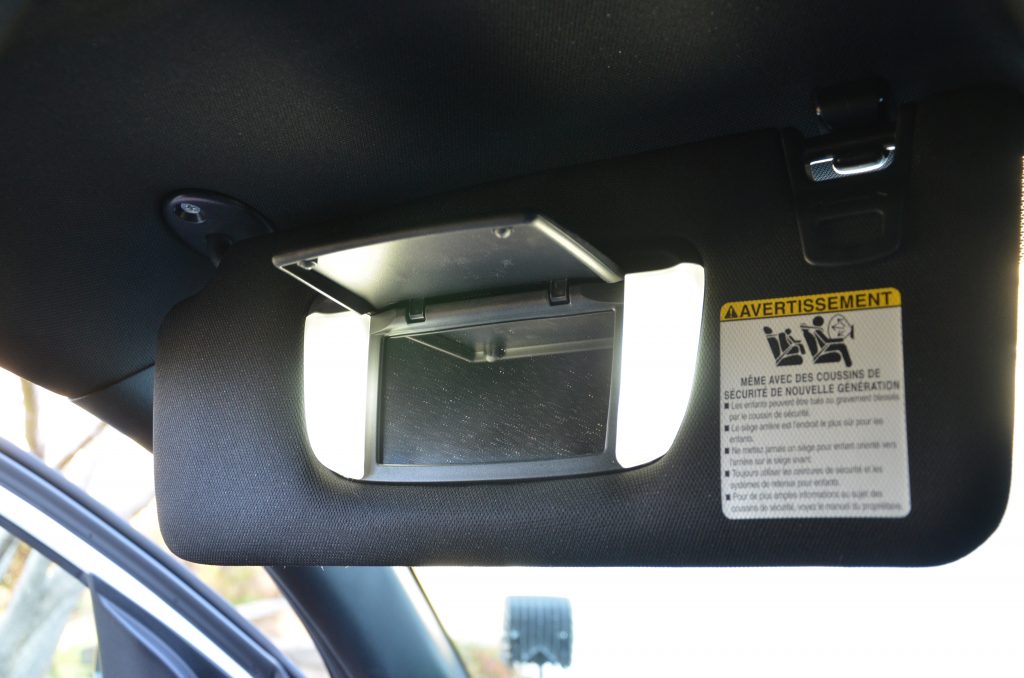
Woah. What a difference!
Repeat the same steps on the other side.
Map Light

Next up are going to be the map lights on the overhead panel. This is the trickiest install of the bunch.
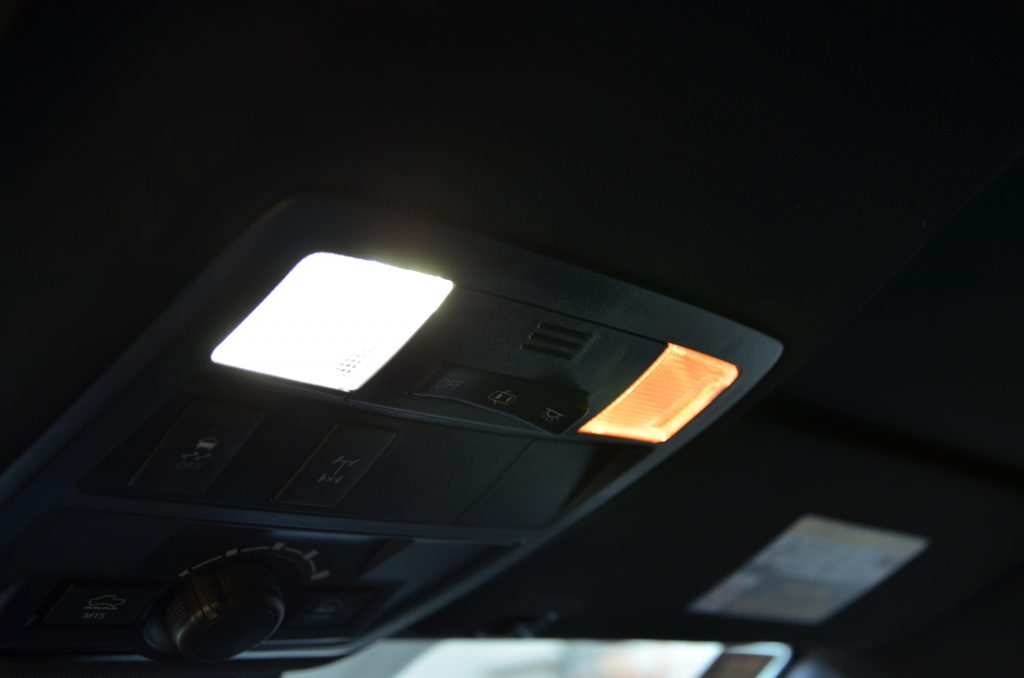
What a difference these are compared to the stock bulbs. The sixteen LED strips, as compared to the single halogen bulb on the stock bulbs highlight the upgrade you’re getting.

The best way to remove the covers is from the bottom side of the light.
Stick a small flathead and lightly work around the light ensuring you don’t snap any of the clips. It should pop right out.
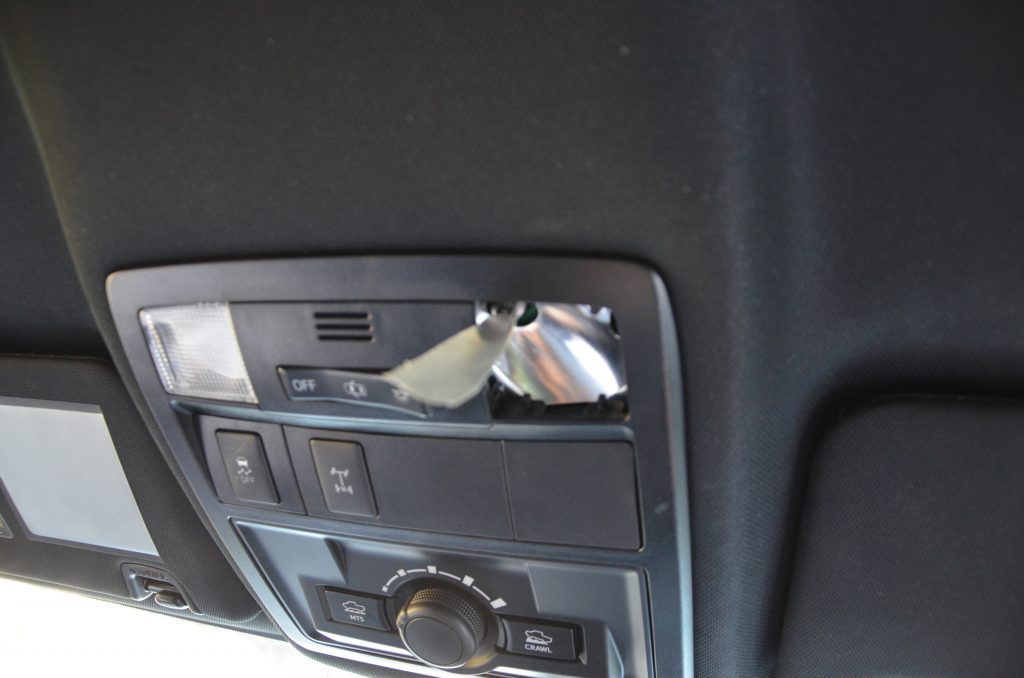
Removing the stock bulb is the trickiest part. Start by ripping some duct tape into small strands about 4 or 5 inches long. Fold the tape so the sticky part is on the inside and set it as far down onto the bulb as you can.
The tape is going to be used to grab onto the map light bulb to make it easier to pull out. Make sure the tape is well secured to the bulb so that you can firmly pull on the bulb and wiggle it out. Slowly work the bulb back and forth while pulling it out. The bulb should eventually slide right out.

With the new bulb in hand, now is the time to install it. This can be done using the same tape method or without it. It can be a little deceiving because it appears that the light may go in at an angle, but the bulb goes in straight up and down.
Making sure the bulb base is properly lined up with the slots to the contact point, firmly press the light into place. Make sure it goes in straight and is all the way secured. Turn the switch on and test the light making sure it works. If it doesn’t, try and make sure it is fully inserted and that the contact points are touching.
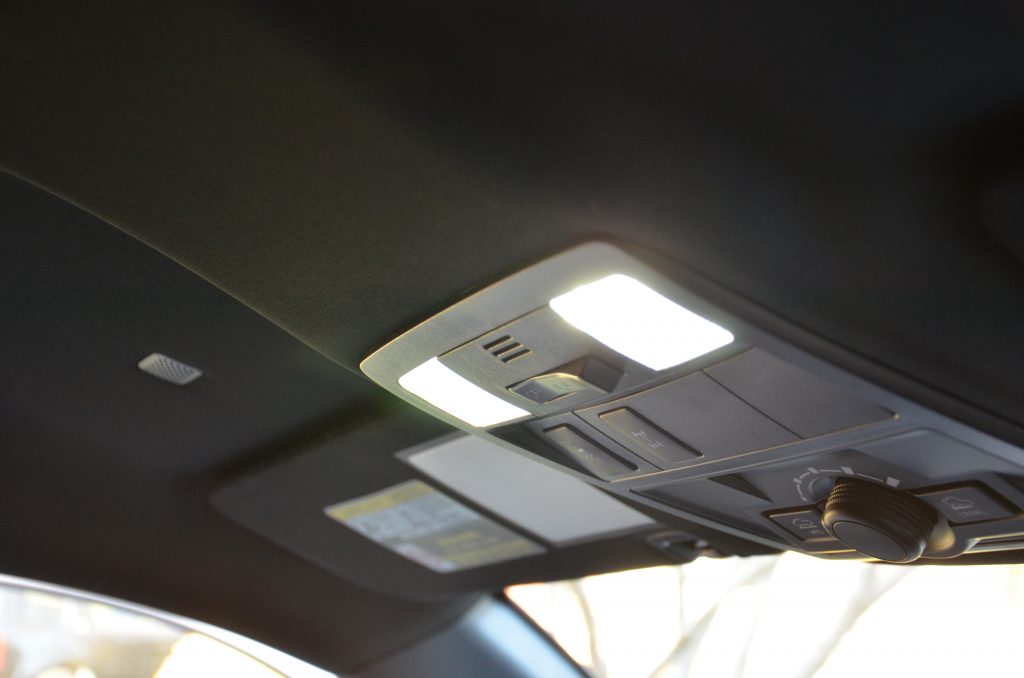
If you haven’t already, repeat the same steps on the other side.
Stand back and admire the huge difference! Two down, one more to go.
Dome Light

Dome light time!
If you followed along from the beginning, this should be the last bulb of the set, and there is only one bulb.

Using the same flathead that you have been during the whole install, insert the head in between the black trim and the light cover.
On the side that the switch is on, there should be two tabs on either side of the switch made for removing the cover. Lightly prying and working your way around should pop the cover right off.

For the removal of the stock bulb, there is a convenient pull tab on the left side of the light. Pushing the tab should pop the bulb out. As per the install of the new VLEDS bulb, insert the right end of the bulb into its specific recessed cutout.
Then the other side while holding back the pull tab should properly insert the bulb into its correct position. Test the bulb before putting the cover back on to make sure you didn’t reverse the polarity.
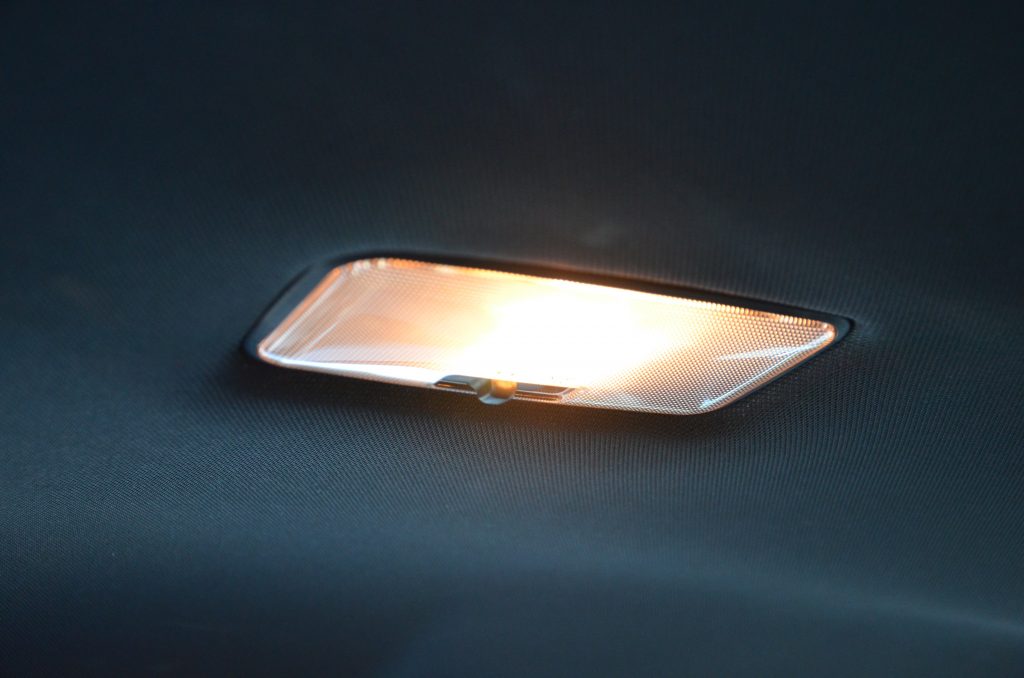
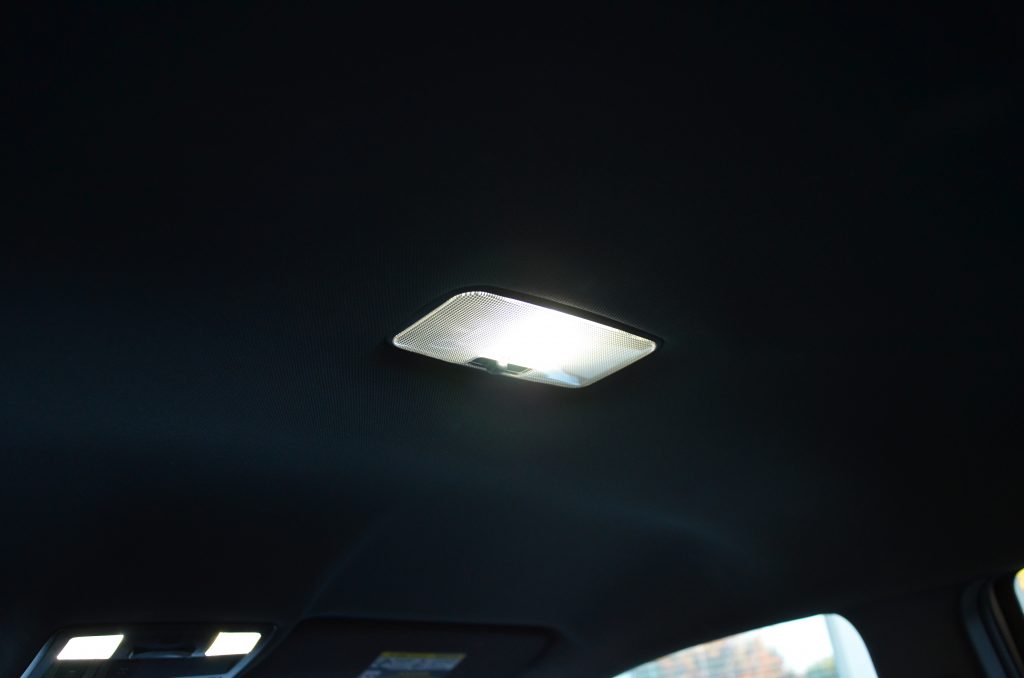
OEM Vs. VLEDS

Initial Review
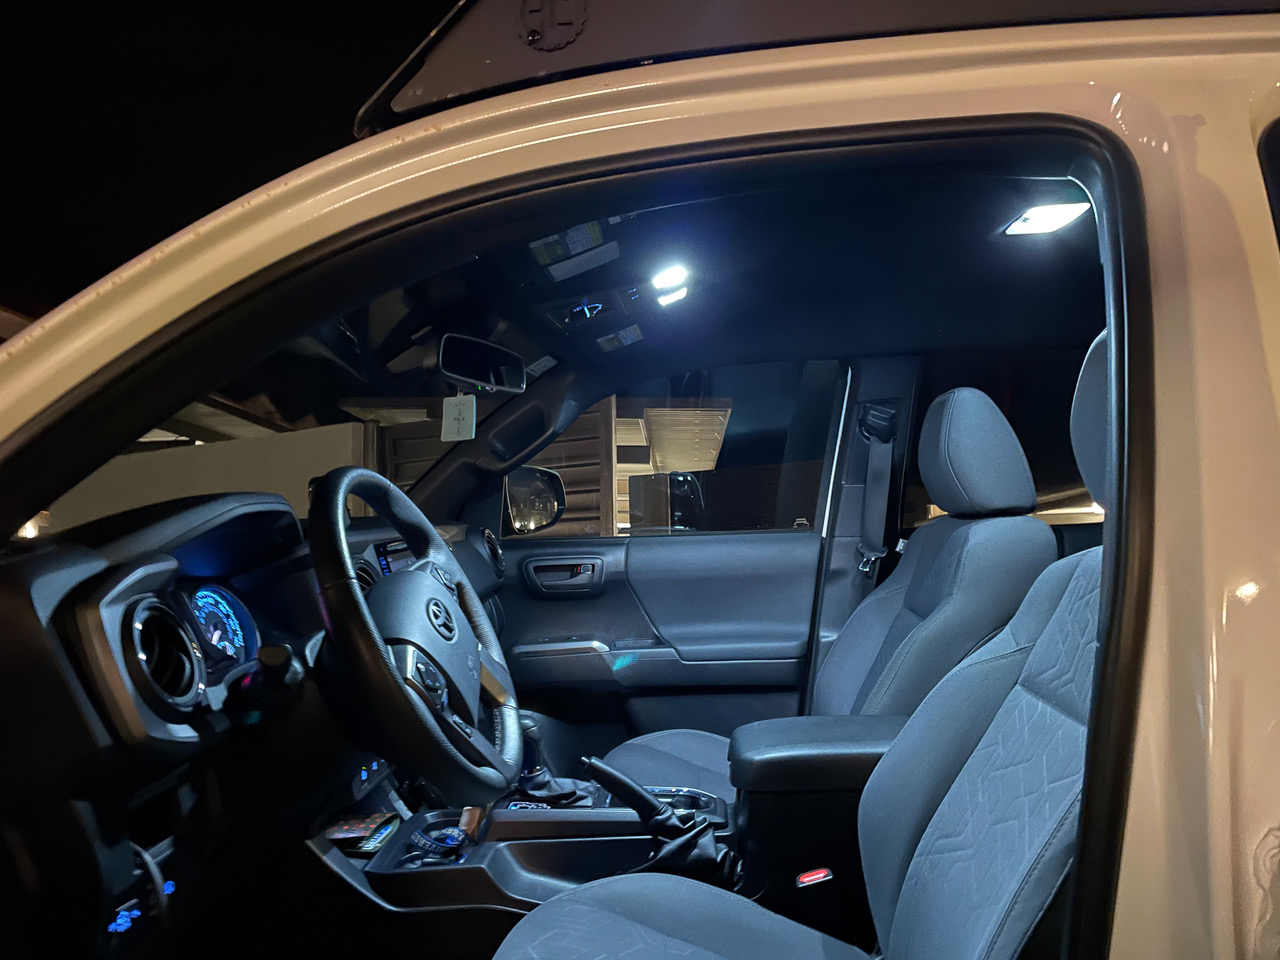
As you can tell, the difference these VLEDS bulbs make is unbelievable, and the earlier shots were taken during the day. The 3rd Gen Tacoma is notorious for having outdated and poor lighting. The interior is definitely a prime example of that.
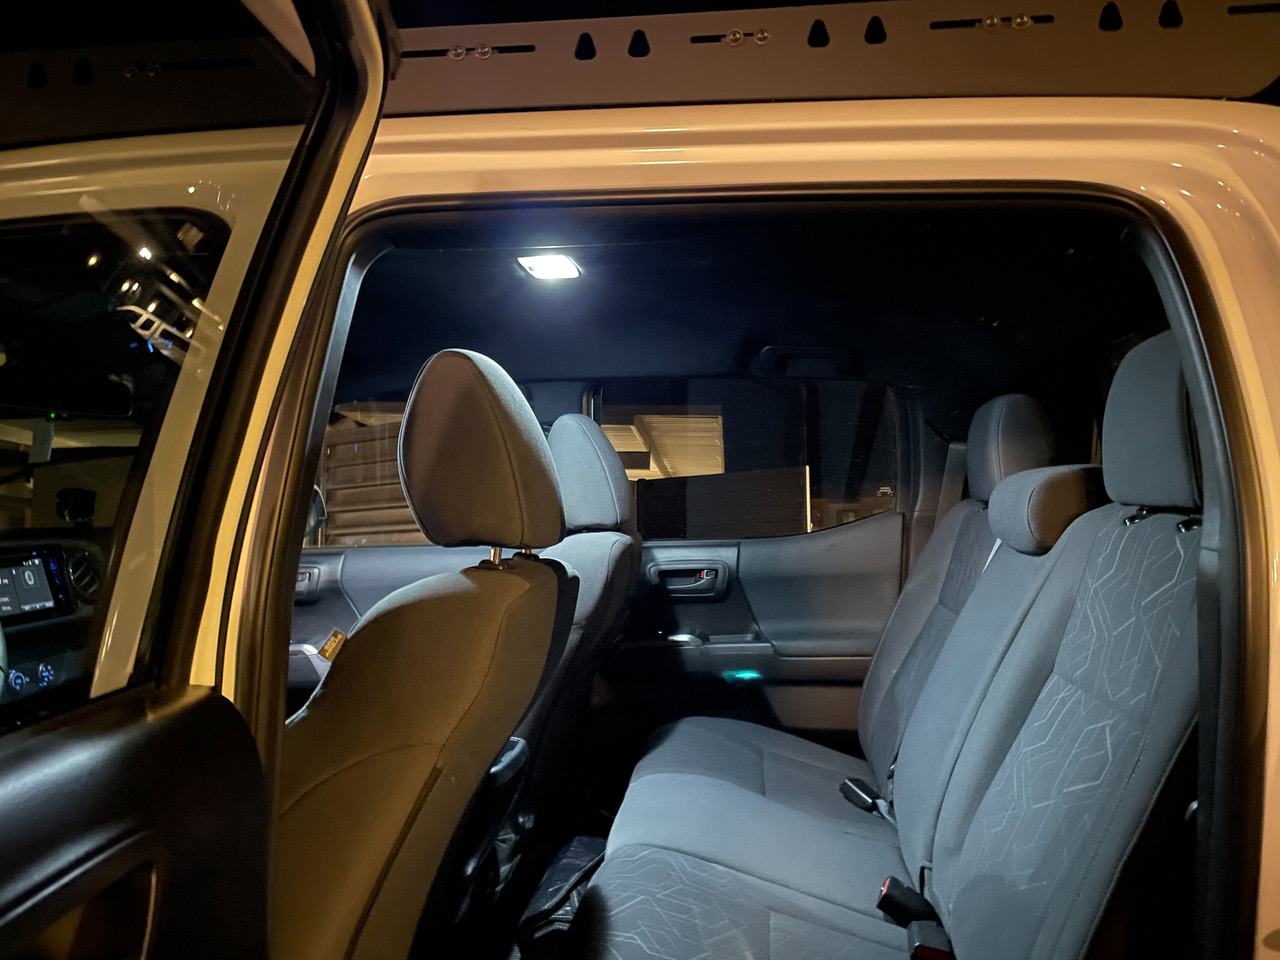
The brown, dull color of the bulbs provides a weak output that isn’t very useful. The upgraded VLEDS bulbs provided clear, crisp, white lighting that lights up the whole cab. This is hands down the best budget mod you can do to your Tacoma and only takes a few minutes to install.
Final Thoughts

There you have it! You have successfully installed the full interior kit provided by VLEDS. This short and easy install will have your rig one step closer to getting rid of those outdated halogen bulbs.
The output these bulbs provide is incredible. Opening your door into the truck lights up the whole cab and ensures you can see everything. Whether you’re looking to brighten up your cab whilst camping late at night or just looking to upgrade your truck to LEDs, VLEDS has you covered.


