

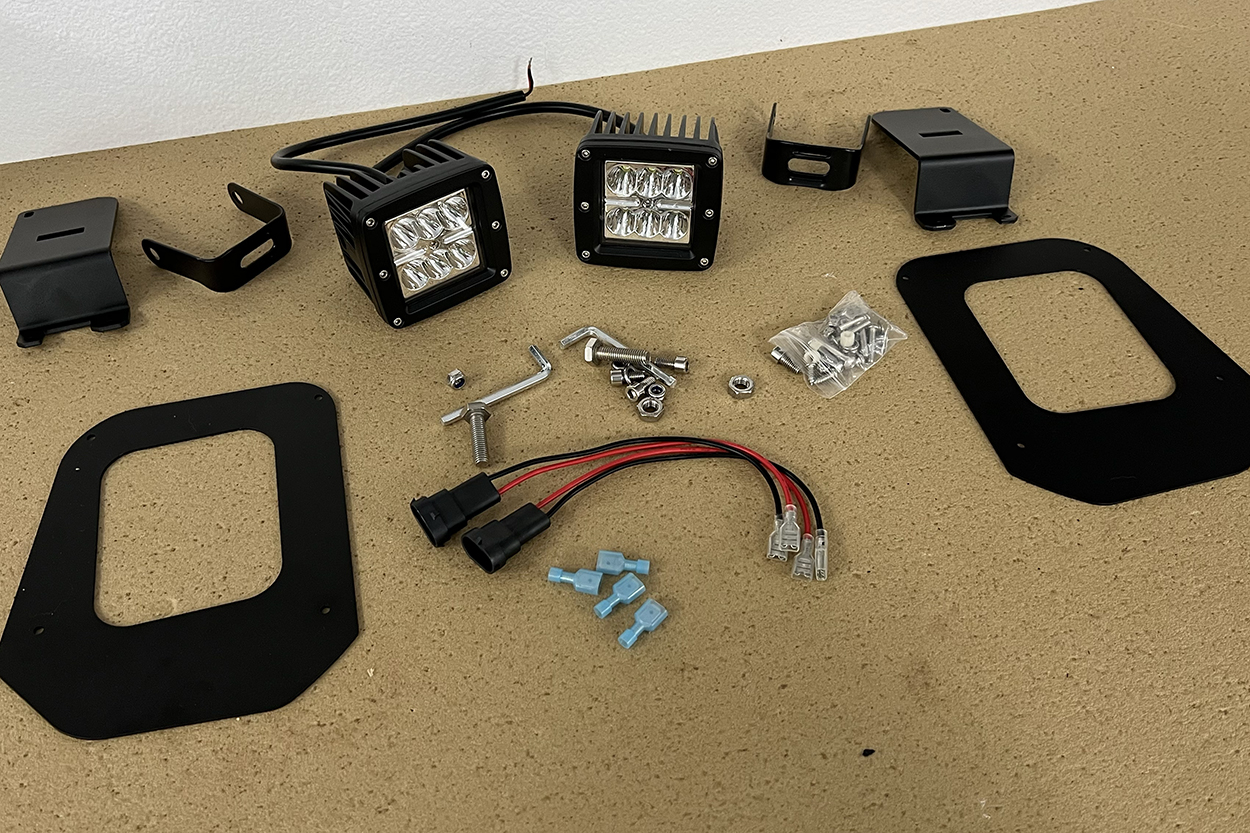
If you are let down by your Tacoma’s stock dismal fog light output, then boy do I have the mod for you. Yotaverse offers a plug-and-play replacement for your OEM Tacoma fogs lights. This option also comes at a great price, considering that you’re getting two CREE LED pods with brackets.
I wanted to upgrade my lights from the moment I picked up my Tacoma. I’ve seen individuals swap out the stock halogen bulbs for LED bulbs and get great results. However, I wanted something with a little more. These lights from Yotaverse checked all of my boxes, and I was pretty satisfied with the final product and light output.
Let’s take a deep dive into some of the main features and more on these lights.
Find It Online
- Yotaverse Fog Light Kit (2016-2023): Check Price
Table Of Contents
Overview

The plug-and-play LED pod fog light kit from Yotaverse replaces the OEM fog lights on your 3rd Gen Toyota Tacoma. The kit has a harness that allows you to retain the factory functionality. It also includes all of the necessary hardware and brackets required for installation.
Some minor drilling and some “blind” handwork will be required to secure a few nuts, but this is a pretty straightforward install.
Features

- Laser-cut steel with black powder coating to prevent rust
- 2 CREE LED light pods that are DOT certified for on-road driving
- A wiring harness that attaches directly to the OEM fog light plug
- Fitment for 3rd Gen Toyota Tacoma (2016-2022)
- Includes 1-year warranty and satisfaction guarantee
Specs

- LED power: 24 W (6 4W LEDs)
- Beam type: Flood
- LED color temperature: 6000K
- Waterproof rating: IP 67
- Material: 6063 die-cast aluminum profile, aluminum bracket, PMMA lens
Installation
This installation has quite a few steps, but the LED output you will gain from this setup will all be worth it. Let’s get into the installation.
Note that both driver and passenger side install process is the exact same. The passenger side is shown in this tutorial.
Step 1. Turn Wheel
Turn your wheels to access the 10mm bolts holding in your fender liner and the lower portion of your bumper.
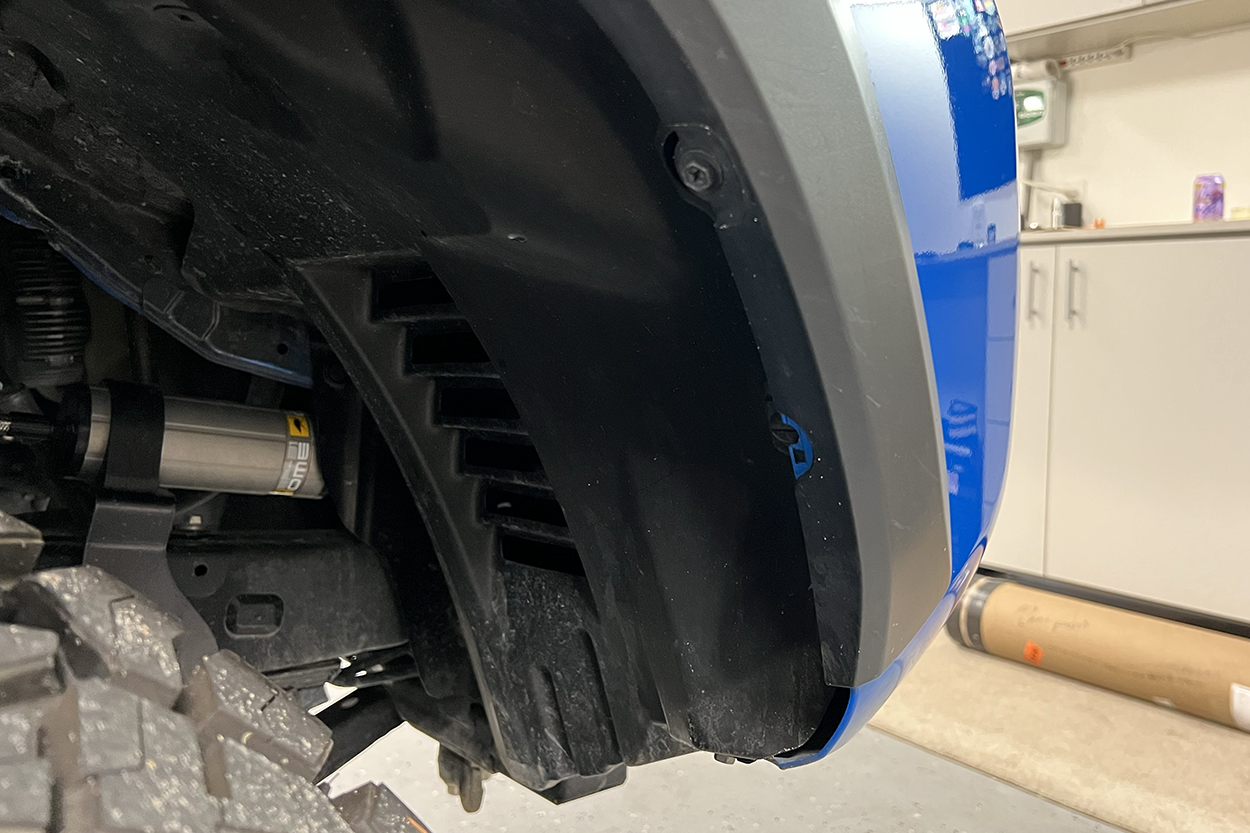
You will want to separate the fender liner by removing the top 10mm bolt and make your way down to the bottom bolt at the bottom corner of the front bumper.

The bottom corner bolt is the last one that holds the fender liner to the bumper.
Step 2. Pull Back Fender Liner

With the necessary bolts out of the way, go ahead and peel back the fender liner to gain access to the OEM fog light.
Step 3. Remove OEM Fog Light

Remove the OEM fog light by unplugging the harness. Next, remove the Phillips head screw (top right). Keep this screw for the installation of the Yotaverse bracket.

Once the screw is removed, shimmy the OEM bracket out and remove it from the bumper.
Step 4. Remove OEM Fog Light Surround

This part makes you feel like you are breaking the truck, but you just have to pull toward you to pull the plastic surround off.

It may be easier to work from left to right as you pull this plastic surround off. There are just some plastic tabs holding it into place.
Step 5. Secure New Bracket

Place the Yotaverse bracket tabs into the two existing tabs where the OEM fog light bracket was resting. Then, set the left of the bracket behind the hole on the left-hand side.

Secure bracket with supplied self-tapping screws.

Once installed, the bracket should look like this up front.

Remember that screw I told you to save? Use that now to secure the Yotaverse bracket to the OEM hole that held your original fog lights.
Step 6. Mount New LED Pod

If you haven’t yet, crimp the supplied plug-and-play harness to the Yotaverse LED pod and attach the bracket to the LED pod.

Let’s make sure the light turns on. If it does not turn on, disconnect the connector, rotate the fog light plug 180 degrees, and re-plug into the OEM fog light harness.

Take the supplied hardware and secure the LED pod to the bracket you just installed.

This part will require some “blind” work to tighten the nut behind your wheel well and hold the light in place simultaneously. The head of the bold is held in place with the bracket, so that helps, but it is a slight challenge still to tighten this all the way.
Step 7. Secure New Surround

This part will require some drilling, which is not ideal, but also not the end of the world. Line the light surround up as well as you can, and use a drill bit that will fit through the existing holes to drill into your bumper behind the faceplate.
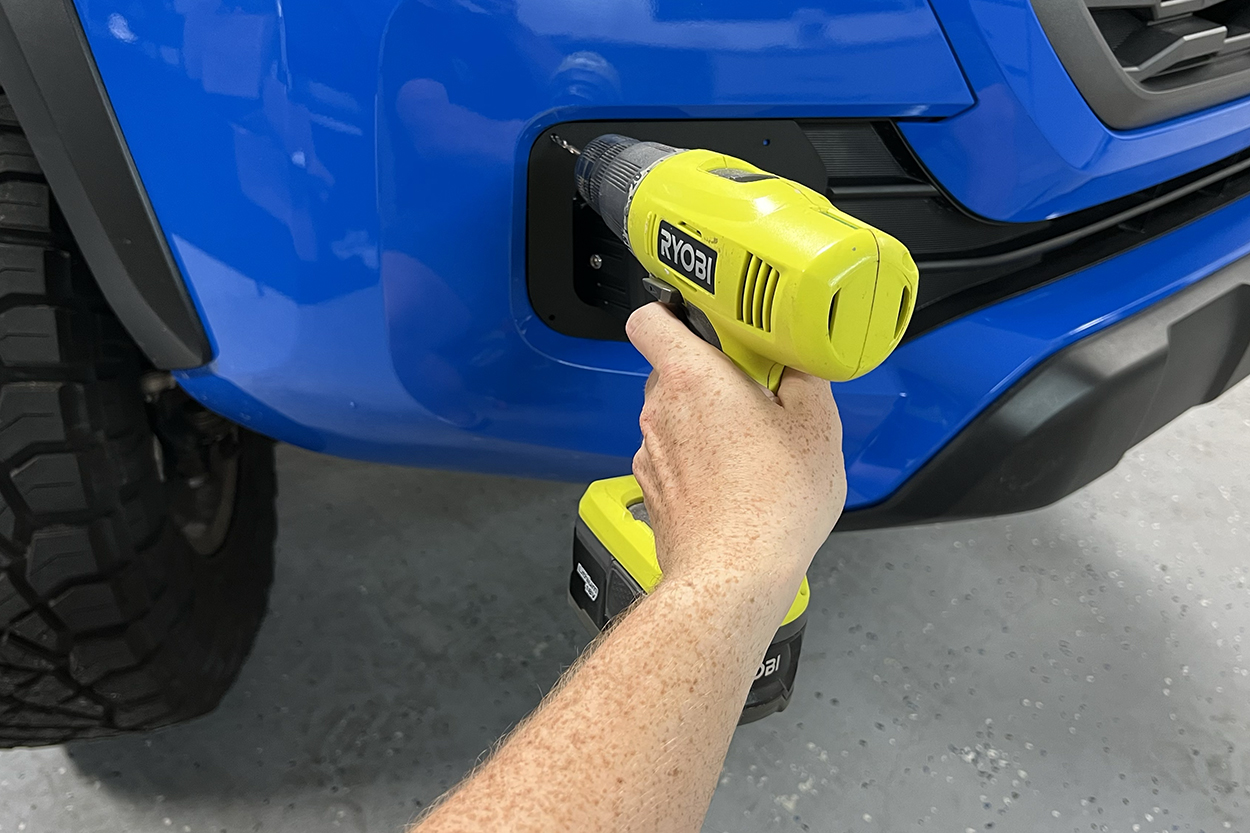
There will be four holes to drill to secure each plate.

With your four pilot holes drilled, step your bit size to a size that will allow the screws to go into the holes easily.
With the larger holes drilled, install the 4 Allen head screws to hold the faceplate in place.

Secure the four screws with supplied washers and nuts.
Resecure all parts and repeat on the other side.
Light Output

These lights shoot a bit more upward due to the angle I have them at, and due to their flood pattern.
Low beams plus fogs (view from inside the cabin).
These lights really excel in the outer peripheral view and vertical light throw directly in front of the vehicle. Of course, they work well as fog lights, but the flood pattern throws a ton of light in all directions in the immediate vicinity of your truck. No question, these are WAY brighter than OEM.
Final Thoughts

Overall, I am pretty satisfied with the Yotaverse LED fog light kit for my Tacoma. I am a bit of an OEM+ guy, and these lights don’t look too out of place for how I’ve built my truck thus far. I like how they stick out a little bit to allow verticle light adjustment, and the fact that they are pretty much plug-and-play was a plus.
On a scale of 1 to 10, I would rank the ease of installation a 5. This rating is mainly for those of us who are newer to truck mods. Someone who has done their fair share of work on their own won’t have any issues whatsoever. But the kit did not come with instructions, so make sure to save this page for your installation.
After staring at it for about 30 mins and seeing how the OEM light came out, it was pretty obvious to see how this would all go together. The other reason I rank the installation a 5/10 is for some of the “blind” work you have to do with the installation of some nuts and bolts and the drilling. Other than that, it was all super simple.
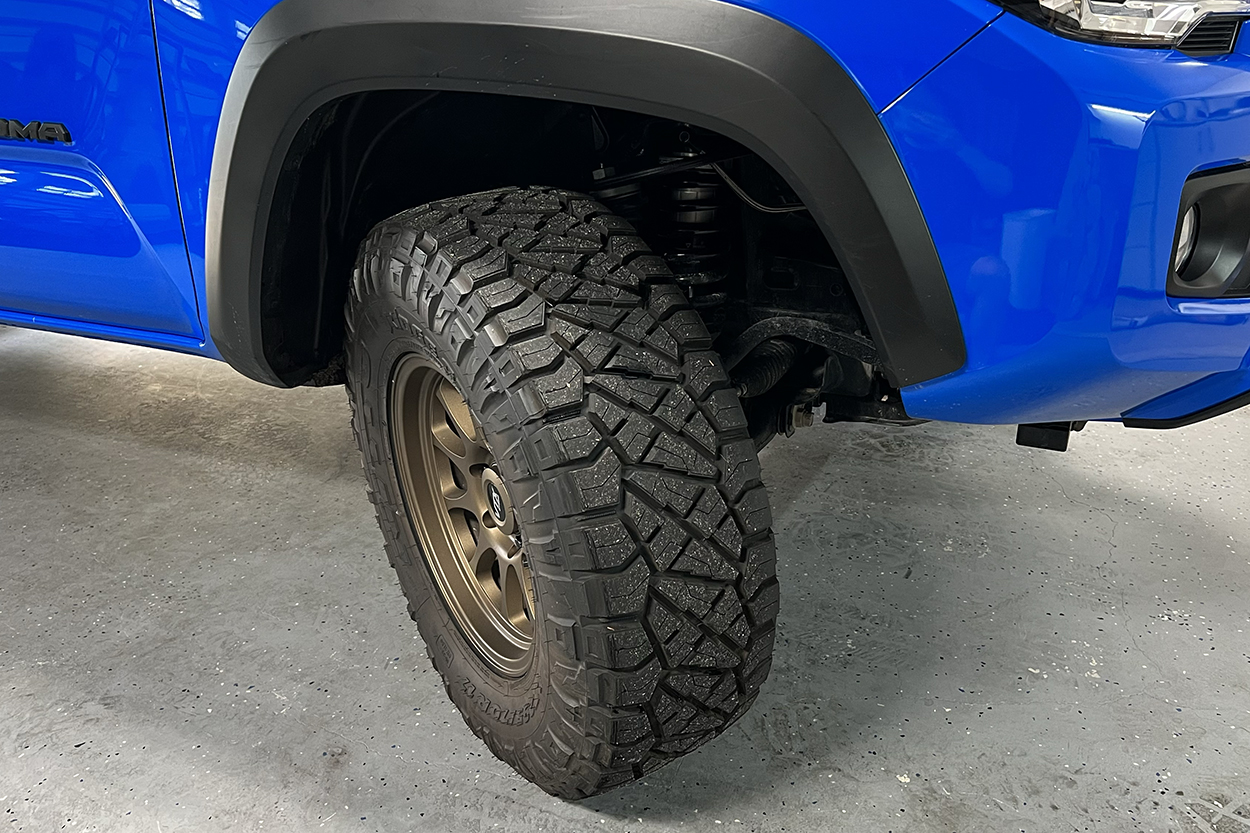
As for the light output, it’s way beyond what you can expect from a kit under $150.
The result was WAY better than the OEM halogen bulbs, especially considering that it costs close to the same price as an OEM bulb replacement. When I tested the lights out by having the driver side replaced and the passenger side as the OEM light, I could really tell a significant difference in light output.
Overall, I am pretty pumped about how this install turned out. Thanks for checking it out, guys!
I rather install high intensity LEDs to fog like then go through this ,really not that nice of an install because the light bracket is off centered and the face plate don’t look right