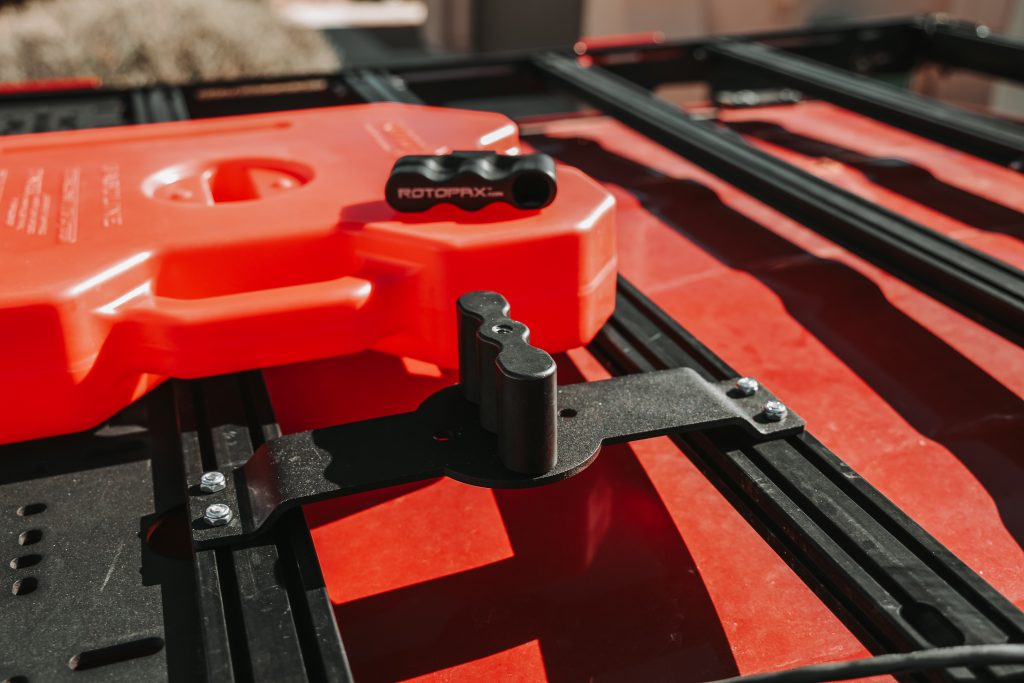
Do you have a RotopaX gas can but nowhere to secure it? Perhaps you strap it to the truck bed with some type of makeshift bracket and bungee cord. Or, maybe you just use a bungee cord. Either way, not having a gas can properly secured on the trails makes me a little nervous.
This Prinsu option is the perfect solution if you have a Prinsu cab rack or any rack with the industry standard cross bar. They’ve designed it to work seamlessly and allows you to easily remove your gas can with little effort. They offer two different versions.
Find It Online
- Dual Crossbar (seen in post): Check Price
- Single Crossbar (alternative option): Check Price
Table Of Contents
Installation
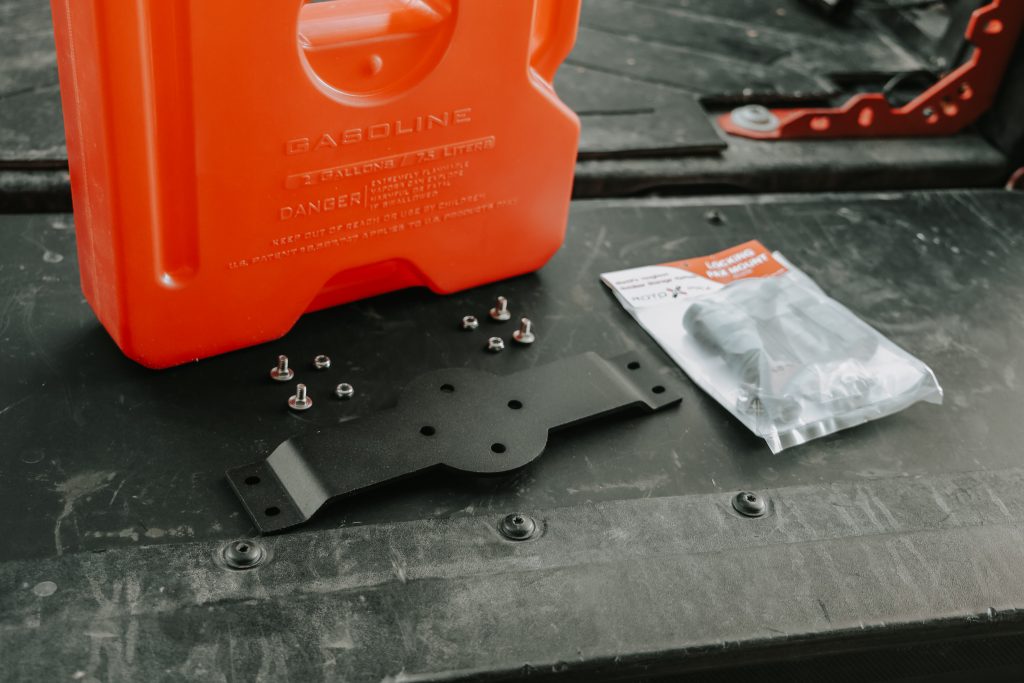
In this article, I will go over the installation of the dual crossbar version. The single option attaches a little differently, by squeezing a single cross bar, instead of bridging two bars.
Tools Required:
- Ratchet
- 11mm Socket or Wrench
- 13mm Socket
Step 1. Attach RotopaX Mount To Prinsu Mount
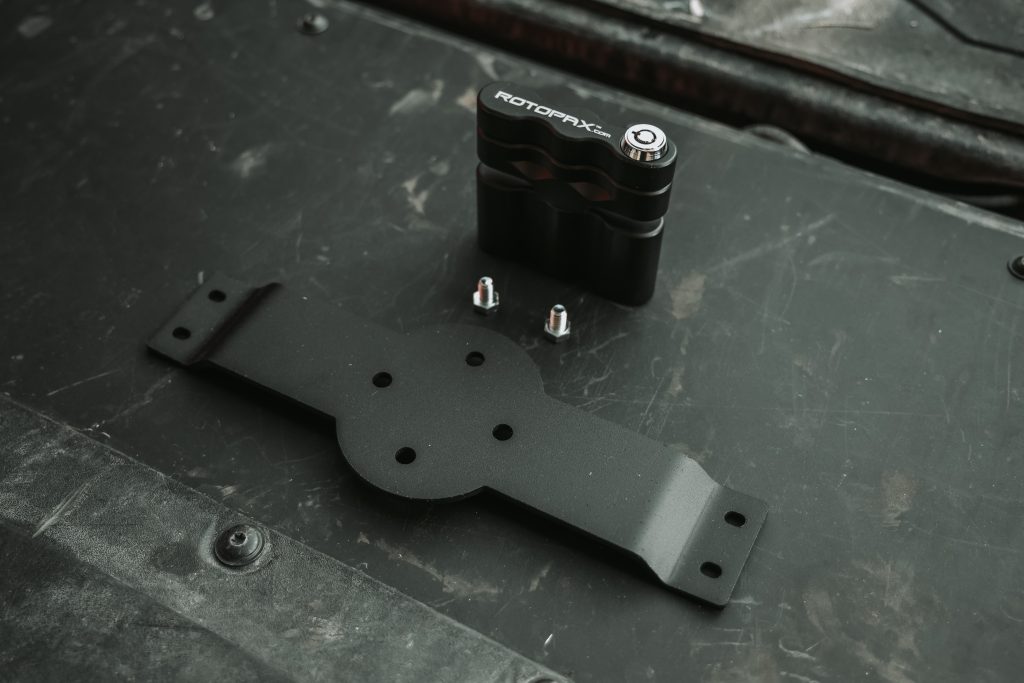
I opted for the locking RotopaX mount, but all versions attach the same way. The mount comes with (2) bolts that will attach it to the Prinsu one. Align the two holes with either of the (2) holes on the Prinsu and use a 13mm socket to secure the two bolts.
Step 2. Attach To Roof Rack
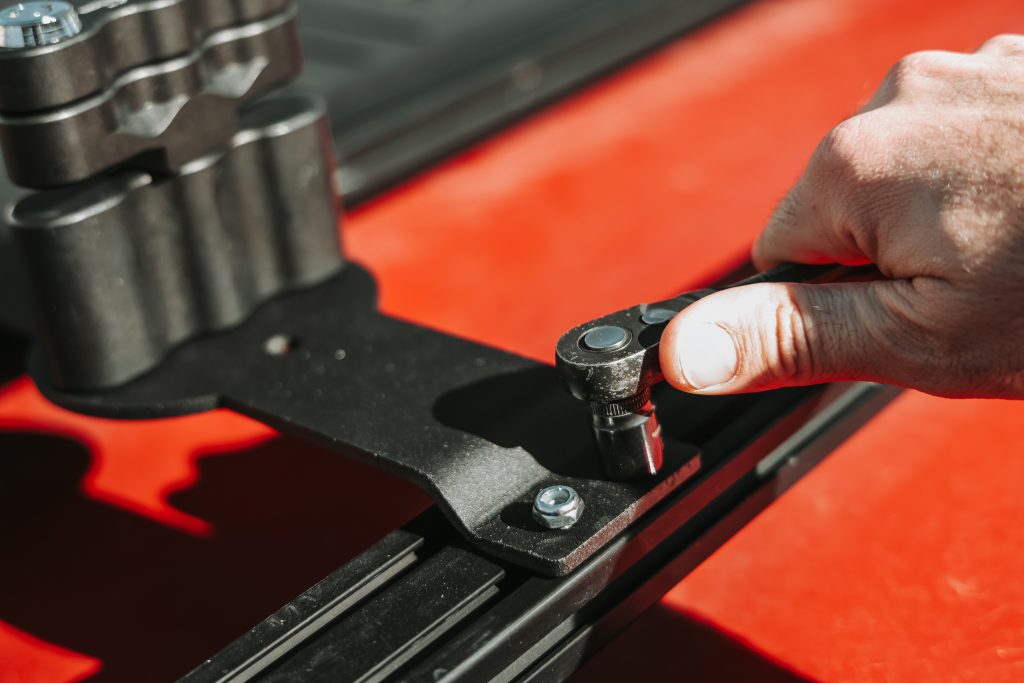
Place the assembly onto your roof rack and position it to where you want your gas can to go. The dual will use two crossbars and (2) carriage bolts in each one. Secure it all to the roof rack with the (4) supplied locking nuts.
Step 3. Secure RotopaX
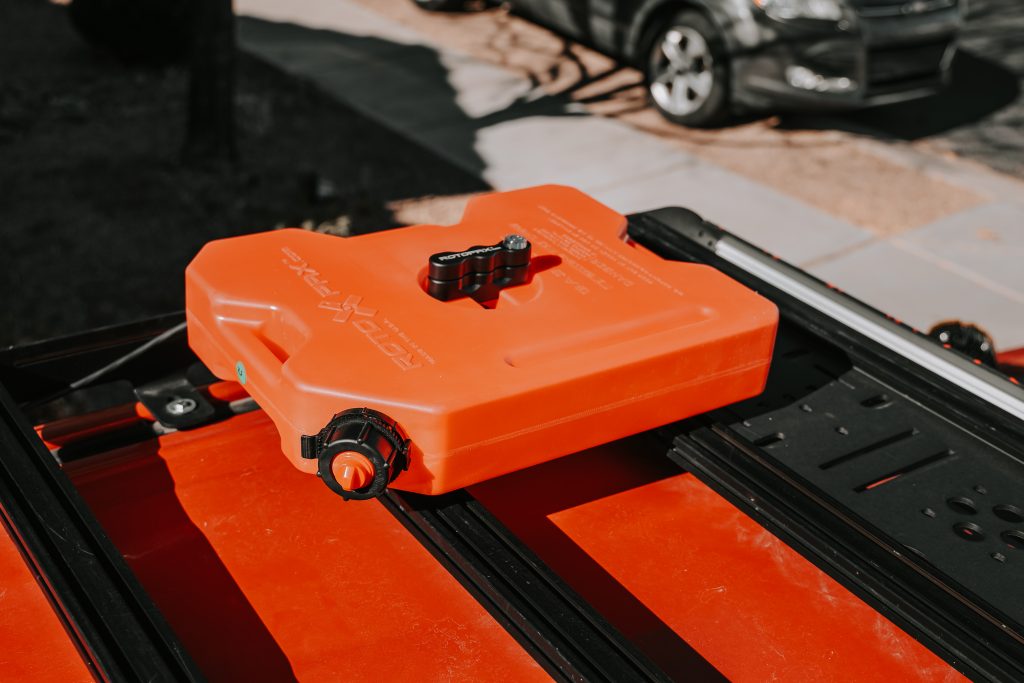
Place your RotopaX on and turn the handle to secure it. Now, step back and admire how overland your truck looks!
Final Thoughts
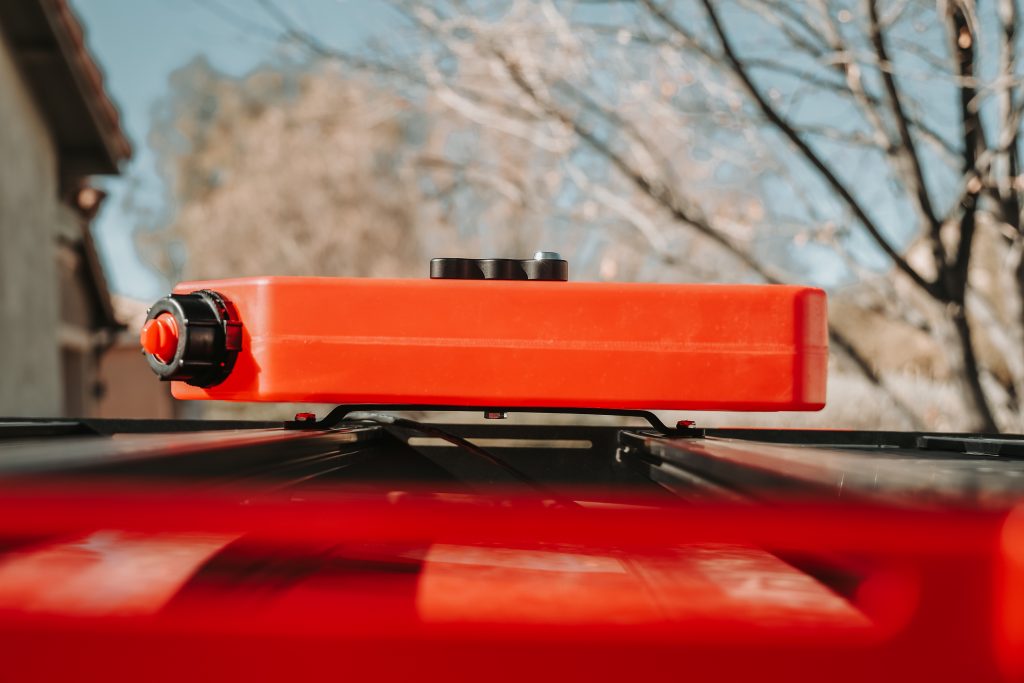
No more worrying about my gas can sliding around in the bed and possibly spilling gas everywhere. It is well built and I love how low profile the design is. Adding your gas can to the roof rack also frees up space in your bed for all of your other gear.
Now, go fill that gas can (and your tank) up and hit the trails with less worry about running out of fuel – happy trails!

