
KTJO 4×4 was founded in 2019 when founder Katie Kelley manufactured interior and exterior modifications she believed should have come from the factory. She started with a locking tailgate harness for her 2017 Tacoma, a power-folding mirror kit, and a driver-side grab handle that has quickly become their best seller.
KTJO 4×4 is based in St. Helens, Oregon, and works hand in hand with its family members to design and create new products that fill a void of modifications that benefit the day-to-day use of your Tacoma.
Since 2019, KTJO 4×4 has expanded its product line to include the 4Runner, Tundra, and Highlander. Their attention to detail and customer service really show when you open the box to see everything neatly packed and organized with detailed instructions.
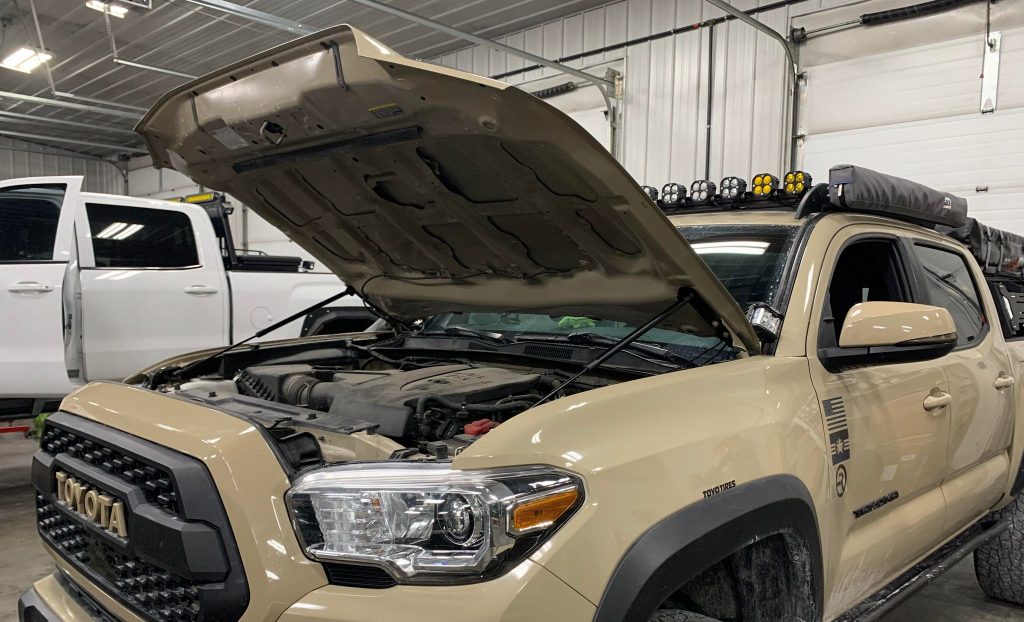
Today, we’ll be taking a look at the KTJO 4×4 hood lift support kit, which adds gas struts to your Tacoma’s hood. Toyota definitely missed this opportunity, but this easy-to-install kit has addressed that problem!
Table Of Contents
Kit Overview
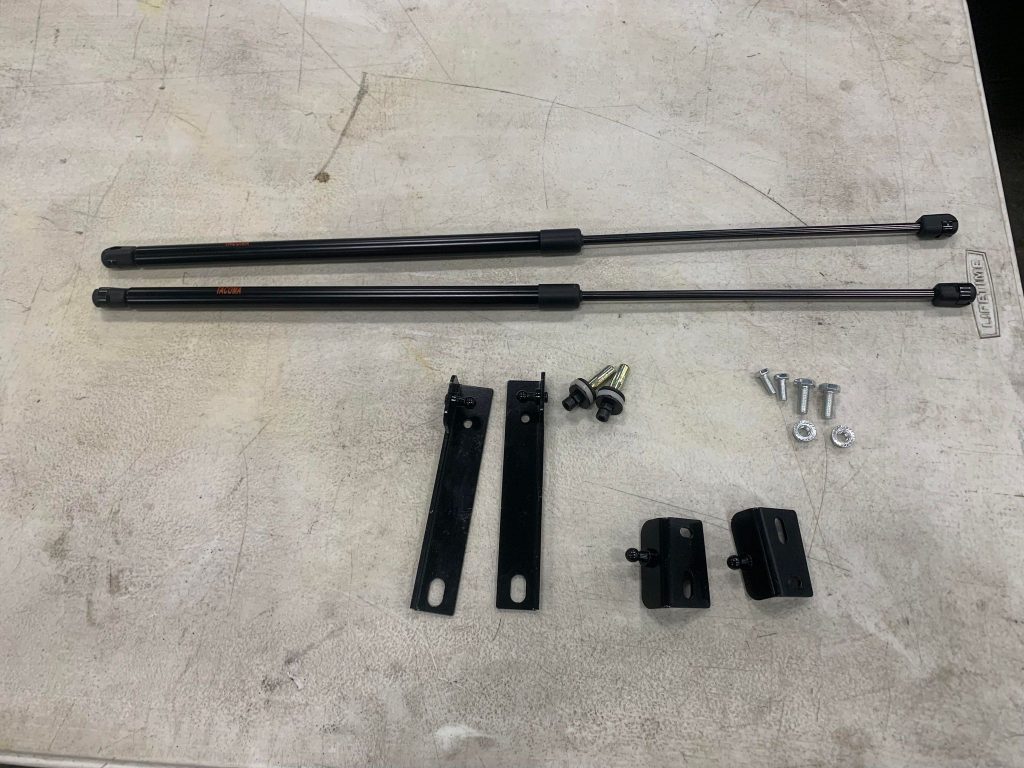
What’s Included
- 2 x Gas Struts (color options of Blue, Orange, or White)
- 1 x Hardware Bag
My first thought was how good the finish was on the brackets for the fender and hood. The gas struts were firm and felt solid. The hardware kit comes with all the bolts and two expansion screws needed.
Tools Needed
- 1/2 Drive Ratchet
- 3/16″ Hex or Allen Key
- 10mm, 12mm,13mm, & 14mm Wrenches
Step 1. Install Lower Bracket
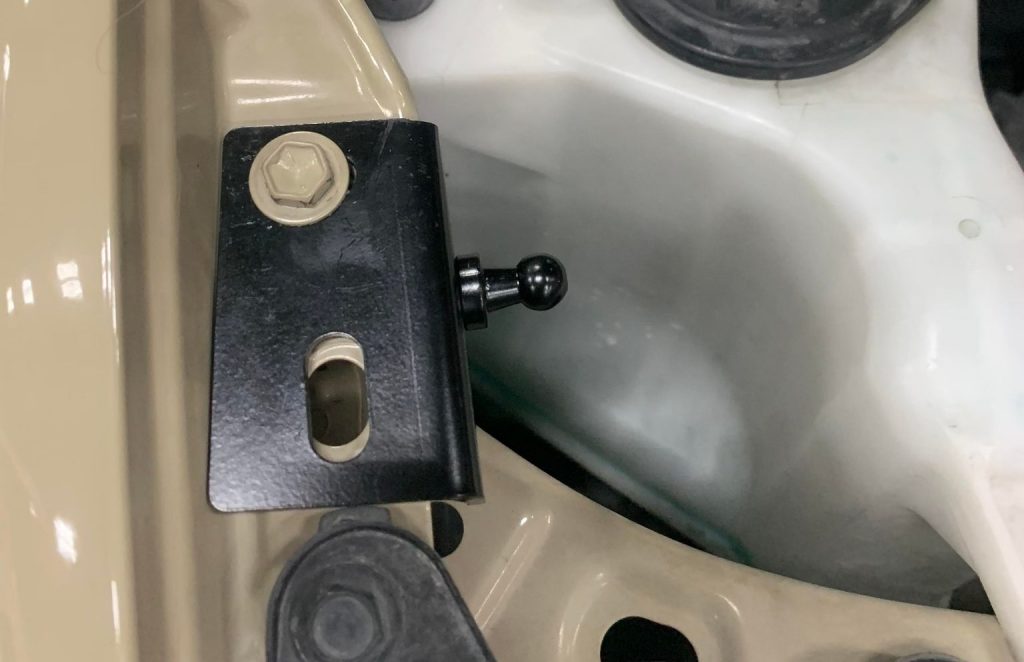
The lower bracket near the headlight is pretty easy! Just remove the 10mm bolt located below and place your new bracket. Then, hand-tighten for now. We’ll tighten it up once the other bolt is in place.

Next, install the provided 14mm bolt and nut and tighten it up. Once the bottom bolt is tight, it’s time to tighten up the 10mm bolt above it. Repeat this for the other side of the truck.
Step 2. Upper Bracket Hardware Install

Now it’s time to install our expansion screw. This part took longer than I was expecting, but I think it was just due to having a longer driver bit than needed. For these, grab your 3/16 Allen driver and a 10mm wrench.
Tighten the nut on the bolt to expand the metal inside the hood. This creates our new mounting point for the front portion of the bracket.
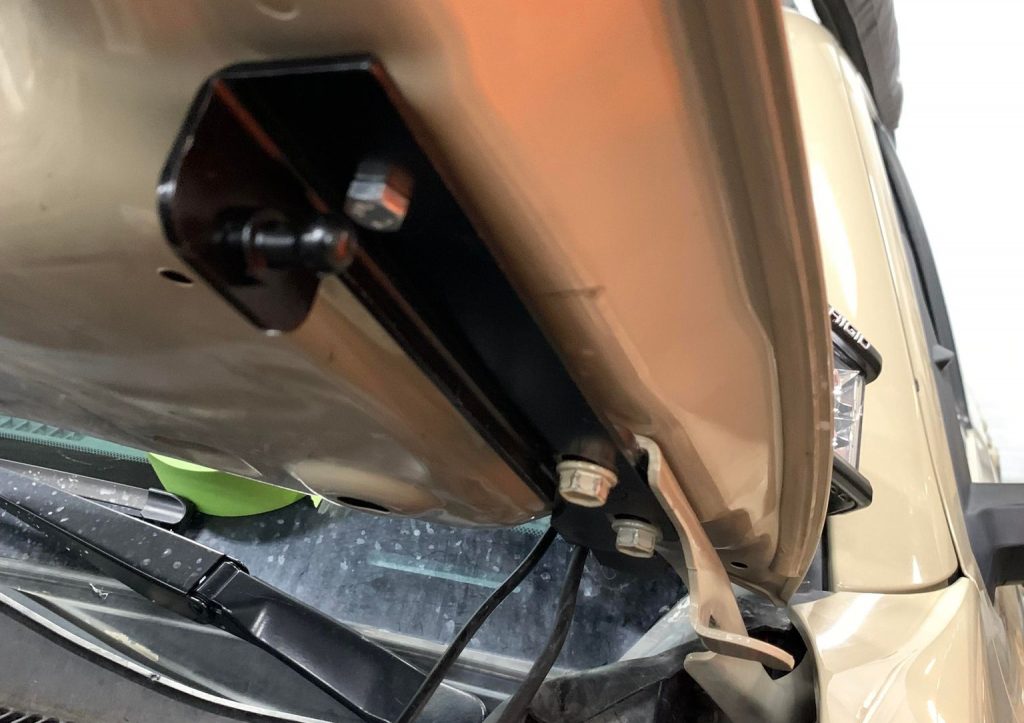
Step 3. Install Top Bracket

To install the top bracket, loosen the front hood bolt with a 12mm wrench. My truck has ditch lights, so I already had a bracket in place. However, the KJTO 4×4 bracket was installed over it with no issues.
Note: The original 10mm bolt that came with the kit was not long enough due to my ditch light bracket. That’s an easy fix! A slightly longer bolt and a black washer from the expansion bolt did the trick. The supplied bolt should work fine if you don’t have ditch light brackets.
Step 4. Secure The New Bracket & Install Strut
Tighten both bolts to fully secure the new bracket, then repeat this for the other side of the truck.
Finally, grab your strut and press it onto the ball joint of the brackets. Repeat for the opposite side. Slowly lower the hood to check clearances.
Final Thoughts

This kit was super easy to install; it takes less than 30 minutes and requires minimal tools. The fit, finish, and quality of this kit are awesome. I definitely plan on following KJTO 4×4 for their other awesome products!
The only thing I would change is the inclusion of a longer bolt and washer for those with ditch light brackets installed, but this is a minor thing. This kit’s well worth its price and gets that annoying manual prop rod out of your way when working under the hood.
