

Anyone who takes off-roading or overlanding seriously will tell you that the one piece of gear that’s essential is an air compressor.
When I first started to get my feet wet, I was running a cheap and portable Viair 88p. It aired up all four of my Crosstrek’s 28″ tires from 22psi to 32psi in about ten minutes. This was fine until I moved over to my Tacoma with 33″ tires. On a normal day, the 88p would fill all four tires from 25psi to 38psi in just over 13 minutes, however, on a hot day, it would struggle to air up one or two tires before needing to take a 30-minute break. Not to mention, I also had to climb up the truck, get onto the roof box, grab the compressor, clamp the positive and negative wires, and then fill each tire up with a single hose. which added to the time it took to air up my tires.
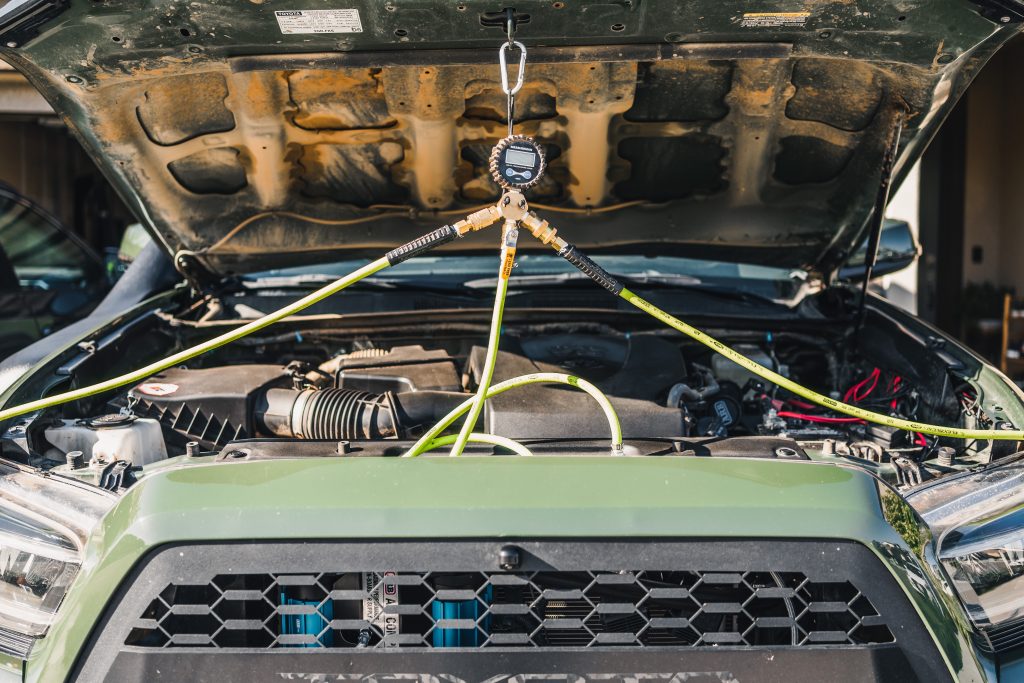
Now that I’m a little more seasoned and taking this hobby much more seriously. I’ve moved to a four-hose system but it was also about time to upgrade to a much more serious onboard air compressor. I needed a compressor that was fast, reliable, didn’t take up valuable space, and also help streamline the setup and take down times.
Throughout this article, I’ll dig deeper into what makes the ARB twin one of, if not the best air compressors on the market and why you would want an onboard air system. I’ll also give you a quick install guide, which includes some optional modifications you can add to your compressor to make it even better.
Find It Online
- R4T Behind The Grille Mount: Check Price
- ARB 12V On-Board Twin High-Performance Air Compressor (CKMTA12): Check Price
- ARB Manifold: Check Price
- ARB Reinforced Hose: Check Price
- ARB Hose Coupler: Check Price
- ARB Coupler Cover: Check Price
- ARB Switch Bracket: Check Price
- ARB Filter Relocation Kit: Check Price
- Large Terminal Crimper w/ Terminal Kit: Check Price
- Fuse Taps: Check Price
Table Of Contents
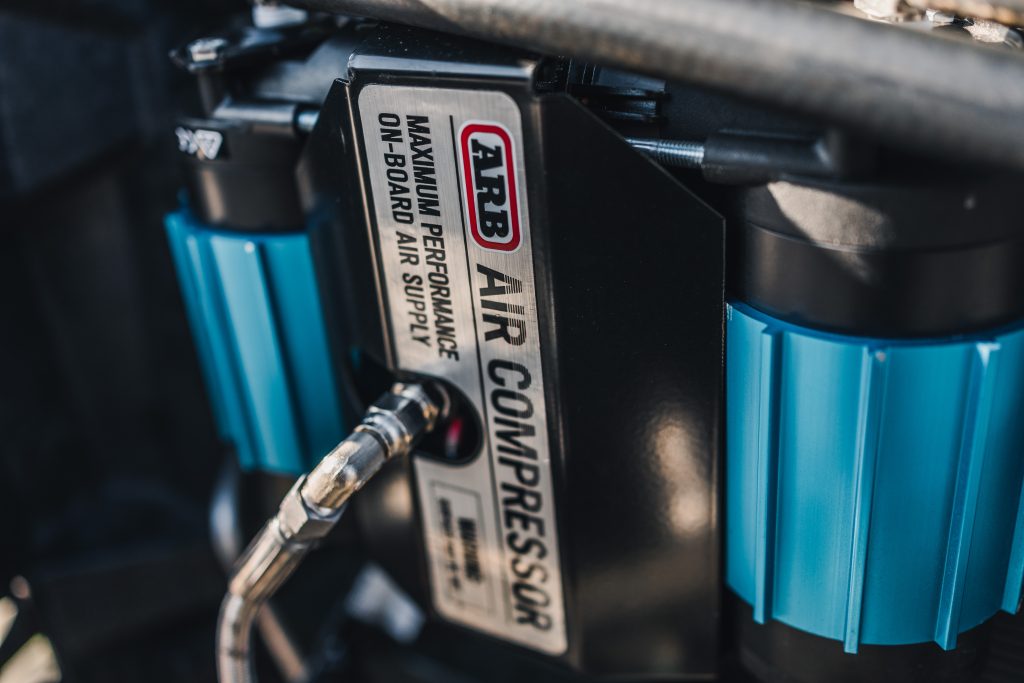
Why Is ARB Twin So Popular?
The ARB Twin is toted as the best one the best compressors your money can buy. It’s fast, reliable, and boasts a spec sheet longer than most of my Rite-aid receipts.
The list of specs shown below was ripped straight from the ARB website, if you’d like to see the actual graph, click here.
Technical Specifications
- 6.16 CFM @ 0 PSI – 4.68 CFM @ 29 PSI
- 100% Duty Cycle
- Low Head Submersible
- IP55 Rating
- Sintered Bronze Filter
- Thermal Overload Sensor
- Pre-Installed Pressure Switch
- Air Locker Capable
- Optional Air Tank

To put all of this into layman’s terms… It means it’s fast and can be run for an hour without any breaks. It’s rated to be hit with low-pressure water, so as long as you’re not pointing your pressure washer right into the compressor, you’ll be fine if it gets wet. It has a sensor that tells the compressor, “it’s too hot! shut off”.
It also has a sensor that will tell your compressor to turn off when not in use. Finally, it can be modified to work with air lockers, air suspension, air tools and can utilize an external air tank to help with all of the additional uses.
Do You Need One?
At the end of the day, it mostly comes down to convenience for most people. Flip one switch are you’re ready to air up your tires. No more lugging around that heavy compressor.
For the more serious people, on-board air allows you to work with an additional air tank to help actuate air lockers, use air suspension, or air tools to get more usage out of your compressor.
Best Mounting Location?
If there’s a place you can think of mounting your compressor, nine times out of ten, someone has already made a mount for that position. Where you end up mounting your compressor will affect a lot of things like space usage, how efficiently you can get to your compressor when you need to and the possibility of heat soaking your compressor.
For instance, a common mounting spot is in the engine bay either above the fuse box or the second battery slot. These are the most popular spots to mount a compressor but they come with a few caveats. If you mount it in the spare battery slot, it’s a little obvious, but you lose the space where your second battery would go. if you mount it over the fuse box, it makes getting to your fuses a huge headache. Both of these mounting positions also make your compressor susceptible to getting heat soaked. This is when the temp in the engine bay starts to affect how efficiently the compressor runs, or in some cases make it so your compressor won’t turn on at all.
If you mount your compressor in the cab, good luck sitting in your truck in bad weather while waiting for your tires to air up. The compressor is extremely loud! Some mounts might confine the compressor to a small spot, which could also potentially lead to heat soak. Mounting in the bed is a solid option, however, with both options, if your truck is packed with gear, it might be a little hard to get to your compressor.
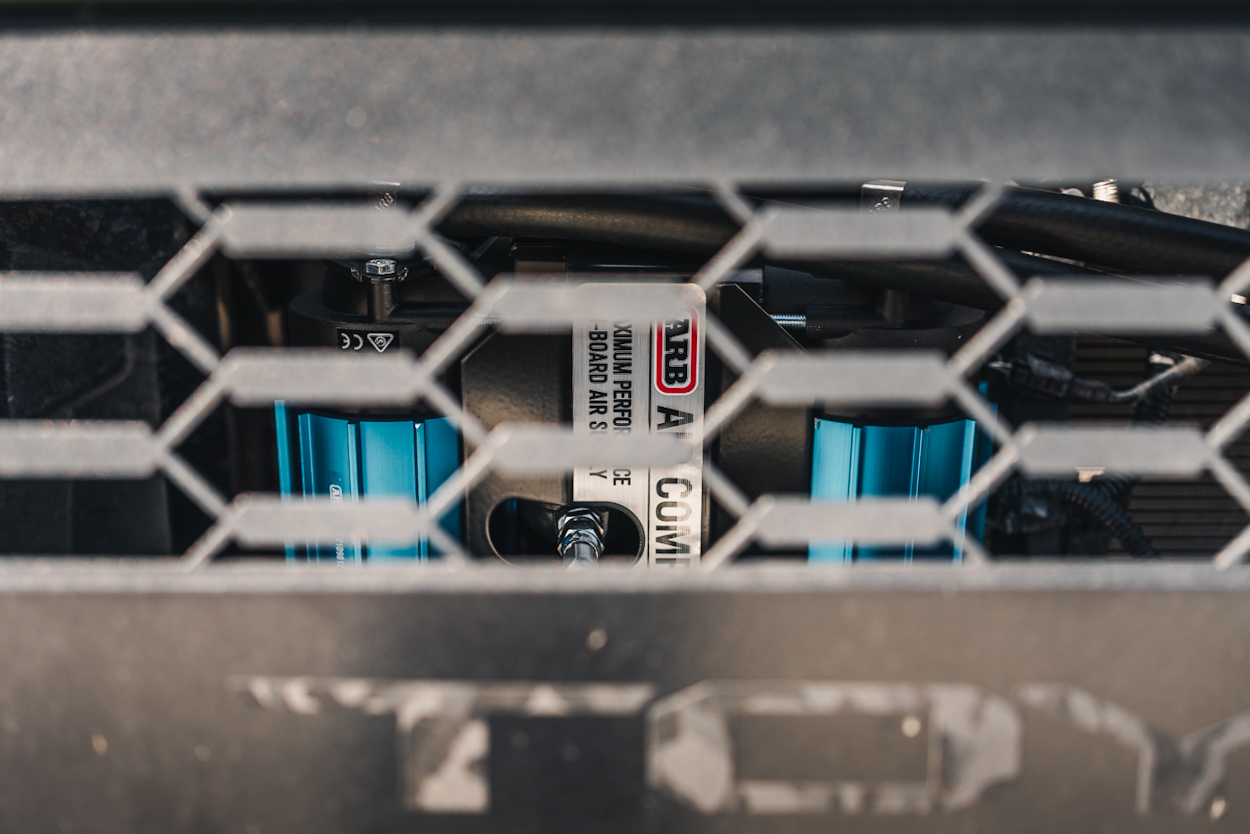
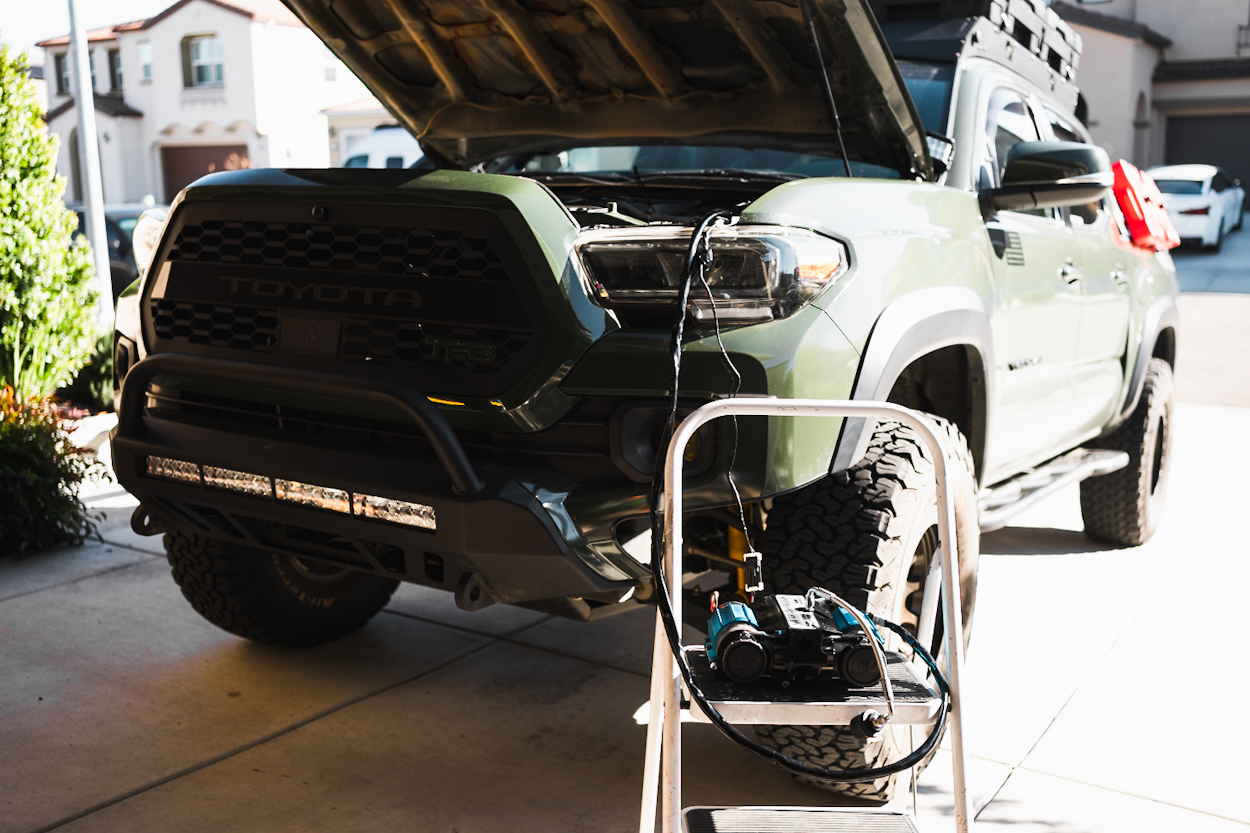
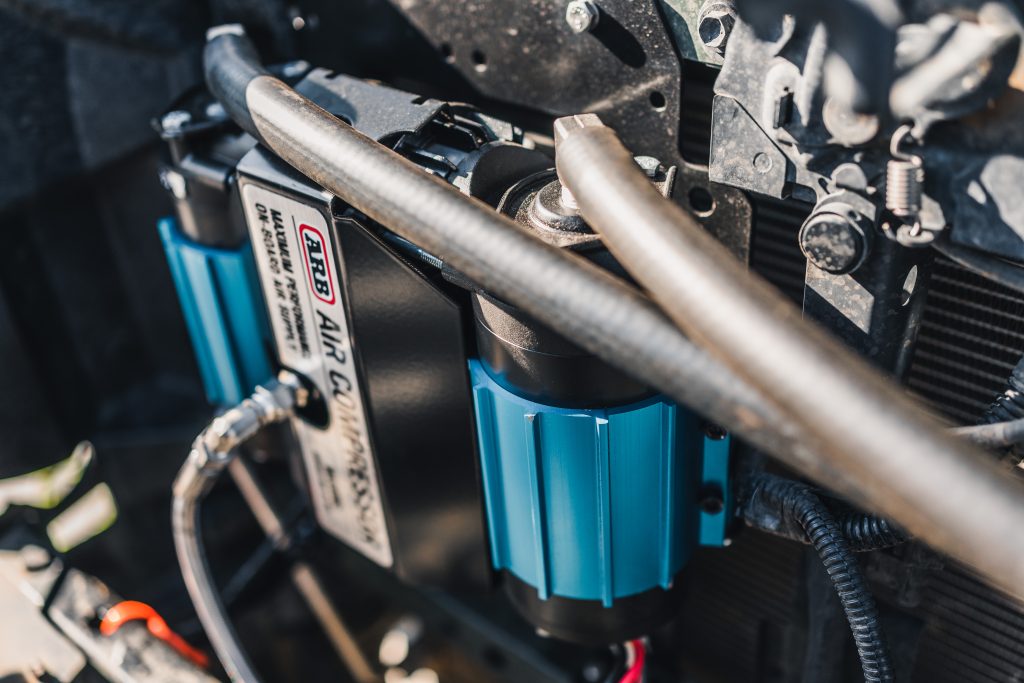
In my opinion, the most optimal place to mount the compressor would be in the unused space between the front grill and the radiator. If you’ve ever taken a look behind the grill, you would see there’s a massive amount of unused space. The guys over at Runnin4Tacos have fabricated a behind the grill mount that utilizes that open area. it also optimizes space usage and efficiency, all while giving enough airflow to the compressor so it doesn’t get heat soaked in the engine bay. With a few mods, I believe this is the best way to mount your system.
Optional Mods Necessary?
None of the optional mods are necessary but they make a good setup, a great setup.
I added these parts to help keep my compressor healthy, and help streamline. These mods also add some additional functionality and future proofing.
Installation
This installation guide will be a follow up of a previous post I did on the Runnin4Tacos behind the grille mount. Read that article here.
Required Tools
- Standard toolbox
- Electric Drill & Standard Bit kit
- Wire Crimpers
- Large Terminal Crimpers
- Wire Feeder or Metal Hanger (optional)
Step 1. Wiring & Testing Compressor
First off, if you haven’t mounted your compressor yet, I would highly suggest testing your compressor before you hard mount it. I would say to wire up your compressor, test it, then hard mount your compressor and run your wires in their permanent positions.
None of the wiring is done for you. With the modularity of the compressor and the numerous mounting positions, ARB knows that setups are going to be a little different. So if you’re not comfortable doing any wiring yourself, This is about when I would call up a friend for a little help.
There are three harnesses that should have came with your compressor. A harness with only red and black wires, this is your power harness. One harness with green, yellow, black, and purple wires, this is your switch power harness. Then a smaller harness, with leads labeled for air locker’s and an isolation switch, this is used to power your physical switches.
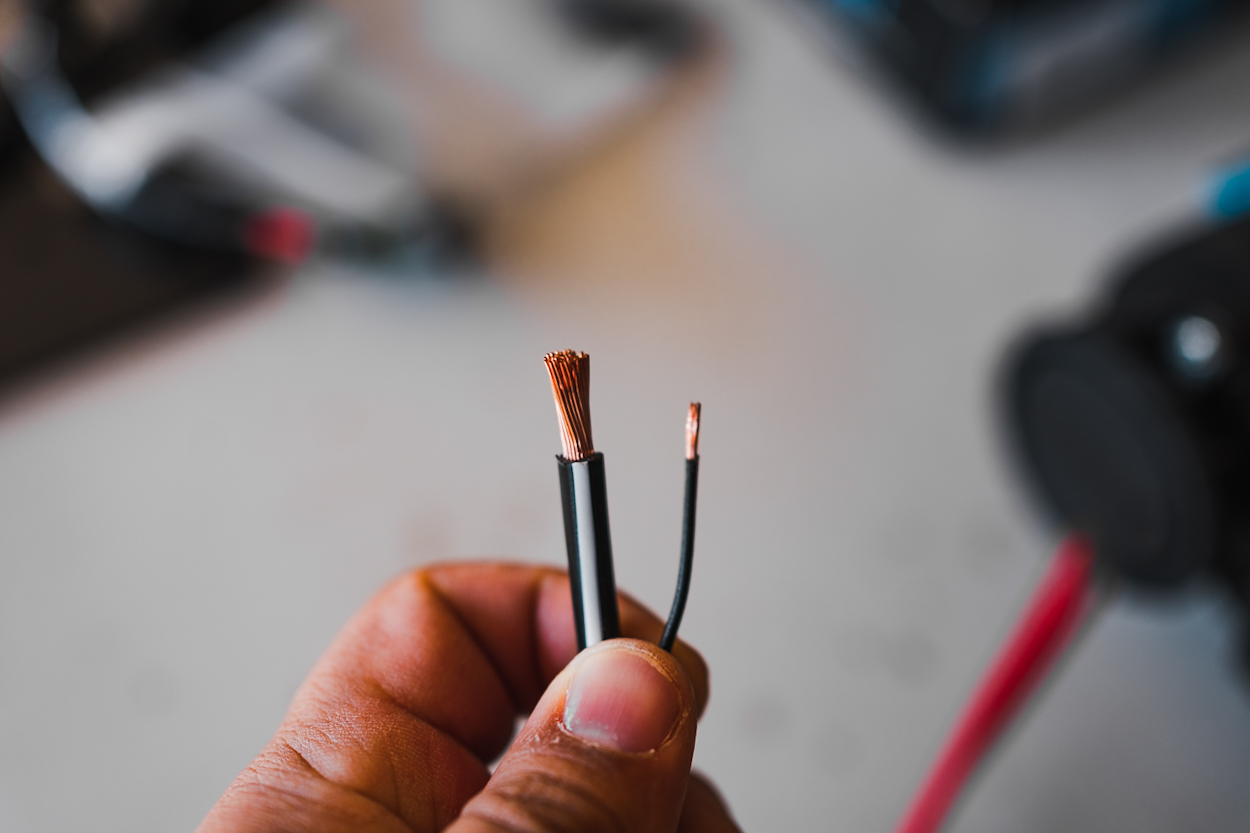
We’ll start by working with the main power harness. Begin by taking the two black wires and stripping them down.
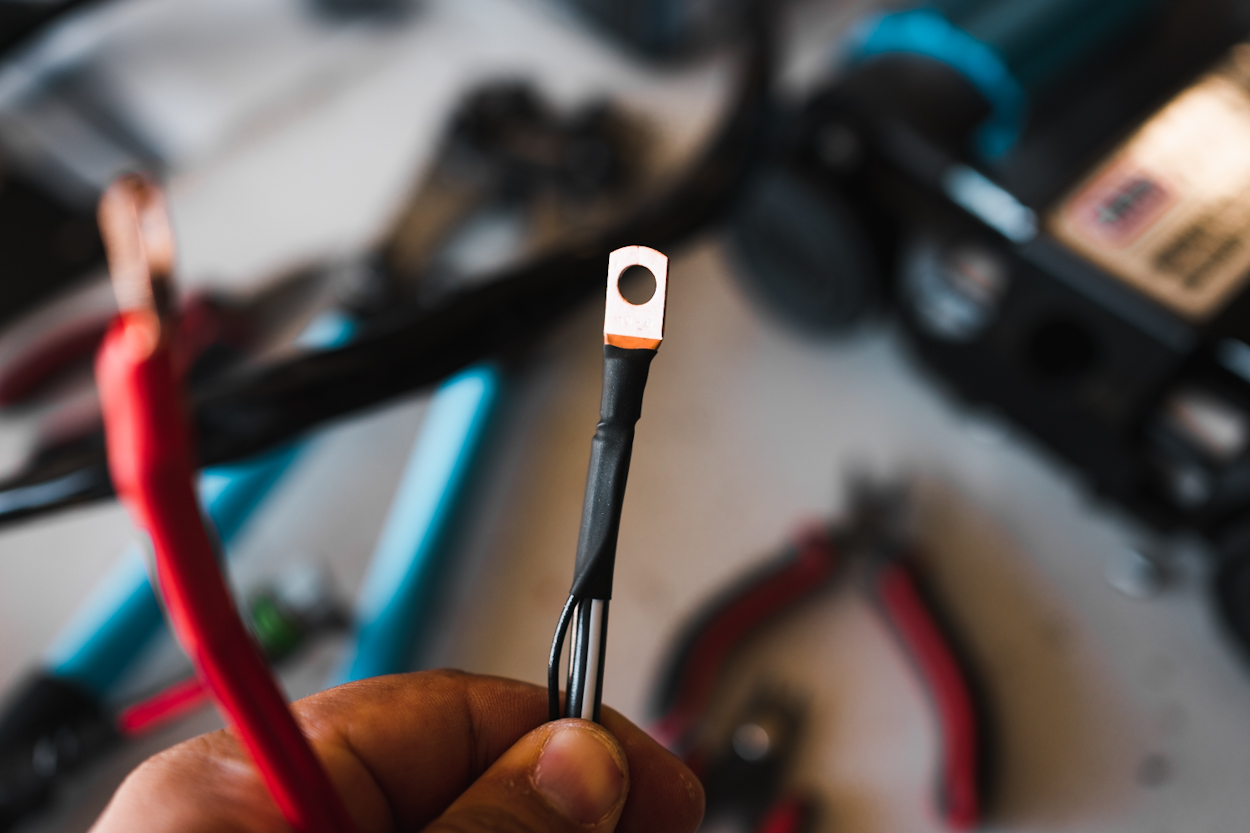
Next you’re going to combine the two wires together using heat wrap and a size terminal of your choice, crimp them together.
I chose my terminal size based off of the OEM ground bolt that sits next to the battery. This may be different for your application, so I would suggest going with a terminal kit with a ton of different sized terminals.
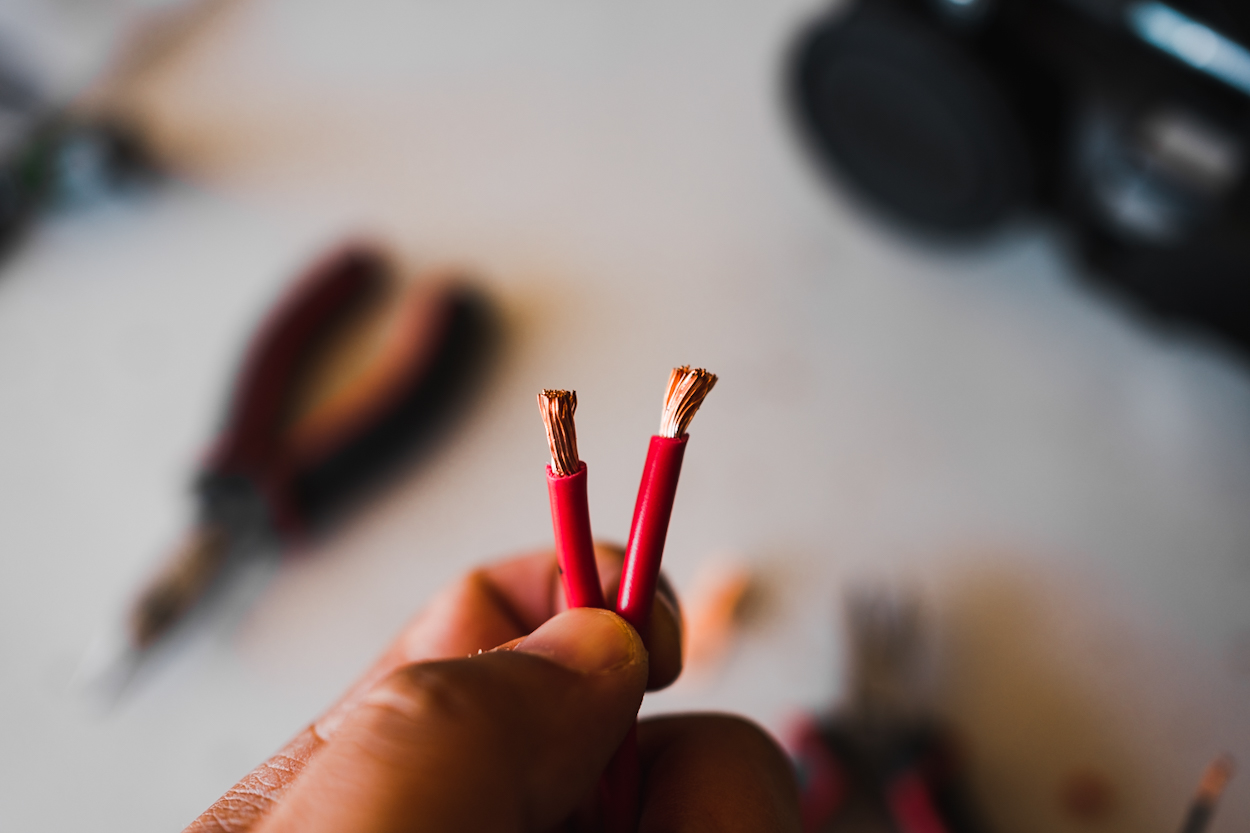
We’re going to be doing the same thing with the positive wires. Start by stripping these two wires back.
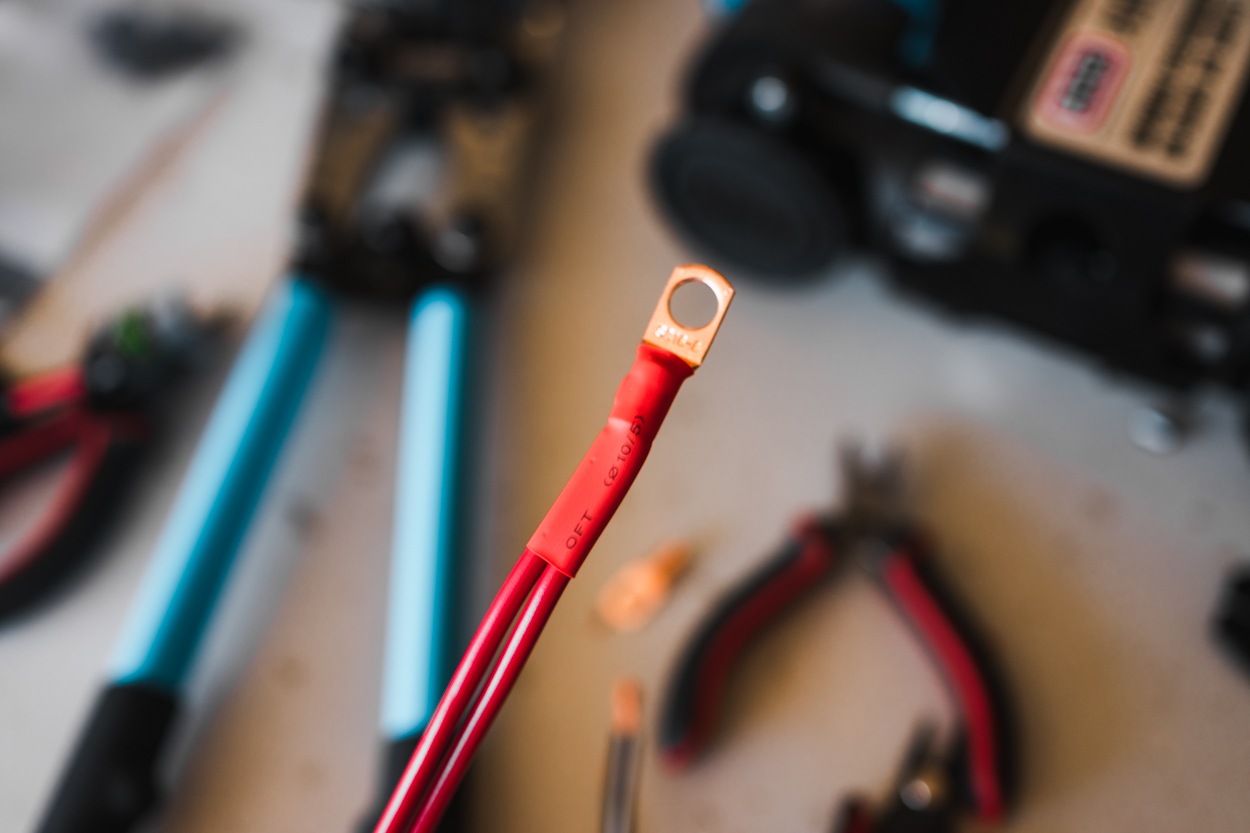
Combine the two red wires and crimp to a terminal. I used a terminal that fits the positive end of the battery. Again, this depends on your application.

At this point you can connect the power harness to your compressor.
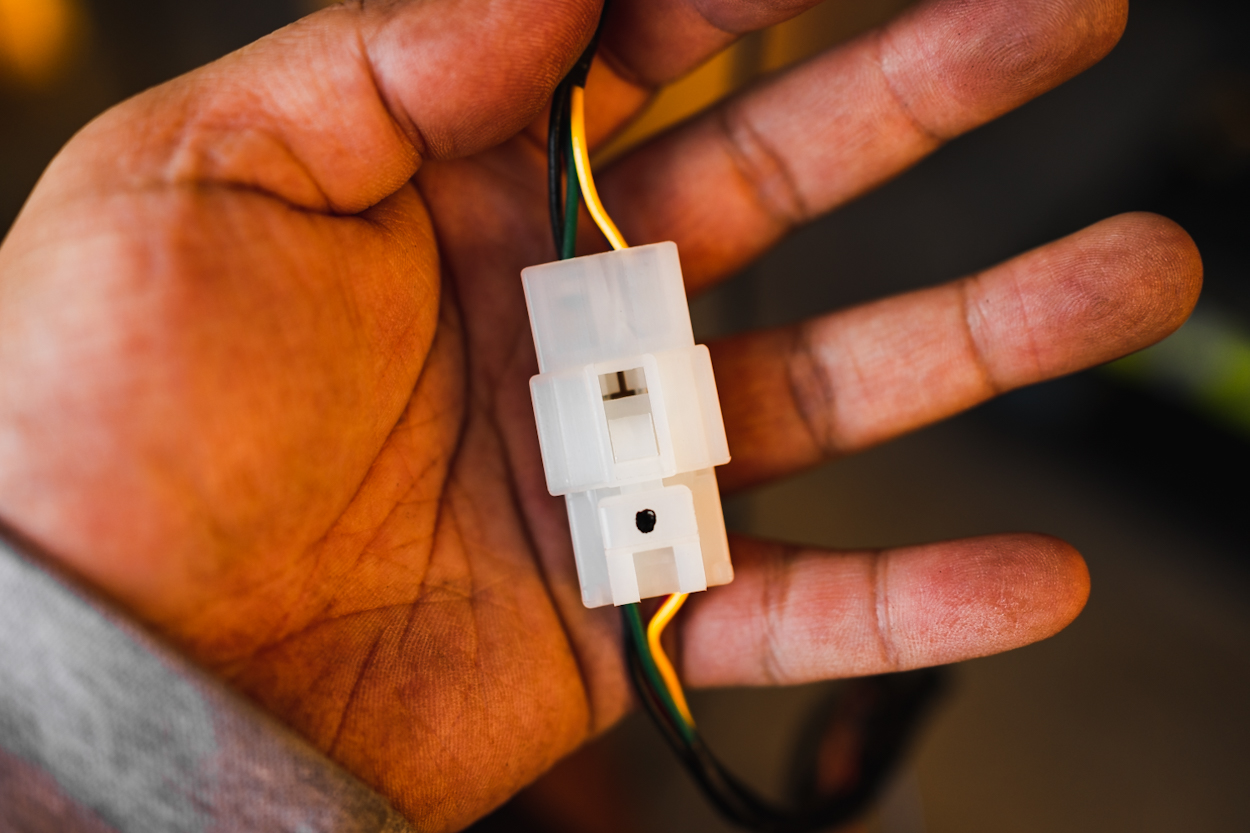
There is a loose connector in your kit that needs to have wires connected to it. if you’re going to be mounting your switch inside of your cab you’ll need to run the purple, yellow, black, and green wire harness, along with the wires shown below, through your firewall and into your cab, via the rubber grommet in your engine bay.
In my case, my switch is going to be mounted in my engine bay, so the only wires I needed to feed into the firewall were the orange/yellow wire and blue wire shown below.
Hold the lose connector and the connector for the switch power in front of each other. Then take the smaller switch harness and match and plug in the yellow wire to the yellow wire, the green to the green, and the black to black, and the purple to the red wire.
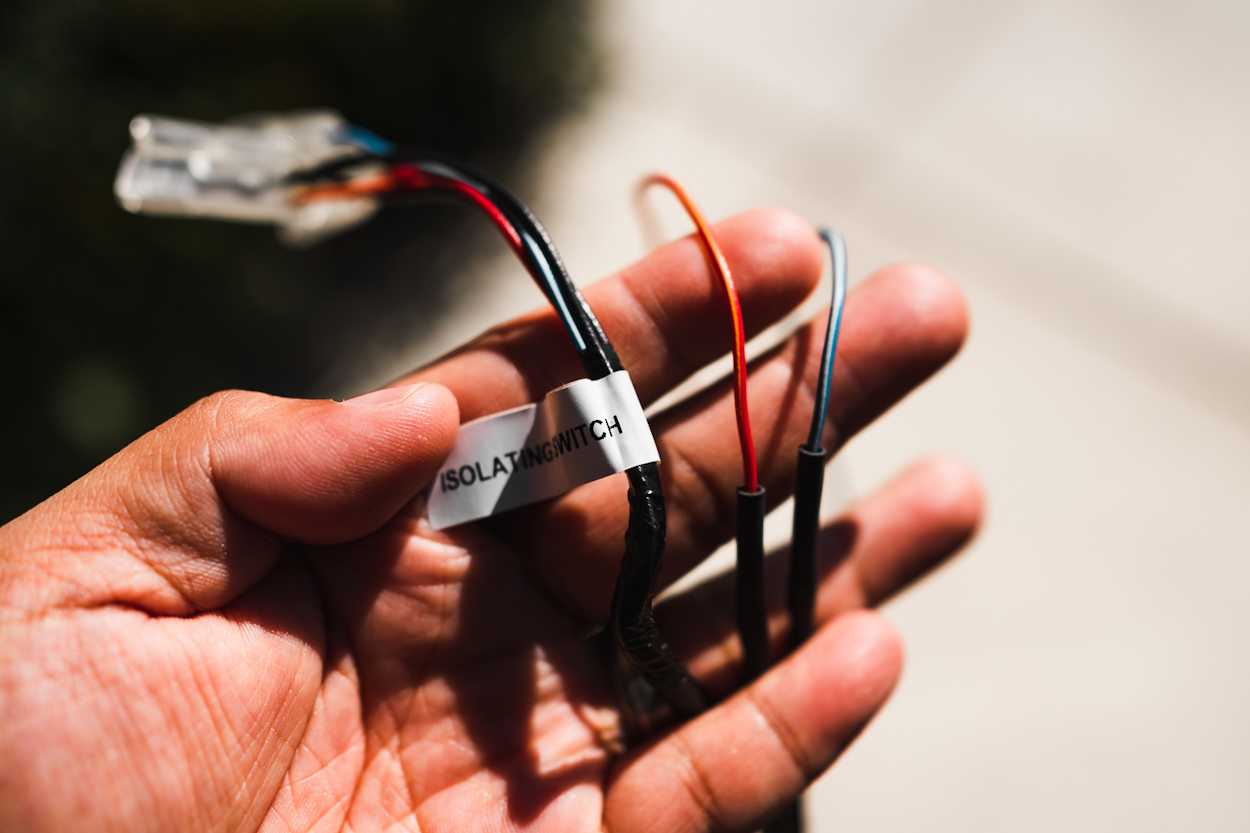
We’re only going to utilize the portion of the switch harness labeled isolation switch, as well as the orange and yellow wire and the blue wire shown. Unless you’re installing air lockers, everything else can be taped up and tucked away.
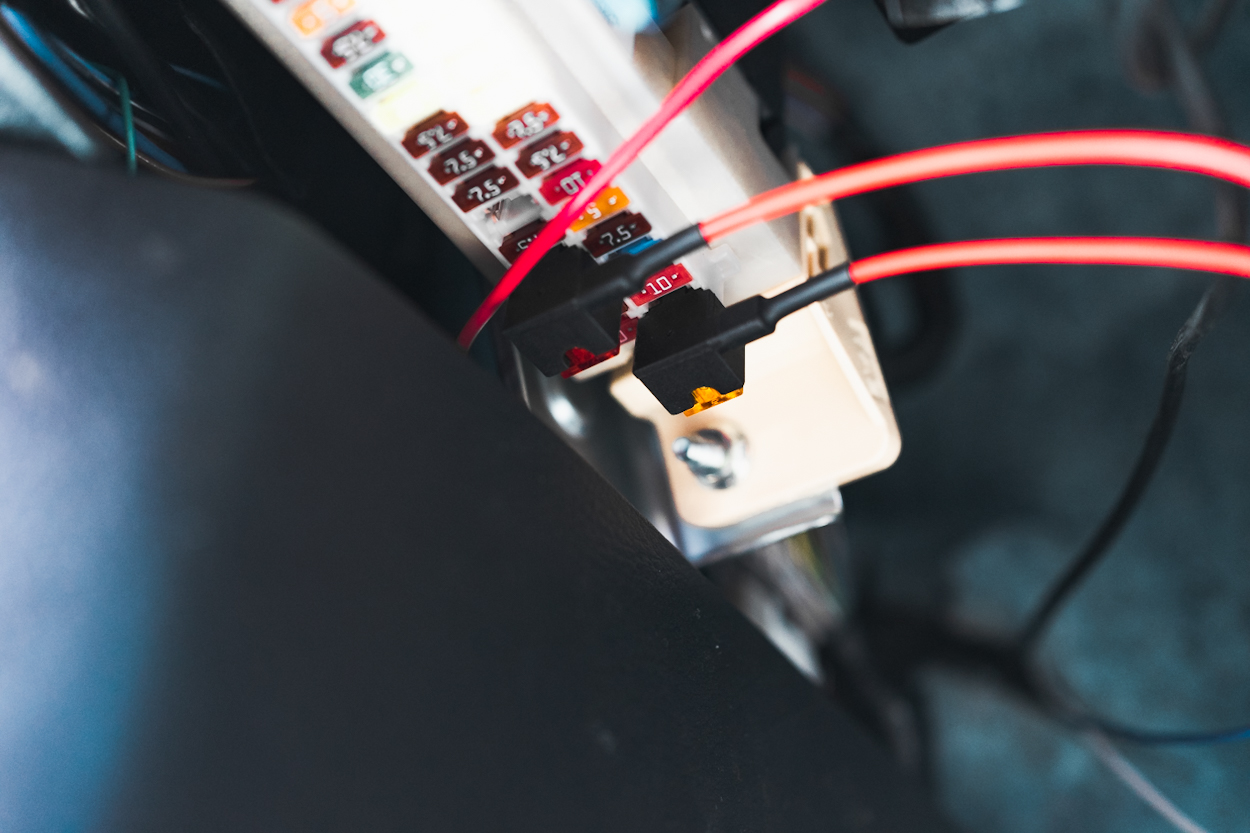
The blue/white wire with the diode needs to be tapped into the 5 amp fuse at the very bottom on the right hand side.
The orange/yellow wire with the diode needs to be tapped into the 10 amp fuse four fuses from the bottom and on the left side.
Note: This may vary from truck to truck.

Wiring your ARB rocker switch is pretty simple. The two black wires connect to the plugs labeled 7 and 8, red/yellow wire goes to the number 2 plug, red wire to plug number 3, and the blue/white wire to plug number 6. If that’s a little confusing, there’s a wiring guide in your manual.
At this point I would connect your positive and ground wires to the positions you chose to wire them to and test your wiring and compressor.
After testing, when you know everything works, you can now confidently hard mount your switch and compressor.
Step 2. Mounting Switch
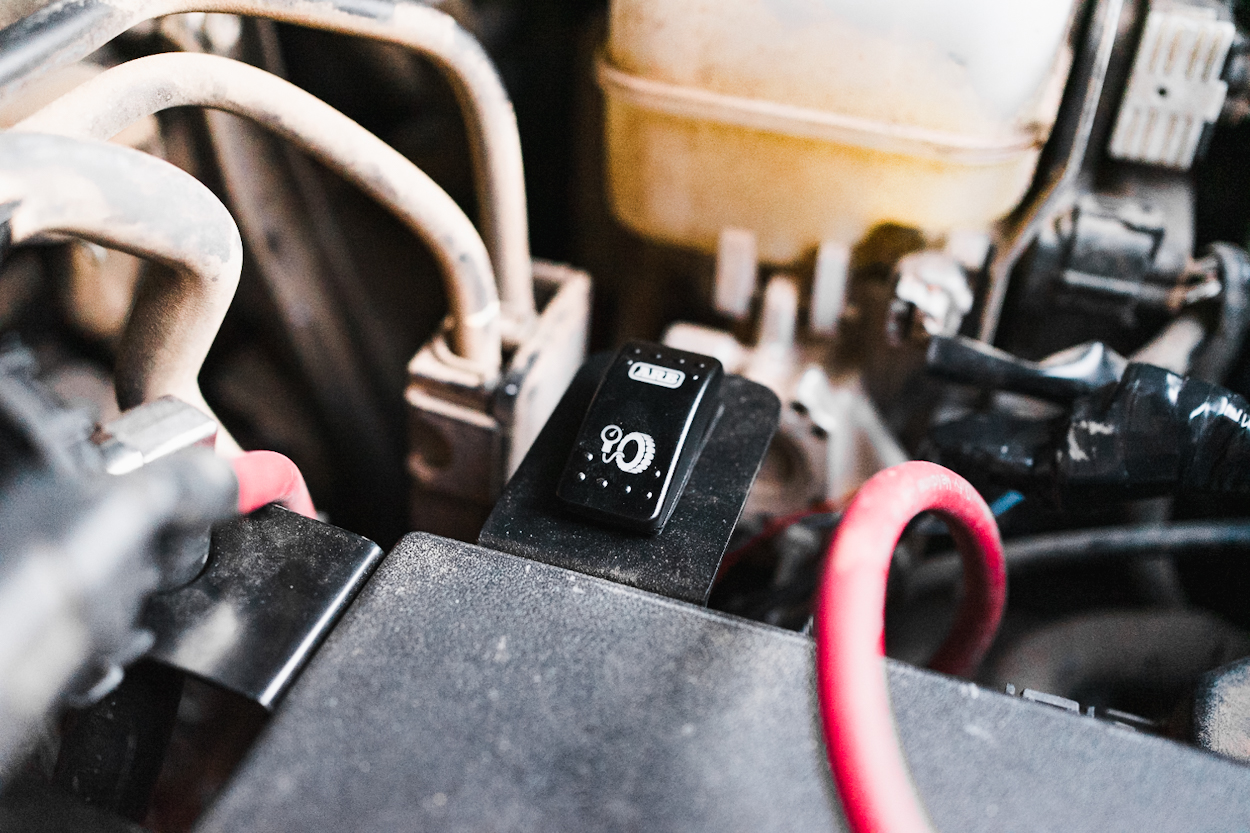
I mounted my switch to the side of my fuse box using a switch mount from amazon and the hardware it came with it. Pretty simple, just push the switch into it until it clicks.
You can mount the switch where ever you really want to. I just picked the spot with the least amount of mud and wasn’t in the way of any thing else I had going on in the engine bay.
Step 3. Mounting Compressor
If you’re planning on utilizing the R4T behind the grille mount like I did, you can refer to the article I wrote on it. Linked above in the first installation section.
This is pretty much it for getting your compressor installed. From here, you can connect a coupler of your choice to your compressor and you’re good to go.
Everything from here forward is optional!
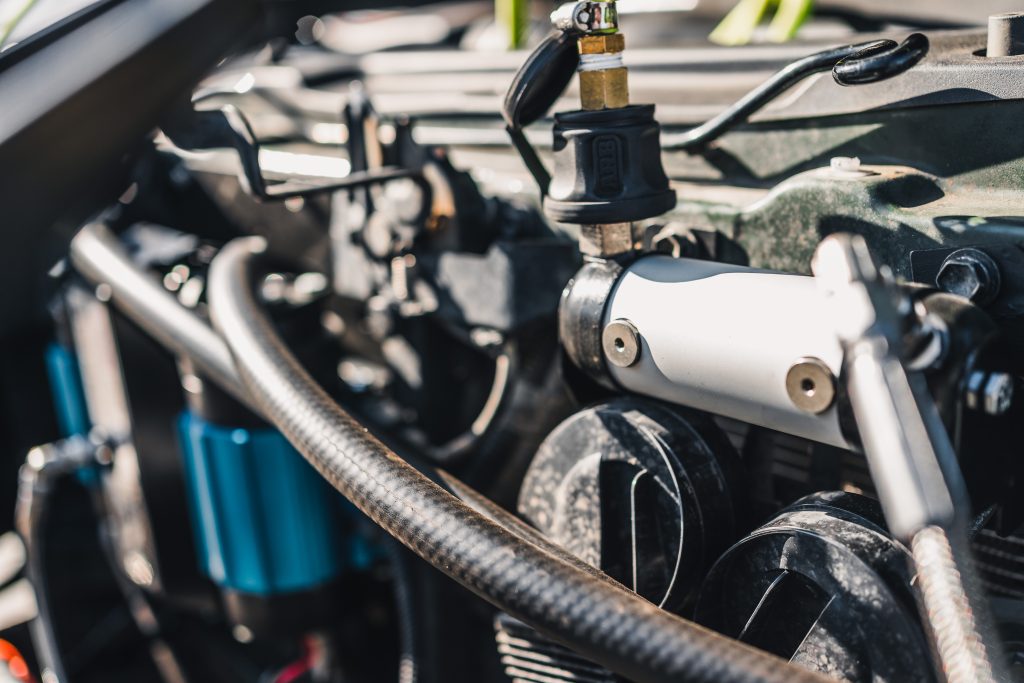
Step 4. Relocate Horn & Manifold
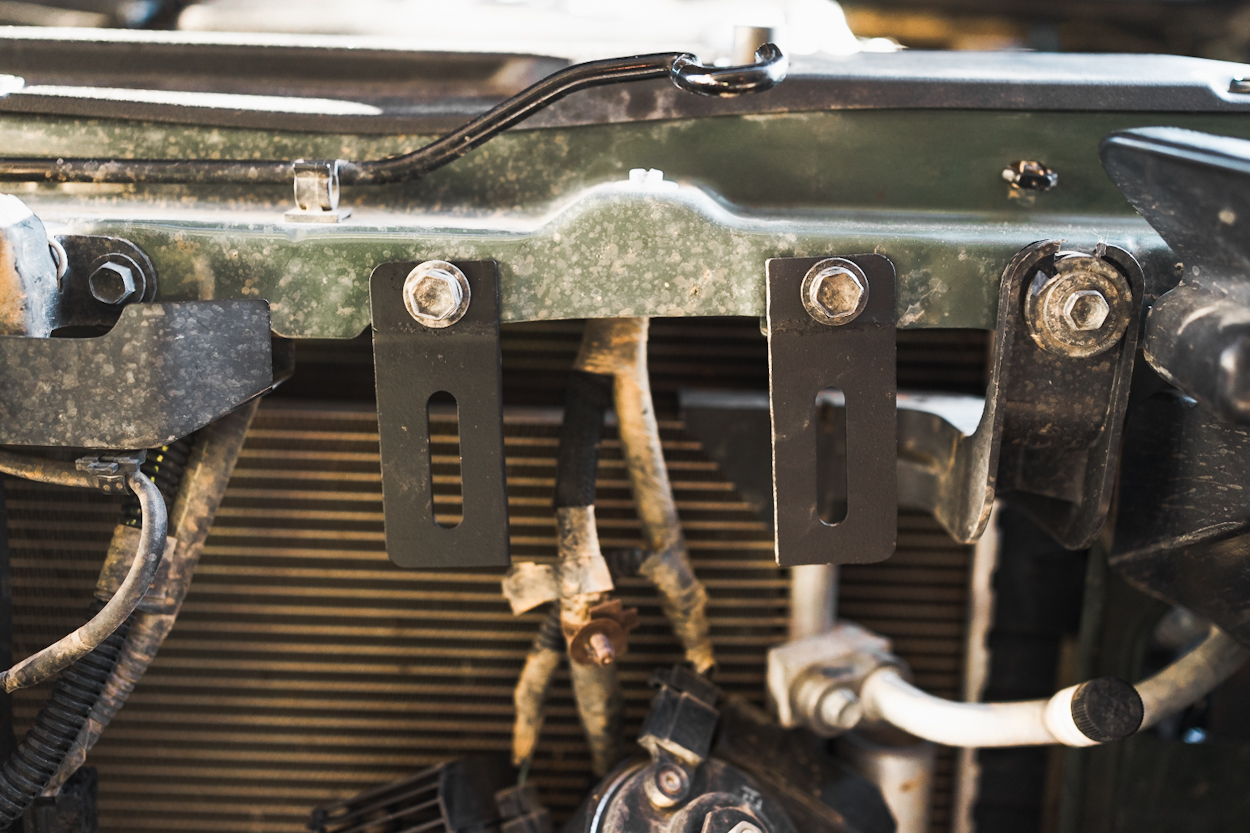
I went ahead and repurposed some old aluminum into manifold brackets by doing some cutting, bending and drilling. You can easily make a set for your self with some aluminum and an electric drill. I used the OEM bolts that held the horns in and the hardware that came with the manifold to mount it all.
If you’re utilizing a DIY manifold bracket, you just want to measure it out so that when you have your coupler on your hood won’t smash your coupler.
As you can see, the horn has been relocated just under the new manifold.
Step 5. Route Airline
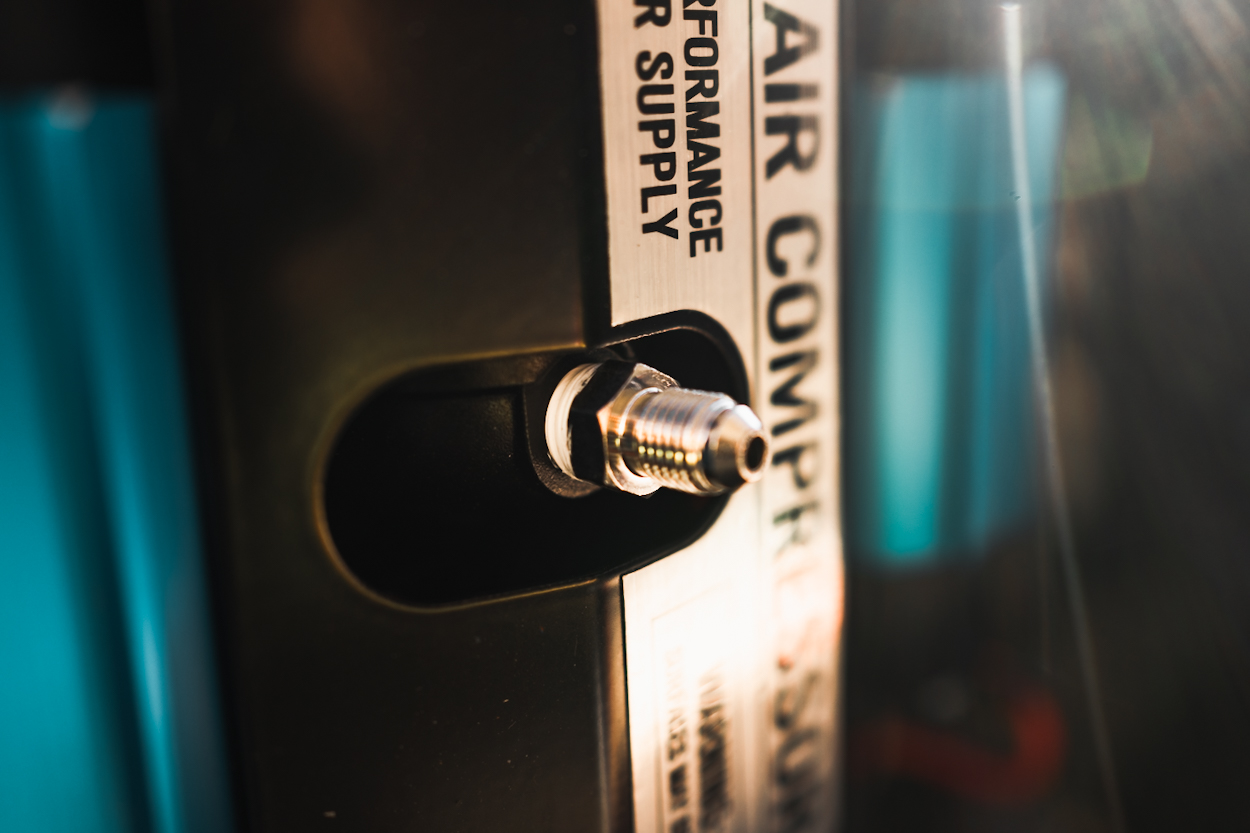
Teflon tape a JIC-4 connector and tighten it down into your compressor. You don’t need to Teflon tape any of the coned connections.
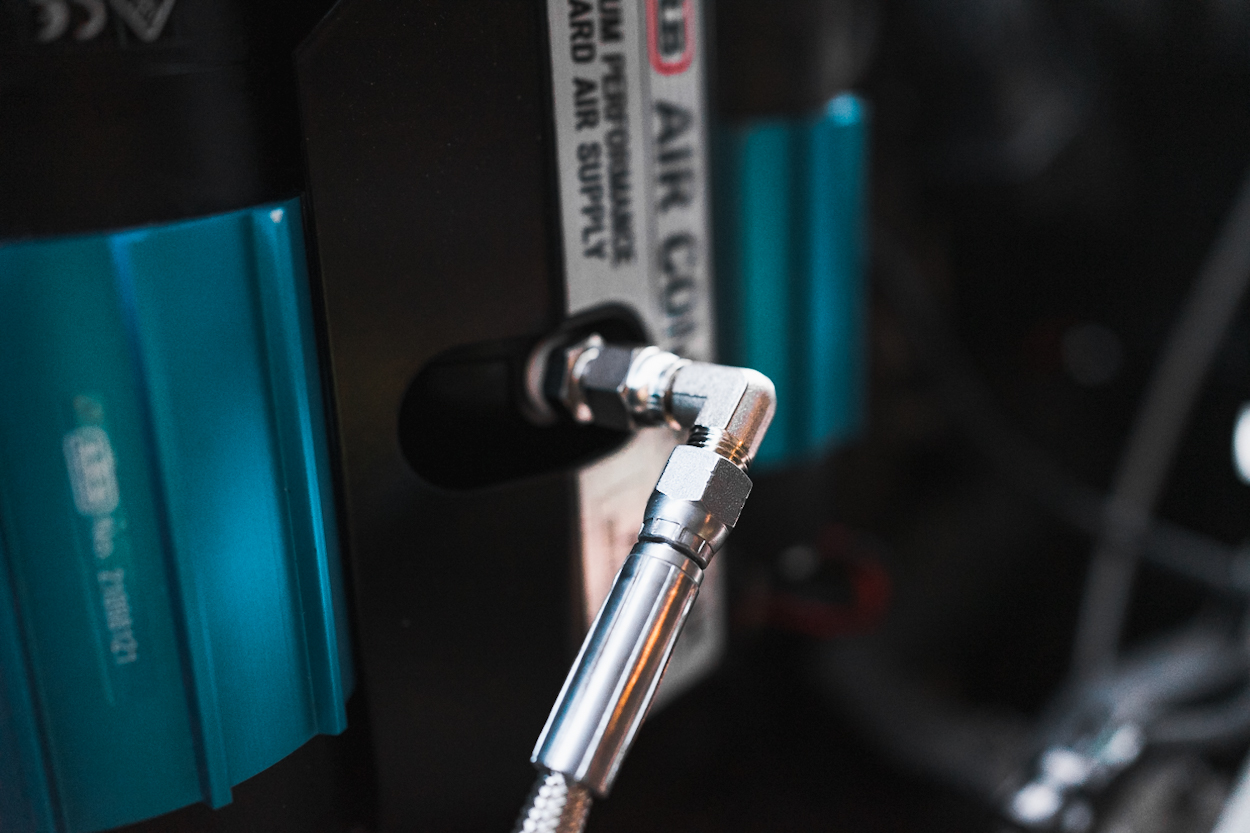
The JIC-4 elbow connector is optional, you could straight connect your JIC-4 hose to the connector you put in before and get away with it.
I just try to avoid bending things if they don’t need to be.
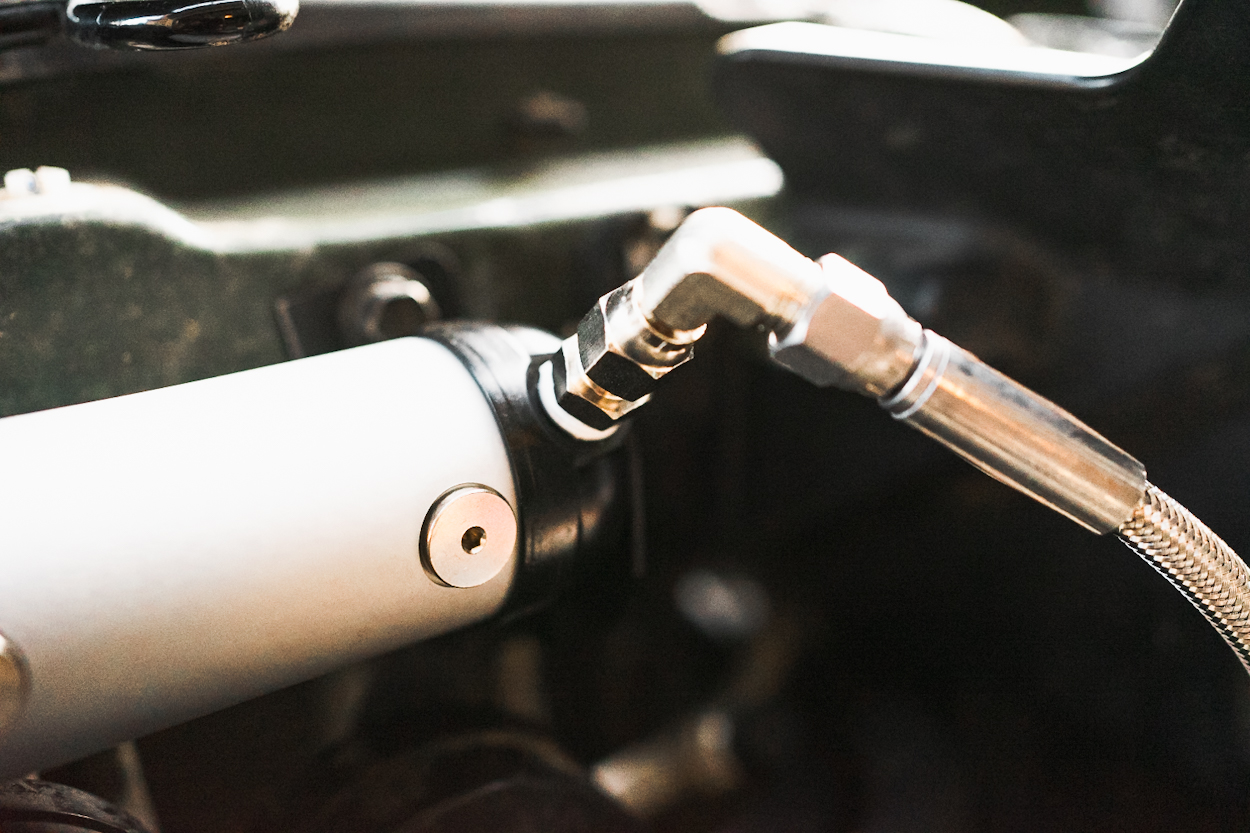
Using another elbow and another connector, tighten down the hose to one of the ends of your manifold.
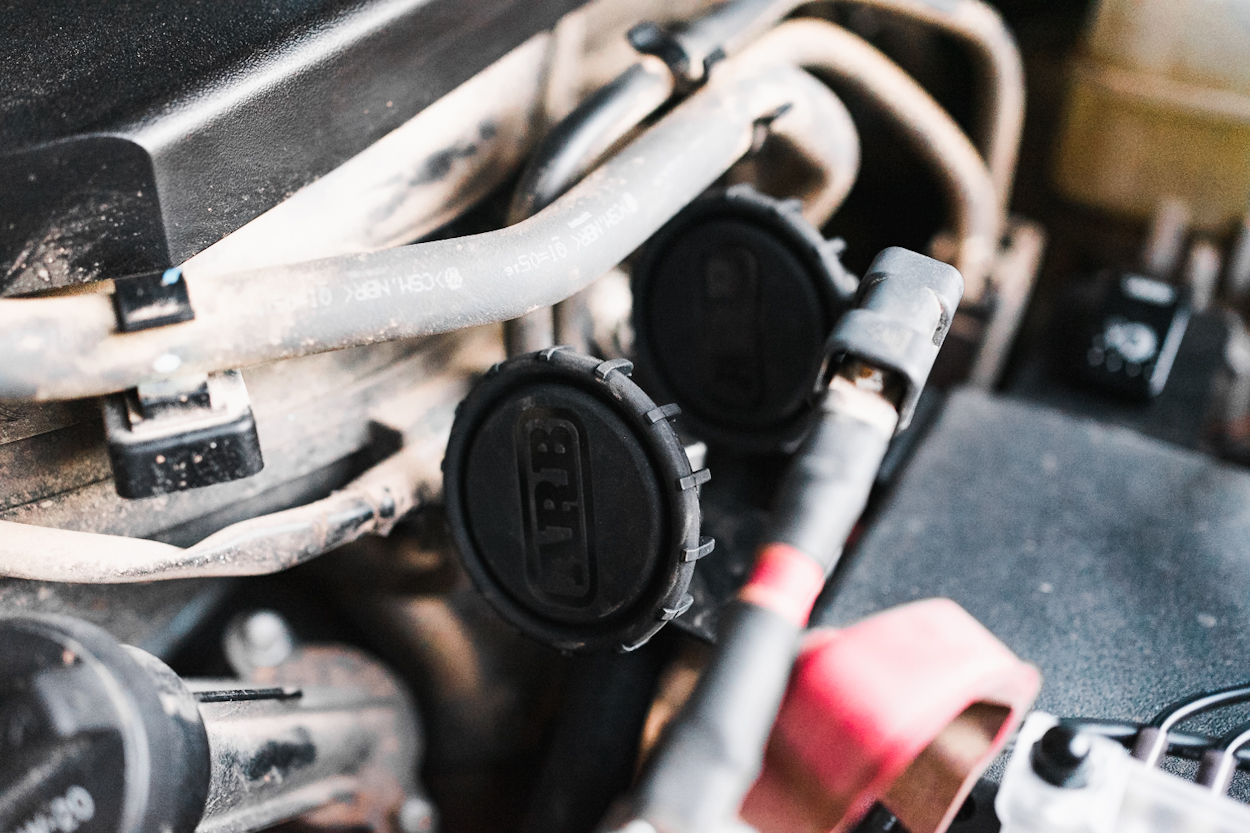
Step 6. Attach Coupler
From here, you can Teflon tape the bottom of your ARB coupler, screw it onto your manifold and throw the cover on.
You can now test your compressor and make sure there aren’t any leaks in your system.
If you want to go the extra mile and add filter relocations, keep following along. Other wise you an just call it a day here.
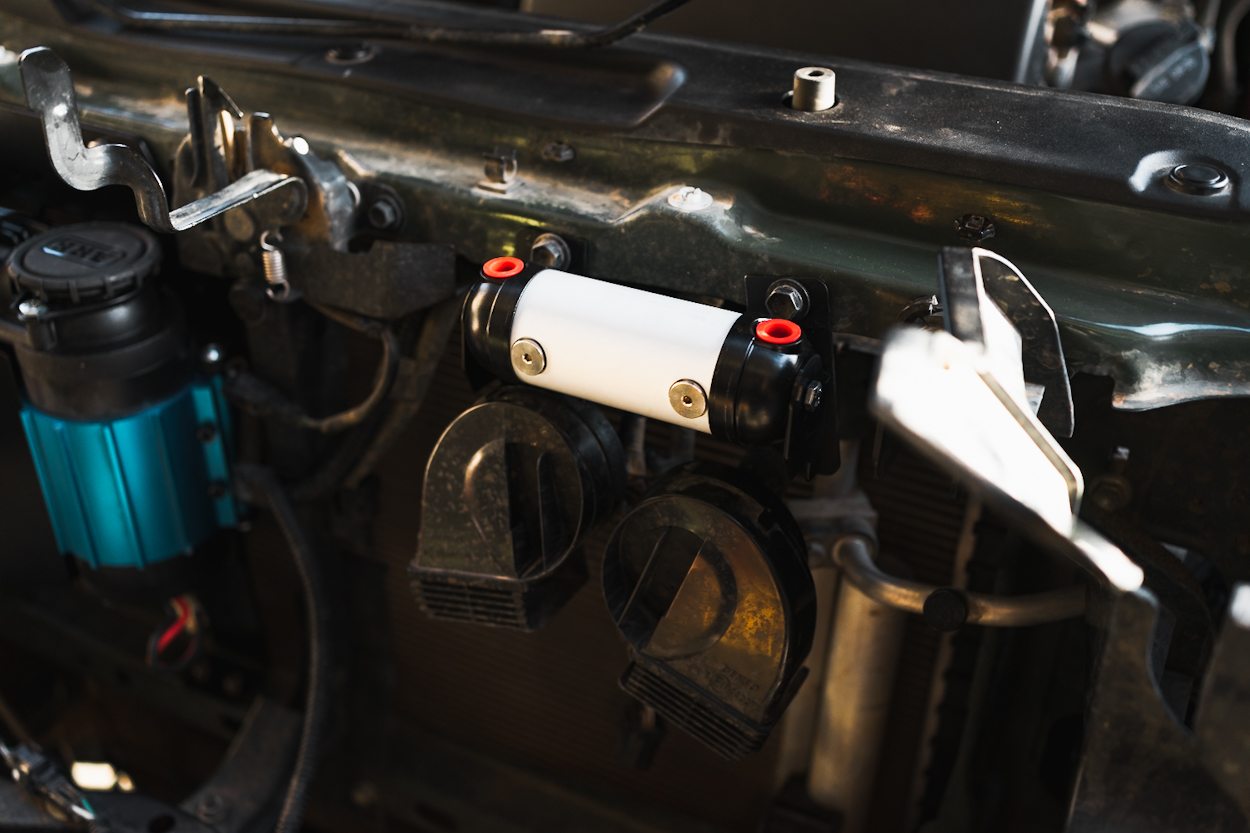
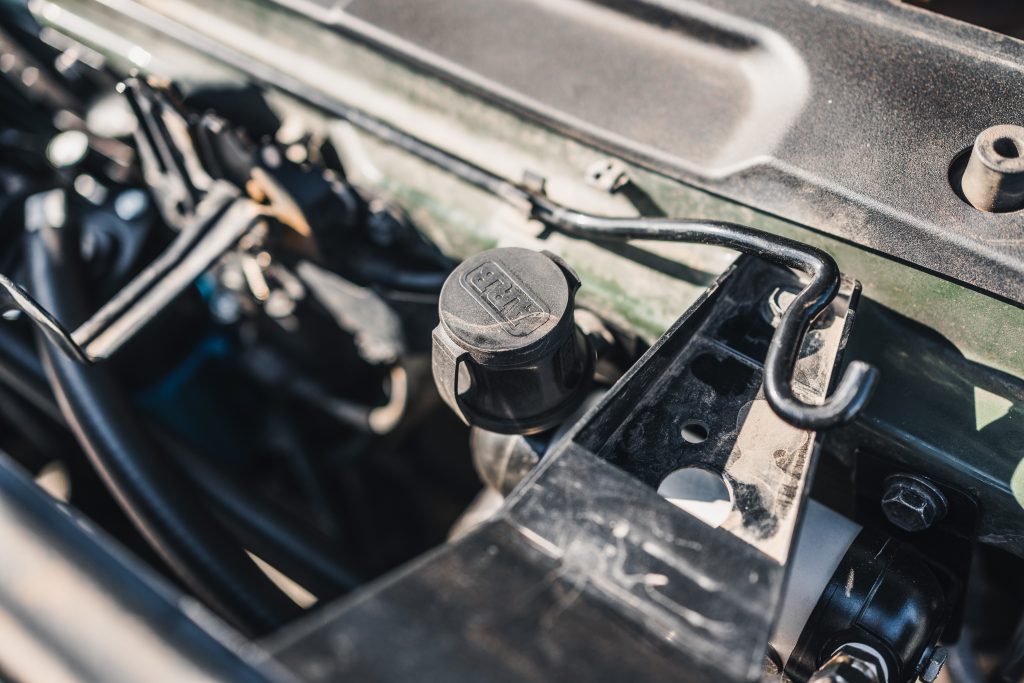
Step 7. Install Air Filter Relocation
Screw off the filters on your compressor. Teflon tap the threads on the connectors and tighten them down. Push the hoses onto the connectors all the way down, and route the hoses into your engine bay.
Now you can mount the filters wherever you see fit. I mounted mine on the side of the fuse box. The hoses are held on by a couple of U-brackets. The filters just screw into the connectors like they would onto the compressor.
The filter relocation is the cherry on the top, If you wheel hard in dusty or muddy environments or do water crossings its well worth it to do this mod.
Final Thoughts
At the end of the day, as it’s always been said, you get what you pay for. Coming in at a premium price you get a premium product.
I’ve had this setup out on a few trails already, and it’s turned airing up, which used to be a hassle, into something easy and streamlined. I even offer to air up all my friend’s trucks too! It’s honestly faster and less of a hassle to use my setup on multiple rigs than have everyone lug around their huge compressors and have to air up with their single hoses.
Excellent installation and review of the ARB Twin Air Compressor! Your detailed guide, complete with optional modifications, is incredibly helpful for anyone looking to upgrade their onboard air system. The information on mounting locations and the reasoning behind each choice is especially valuable. Thanks for sharing your experience and knowledge – it makes tackling this project much more manageable.