
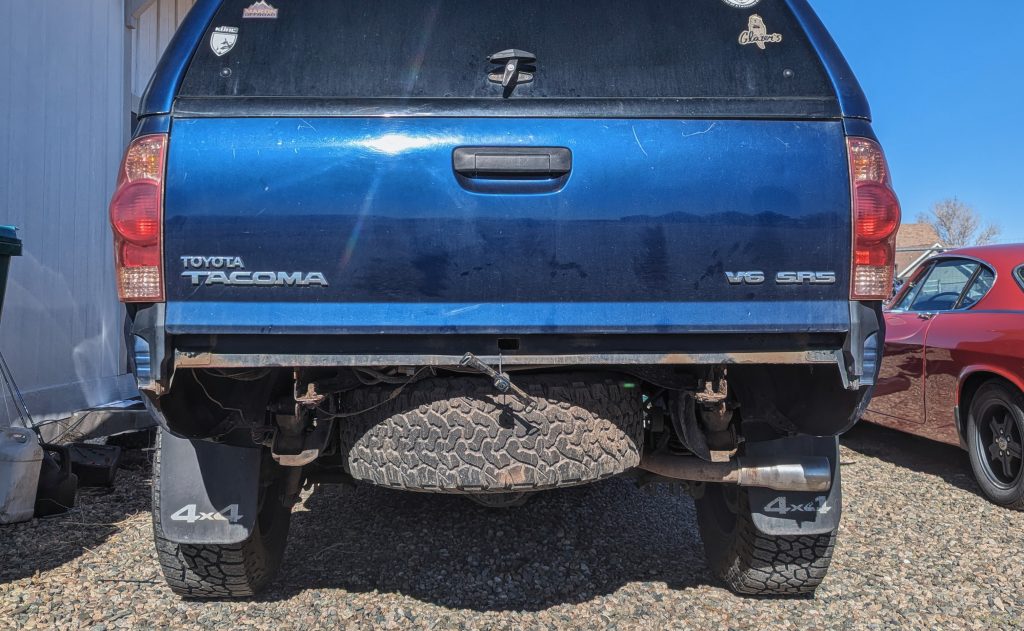
When picking a new rear bumper for my truck, I wanted something that didn’t draw too much attention and could follow some of the stock body lines of the truck. I also wanted it to match the style of my front bumper (Relentless Fabrication Stingray Bumper – since discontinued). From all of the options I could find, Coastal Offroad seemed to offer the best option in terms of price, looks, and function.
The weld-together bumper kit comes with all the necessary components so if you or a friend has experience with welding, this is a great way to save some money over a pre-fabricated one.
Table Of Contents
Kit Options
Coastal Offroad offers multiple different configurations of their low-profile rear bumper kit.
Material
- 1/4″ Steel
- 1/4″ Aluminum
Body Lift Adjustment (NOT suspension lift)
- None
- 1″ Body Lift
- 2″ Body Lift
- 3″ Body Lift
Swing Out Tire Carrier
- None
- Single Swing Out Carrier
- Dual Swing Out Carrier With Dual Jerry Can Holder
Cree LED Lights
- None
- Two 24W Cree LED pod lights
- Two 24W Cree LED pod lights with wiring harness and switch
- Two 40W Cree LED pod lights
- Two 40W Cree LED pod lights with wiring harness and switch
Recessed 2″ Receiver
- None
- Yes
3/4″ Recovery Shackle
- None
- Pair of two
Build Process
I chose a 1/4″ steel kit with no body lift, a 2″ receiver, a pair of recovery shackles, and nothing else.
Overall, the build process is pretty involved but approachable by almost anyone with mechanical/hands-on experience. I have a lot of mechanical experience working on cars and using a grinder but no formal experience with welding, only self-taught through the internet.
Tools Used
- OEM Bumper Removal
- Fabrication
- Painting
Step 1. Remove OEM Bumper
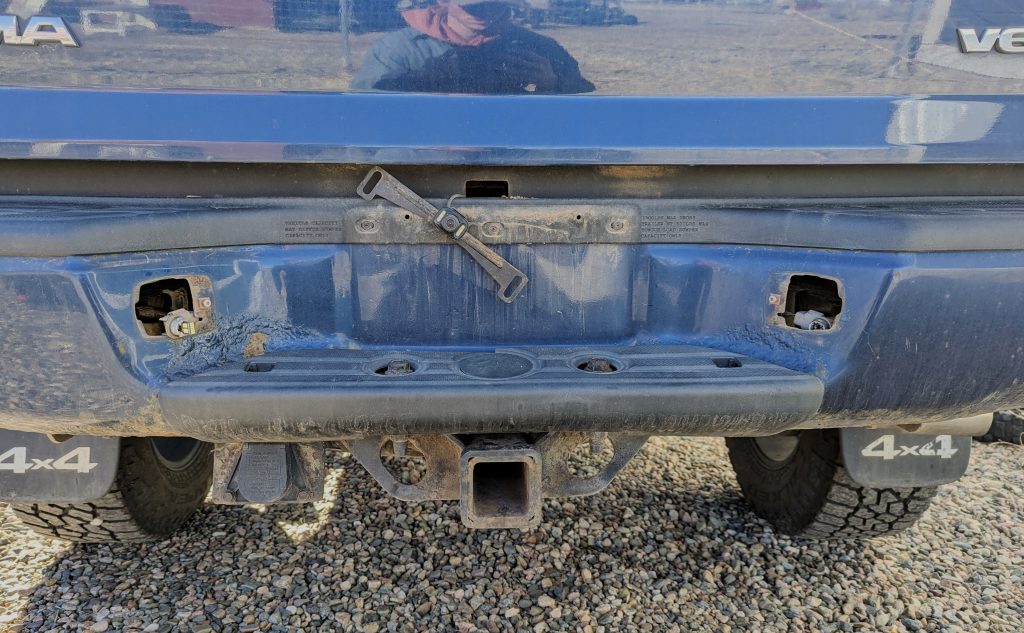
The first step is to remove the OEM rear bumper. There are a lot of resources on the internet for this step, here is a video and write-up for reference. The process is pretty straightforward but with the amount of rust my bumper and hitch had, it required a bit of persuasion and penetrating oil to loosen some of the bolts.
Note: Make sure to disconnect any electrical connectors between the bumper and frame before pulling them apart.
Step 2. Preventative Care (Optional)
My frame had quite a layer of undercoating and surface rust on the mounting surface for the Coastal Offroad bumper. I made sure to use a wire wheel and clean this off and some primer and paint to prevent rust on my frame. This isn’t necessary but I figured it is better to do some preventative measures while the bumper is off.
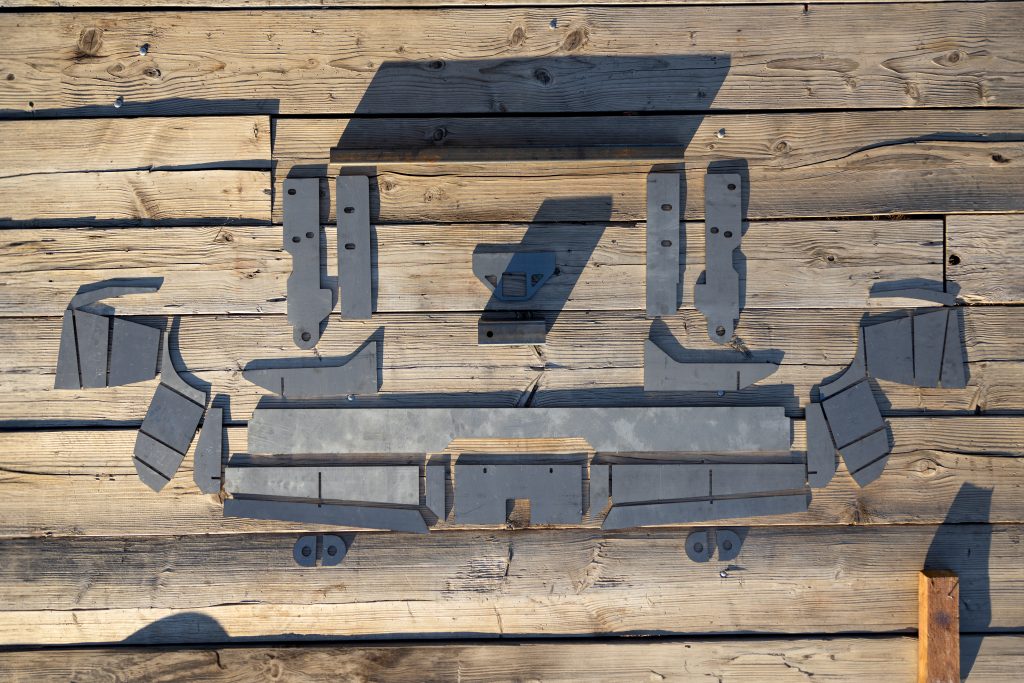
Step 3. Assemble Bumper

There is a supplied instruction manual which is pretty clear, but I would make sure to layout all of your parts first and be sure you have all the pieces.
One by one, pieces are aligned and tacked in place making sure to keep the left and right sides of the bumper symmetrical. When first lining up the bumper, follow the steps supplied as closely as possible and be diligent with measuring offsets since you will likely use the first couple of tacked-on pieces as a reference point for the rest.
I used the MIG function of my welder with 0.8 mm flux core wire. For specifics on welding in general, I would suggest watching some YouTube videos on welding basics to get your bearings. Be mindful of your sparks, be meticulous, and be open to changing plans.
For the sparks, the general rule of welding is to ensure safety. However, I am specifically referring to the sparks produced when welding close to the body of the truck. When tack welding, use something to block sparks from hitting your taillights and paint. I used cardboard (make sure it doesn’t catch on fire) and scrap metal. However, even painters’ tape could work if you are careful. I had no issues with metal slag burning anything on my truck, but it is something to be careful about.
If at any point any part of the bumper didn’t look perfect or at the right angle, I could grind the tacked weld off and realign it exactly as I wanted. Honestly, I made the project more difficult for myself by wanting the clearance of the bumper near the taillights to be very specific. However, I’m glad that I spent the time to make it exactly how I wanted. This is one of the benefits that even a more expensive pre-built bumper can’t give you.
I made the project easier for me by removing the bumper when tacking in the 2×2″ towing support tube instead of having it on the vehicle as suggested by the instructions.
Caution: Make sure to disconnect your truck’s negative battery terminal before welding. Also, keep the grounding cable of the welder clean and securely clamped within a couple of feet of where you are welding. I am no expert but in my experience, these are crucial steps to ensure the safety of the onboard vehicles electrics.
Step 4. Seam Welding
Once all of the parts of the bumper are lined up exactly as you want them, it is time to fully weld the bumper together. Make sure everything is solid enough that you can fully remove it from the frame to start welding.
First, I did a series of 1-2″ long welds on the backside of the bumper along all the gaps. For larger gaps and more structurally important sections, I used stick welding since it fills gaps quicker, gets better penetration, and creates a stronger connection.
Once the backside was fully stitched together, I flipped it over and started welding the front. Since it’s a welding project you can make the bumper look however you want. If you are good at welding, have a nice shop to work in, or just like the look of a welding bead, take your time on this and make the beads consistent so you can just paint it up and call it good. I wanted this bumper to look like one piece so I opted for larger beads to later grind down for a seamless look.
The one part of the project I wasn’t sure of the best course of action was welding the D-shackles. According to the instructions, the shackles should be welded from the outside. However, I decided to weld the inside as well to prevent water ingress. Welding the insides was probably a mistake as I later had to spend a lot of time smoothing it out with a dremel.
Note: TIG welding in a shop with some experience would turn out amazing but, I have none of those. I used MIG and stick welding outside with a construction light after class. I am happy with the outcome but expect most people’s welds to look better than mine.
Step 5. Finishing Touches
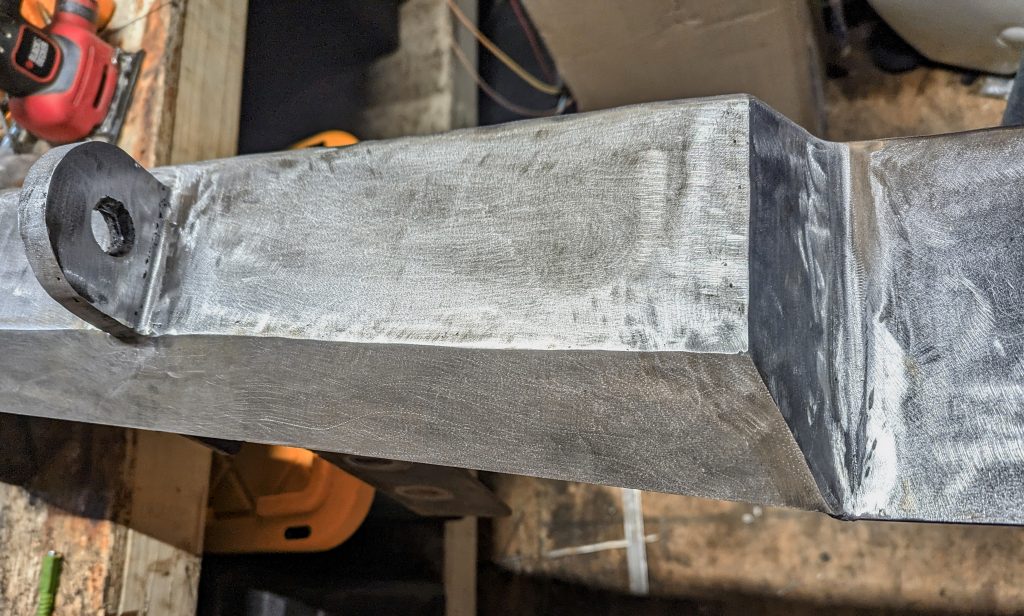
This next step is the most time-consuming and impactful part of building the rear bumper. I used a lot of flap wheels on a grinder to smooth out the bumper and fill in small imperfections with more weld. A good rule of thumb is that if you can’t catch a fingernail on an imperfection, then it won’t be visible after painting. Since I planned to use an ample amount of self-etching primer and matte black paint, I figured not too many imperfections would be noticeable.
Next, I used an orbital sander with 80 or 120-grit sandpaper to go over everything and focus on the edges of the bumper. At this stage, I had to use the Dremel to bore out the D-shackle mounts which in hindsight, I shouldn’t have welded.
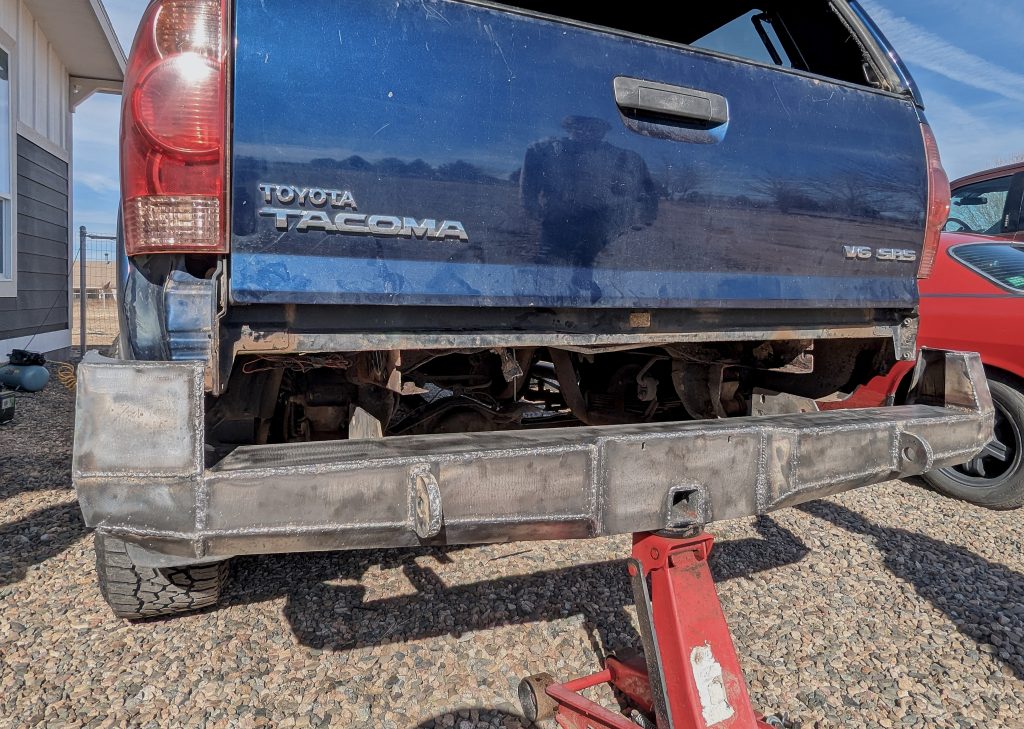
Once all of the sanding and grinding was done, I wiped everything down with damp shop cloths and sprayed on my first coat of primer. I used (2) cans of primer and (2) cans of paint for this bumper. This resulted in about three coats of primer and five coats of paint on the front and a few coats of each on the back. I let everything cure overnight and bolted on the bumper the next day, all done!
Improvements
Once I had finished the bumper, there were a couple of improvements to be made before considering it completely done.
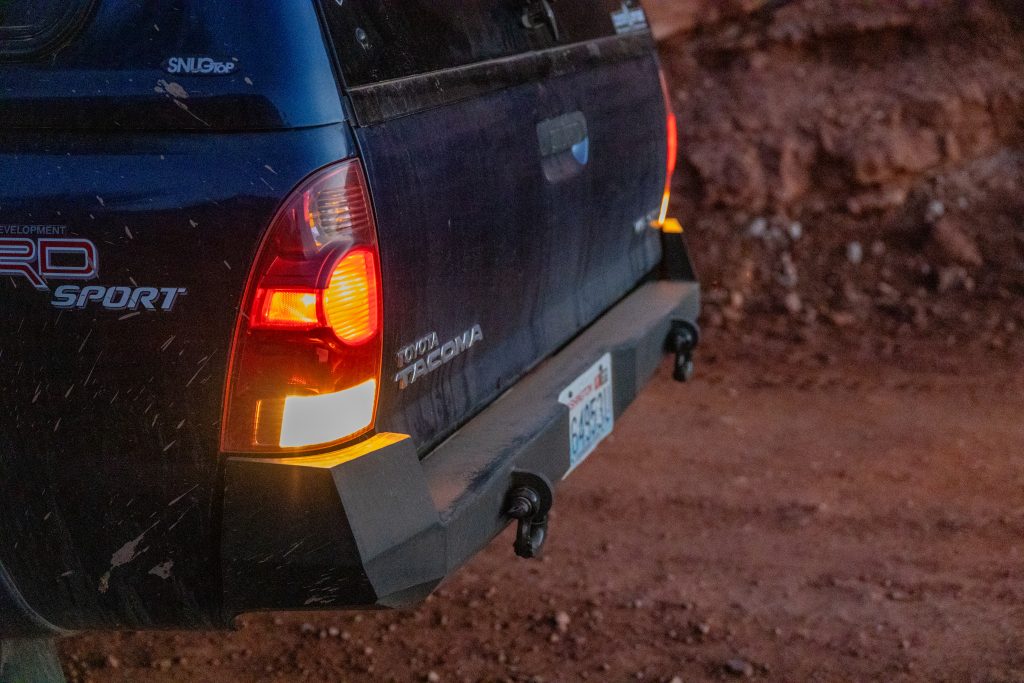
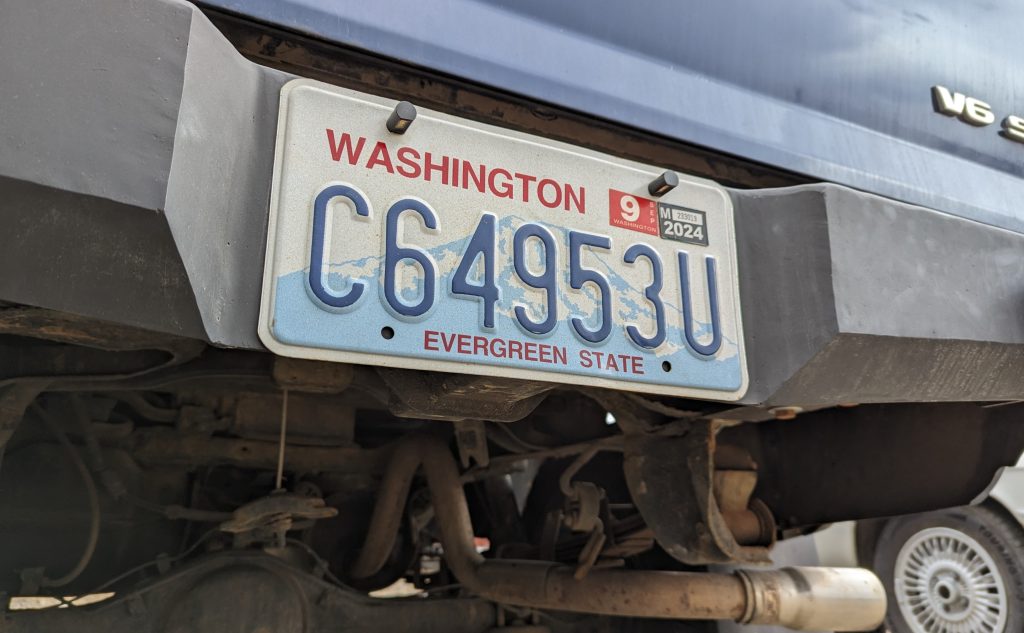
First I ordered some license plate bolt lamps to illuminate my license plate. I would also like a flip-up license plate holder to easily access my tow hitch but that’s TBD.
Final Thoughts
The bumper turned out exactly how I wanted it and I can’t emphasize enough how happy I am that I got to nit-pick the angles of everything. Someone recently told me they didn’t even realize that it was an aftermarket bumper, which is exactly what I was going for.
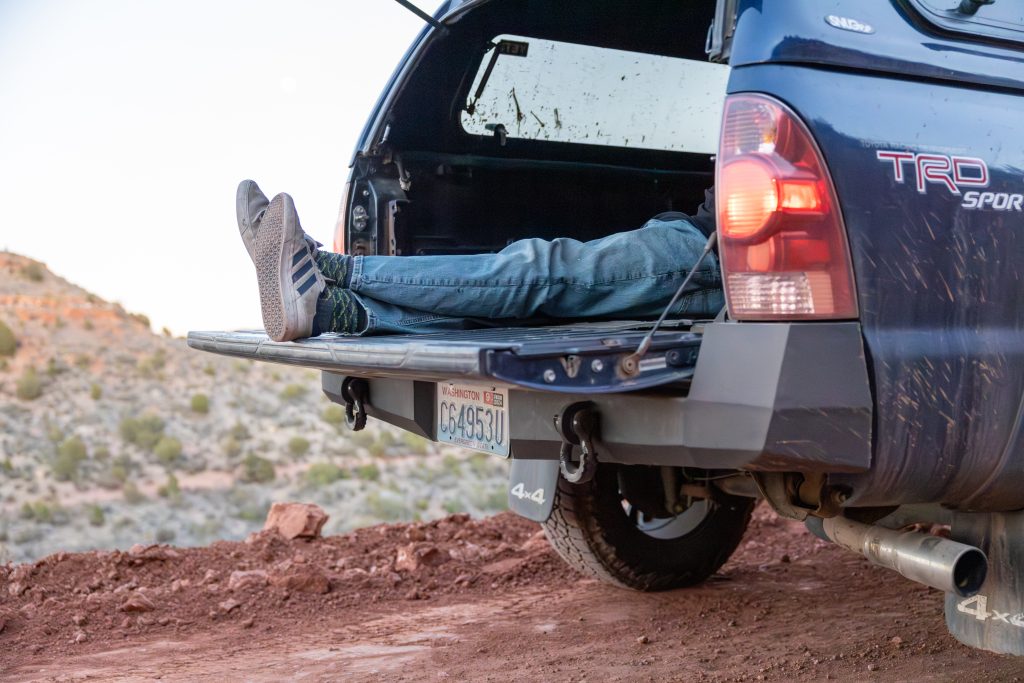
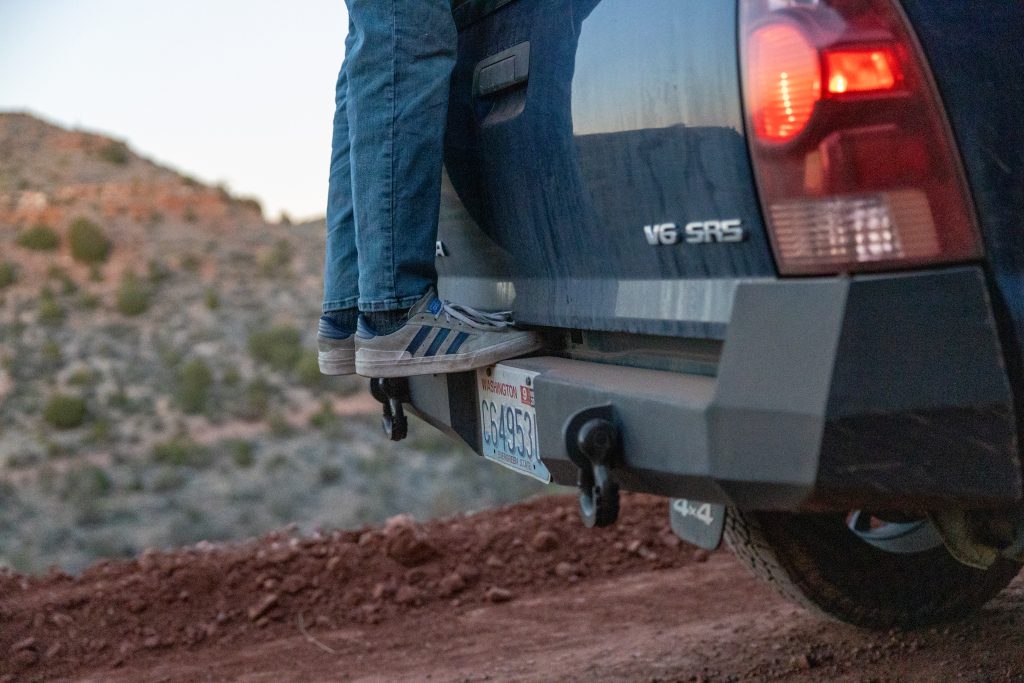
The clearances for the tailgate are perfect; there’s still enough room to step on the bumper, which was important to me. If you are going for an OEM+ look and don’t want to pay outrageous prices, this bumper is for you.

Nice job dude. One of the only DIY kits for a rear bumper that I’ve been able to find.