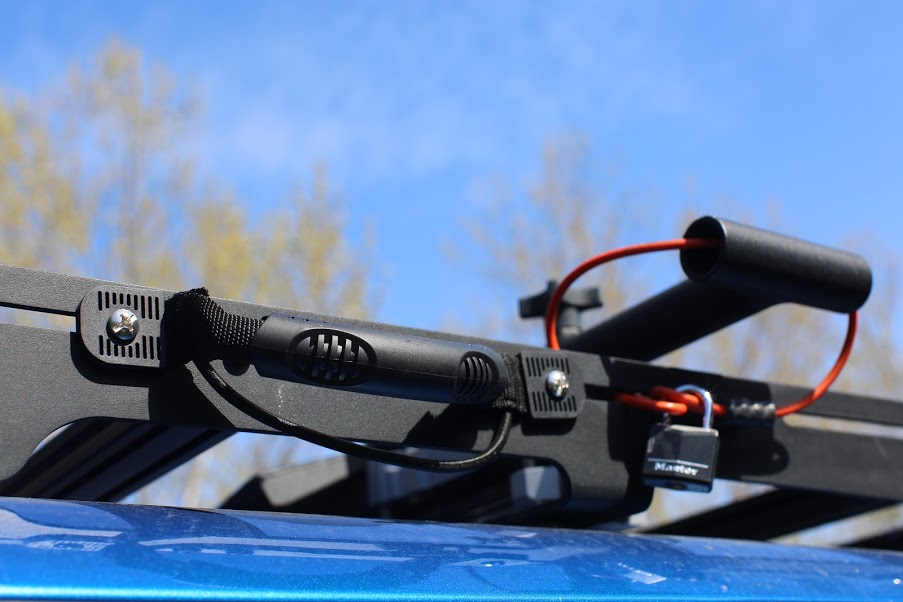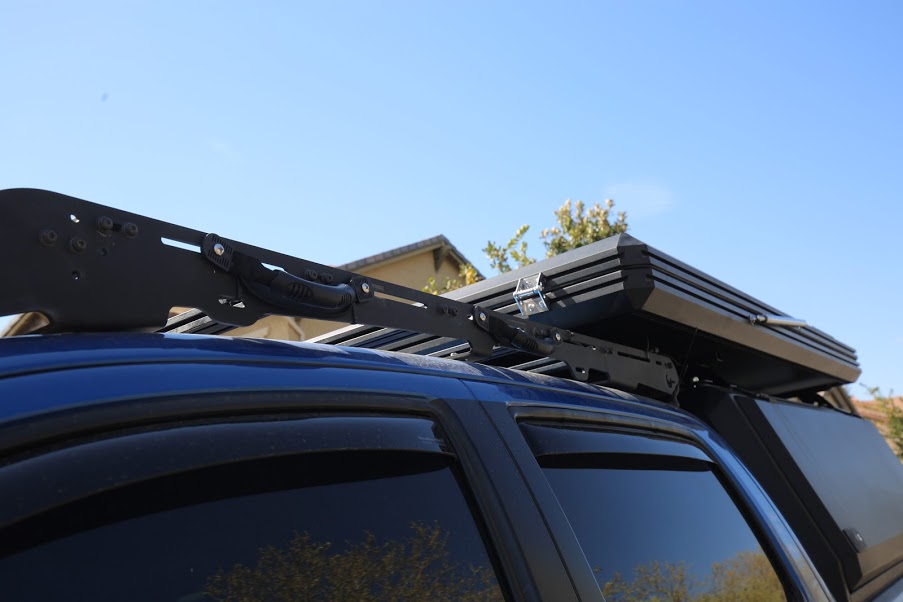
This is an extremely easy DIY MOD for any vehicle (Tacoma, Tundra, 4Runner – whatever). As long as you have a roof rack or some other platform that needs a handle – this basic mod will work for you.
There are numerous different types of “grab handles” that you can use on your aftermarket roof-rack. It’s totally user preference and depends on what type of function is needed.
Table Of Contents
Why Add Handles?

It definitely helps the user get in and out of their truck much easier and will give you the peace-of-mind when you are grabbing items off of the roof rack. If you have boxes, recovery tracks or even a rotopax mounted on the top of your rack, the side of the rack does not usually have a dedicated area to hang on, so if you’re finding it a nuisance as I did, this is the quick fix for it.
There are different types of handles you can use, the one we opted for is this one from Amazon. For an outdoor application, you typically want to look at some type of waterproof boat and rubber kayak/canoe handle. There are solid handles with fixed positions that might work for you as well. Just make sure you are buying something waterproof, water-resistant and rustproof.
Black Kayak/Canoe Handles

We grabbed a set of these black kayak/canoe side-mounted handles that come with hardware. A pretty nice and affordable little set of grab handles that work great for the Prinsu rack (what I’m running) and will likely work for any other modular CNC rack out there.
Find It Online
Use code – TRAILCO – to save an extra 5% off your order! Typically stacks with any sale going on.
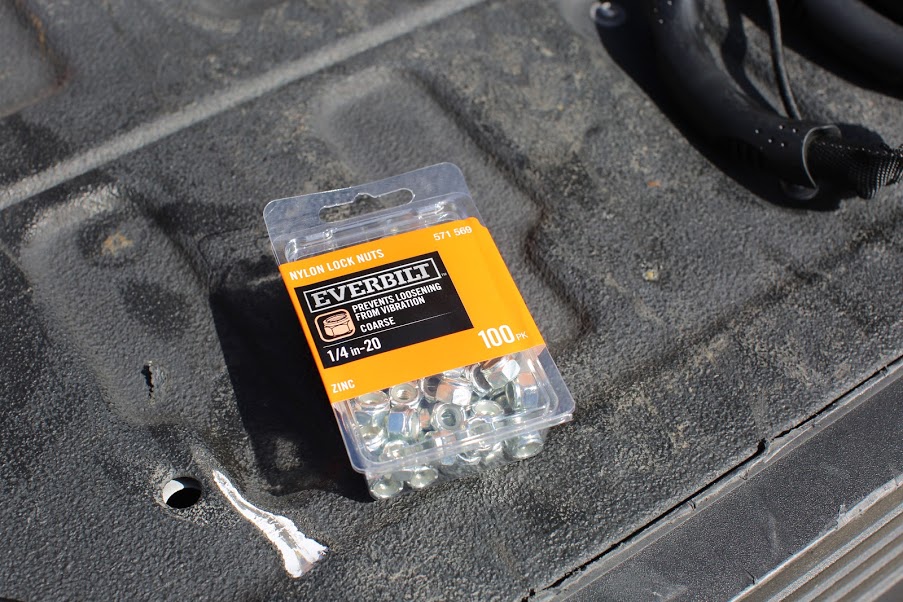
It comes with all the hardware you need, but I did get the appropriate size lock nuts so that it is held securely onto the rack. The hardware it comes with was non-locking. These handles are made with nylon and rubber. The weight on these handles are pretty heavy-duty so I don’t think they’ll make too much noise while driving, they should sit really still on the rack.
They have a full plastic version if you wanted a handle that didn’t move once installed. There are a few other versions out there, but I think for the price, these are the best bang for your buck!
Installation Process

Tools and Materials:
- Handles with Strap: Check Price
- Fixed Handles: Check Price
- Lock Nuts
- Screwdriver
- Socket
So do you have 5 minutes? Because that’s how long these will take to install. All I used on was a Phillips head screwdriver and an 11mm open-end wrench.
It’s pretty self-explanatory, the hardware that comes with the package is all you need. I did purchase nylon lock nuts from Home depot to make sure these were secure.

I did the install on my Prinsu Cab Rack. The open slots on the side of the rack fit a ¼” -20 bolt. This is also the exact size that goes into the aluminum slats for the prinsu.
- Step 1: Pick a spot that works for you on the rack and proceed to thread the bolts into the eyelets that are on each end the handles and secure them onto your roof rack with the hardware provided or nylon lock washers.
- Step 2: Grab a 6 pack of beer with all the money you saved and enjoy your new grab handles!
From the interior paracord handles to waterproof grab handles – every handle has its purpose, hold and anchor your weight.


These grab handles make it that much easier to get to the rack. Wether it’s getting the kayak off, or loading up for the next trip – you’ll be happy with the ease!
The Philips screwdriver you used was a #3