
Aftermarket front bumpers not only provide you with a functional, trail-ready tool, but they also offer a more aggressive aesthetic. This can quickly be ruined by a rough, jagged bumper trim. When you fit nearly any full front aftermarket bumper, you must cut the plastics on your OEM bumper for a tight, accurate fit. Cutting into an expensive truck can be intimidating, and you really only get one shot.
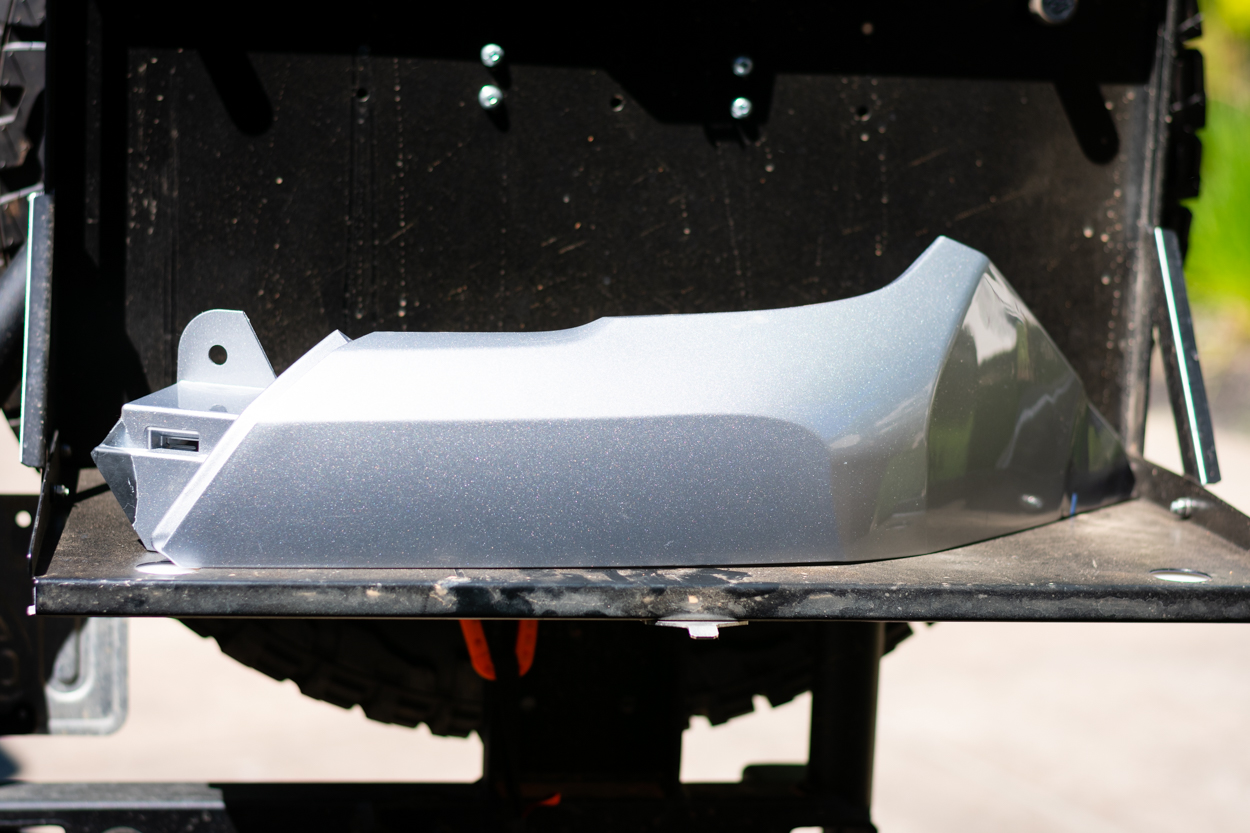
As an alternative solution, R4T designed their aftermarket bumper caps (sold in pairs) to allow you to run an off-road bumper without making any cuts. It gives you a cleaner look with less stress about screwing up and will enable you to keep your OEM bumper intact so that you can sell it or hold on to it.
In this post, I will review the installation process and my thoughts on how they look on my 2017 TRD Sport.
Table Of Contents
Are They Worth It?
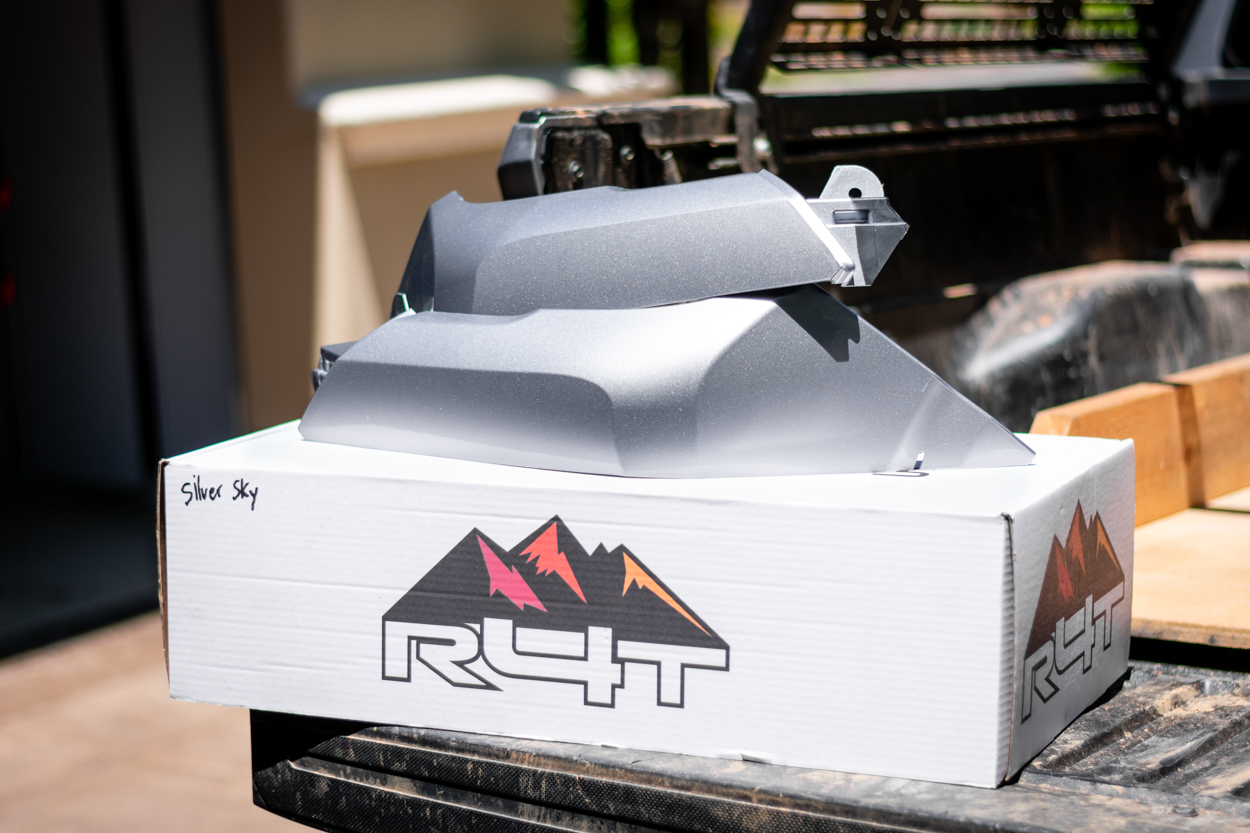
You may be wondering if it is worth buying these instead of taking a chance cutting your factory bumper. At only $150 (unpainted), Runnin 4 Tacos has made a super attractive option – especially when you are already spending thousand on a new bumper.
Personally, I went with the color-matched option to keep things as factory-looking as possible. Alternatively, you can grab some color-matched paint online or at your local auto parts store. If you’re careful, you can potentially paint these on your own for about $25 and a day in the garage.
Additionally, if you are picky about the details on your Tacoma, the clean compared to the less-than-optimal results you can get from a tool is a major benefit.
Another great benefit is that by not cutting your bumper, you have the opportunity to resell it and get some of your money back after purchasing your expensive new off-road bumper. We’ve heard of guys getting anywhere from $200-400.
How Is The Color-Match?
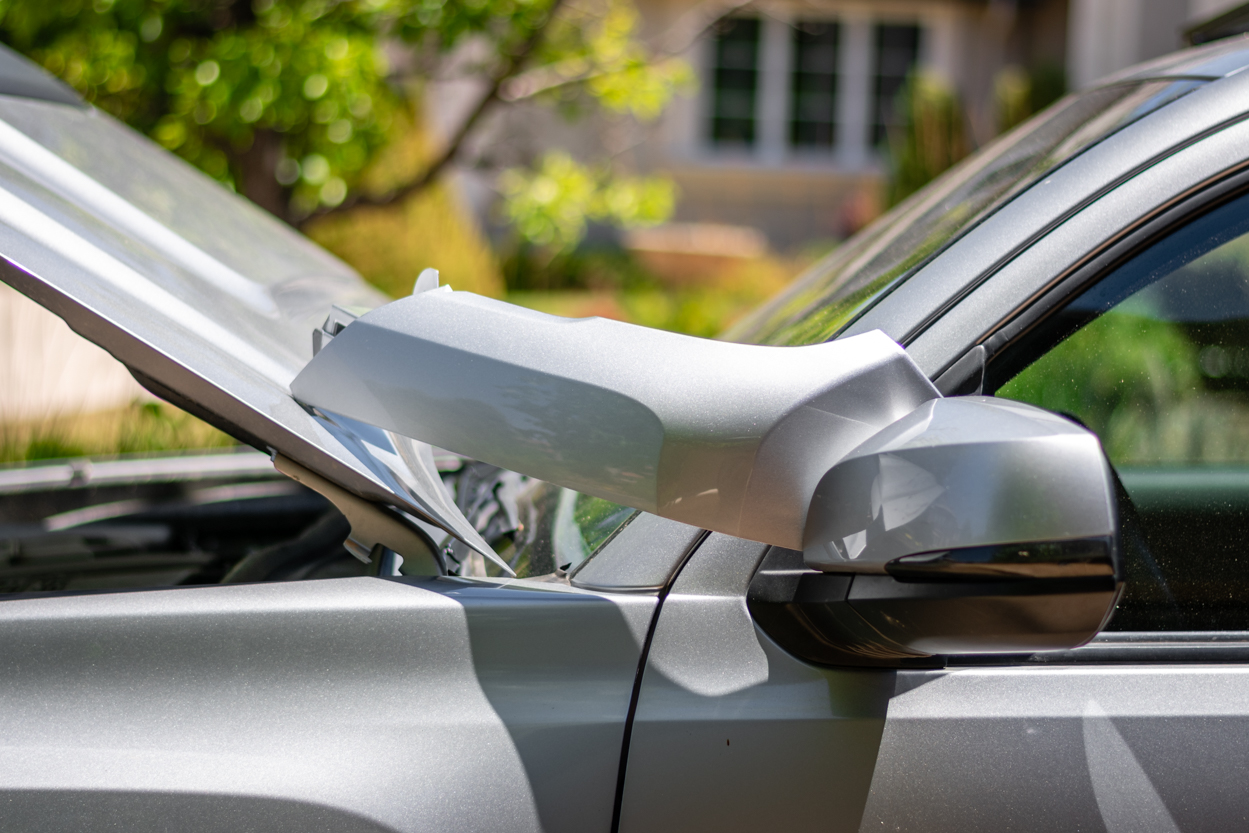
Another important aspect of these is the quality of the color match. From what I can tell, there is nearly no difference between the caps and the OEM paint on my silver sky metallic truck. If anything, it is a tiny bit lighter, but the difference is minuscule. Light hitting the caps at different angles likely contributes to this.
If you want to paint these caps yourself or have a custom painted/wrapped Tacoma, you can opt for an unpainted version. Either way, you will have a high-quality product that will look super clean on your truck.
Note: R4T does not guarantee that they will match perfectly with your paint job. Different factories have slight variances in color, so if you want an absolute, 100% paint match, you should have a local paint shop blend them to match your fenders. Just keep in mind, a perfect color match is tough to come by, and most of us won’t be able to tell the difference.
Installation
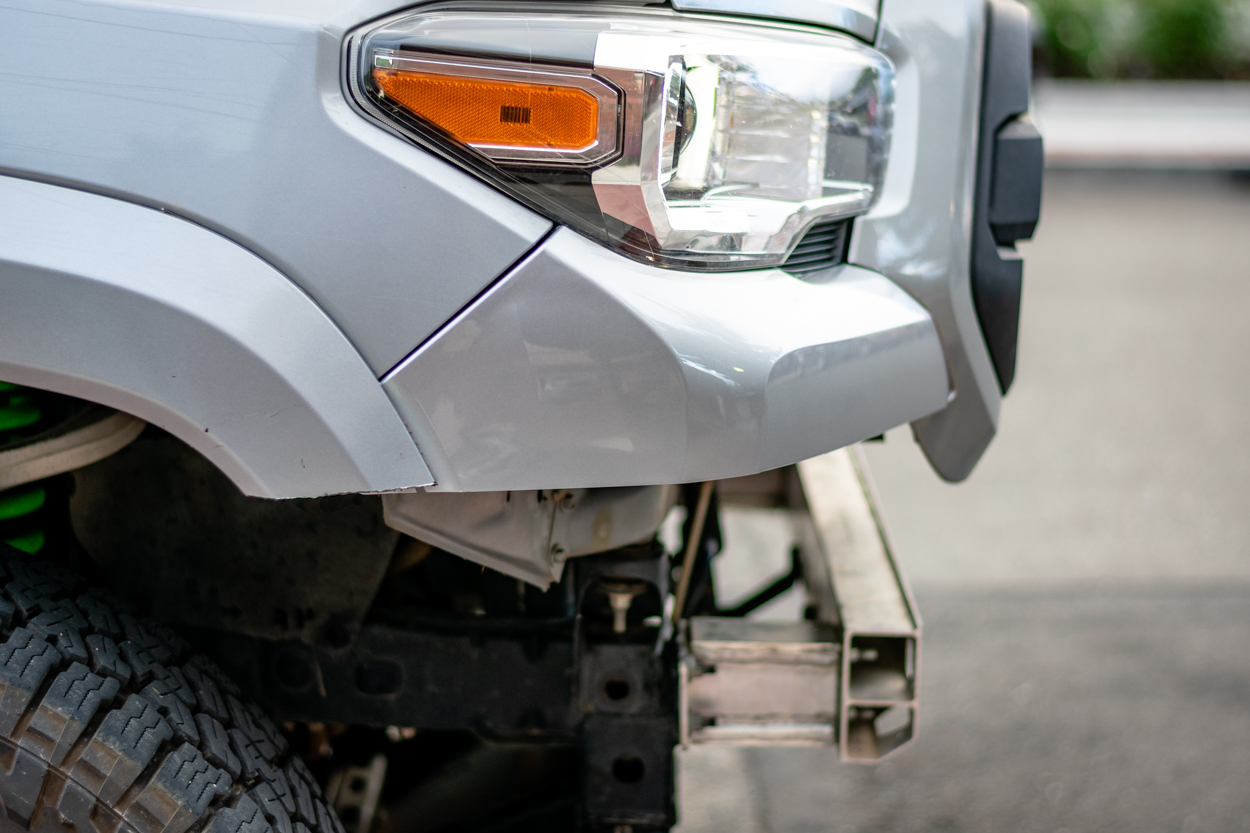
So how do you install them? The process is straightforward, requires no specialty tools, and can be completed in about 15-30 minutes. Check out our guide below, or find an installation video at the end of this post.
Tools & Materials
- Mechanic’s toolset
- Ratchet wrench
- 10mm socket
- Flathead screwdriver or trim removal tool
- Double-sided tape (optional)
Step 1. Remove Grille
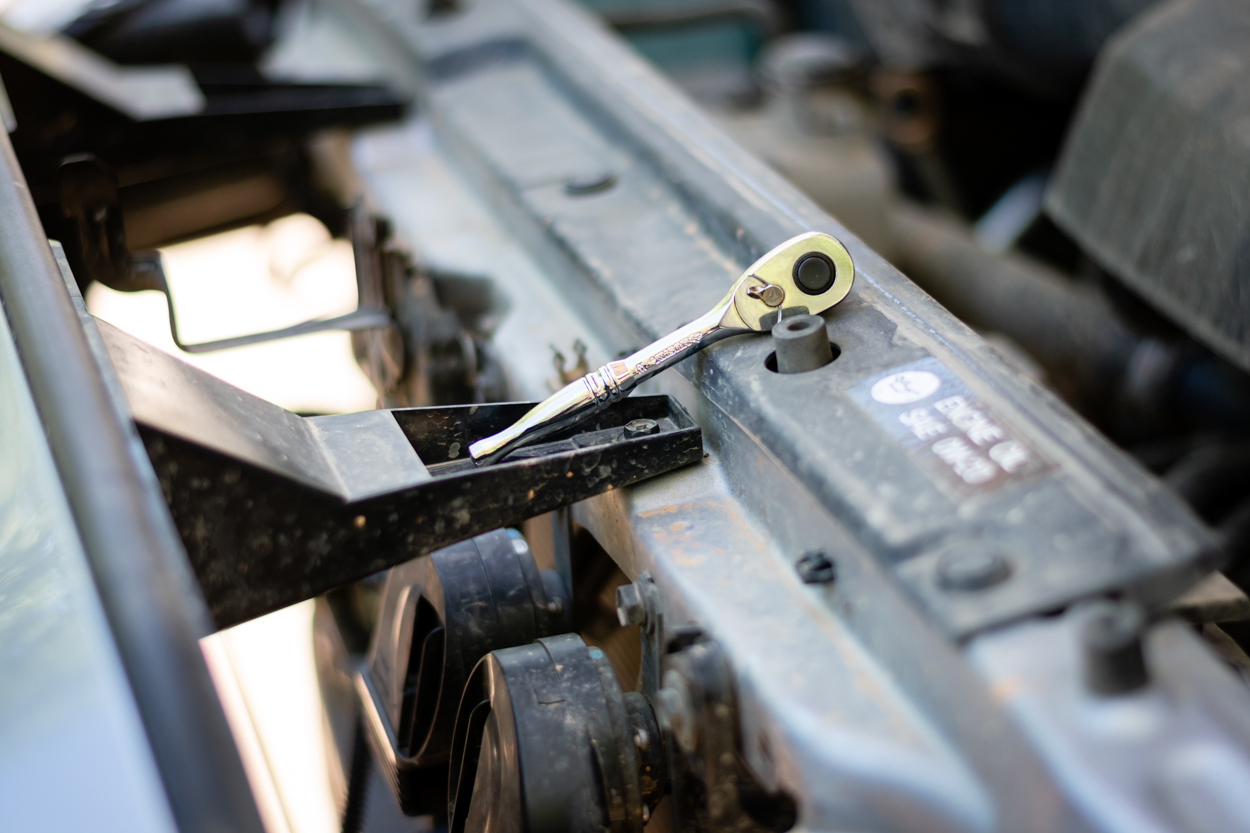
The first step to installing is to pop your hood and remove your grille using a 10mm socket. Once the two top bolts are removed, and you undo the trim clips on the sides, you can pop the grille out of place.
Step 2. Undo Trim Clips
With the grille out of the way, it is time to remove your OEM bumper. There are two clips, one near the headlights on both sides and then four clips along the valence that rests below the grille.
You can use a flathead screwdriver, trim removal tool, or a pocket knife to take these off. I have previously trimmed my bumper for my Ironman Raid Series Front Bumper, so if this is your first time working on yours, there will be a few other bolts and clips to remove along the perimeter of the bumper.
Step 3. Remove Factory Bumper
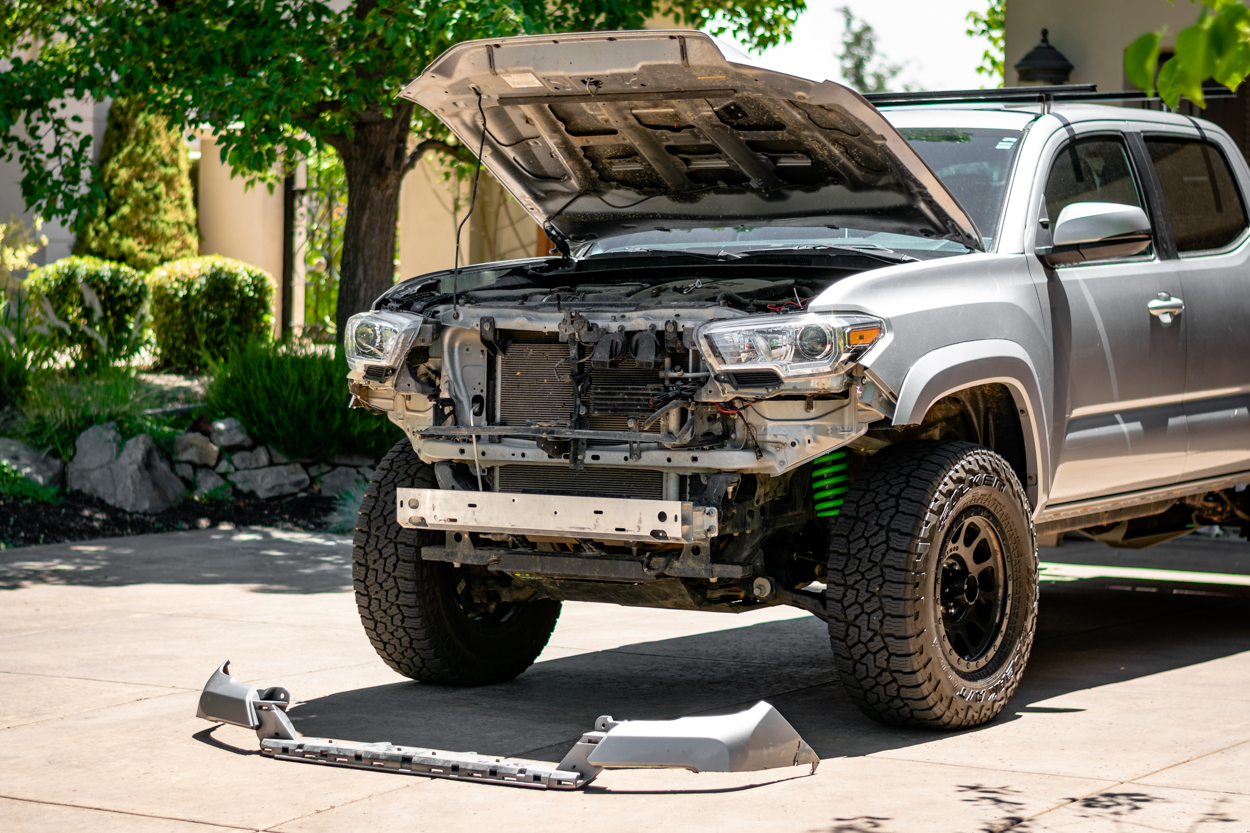
After removing all the clips, pop the bumper out of place. This will take a little finesse to complete without breaking the clips, but they should go with a firm, steady grip.
Once both sides are popped out, you should be able to remove the whole bumper (in my case, what is left of it after trimming it).
Step 4. Replace Cap Brackets (Optional)
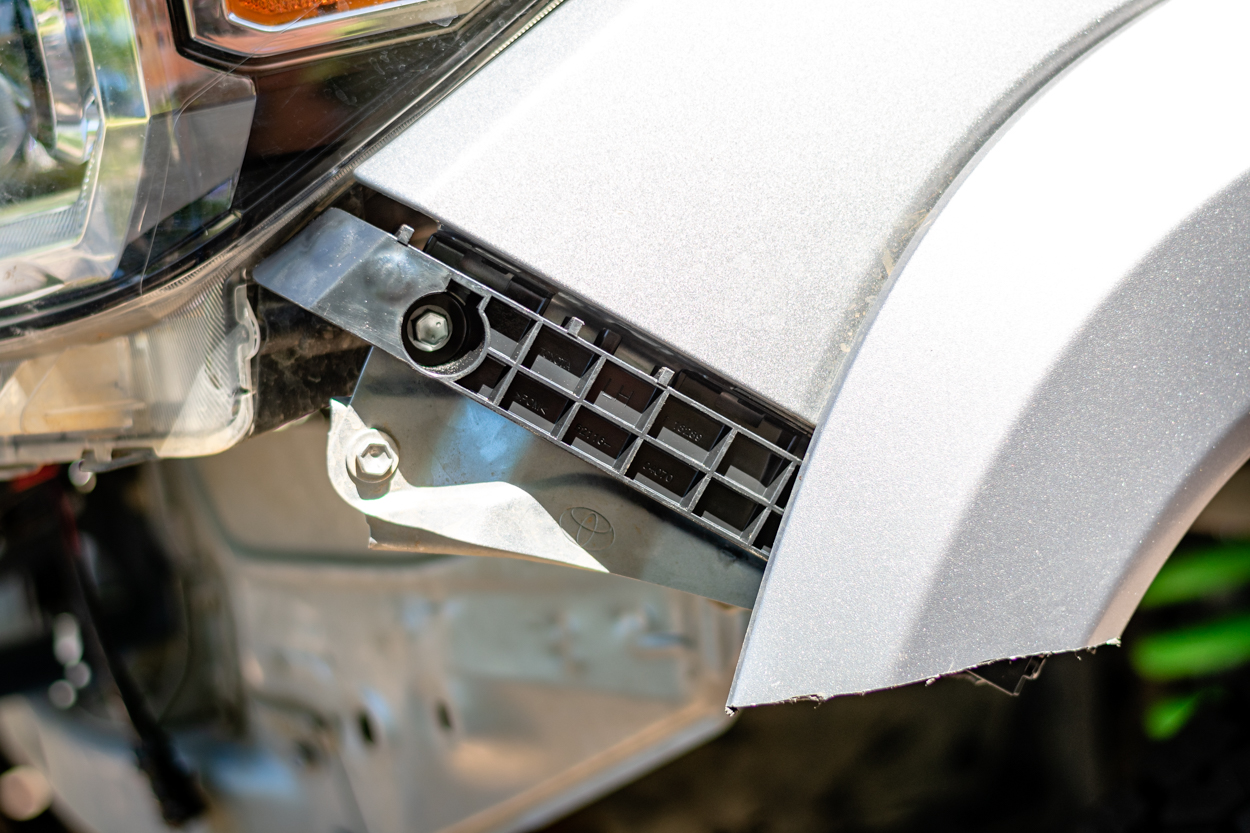
When I initially replaced my bumper, I broke the brackets holding the bumper ends. So, I took the opportunity now to replace them. They were like $20 each from my local Toyota dealer.
If you break them upon removal, I would highly suggest replacing them since they are what mostly keep your new bumper caps firmly in place.
Step 5. Install Caps
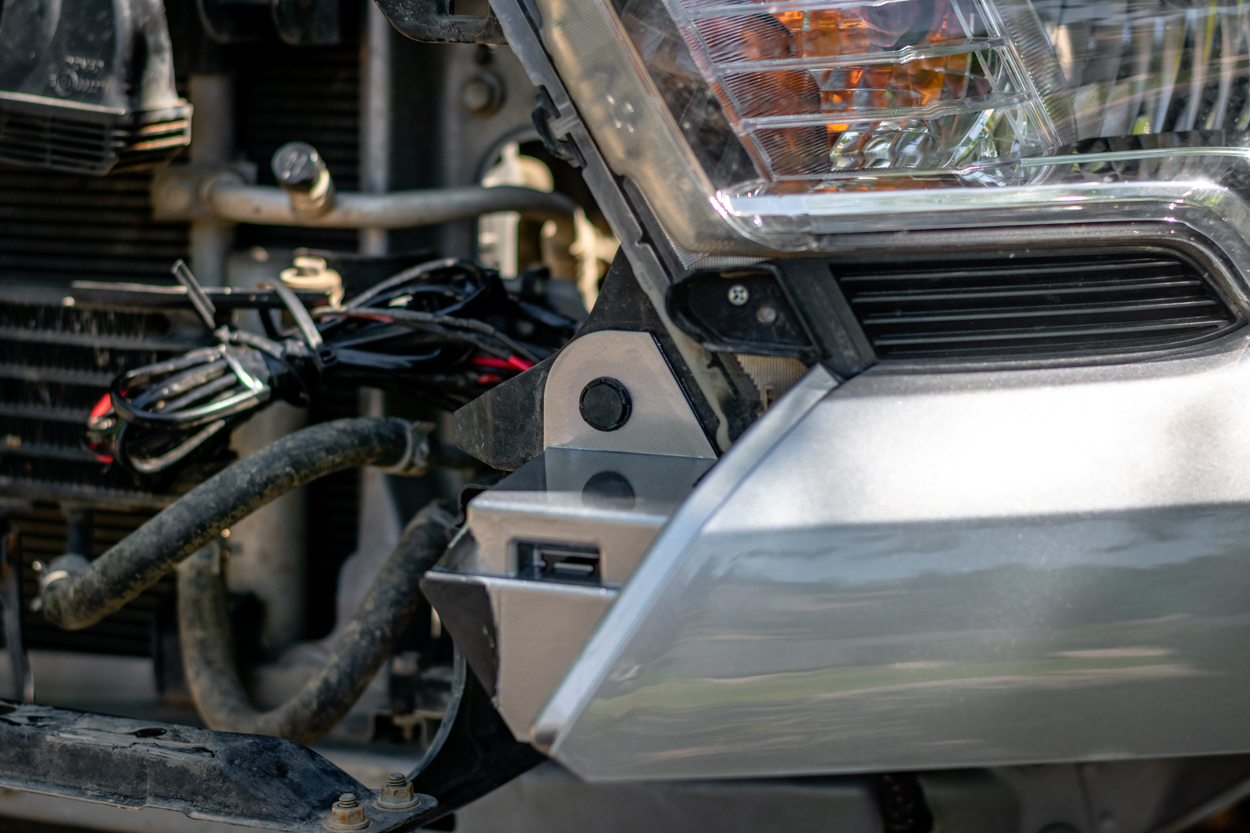
Now, it is time to finally get them installed. Carefully press them into the black brackets by the fender flares. Then grab one of the trim clips you previously removed and reinstall it near the corner of the headlight.
When you are snapping them into place, make sure to line them up correctly. You will see the tabs that correlate with the “hooks” in the bumper brackets. Complete this step for both sides.
Step 6. Reinstall Grille

That’s it! All you need to do to wrap up this install is replace the grille, tighten the bolts and clips that hold it in place, and lower the hood.
Step 7. Apply Tape to Fender Flares (Optional)

One final step that may help keep things flush is applying double-sided tape between your bumper caps and the fender flares. This is not required, but if your fender flares aren’t naturally sitting flush, it makes for a much cleaner and OEM look.
Step 8. Install Your Bumper
Pretty self-explanatory step here. Once the cap is installed, you’re ready to install your off-road front bumper.
Final Thoughts
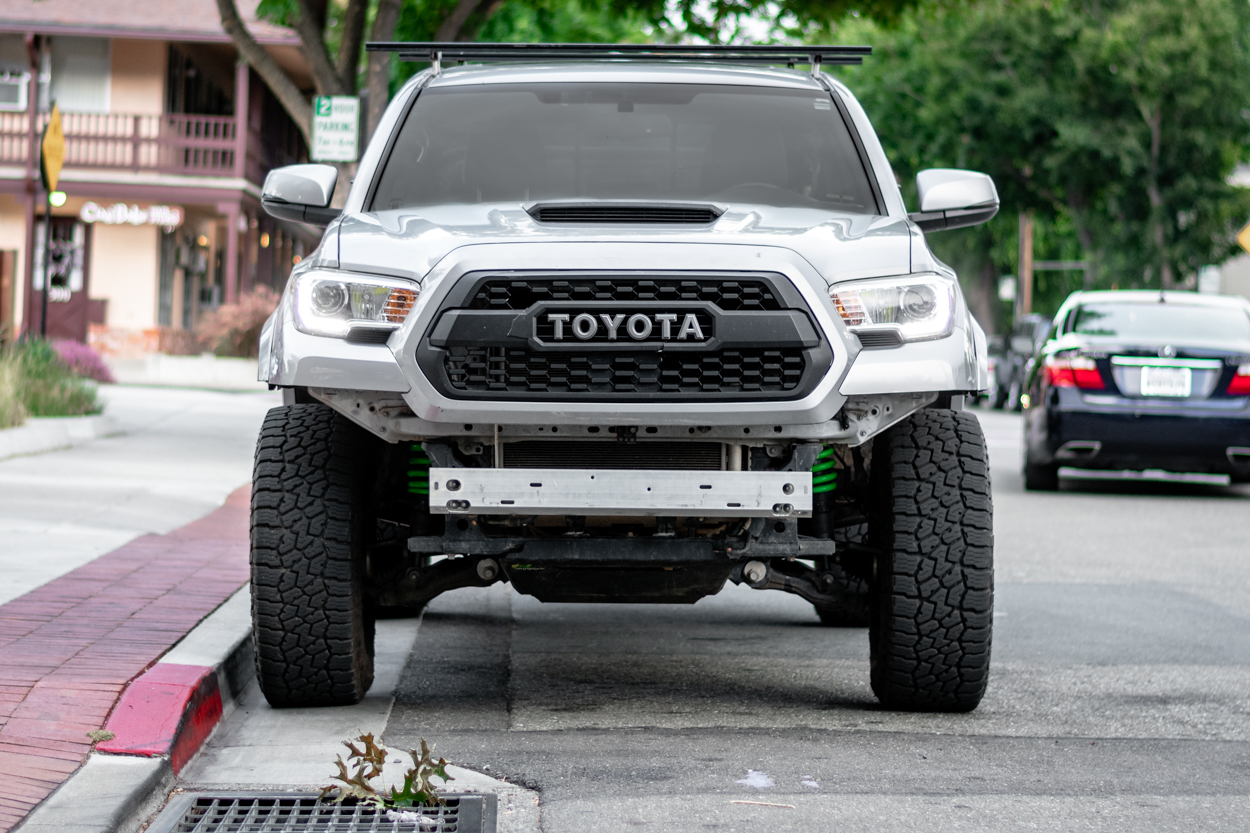
One really nice detail with these bumper caps is that there is a slot where the fender flare will rest against them. The fender flare has a little prong that helps keep it flush, so this was a well-thought-out detail by R4T.
Although the change is subtle, they look much cleaner than the cuts I originally made with my Dremel tool. Yes, the trimming route is free (except for the cost of the Dremel), but unless you have a lot of experience cutting vehicle plastics, the result will never look as good as these. But you can’t uncut your bumper or sell it to recoup some costs.
The installation is so simple, and they are well priced, considering you are probably spending over $1000 on an off-road bumper in the first place. These bumper caps fit perfectly and look like they came on the truck. The color match also adds to that factory look.
All in all, I am super stoked about these, and in my opinion, those subtle details separate a good truck from a great one.
Fitment Disclaimer
It is difficult to guarantee that these caps will fit EVERY bumper out on the market. Several popular options have been tested from CBI, C4, Relentless, BAMF – and a few others.
Additional Photos #1

Additional Photos #2


Game changer! I cut the bumper on 2 previous trucks and it’s such a tedious job to get it right. Even tried using different tools to get a clean, straight cut. It was not easily repeatable on driver/passenger side. This is a way better solution. Plus you can put it back to stock if you want to sell the truck or bumper.
Exactly why I am stoked with these! Being able to sell that stock bumper too is such a nice benefit.