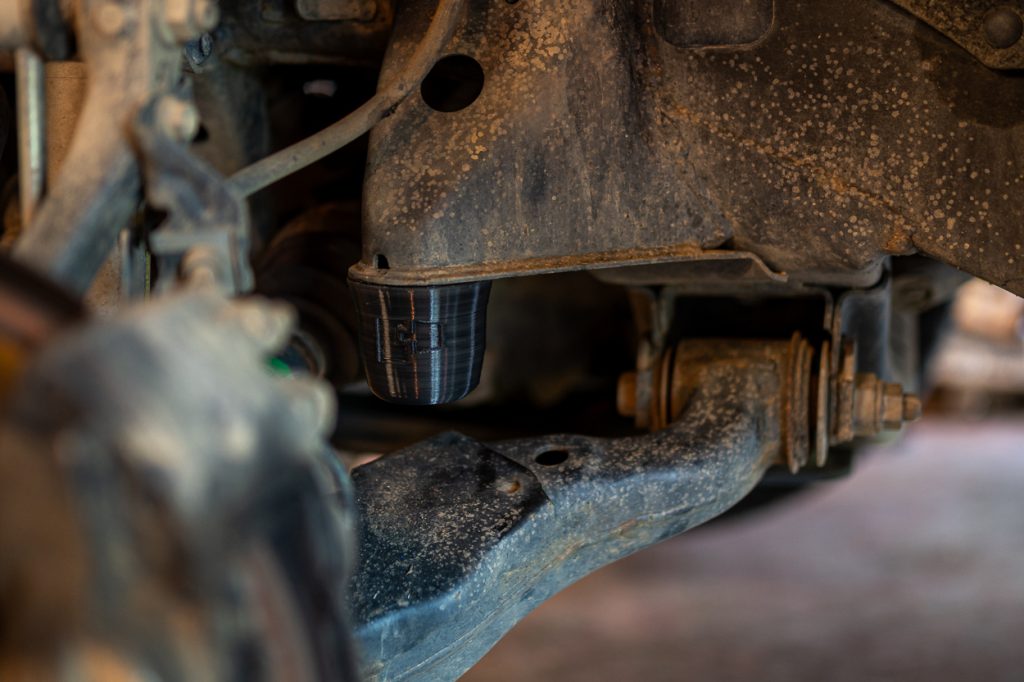
Put simply, upgraded bump stops help to protect your suspension and fender liners when bottoming out on harsh impacts, The factory ones on the Tacoma provide very little protection when running longer suspension and larger tires due to their small size. Plus, they’re pretty unforgiving upon contact since they’re basically a solid hockey puck.
Fortunately, Perry Parts offers an affordable, quality product that helps make those big impacts feel smoother while also protecting your suspension and frame.
I have a 3rd Gen (2016-2023) but these also work the same on the 2nd Gen (2005-2015).
Table Of Contents
Product Overview
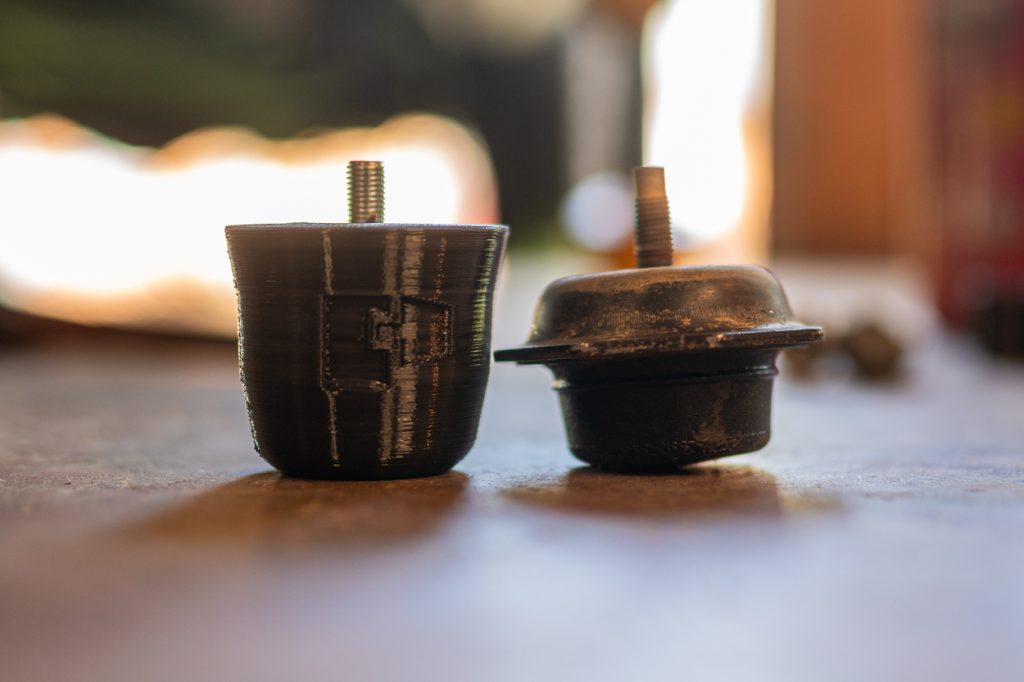
Perry Parts is breaking the mold with their line of products for the off-road & overlanding community utilizing FPF (Fused Pellet Fabrication). Through multiple iterations, they have brought to market a bump stop that offers a better ride feel and progressive dampening for all driving conditions. They are designed to hold up to the rigorous conditions our trucks encounter.
If that’s not enough to convince you, they also come with a 2-year, no-questions-asked warranty.
Tools Required
- Pipe wrench (not necessary but helpful)
- Floor Jack
- Jack Stands
- Torque Wrench
- PB Blaster or other penetrating oil
Step 1. Remove Front Tires
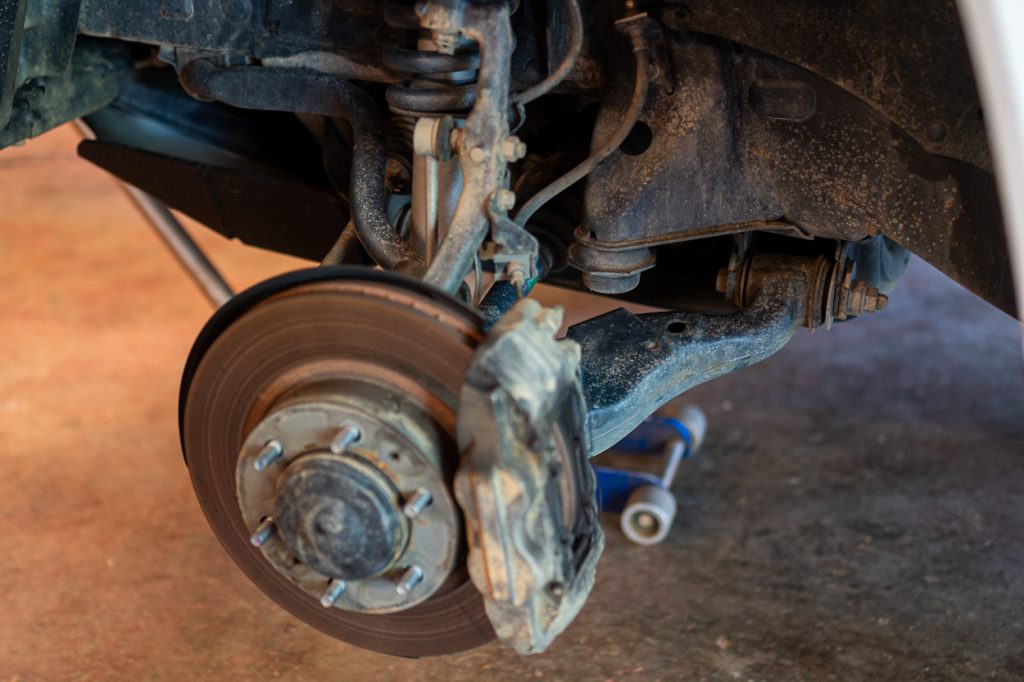
First, you’ll need to remove your front tires. Using a floor jack, lift the front of your Tacoma off the ground and place jack stands directly underneath the frame. Remove both front tires to give yourself plenty of room to access and remove the factory bump stops.
This could be called optional, but I found it much easier.
Step 2. Remove Factory Bumps
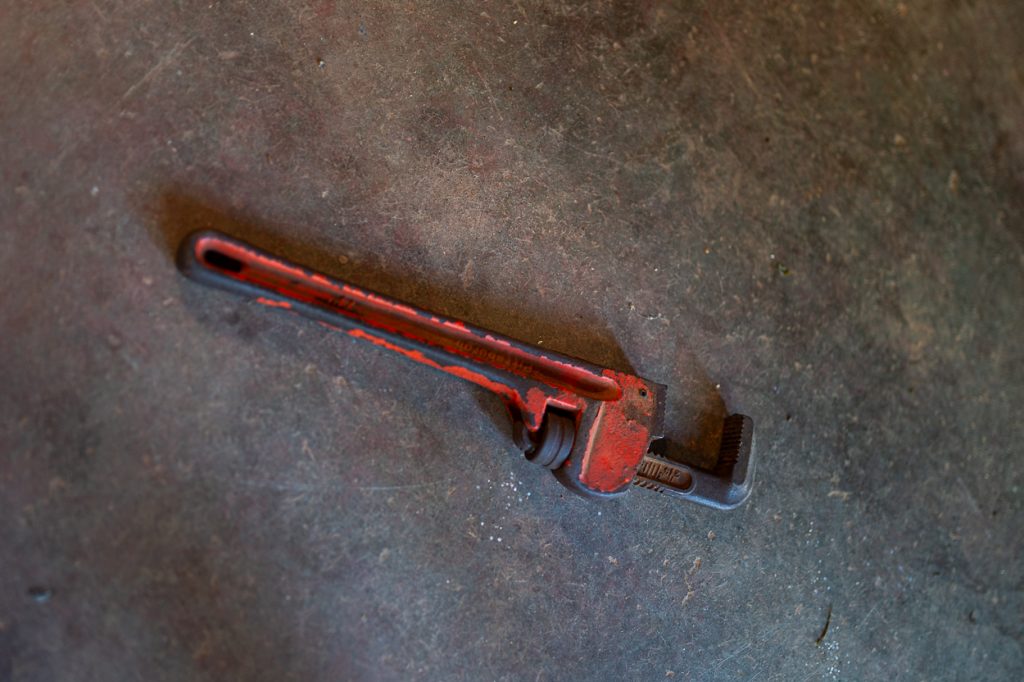
Remove factory bump stops with channel locks, a pipe wrench, or similar. If needed, use some penetrating oil so you don’t break the threaded stud during removal.
Once loosened, you should be able to remove it by hand. While not necessary, wipe down the surrounding areas to remove any built-up dirt and grime from the factory mounting location and the lower control arm.
Step 3. Install Perry Parts
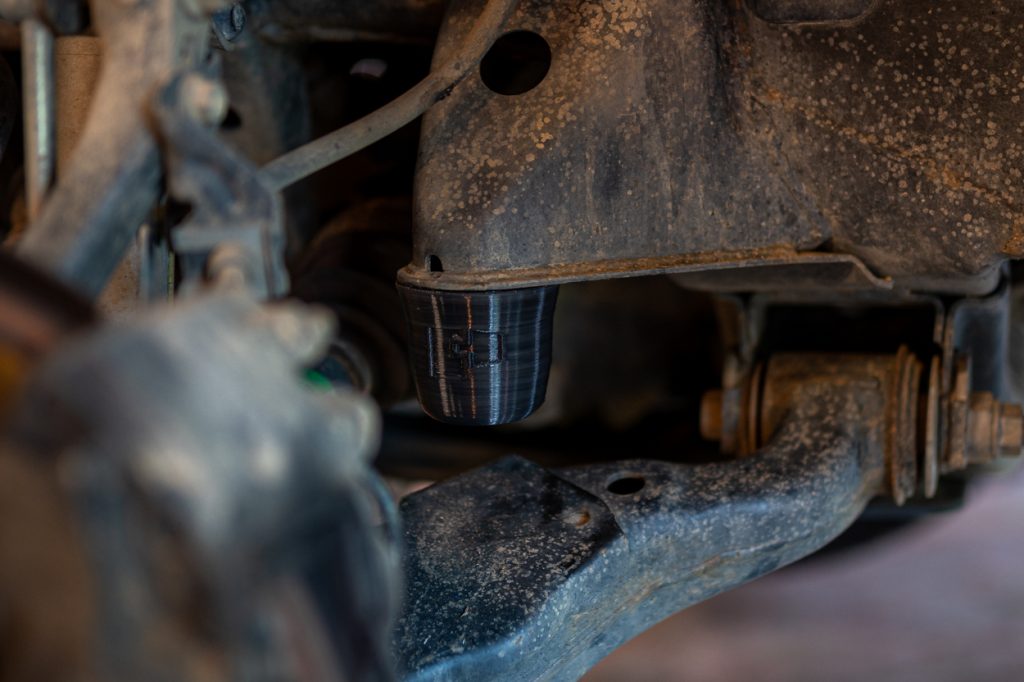
Thread the new bump into the factory location by hand until the top of it contacts the frame. Then, using a 14mm socket, tighten the embedded hardware one full turn.
Once done, reinstall the front wheels, lower your truck to the ground, and torque the lug nuts to 83 ft-lb.
Initial Thoughts
The build quality of the Perry Parts seems top-notch, which is impressive given that they’re 3D printed. The installation process is easy enough so even the average Joe like me can tackle it with minimal tools and time.
I’ve yet to get any proper trail driving done since installed, but back country gravel roads littered with washboard ruts and rocks have proven to be no match for the upgraded bumps. Overall, if you’re looking to swap out the rock-hard OEM stops, Perry Parts is a solid contender in the plethora of aftermarket options available.


