
I recently picked up surfing this past winter and after deciding to stick with it as a fun hobby, I quickly realized that carrying my 8’ board was an issue.
Driving around to local beaches was never a hassle as I would just let the board rest on my tailgate and leave the back window of my SnugTop Super Sport Topper open. But once I leveled up my surfing skills and felt the desire to surf at new, more distant beaches, I decided that I needed a better transportation solution.
Clearly, a roof rack was the obvious choice, but I didn’t want to drop a ton of cash on a CNC aluminum rack (even though they look amazing).
I chose to check out cheaper options like the simple crossbar setup that many people run, but even those cost more than I wanted to spend for the whole system from brands like Yakima and Thule.
So, long story short, I decided to build my own. In this post, I’ll explain how I built my roof rack crossbar system and offer some tips and tricks for building one of your own.
Find it online
- Yakima Mounting Tracks: Check Price
- Extruded Aluminum: Check Price
- Corner Brackets: Check Price
- T-Nuts & Screws: Check Price
- End caps: Check Price
- Drill & Drill Bits
- Allen Key Tool Set
- Loctite
Table Of Contents
Installation
Step 1. Install Mounting Tracks
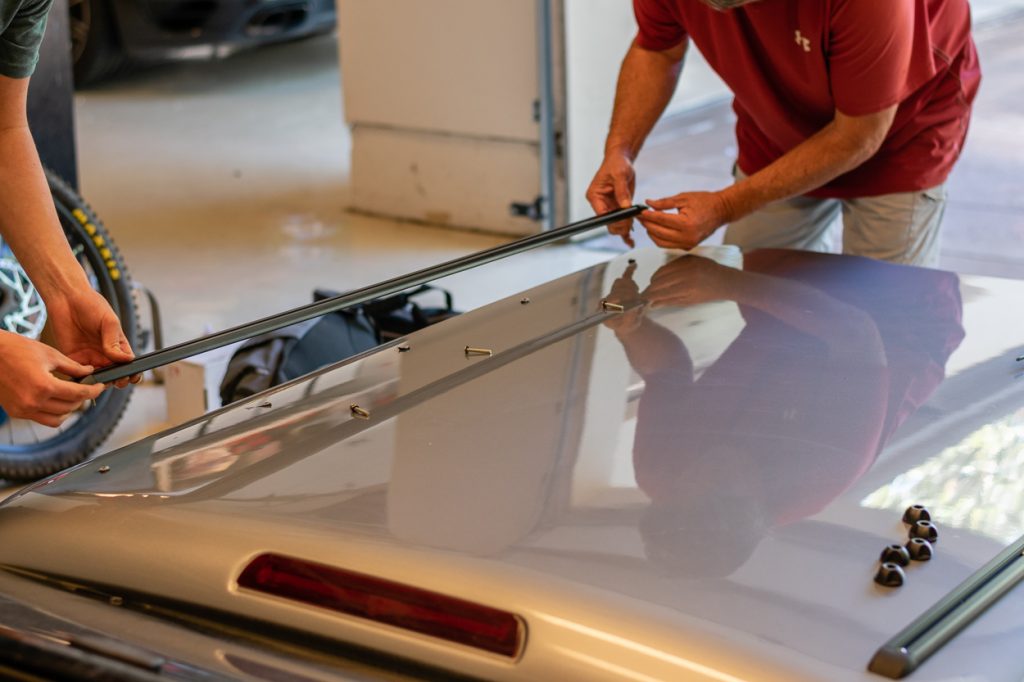
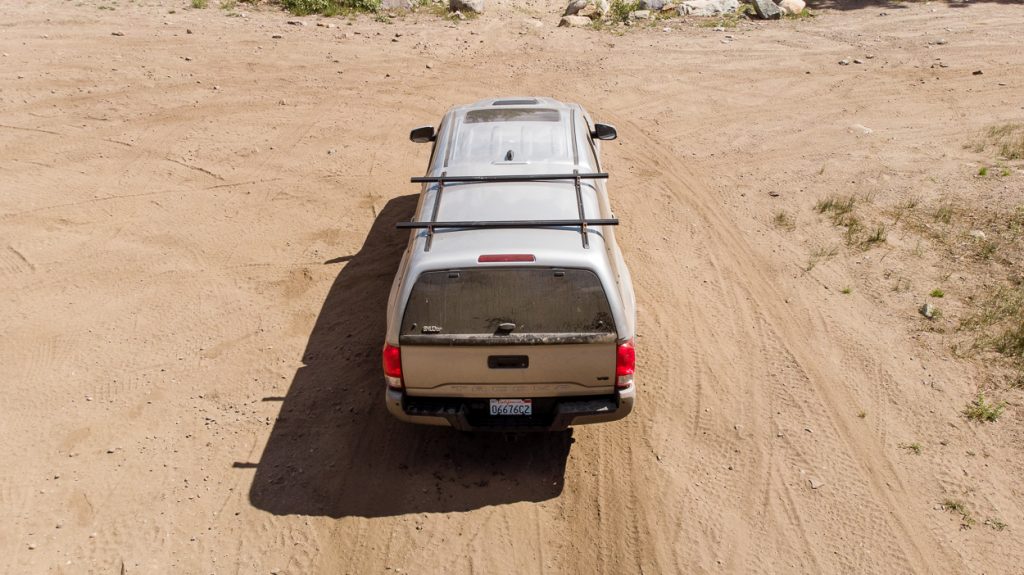
Since I am installing the rack on top of my camper shell, I had to install the Yakima mounting tracks first. Depending on the length of your bed, you will want to choose the length of the tracks accordingly. Since I have a short bed, I went with 54” tracks – although it was hard to find them anywhere close so I bought the 60” version from my local outdoor recreation store and cut them to length.
Although it is daunting, this install was pretty straightforward. Kelly has an in-depth write-up on this part (find it here) and a video to go along with it that I used as a guide to my install. But to sum it up, you mark where the holes in the tracks line up after getting them placed parallel to each other, you drill the holes, add sealant, and bolt them to the roof. There should be instructions that come with your tracks as well so take your time, double-check your work, and you should be good to go.
Taking the camper shell off of your truck makes this a whole lot easier and if you have 2-3 people, it is easy to remove by simply pulling off the mounting hardware and unplugging your brake light’s wiring harness.
Step 2. Assemble Your Rack

This is where things begin to take shape.
Slide the T-Nuts into the slots of the sides of the extruded aluminum. Then thread the screws through the top holes in the corner brackets and into the T-Nut. Keep these loose as you will likely need to reposition these to line up with the tracks. Repeat this on both sides of the extrusion in all four “corners” so that each end of the crossbars is fully supported.
Step 3. Attach Crossbars to Tracks

Now that your rack is assembled, rest the crossbars on top of the mounting tracks, adjusting each mounting bracket as needed. For this part, laying down a towel or blanket on your roof is handy to avoid any unwanted scratches or dents from dropping tools and mounting hardware.
Once the crossbars are set up, tighten the bolts holding the corner brackets to the crossbars and then bolt them to the mounting tracks using the same screws and T-Nuts. You can apply Loctite to the bolts at this point so that they don’t rattle loose – I have not yet because I am not totally sure where I want the crossbars to rest. In my experience thus far, none have come loose through hundreds of miles of driving and multiple trail runs.
Step 4. Add Finishing Touches

Finally, add whatever accessories are necessary for your needs.
I got some plastic end caps from the same website where I got the extrusion and corner brackets to give the rack a finished look. Other examples of accessories could be handles to help you access your roof, a bottle opener, or tie-down points.
Why Extruded Aluminum?

There are so many options for materials out there to choose from when building your own roof rack, so why pick extruded aluminum?
First, it’s strong. Although they don’t have a brand name on them, it’s pretty much the same product that many companies use as the crossbars for their roof racks. This gave me confidence when ordering my parts that I would be getting a strong bar and once it arrived my assumptions were confirmed. These cuts of aluminum only have a little flex when I put all of my body weight onto the unsupported middle section.
Second, they are versatile. Round or square bars work great for a lot of purposes. But having the slotted tracks that contour the entire length of the bar made installing the mounting brackets super easy. Furthermore, these slots can be used for various applications, whether that be eye-bolts as a tiedown point or mounting storage cases on top. The list of potential applications is endless.
Finally, it looks sleek. Although this is 100% personal preference, in my opinion, these look great.
Potential Downsides
Now that I have given myself a huge pat on the back for this build, let’s discuss the faults of this setup.
These crossbars definitely whistle. Although no one has commented on this when riding with me in my truck, it is something I notice quite often on the highway. It isn’t anything major and you can’t hear it when you’re playing music or a podcast, but once you get going around 50mph, there is a faint whooshing sound that these crossbars make. I have not tried any methods to silence these since the noise isn’t crazy loud but I assume that the noise comes from the wind hitting the open slots in the extrusion. Filling the unused parts of those gaps with some sort of rubber strip would probably do the trick to stop the whistling.
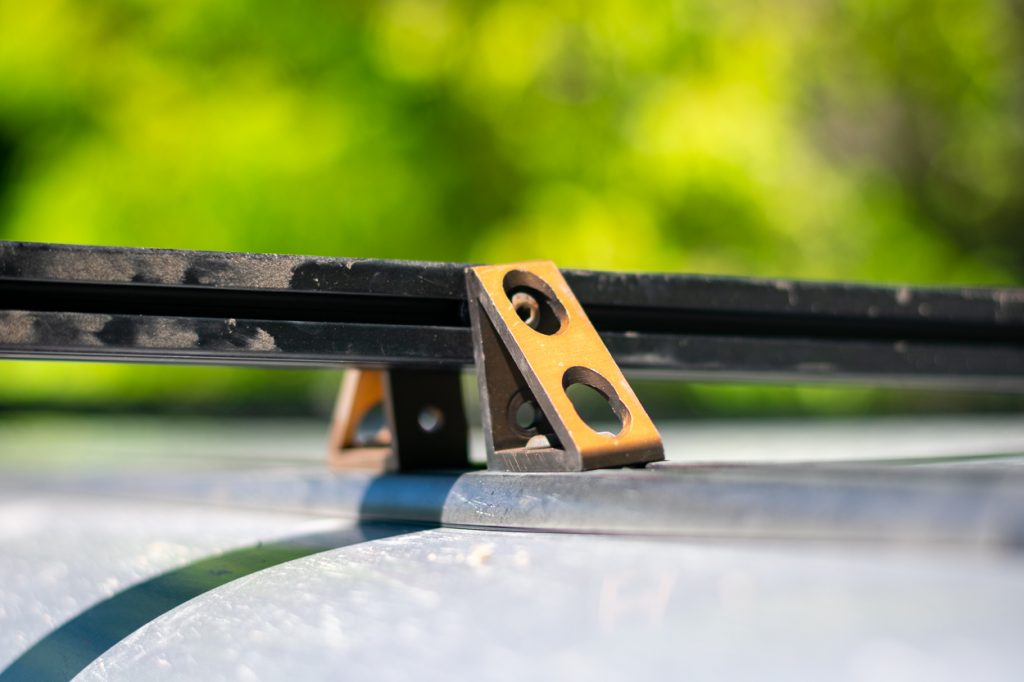
Another issue is that the brackets I chose to use don’t leave a ton of space between the crossbars and the center of the roof. And when I say “not a ton of space” we’re talking about a 1/4″ or so. Most brands mount their crossbars higher off the roof due to the slight convexity of all camper shells but these brackets are much more low profile. While there isn’t any point of contact between the aluminum and the roof of my SnugTop, I do plan on finding some taller corner brackets shortly to replace the ones I currently use. This issue becomes more problematic when you start mounting heavier items on your rack causing the center to flex downwards.
Also, I found the end caps that I ordered off of the Tnutz website weren’t the best and after a month or so of driving around, one of them popped off while I was loading my surfboard. I would suggest making your own or figuring out another solution if you’re looking for that clean, finished look.
Finally, the triangle brackets I bought, for some reason, turned a bronze-ish color after a week or two. Obviously, this could be remedied with some rattle can spray paint or just finding another bracket to use.
Other DIY Options
I mostly designed these crossbars for their functionality and cost-efficiency over anything else. But, you could spin the information in this post in several different ways. By adding more cross slats and an external frame, you could have a Prinsu-style cap rack that you built on your own and most likely for cheaper than the real deal. You could also build something similar to go over the cab if you already have the rear end sorted out.
There are tons of online resources to help inspire and inform whatever type of rack you want to build, so start thinking and designing. But as a starting point, consider what you want the rack for. As an example, I built this setup to haul around my surfboard and it does that exceptionally well. By deciding what you are actually going to use your build for, you will be able to create a system that perfectly fits your needs rather than choosing a setup made by someone else and making it work for your needs.
Final Thoughts
By the end of this project, I ended up paying a total of $290 for the entire setup. $120 for the aluminum, brackets, and hardware and another $170 for the mounting tracks. If your truck cap already came with the mounting tracks you could have a rack setup for under $150!
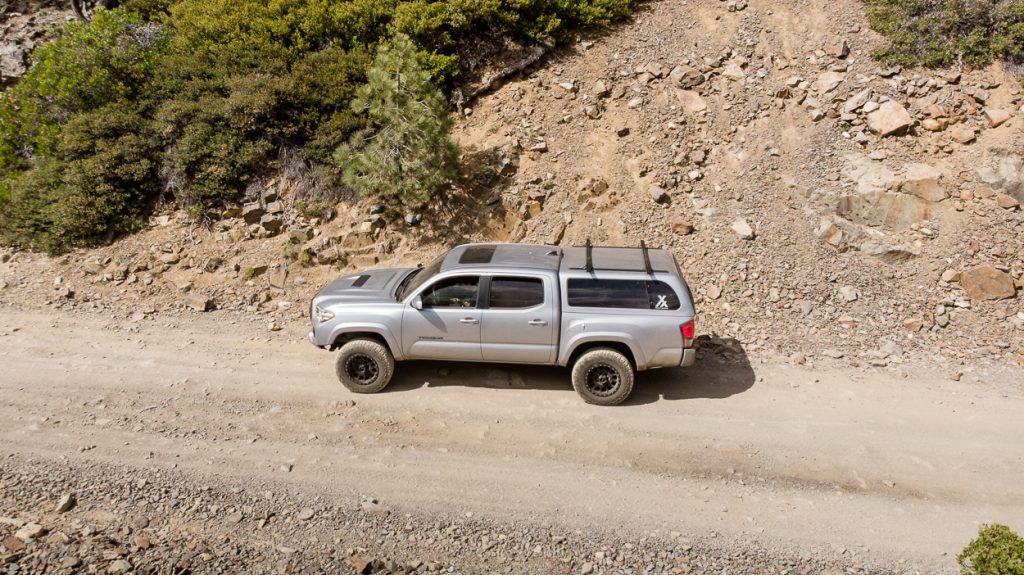
I have taken this rack off-road on multiple trail runs, along hundreds of highway miles, and I’ve used it to help fuel my newfound love for surfing so I can definitely say the benefits outweigh the costs for me.
All in all, I am pretty stoked on my setup – especially once I get some slightly taller brackets. Sure it doesn’t have the Prinsu or Yakima names branded onto it, but it works. For the cost and functionality of these crossbars, I am 100% satisfied with the end product. Plus, not much else beats someone asking where you got your roof rack and being able to say you built it yourself.
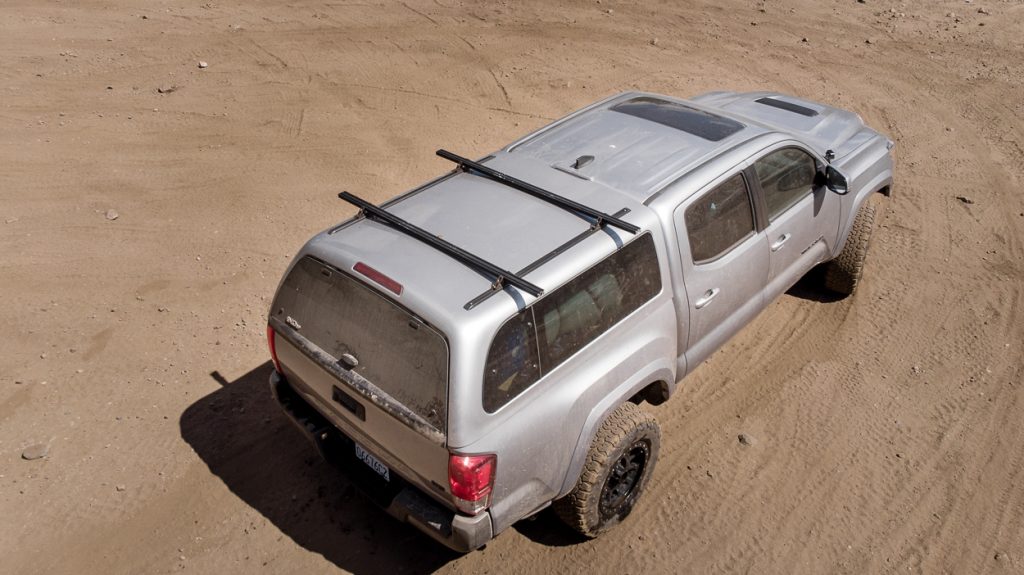
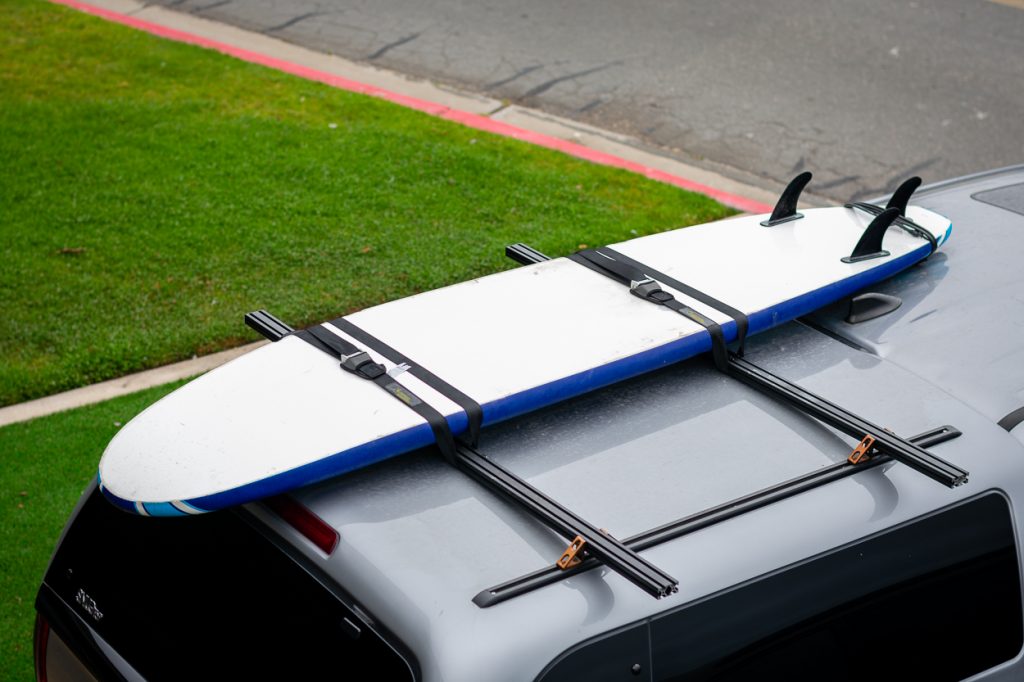
Hauling the Surfboard
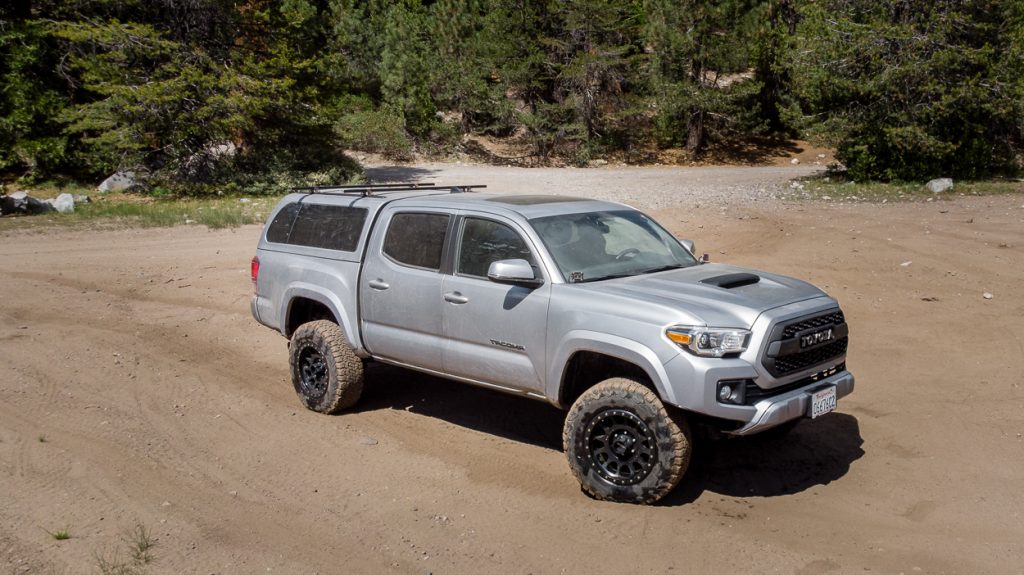
Additional View – Front of Truck

What length did you use for the cross bars?
This is an excellent write up. Thank you. FYI to buyers, the parts for the rack build on the linked website are $90+ just for shipping. I might have find a place that doesn’t charge that much to ship these light weight parts.
Looks great, going to build one for my Tacoma – what length aluminum crossbars did you get? Sorry if I missed that somewhere above.
Do you think the mounting bolts can be used on other tracks? Like Thule, Rhino, etc…
At the moment, Yakima mounting tracks are hard to come by.
Love the setup! Do you have a link to the corner brackets you used?
That is a very cool set up. I will probably so something similar. I really like the low profile look.
Thanks Clyde! That’s why I loved it too. Some of the name brand versions are just too high off the roof for my liking.