
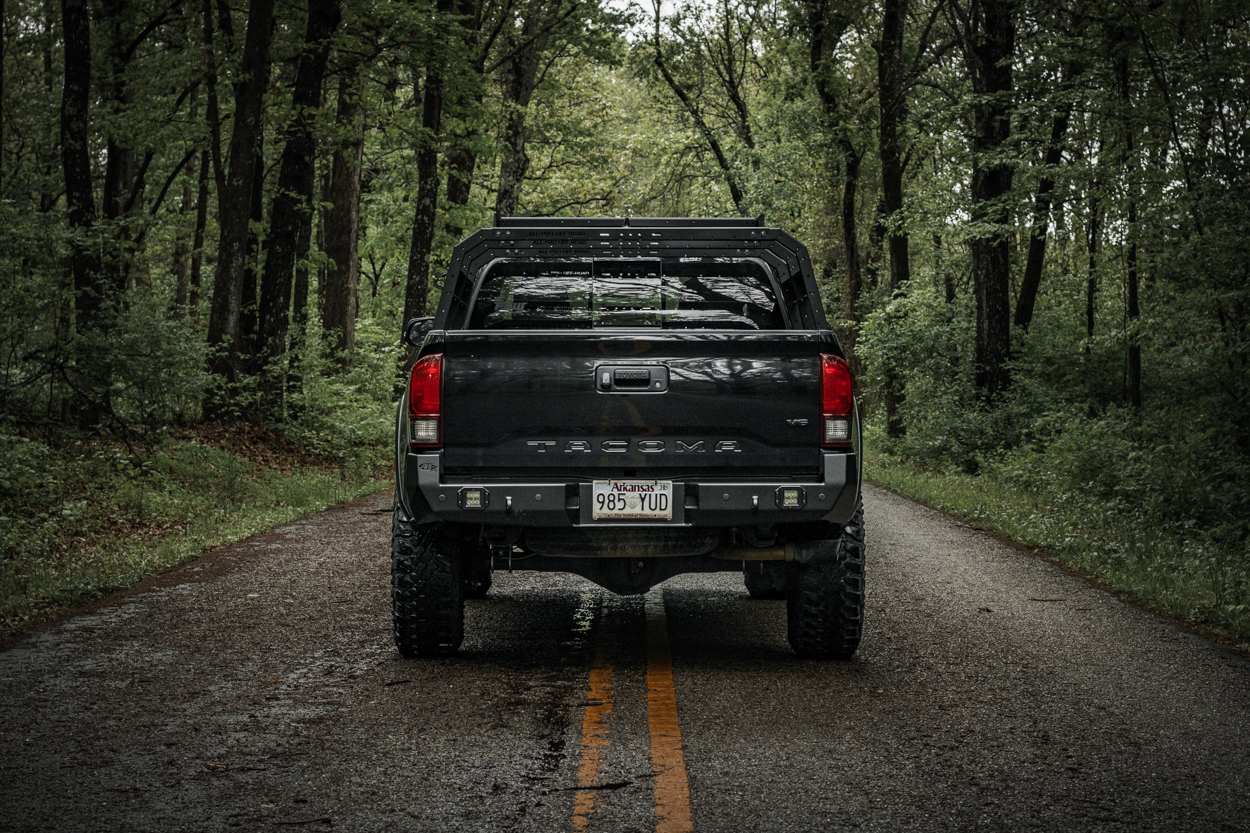
When many think of adding armor to their vehicle, they often forget about one crucial aspect; the rear. Rear bumpers add a ton of protection to your Tacoma protecting it from things like rear-end collisions and from damage when hitting the trails. On more technical trails, I have seen many Tacoma owners break off the flimsy plastic rear bumper as it doesn’t provide any protection and can hurt your departure angles.
The APEXG3N from All-Pro Off-Road helps add protection to the rear end of your Tacoma alongside a higher clearance design to improve your truck’s off-road performance without cutting any of the body.
This option fits the 2016-2023 Tacoma.
- Use code – TRAILCO – for 10% off!
Table Of Contents
Overview
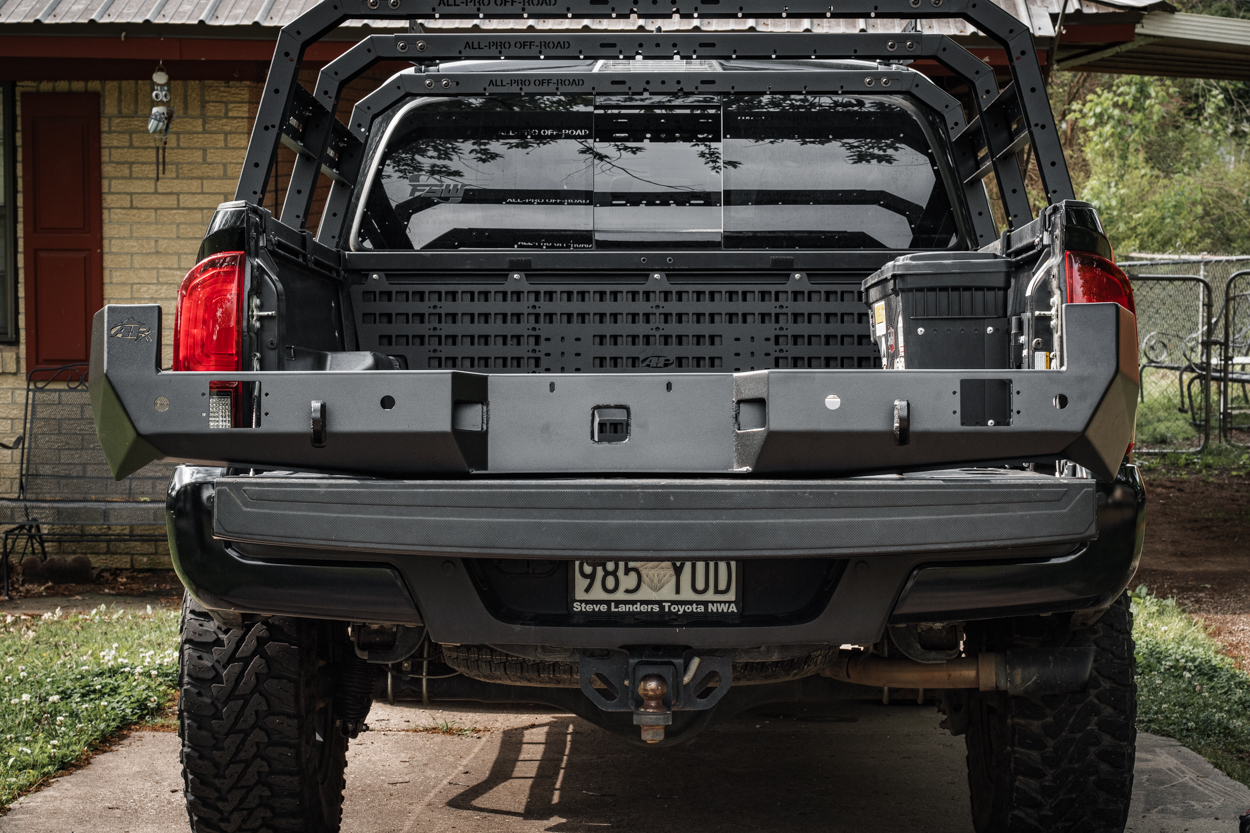
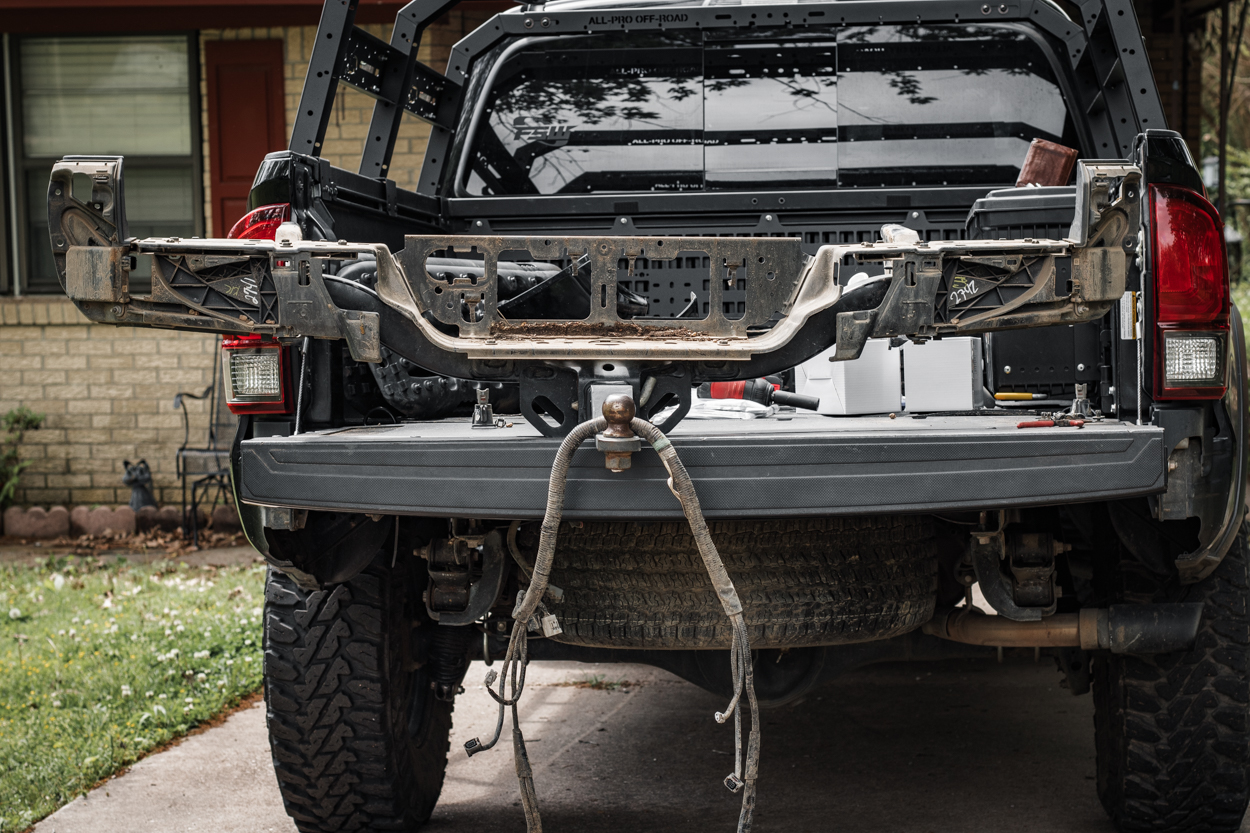
The stock plastic rear bumper on the Toyota Tacoma leaves a lot to be desired and your rear end vulnerable to all types of damage from rear end collisions and even while off-roading due to it’s lack of ground clearance. This is especially true in reference to the low hanging hitch.
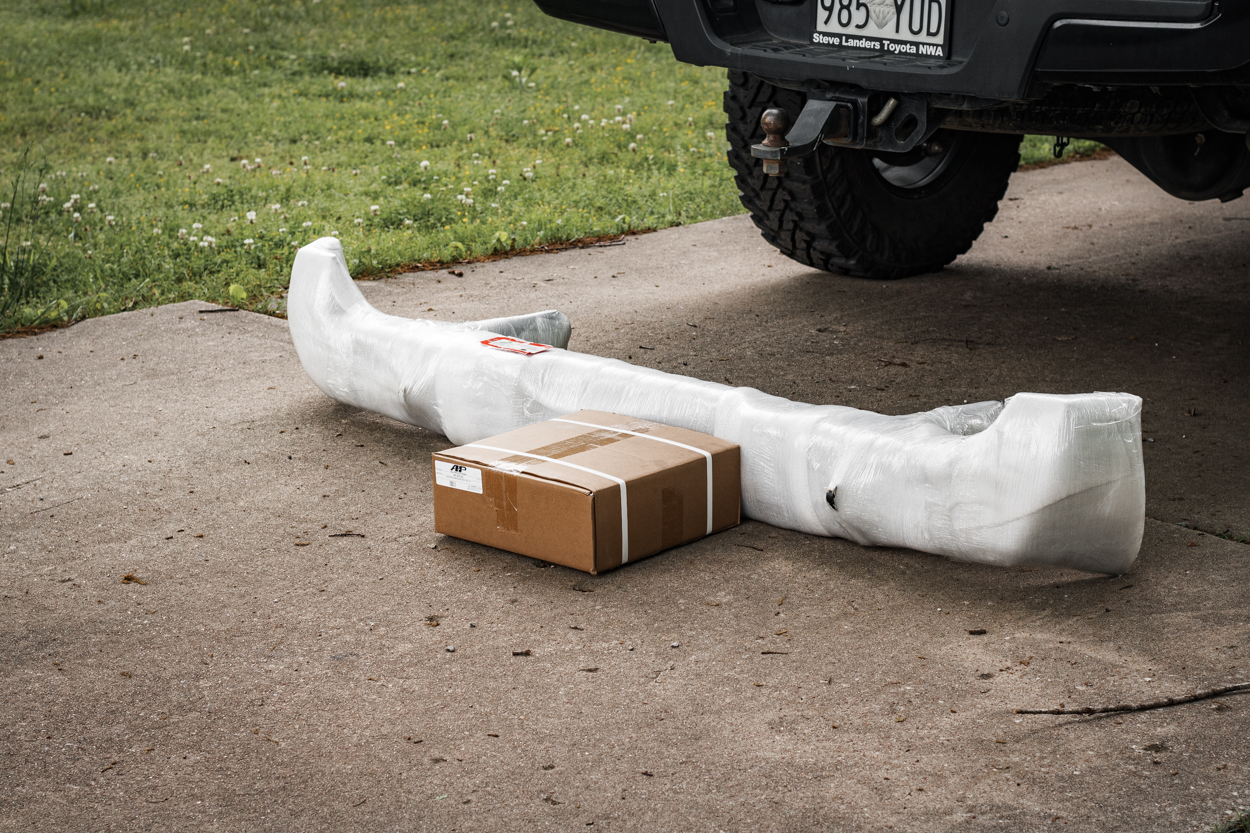
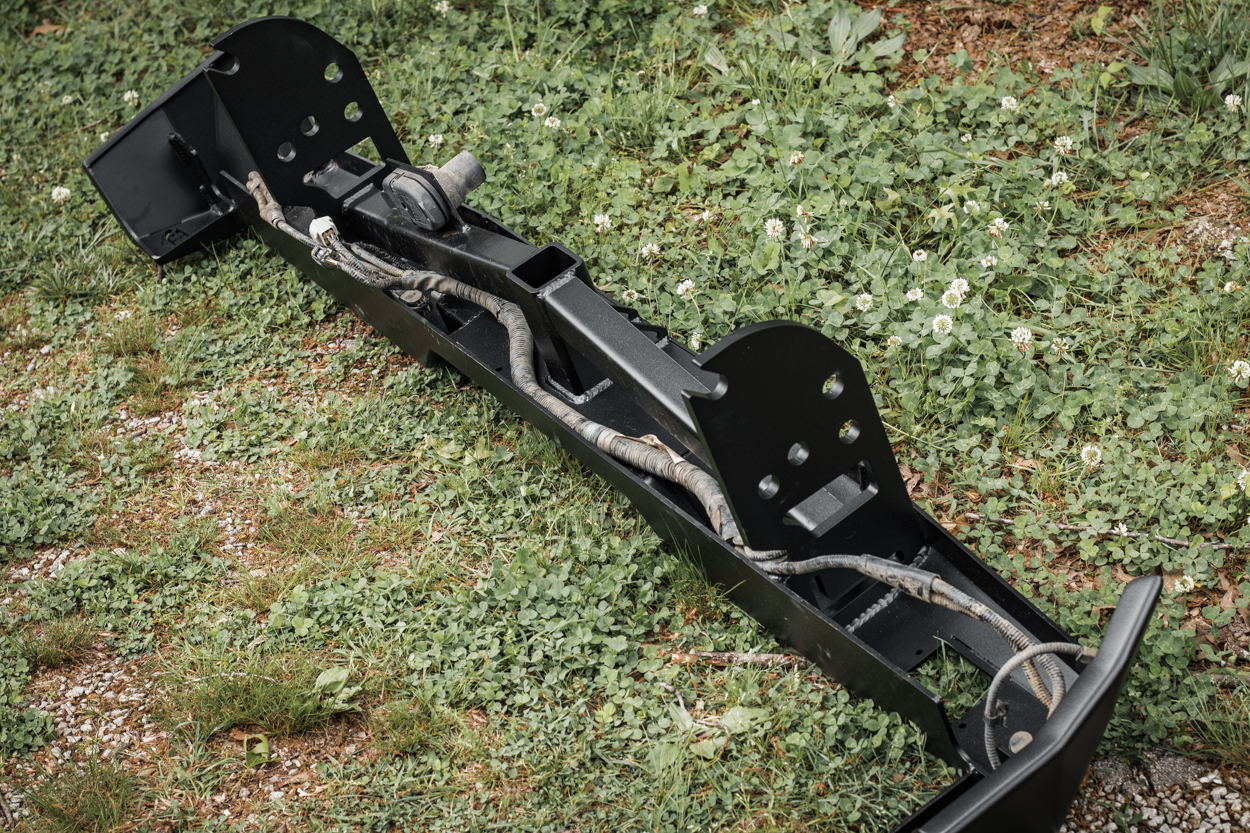
This is a great way to add some much needed protection to the rear end and give you some peace of mind whether you’re driving around town or hitting the trails. The bumper is a full steel bumper weighing in at roughly only 81 pounds. And to note, you save the weight from removing your factory hitch. Overall weight increase is super reasonable.
The bumper works with most factory sensors except for the blind spot monitor system which isn’t a huge deal for most. In exchange, you get two integrated recovery points, two holes for upgraded pod lights in the rear, and a high clearance design with a built in high clearance hitch receiver.
Powder coat is optional, but bumper comes standard with LED pods.
Installation
Installation was a pretty straightforward and took around 3 hours by myself. I recommend getting someone to help you during this installation as the bumper is heavy and having an extra set of hands makes the installation much easier. The bumper bolts into the factory locations and doesn’t require any cutting or drilling. It can be done with minimal tools.
Tools Required
- Impact / Wrench
- 17mm Socket
- Flathead Screwdriver
- Scissors / Wire Cutters
Step 1. Disconnect Wiring Connections
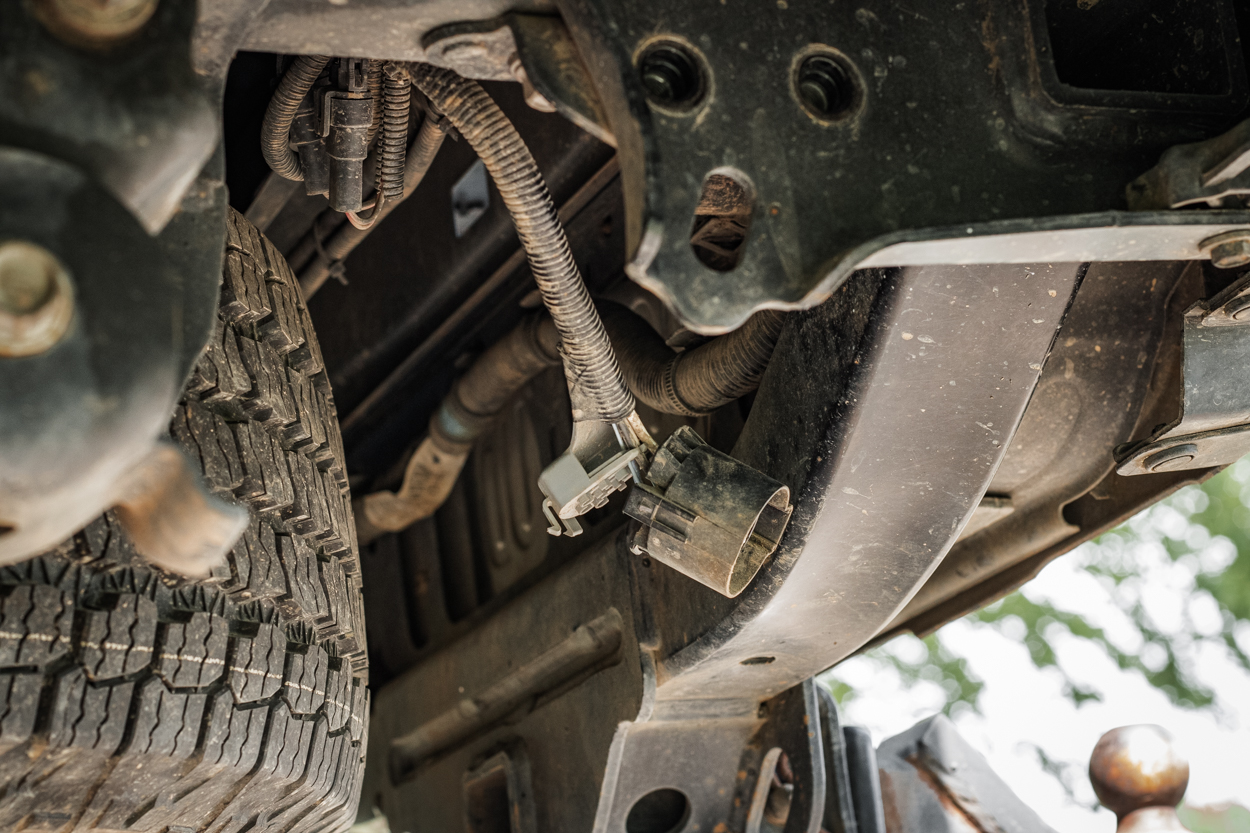
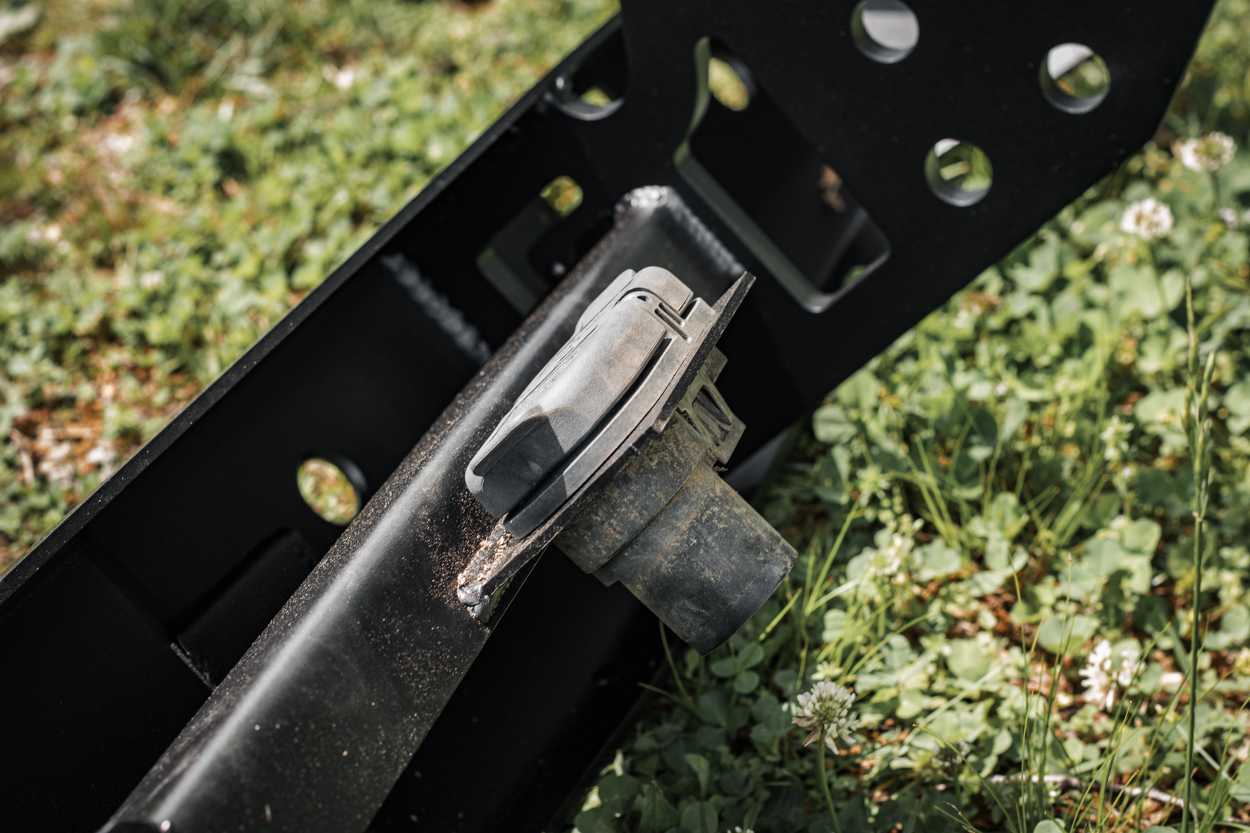
Disconnect the main wiring harness and trailer wiring harness plug from the rear bumper. For the trailer wiring harness, you will need to push in the pins on the grey top part of the connector and push up.
Step 2. Loosen OEM Frame Bolts
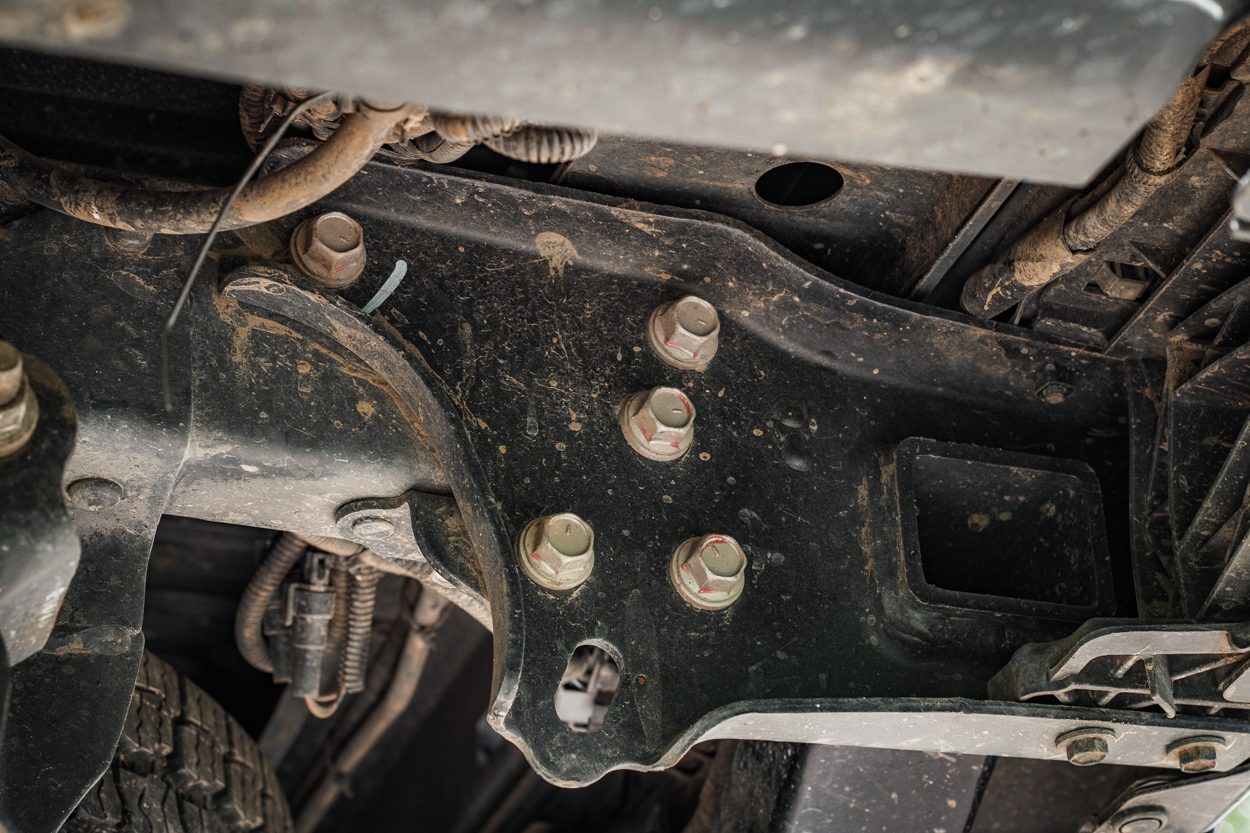
Using your 17mm socket and impact wrench, remove the 5 bolts holding the rear bumper to the frame on the driver and passenger side.
The bumper will also be held in place with two clips on each side to keep it from falling but I still recommend having someone hold onto it just in case.
Step 3. Remove Stock Rear
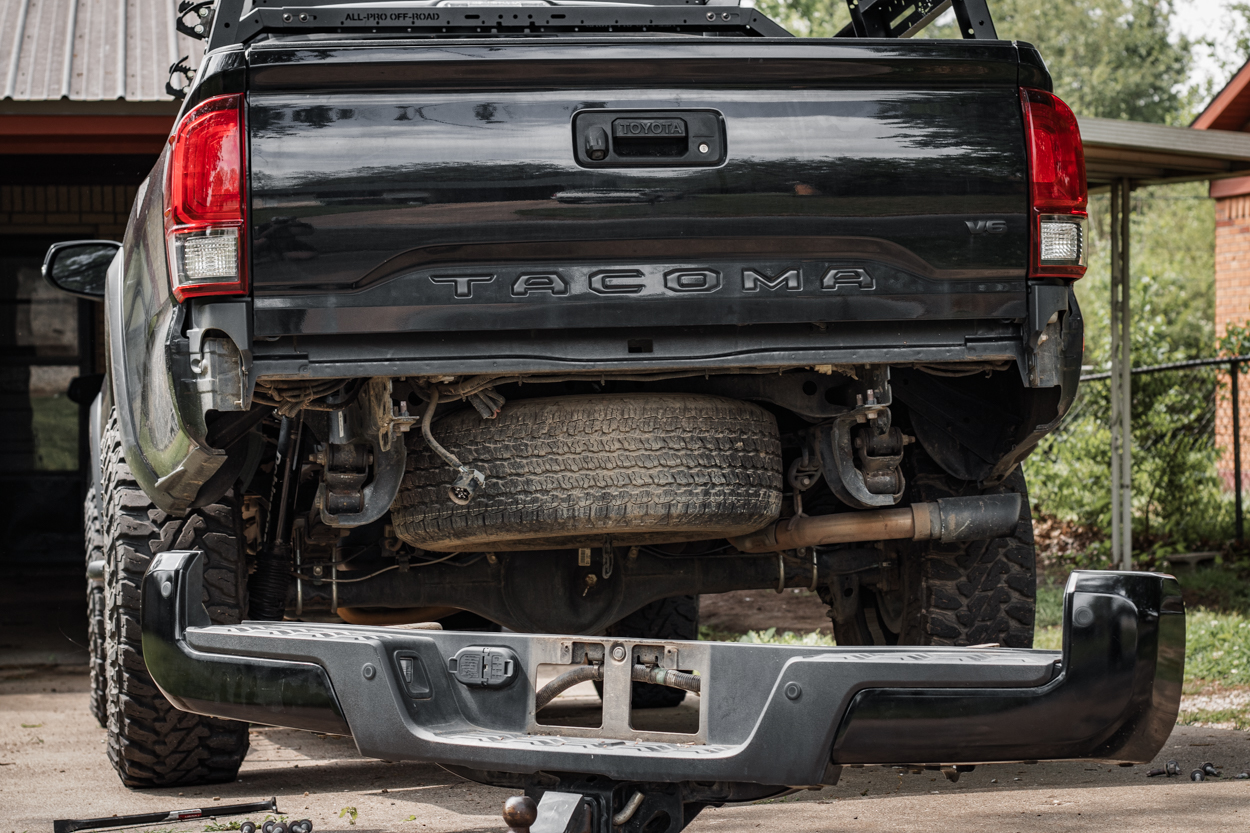
To remove the bumper, push upwards and then out to unset it from the clips holding it on. Again, this can be a little tricky by yourself.
If you’re having issues lifting the bumper, you can also use a crowbar to get more leverage.
Step 4. Remove Wiring Harness & Sensors
With the rear bumper removed from the truck, remove the plastic side and middle pieces to access the wiring. Unclip all of the sensors and completely remove the wiring harness.
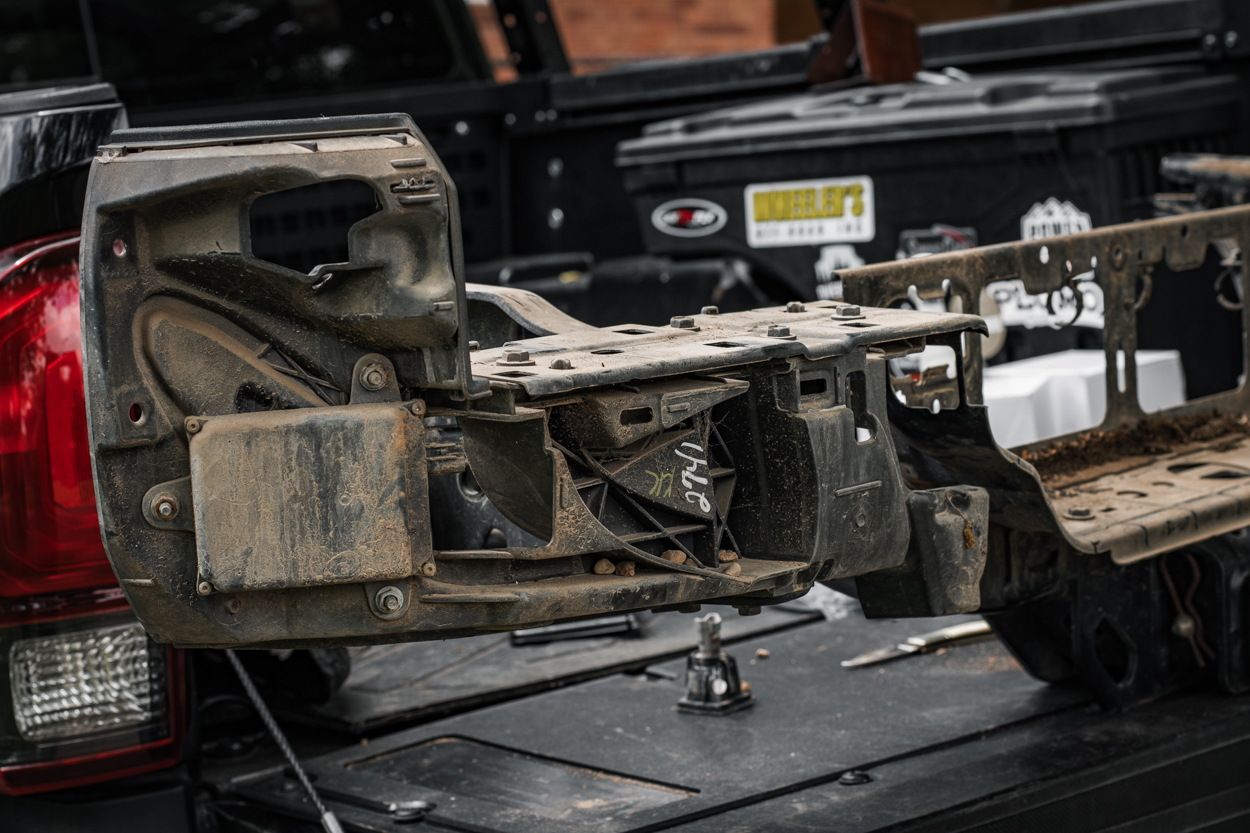
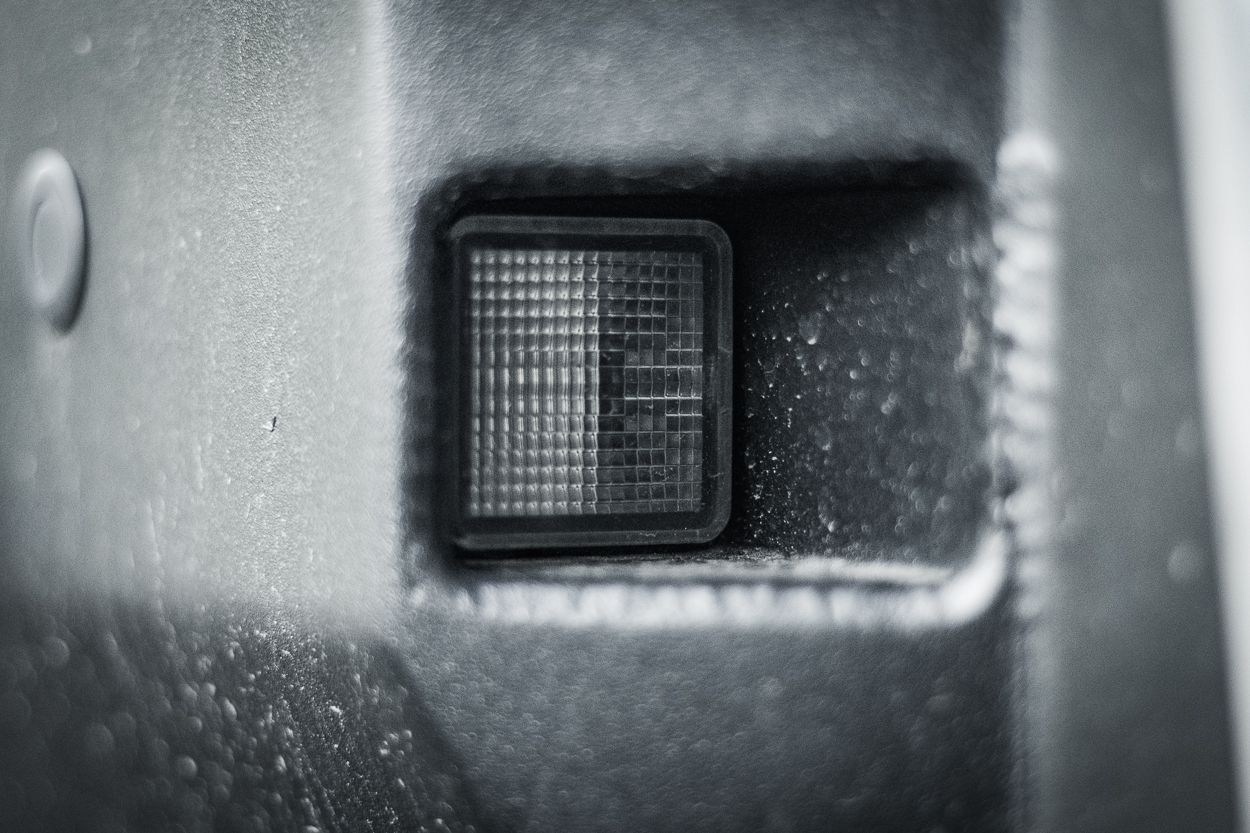
You can leave the two square shaped sensors on each side of the bumper as these are the blind spot monitors and they do not work after you swap everything over.
Step 5. Install Tow Plug
Install the tow plug into the cutout.
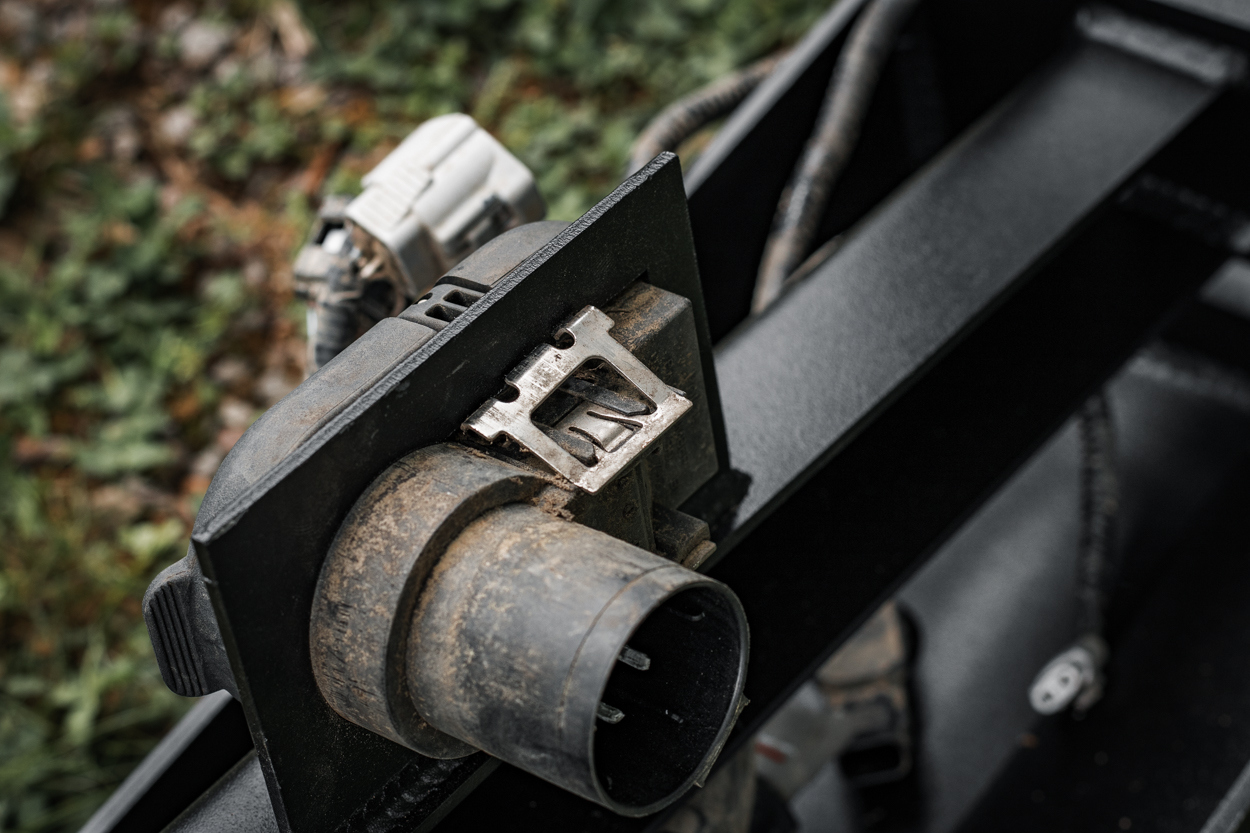
Using your flathead screwdriver, pop out the sides of the metal clips on the tow plug to make sure it’s held in place.
Step 6. Install Reverse Lights & Pod Lights
Install the factory license plate lights in the square holes on the new bumper. The factory lights have clips on the sides and should snap into place when inserted properly.
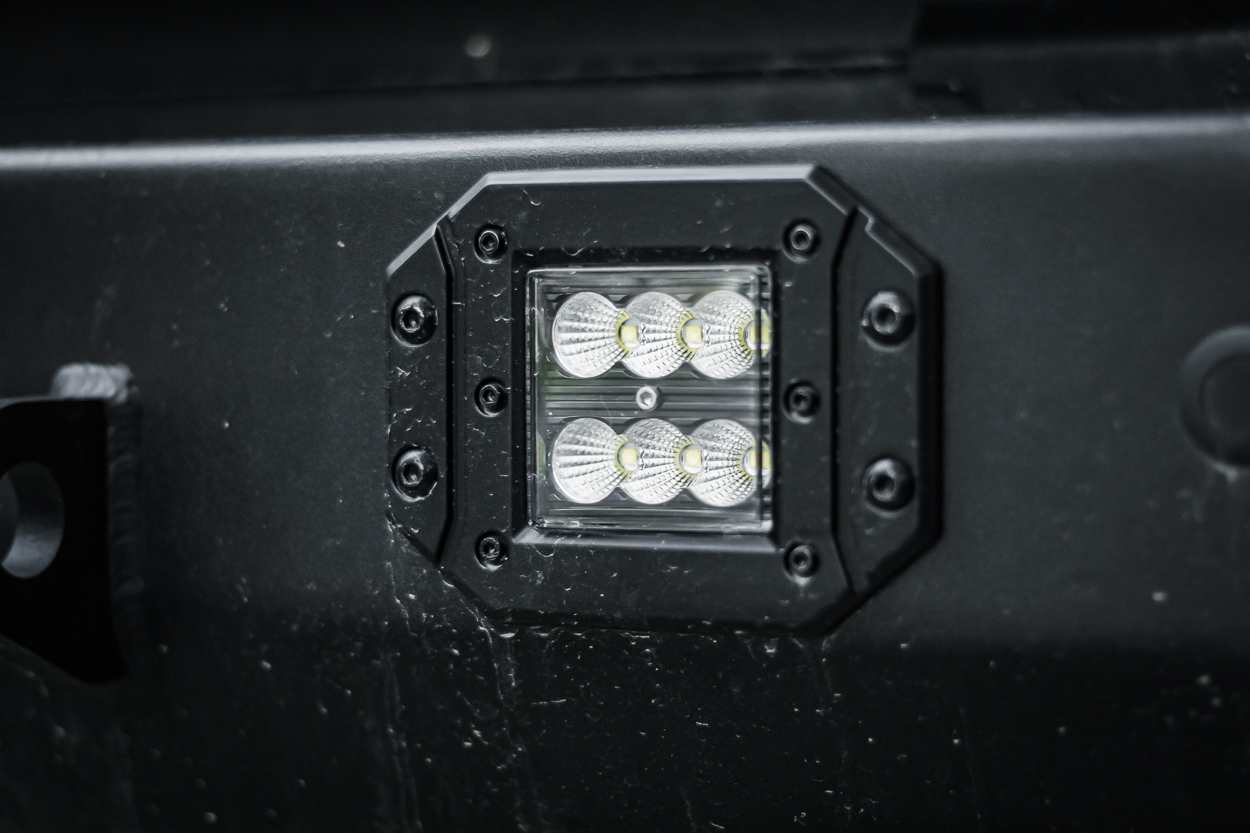
Install the flush mount pod lights into the larger square holes in the bumper using the supplied hardware and Allen wrench.
Step 7. Install Wiring Harness & Sensors
With all of the lighting and sensors back in place, connect them all with the wiring harness.
Step 8. Mount Bumper & Connect Wiring
With the help of someone, lift the rear bumper into place and re-install the 5 bolts on each side with your 17mm socket and impact / ratchet wrench to secure the bumper. Leave these a little loose and have the person helping hold the bumper in position to ensure alignment then tighten fully.
Final Thoughts
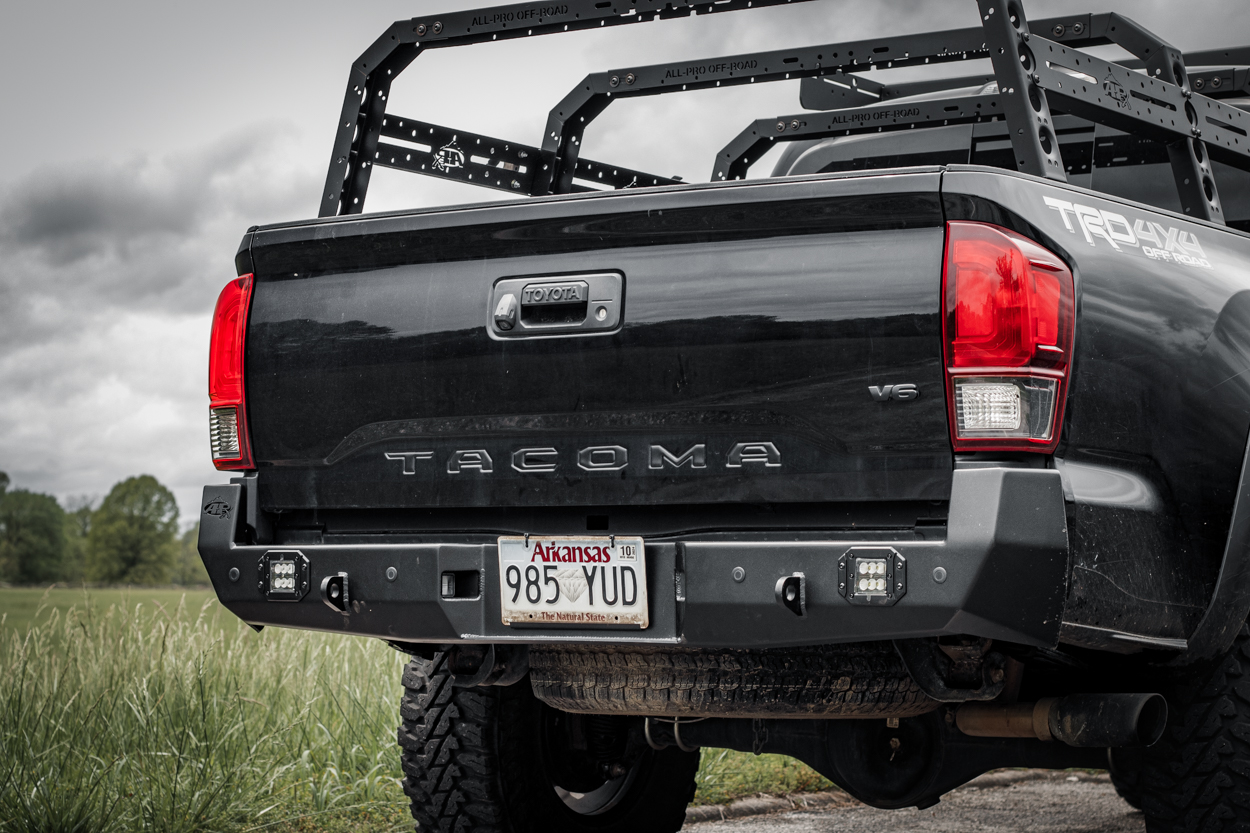
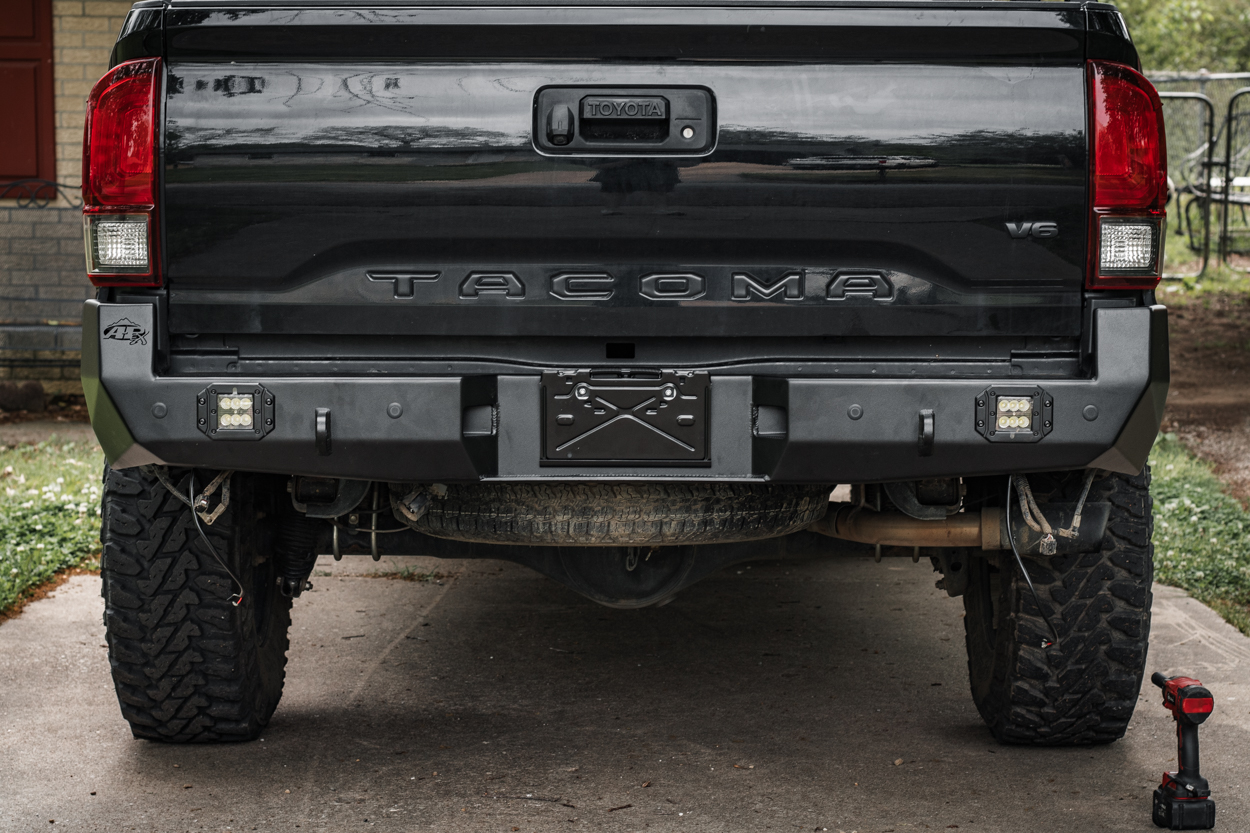
Overall the install, look, and features that the APEXG3N rear bumper offers made this a no-brainer. With the added protection, built in recovery points, and sleek high clearance design this bumper is a fine addition to any rig.
After hitting multiple trails I immediately noticed that I had better approach and departure angles because I wasn’t scraping in some spots that I had previously. If you’re in the market for one that is super sturdy, offers great protection, doesn’t weigh your truck down a ton, and looks great I highly recommend this one!

Are there any rear bumpers that maintain the stock blind spot sensors??
How did you wire the pod lights?
Simple, clean, and the clearance looks way better. As far as bolt-on options go, I like this one!