
Bed racks are a great way to add a rugged look to your Tacoma and provide additional storage and organization. The problem with a lot of options, though, is that they aren’t very customizable. This often limits your mounting options for gear.
The All-Pro Off-Road bed rack helps solve these problems with more mounting holes, slots, and wiring routing grooves than the average rack. So, you can mount gear and accessories however you want and keep your space clear.
Discount Code: Use – TRAILCO – for 10% off!
Table Of Contents
Overview
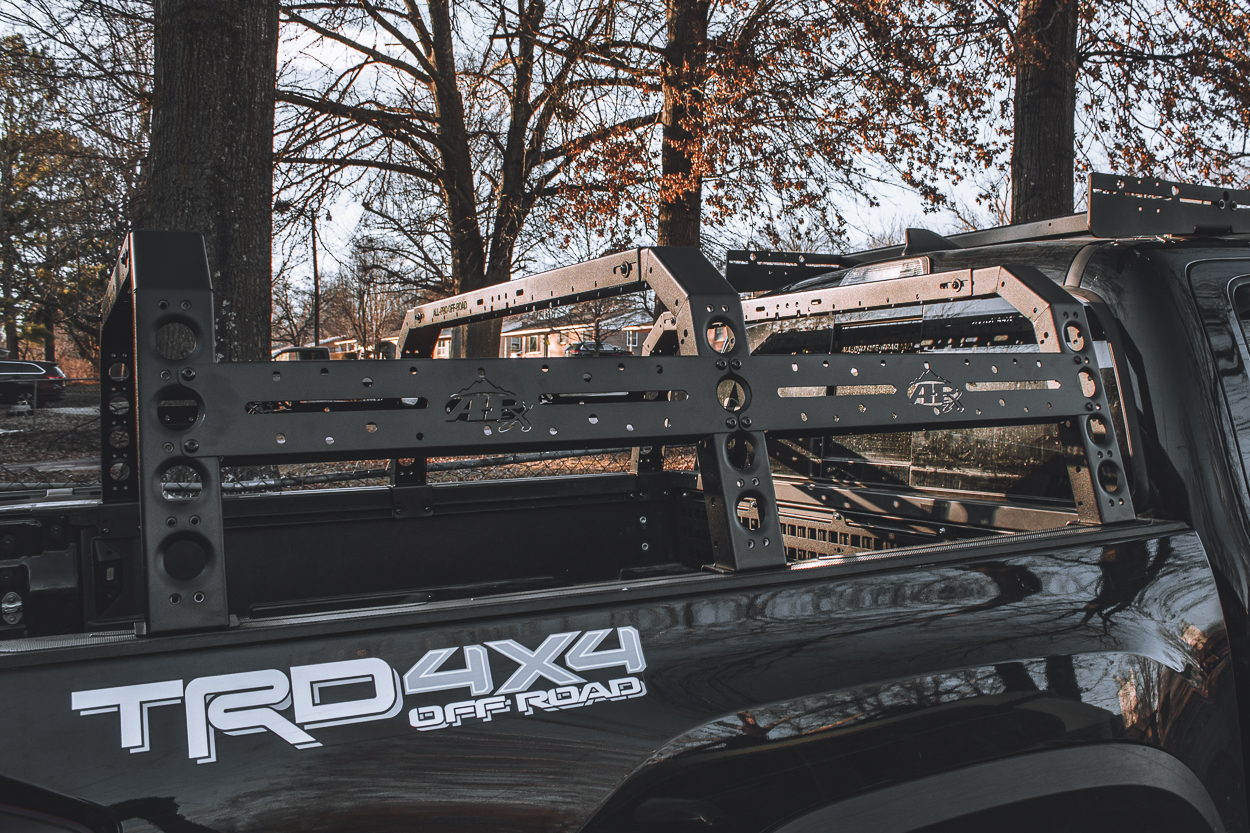
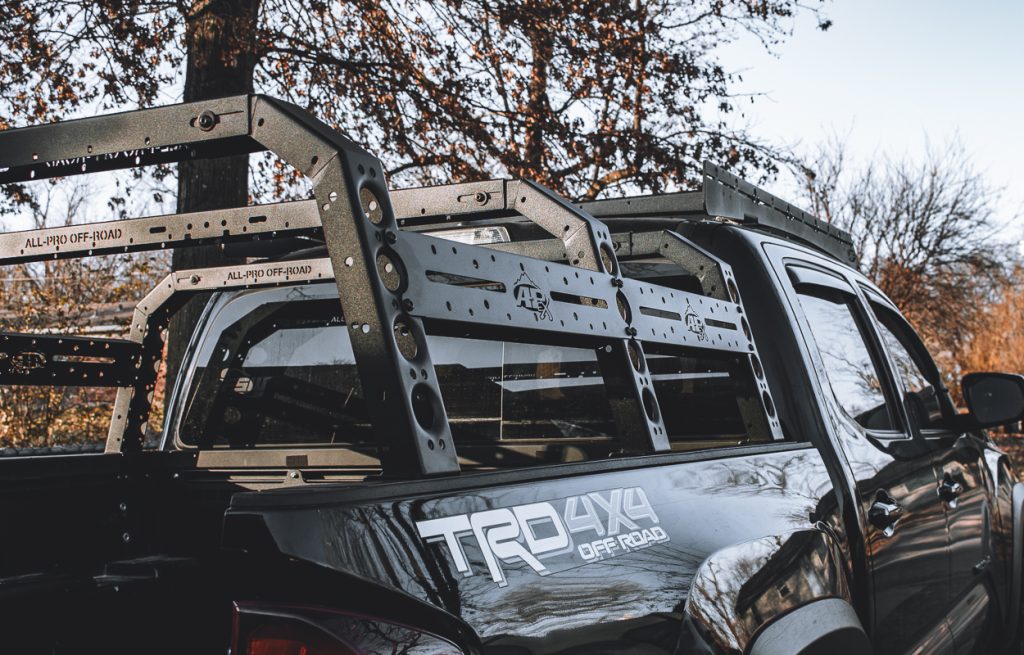
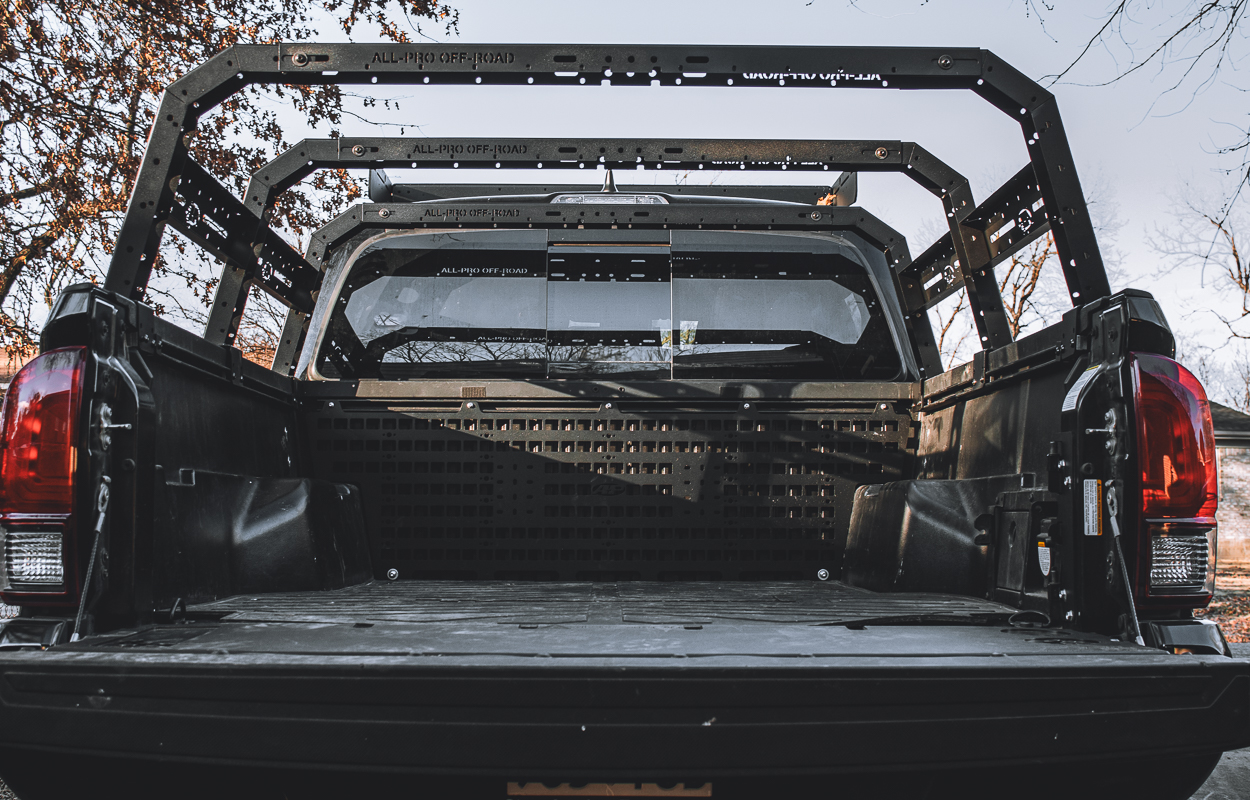
The All-Pro Off-Road bed rack is packed with features that make your life easier and provide more storage capability than you could ever want or need.
The bed rack is constructed from 10-gauge steel making it super durable and able to withstand all of your adventures. This also ensures that it can support the weight of a rooftop tent, its occupants, and all of the gear you mount to it. While being constructed out of steel, the rack is still pretty lightweight – coming in at 63 lbs. for short bed Tacomas and 65 lbs. for the long bed.
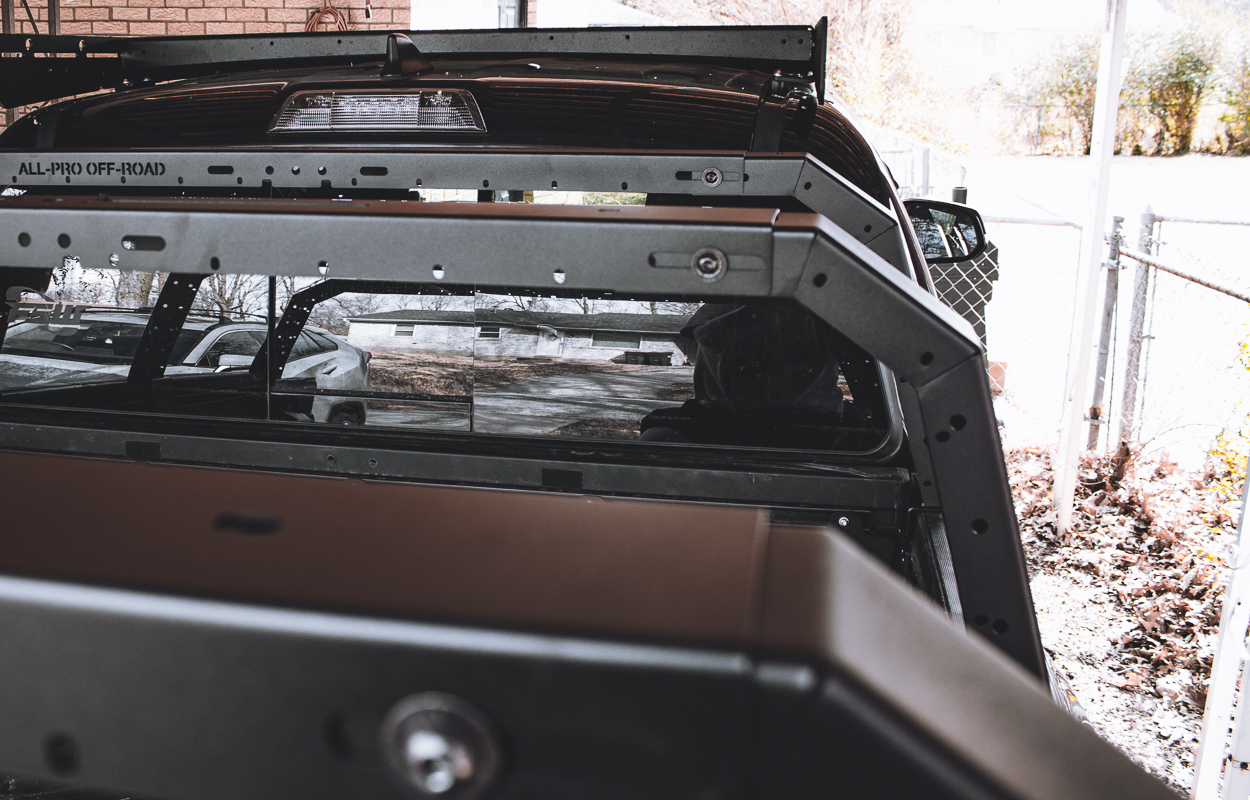
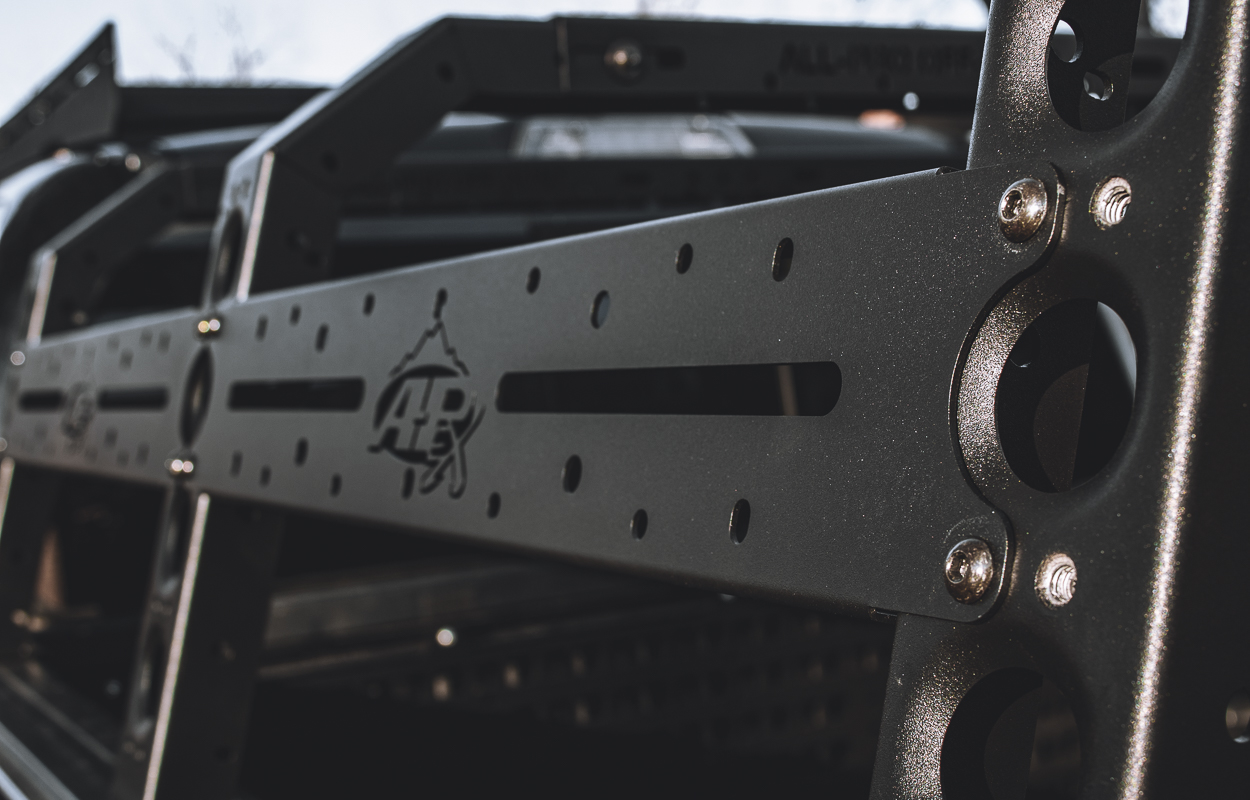
The rack features three vertical bars and five horizontal accessory bars with multiple mounting holes. These can be adjusted to mount most rooftop tents, axes, gas cans, shovels, traction boards, and more. There is also a wiring groove so that you can cleanly mount external lighting and keep the wires hidden and out of the way.
It’s available in a durable black powder coat finish or raw steel so that you can choose your finish. If you choose the latter, be sure to paint it as steel will rust.
Installation
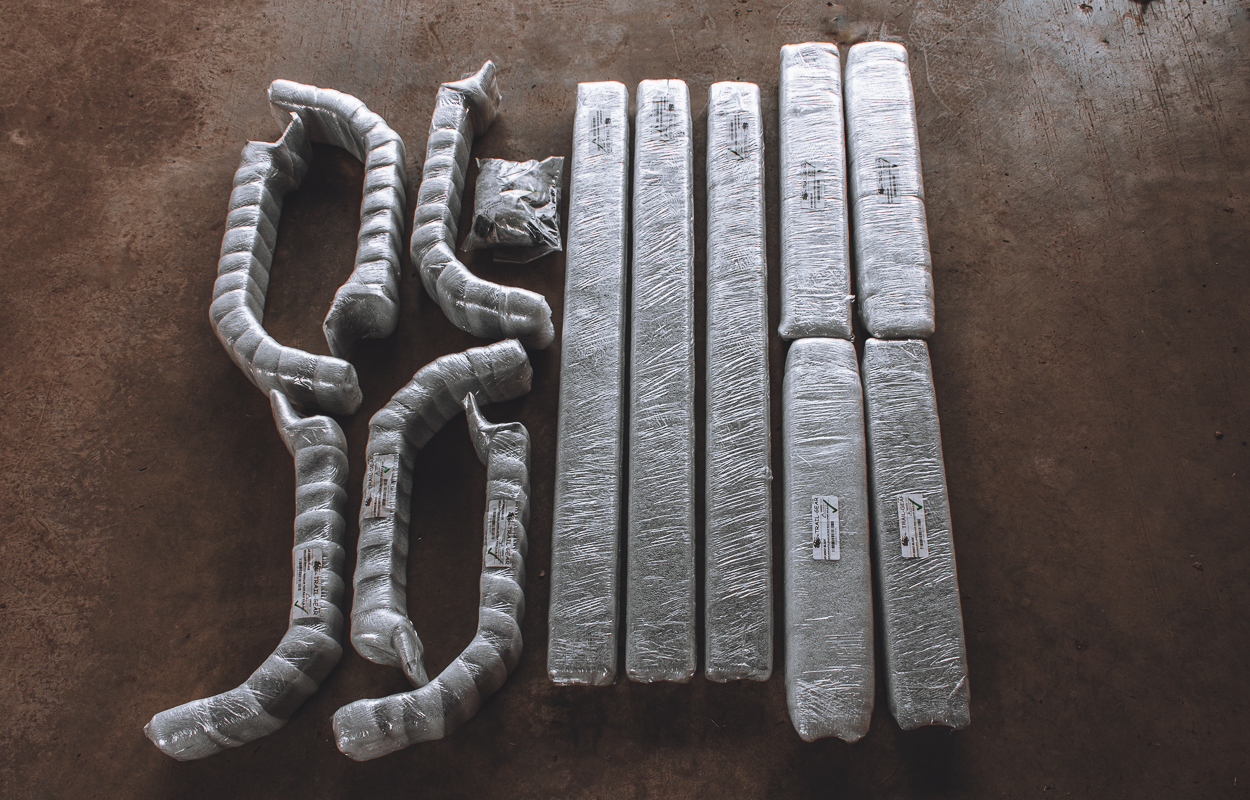
Installing everything was a breeze and took me around 30 minutes from start to finish. Since the rack features a fully bolt-together design, you can do it with three basic hand tools. As you can see above, everything was really well packaged.
Tools Required
- 4.5 mm Hex Socket
- Ratchet
- 13mm Wrench
Step 1. Prepare Bed Rails
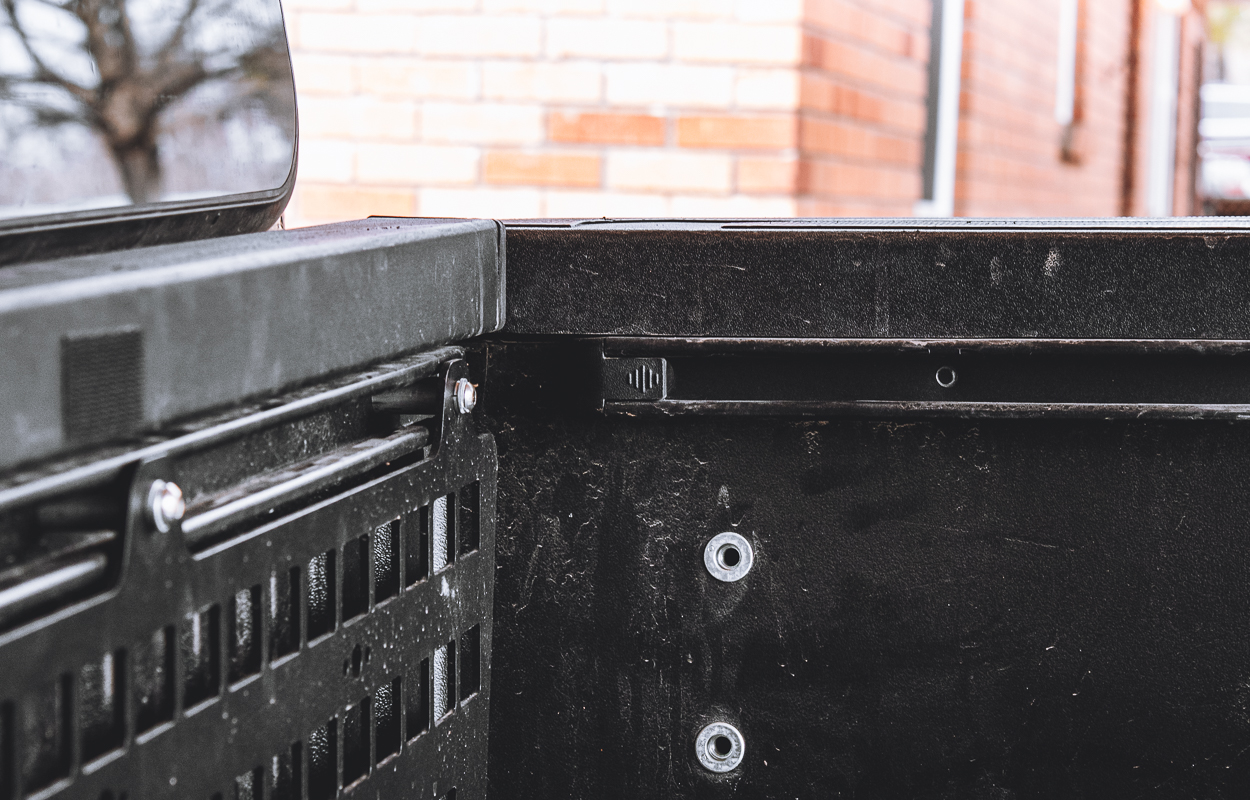
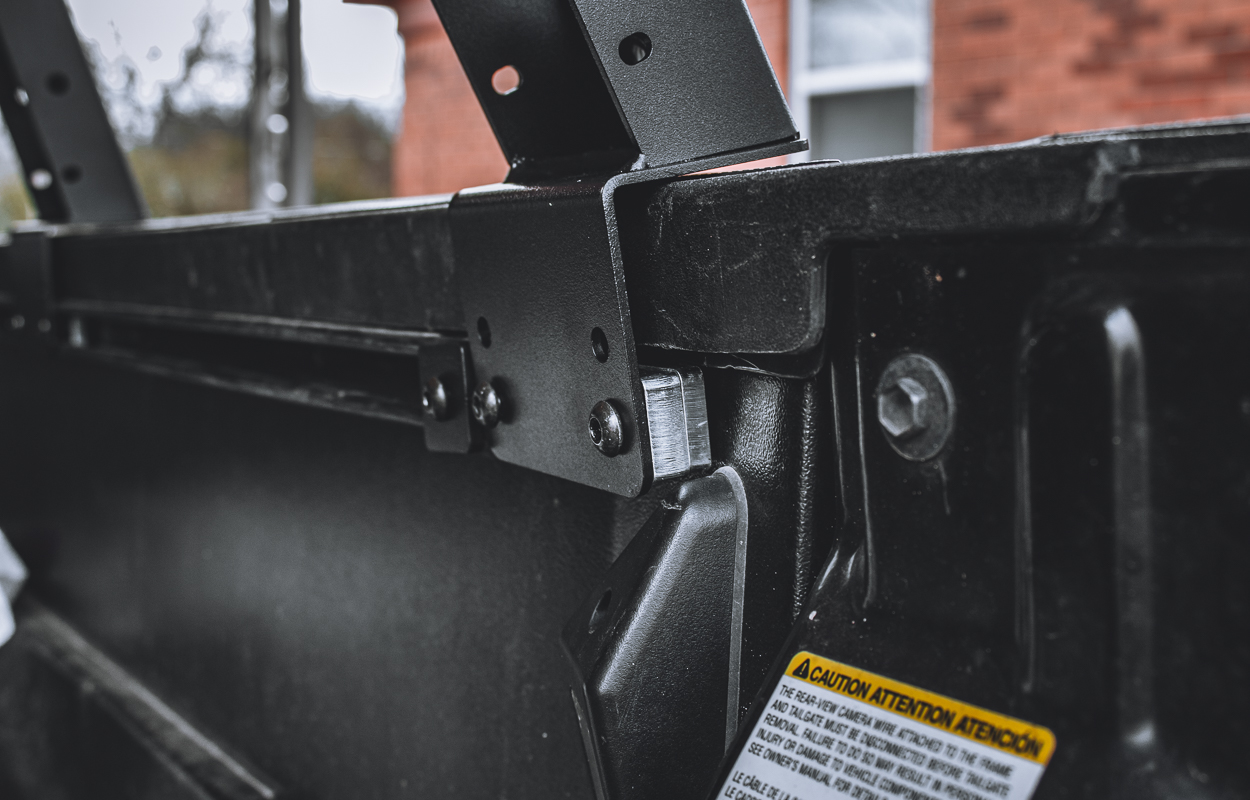
Remove the (4) end caps on the front and rear of both bed rails as well as any factory tie-down points you have. They will need to be empty for the installation but you can reinstall the tie-downs afterward.
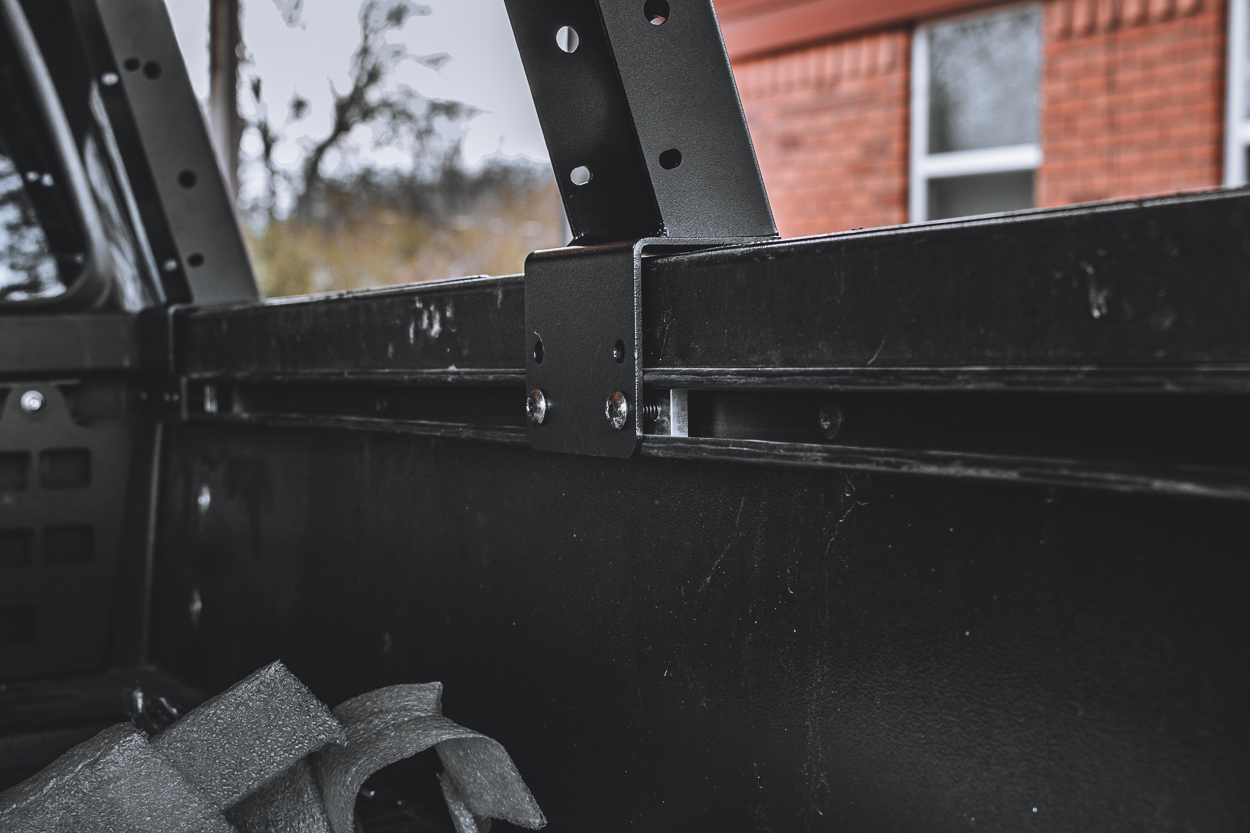
Step 2. Insert Mounting Plates
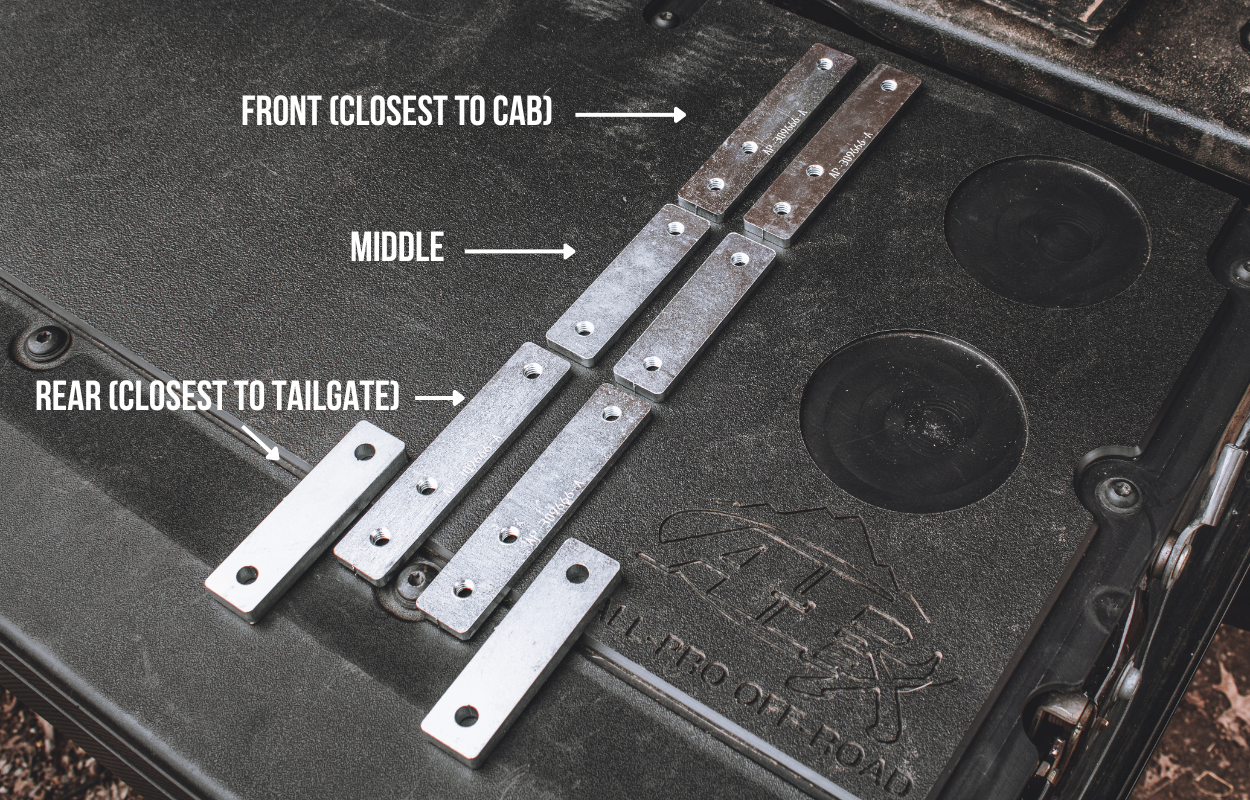
Slide the mounting brackets into the bed rails with (3) mounting plates on each side. The thicker mounting plate will act as a spacer used for installing the last vertical member.
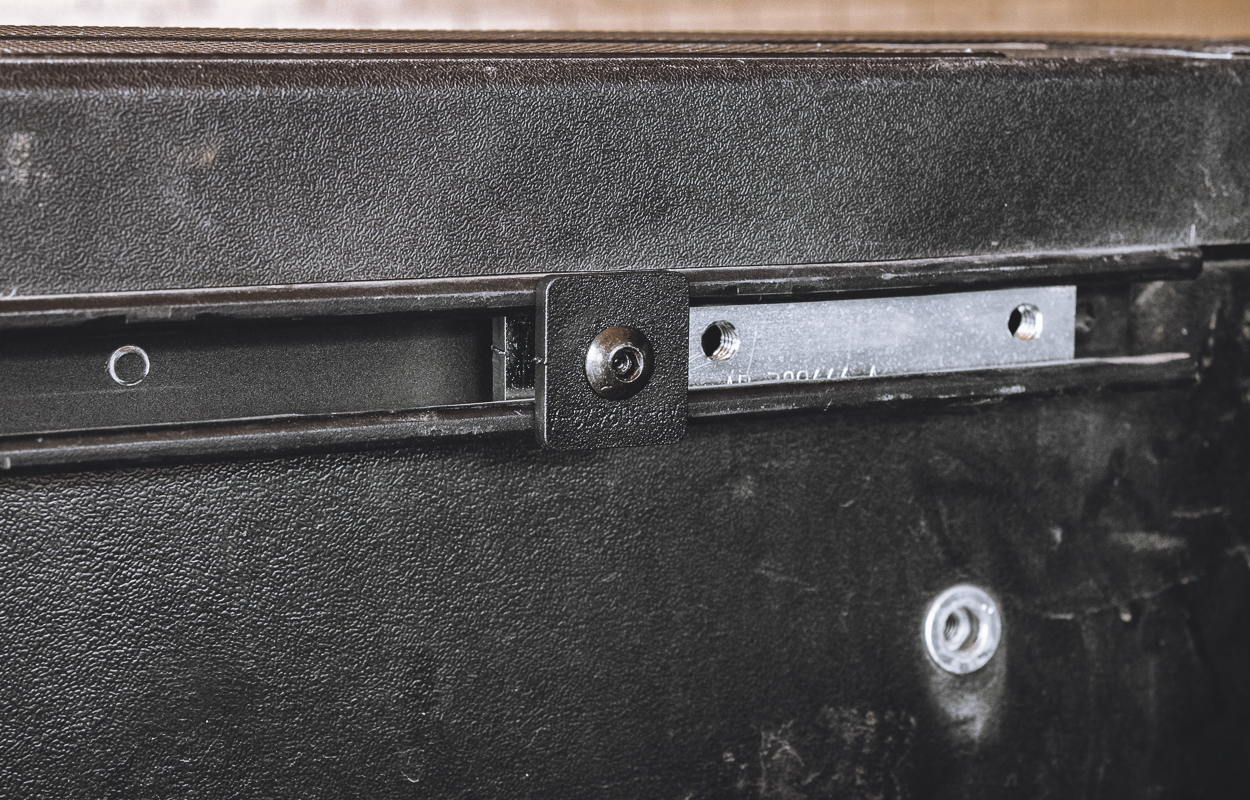
Once you have the mounting plates in the bed rails, install a mounting plate on the front and rear mounting plate with (1) bolt and your 4.5 mm hex socket. Make sure to leave all mounting bolts a little loose for now so that you can adjust the positioning as needed.
Step 3. Attach Front Vertical Member
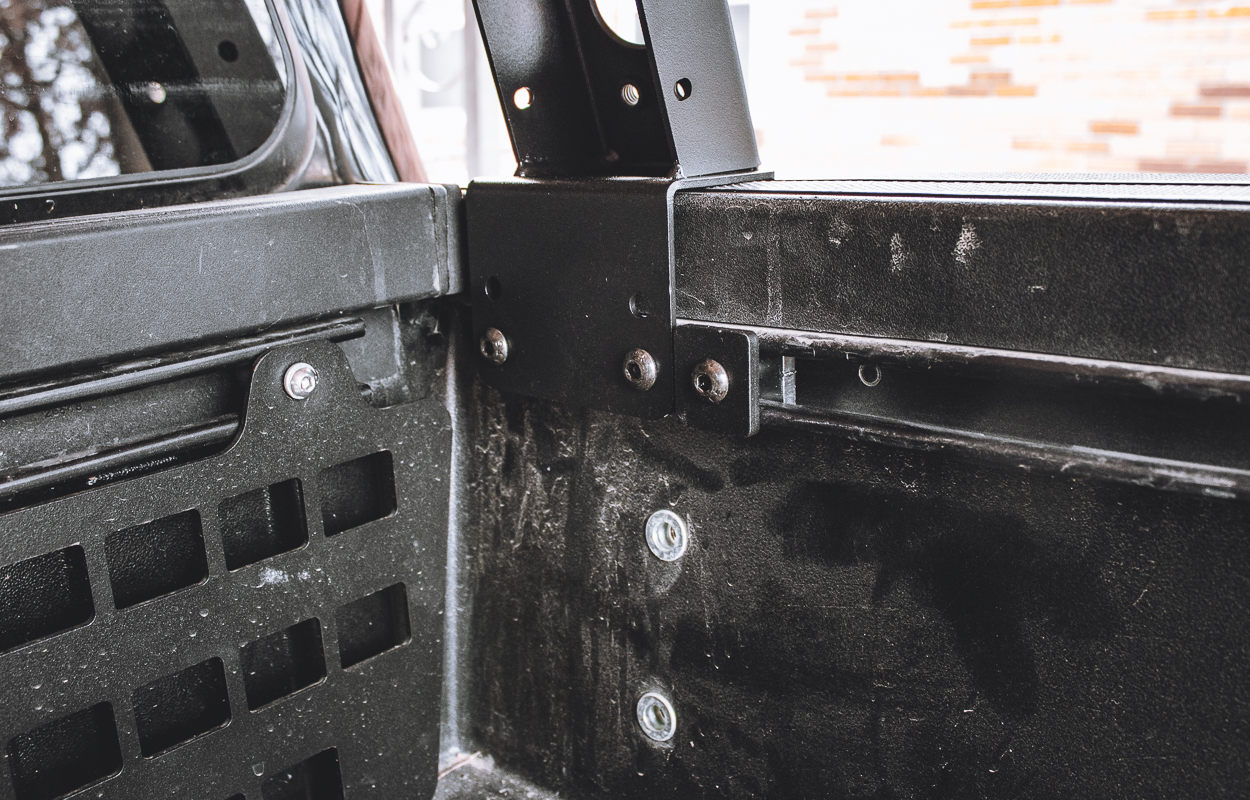
Attach one of the vertical members using (2) more of the supplied bolts, a small spacer, and your hex socket.
The small round spacer will go behind the plate on the vertical member on the bolt closest to the cab.
Repeat these steps on the opposite side to attach the other front vertical member.
Step 4. Attach Middle Vertical Member
Attach the middle vertical member using (2) of the supplied bolts and your 4.5 mm socket.
Repeat on the opposite side.
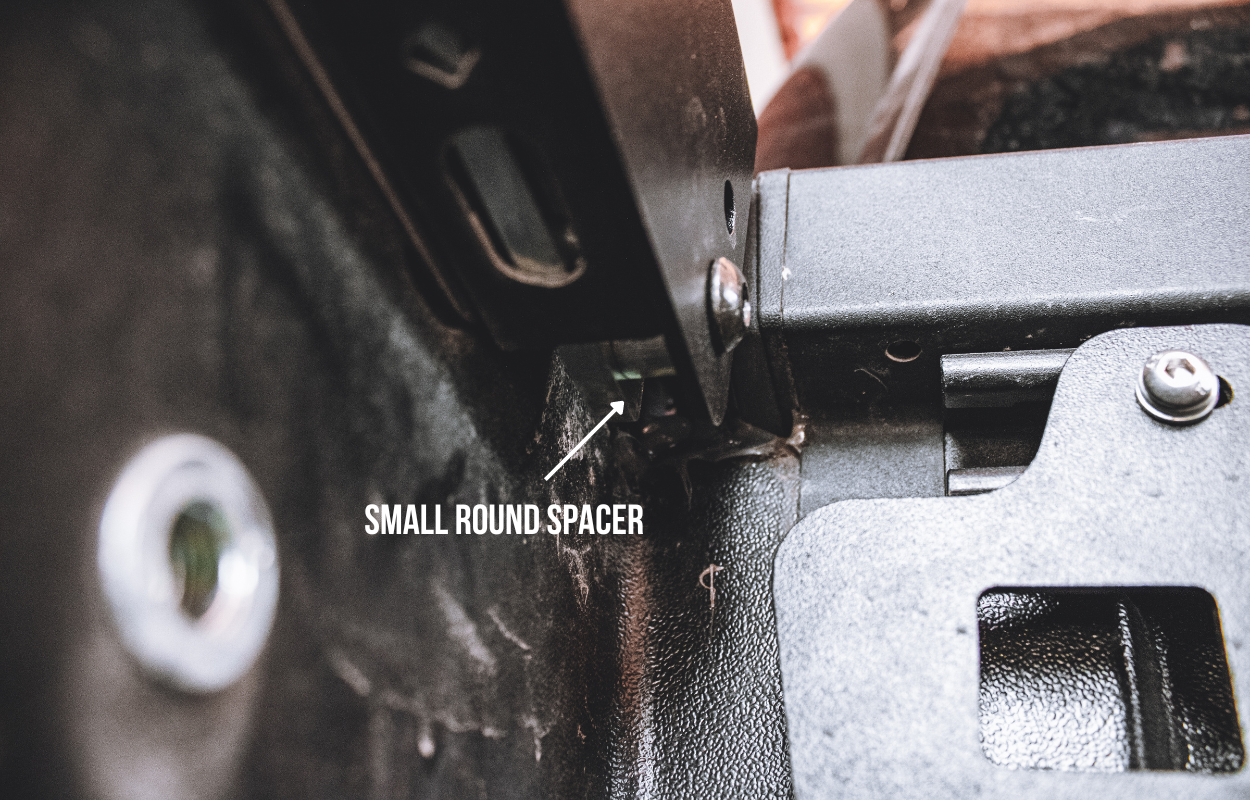
Step 5. Attach Rear Vertical Member
To mount the rear vertical member, you will need to place the big spacer behind the mounting face on the vertical member. Use (2) bolts to mount the vertical member to the bed rail mounting bracket.
Repeat on the opposite side.
Step 6. Install Crossbars
Now that you have the vertical members mounted, mount the three horizontal cross bars between the front, middle, and rear vertical members. You will use (8) bolts, (8) washers, and (8) nuts on each cross member. Tighten using your 4.5 mm hex socket and hold the nut on the backside using your 13 mm wrench.
You may need to adjust the vertical member’s position to ensure the cross bars are straight. If the crossbar doesn’t sit on the vertical members, try pushing them outwards to set it in place.
Step 7. Mount Accessory Bars
Using (4) bolts for each accessory bar, mount them between the vertical members. You may need to adjust the distance between the bars to line up with the mounting holes.
You can mount the accessory bars as high or as low as you want on the vertical members.
Now that the accessory bars are mounted, you can go through the bed rack and fully tighten all of the bolts.
Final Thoughts
As someone who has had multiple setups including camper shells, low-profile racks, and bed covers, this rack from All-Pro Off-Road has been my absolute favorite so far.
Not only does it provide a unique look to your Tacoma, but it also provides more mounting capabilities than I’ll probably ever need. I especially like the height of the rack as it’s tall enough that you can get into the bed with ease, but also sits right below the height of the cab so if you were to add storage boxes or a rooftop tent, there is a minimal impact to aerodynamics and fuel economy.
Overall, it is super durable and a great way to add tons of storage and mounting capabilities without taking up your valuable space.