
The new Overland series front bumper by C4 Fabrication for the 4th Gen Tacoma has many familiar qualities that have been synonymous with their name since the beginning. They have been in the armor game a long time. They are an unmistakable name in the industry. Their commitment to producing a quality product is top notch. This bumper is no different.
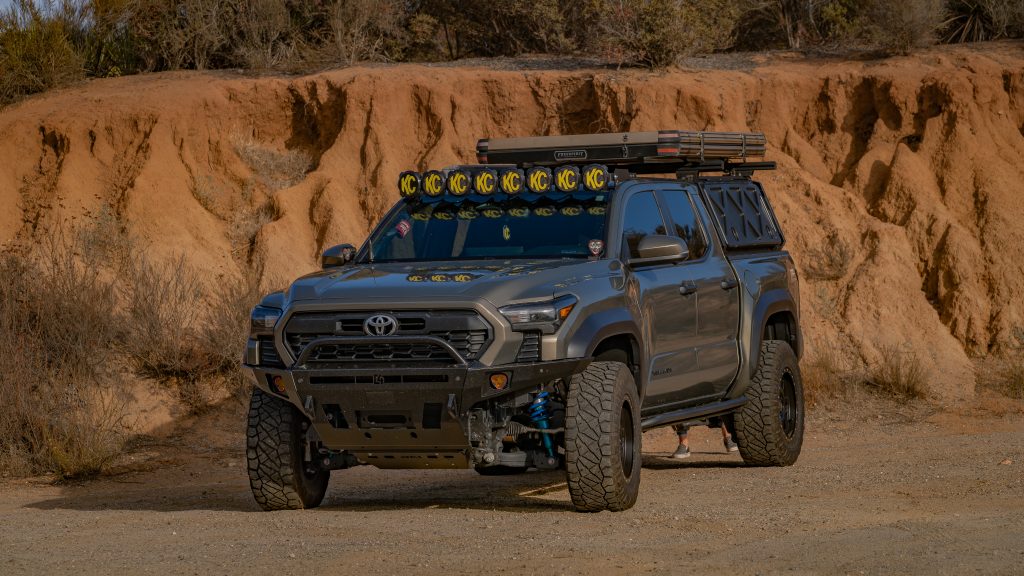
The strength and pleasing aesthetics for the new generation Tacoma is a welcome sight. There are many options on the market these days. But the quality and craftsmanship is unmatched.
C4 was one of the first to develop full product lines for the new generation Tacoma. They also have other front bumpers (hybrid and low-profile w/ optional wings), skids plates, rock sliders, and rear bumpers.
Table Of Contents
First Impressions
Previous iterations of their front bumpers have been one piece designs. The new generation has a modular fitment. Shipping costs are the primary driver for this industry shift. This means you can order an Overland series bumper with the plated wings or you can do the Hybrid version for the appearance you desire. Or switch it up if your interests change. Either way, they both look great.
They also come in three different bull bar heights. Or none at all. I’ll admit I was a little skeptical of the modular system, at first. When it arrived, it was raw steel. I thoroughly combed every inch of the welds and mounting flanges to find a flaw that would sacrifice strength. I found none. C4 has gone to great lengths to shore up any possible strength issues with the way the wings are mounted. We’ll dive more into that later.
Installation Overview
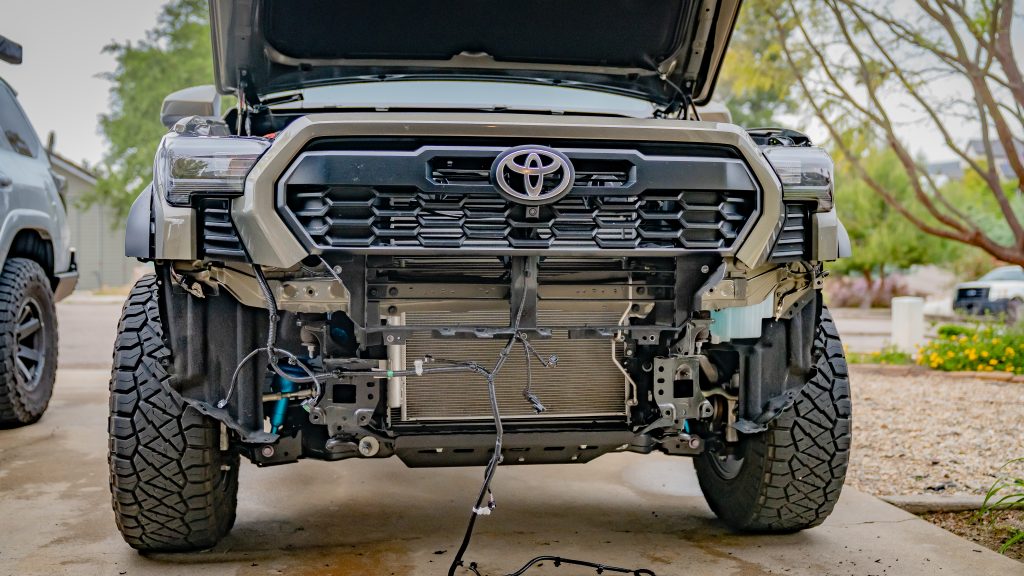
As with all new generation vehicles, electronics are playing a big role in DIY installations. Being savvy with fine element wires is beneficial, but not required. The directions on C4’s website is pretty detailed. All listed parts were supplied in shipment with the bumper.
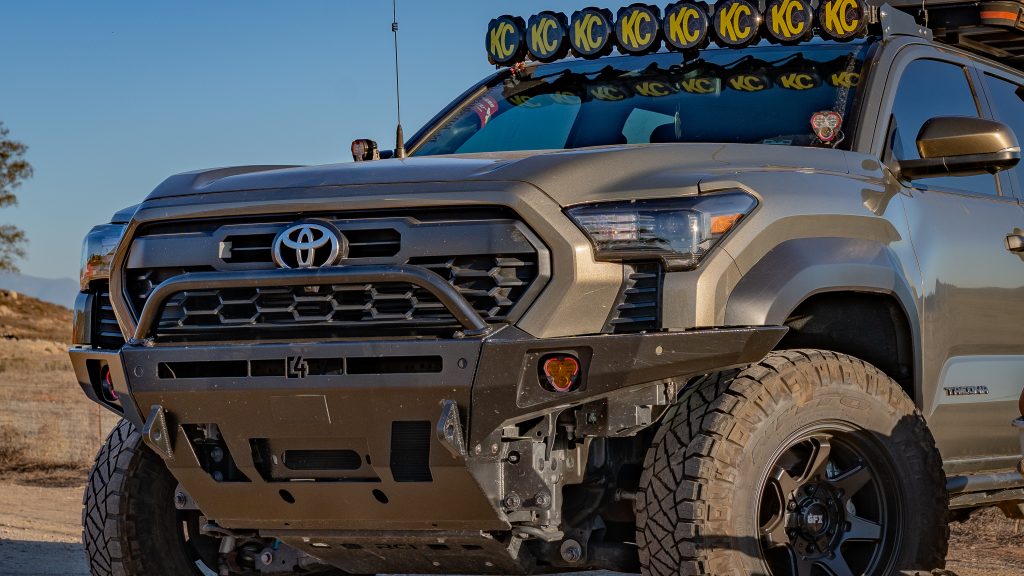
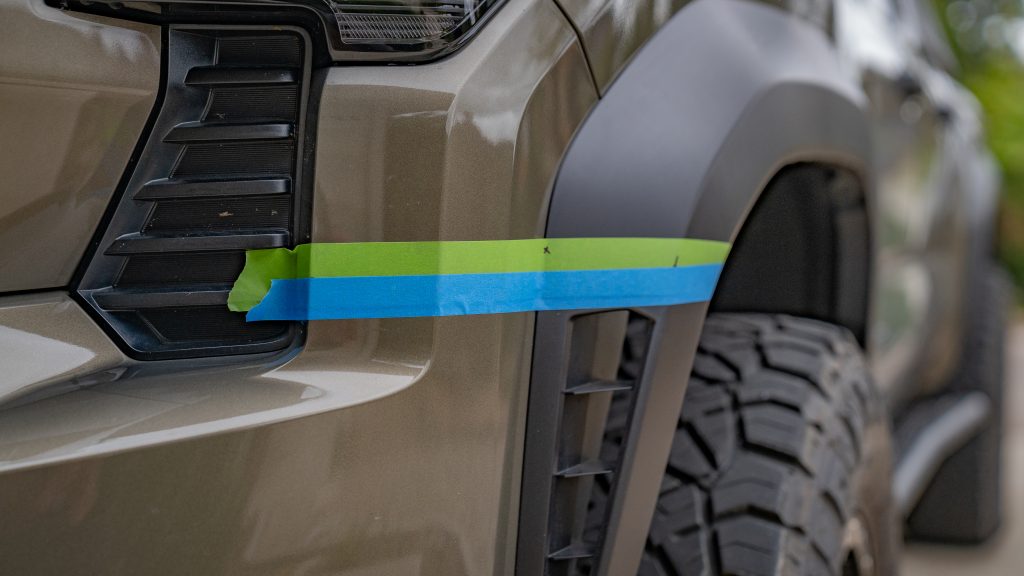
The design of the bumper follows factory lines very well. This aids in the installation and minimizes required cuts to the plastics. Measure twice, cut once? Absolutely! This is no different. The only cuts required on each end of the front fender plastics, the louvers for the radiator grille shutters and the lower corners of the interior body panels on each side. This will be a time consuming endeavor but it’s not overly complicated. The illustrations in the installation guide are detailed enough to answer most, if not all, questions that may come up.

Honestly, my biggest hang-up was with the sensor wiring. There are four total sensors that must be lengthened to adapt to the new bumper sensor mounting locations. The provided wire is the same gauge as the factory wiring. This makes it easy when cut to length as per the install guide. They also include wire nut type connectors to give you everything needed to complete the job. My experience with this step was not unusual but disconcerting nonetheless. I used all provided wire and wire nuts.
During the wrap-up and harness securing I pulled a sensor harness apart. Probably too much force, my fault. I got frustrated trying to fix the issue and just soldered every wire together with heat shrink over each solder joint. It’s stronger and makes for a very streamlined harness routing when done. I would suggest this method to anyone if asked. I have a background in electronics so this addition wasn’t anything new. Go slow and make good connections.
Fitment
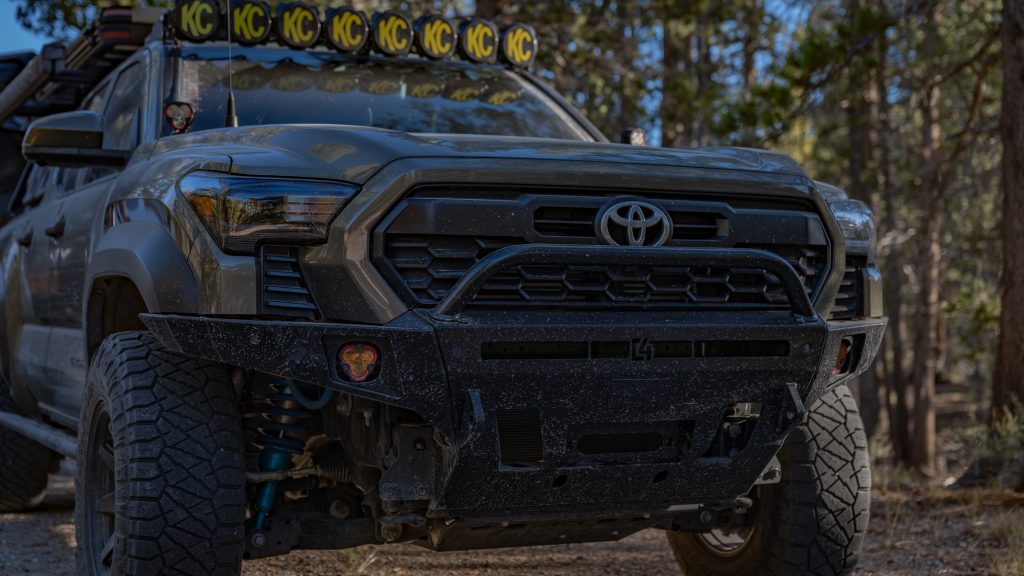
I love the way this bumper integrates into factory lines. Smooth lines with a very close reveal. The initial cuts on each fender flare was not perfect. A dry run with fitment will give you a better idea of how you want the reveal to be gapped. Don’t get in a hurry and cut too much away. Small changes will make a big difference.
The bumper bolts directly to the factory mounting locations by reusing four factory bolts for each side. The wings are mounted using the four supplied bolts. The spacing of the wing mounting bolts are near perfect. When all torqued down the wings will not flex. They are bomber connections to the center portion of the bumper.
Accessories
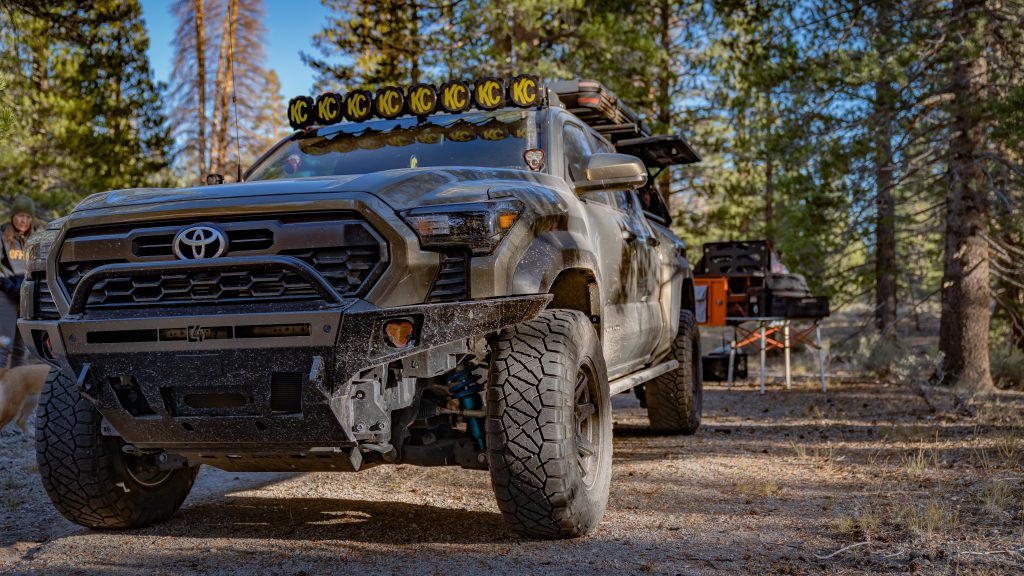
The Overland Series bumper is cut to mount a Baja Designs 30″ light bar. We did not go this route with the lighting because we wanted to be able to see the winch drum as it’s being utilized. That was a personal preference. I will add a winch in the future. There are two integrated fog light pockets that will accept a wide range of pod lights. We mounted the KC HiLiTES Flex Era 3 dual function fog light kit. Personally, it’s the best of both worlds, SAE fog lights for street use and high beams for offroad use. All in one package. The Hybrid version has additional mounting locations per side for whatever lighting scheme you prefer.
Cons

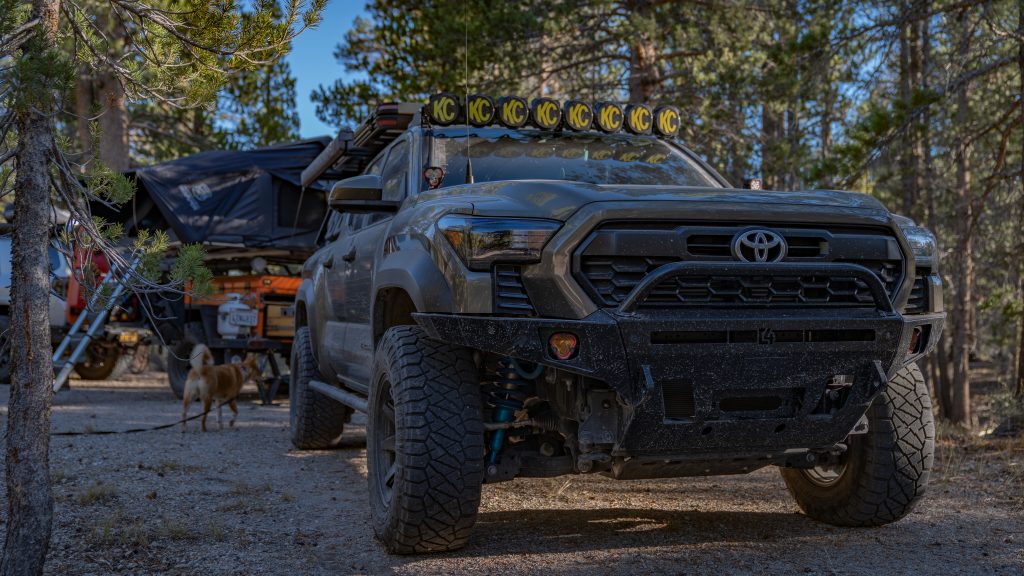
There aren’t many cons to choosing this bumper. It’s solid and easy on the eyes. But, with all armor comes the added weight. This can cause a random assortment of issues from gas mileage degradation to squatting front end. We upgraded the suspension prior to installing the bumper so we did not have any ride height issues. Adding a winch also adds weight.
The second thing was it needed to be powder coated prior to installation. But since I bought mine, they now offer in house powder coating! You can still order it raw. Just to note… this is for all companies that offer powder coating. They typically provide a 2-3 year life expectancy. Having it done yourself can give you up to an 8 year warranty on fading and cracking (like where I got mine done myself). Can’t say I was upset about that.
Final Thoughts
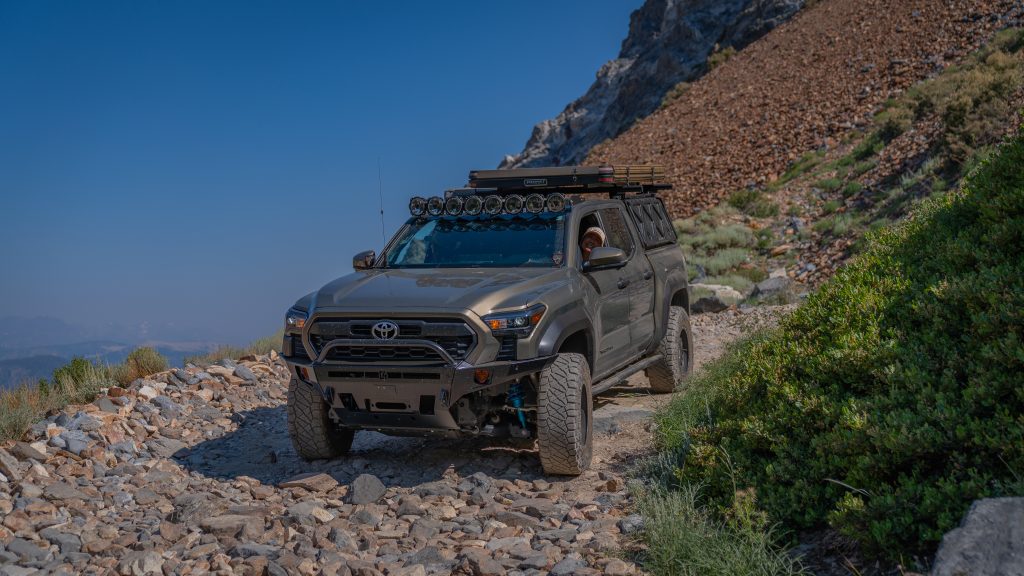
This is our third bumper from C4 Fabrication. We could not be happier with the choice. It’s strong as hell, looks great and will last a lifetime. The function and fitment alone would be enough for most people. C4 gives an added layer of flexibility on what you can dream up for your build. Make it yours. We look forward to many years and adventures with ours.