
With so many bed stiffener options on the market, it may be hard to pick out which one is the best. What ultimately matters is what key features you are looking for and how the product is made. Bed stiffeners are a seemingly simple mod, yet they are crucial if you plan to add overland gear to your rig, such as a heavy bed rack and RTT.
I was looking for something a little more than the typical 3-bolt attachment system and valued a made in America product. The Cali Raised option met and exceeded these requirements.
Table Of Contents
Why Do You Need Them?
Simply put, trucks are getting lighter and their beds thinner to save costs and preserve fuel economy. Toyota’s compromise was putting a composite bed on the 3rd Gen Tacoma. While composite can even be stronger than aluminum sheet metal, the torsion we often encounter off-road strains the joints.
The weakest link is where the composite material meets the steel sheet metal structure of the bed. Adding the supports in this location prevents unwanted pulling and warping of the bed in these locations. This can become apparent when adding any weight and seeing how much movement there is.
With bed stiffeners, you also gain additional bed tie-down locations and custom mounting capabilities for other accessories, such as radio antennas.
Initial Impressions

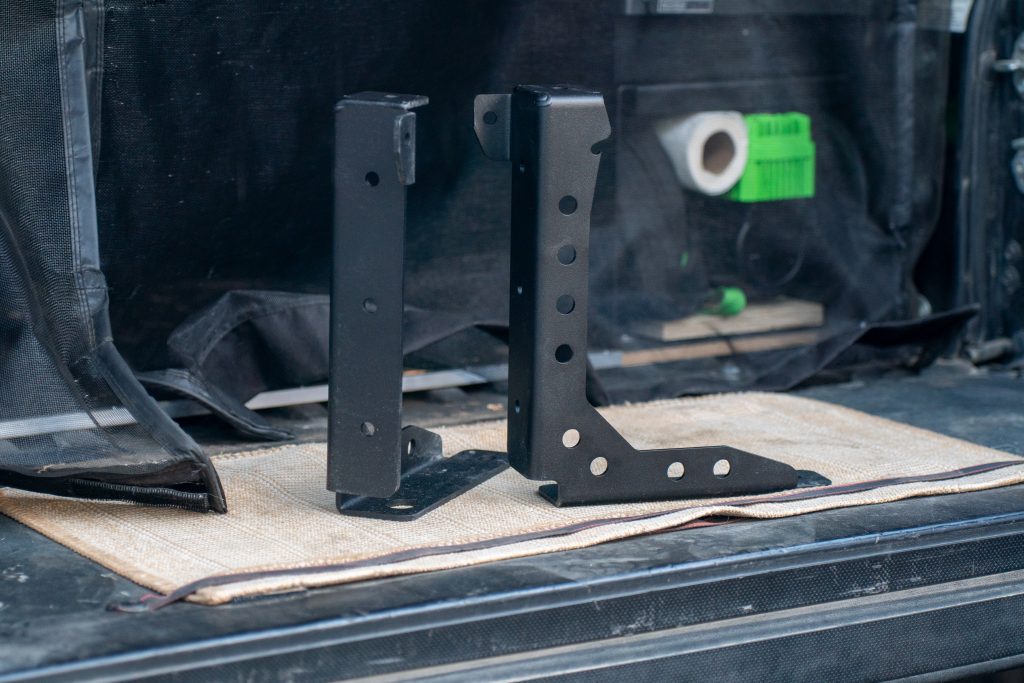
The construction is very rigid and made with thick steel. There will be very little play in the corner of the bracket. The addition of the top vertical hole of the bracket was a nice touch. This gives various mounting options for accessories such as whip lights, radio antennas, and chase lights. The holes also provide additional tie-down points, which are perfect for bungee cords.
Installation
Cali Raised has simple video instructions that can be found here. I followed them easily and completed my installation within an hour. I simply wish more companies would do this.
Note: This installation requires you to drill holes into your truck bed. This is standard.
Before you start, make it a habit to lay out all the installation tools, parts, and bolts. This will prevent you from getting too far in only to find you are missing something.
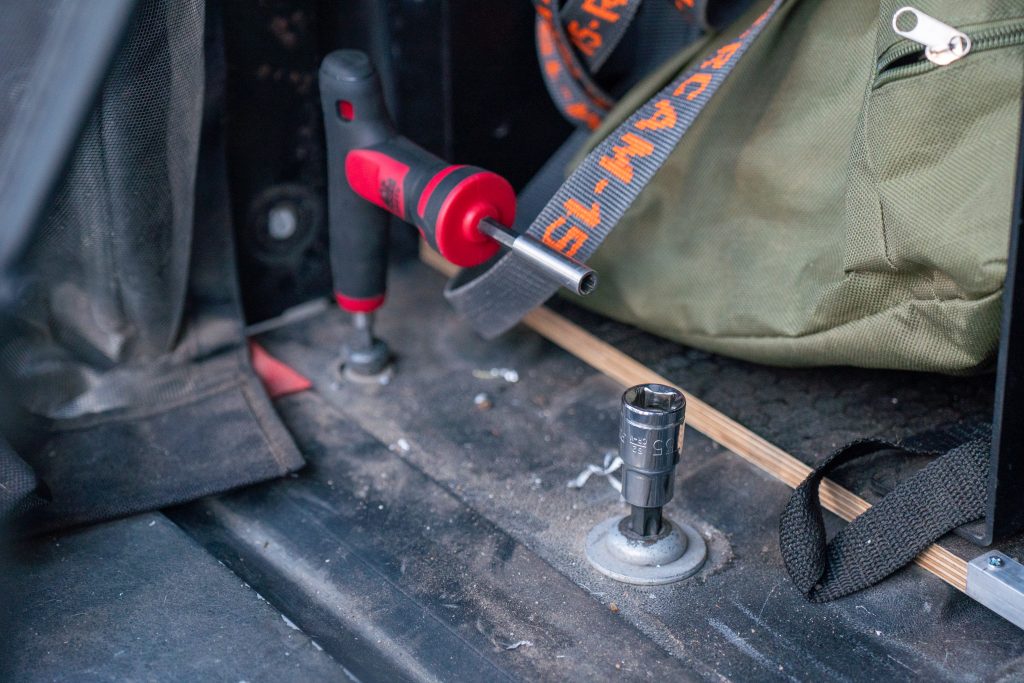
Tools Required
- T55 Socket
- T40 Socket
- 7/32″ Allen key
- 9/16″ Wrench
- 10mm Wrench
- Ratches
- 1/8th Drill Bit
- 3/8″ Drill Bit and Drill
- Pilot Hole Bit
Included Parts
- 2 Bed Stiffeners
- (8) 3/8″ Bolts
- (16) 3/8″ Washers
- (8) 3/8″ Lock Nuts
Step 1. Remove Factory Bed Bolts
Use a T55 Socket to remove the (2) larger silver bed bolts and set them aside. Then, use a T40 socket to remove the black factory tie-down point.
Step 2. Install Bed Support
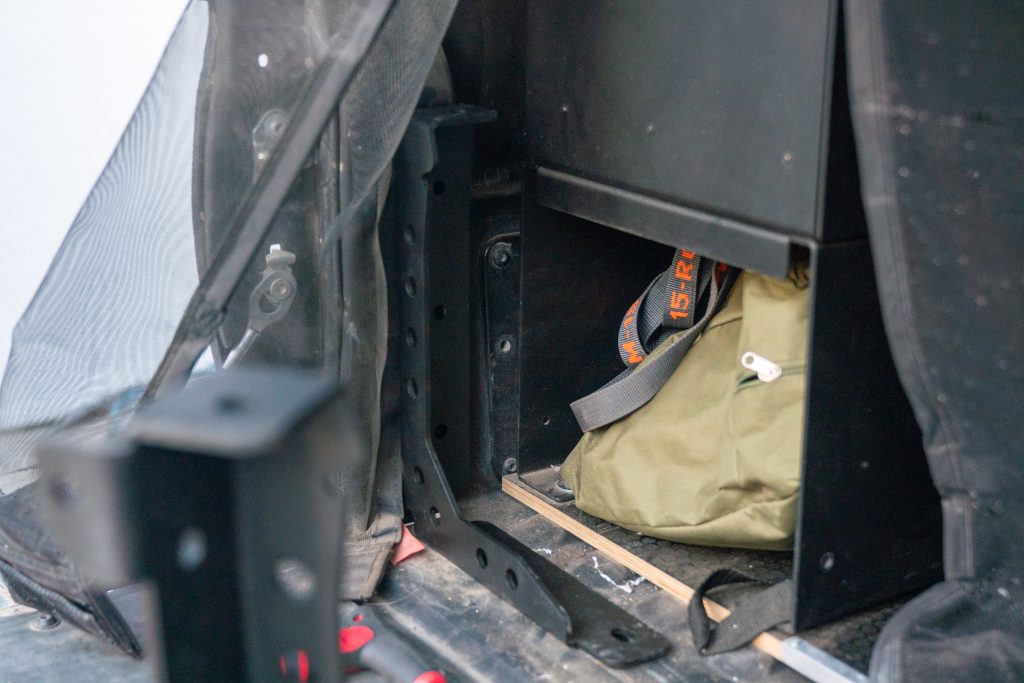
Place the bed support and loosely reinstall the silver Torx bolts. This will hold the bed support in place while we mark the centers of the holes. Hold the bed support tight and use a punch or the drill bit itself to mark the centers of the holes that need to be drilled.
There are (4) holes that need to be drilled. Three of them are located on the inside channel of the support going up the side of the bed. The last one is on the top inner side of the bed.
Step 3. Remove Tail Lights
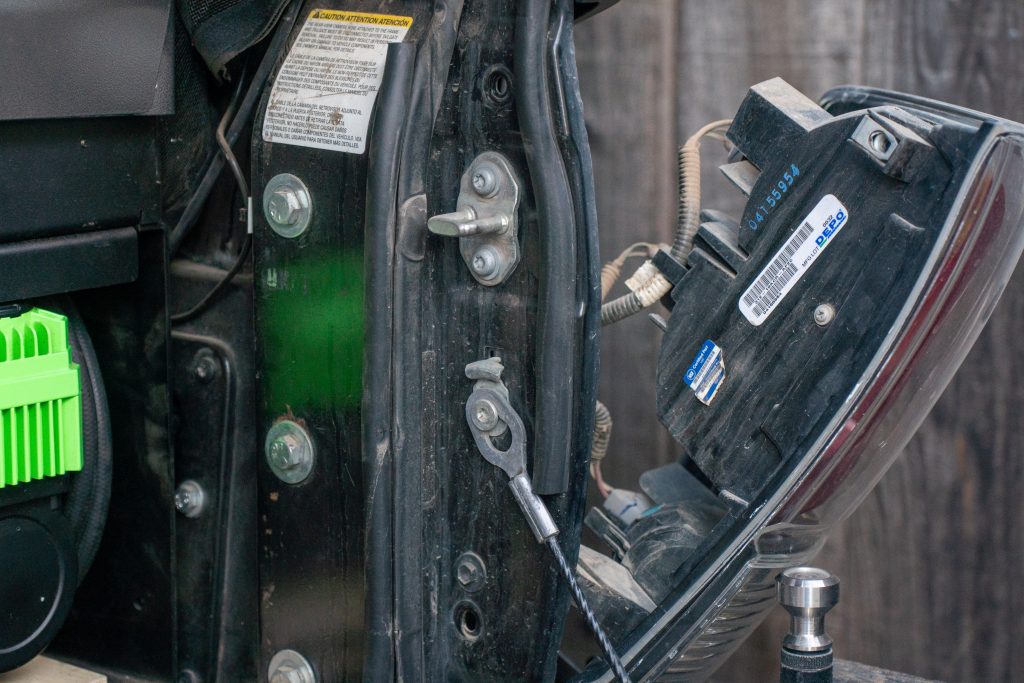
Use a 10mm wrench to remove the top bolt of the tail light and the button bolt holding it in place. To remove the lamp from the vehicle, firmly grab the sides and pull towards the truck’s rear to release the clips.
Optionally, you may unplug the light or lean it off to the side, as I had done in the photo above.
Step 4. Drill Holes
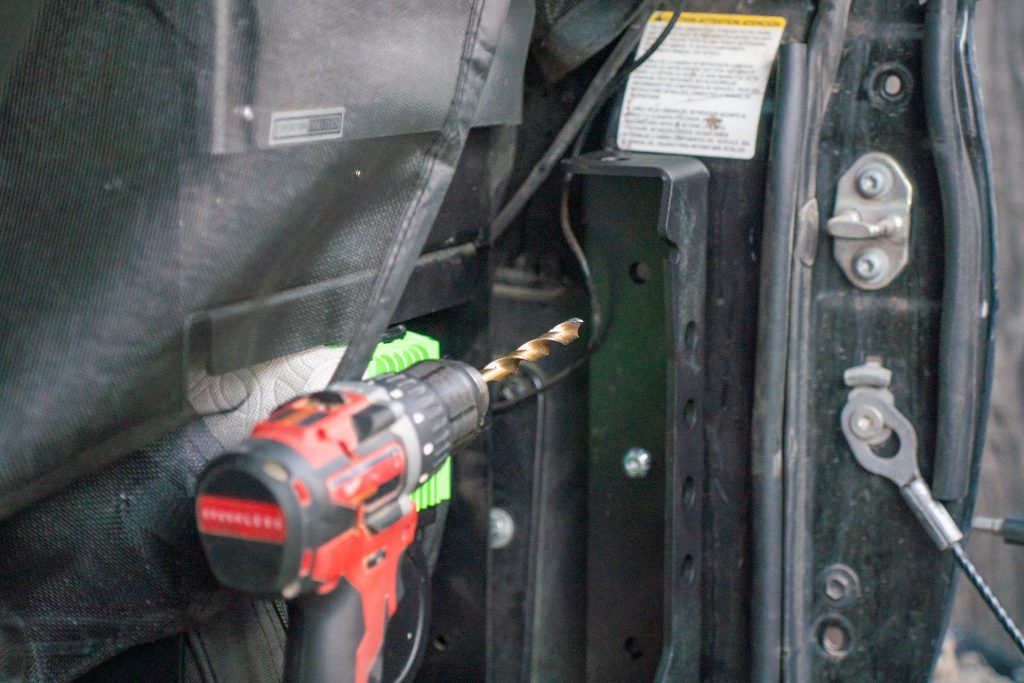
You may remove the bed support before drilling, but I left it in place for the sake of time. Use a 1/8″ drill bit to drill a pilot hole for each location.
From there, follow up with the 3/8″ drill bit to make the holes larger. Before proceeding, test fit every hole with a bolt to confirm they fit.
Step 5. Install Hardware

If you removed the bracket, please reinstall it now. Start by installing the bottom (2) factory bolts, but do not tighten them. Each hole on the outside will get (1) washer and (1) bolt. There will be (1) washer and (1) nylon locking nut on the inside.
Starting at the top, use a 7/32″ Allen key with the 9/16″ wrench to tighten the bolts, securing the bracket to the side of the bed. Next, tighten the bottom factory bolts, which pull the bed into place.
Step 6. Reinstall Tail Lights
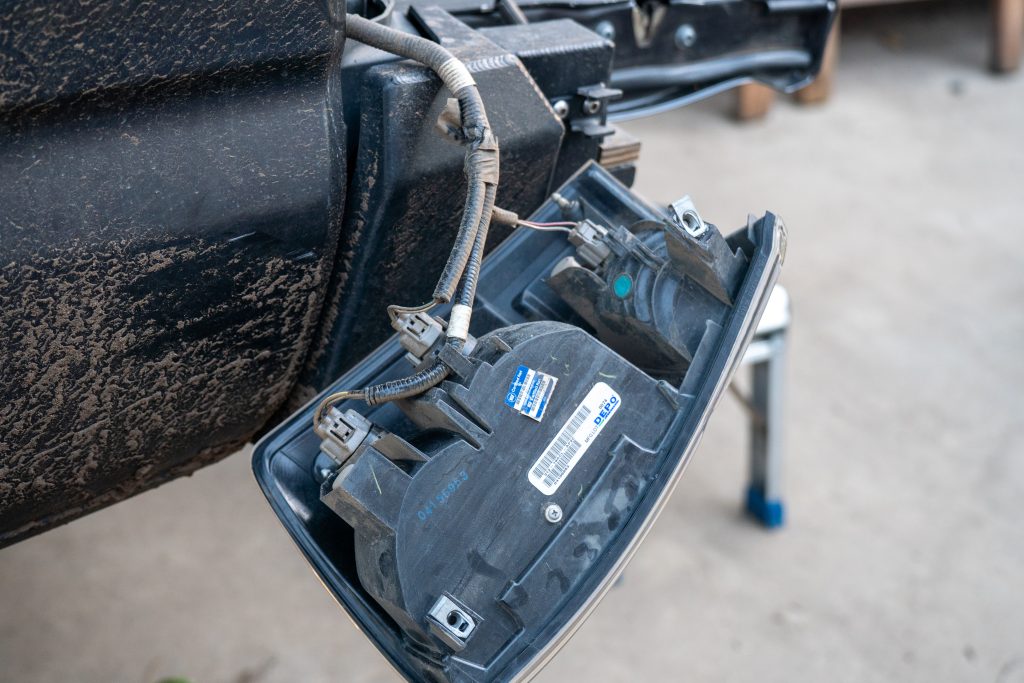
Confirm that all plugs are still installed properly in the light. Raise the lamp into place and firmly push in the tabs until they click. Test the lamp’s features before reinstalling the bolts. Once confirmed, reinstall the (2) factory 10mm bolts.
Final Thoughts
Cali Raised products have been around for quite some time and earned a solid reputation. With continuous investment into tooling and production, they can offer their American-made products at very competitive prices. I can confidently say that their products do not lack quality or customer support. Installing the Bed Channel Stiffeners was super easy, largely thanks to their very clear instructions.
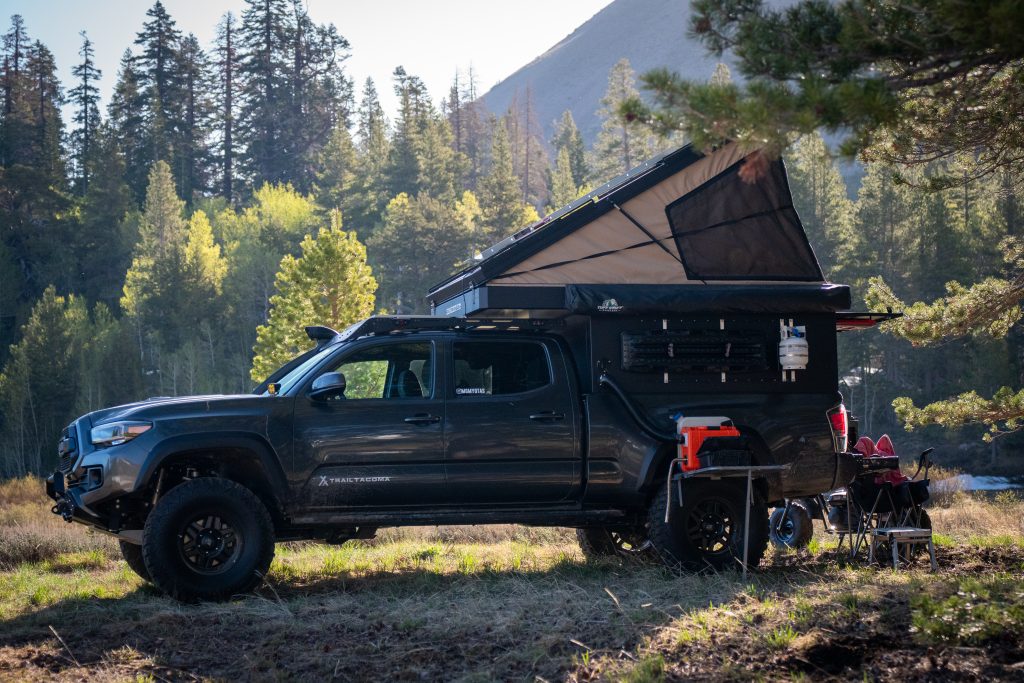
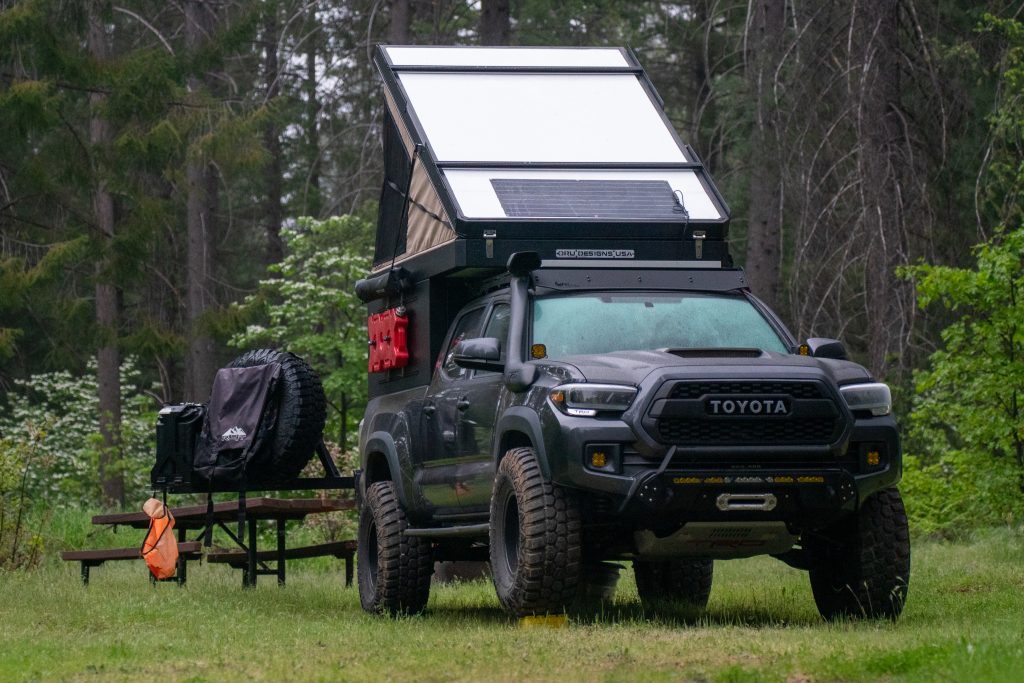
After using the brackets to support the weight of my camper, I can hit the trail with peace of mind, knowing my bedsides are now strengthened for the additional weight.

I’m running a different brand but I agree, these are an important upgrade to the Tacoma due to their plastic beds