
When you’re out on the trail, the last thing you want to be worried about is gear rolling around in your cab. A lot of times, I would have multiple pieces of gear rolling around or rattling in the cupholders. My walkie would usually be in my hand or clipped to my visor because I had nowhere to put it. On really rough trails, I’d have to keep an eye on my walkie to make sure it wouldn’t fall.
Cali Raised came up with a mounting solution that keeps your gear secured and accessible. These MOLLE panels upped my cab setup to another level all while keeping the installation extremely easy.
In this article well run through installing the MOLLE panels, and do a quick review of how I utilized them.
*** This article is 3rd Gen (2016-2023) focused, but the same product fits the 2nd Gen (2005-2015) as well.
Find It Online
- Cali Raised Center Console MOLLE Panel: Check Price
Table Of Contents
Features & Specifications

- Comes in pairs – (2) panels per order
- Custom laser cut design
- Bent to fit perfectly
- Black powder coat
- Very lightweight
- 12 gauge American steel
- Simple removal and installation
Installation
Required Tools
- Standard toolbox
- Marker or something to mark the drilling position
- Electric drill
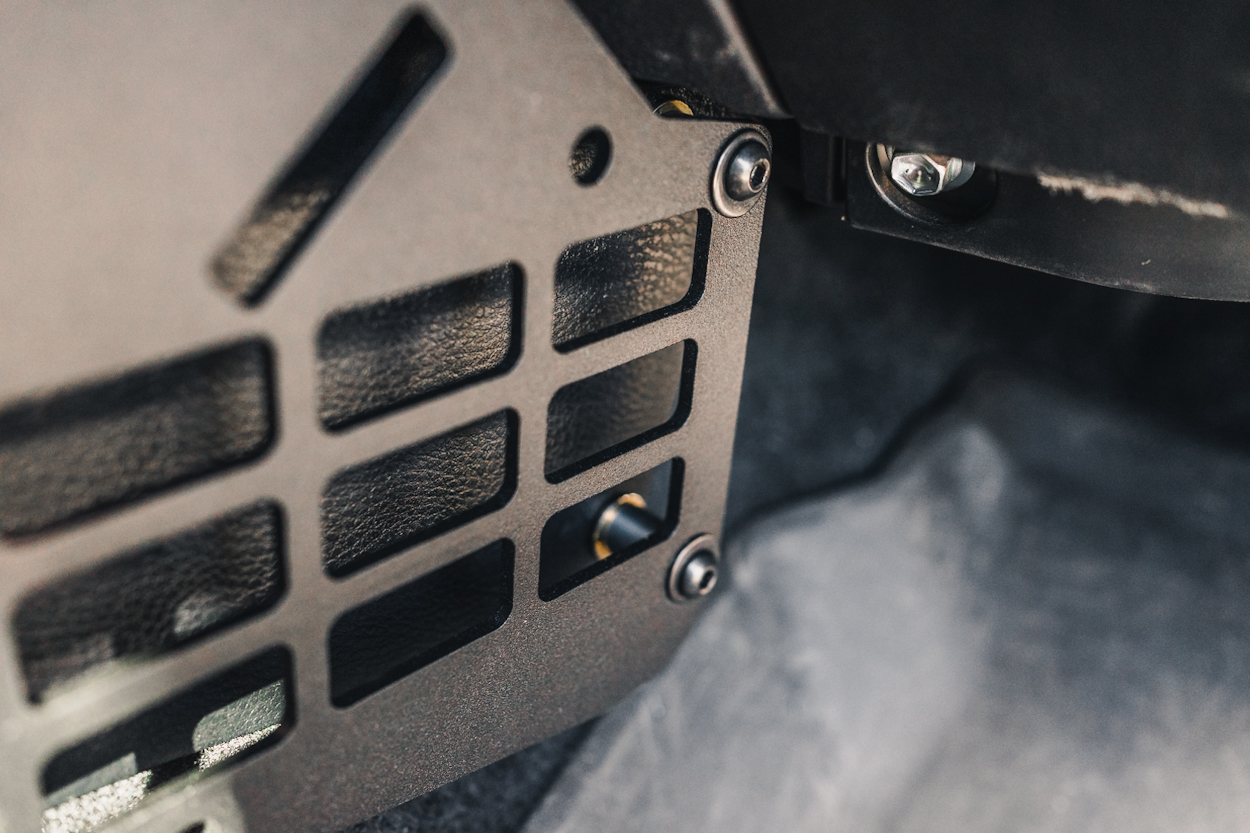
Step 1. Mark Drilling Points
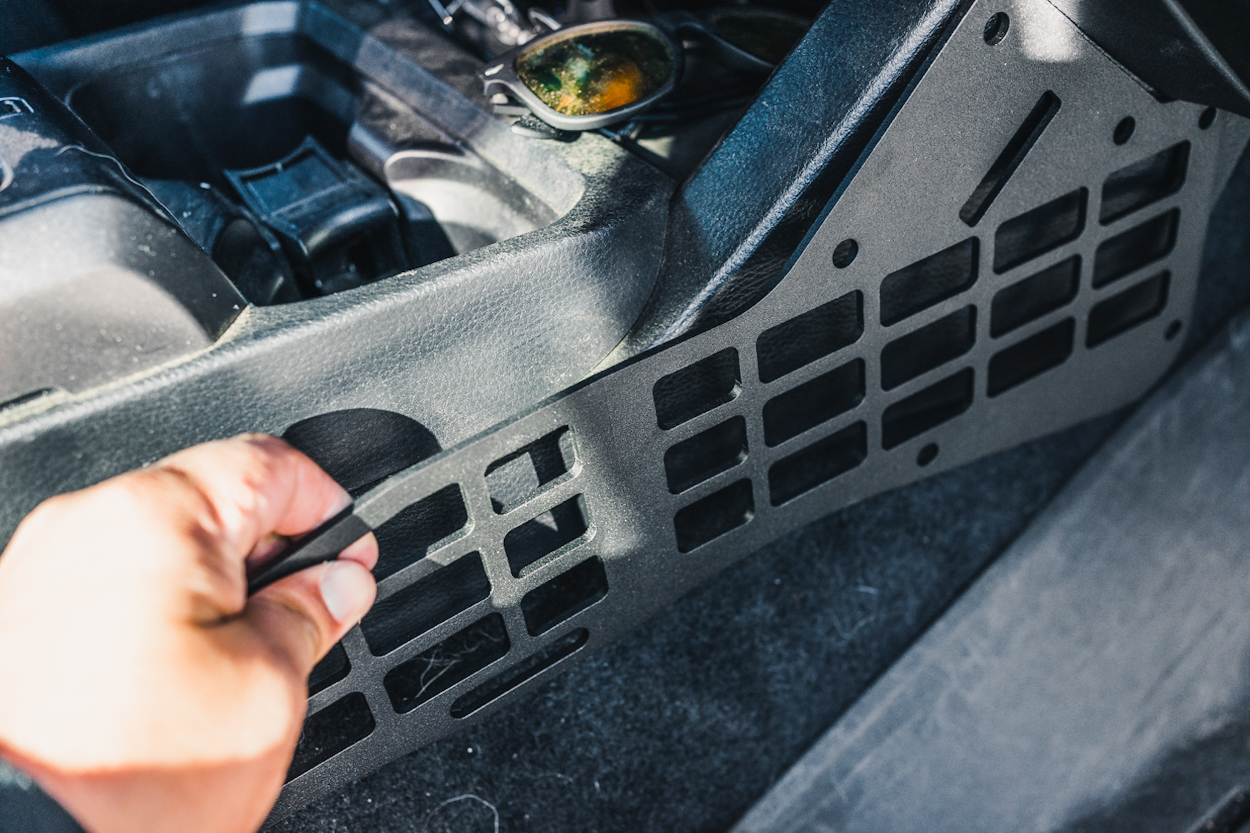
IMPORTANT: Cali Raised LED designed these to have the kinked portion in towards the center console.
Hold the panel up to your center column. it should follow all of the lines of your center console.
From here you can mark the two smallest holes in the front, and the one single hole in the rearward position.
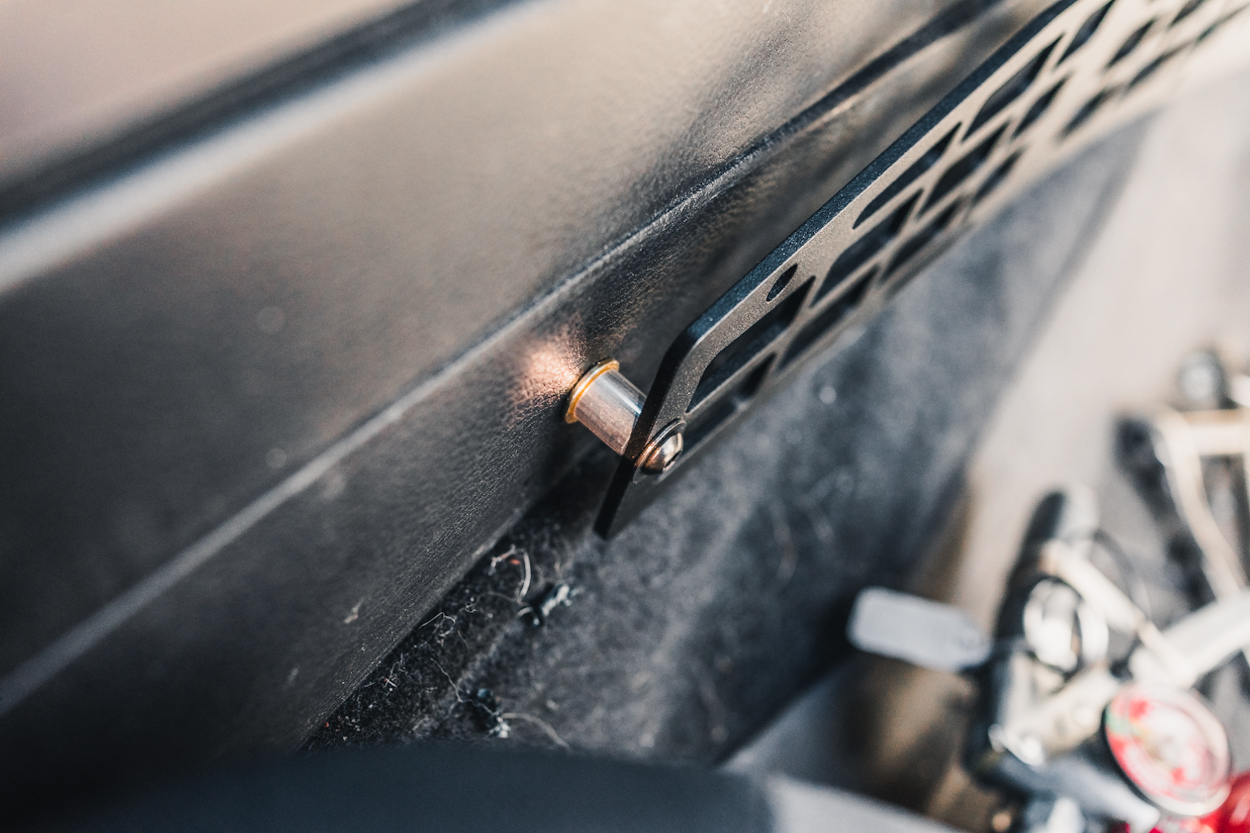
Step 2. Drilling Panels & Rivnuts
Drill out the positions you marked and insert the riv-nuts.
Note: When drilling the frontmost top position, there is a piece of plastic behind the center console plastic. I was able to drill straight through it and secure the rivnut.
Step 3. Secure Rivnuts

When you purchase your center MOLLE panels, the kit will include a jig to secure your rivnuts with. Use an open-end wrench to hold down the jig, and then use a ratchet to tighten down the long bolt until the riv-nut is unable to spin.
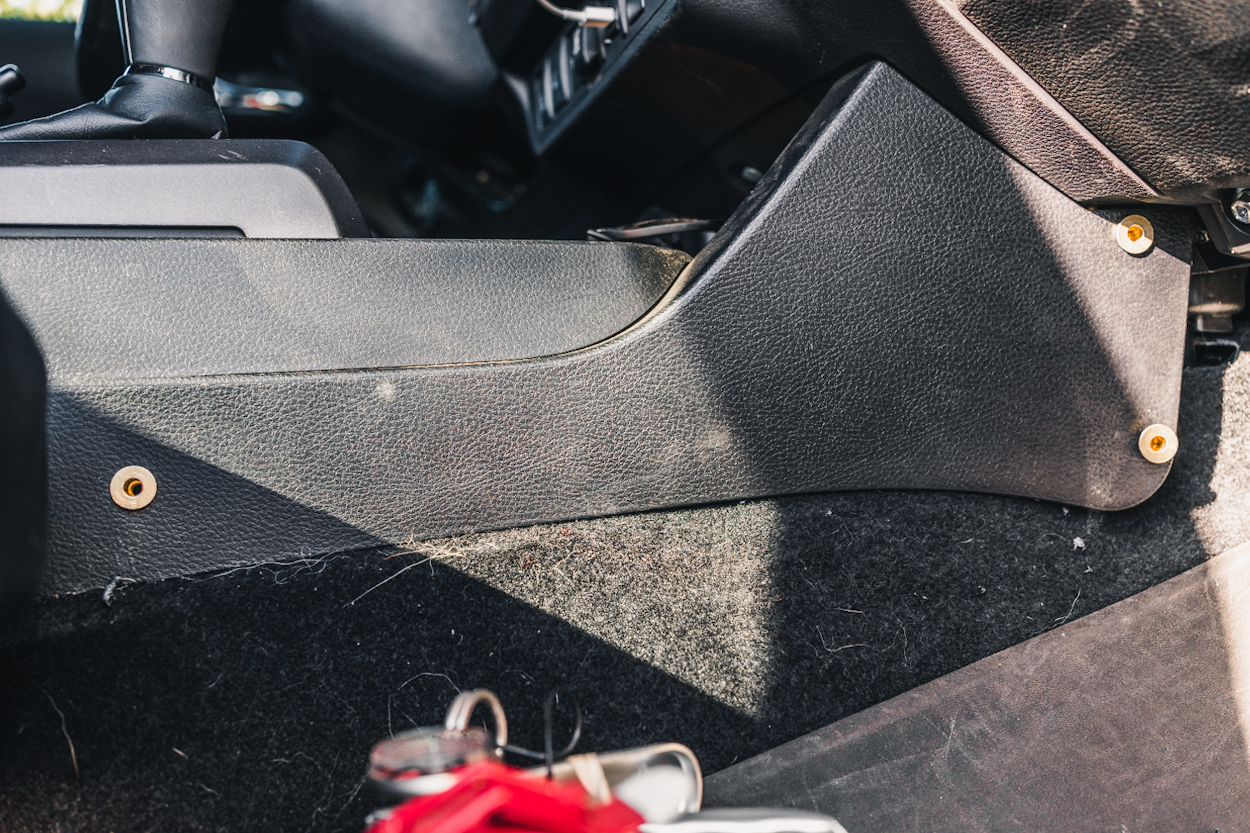
Step 4. Mount Panel
The final part of this install is fairly straightforward – place a spacer behind the panel, then secure the panel with a washer and a bolt at all three positions where you inserted a riv-nut.
Rinse and repeat for the other side, and you’re finished! Now head over to your favorite store to find some MOLLE pouches to throw your stuff into!
Final Thoughts
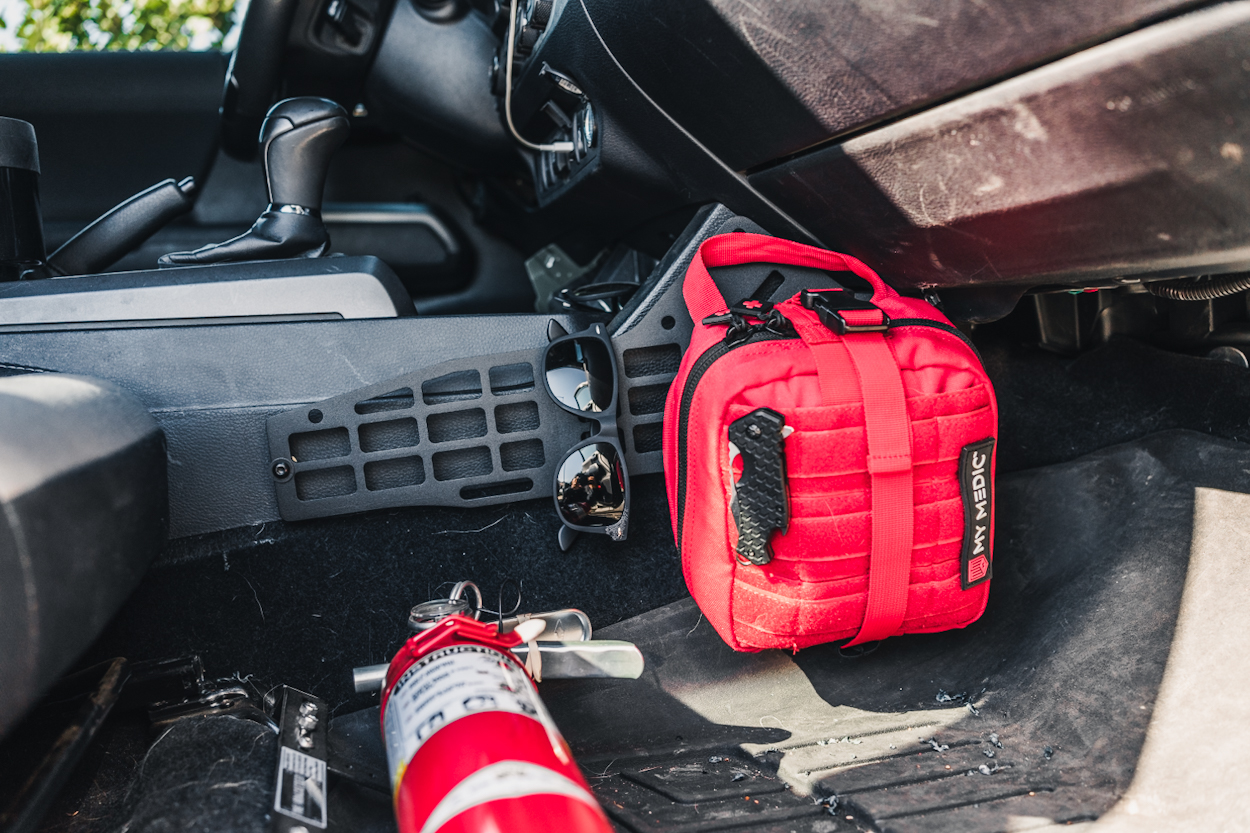
With these molle panels, I’ve been able to dial in my cab setup. I was able to move my first aid kit to the side of the passenger panel for easy access and to better utilize the space in the cab. Before my first aid kit would be behind my passenger seat, so whoever was sitting back there would be a mere foot and some change away from getting a face full of first aid kit if I were to get in an accident.
They also give a much-needed mounting position for anything I would normally let roll around in my cup holders. I’m able to clip my walkie into the panel for easy access and it tightly secures it from flying around the cab on super bumpy trails. I also periodically hang my sunglasses off the panels and they stay put.
If you’re looking for more places to mount gear and keep them accessible, I’d look into getting a pair of these panels for your truck. I don’t think I would be able to ever go back to not having them because they’re so useful!