
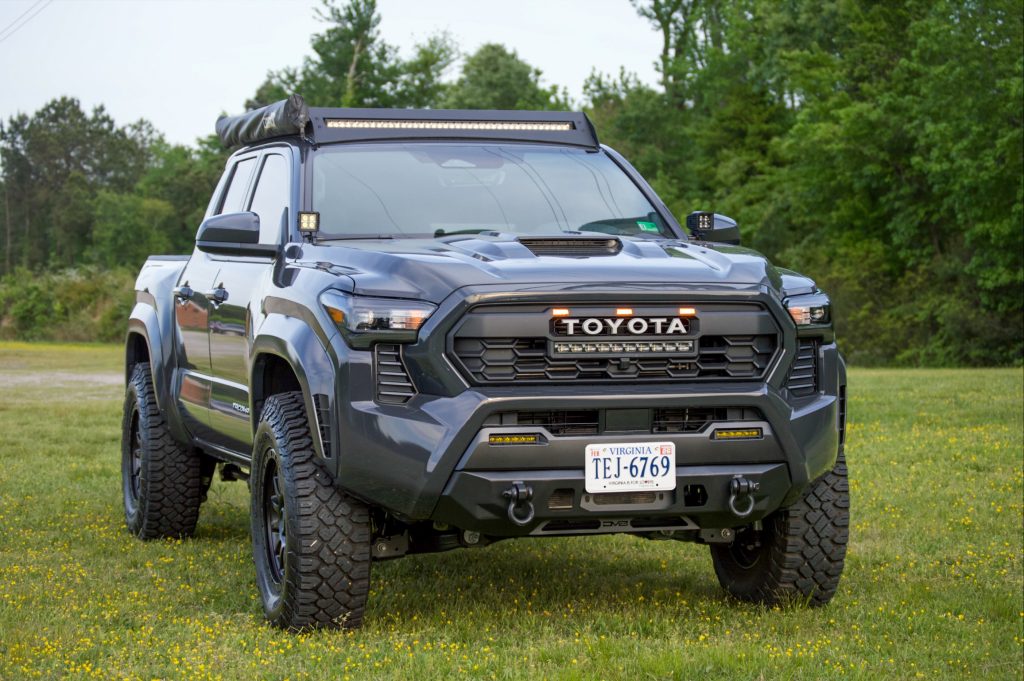
Visibility is everything for off-roaders, overlanders, and anyone who drives in challenging weather conditions. Whether you’re navigating foggy mountain passes or backroads in the dead of night, quality lighting can mean the difference between a smooth journey and a dangerous detour.
That’s where Cali Raised’s fog lights come into play. Built for durability, performance, and seamless integration with your vehicle, these lights have earned a strong reputation among adventure seekers and daily drivers alike.
Table Of Contents
Key Features

High-Performance LED Tech
Greater brightness (30 watts & 3,500 lumens each) with lower power consumption. LEDs are more energy-efficient, drawing less from your vehicle’s electrical system. Another output photo is in the review section below.
Direct OEM Fitment
One of the biggest headaches when upgrading vehicle lights is ensuring compatibility. Cali Raised eliminates that issue by offering kits designed to bolt directly into factory locations – no drilling, no complicated wiring, and perfect OEM fit.
Each kit is engineered to match OEM dimensions, making installation accessible even to DIY beginners.
Durable Construction
Your fog lights are exposed to the elements, whether on a muddy trail or driving through a snowstorm. These are built to handle it all, and their rugged build ensures that your lights will perform reliably even in extreme environments.
Amber & White Options
You can choose between Amber and White light output. The former penetrates fog, rain, and snow more effectively by reducing glare, making them ideal for true fog light use. White lights, meanwhile, offer the best clarity on clear nights and general conditions.
Installation
Installation should take less than an hour, especially if you have prior experience with swapping lights.
Cali Raised also has a super thorough video on YouTube, check it out here.
Tools Required
- Flathead screwdriver
- Phillips head screwdriver
- 10mm socket & ratchet
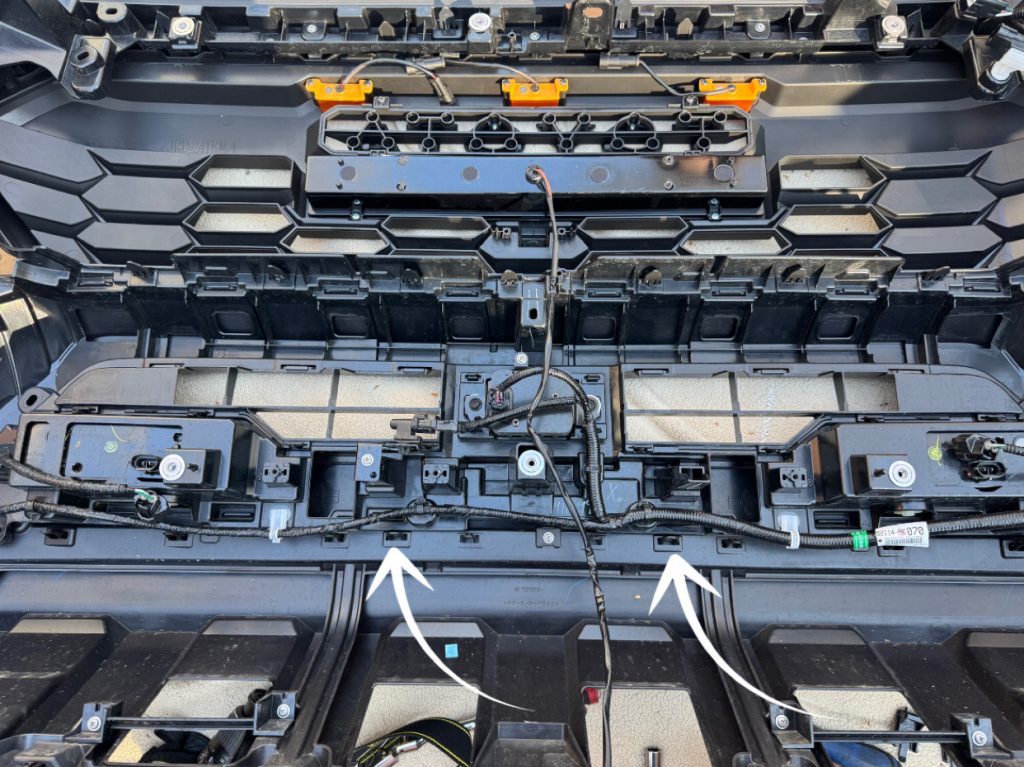
Step 1. Remove Radiator Cover & Grille Bolts
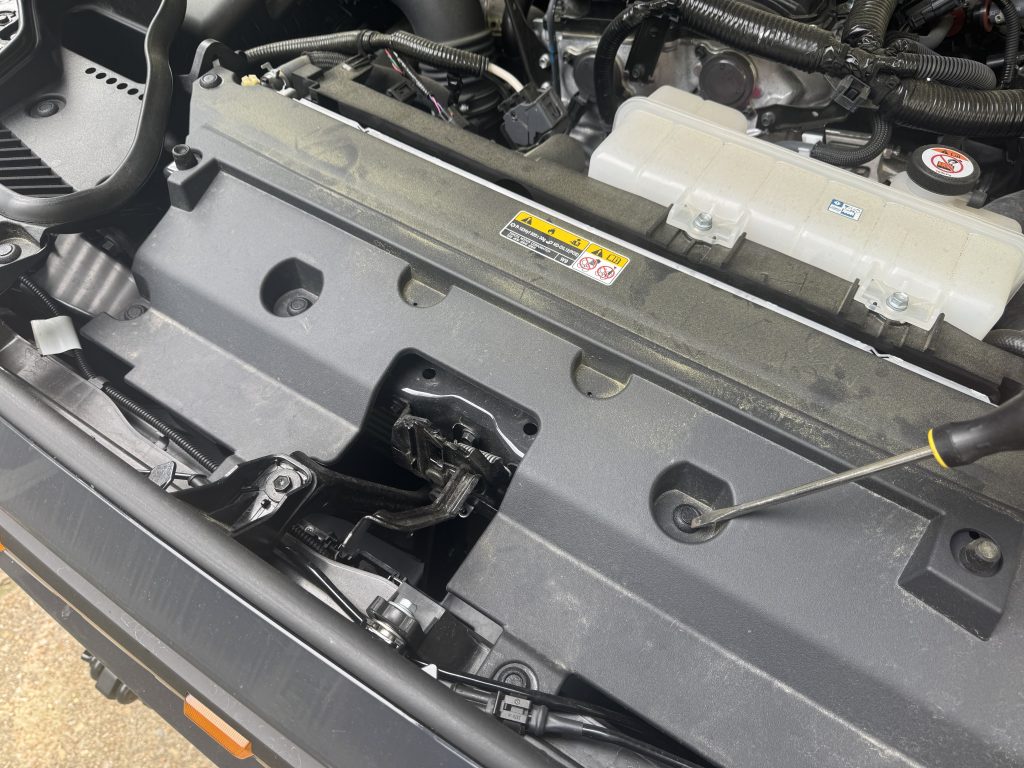
Open the hood, and you should see (8) pop clips that need to be removed. Push in the center and pull them out.
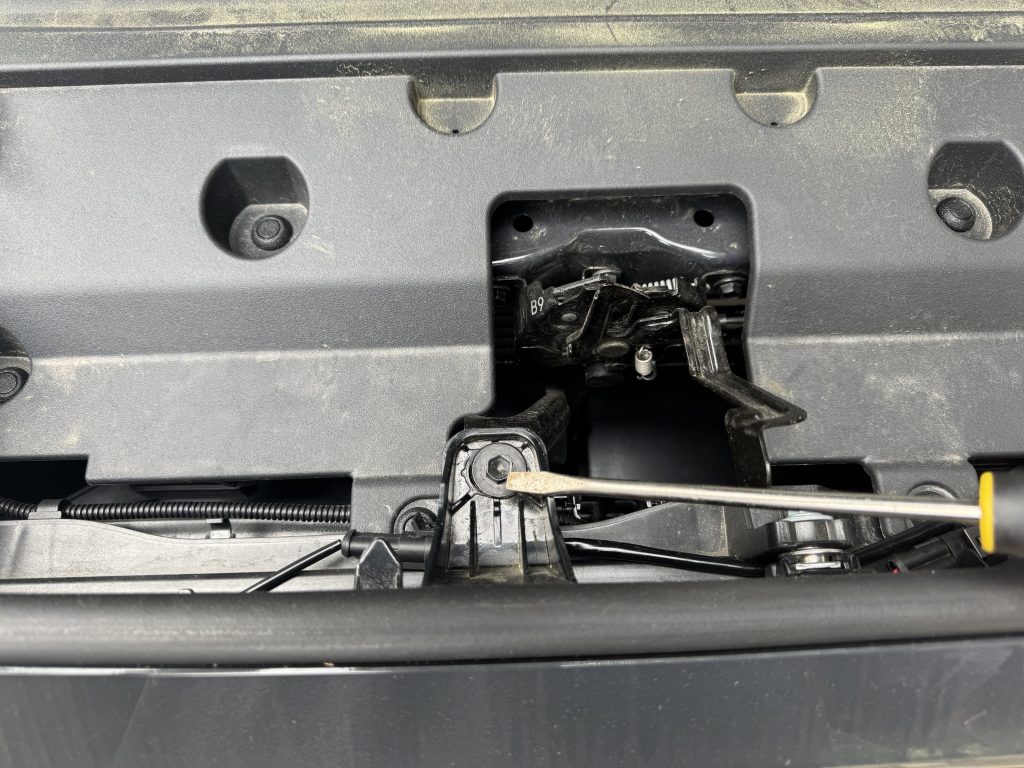
Next, there are (3) 10mm bolts securing the upper grille. One is underneath the intake. See next step for how to remove the upper part of the intake.
Step 2. Remove Air Intake Inlet
Once you pop the clips out, the top half of the intake comes out super easily. Make sure to unclip the (3) wiring harnesses right in front of the intake. Just push on the connector and pull.
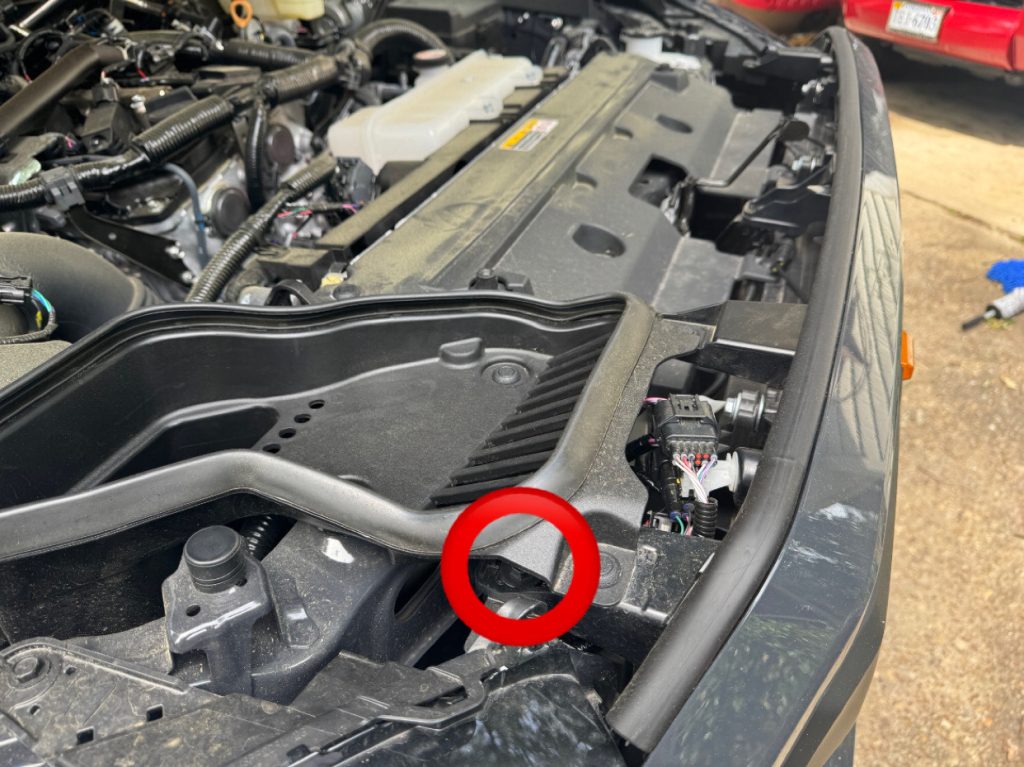
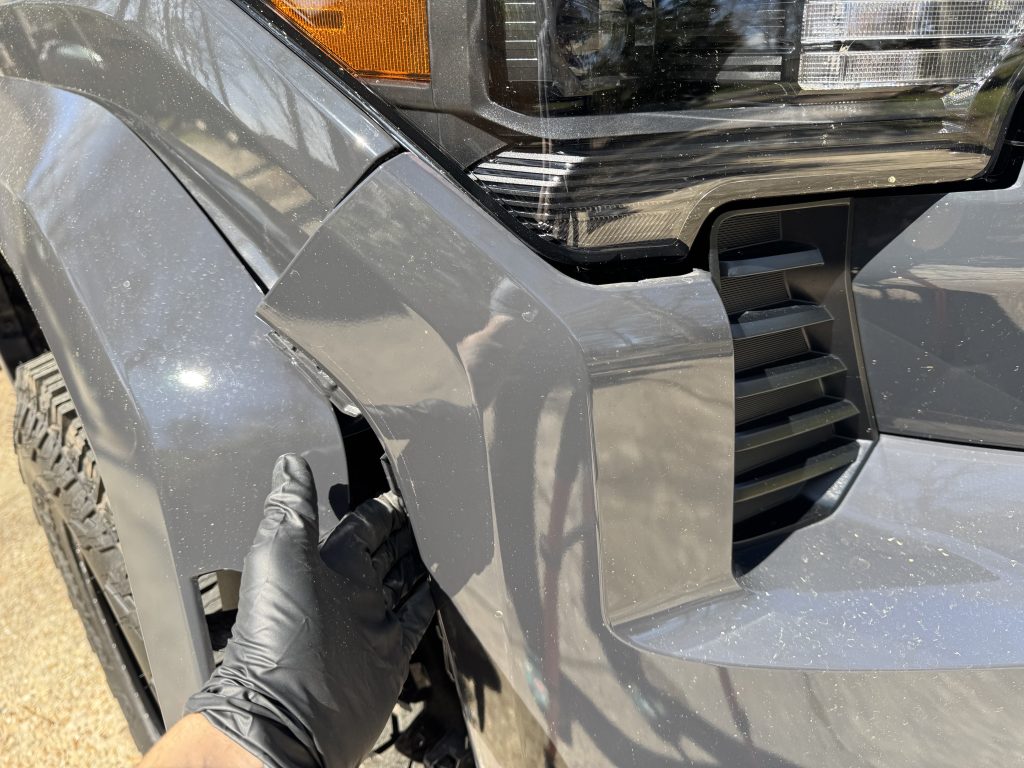
Step 3. Detach Front Fender Liner & Flare
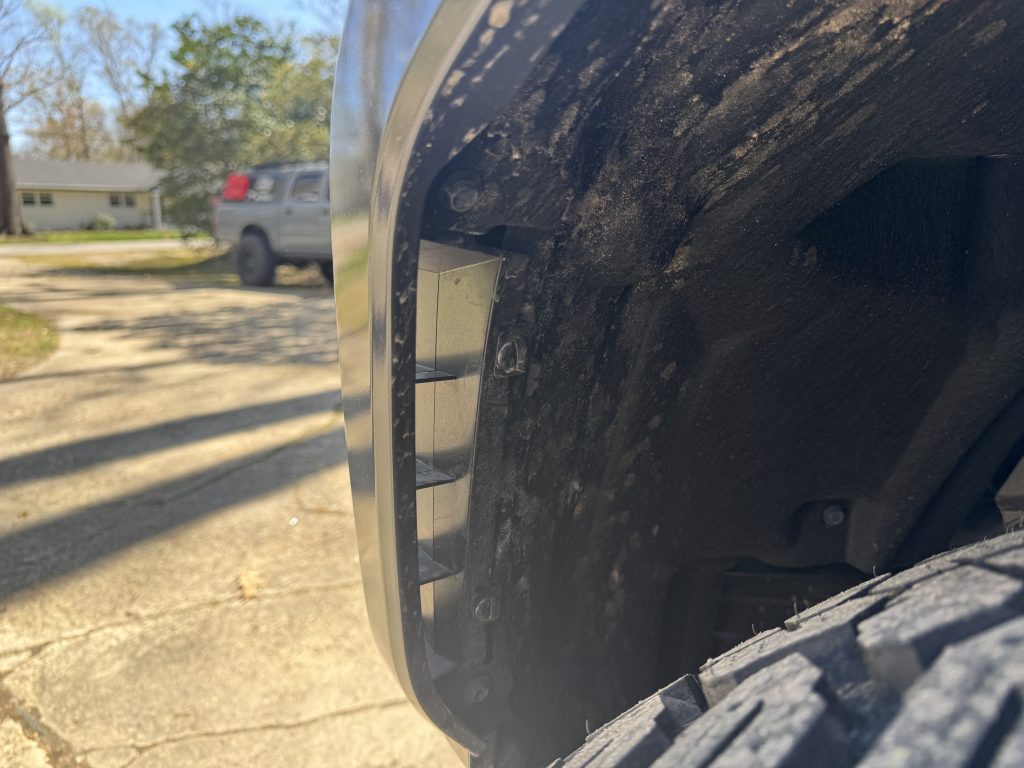
Remove the (2) clips and (2) bolts inside the fender flare.
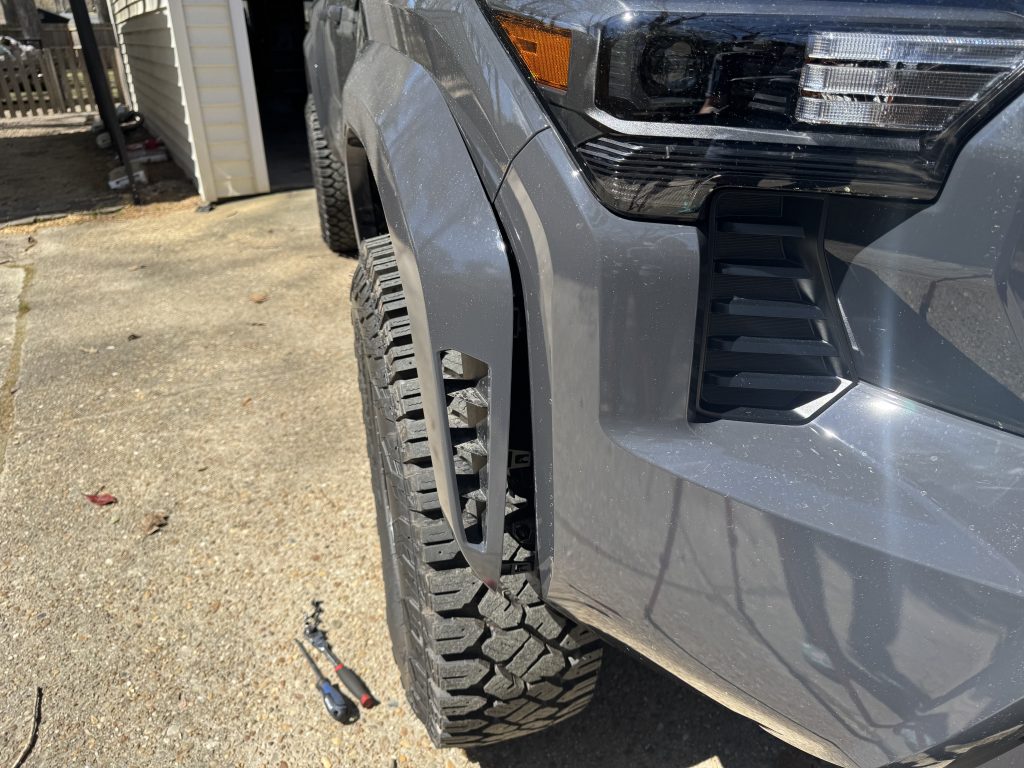
Next, pull the fender outwards to pop it out to gain access to a screw behind it holding in the bumper cover. Be careful not to let the screwdriver rub against the fender flare, as it will damage the paint.
Note: You need to have some force behind it since it is clipped in.
Pictured above is the single Philips head screw under the fender flare.
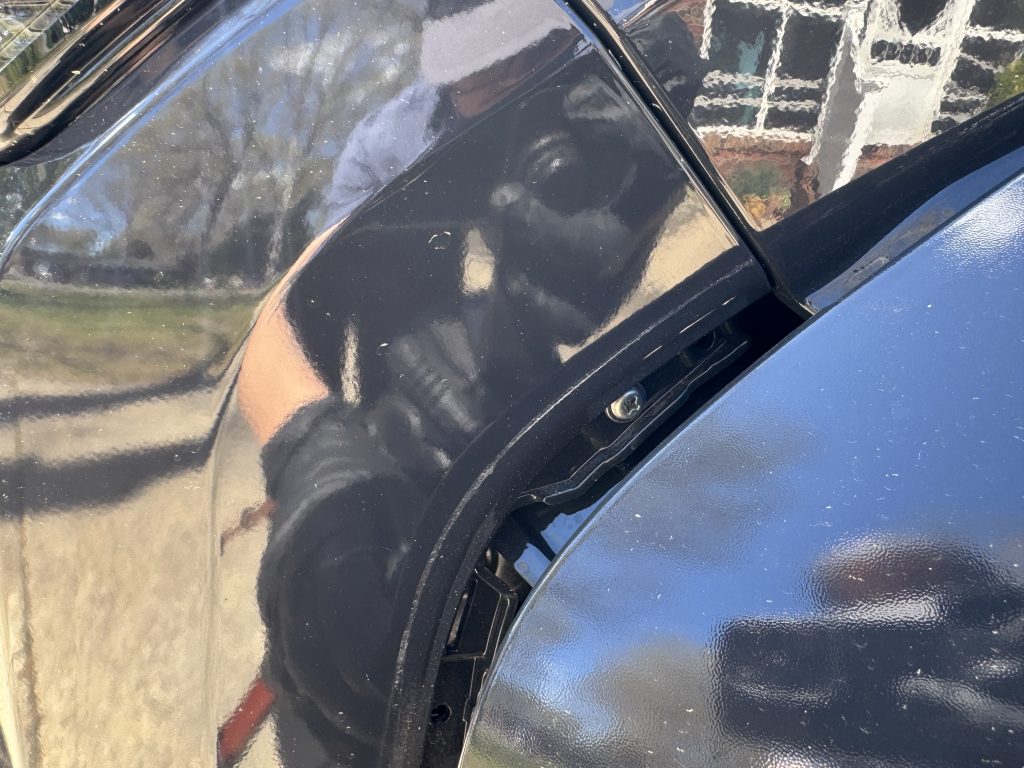
Step 4. Remove Front Bumper Cover
You will also need some force for this. Be careful not to break any clips or fender flares in the process of pulling it outwards.
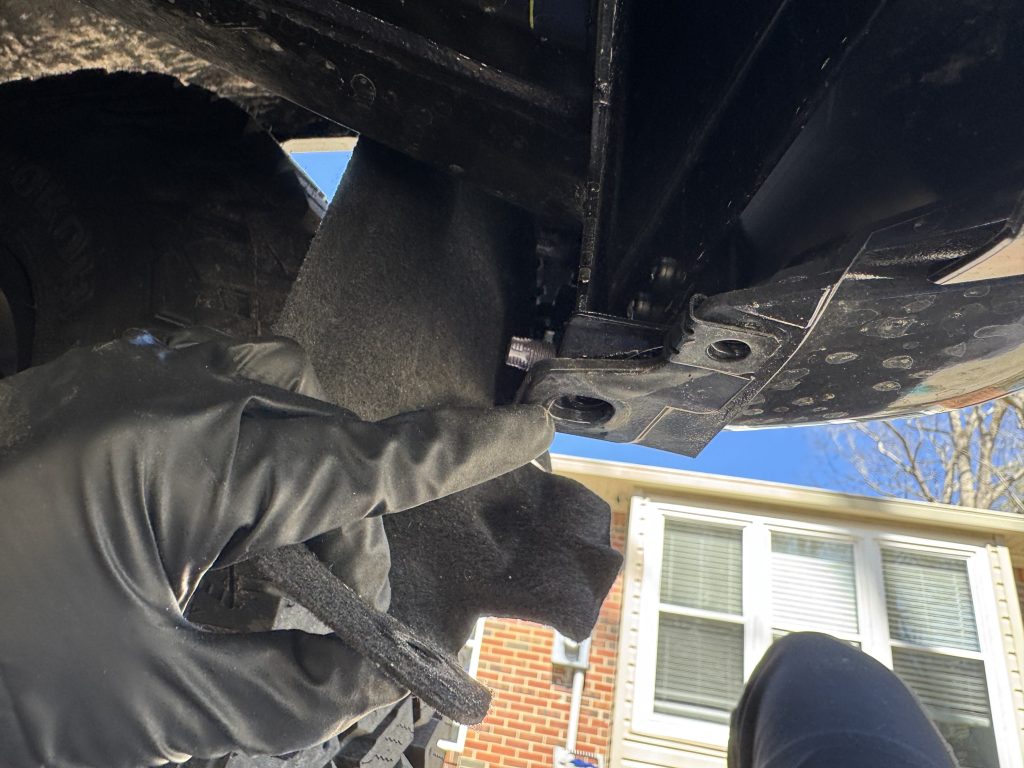
Next, go underneath the bumper and unbolt the 10mm bolts holding the bumper cover underneath.
Once all the bolts are removed, pull the bumper off and away from the front of the truck. The headlights up top still clip it in, but they should disengage as you pull.
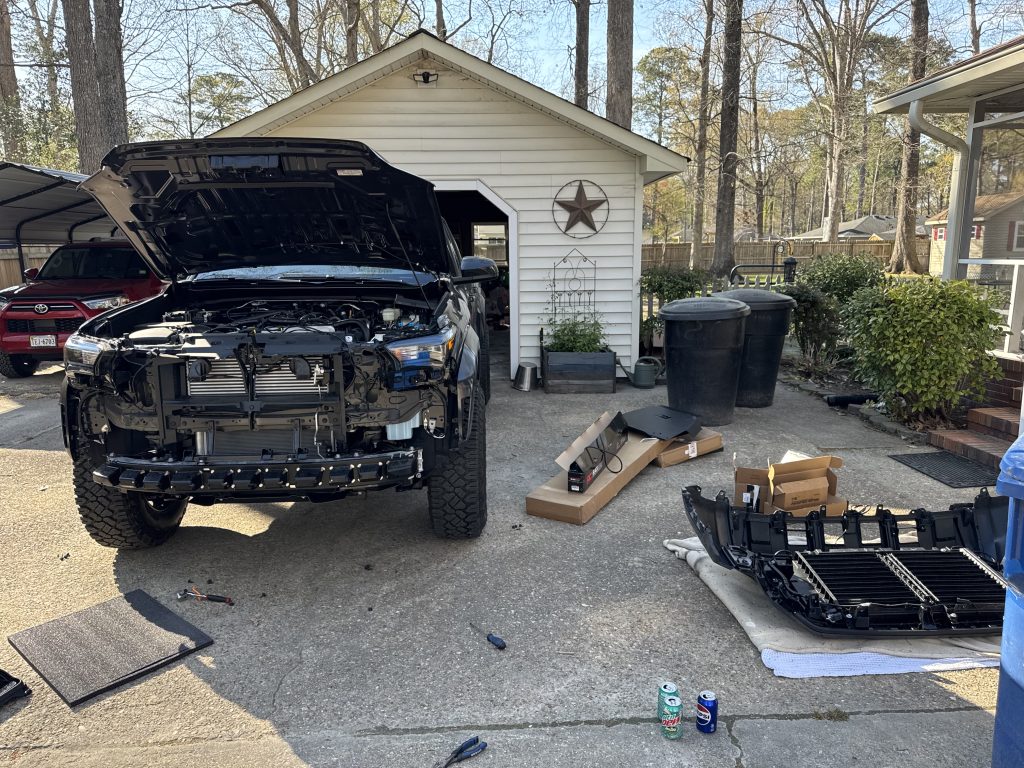
Make sure to put a blanket on the ground beforehand so you do not scratch your bumper and grille once you place it down. It is not terribly heavy, and can be done alone.
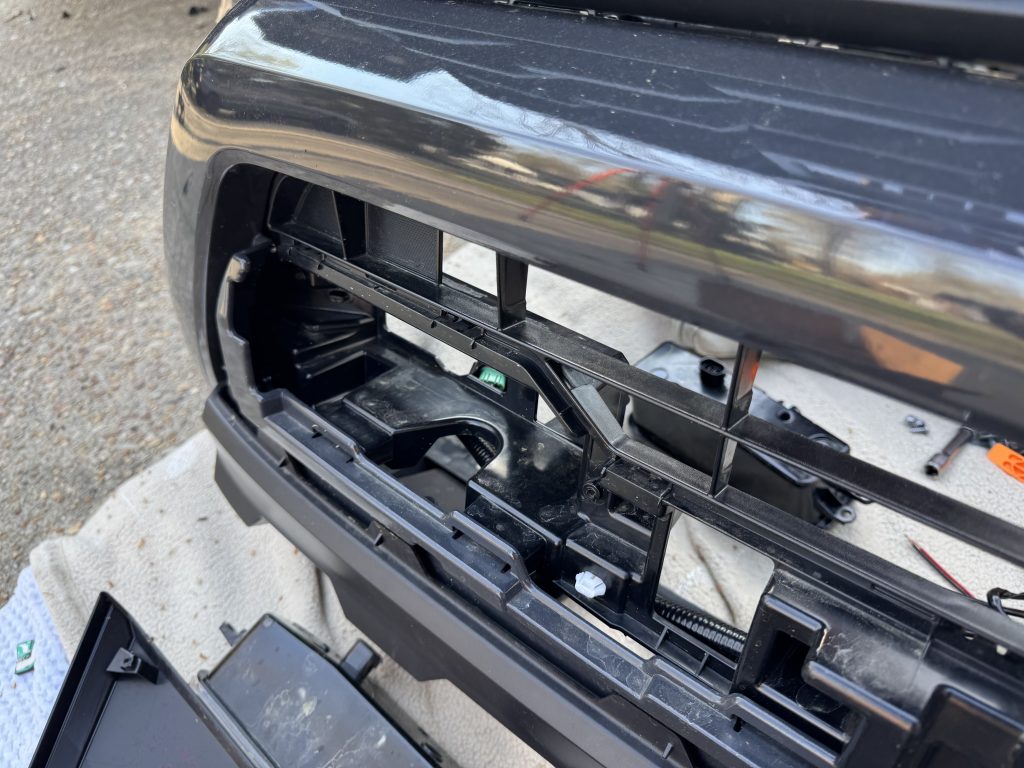
Step 5. Remove Grille Shutter From Cover
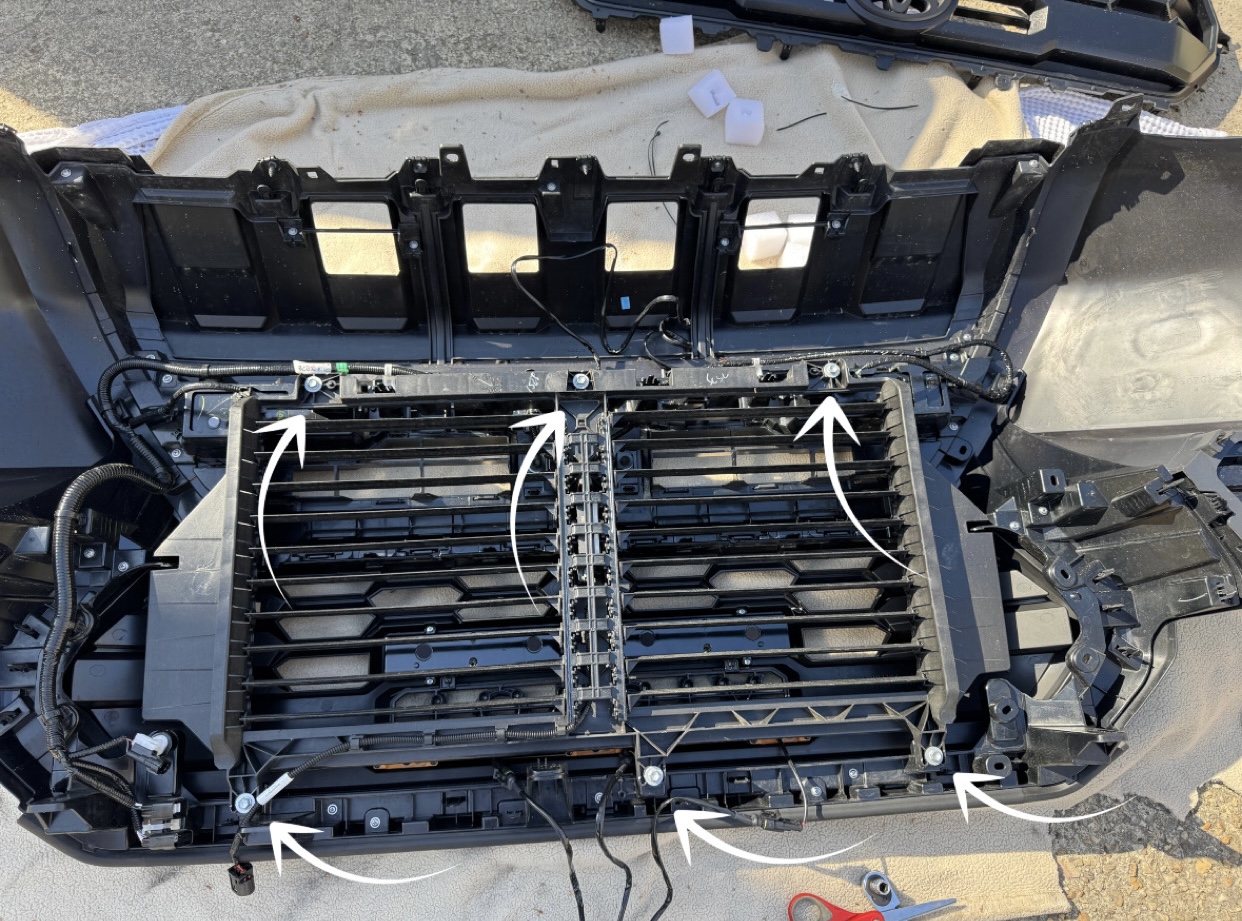
The final step before you get to the actual lights, is to remove the grille shutter system. Remove six 10mm bolts, and you’ll be able to pull off the assembly.
Step 6. Remove Factory Lights
There should be a bunch of tabs to push down to get the front trim off.
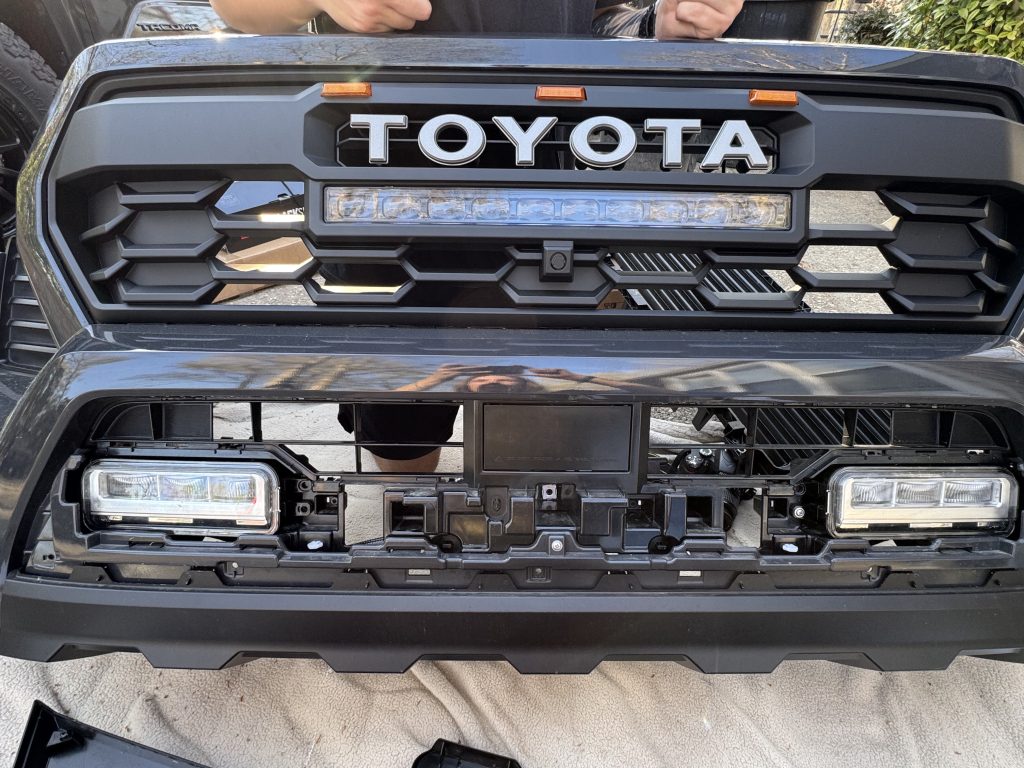
Once you remove the trim piece, (4) screws and one harness hold each fog light in place.
Now that the old fog lights are out, it’s time to install the new ones!
Step 7. Install Cali Raised Lights
Install the brackets onto the new fog lights, then put them into position. Hold the trim up before tightening everything down to make sure the brackets are in the correct direction and that they look straight. Then, tighten down the brackets, lights, and trim piece.
Step 8. Reassemble Everything
Rest the bumper on the front of the truck so you can plug the lights back in and ensure they are working before fully reinstalling everything. Start by reinstalling the 10mm bolts up top, then the Phillips head screws by the fender flares to hold the bumper in place. Finally, reinstall the remaining bolts and radiator cover.
Review
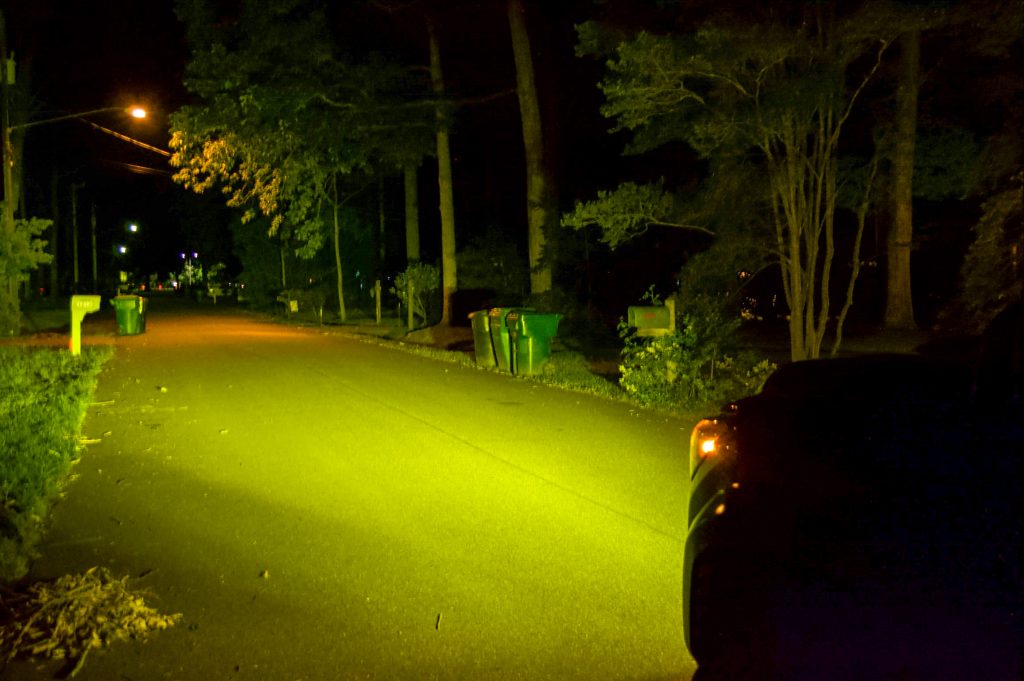
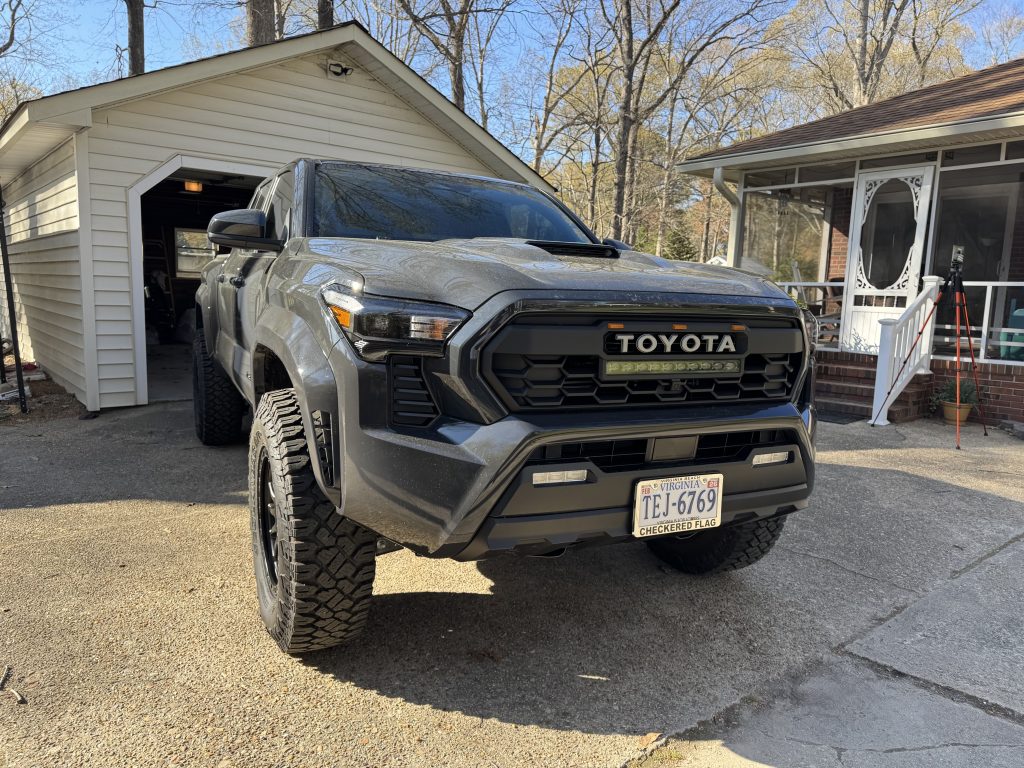
The Cali Raised fog lights are absolutely perfect and BRIGHT! I run them 24/7, and the light output is unreal. I thoroughly recommend getting a set of these for your 4th Gen. I went with amber (I prefer the look and better visibility) and I’m stoked on the color.
Whether navigating off-roading trails, commuting through storms, or simply wanting a more capable and stylish lighting system, Cali Raised Replacement Fogs offer a perfect upgrade. They combine performance, durability, and ease of installation into a package that’s hard to beat in the aftermarket lighting space.
The install is a little more involved than previous gens, but just take your time, its very doable.
Final Thoughts

I believe these are absolutely perfect for daily driving and off-roading. They are aggressive-looking and very reliable. I would buy them again and again if I had to start over. The output is unreal, and they help a ton on and off-road.
Let me know if you have any questions!