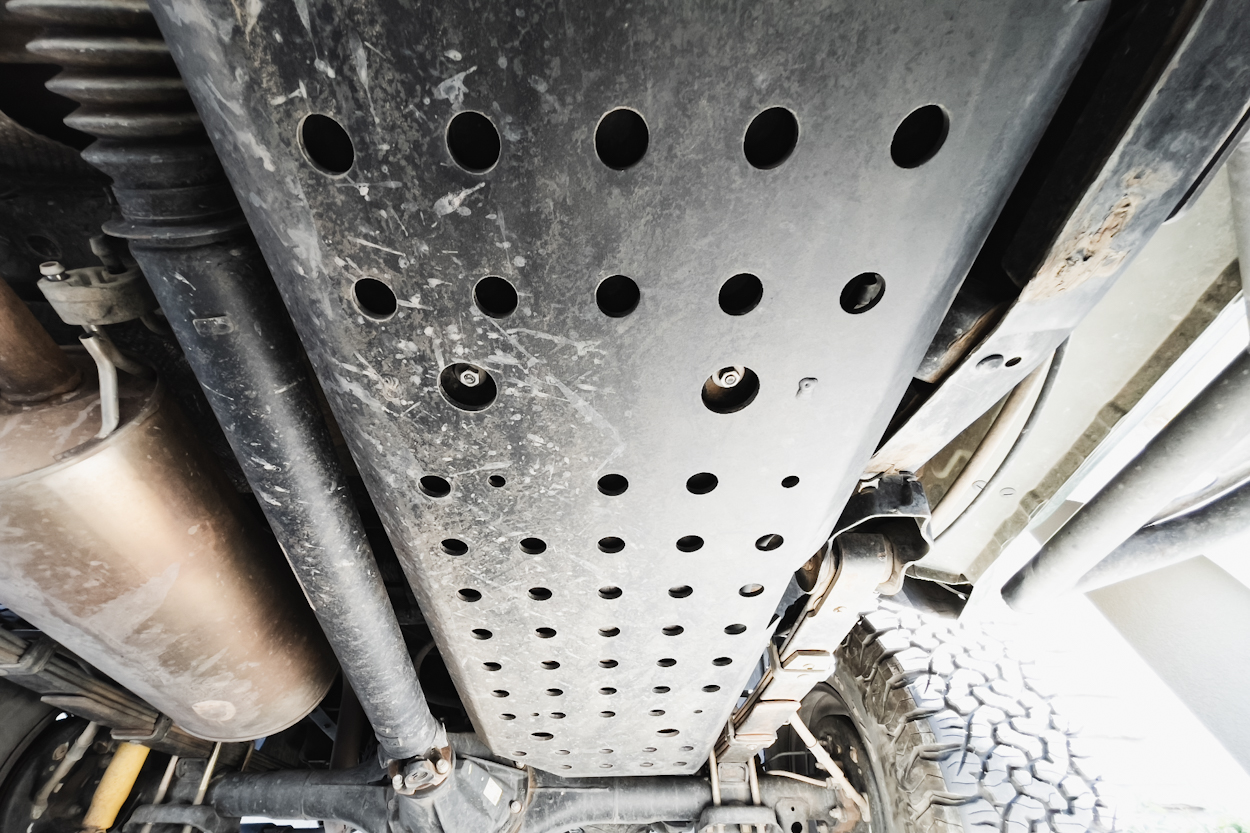
I live on the “It’s better to be safe than stuck hours away from home in the middle of the woods” side of life. That’s even more true when I’m doing solo adventures. My absolute biggest fear is going out into the unknown and breaking down.
One of the best things you can do to mitigate any damage is to add a full skid plate package to your truck. Yes, our trucks do come with a shotty sheet metal front skid, and a plastic “skid plate” for our gas tanks but to be frank, they do little in terms of protection. They’re good for deflecting rocks on the freeway, but not so much for stopping boulders and logs from puncturing or breaking parts.
Most people opt for a new one in front, then maybe one for the transfer case and transmission. Often overlooked, however, is the fuel tank. In my opinion, it should be much higher on the list. I’m much more likely to have a branch come up and damage it than I am to land my transmission on a boulder.
In this article, we’ll go through a really brief install. When I say brief, I really mean it – install is super easy.
Note: I am installing on my 3rd Gen, but the process and product is the same for the 2nd Gen.
Find It Online
- Cali Raised Fuel Tank Skid Plate (2005-2023): Check Price
Table Of Contents
Overview

The fuel tank skid plates come in two different versions, a beefier, but heavier, 3/16” steel and a softer, lighter, 1/4” 5052 aircraft-grade aluminum.
They both provide ample protection. The steel variant weighs more but is stronger and able to more easily slide over obstacles. Aluminum, on the other hand, is lighter but softer, which may cause you to dent them while traversing obstacles.
Keep in mind – if your truck doesn’t already have straps with studs (typically only found on Off-Road trims), you will need to buy new straps as well.
Front Strap – Toyota Part # 77602-04020
Rear Strap – Toyota Part # 77601-04020
Steel Vs. Aluminum
- Steel weight – 37.9 lbs.
- Aluminum weight – 16 lbs.
Installation
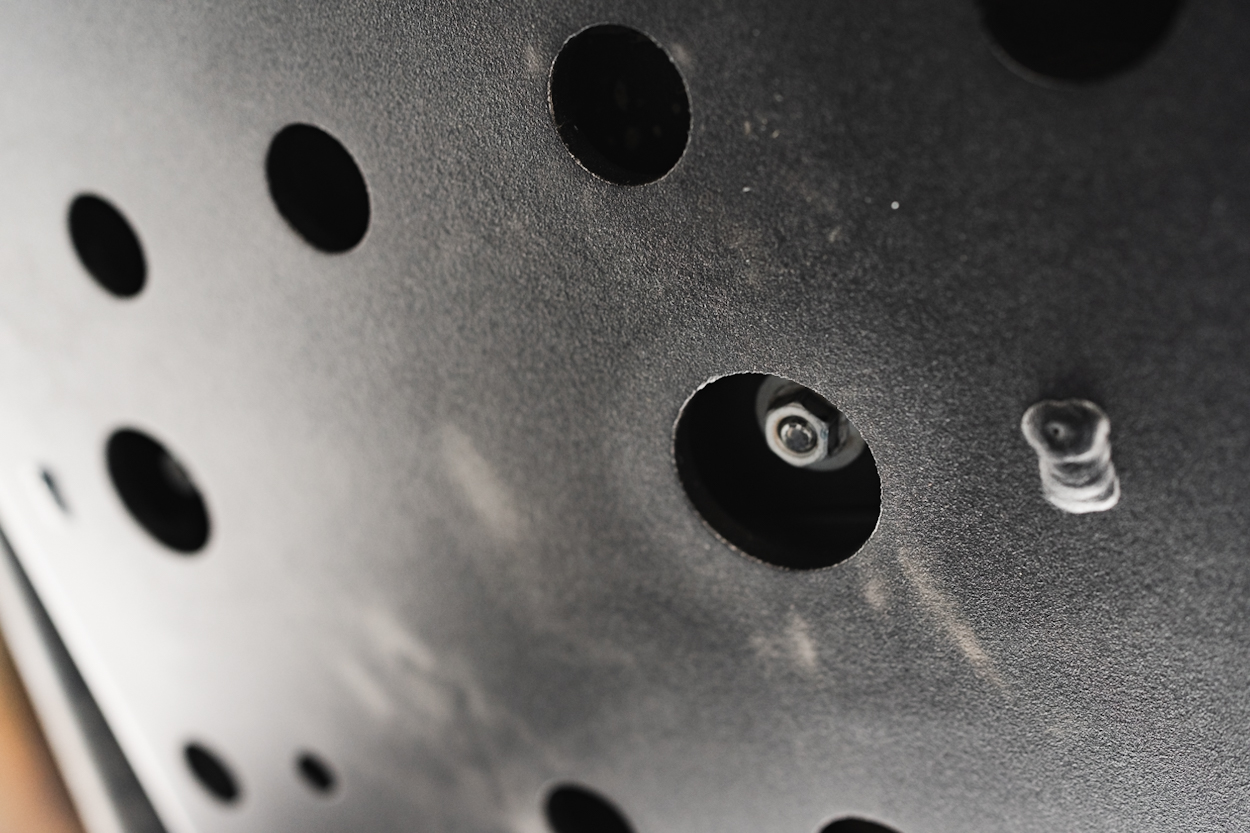
Installation should take less than 30 minutes. All you really need to do is remove the four bolts holding the OEM fuel tank skid and replace it with the one from Cali Raised LED. The factory hardware will be reused.
Once again, if you do not have studded straps, you will need to swap them out. There are two nuts on the outside of the frame you need to access, as well as two connection closer to the middle of the truck.
Required Tools & Materials
- 12mm socket
- Ratchet
- Small extension (Optional)
- Eye protection
Step 1. Remove Nuts
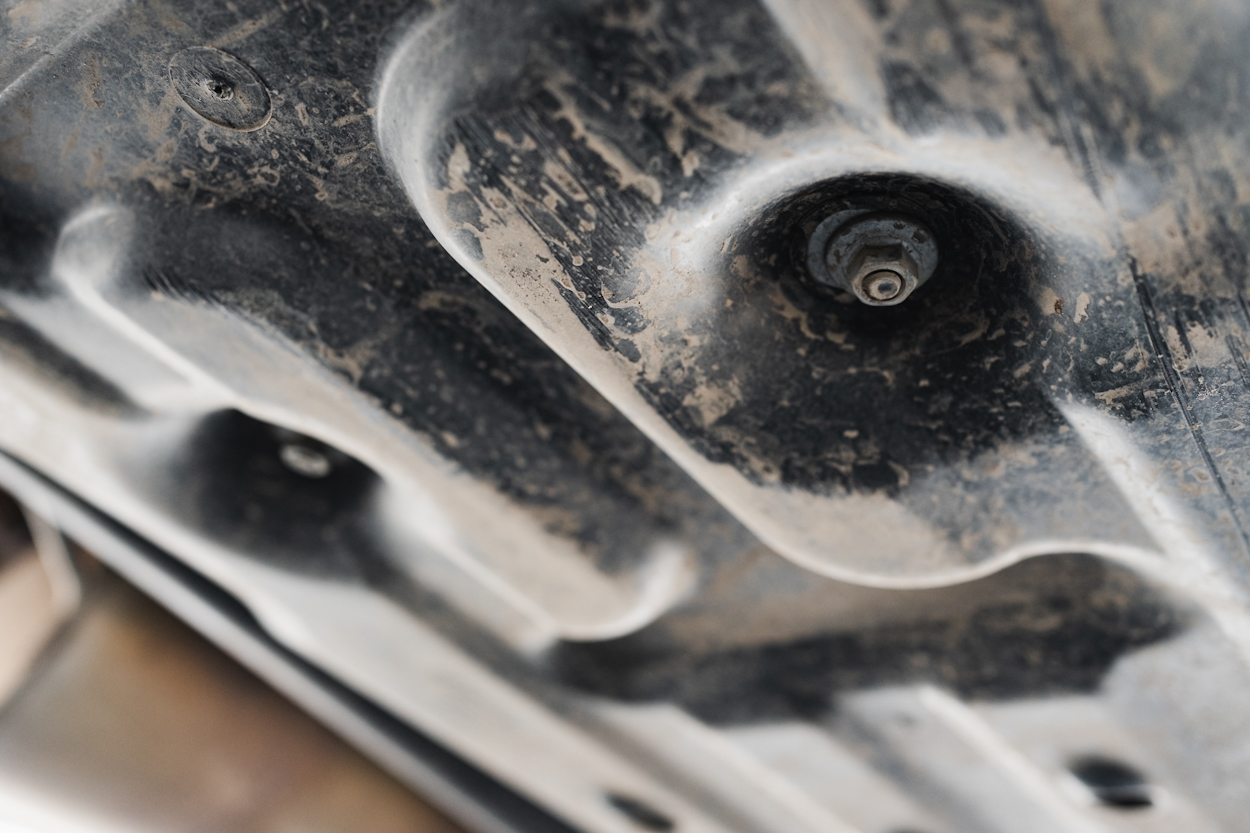
I definitely recommend wearing eye protection and maybe covering your mouth.
That’s especially true if you’ve done any off-roading with the OEM skid on. It loves to hold a bunch of dirt and small rocks, ask me how I know.
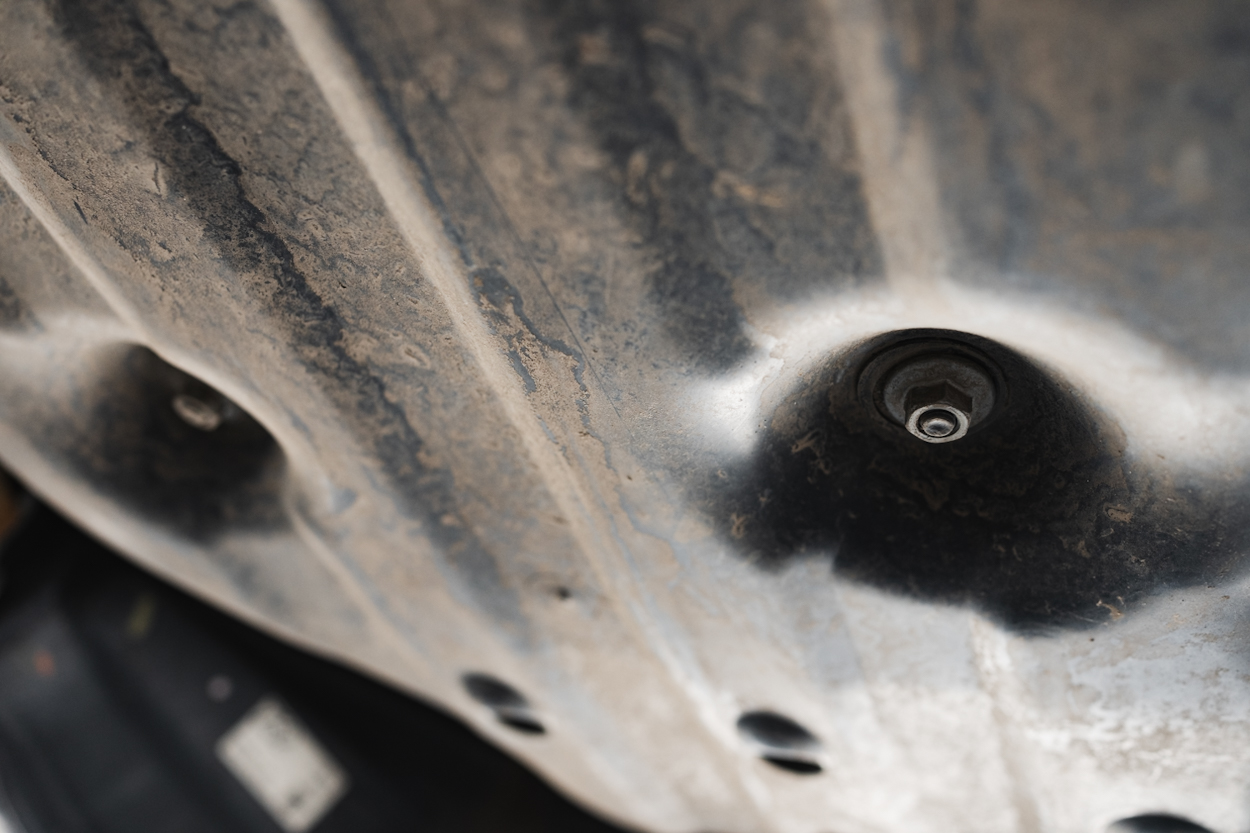
Remove all four nuts from the underside. There are two at the top and two at the bottom. One per strap.
Step 2: Install New Skid
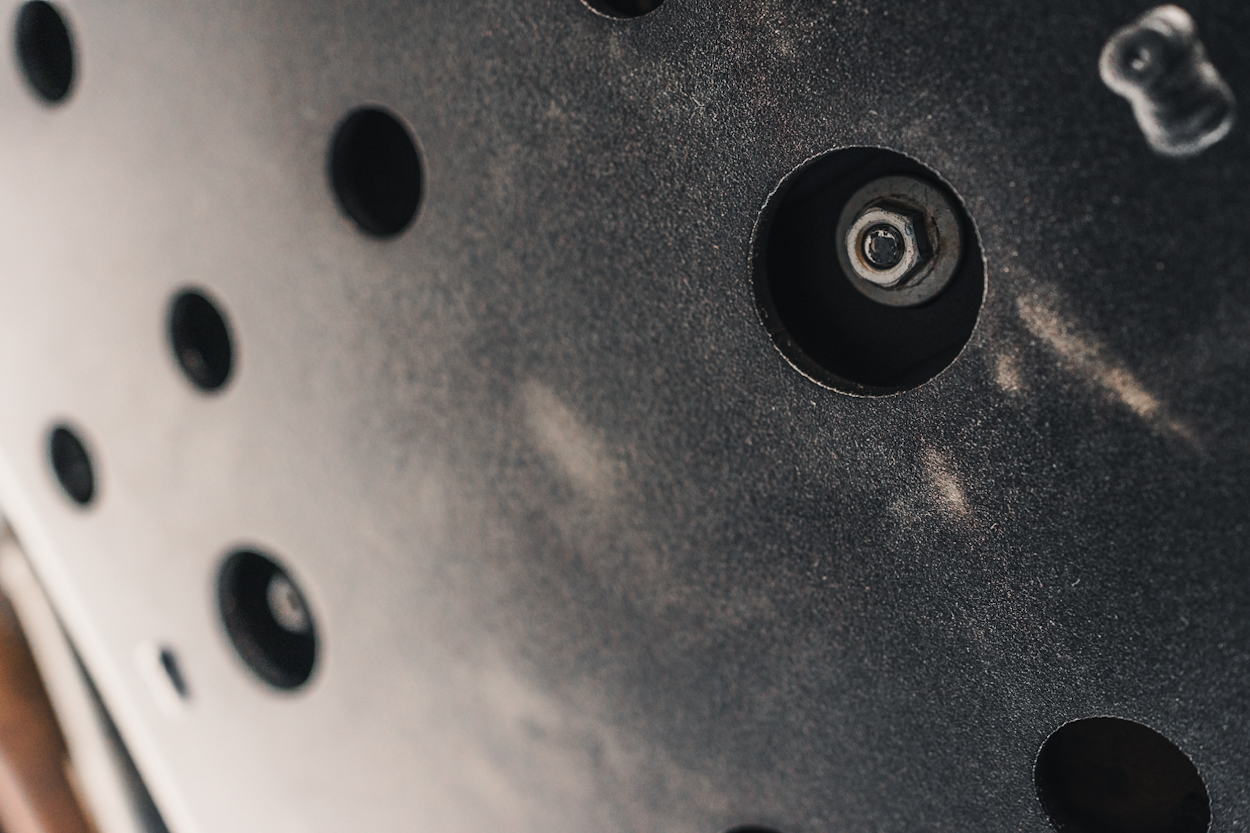
It might take some moving around to get the bolts to sit correctly. Once you’ve done so, start to install each nut.
Take all four of the OEM nuts and re-tighten them in. See, I told you the installation would be quick!
Final Thoughts
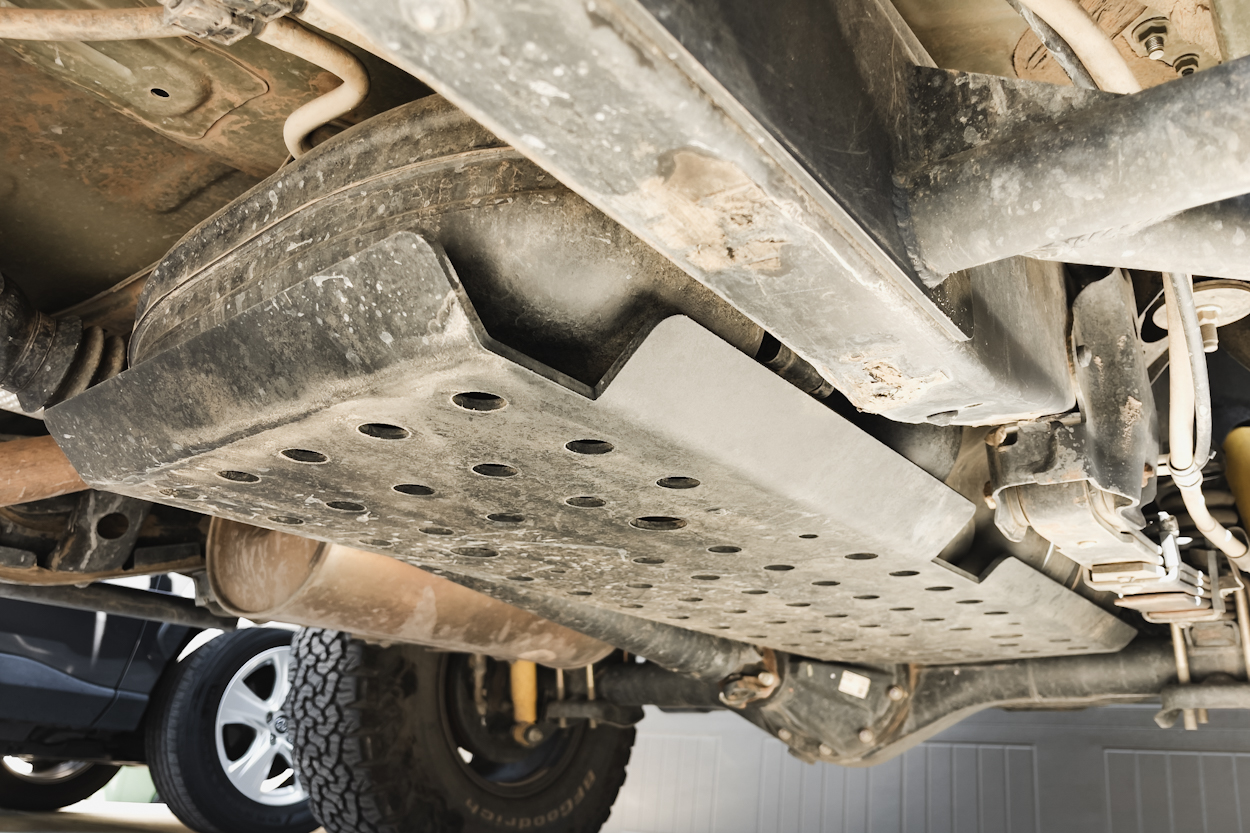
Personally, I don’t do much rock crawling, so I opted for the aluminum plate. Don’t be mistaken, aluminum is probably more than most of us will ever need. I’ve already bashed my aluminum skids against rocks and can confirm they do well for the average weekend warrior. However, I did feel some friction on boulders or rocks with their more pliable characteristics over steel.
You can’t know for sure how much protection is right for you until you get out there and explore. In my opinion, a fuel tank skid plate is worth it just for the added peace of mind.


