
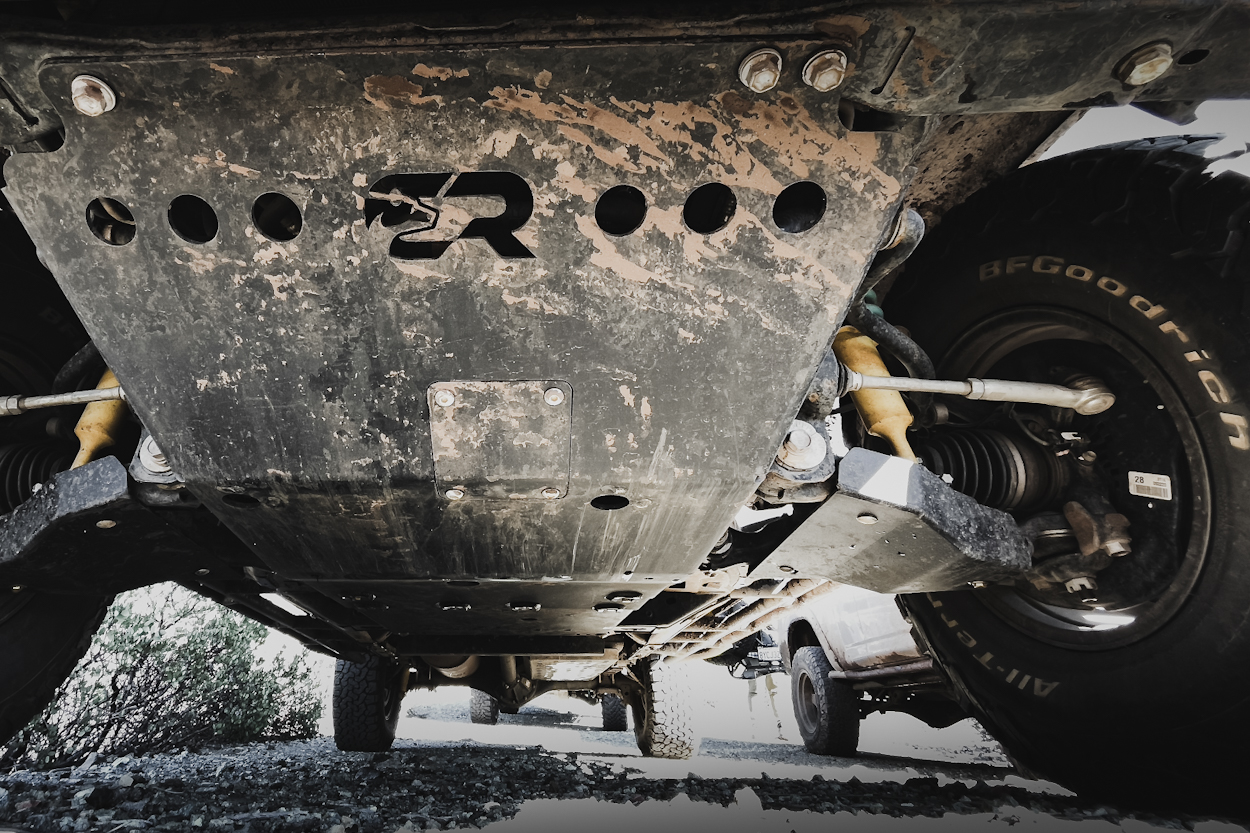
As an overlander or off-roader, it is common practice to add armor to your underbody. Whether it be a front skid plate or a whole skid plate collection, it’s always a good idea. It really is cheap insurance to make sure you get home from the trail without major damage.
A fairly new addition to armor offerings is LCA armor. I’ve often heard some describe them as potentially unnecessary, or “doing too much” – so people over look this small addition to their under-armor list. Personally, I like to tread on the side of “too much is not enough”.
In this article I’ll go through the extremely simple install process and then close out with some opinions I’ve developed after testing these skid plates.
Find It Online
- Cali Raised LCA Skid Plates (2005-2023): Check Price
Table Of Contents
Installation
The install itself is super straight forward with and should realistically only take 10- 15 minutes to install. You only need a standard toolbox.
At the end of this video, you can follow along my YouTube video as well.
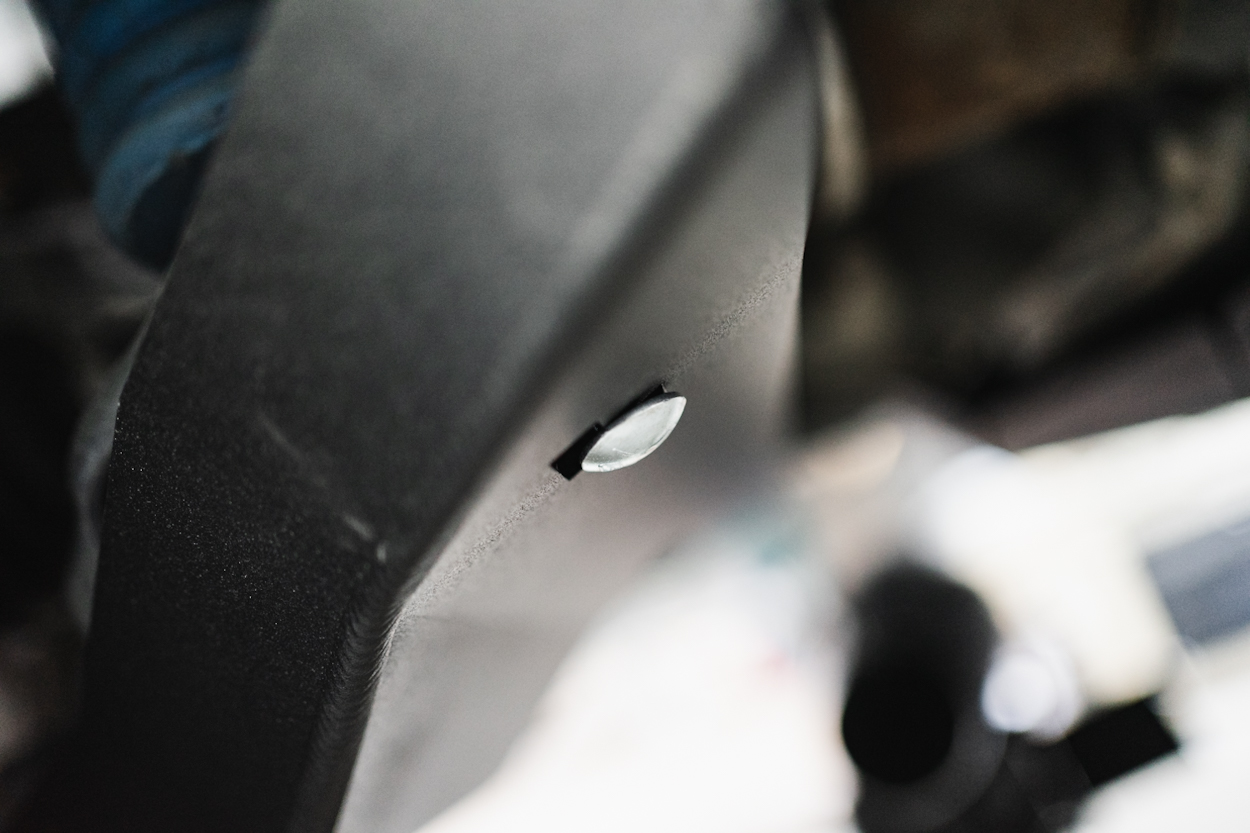
Step 1. Remove Plastic Grommets
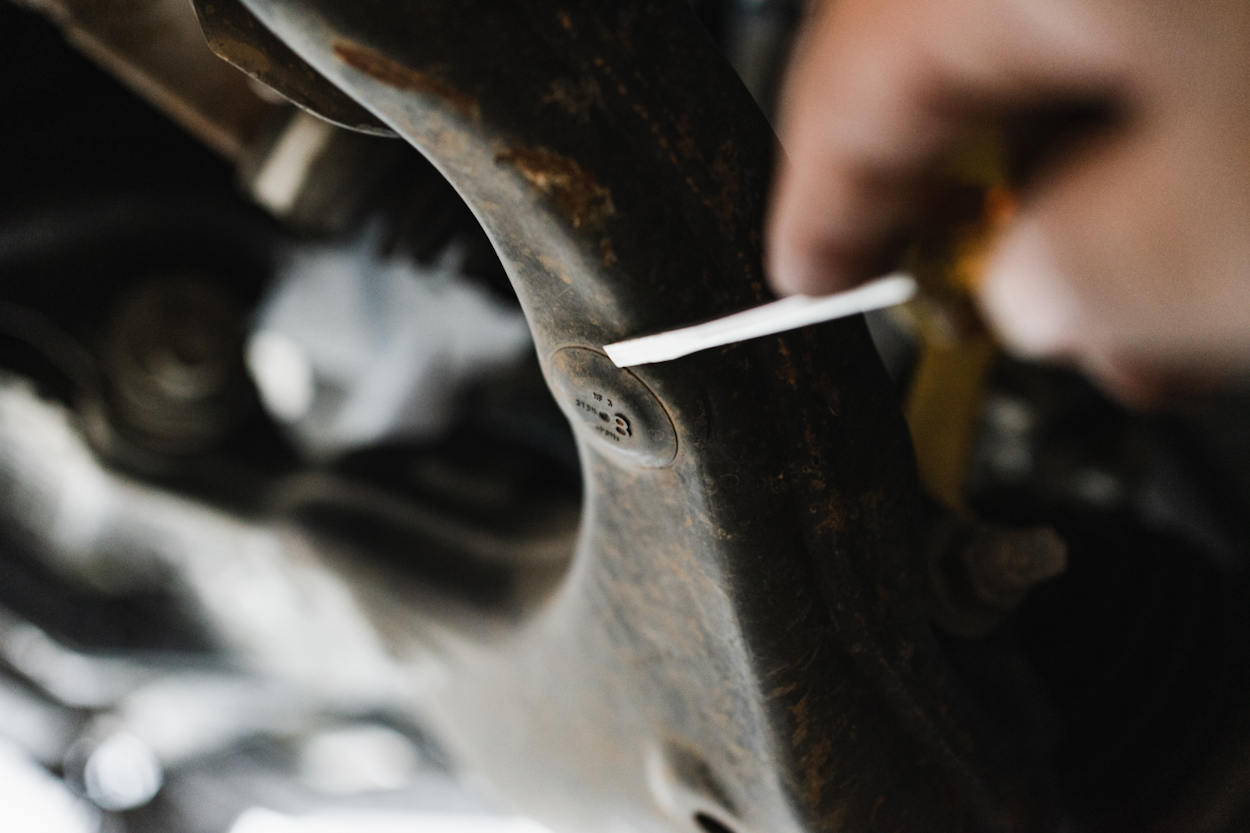
First, on the underside of the lower control arm, there are two plastic caps that need to be removed. These are easily popped off with a flat head.
I wouldn’t worry too much about breaking them. I broke all 4 of them.
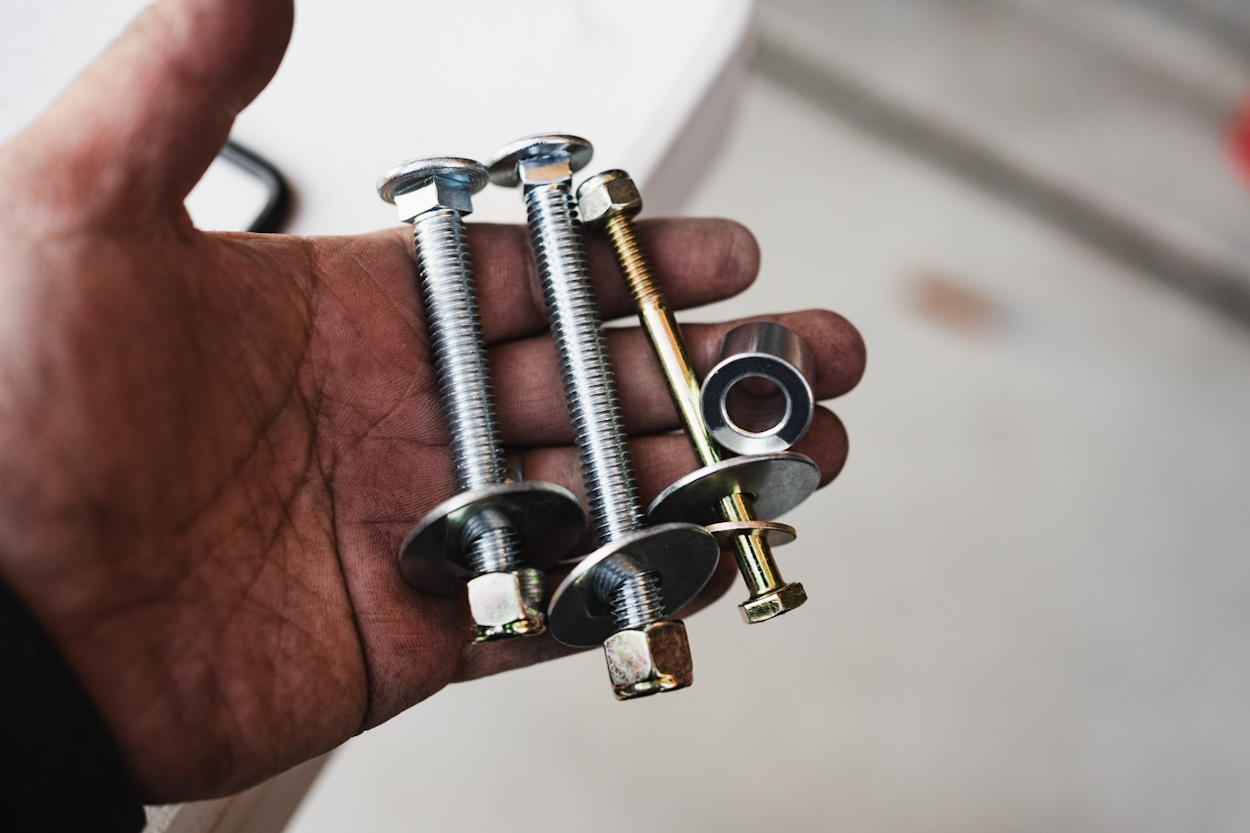
Step 2. Installing Inner Bolts
After taking off the two plastic grommets, you’re going to feed the shorter of the two silver, thicker, bolts through the forward position skid plate hole and the lower control arm. Take one of the washers and the corresponding nuts and thread them on slightly. Don’t tighten it down all the way, it’s just there to hold the skid plate up just in case you let go of it.
Follow up by inserting the longer of the two bolts into the rearward position, and top that off with a washer and nut as well.
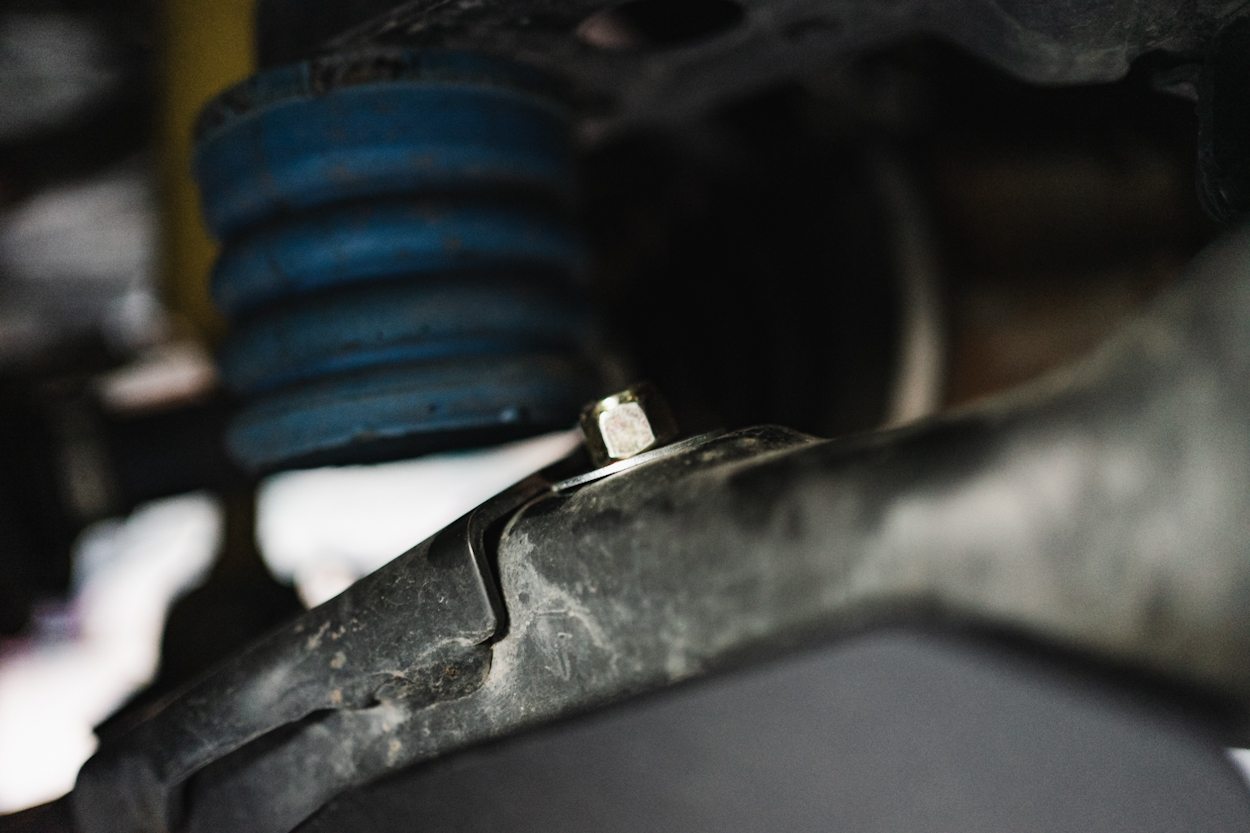
You’ll want to leave these nuts in fairly loose, as were going to be sliding a spacer in behind the final open hole.
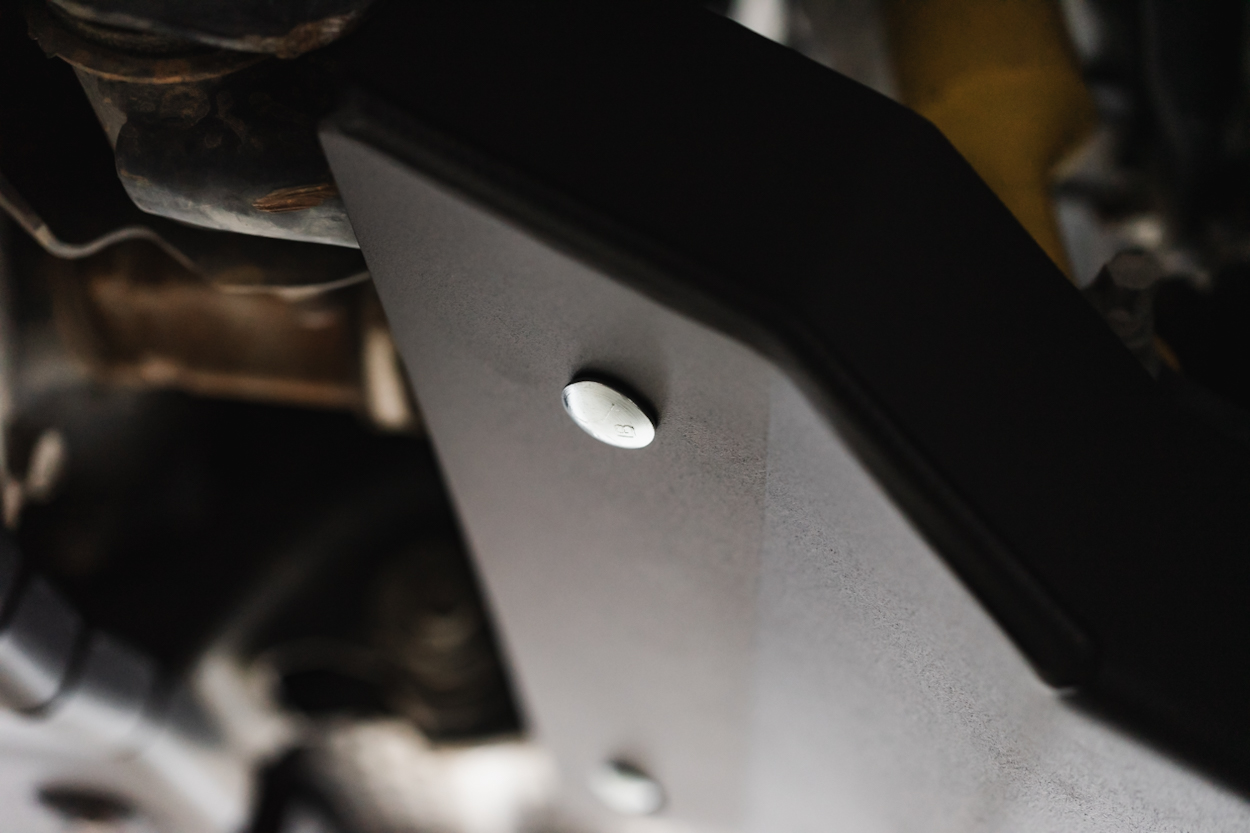
Step 3. Installing Spacer & Final Bolt

Lastly you’ll feed the slimmer brass bolt through the skid plate, through the included spacer, into the lower control arm and then top it off with the corresponding washer and nut.
Rinse and repeat for the other side and you’re golden!
Final Thoughts
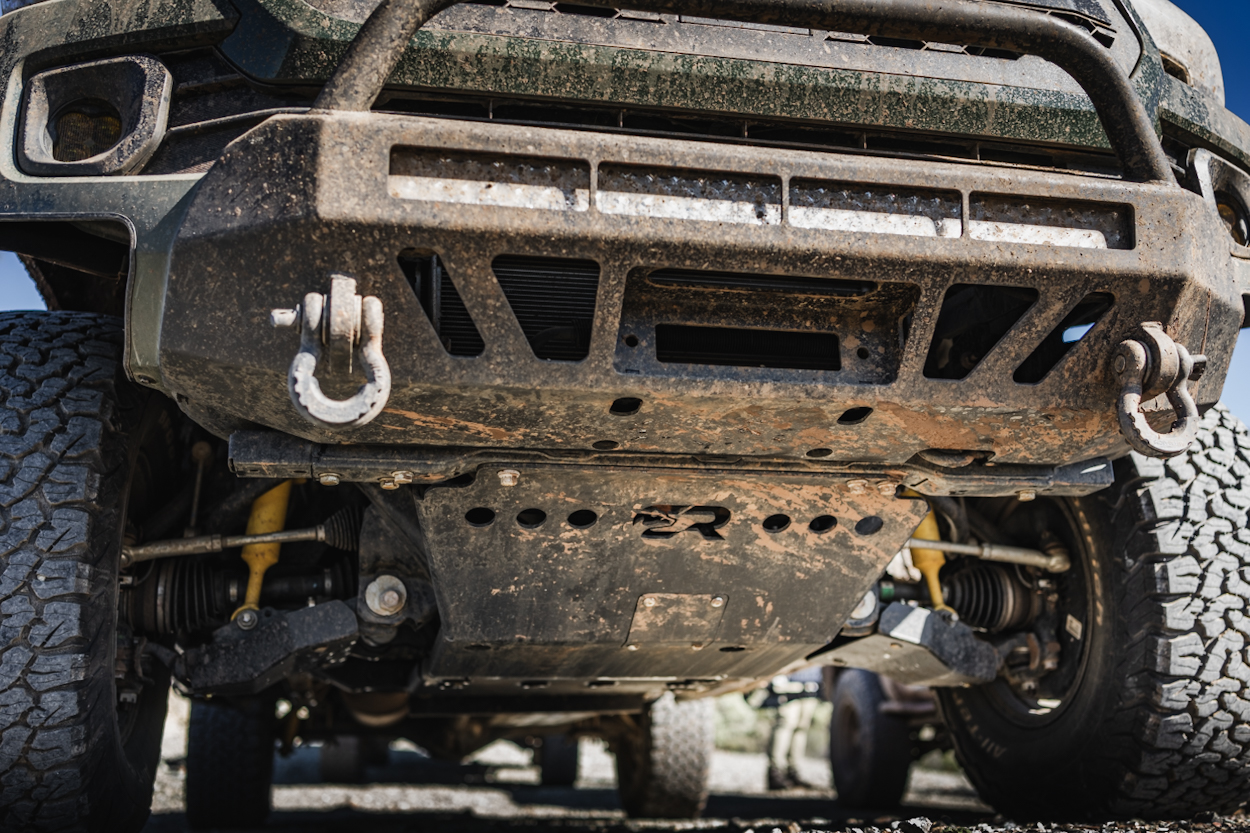
Like I said before, to me, being over prepared is better than being under prepared. These skid plates offer a smother surface to slide on (major benefit) if you end up landing on a rock and also provide protection from those pesky trail branches that could get lodged up in your lower control arm.
Dirt and mud does like to pile itself up on top of the skid plate but is easily cleaned off with a hose or power washer. The skid plates aren’t hard to take off in the least, so if you really wanted a deep clean or refinish they can be popped off, cleaned up, and put back on within minutes.
Honestly, anything that’s preventative is good by me. I would much rather have more armor, and have to deal with cleaning it out, than to be out of luck, stuck on the trail. These pieces don’t add much weight and I wouldn’t doubt in the future they would pay for themselves. They are relatively cheap to begin with.
