While the Tacoma’s factory headlights are decent on clear nights, they struggle when it is raining, snowing, or dusty at night. The color is too cold and, therefore, reflects all the light off the media in the air. We have probably all tried turning on the high beams in these conditions and felt we were driving at warp speed. The general peripheral visibility could be better too.
One way we can help you see in these conditions is to change the color and output of our fog lights. Yellow or amber reduces reflections and lets you see farther than the stock ones would allow. As a bonus, aftermarket lights always improve the look of your truck.
Table Of Contents
Overview
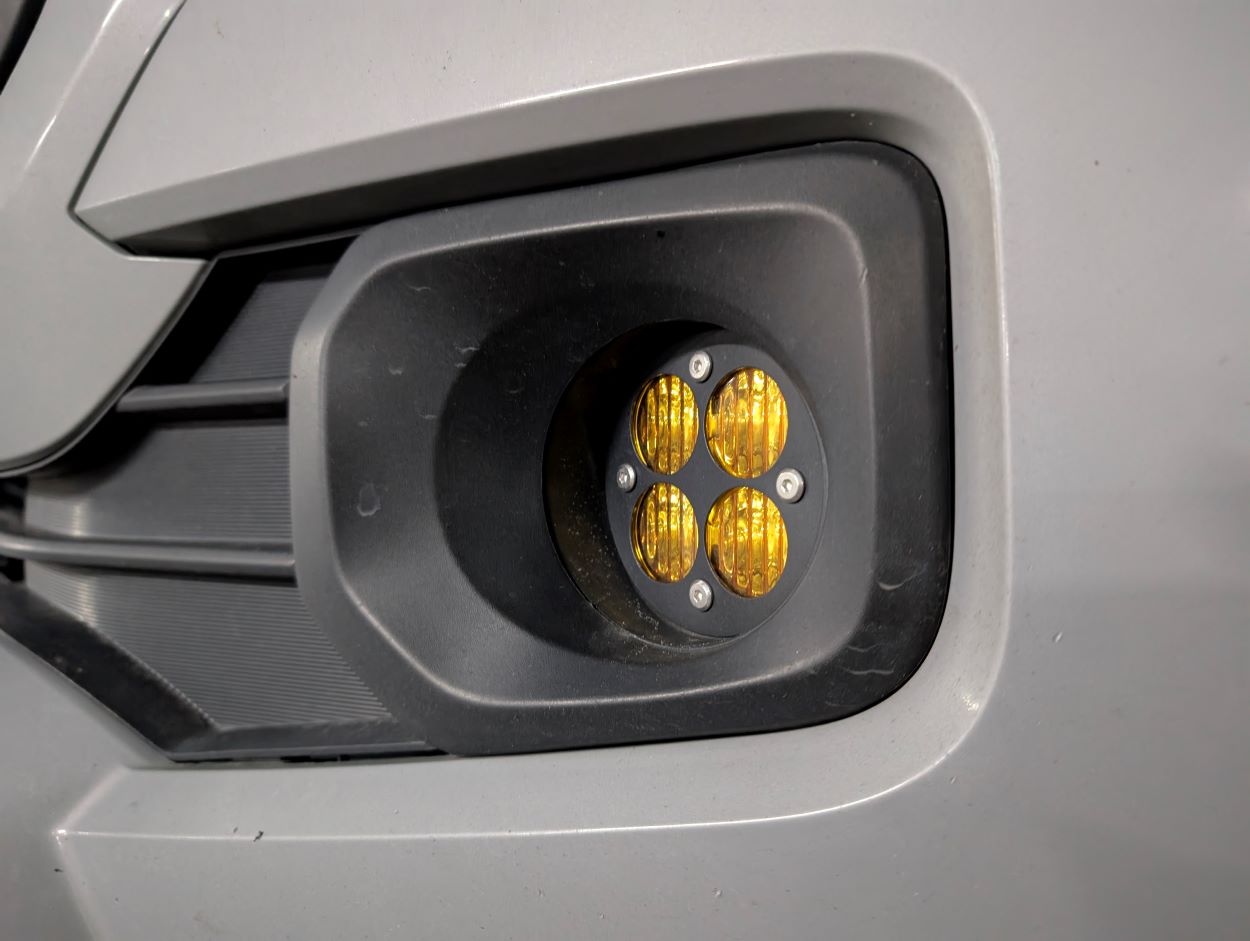
These replacements are a direct plug-and-play replacement for the 3rd Gen. They offer an amber lens with a wide-angle flood beam and factory-like fitment.
They are IP68 waterproof (water resistant to 5 feet for 30 minutes) and incorporate aluminum heat sinks on the back for consistent performance. Installation brackets are also included.
Installation
Tools Required
- 10mm socket
- Ratchet wrench
- Flat screwdriver for clips
- Phillips head screwdriver
- Small hands to adjust light
While the kit does not come with instructions, the installation is extremely simple and requires only basic tools. Once you figure out how the stock light comes out, the LED fog light goes in twice as fast.
Overall, the installation took me less than 30 minutes, including taking pictures. The only tricky part of the installation was the limited working room between the tire and the front bumper. Other than that, it was all super simple.
Step 1. Pull Back Front Fender Liner
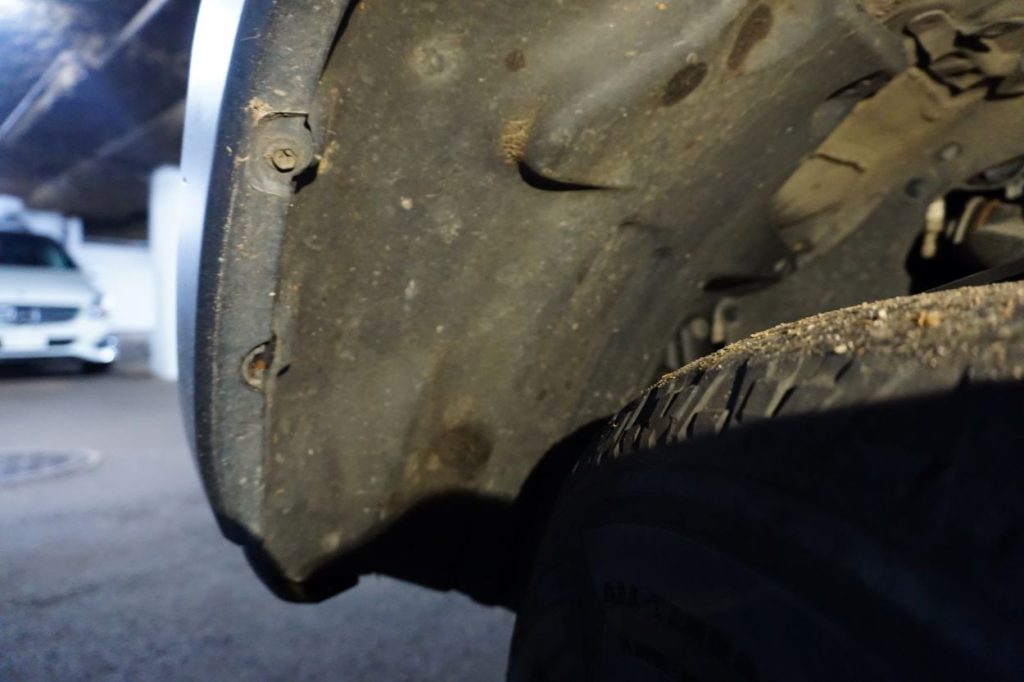
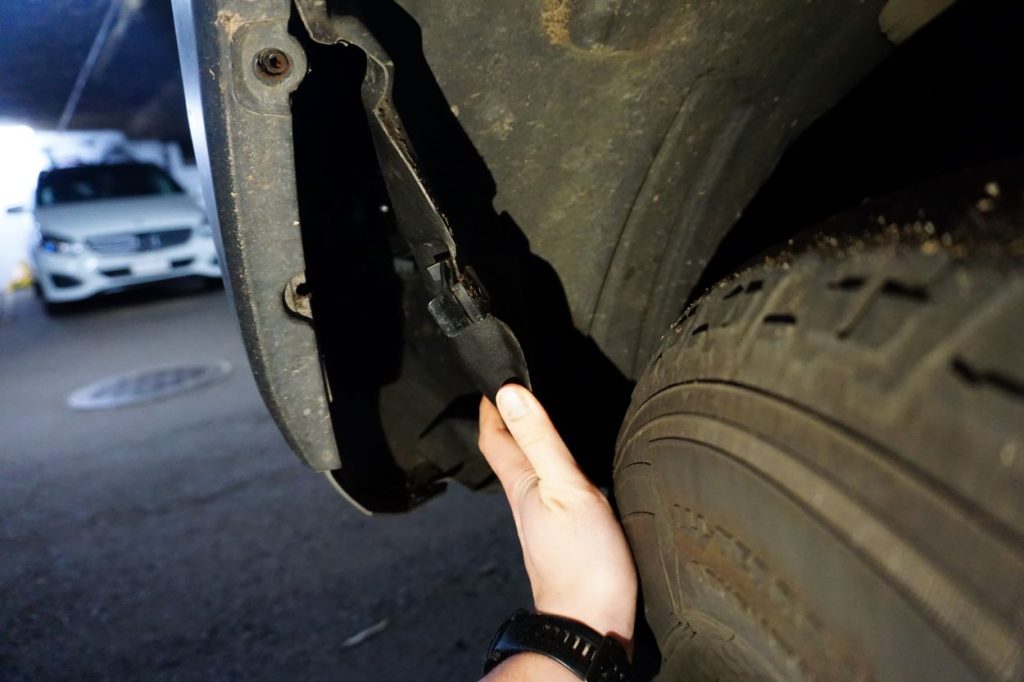
I found it easiest to turn the wheel to access the front fender liner clips and 10mm bolts securing the inner fender liner. Use a flat-head screwdriver to remove the clips. Pull back the fender liner as far as you can and I recommend wearing a long sleeve for the following steps to save your arms from getting scraped.
Step 2. Remove OEM Fog Light
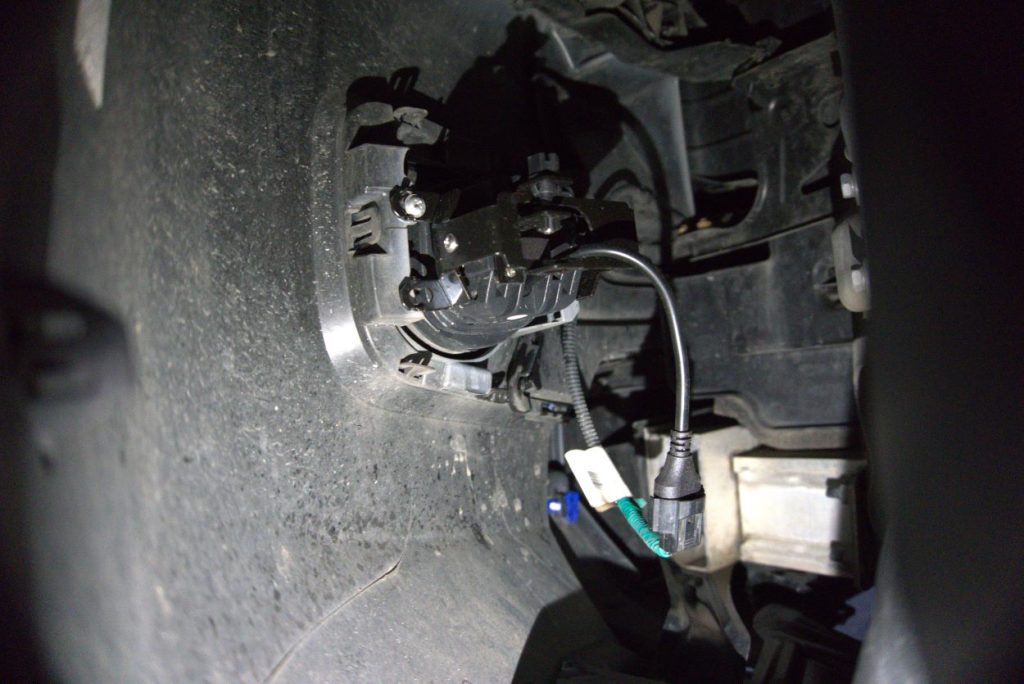
Remove the fog light by unplugging the harness and removing the Phillips head screw holding it in place. When the screw is out, rotate the light housing clockwise to remove it. Keep this screw for installing the new set.
Step 3. Install Cali Raised Fog Light
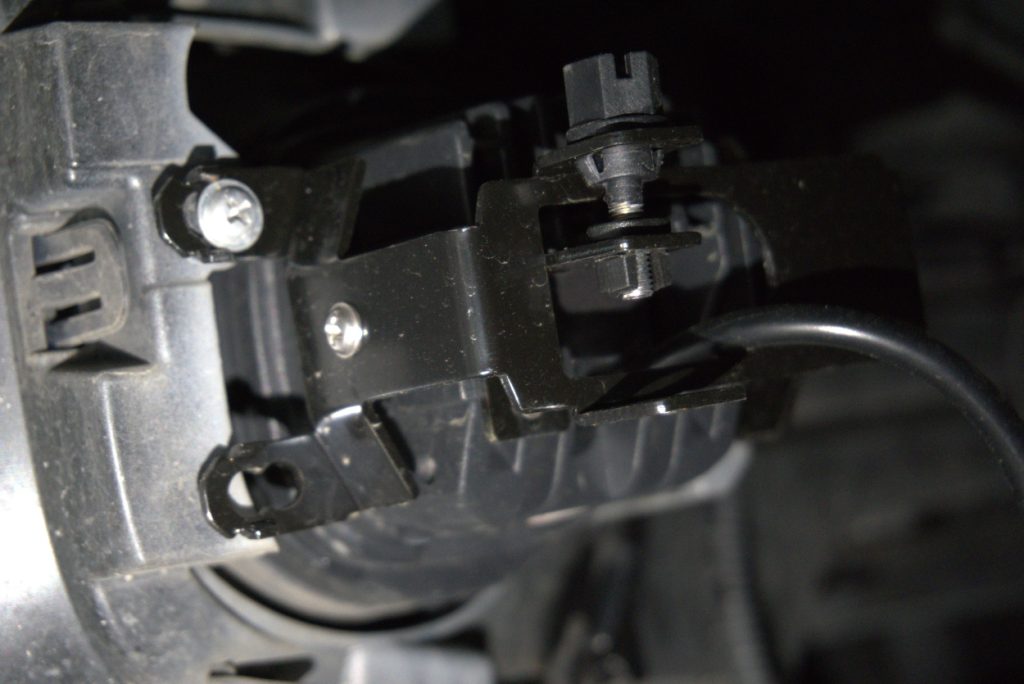
In the opposite order of Step 2, reinstall the new light into the same spot and use the Phillips screw to secure it in place. Then, plug in the wiring harness.
On top of the light housing, turn the plastic hex knob to adjust the light beam up or down. Ensure they are pointing level with your headlight low beams or slightly down to prevent you from blinding oncoming traffic.
Step 4. Reinstall Fender Liner
After adjusting the lights, reinstall the 10mm bolts and the clip for the fender liner. Once everything is bolted back up, proceed to the other side.
Output Comparison
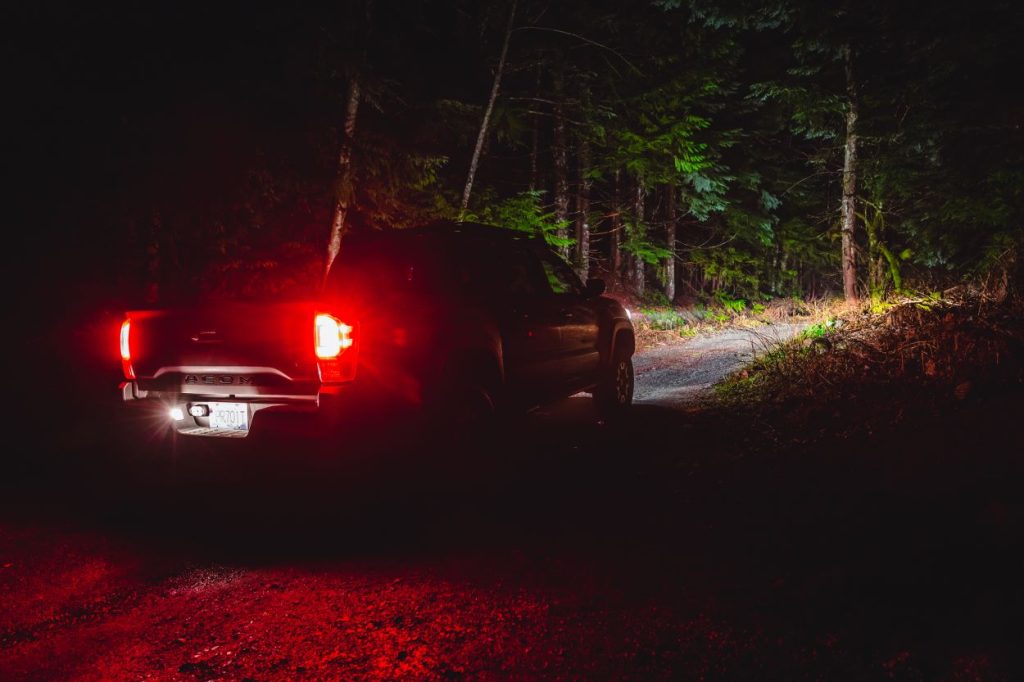
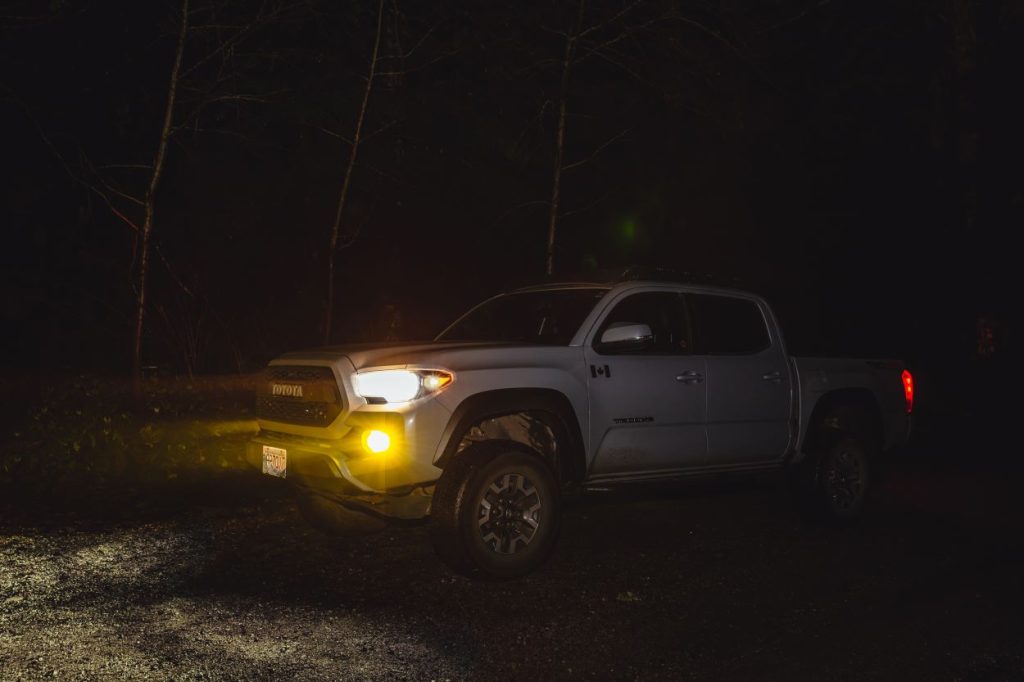
The shot above was taken on a foggy night with just the headlights on. The distance of the light was decent, but it got hazy and did not illuminate anything on the side of the trail. In more dense fog or snow, the lights get overwhelmed and do not illuminate well.
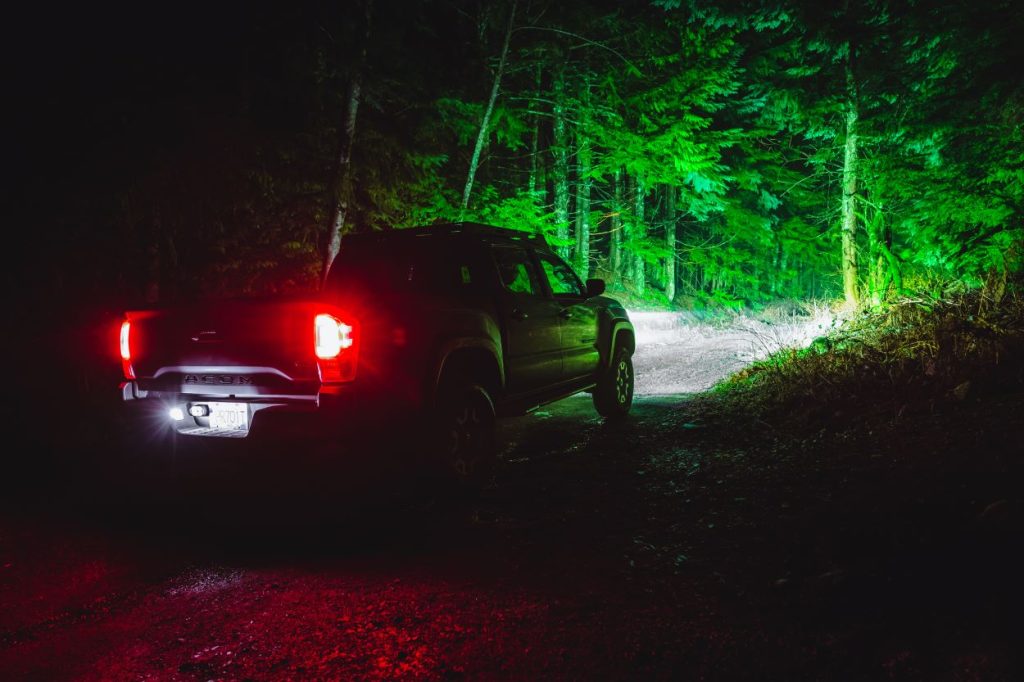
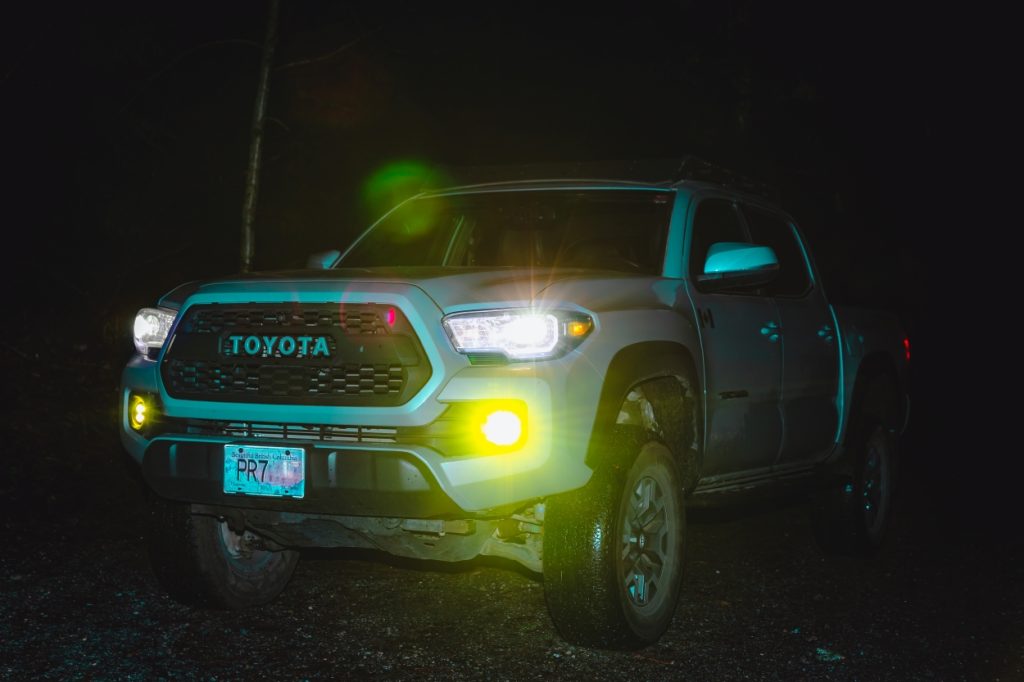
When comparing the shot above to the previous picture with just headlights on, you can clearly see that the Cali Raised lights illuminate a much larger portion of the trail on the side and have a much longer throw.
My previous set of fog lights was a pair of Diode Dynamics SS3s. They were approximately the same price (more recent prices show $300+ for their kits) as these Cali Raised lights and made some bold claims about their output. However, the beam was a bit narrow, so I never got what I was looking for.
Comparing the two on the trail would be like comparing a flood (Cali Raised) to a spot (DD SS3), even though both claimed to be flood beam patterns.
Final Thoughts
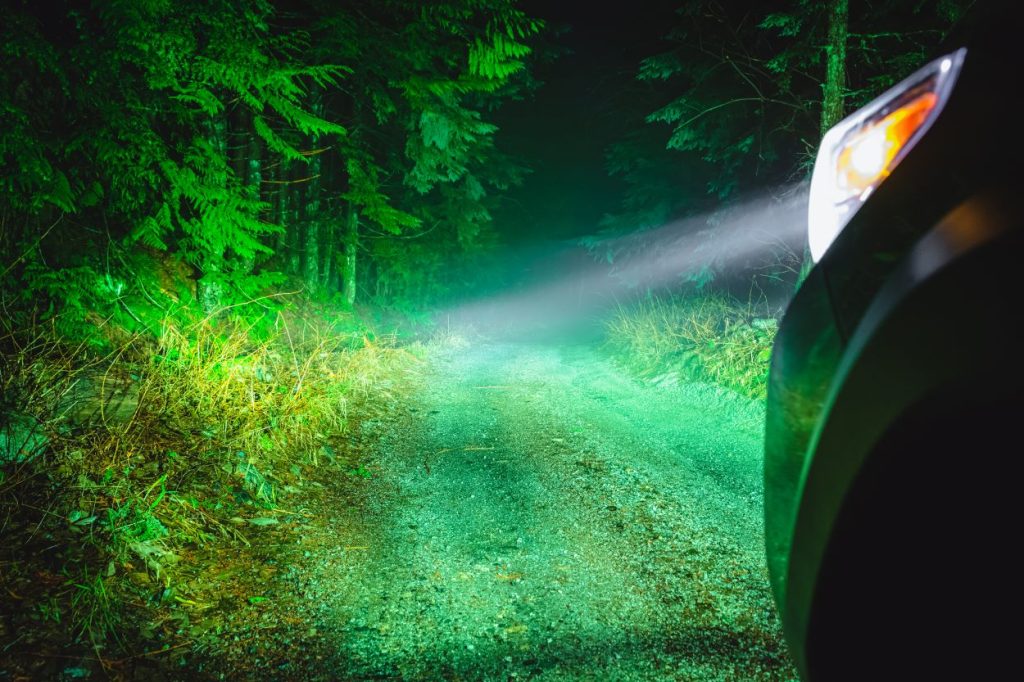
Overall, these lights are a significant improvement over what came from the factory, and for the price, you can’t beat their value. The lights look like they came stock if you dial in the fitment, so if you like the OEM+ aesthetic, these are a great option.
The light output is much brighter with a more useful beam pattern than factory. They bring out more detail in the trail ahead of you while out driving. With such an easy installation and affordable price, in my opinion, they should be everyone’s first install.


